Articles
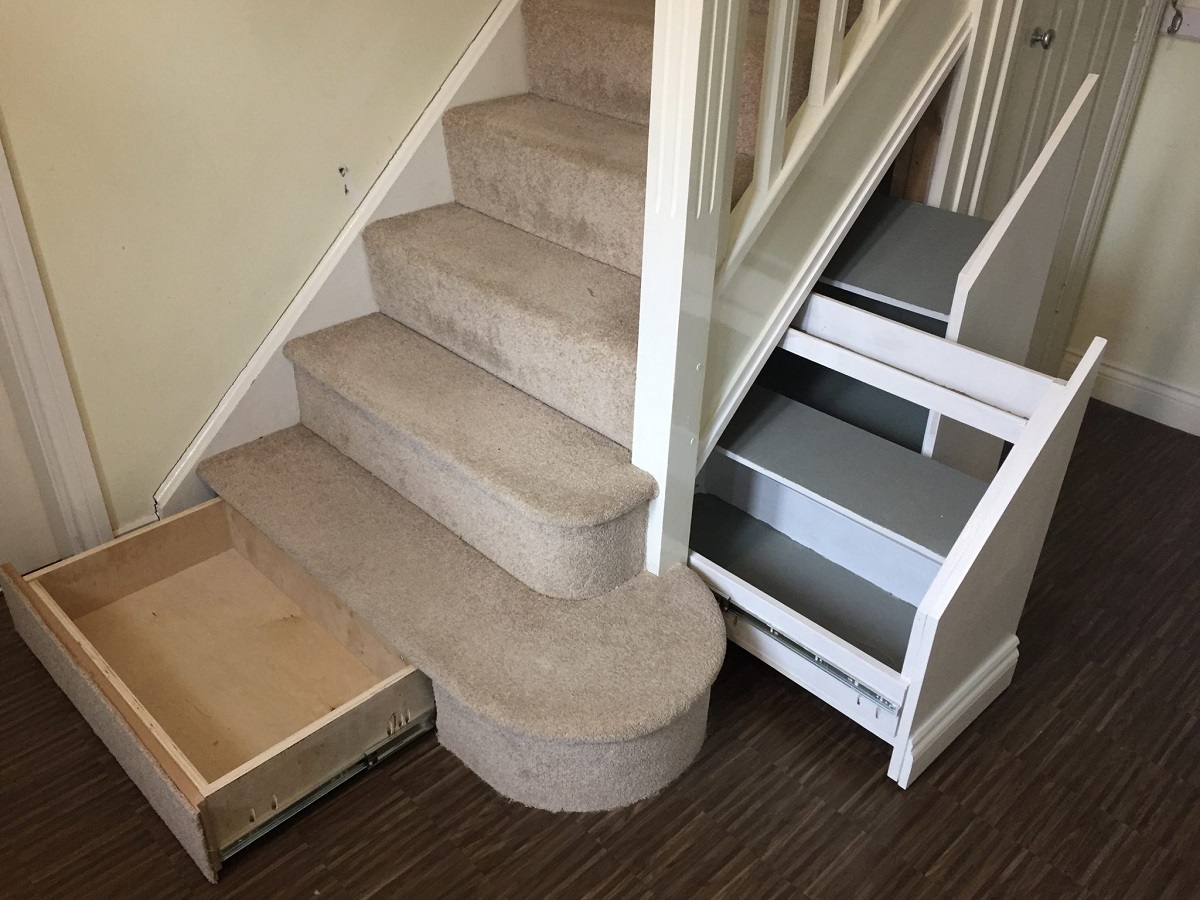
How To Build Drawers In Stairs
Modified: May 6, 2024
Learn how to build drawers in stairs with our step-by-step guide. Discover useful articles and tips to maximize space and enhance your home's storage.
(Many of the links in this article redirect to a specific reviewed product. Your purchase of these products through affiliate links helps to generate commission for Storables.com, at no extra cost. Learn more)
Introduction
Have you ever looked at your stairs and thought, “There must be a way to make better use of that space?” Well, you’re in luck! In this article, we will guide you through the process of building drawers in your stairs, creating a clever storage solution that will maximize every inch of your home.
Adding drawers to your stairs not only provides extra storage, but it also enhances the overall functionality of your staircase. Whether you need a place to store shoes, books, or even household items, turning your stairs into drawers can help you declutter and organize your space.
Building drawers in stairs may sound like a complicated task, but with the right planning and tools, it is a project that can be tackled by DIY enthusiasts of various skill levels. Throughout this article, we will break down the process into simple steps, providing you with the knowledge and confidence to create your own custom stair drawers.
Before diving into the construction process, it’s important to assess your stairs and determine if they are suitable for this project. Straight stairs with ample depth and width are ideal, as they provide enough space to accommodate the drawers without compromising the integrity of the staircase.
Additionally, stair drawers are a fantastic option for homeowners who are tight on space, as they allow you to maximize the use of an otherwise underutilized area. Whether you live in a small apartment or a large house, turning your stairs into drawers can provide a practical and stylish solution.
So, if you’re ready to embark on a DIY adventure and transform your stairs into functional and beautiful storage drawers, let’s dive into the step-by-step process. From planning and measurements to installation and finishing touches, this guide will walk you through everything you need to know to build drawers in your stairs.
Key Takeaways:
- Transform your underutilized staircase into a practical storage solution by building drawers in your stairs. Maximize space, enhance organization, and add value to your home with this DIY project.
- Embrace creativity and customization as you embark on the journey of creating beautiful and functional stair drawers. Enjoy the process, personalize the design, and elevate the aesthetic appeal of your staircase.
Read more: How To Build Drawers For Closet
Step 1: Planning and Measurements
The first and most crucial step in building drawers in your stairs is proper planning and accurate measurements. A thorough understanding of your stairs’ dimensions and layout is essential to ensure a seamless integration of the drawers.
Start by carefully examining your stairs and determining the number of drawers you want to install. Consider the available space, the size of the items you plan to store, and the overall design aesthetic you want to achieve.
Next, measure the depth, width, and height of your stairs. Measure each step individually and record the measurements accurately. It’s important to account for any irregularities in the size of each step, as this can affect the construction of the drawers.
Once you have the measurements, it’s time to decide on the drawer dimensions. Consider the items you plan to store and determine the appropriate size of the drawers. Keep in mind that the drawers should be deep enough to accommodate your belongings but not too deep that they impede the functionality of the stairs.
Consider the type of drawer slides you will be using and ensure that there is enough space for them within the stair structure. Take into account any clearance requirements, such as the depth needed for the mounting brackets and the slide’s range of motion, to avoid any obstructions.
Furthermore, plan the placement of the drawers along the stairs. Determine if you want them to be evenly spaced or if you prefer certain steps to have larger or smaller drawers. This will help you create a customized storage solution that suits your needs and preferences.
As you plan, also consider any additional features you might want to incorporate, such as built-in dividers or compartments within the drawers. These can be useful for organizing smaller items or separating different types of belongings.
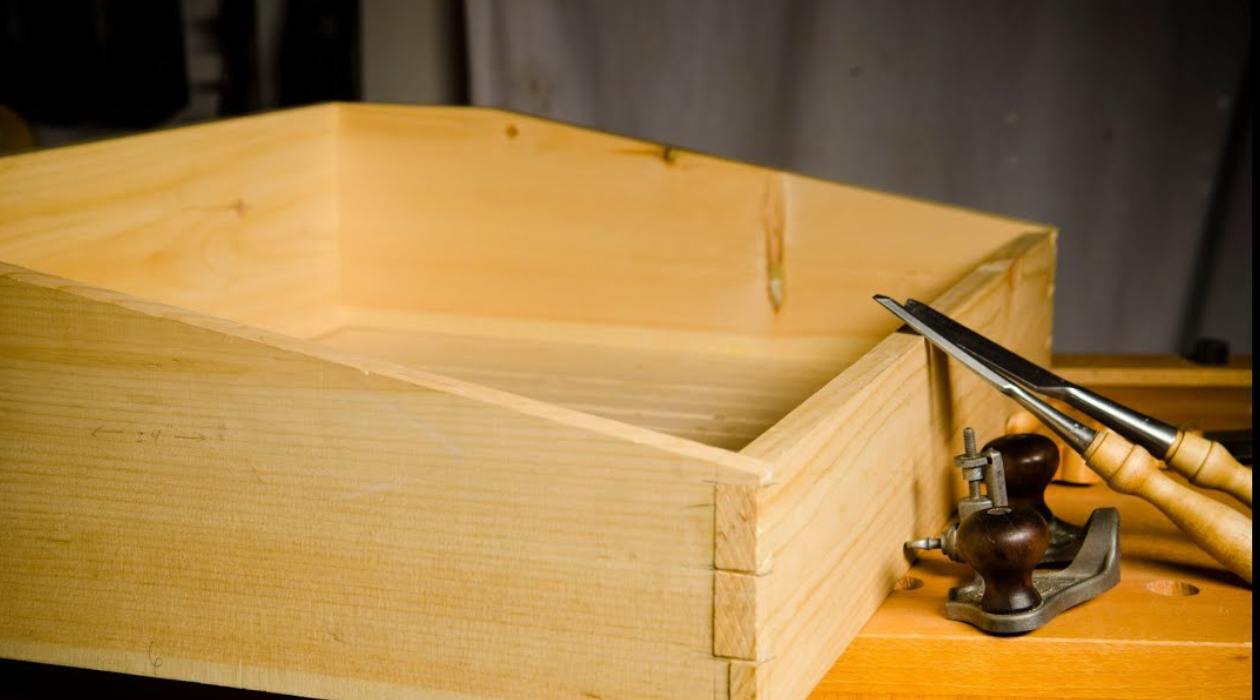
Lastly, take into account the material you will be using for the drawer construction. This could be plywood, MDF, or solid wood depending on your preferences and budget. Select a material that is durable and can withstand the weight of the items you plan to store.
By carefully planning and taking accurate measurements, you can ensure that the construction process goes smoothly and that the resulting stair drawers are functional and aesthetically pleasing.
Step 2: Gather Materials and Tools
Now that you have completed the planning and measurements for your stair drawers, it’s time to gather the necessary materials and tools to bring your vision to life. Here is a list of the items you will typically need:
- Plywood, MDF, or solid wood for the drawer construction
- Drawer slides
- Miter saw or circular saw
- Drill and drill bits
- Screws
- Wood glue
- Sandpaper or a sander
- Measuring tape and ruler
- Pencil
- Clamps
- Screwdriver or impact driver
- Level
- Paint, stain, or other finishing materials
- Paintbrushes or foam rollers
The choice of materials will depend on your personal preference, budget, and the desired outcome. Plywood is often a popular option for the drawer construction due to its affordability and strength, but solid wood can provide a more high-end and durable finish.
When it comes to selecting drawer slides, make sure to choose ones that are suitable for your project. Consider the weight capacity, extension length, and smooth operation. Side-mounted or under-mounted drawer slides are commonly used for stair drawers, depending on your design and construction.
Having the right tools is essential for a successful project. A miter saw or circular saw will be required for cutting the materials to the desired dimensions. A drill is necessary for making holes and attaching components, and a set of drill bits will come in handy for various tasks.
Wood glue is essential for ensuring the strength and stability of the drawer joints. It is recommended to use clamps to hold the pieces together while the glue dries. Additionally, screws will be needed for securing the components, so make sure to have an appropriate size and type.
Smooth out any rough edges or surfaces with sandpaper or a sander to create a polished finish. Measuring tools such as a tape measure and ruler will help ensure accuracy throughout the construction process. A pencil will be useful for marking measurements and guidelines.
A screwdriver or impact driver is necessary for driving in the screws, and a level will assist in achieving proper alignment and balance. Depending on the desired look, you may choose to paint, stain, or apply other finishing materials to the drawers. Make sure to have the appropriate brushes or foam rollers for this task.
By gathering all the necessary materials and tools prior to starting the construction, you can save time and ensure a seamless workflow. Now that you have everything you need, let’s move on to the next step, which involves removing the existing stairs to make way for the new drawers.
Step 3: Removing Existing Stairs
Before you can start building the drawers, you need to remove the existing stairs to create space for the new storage solution. Removing the stairs may sound intimidating, but with the right approach, it can be a manageable task. Here’s how to do it:
- Begin by ensuring your safety. Put on protective gear such as gloves, safety glasses, and a dust mask to protect yourself from any debris or dust that may be generated during the removal process.
- Start with the bottom step and work your way up. Use a pry bar or a hammer and chisel to carefully remove the treads and risers from the staircase. Start by prying off the nosing, then remove the remaining portion of the tread and riser.
- Once the treads and risers are removed, you will be left with the stringer, which is the structural support for the stairs. Inspect the stringer for any damage or wear and repair or reinforce it if necessary.
- Continue removing the remaining steps by repeating the process of prying off the nosing and then removing the tread and riser. Take your time to ensure you do not cause any damage to the stringer or surrounding structure.
- As you remove each step, keep them organized and set them aside. You may be able to reuse them later in the construction process or repurpose them for other projects.
- With all the steps removed, you should now have a clear space where the drawers will be installed. Take this opportunity to clean the area and remove any debris or dust.
- Inspect the space and assess if any modifications or adjustments are needed. This is the time to address any uneven or damaged areas, ensuring that the space is suitable for the installation of the drawer frames.
It’s important to note that the process of removing existing stairs may vary depending on the construction of your staircase. If you are unsure or uncomfortable with this step, it’s recommended to consult with a professional contractor or carpenter.
By safely removing the existing stairs, you are one step closer to creating your own custom stair drawers. Now that the area is clear, you can proceed with building the drawer frames, which we will cover in the next step.
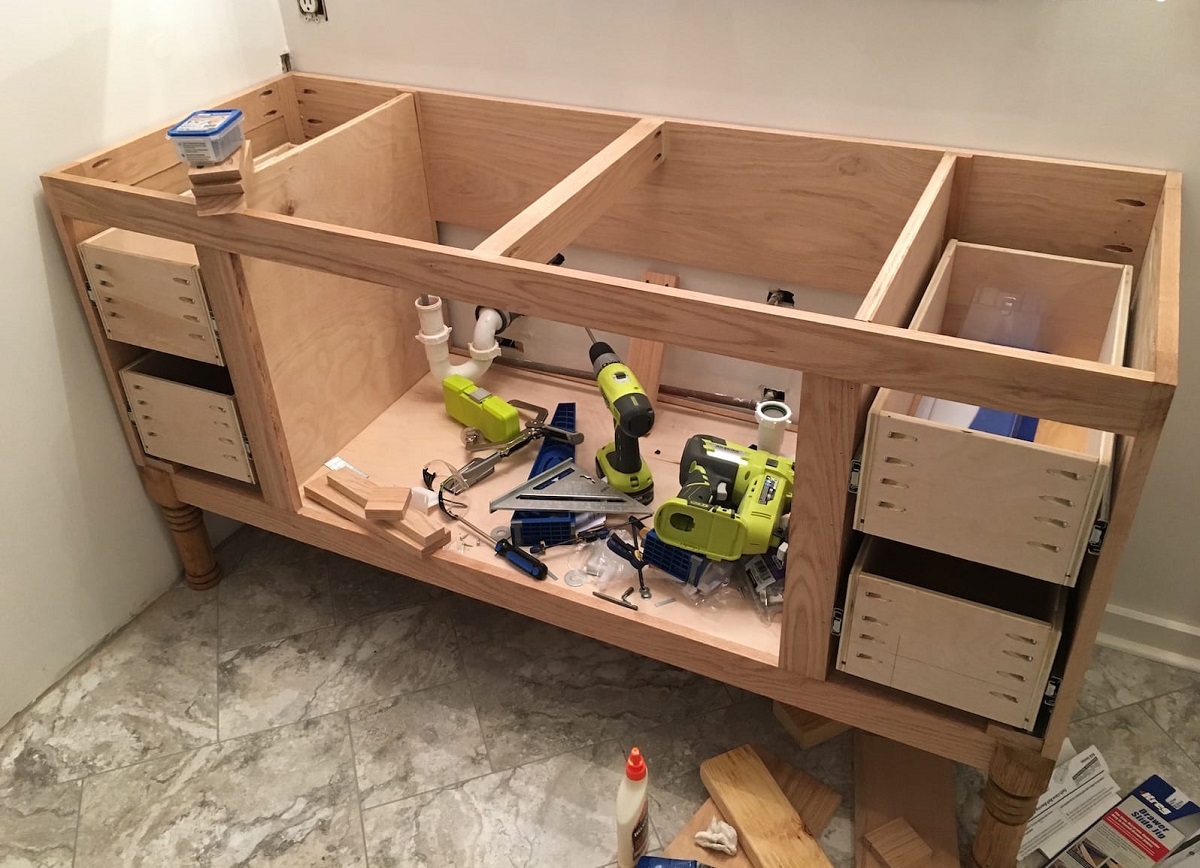
Step 4: Building the Drawer Frames
Now that the existing stairs have been removed and the space is ready, it’s time to start building the drawer frames. These frames will serve as the foundation for your stair drawers, providing support and structure. Follow these steps to construct the drawer frames:
- Measure and mark the dimensions for the drawer frames on your chosen material, whether it’s plywood, MDF, or solid wood. Use a pencil and a ruler to ensure accuracy.
- Using a miter saw or circular saw, cut the material according to the measurements you marked. Make sure to make clean and precise cuts to ensure the frames fit together properly.
- Once all the pieces are cut, begin assembling the frames. Apply wood glue to the edges of the frames and join them together using clamps. This will ensure a strong bond between the pieces.
- After gluing, reinforce each joint by drilling pilot holes and securing the pieces together with screws. This will provide additional strength and stability to the frames.
- Repeat this process for each drawer frame, ensuring that they are all built to the same dimensions and specifications.
- As you build the frames, periodically check for squareness using a carpenter’s square or a measuring tape. This will ensure that the frames are perfectly aligned and will fit seamlessly within the designated space.
- Before moving onto the next step, double-check the dimensions of the frames and ensure that they will fit securely within the stair voids. Make any necessary adjustments or trim the frames down if needed.
Once you have completed building the drawer frames, take a moment to admire your progress. These frames will serve as the backbone of your stair drawers, providing a solid base for the next steps of the construction process.
In the upcoming step, we will discuss the installation of drawer slides, which will allow the drawers to glide smoothly in and out of the stair voids, maximizing ease of access and functionality.
When building drawers in stairs, make sure to measure the space accurately and use durable materials for the drawers. Consider installing drawer slides for smooth opening and closing.
Read more: How To Build Basement Stairs
Step 5: Installing Drawer Slides
After building the drawer frames, the next step in creating stair drawers is installing the drawer slides. Drawer slides are essential for smooth and seamless movement of the drawers in and out of the stair voids. Follow these steps to correctly install the drawer slides:
- Start by marking the position of the drawer slides on the inside of the stair voids. Take into consideration the clearance needed for the drawers to slide in and out without any obstructions. Use a measuring tape and pencil to mark the placement.
- Align the drawer slides with the markings and attach them to the inside of the stair voids using screws. Make sure to use the appropriate length and type of screws for a secure installation.
- For side-mounted drawer slides, attach one side of the slide to the side of the drawer frame, ensuring it is level and properly aligned. Then, attach the other side of the slide to the inside of the stair void, again ensuring it is level and aligned.
- For under-mounted drawer slides, attach one side of the slide to the bottom of the drawer frame, ensuring it is level and aligned. Then, attach the other side of the slide to the bottom of the stair void, making sure it is level and aligned as well.
- Repeat this process for each drawer slide, ensuring that they are all properly installed and aligned.
- Once the drawer slides are installed, test the movement of the drawer frames by sliding them in and out of the stair voids. Make any necessary adjustments to ensure smooth and effortless operation.
- Check for any issues such as uneven sliding, misalignment, or obstructions. If any issues are identified, make the necessary adjustments or corrections to ensure the drawers slide smoothly.
Proper installation of the drawer slides is crucial for the functionality and longevity of your stair drawers. Taking the time to ensure they are installed correctly will result in drawers that effortlessly glide in and out, providing convenient access to your stored items.
In the next step, we will discuss building the front panels for the stair drawers, which will complete the construction of the drawer boxes and provide a finished look to your custom storage solution.
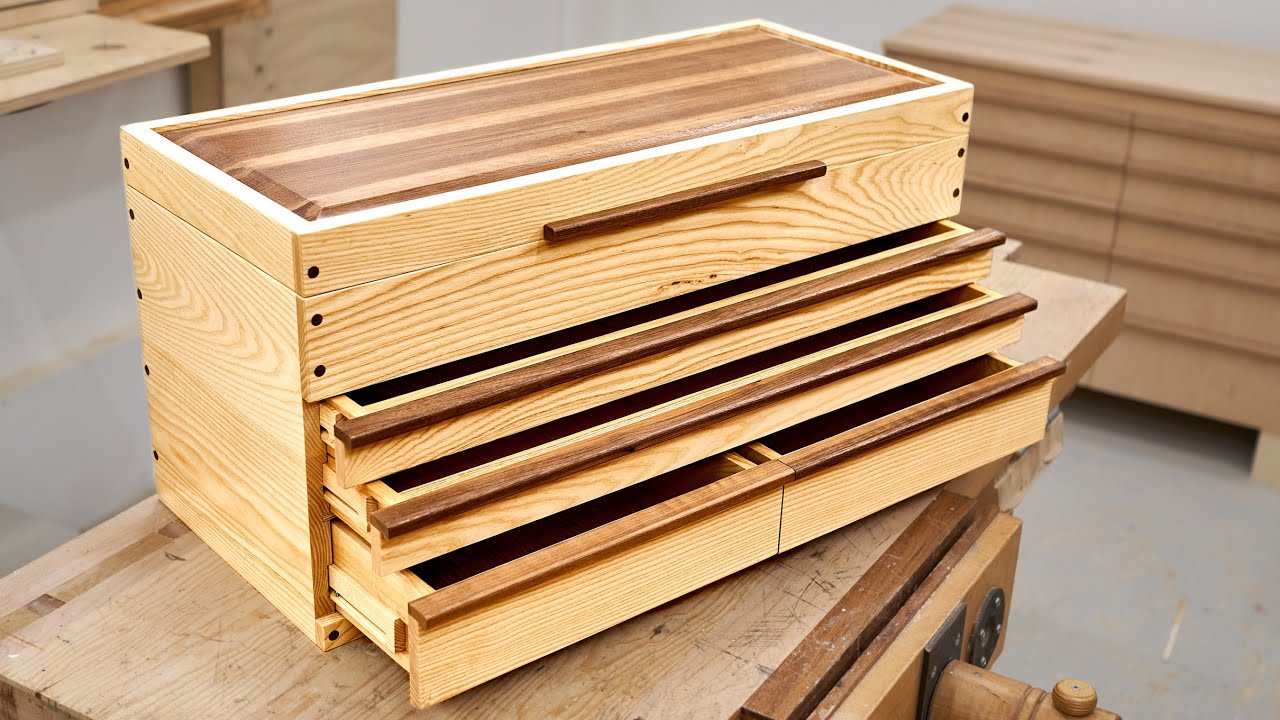
Step 6: Building the Front Panels
With the drawer frames and slides in place, the next step in building stair drawers is constructing the front panels. These panels will give your drawers a finished appearance while allowing easy access to the contents. Follow these steps to build the front panels:
- Measure and mark the dimensions for the front panels on your chosen material, whether it’s plywood, MDF, or solid wood. Consider the height and width of each drawer opening.
- Using a miter saw or circular saw, cut the material according to the measurements you marked. Make sure to make clean and precise cuts to ensure the front panels fit properly.
- If you want a more decorative look, you can add additional design elements to the front panels. This could include cutouts, grooves, or even decorative molding.
- Once the panels are cut, sand them to smooth out any rough edges or surfaces. This will ensure a polished and professional finish.
- Attach the front panels to the drawer frames using screws or a strong adhesive. Make sure to align the panels properly and ensure they are securely attached.
- If desired, you can further enhance the appearance of the front panels by applying a finish such as paint, stain, or varnish. This will add a layer of protection and give your stair drawers a cohesive look with the surrounding space.
- Allow the finish to dry completely before proceeding to the next step.
Building the front panels not only adds a visually appealing touch to your stair drawers, but it also provides easy access to the contents within the drawers. The front panels complete the construction of the drawer boxes, giving your storage solution a polished and cohesive appearance.
In the next step, we will discuss the installation of the drawer fronts, which will add the final touch to your customized stair drawers.
Step 7: Installing Drawer Fronts
Once you have built the drawer frames and attached the front panels, it’s time to install the drawer fronts. The drawer fronts are the visible face of your stair drawers and play a key role in the overall aesthetic appeal. Follow these steps to properly install the drawer fronts:
- Measure and mark the placement of each drawer front on the corresponding front panel. Use a measuring tape and a pencil to ensure accuracy.
- Align the drawer front with the markings and secure it to the front panel using screws or an adhesive. Make sure to double-check the alignment and adjust as needed to ensure the drawer front is level and properly positioned.
- For a clean and polished look, consider using cabinet hardware such as drawer pulls or knobs. Mark the desired locations for the hardware on the drawer fronts and install them according to the manufacturer’s instructions.
- Repeat this process for each drawer front, ensuring that they are all properly installed and aligned.
- Once the drawer fronts are installed, test the movement of the drawers by opening and closing them. Make any necessary adjustments to ensure smooth operation and proper alignment.
- Inspect the appearance and functionality of the drawer fronts, checking for any issues such as uneven gaps or misalignment. If any issues are identified, make the necessary adjustments or corrections to achieve the desired look and functionality.
Installing the drawer fronts is the final step in the construction process of your stair drawers. It brings the project to completion, giving your storage solution a polished and visually appealing appearance. Take a moment to admire your work and enjoy the functional and stylish addition to your staircase.
In the last step, we will go over some finishing touches to ensure the stair drawers are fully complete and ready to be used.
Step 8: Finishing Touches
With the stair drawers constructed and installed, it’s time to add the finishing touches to ensure they are fully complete and ready to be used. These final steps will enhance the functionality and appearance of your custom storage solution. Here’s what you need to do:
- Inspect all the drawers to ensure they are aligned and move smoothly. Make any necessary adjustments to the drawer slides or hardware to ensure they operate seamlessly.
- If desired, apply a protective finish to the entire drawer system. This could be paint, stain, or a varnish that matches the surrounding decor. This will add a layer of durability and protection to the wood, as well as enhance its visual appeal.
- Clean up any remaining sawdust or debris inside the drawers and stair voids. Use a damp cloth or vacuum cleaner to ensure a clean and clutter-free storage space.
- Organize the contents of your stair drawers to optimize their functionality. Consider using dividers or drawer organizers to keep items neatly separated and easily accessible.
- Add labels or tags to the front of each drawer to help identify the contents. This will make it easier to find and retrieve items when needed.
- Finally, take a step back and admire your finished stair drawers. Appreciate the time and effort you put into creating this functional and stylish storage solution.
By completing these final touches, your stair drawers are now fully assembled, visually appealing, and ready to provide convenient storage within your staircase. Enjoy the organization and efficiency it brings to your home.
Congratulations on successfully building drawers in your stairs! You have transformed an underutilized space into a practical and aesthetically pleasing storage solution. Now, you can enjoy a clutter-free and organized living environment.
Remember to embrace the creativity and customization opportunities that building stair drawers provides. Feel free to adapt the design and functionality to suit your specific needs and personal style.
Thank you for following this step-by-step guide. We hope it has been helpful in your journey to create beautiful and functional stair drawers. Happy organizing!
Read more: How To Build Cement Stairs
Conclusion
Building drawers in your stairs is a rewarding project that can transform unused space into a clever storage solution. By following the step-by-step guide in this article, you have learned how to plan and measure, gather materials and tools, remove existing stairs, build drawer frames, install drawer slides, construct front panels, install drawer fronts, add finishing touches, and create beautiful and functional stair drawers.
Throughout this process, you have not only expanded your storage capabilities but also added value to your home by maximizing every inch of space. Stair drawers provide a seamless integration within your staircase, allowing for easy access to stored items while maintaining a clean and organized living environment.
By carefully considering your needs, taking accurate measurements, and using quality materials and tools, you have successfully created a customized storage solution that suits your lifestyle and enhances the functionality of your home. Each step of the construction process, from removing existing stairs to installing drawer fronts, contributes to the overall success of your stair drawers.
Remember to enjoy the process and embrace your creativity. You can personalize your stair drawers by selecting unique finishes, adding decorative touches, or incorporating organizational features. Let your imagination guide you as you design a storage solution that truly reflects your style and meets your specific storage needs.
We hope this comprehensive guide has provided you with the knowledge and inspiration to embark on your stair drawer project. The end result will not only bring practical benefits but also elevate the aesthetic appeal of your staircase.
Now it’s time to enjoy the convenience and functionality of your newly built stair drawers. Explore their storage potential, keep them organized, and make the most of this clever addition to your home.
Thank you for joining us on this journey to transform your stairs into functional and stylish storage space. We wish you the best of luck and satisfaction with your new stair drawers!
Excited about crafting more than just drawers? Dive into the world of self-made projects with our article on why DIY projects are so rewarding. You'll get tips on saving money, customizing your space, and feeling the pride of creating something with your own hands. Whether you're a seasoned maker or just starting, there's something for everyone in the DIY realm.
Frequently Asked Questions about How To Build Drawers In Stairs
Was this page helpful?
At Storables.com, we guarantee accurate and reliable information. Our content, validated by Expert Board Contributors, is crafted following stringent Editorial Policies. We're committed to providing you with well-researched, expert-backed insights for all your informational needs.


0 thoughts on “How To Build Drawers In Stairs”