Articles
How To Edge A Garden Bed
Modified: August 24, 2024
Learn how to edge a garden bed and enhance your gardening skills with our step-by-step guide. Achieve clean and defined edges for a professional-looking garden.
(Many of the links in this article redirect to a specific reviewed product. Your purchase of these products through affiliate links helps to generate commission for Storables.com, at no extra cost. Learn more)
Introduction
Welcome to this comprehensive guide on how to edge a garden bed. Creating crisp and defined edges for your garden beds not only enhances the overall aesthetic appeal of your outdoor space, but it also helps to maintain neat and organized boundaries for your plants and flowers. Edging can prevent invasive grass or weeds from encroaching into your garden beds, making it easier to maintain and care for your plants.
In this article, we will walk you through a step-by-step process to edge your garden bed like a pro. From marking the outline to final touches and maintenance, we’ve got you covered. So, let’s dig in and transform your garden into a picture-perfect paradise.
Key Takeaways:
- Create a stunning garden bed edge by visualizing the design, choosing the right materials, and securing them properly. Enjoy the process and watch your garden transform into a beautiful oasis of color and life.
- Maintain the long-term beauty of your garden bed with regular care, proper watering, and seasonal maintenance. Embrace the joy of nurturing your plants and enjoy a thriving outdoor space year after year.
Step 1: Marking the Outline
The first step in edging your garden bed is to mark the outline where you want the edge to be. Take your time with this step, as the accuracy of the outline will determine the final result of your edging. Here’s how you can do it:
- Visualize the Design: Before starting, visualize the desired shape and size of your garden bed edge. Consider the overall layout and design of your garden to ensure the edge complements the surrounding elements.
- Use a Garden Hose: Lay down a flexible garden hose on the ground, following the desired outline of your garden bed edge. Bend and shape the hose until you are satisfied with the shape and curves. The hose allows you to make adjustments easily until you find the perfect outline.
- Mark the Outline: Once you are happy with the hose placement, use a can of marking spray paint or a powdered chalk line to mark the outline directly on the ground. Ensure the line is clear and visible.
- Double-Check: Step back and double-check the marked outline to ensure it aligns with your vision. Make any necessary adjustments before proceeding to the next steps.
Taking the time to accurately mark the outline will provide a solid foundation for the rest of the edging process. Once you are satisfied with the outline, it’s time to move on to the next step: removing existing grass and plants.
Step 2: Removing Existing Grass and Plants
Now that you have successfully marked the outline of your garden bed edge, it’s time to clear away any existing grass or plants that may interfere with the edging process. Here’s how you can do it effectively:
- Mow the Grass: Start by mowing the grass along the marked outline, as close to the ground as possible. This will make it easier to remove the grass later on.
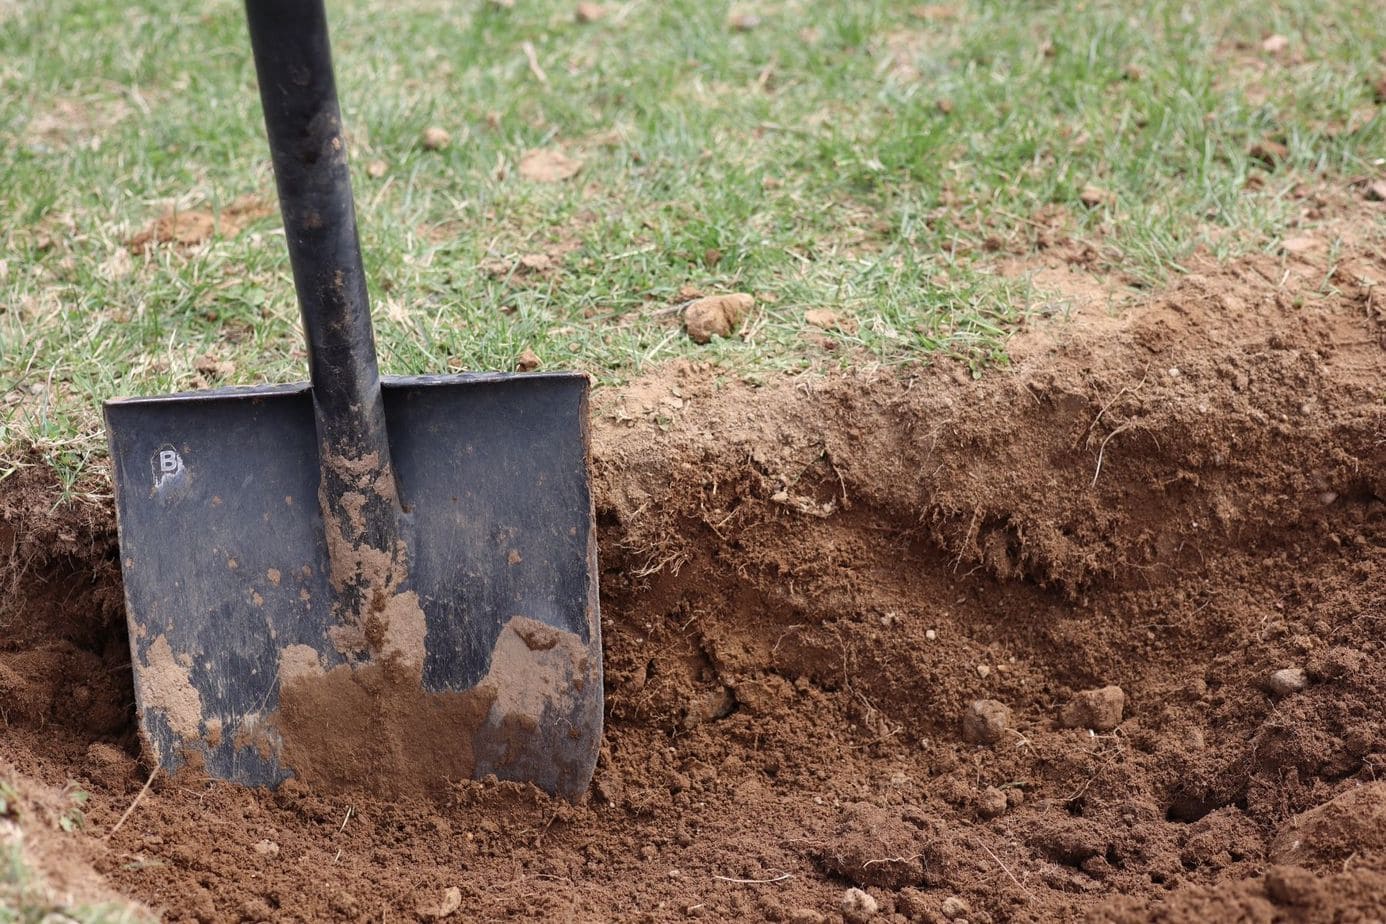
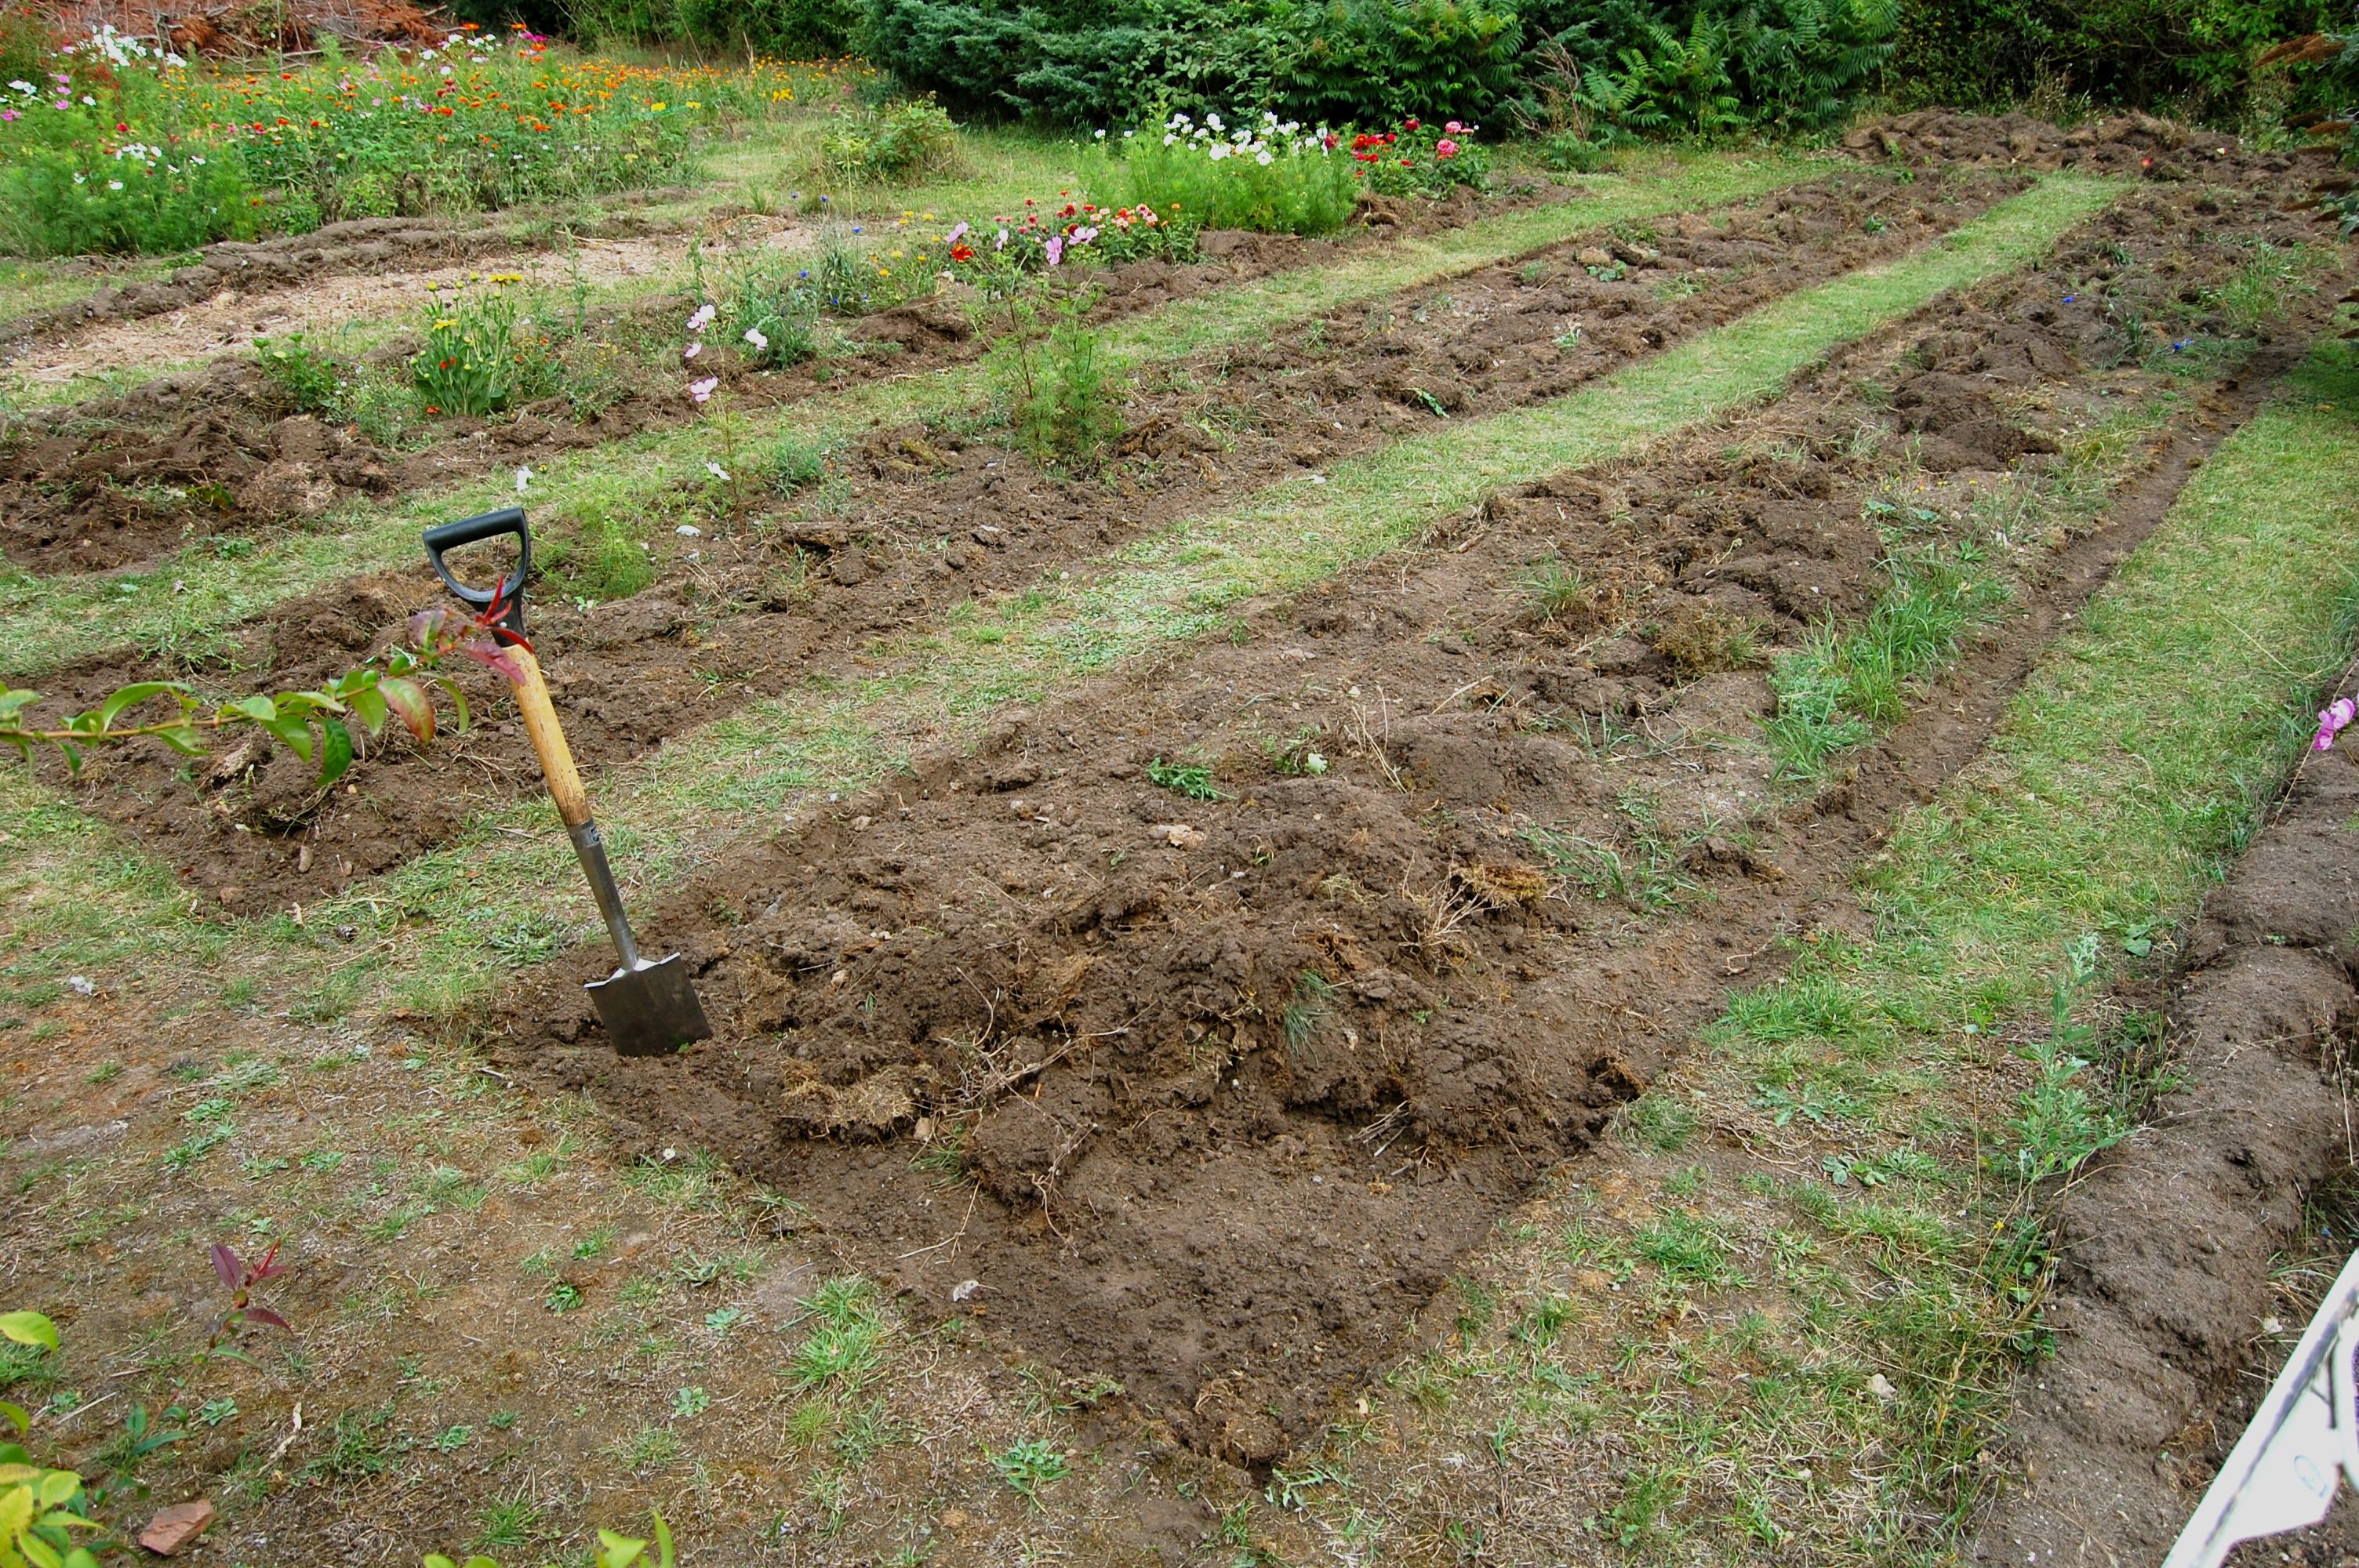
- Use a Spade or Edger: Grab a spade or a specialized edging tool and carefully dig along the marked outline. The goal is to create a clean separation between the grass and the garden bed.
- Remove Grass and Plants: Once you have dug along the entire outline, use the spade to lift and remove the strip of grass and plants. You can either compost the organic material or dispose of it accordingly.
- Inspect for Remaining Roots: After removing the grass and plants, inspect the excavated area for any remaining roots or underground runners. These can potentially regrow and create unwanted vegetation in your garden bed.
- Remove Remaining Roots: If you find any roots or runners, carefully dig them out using the spade or a garden fork. Make sure to remove them completely to prevent any future growth.
By removing the existing grass and plants, you create a clean slate for your garden bed edging. This step also helps to prevent any potential competition between the existing vegetation and your desired plants. With the area cleared, you are now ready to move on to the next step: digging the edge trench.
Step 3: Digging the Edge Trench
With the existing vegetation cleared, it’s time to dig the edge trench that will define the boundaries of your garden bed. The trench will also serve as a barrier to prevent grass and weeds from encroaching into your garden bed. Here’s how you can dig the edge trench effectively:
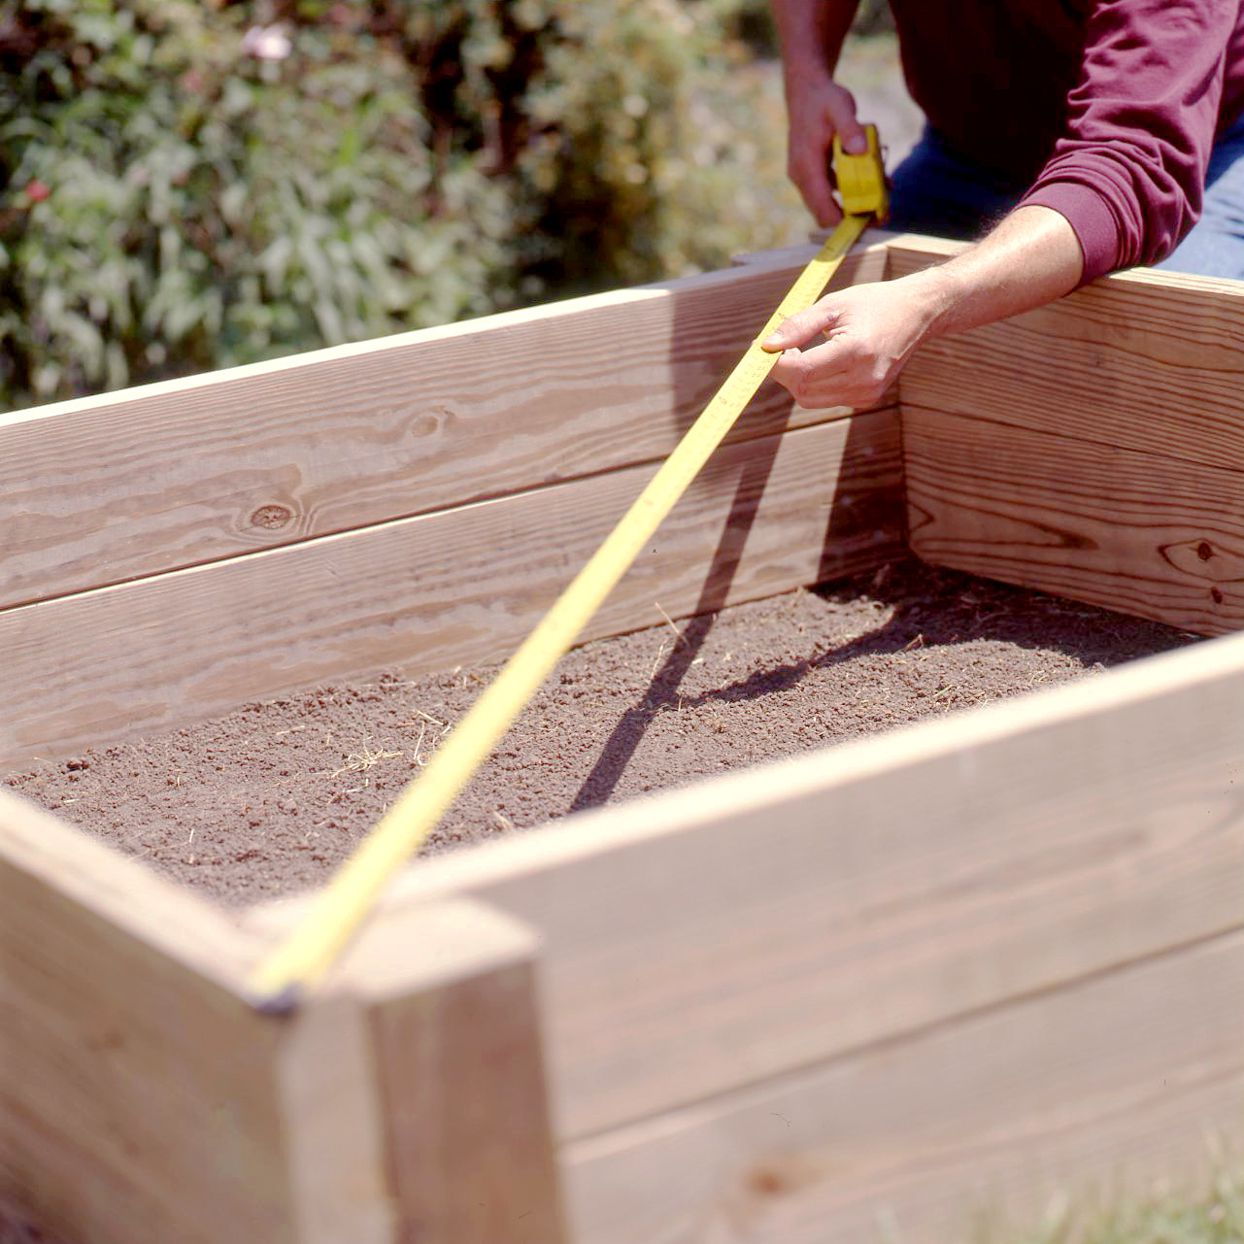
- Measure the Trench Depth: Start by determining the depth of the trench. Typically, a depth of 4-6 inches is suitable for most garden bed edges. Use a tape measure or a ruler to ensure consistency throughout the trench.
- Align the Edge of the Spade: Position the edge of your spade along the marked outline, with the blade facing inward towards the garden bed. This will allow you to create a clean and defined edge.
- Angle the Spade: Angle the spade towards the garden bed at approximately 45 degrees. This angle will help create a stepped edge, providing stability and preventing the edge from collapsing over time.
- Start Digging: Push the spade into the ground, cutting through the soil and creating the trench. Work your way along the marked outline, taking care to maintain a consistent depth and angle.
- Remove Excess Soil: As you dig the trench, use a garden trowel or a shovel to remove excess soil from the trench and place it in a wheelbarrow or a designated area. Keeping the trench clean will help to create a neat and well-defined edge.
- Inspect the Trench: Once you have completed digging the edge trench, carefully inspect it to ensure it meets your desired depth and shape. Make any necessary adjustments or touch-ups before moving on to the next step.
By digging the edge trench, you not only create a physical boundary for your garden bed but also provide a visual separation between the bed and the surrounding area. This step lays the foundation for the next stages of the edging process. Once the trench is dug, it’s time to proceed to step 4: adding edge materials.
Step 4: Adding Edge Materials
Adding edge materials is an essential step in creating a beautiful and functional garden bed edge. The materials you choose will not only enhance the visual appeal of your garden but also provide structural support to the edge. Here’s how you can choose and add the right edge materials:
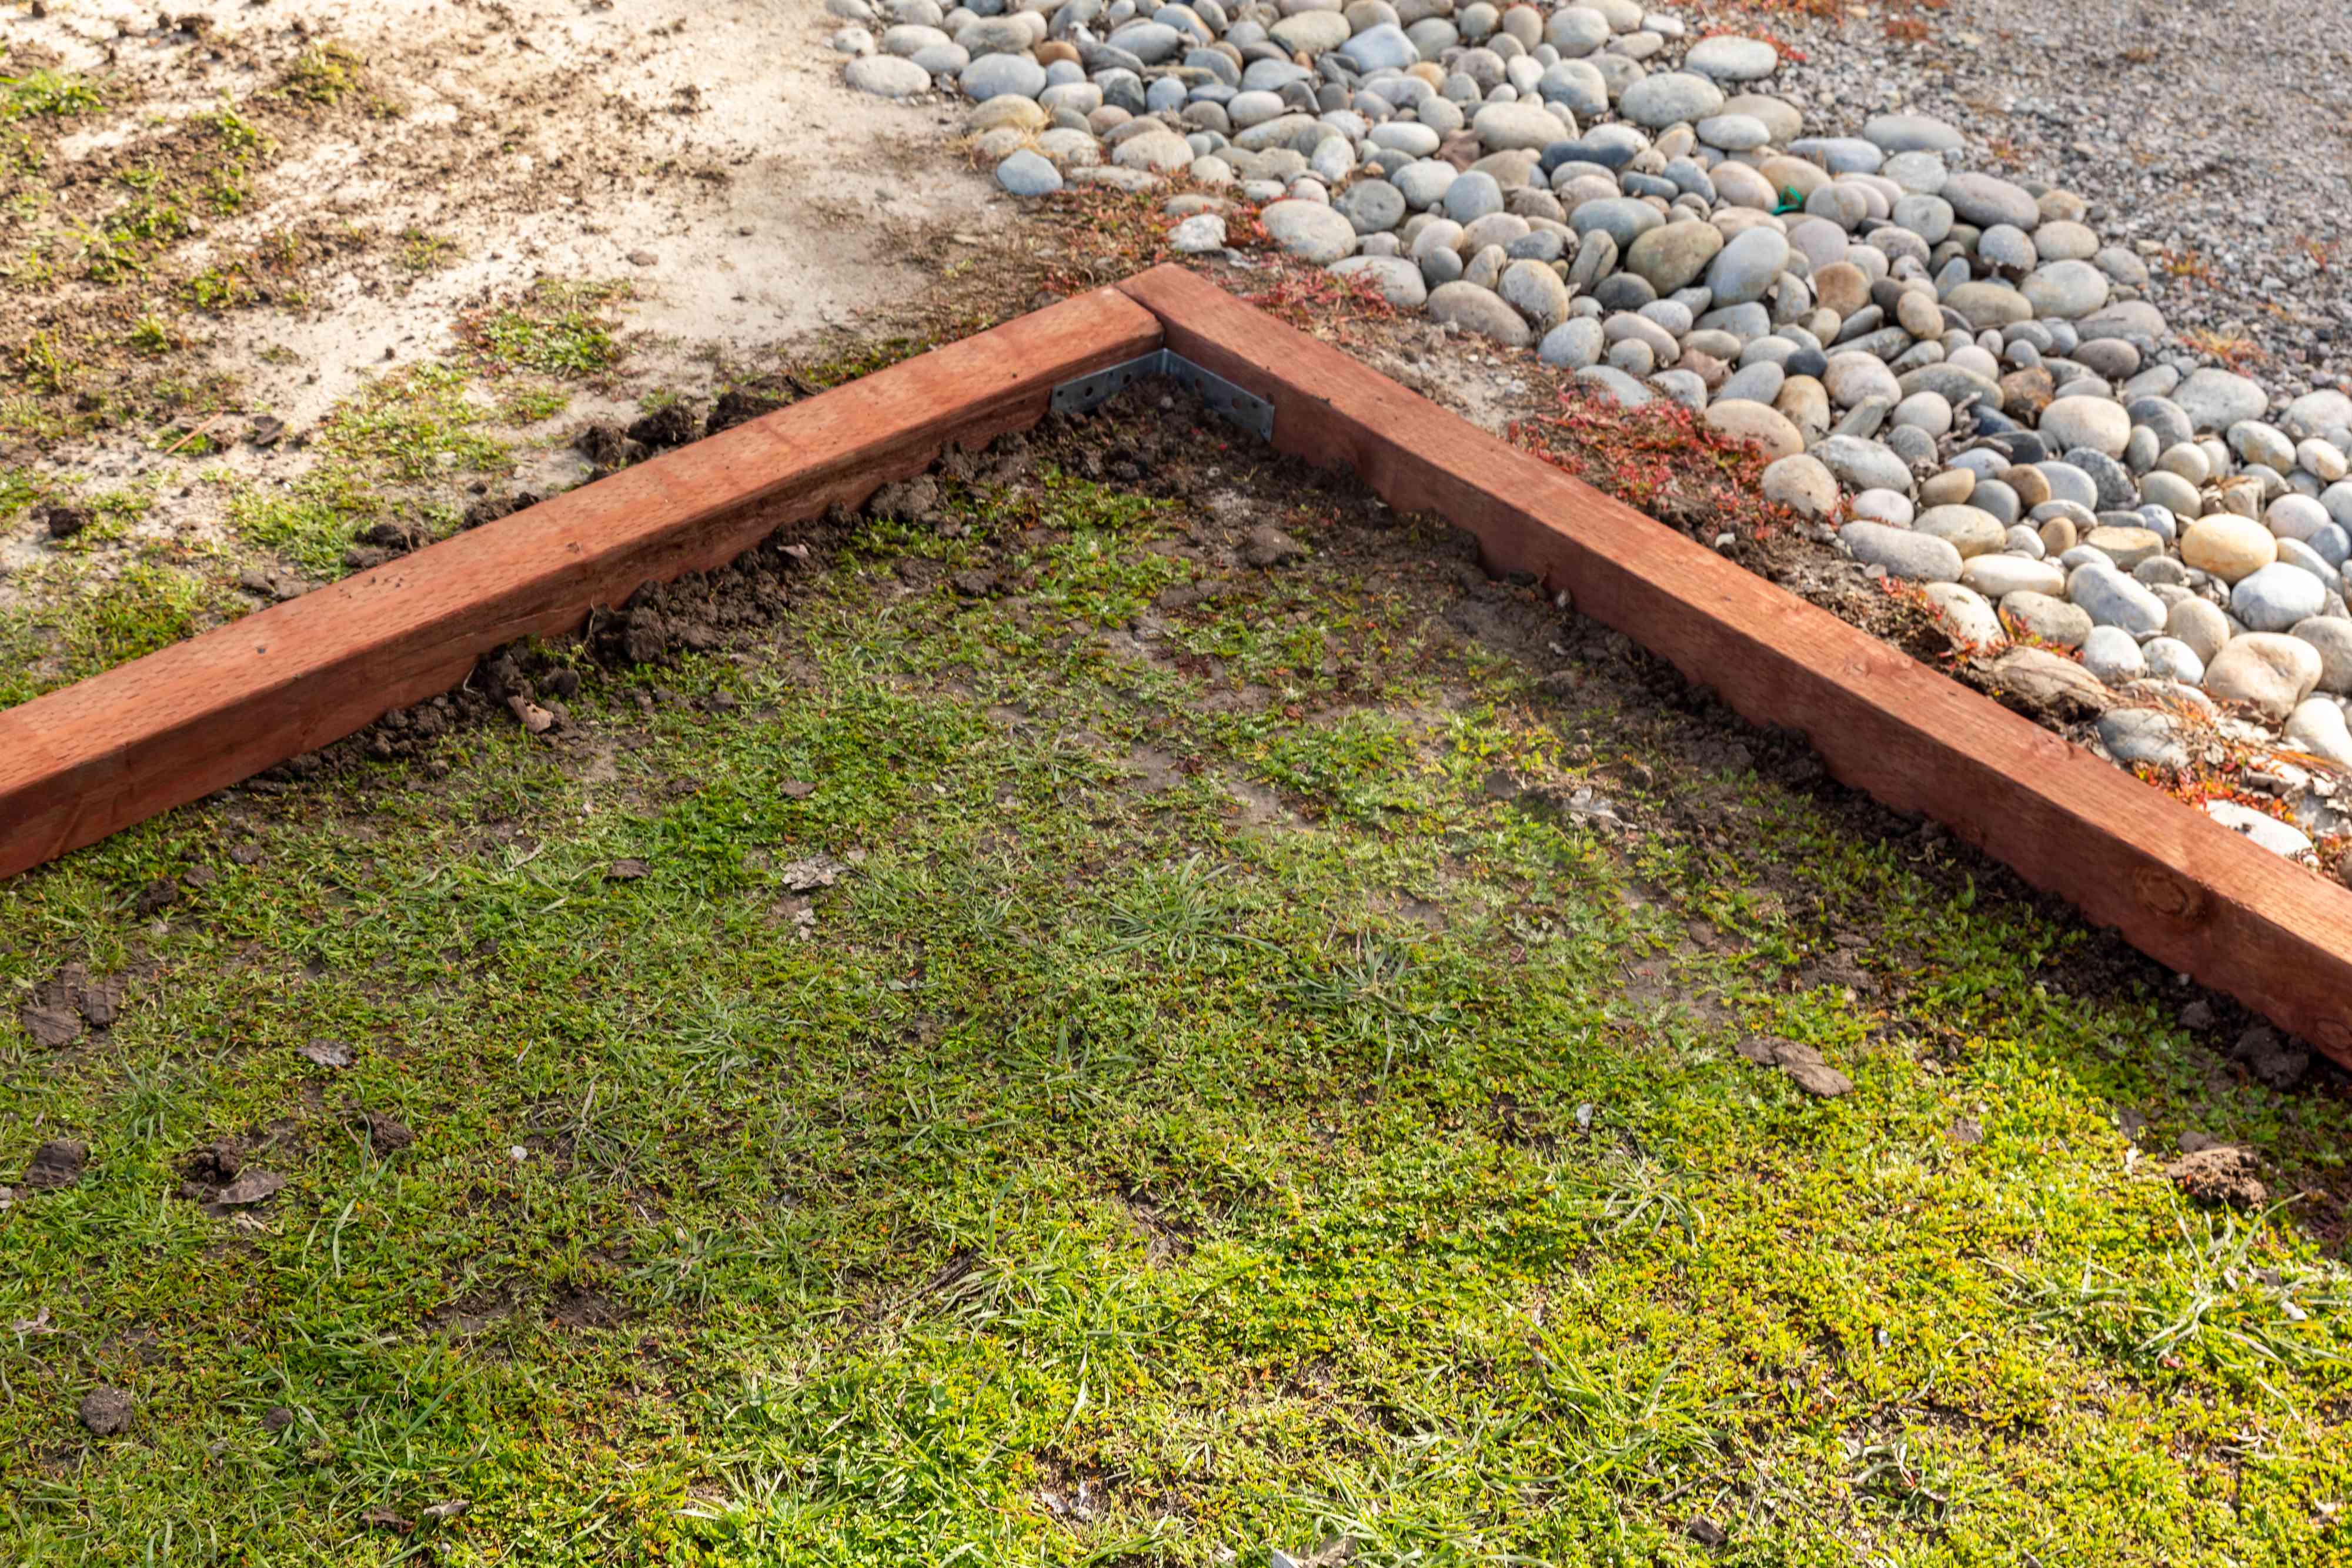
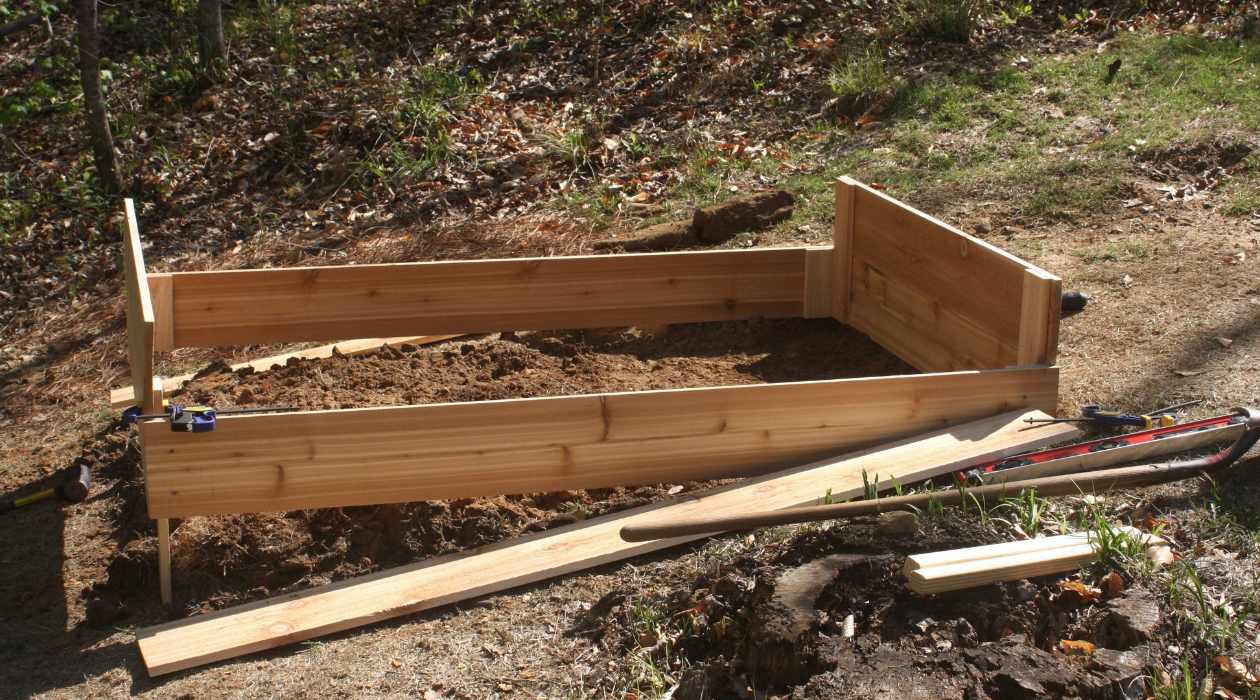
- Select the Edge Materials: Choose the right materials that align with your garden’s style and theme. Popular edge materials include bricks, stones, pavers, or even natural materials like logs or bamboo. Consider the durability, versatility, and aesthetics of the materials before making your selection.
- Prepare the Edge: Before adding the materials, make sure the edge trench is clean and free from any debris or excess soil. This will ensure a smooth and secure fit for the edge materials.
- Place the Edge Materials: Start by placing the first edge material at one end of the trench. Ensure it is level and snugly fits into the trench. Continue placing the materials one by one, aligning them tightly together to create a seamless edge.
- Adjust and Position: As you add the materials, use a rubber mallet or a hammer to tap them gently into place. This will help secure them and ensure they are properly aligned. Make any necessary adjustments to maintain a consistent height and level throughout the edge.
- Consider Curves and Corners: If your garden bed edge has curves or corners, you may need to cut or shape some of the materials to fit properly. Use a masonry saw or a chisel to make precise cuts and create smooth transitions along the edge.
- Step Back and Evaluate: Once you have placed all the edge materials, step back and evaluate the overall look and alignment of the edge. Make any final adjustments to ensure a visually pleasing and structurally sound garden bed edge.
Adding edge materials not only adds a decorative element to your garden but also helps to maintain the shape and integrity of the edge over time. The choice of materials can greatly enhance the overall aesthetic appeal of your outdoor space. With the edge materials in place, it’s time to move on to step 5: securing the edge.
Use a half-moon edging tool to create clean, defined edges for your garden bed. Simply place the tool along the edge and press down to cut through the grass and create a neat border.
Read more: How To Lay Bricks For Garden Edging
Step 5: Securing the Edge
Once you have added the edge materials for your garden bed, it’s important to secure them in place to ensure longevity and stability. This step will help prevent any shifting or movement of the materials over time. Here’s how you can effectively secure the edge:
- Backfill the Trench: Start by backfilling the trench behind the edge materials with soil. Use a garden trowel or shovel to carefully fill in the gap between the materials and the garden bed. Ensure the soil is firmly packed to provide support and stability.
- Tamp the Soil: Once the trench is backfilled, use a tamper or the back of a shovel to firmly compact the soil. Tamping helps to eliminate air pockets and further secures the edge materials in place.
- Consider Additional Support: Depending on the materials used and the height of the edge, you may need to consider additional support methods. This can include using landscape spikes or interlocking systems specific to the chosen edge materials. Follow the manufacturer’s instructions to properly install and secure the materials.
- Water and Settle: After securing the edge, water the soil around the edge materials to help settle the soil and assist in the compacting process. This will further enhance the stability of the edge.
- Inspect and Adjust: Take a moment to inspect the secured edge. Ensure that the materials are firmly in place and there are no visible gaps or loose sections. Make any necessary adjustments or reinforcements to ensure a secure and durable garden bed edge.
Securing the edge ensures that your garden bed remains intact and visually appealing for years to come. By taking the time to properly secure the materials, you are investing in a long-lasting and low-maintenance garden bed. With the edge secured, it’s time to move on to step 6: filling the garden bed with soil.
Step 6: Filling with Soil
Now that you have successfully secured the edge for your garden bed, it’s time to fill the bed with quality soil. This step is crucial for providing a nourishing environment for your plants to thrive. Here’s how you can effectively fill your garden bed with soil:
- Assess Soil Needs: Before adding soil, assess the specific needs of the plants you intend to grow in your garden bed. Different plants have different soil requirements, so choose a soil mixture that suits the needs of your plants.
- Amend the Soil: If your existing soil lacks essential nutrients or drainage capabilities, consider amending it with compost, organic matter, or other soil additives. This will improve the overall quality and fertility of the soil.
- Fill the Garden Bed: Start filling the garden bed with soil mixture by evenly distributing it across the entire area. Use a garden rake or shovel to spread the soil and create a level surface. Aim for a depth that allows ample root growth for your chosen plants.
- Smooth and Compact: Smooth out the surface of the soil and gently compact it using the back of a rake or a tamper. This will help create a firm and level surface for planting.
- Water the Soil: Before planting, thoroughly water the soil in the garden bed to ensure it is evenly moist. This will help settle the soil and provide a good start for your plants.
- Test Soil pH: Consider testing the pH level of the soil. Some plants may require specific pH levels to thrive. Adjust the pH as necessary using soil amendments to create an optimum growing environment for your plants.
Filling your garden bed with nutrient-rich soil is essential for the healthy growth of your plants. By providing the right balance of organic matter and ensuring proper drainage, you lay the foundation for a thriving garden. With the bed filled and prepared, it’s time to move on to step 7: planting flowers or plants.
Step 7: Planting Flowers or Plants
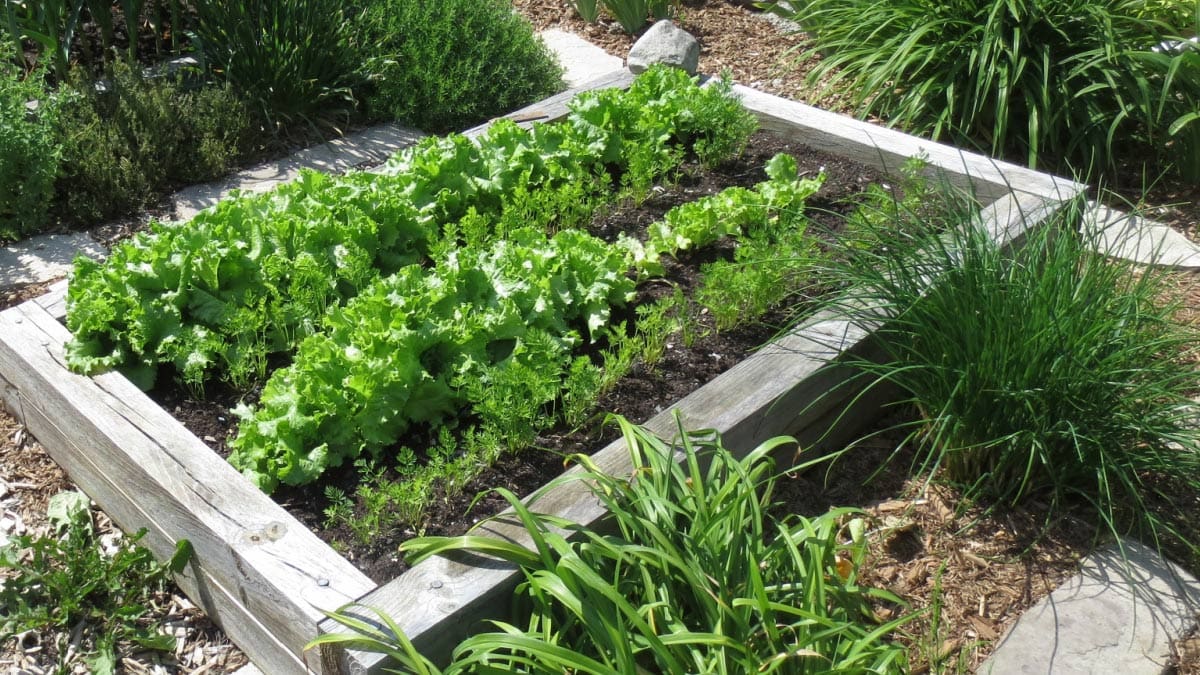
Now that your garden bed is properly prepared and filled with soil, it’s time to bring it to life by planting flowers or plants. This step allows you to unleash your creativity and personalize your garden bed with your favorite blooms or greenery. Here’s how you can effectively plant flowers or plants in your garden bed:
- Select the Right Plants: Choose plants that are suitable for your climate, sun exposure, and soil conditions. Consider factors such as height, color, bloom time, and compatibility to create a harmonious and visually appealing garden bed.
- Plan the Layout: Before planting, plan the arrangement and spacing of your plants. Consider the final size and growth habits of each plant to ensure they have enough room to flourish without overcrowding.
- Prepare Planting Holes: Use a hand trowel or a garden spade to dig individual planting holes for each plant. The depth and width of the holes should accommodate the root ball of the plant.
- Remove Plants from Containers: Carefully remove the plants from their nursery containers, gently loosening the roots if they are root-bound. Handle the plants by their root ball to prevent damage to the delicate stems and foliage.
- Place and Firmly Plant: Set each plant in its designated planting hole, making sure it is positioned properly and at the correct depth. Backfill the hole with soil and firmly press down around the base of the plant to eliminate air pockets.
- Water Newly Planted Plants: After planting, thoroughly water the garden bed to ensure the soil is moist and the plants receive adequate hydration. This will help plants establish their root systems and minimize transplant shock.
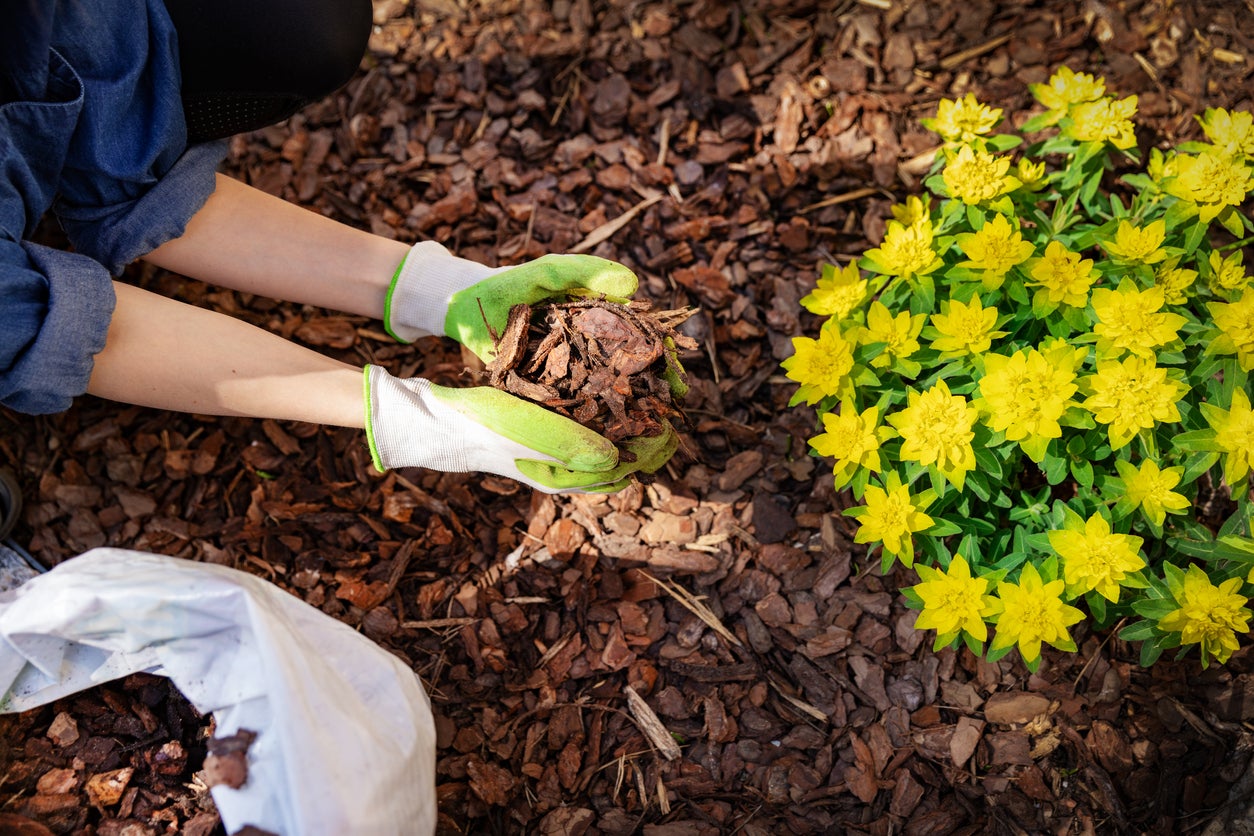
- Apply Mulch: Consider applying a layer of organic mulch around the plants to help conserve moisture, suppress weeds, and regulate soil temperature. Leave a small space around the base of each plant to prevent excessive moisture buildup.
Planting flowers or plants in your garden bed is a delightful and rewarding step. Take the time to arrange them in a visually pleasing manner, considering their growth habits and aesthetic appeal. With the plants in place, you’re ready for the final touches and maintenance, which we’ll cover in step 8.
Step 8: Final Touches and Maintenance
Congratulations! You have successfully edged your garden bed, added the perfect plants, and created a stunning outdoor space. However, your work doesn’t end here. Step 8 involves adding the final touches and implementing regular maintenance to ensure the long-term beauty and health of your garden bed. Here’s what you need to do:
- Trim and Shape: Regularly trim and shape your plants to maintain their desired size and appearance. Prune any dead or damaged branches to promote healthy growth and enhance the overall aesthetics of your garden bed.
- Weed Control: Keep a vigilant eye for weeds and promptly remove them to prevent competition for nutrients and space. Regularly inspect your garden bed and use a hand tool or pull weeds by hand to keep them in check.
- Watering: Proper watering is crucial for the health of your plants. Monitor the moisture levels in the soil and water accordingly, ensuring that the plants receive enough hydration without becoming waterlogged. Consider the specific watering needs of each plant and adjust accordingly.
- Fertilization: Depending on the nutritional requirements of your plants, apply fertilizers regularly to keep them nourished. Choose an appropriate fertilizer formulation and follow the instructions for application rates and timing.
- Mulching: Replenish the mulch layer annually to maintain its benefits. Add a fresh layer of mulch around your plants, ensuring it doesn’t touch the stems or trunks. Mulch helps conserve moisture, suppress weeds, and regulate soil temperature.
- Monitor for Pests and Diseases: Regularly inspect your plants for any signs of pests or diseases. Take appropriate measures to control and treat any issues that may arise. This may involve using organic pest control methods or seeking professional assistance if needed.
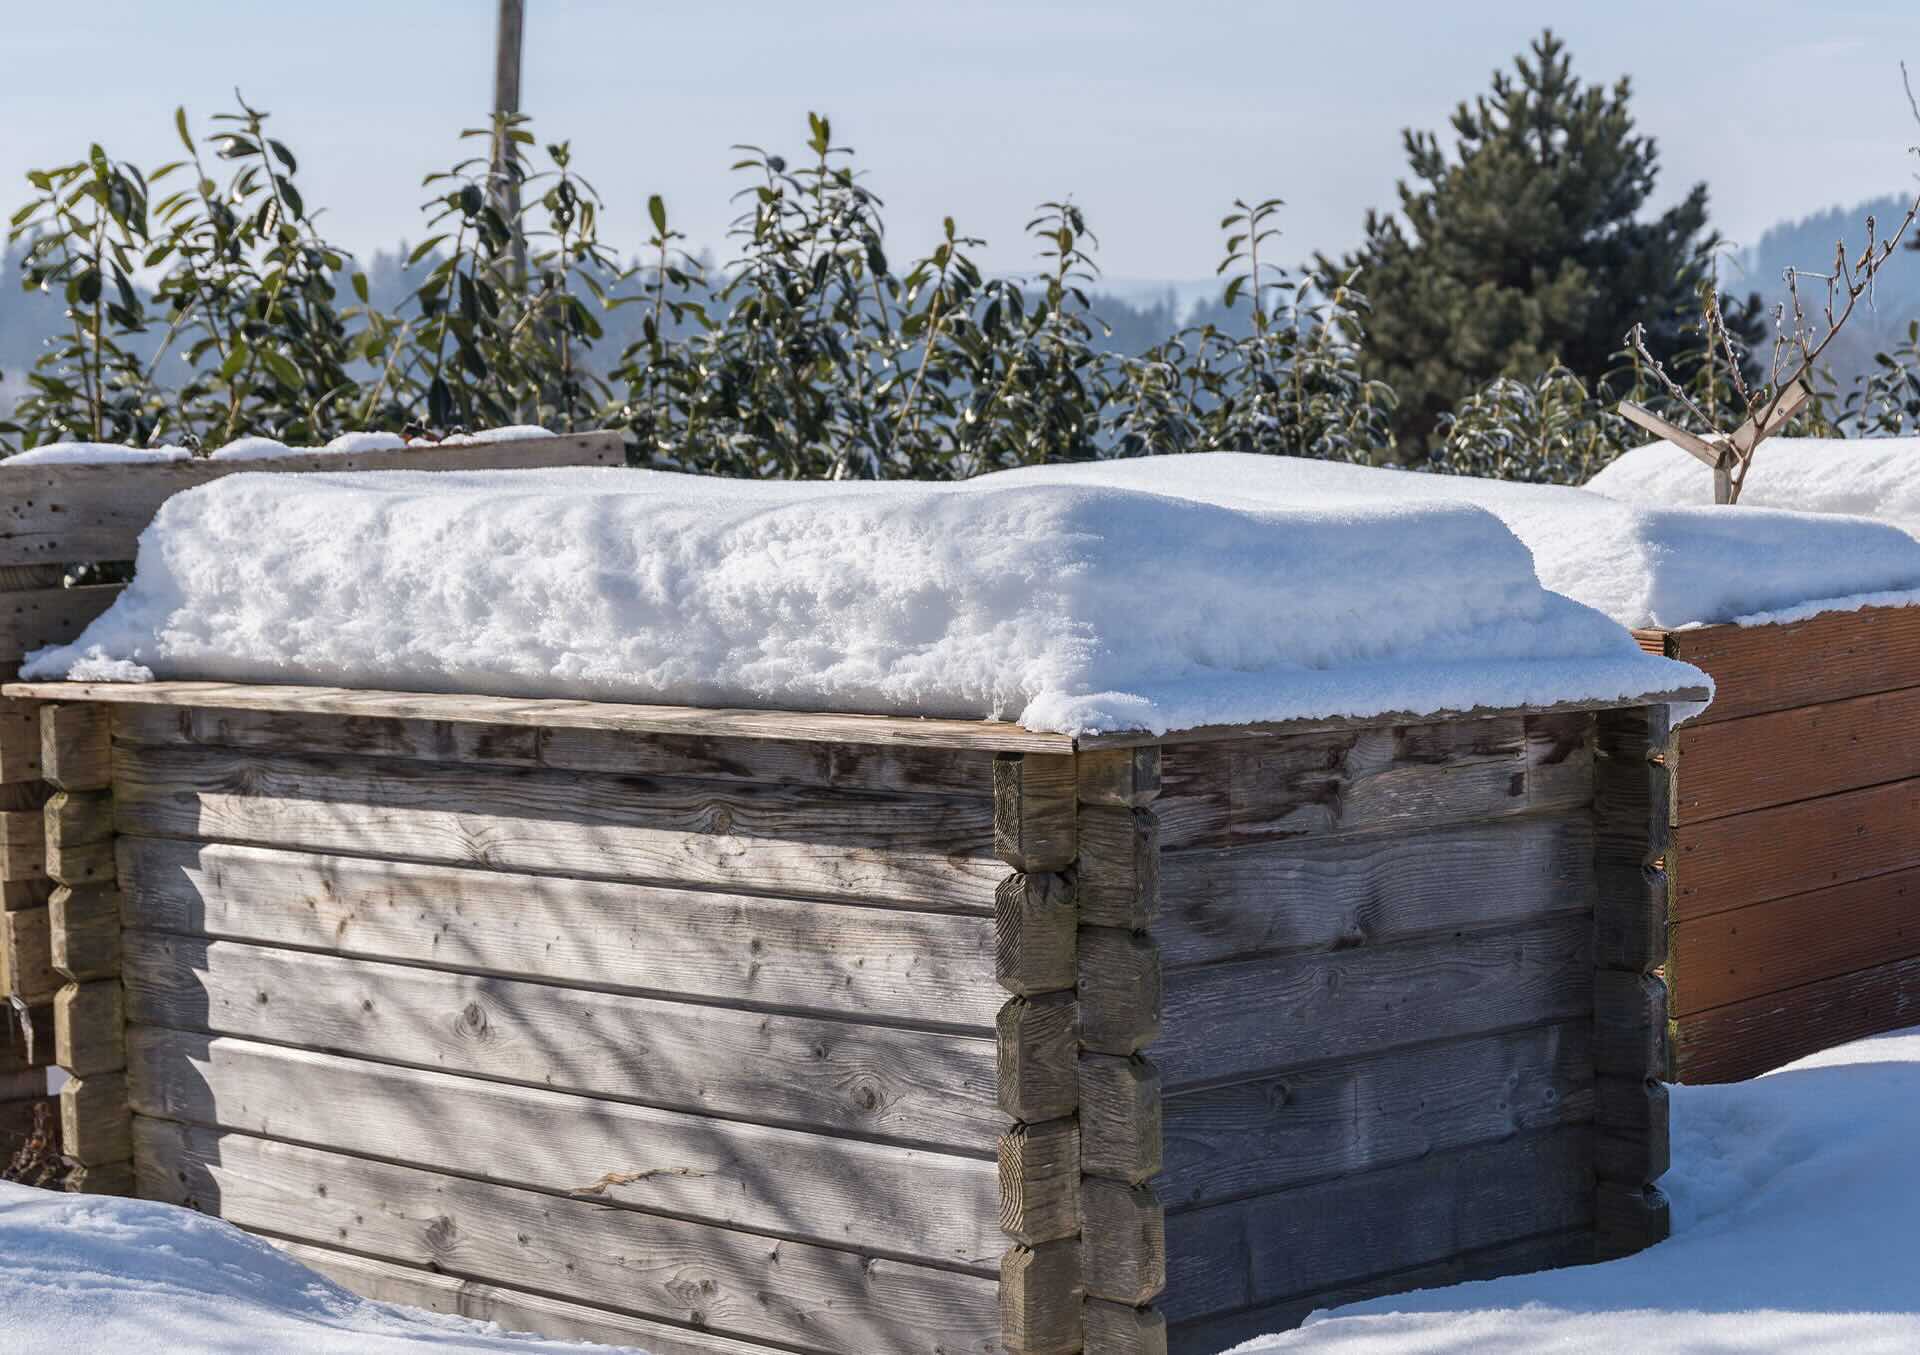
- Seasonal Maintenance: Adjust your maintenance routine according to the seasons. Prune and tidy up your garden bed in the dormant season, prepare for new plantings in spring, and protect tender plants during harsh winters.
By following these final touches and maintenance practices, your garden bed will continue to flourish and provide beauty throughout the seasons. Regular care and attention will ensure the long-term success of your garden bed and allow you to enjoy its beauty year after year.
With the completion of step 8, you have successfully learned how to edge a garden bed and maintain it with care. Remember to enjoy the journey as you watch your garden bed transform into a stunning oasis of color and life. Happy gardening!
Read more: How To Create A Garden Bed
Conclusion
Congratulations! You have reached the end of this comprehensive guide on how to edge a garden bed. By following the step-by-step process outlined in this article, you now possess the knowledge and skills to create crisp and well-defined edges for your garden beds. Edging not only enhances the visual appeal of your outdoor space but also helps maintain neat and organized boundaries for your plants.
Throughout this guide, we covered everything from marking the outline and removing existing grass to digging the edge trench, adding materials, and securing the edge. We also discussed the importance of filling the garden bed with quality soil and planting your favorite flowers or plants. Lastly, we highlighted the significance of final touches and ongoing maintenance to ensure the long-term health and beauty of your garden bed.
Remember, gardening is a journey, and your garden bed will continue to evolve and grow. Take the time to plan and visualize the design, choose the right plants, and maintain regular care to ensure a thriving and delightful garden bed. Don’t be afraid to experiment, try new plants, and get creative with your edging materials. Your garden is a reflection of your personal taste and style, so make it uniquely yours.
Enjoy the process of creating and tending to your garden bed. Whether you have a small flower bed or an expansive garden space, edging adds that extra touch of beauty and organization. Take pride in your gardening accomplishments and embrace the joy that comes from nurturing and watching your plants thrive.
Now that you have the knowledge and inspiration, it’s time to grab your gardening tools, put on your gloves, and start edging your garden bed. Let your imagination run wild, and have fun crafting a beautiful outdoor space that you can enjoy for years to come. Happy gardening!
Frequently Asked Questions about How To Edge A Garden Bed
Was this page helpful?
At Storables.com, we guarantee accurate and reliable information. Our content, validated by Expert Board Contributors, is crafted following stringent Editorial Policies. We're committed to providing you with well-researched, expert-backed insights for all your informational needs.


0 thoughts on “How To Edge A Garden Bed”