Home>Articles>How To Exchange Large Electrical Cord On Refrigerator

Articles
How To Exchange Large Electrical Cord On Refrigerator
Modified: March 1, 2024
Learn how to safely exchange large electrical cords on your refrigerator with this informative article. Find step-by-step instructions and helpful tips to ensure a smooth process.
(Many of the links in this article redirect to a specific reviewed product. Your purchase of these products through affiliate links helps to generate commission for Storables.com, at no extra cost. Learn more)
Introduction
In today’s modern world, appliances play a vital role in our daily lives. One such appliance is the refrigerator, which helps to keep our food fresh and our drinks cold. However, over time, the electrical cord of a refrigerator may become damaged, leading to potential safety hazards and malfunctions. It is crucial to address this issue promptly to ensure the safe and efficient operation of your appliance.
In this article, we will guide you through the process of exchanging a large electrical cord on your refrigerator. We will provide step-by-step instructions, along with the necessary tools and materials, to help you successfully complete this task. So, let’s dive in and learn how to replace that damaged cord!
Key Takeaways:
- Safety first! Unplug the refrigerator before replacing the electrical cord to avoid electrical shock. Gather the right tools and materials for a smooth and efficient DIY project.
- Follow the step-by-step guide to confidently replace the cord. Secure the new cord in place and test the refrigerator for proper functioning. Enjoy the benefits of a safely repaired appliance!
Tools and Materials Needed
Before you begin the process of replacing the electrical cord on your refrigerator, it’s essential to gather all the necessary tools and materials. Having everything prepared in advance will make the task much smoother and more efficient. Here are the items you’ll need:
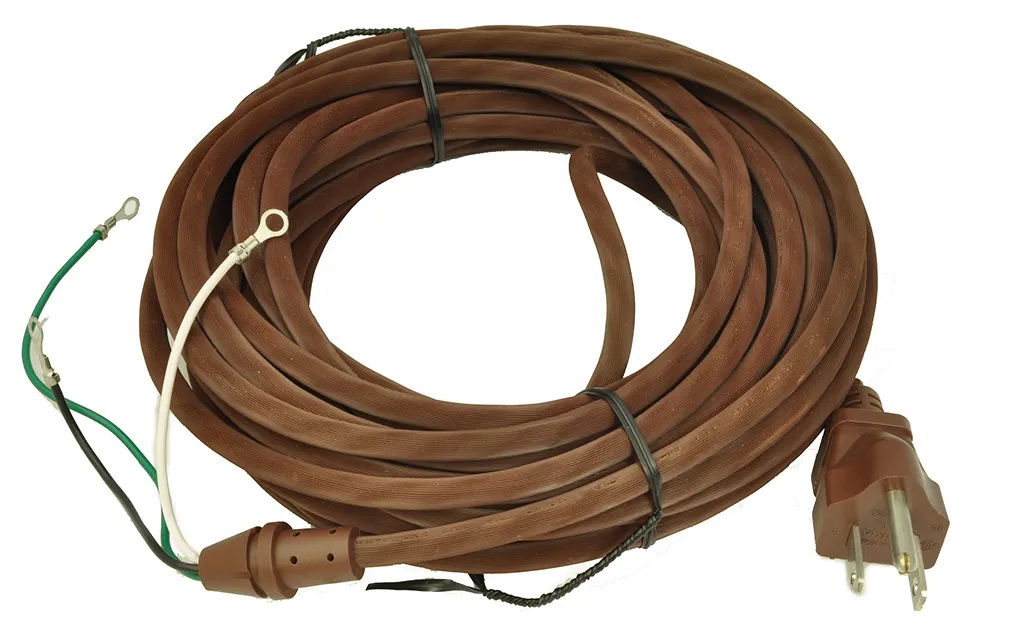
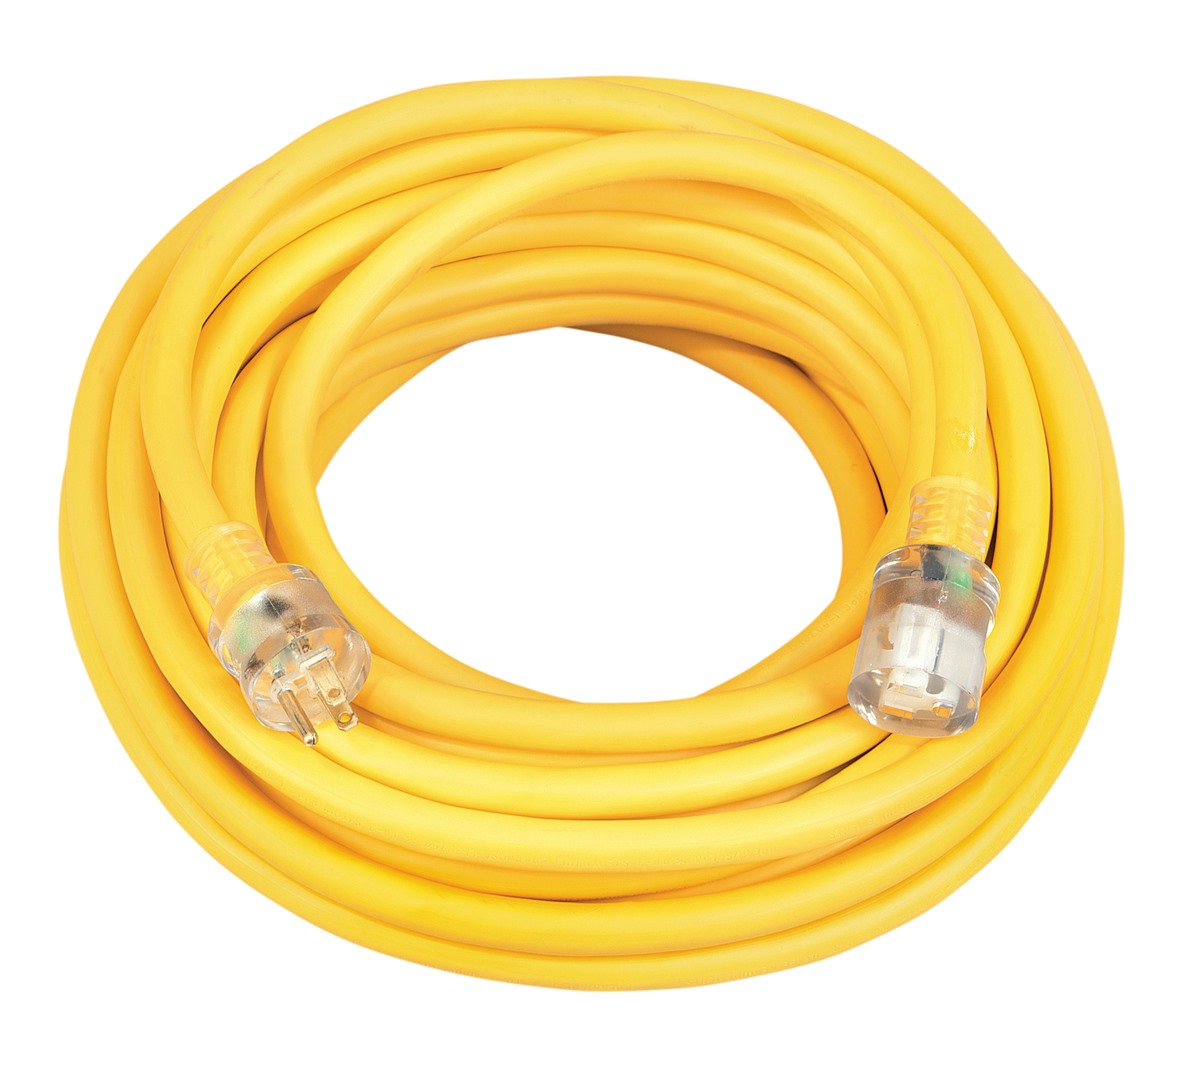
- Replacement electrical cord: Ensure that you purchase a cord that is compatible with your refrigerator model. You can typically find these cords at hardware stores or online.
- Wire cutters or scissors: These will be used to cut the old cord and prepare the new one for installation.
- Electrical tape: This will help secure the connections and protect them from moisture and other potential damages.
- Wire strippers: If your new cord doesn’t come pre-stripped, you’ll need wire strippers to remove the insulation from the wire ends.
- Screwdriver: Depending on your refrigerator model, you may need a screwdriver to access certain components or panels.
- Work gloves: To ensure your safety, wear work gloves to protect your hands from any sharp edges or electrical hazards.
- Safety goggles: It’s always a good precaution to wear safety goggles to protect your eyes from any debris or stray wires.
- Owner’s manual: Refer to your refrigerator’s owner’s manual for any specific instructions or guidelines provided by the manufacturer.
Make sure you have all these tools and materials readily available before proceeding with the replacement process. Now that we have everything we need, let’s move on to the step-by-step instructions for exchanging the electrical cord on your refrigerator!
Step 1: Unplug the refrigerator
The first and most important step before working on any electrical appliance is to unplug it from the power source. This ensures your safety and prevents any potential electrical shock or damage to the appliance.
Locate the power cord of your refrigerator and follow it to the outlet. Gently remove the plug from the outlet by firmly grasping it and pulling it straight out. Make sure to avoid tugging on the cord itself to prevent any strain or damage.
Double-check that the refrigerator is no longer receiving power by checking for any lights or displays that might indicate it is still running. It’s always better to be safe than sorry, so take the time to ensure the appliance is completely disconnected from the power source.
By unplugging the refrigerator, you eliminate any potential risk of electrical shock or short circuit while working on the electrical cord. It is crucial to keep safety as the top priority throughout this process.
Now that the refrigerator is safely unplugged, we can move on to the next step: locating the damaged electrical cord.
Step 2: Locate the damaged electrical cord
After unplugging the refrigerator, it’s time to identify the location of the damaged electrical cord. The cord is typically found at the back of the appliance, near the bottom. Look for any signs of fraying, exposed wires, or other visible damages.
Inspect the entire length of the cord, from where it enters the refrigerator to where it connects to the power supply. Take note of any specific areas where the damage is most severe or where the insulation is completely worn off.
It’s important to note that the location of the damaged cord may vary depending on the refrigerator model. If you’re having trouble finding it, consult your refrigerator’s owner’s manual for guidance.
While examining the cord, be on the lookout for any other potential issues such as loose connections or broken plugs. Document any additional problems you encounter, as these may require additional repairs or replacements.
Identifying the exact location and extent of the damage will help you determine how much of the cord needs to be replaced. Once you have a clear understanding of the condition of the cord, you can proceed to the next step: preparing the replacement cord.
Step 3: Prepare the replacement cord
Now that you have located the damaged electrical cord, it’s time to prepare the replacement cord for installation. Before proceeding, ensure that you have the correct replacement cord that is compatible with your refrigerator’s model.
Start by laying out the replacement cord on a flat surface and inspecting it for any damages or defects. Check for any cuts or exposed wires, as these can lead to safety hazards or malfunctioning of the appliance.
If the replacement cord is not already stripped at the ends, you will need to use wire strippers to remove the insulation from the wire ends. Follow the instructions provided with your wire strippers and carefully strip about half an inch of insulation from each end of the replacement cord.
Once the insulation is removed, inspect the exposed wires for any loose strands or damage. If you notice any issues, trim off the affected section and ensure that the wires are clean and intact.
Next, take a piece of electrical tape and wrap it tightly around the exposed wire ends of the replacement cord. This helps to secure the wires and prevent any accidental contact or short circuits.
It’s important to make sure that the replacement cord is in good condition and properly prepared before moving on to the next step. Doing so will ensure a safe and successful installation process.
With the replacement cord now prepared, we can proceed to disconnect the old cord in the next step.
When exchanging a large electrical cord on a refrigerator, always unplug the refrigerator before starting the process to ensure safety. Use the appropriate tools and follow the manufacturer’s instructions carefully. If you are unsure, consult a professional technician.
Step 4: Disconnect the old cord
Now that the replacement cord is prepared, it’s time to disconnect the old cord from the refrigerator. This step requires care and attention to avoid any damage to the appliance or yourself. Follow these steps to safely disconnect the old cord:
- Locate the connection point where the old cord is plugged into the refrigerator. This is typically found at the back, near the bottom, or in some cases, at the top.
- Depending on the type of connection, you may need to unscrew or unclip the cord from the refrigerator. Use a screwdriver or appropriate tool to remove any screws or fasteners holding the cord in place.
- Once the cord is unsecured, gently pull it out from the connection point while supporting any wires or cables attached to it. Avoid pulling on the cord itself to prevent any strain on the wires or potential damage.
- Inspect the disconnected end of the old cord for any signs of damage or loose connections. If necessary, use a wire cutter or scissors to trim off any frayed or damaged portions.
Make sure to handle the old cord with care and avoid contact with any exposed wires. To ensure safety, it is best to properly dispose of the old cord according to your local regulations or consult a professional for guidance.
With the old cord safely removed, you can now move on to the next step: attaching the new cord to the refrigerator.
Step 5: Attach the new cord
With the old cord disconnected, it’s time to attach the new cord to your refrigerator. Follow these step-by-step instructions to ensure a proper and secure connection:
- Take the prepared replacement cord and align the exposed wire ends with the connection point on the refrigerator.
- If necessary, refer to your refrigerator’s owner’s manual to identify the correct orientation for attaching the cord.
- Gently push the wire ends into the connection point, ensuring a snug fit. If there are any plugs or connectors, make sure they are properly aligned and securely attached.
- Once the wire ends are inserted, use a screwdriver or appropriate tool to secure any screws or fasteners that hold the cord in place. Make sure to tighten them sufficiently to prevent any movement or loosening.
- Inspect the newly attached cord to ensure that it is securely connected and properly positioned.
- Take a moment to double-check the entire length of the cord, looking for any twists, kinks, or unwanted tension. Properly arrange and position the cord to ensure it does not interfere with the refrigerator’s operation or pose any safety risks.
It’s important to ensure that the new cord is securely attached and properly positioned to prevent any issues or hazards. Take your time during this step to ensure a reliable and stable connection.
With the new cord securely attached, we can move on to the next step: securing the cord in place.
Step 6: Secure the cord in place
Now that the new cord is attached to your refrigerator, it’s important to secure it in place to ensure its stability and prevent any accidental disconnection. Follow these steps to properly secure the cord:
- Use electrical tape to wrap around the connection point where the cord enters the refrigerator. This will help provide additional support and prevent any strain on the wires.
- Wrap the electrical tape tightly around the cord and the connection point, making multiple layers to ensure a secure hold.
- Continue wrapping the electrical tape a few inches along the length of the cord, to provide added protection and stability.
- Make sure to smooth out any wrinkles or bumps in the tape to ensure a neat and secure wrapping.
By wrapping the cord with electrical tape, you help protect it from any potential damage, such as moisture or accidental tugs. This ensures the longevity and proper functioning of the cord.
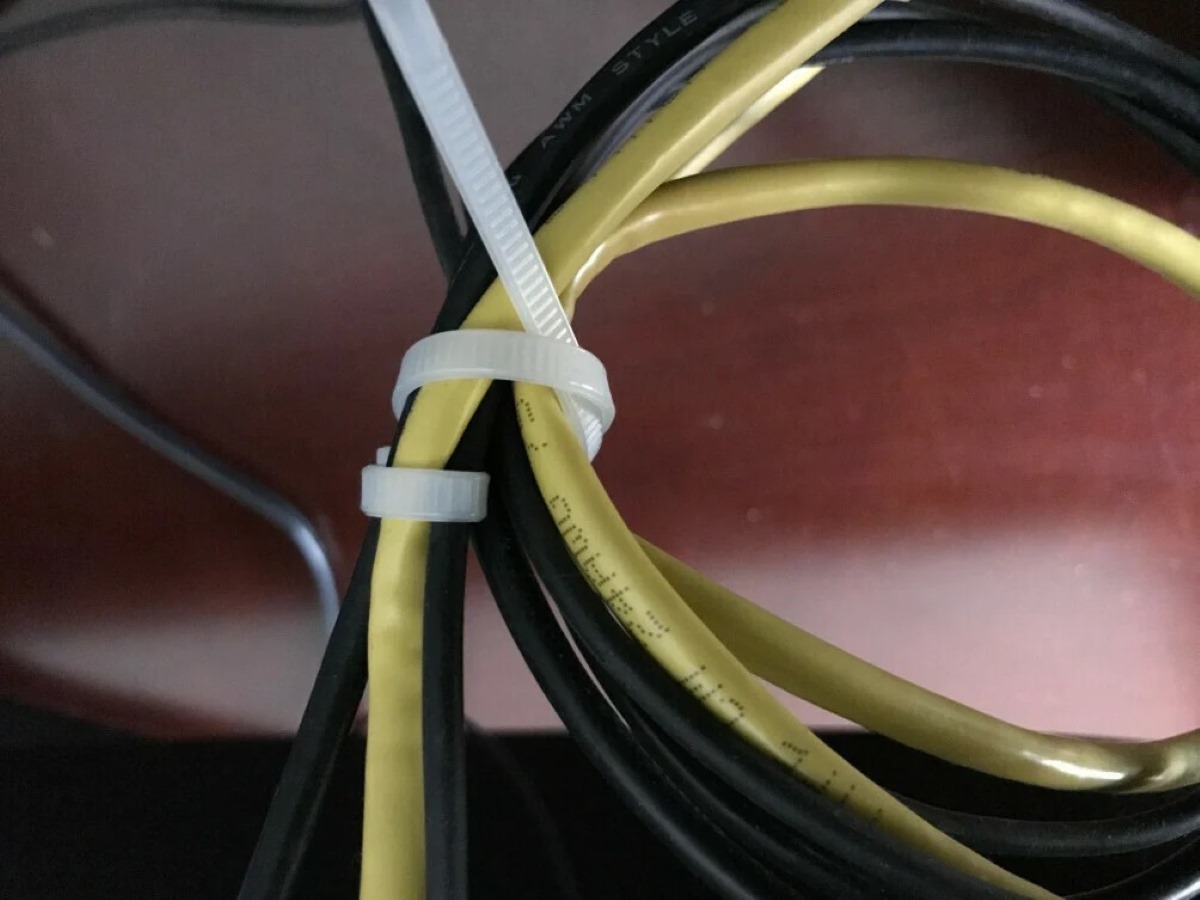
Once the cord is secured with electrical tape, gently guide it along the back of the refrigerator, ensuring it is neatly positioned away from any moving parts or hot surfaces. Use cable ties or clips to hold the cord in place and prevent it from dangling or getting caught on anything.
Inspect the entire length of the cord to ensure it is properly secured and free from any potential hazards. Double-check that there are no loose connections or exposed wires.
With the cord securely in place, we can move on to the final step: plugging in the refrigerator and testing the new cord.
Step 7: Plug in the refrigerator
After securing the new cord in place, it’s time to plug in the refrigerator and test the new electrical connection. Follow these steps to complete the installation:
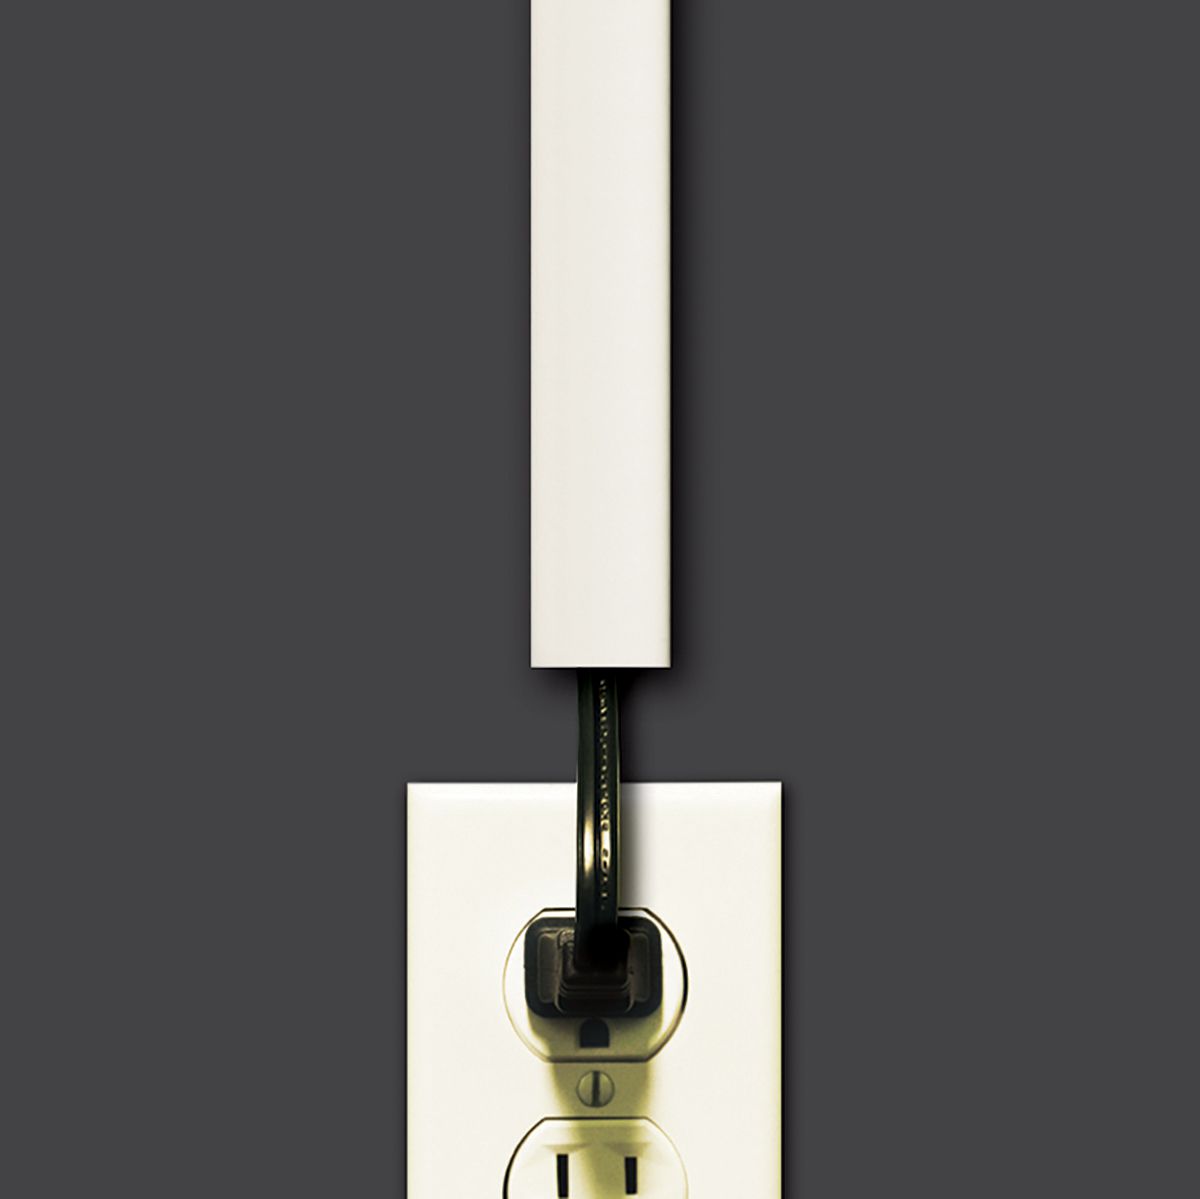
- Locate the power outlet where the refrigerator was initially connected.
- Gently insert the plug of the new cord into the outlet, ensuring a snug fit.
- Double-check that the cord is properly positioned and free from any obstructions or tension.
- Observe the refrigerator to confirm that the power is restored. Look for any lights, displays, or sounds that indicate it is functioning properly.
- Listen for any unusual noises or vibrations during the first few minutes of operation. If you detect any issues, unplug the refrigerator immediately and consult a professional for further assistance.
Once you have confirmed that the refrigerator is running smoothly, take a final visual inspection of the cord and the surrounding area to ensure everything is in order. Check for any signs of overheating, loose connections, or abnormal behavior.
Keep in mind that it may take some time for the refrigerator to reach its optimal temperature. Be patient and allow the appliance to cool down before storing any perishable items inside.
Congratulations! You have successfully replaced the large electrical cord on your refrigerator. By following these steps and ensuring a proper installation, you have helped to maintain the safety and functionality of your appliance.
If you have any doubts or concerns about the installation process, or if you encounter any unexpected issues, it is always best to consult a professional technician or contact the manufacturer for guidance.
Remember to keep the owner’s manual and any warranty information in a safe place for future reference. Regularly inspect the cord and the refrigerator for any potential issues to ensure its long-term performance.
Thank you for following this step-by-step guide. Enjoy your freshly repaired refrigerator!
Read more: How To Tie An Electrical Cord
Conclusion
Replacing a large electrical cord on your refrigerator may seem like a daunting task, but with the right tools, materials, and step-by-step instructions, it can be a manageable DIY project. By following the steps outlined in this guide, you can ensure the safe and effective replacement of the cord.
Remember, safety should always be a top priority when working with electrical appliances. Always unplug the refrigerator before performing any repairs or replacements, and take precautions to avoid electrical shock or damage.
Gathering all the necessary tools and materials beforehand will make the process smoother and more efficient. This includes a compatible replacement cord, wire cutters or scissors, electrical tape, wire strippers, a screwdriver, work gloves, safety goggles, and the appliance’s owner’s manual.
Once you’ve unplugged the refrigerator, located the damaged cord, prepared the replacement cord, disconnected the old cord, attached the new cord, secured it in place, and plugged in the refrigerator, you’re ready to enjoy the benefits of a properly functioning appliance.
Remember to take the time to inspect the cord and the surrounding area for any signs of damage or loose connections. Regular maintenance and periodic check-ups will help ensure the long-term performance of your appliance.
If, at any point, you encounter difficulties or feel uncomfortable performing the replacement yourself, it’s always best to seek the assistance of a professional technician or contact the manufacturer for further guidance.
By successfully replacing the large electrical cord on your refrigerator, you have not only ensured its safe operation but also gained valuable knowledge and skills in appliance maintenance. So, congratulations on completing this DIY project and enjoy the reliability of your freshly repaired refrigerator!
Frequently Asked Questions about How To Exchange Large Electrical Cord On Refrigerator
Was this page helpful?
At Storables.com, we guarantee accurate and reliable information. Our content, validated by Expert Board Contributors, is crafted following stringent Editorial Policies. We're committed to providing you with well-researched, expert-backed insights for all your informational needs.


0 thoughts on “How To Exchange Large Electrical Cord On Refrigerator”