Home>Articles>How To Turn Off Ice Maker In Whirlpool Refrigerator
Articles
How To Turn Off Ice Maker In Whirlpool Refrigerator
Modified: September 2, 2024
Learn how to turn off the ice maker in your Whirlpool refrigerator with our helpful articles. Prevent unwanted ice production and save energy.
(Many of the links in this article redirect to a specific reviewed product. Your purchase of these products through affiliate links helps to generate commission for Storables.com, at no extra cost. Learn more)
Introduction
Welcome to our guide on how to turn off the ice maker in your Whirlpool refrigerator. The ice maker is a convenient feature that provides you with a constant supply of ice cubes, but there may be times when you want to temporarily disable it. Whether you’re going on vacation, prefer to have ice from an external source, or simply need to perform some maintenance, turning off the ice maker can be done easily.
In this article, we will walk you through the steps to locate the ice maker switch, turn off the ice maker, and verify that it is indeed turned off. Additionally, we will provide an optional step to restart the ice maker when you’re ready to use it again.
So, let’s get started with the first step: locating the ice maker switch in your Whirlpool refrigerator.
Key Takeaways:
- Easily disable your Whirlpool refrigerator’s ice maker by locating the switch, turning it off, and verifying its status. Restarting is optional, giving you full control over ice production to suit your needs.
- Whether for vacation, maintenance, or preference, turning off the ice maker is a simple process that puts you in charge of ice production. Follow the steps to deactivate and verify, and restart when needed.
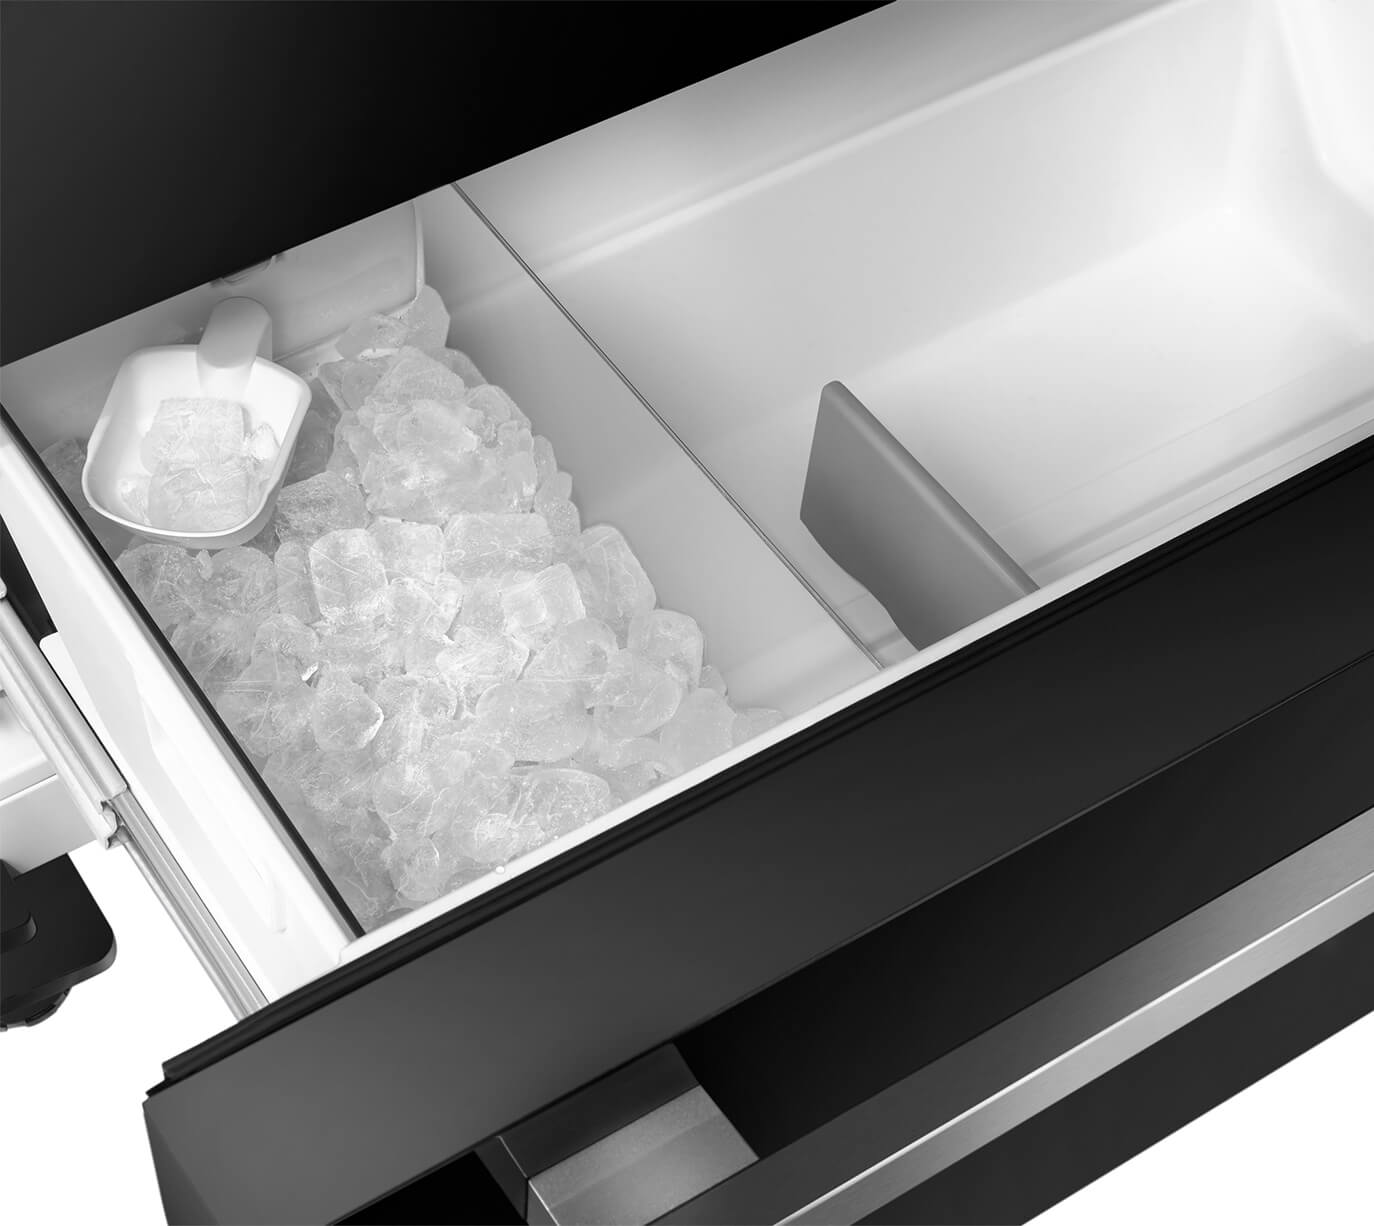
Step 1: Locate the Ice Maker Switch
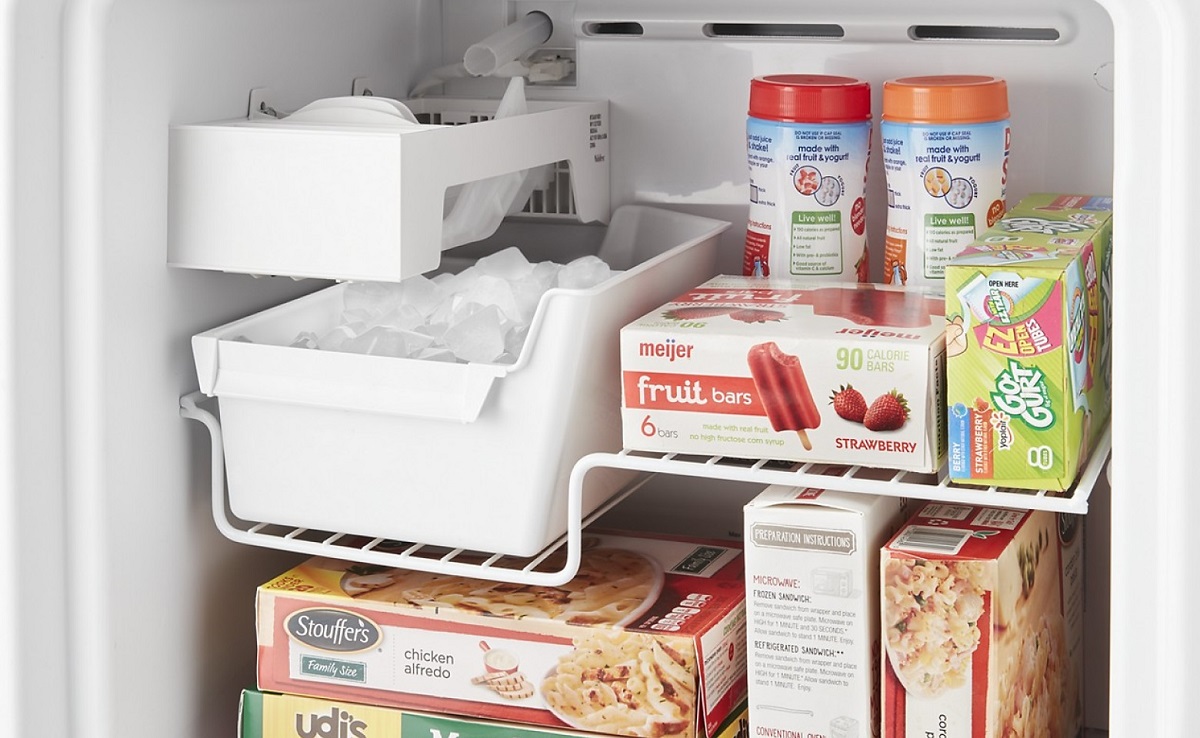
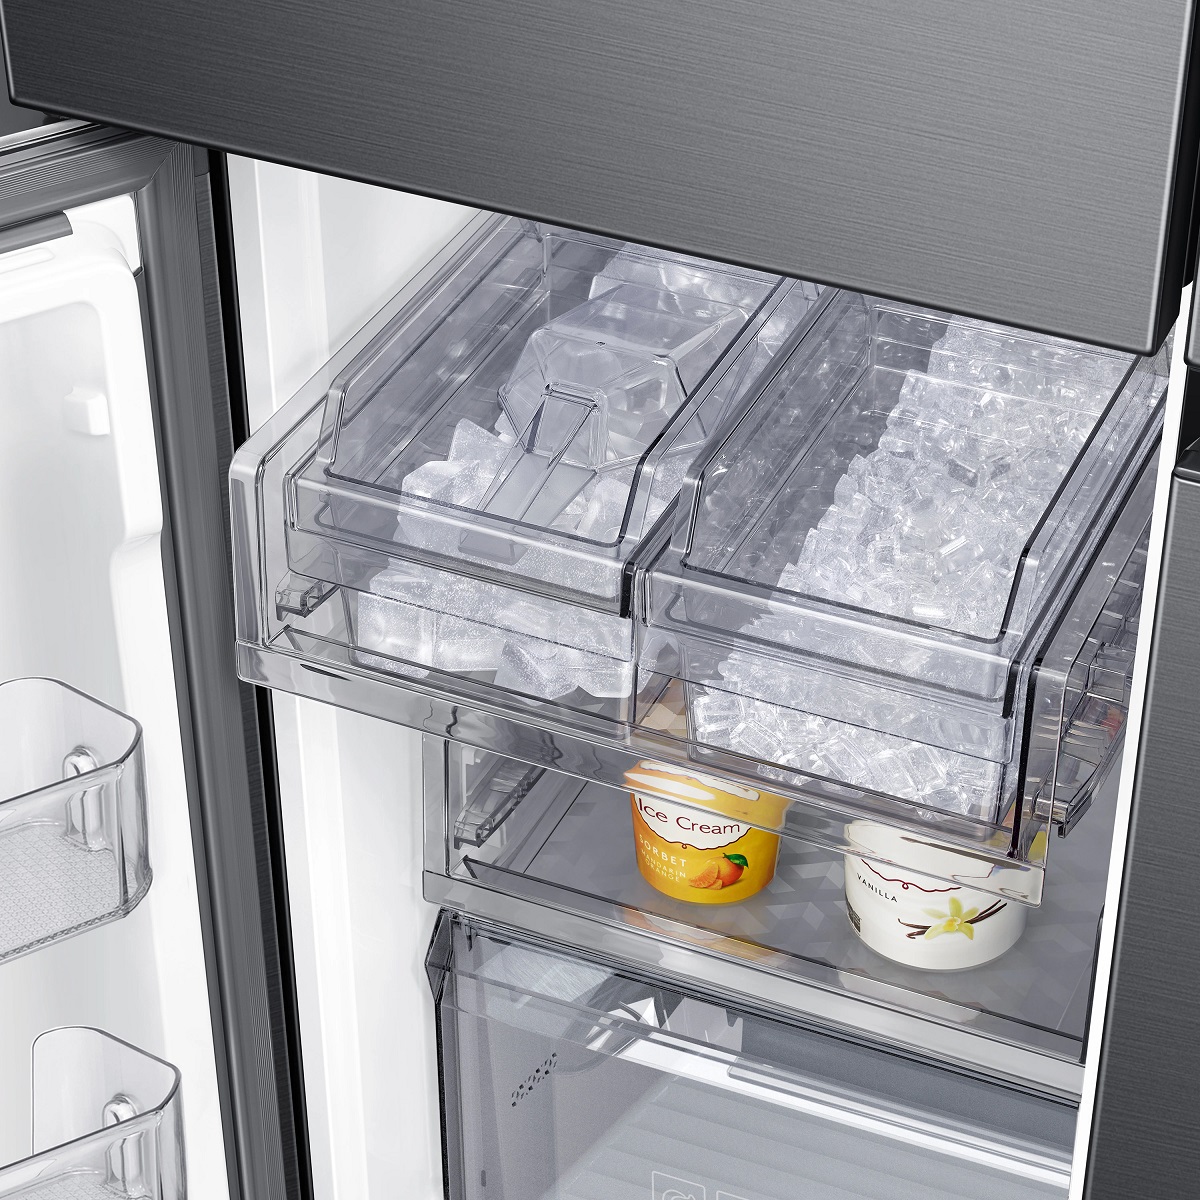
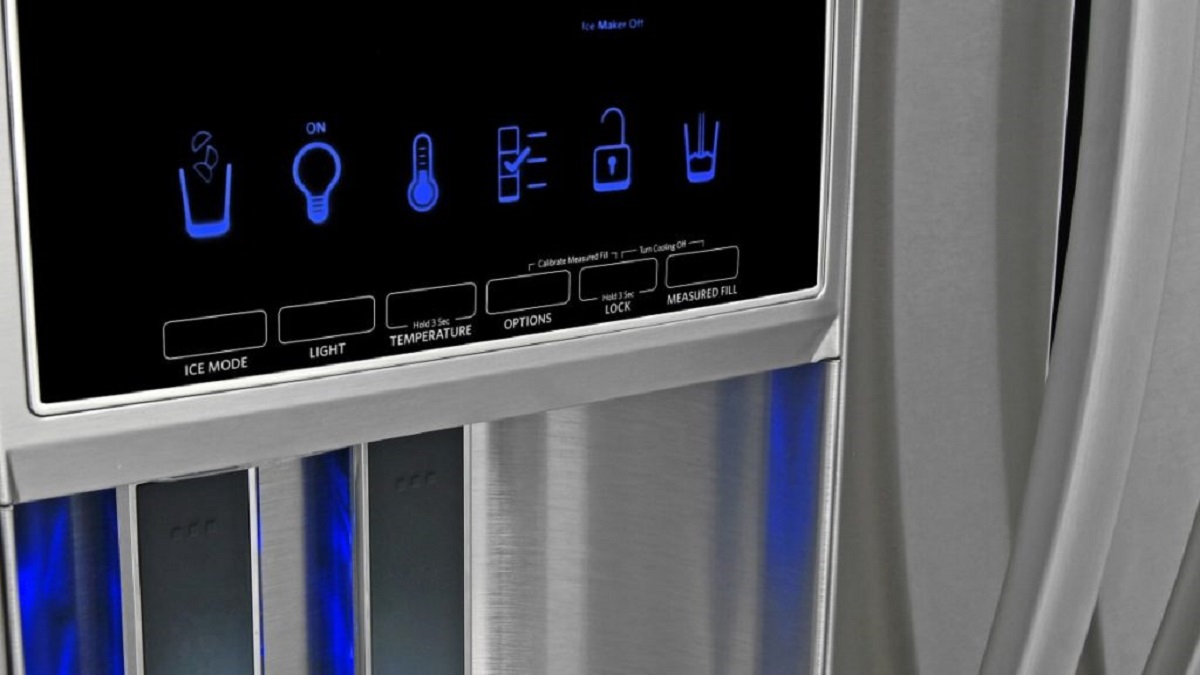
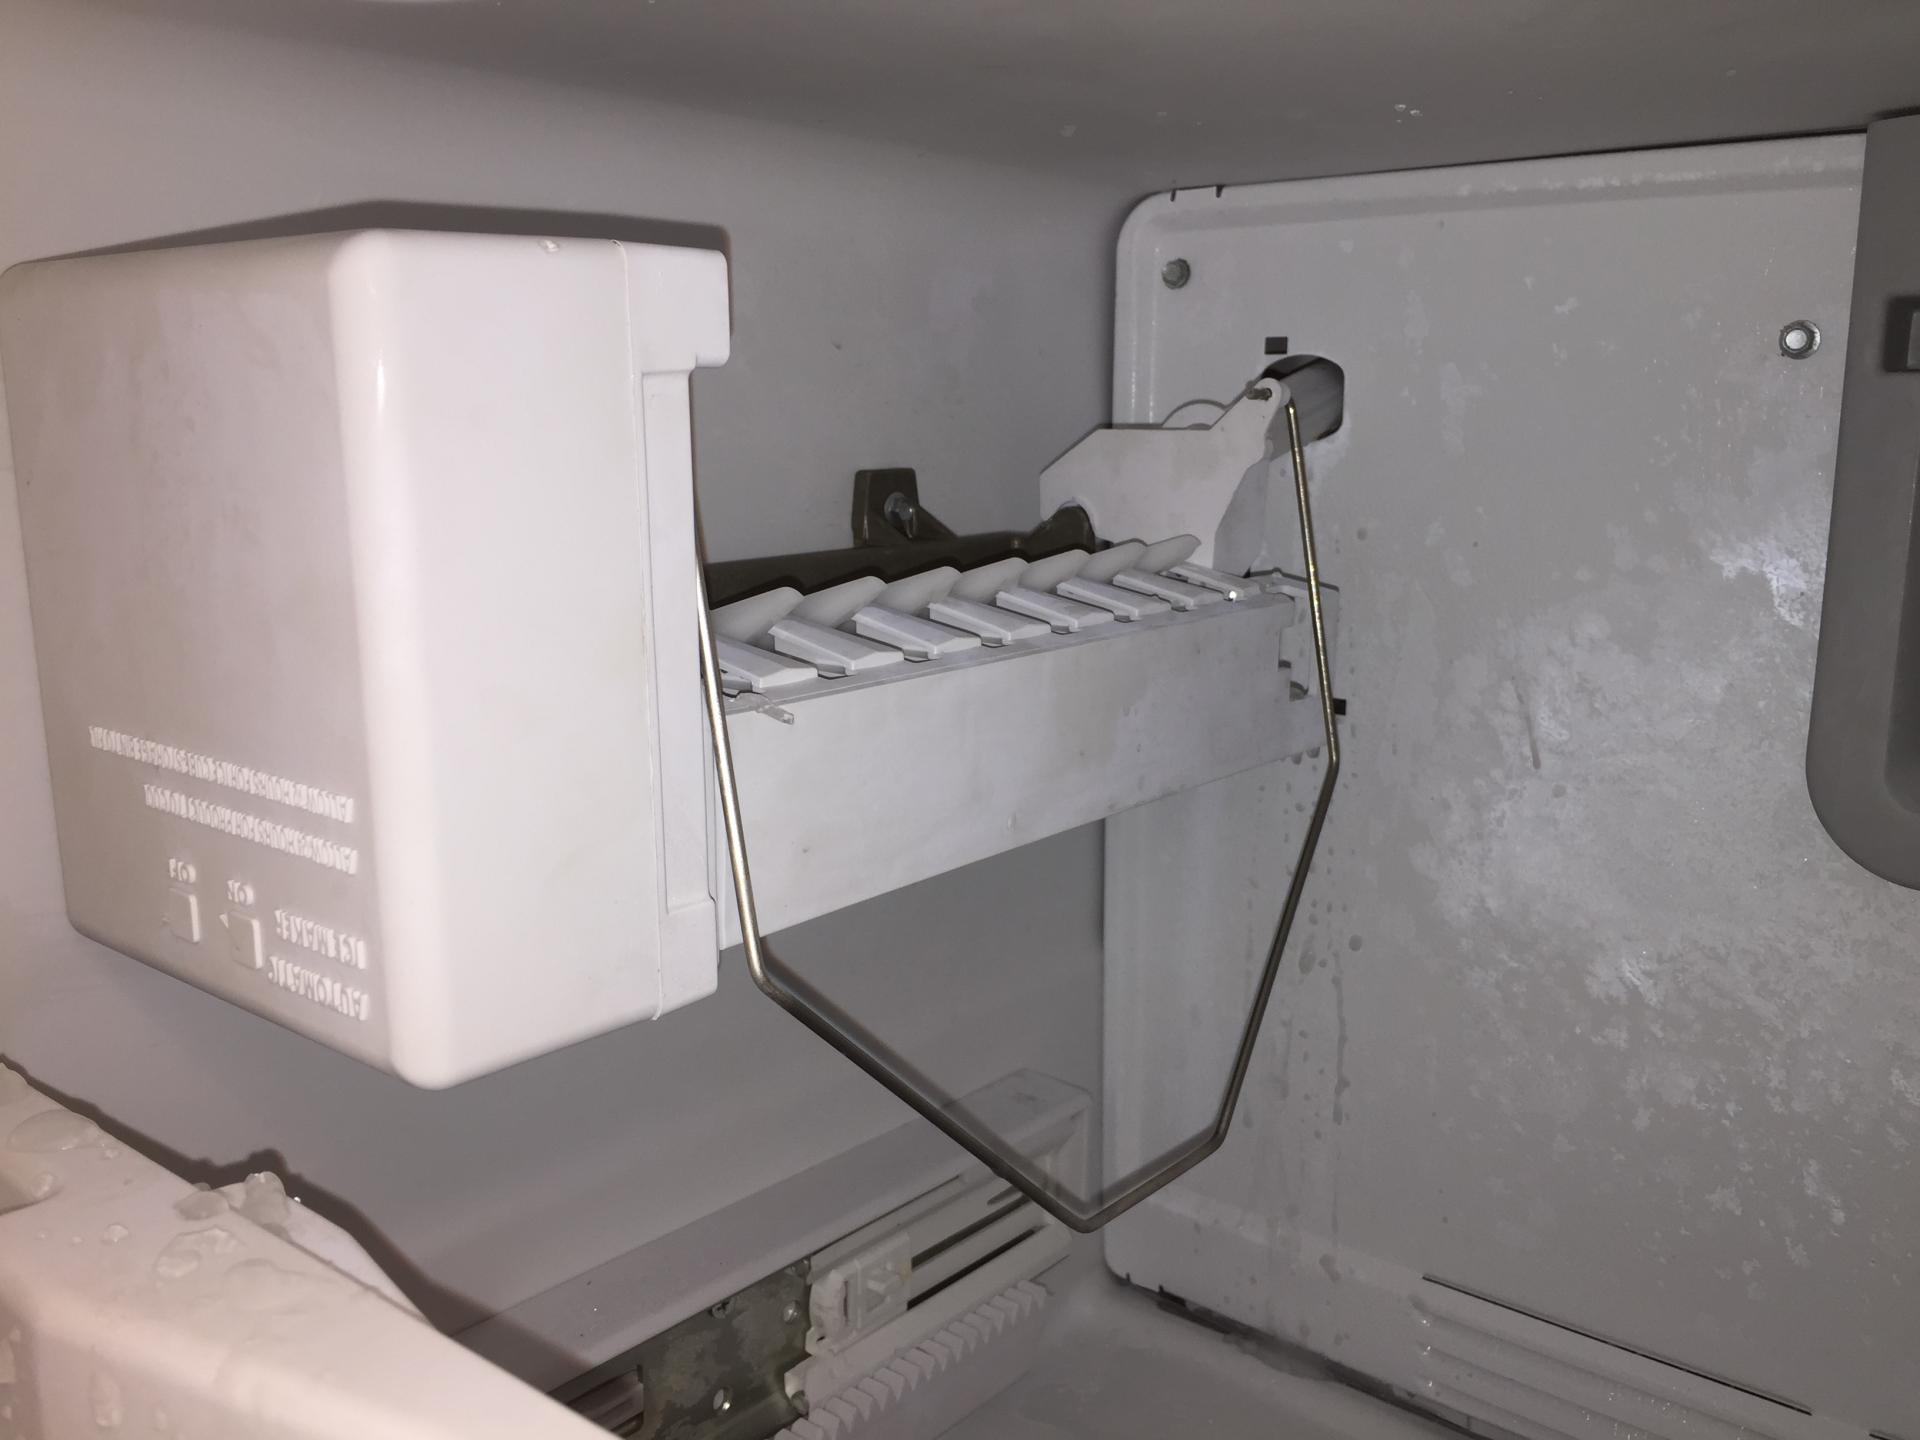
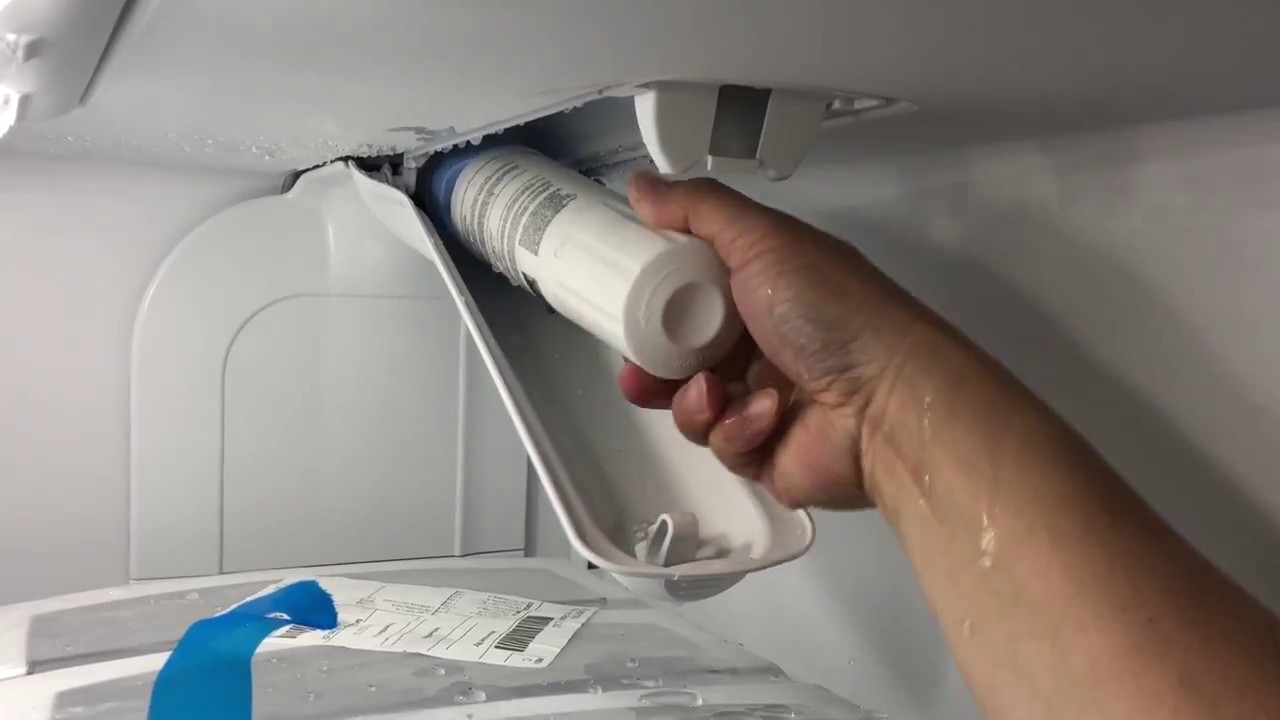
Before you can turn off the ice maker in your Whirlpool refrigerator, you need to locate the ice maker switch. The exact location may vary depending on the model of your fridge, but it is typically found inside the freezer compartment.
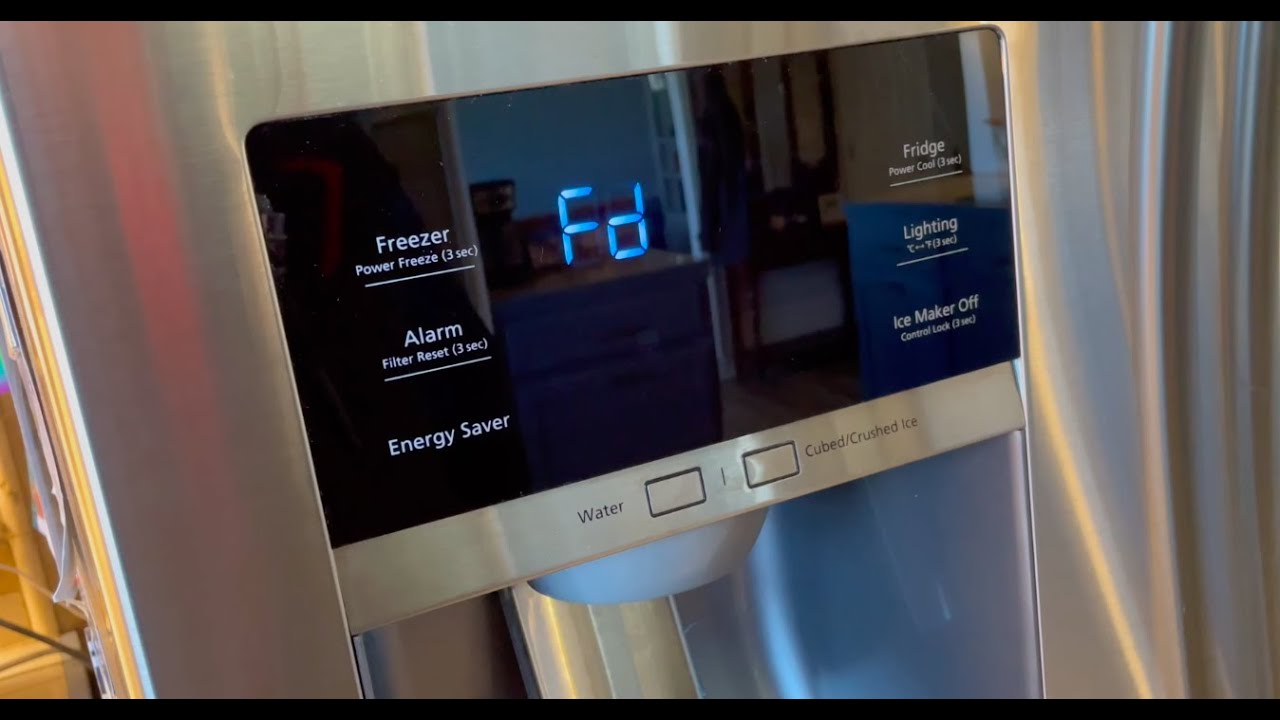
To begin, open the freezer door and take a look at the back wall. You should see a small control panel or a series of buttons. Look for a switch labeled “Ice Maker” or something similar. It may be accompanied by an icon representing an ice cube or a snowflake.
If you don’t see a control panel or buttons on the back wall of your freezer, don’t worry. Whirlpool refrigerators have different configurations, and the ice maker switch may be located elsewhere.
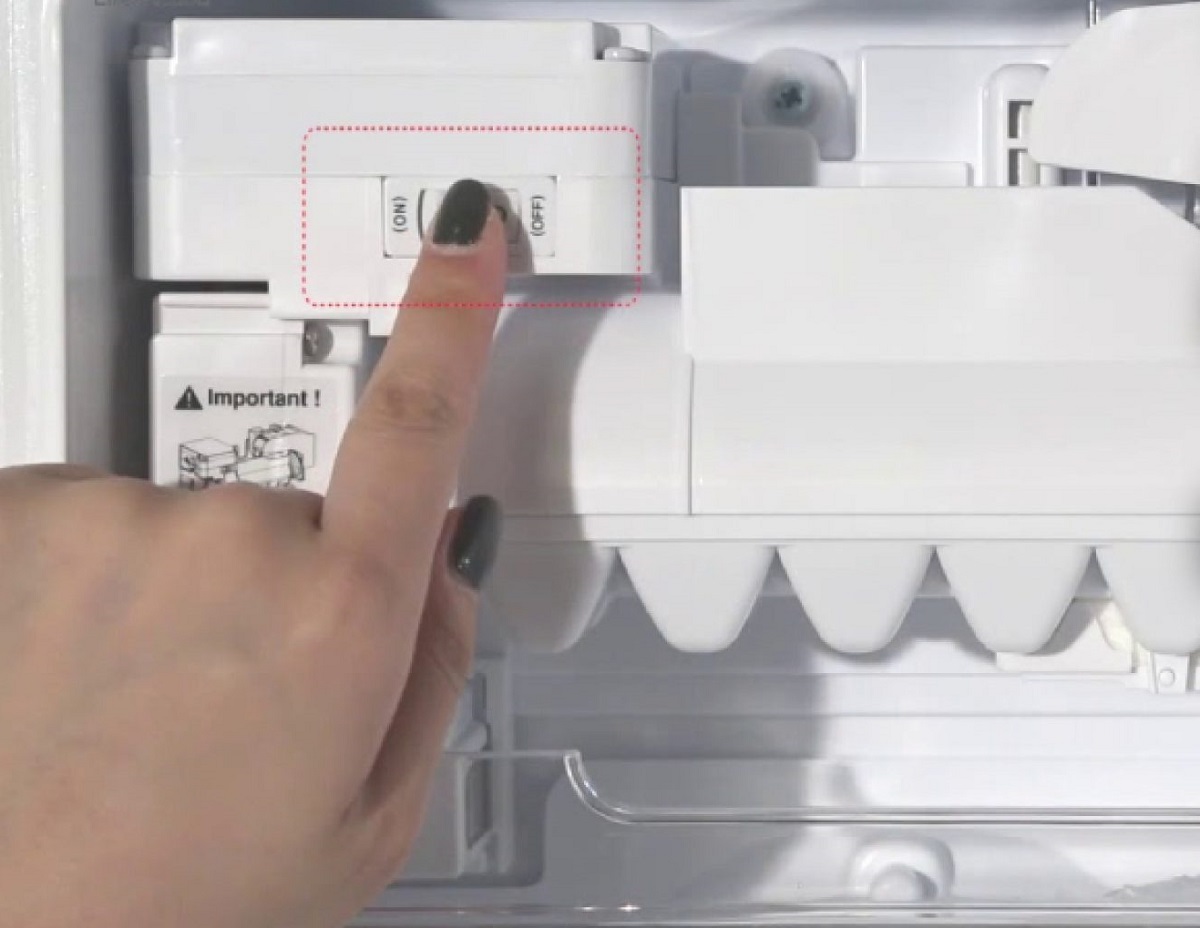
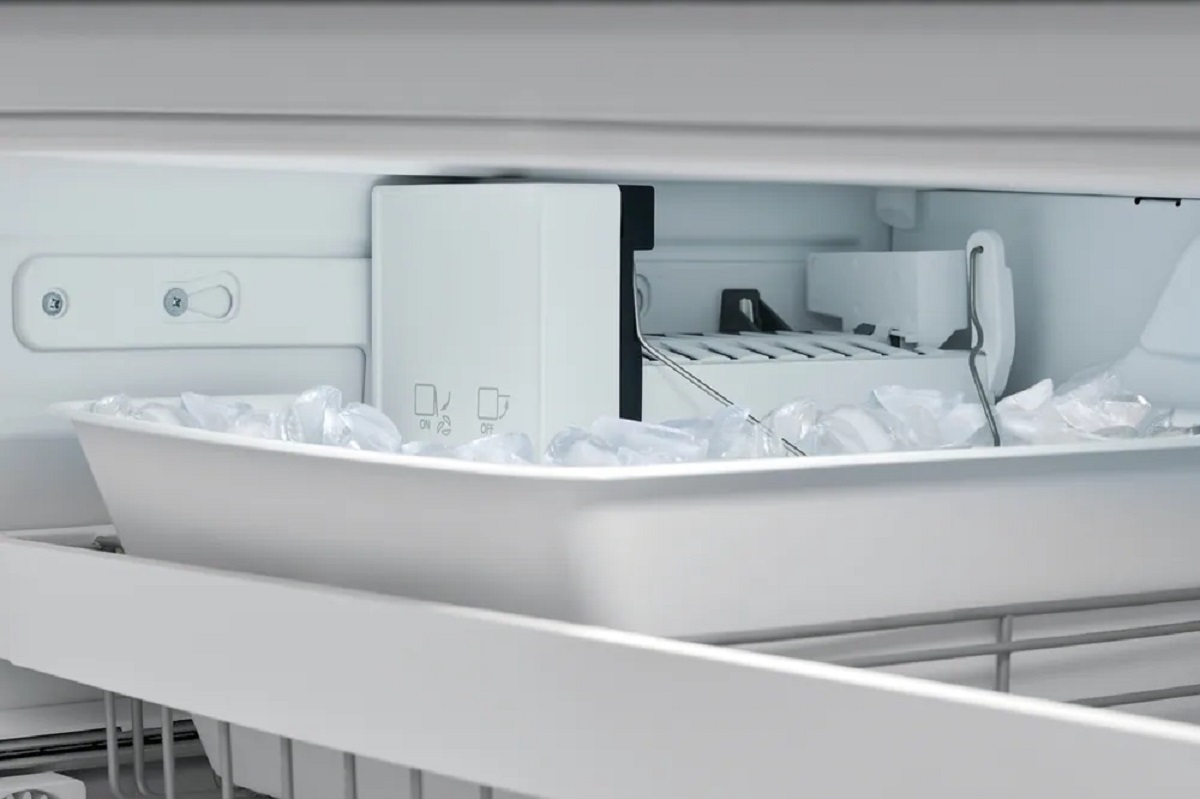
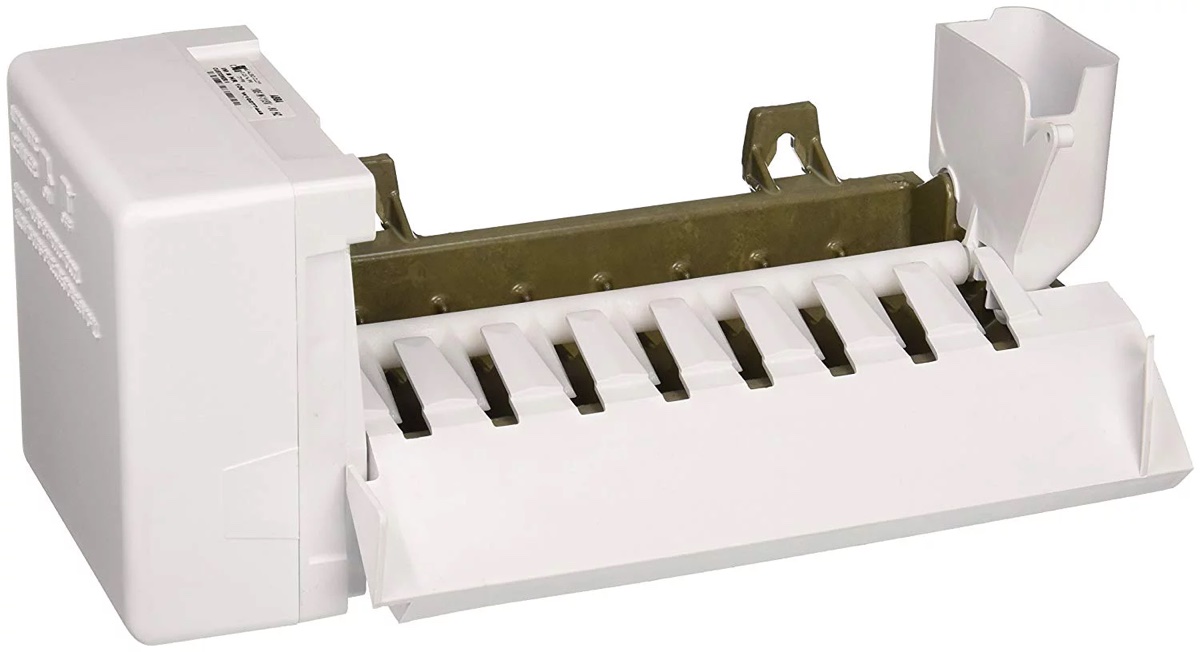
In some models, the ice maker switch can be found on the front of the ice maker itself. Look for a small lever or switch near the ice making tray. It may be labeled with “On” and “Off” or have a similar indicator.
If you’re having trouble finding the ice maker switch, consult your refrigerator’s user manual. It will provide specific instructions and diagrams to help you locate the switch in your particular model.
Once you’ve located the ice maker switch, you’re ready to proceed to the next step: turning off the ice maker.
Step 2: Turn Off the Ice Maker
Now that you’ve located the ice maker switch in your Whirlpool refrigerator, it’s time to turn it off. Follow these simple steps to effectively disable the ice maker:
1. If your ice maker has a control panel on the back wall of the freezer, look for the “Ice Maker” switch. To turn off the ice maker, simply toggle the switch to the “Off” position. You may hear a click or see a light indicator go off, signaling that the ice maker is now deactivated.
2. For models with a switch on the front of the ice maker, gently push or slide the lever to the “Off” position. This will disengage the ice making mechanism and prevent it from producing more ice.
Ensure that the switch or lever is firmly in the “Off” position to guarantee that the ice maker is completely shut off. This step is crucial to prevent any accidental ice production while the ice maker is not in use.
Once you’ve successfully turned off the ice maker, proceed to the next step to verify that it is indeed deactivated.
To turn off the ice maker in a Whirlpool refrigerator, locate the power switch on the ice maker and switch it to the “off” position. This will stop the ice maker from producing ice.
Step 3: Verify the Ice Maker is Off
After turning off the ice maker in your Whirlpool refrigerator, it’s important to verify that it is indeed deactivated. Following these steps will help you confirm that the ice maker is off:
1. Check for ice production: Wait for a few hours or overnight and check if the ice tray remains empty. If no new ice has formed in the tray, it is a good indication that the ice maker is off.
2. Inspect the ice maker’s status light: Some Whirlpool refrigerator models have an LED status light on the ice maker itself. When the ice maker is active, the light is typically solid or blinking. If the light is not illuminated, it means that the ice maker is off.
3. Consult the user manual: Refer to your refrigerator’s user manual for specific instructions on how to verify if the ice maker is off. The manual may provide additional steps or indicators to help you confirm the ice maker’s status.
By following these steps, you should be able to confirm that the ice maker in your Whirlpool refrigerator is off. This will prevent the ice maker from producing ice until you decide to turn it back on.
If you’re satisfied that the ice maker is off and you don’t need to use it for an extended period, you can leave it in the off position. However, if you’re ready to start making ice again, proceed to the optional step below to restart the ice maker.
Step 4: Restart the Ice Maker (Optional)
If you’ve previously turned off the ice maker in your Whirlpool refrigerator and you’re ready to start making ice again, you can follow these optional steps to restart the ice maker:
1. Locate the ice maker switch: Depending on your refrigerator model, find the ice maker switch either on the back wall of the freezer or on the front of the ice maker itself.
2. Turn on the ice maker: Toggle the switch to the “On” position or push the lever back to its original position. You may hear a click or see a light indicator to confirm that the ice maker is now active.
3. Allow time for ice production: Give the ice maker some time to start producing ice. It typically takes a few hours for the ice maker to cycle and begin filling the ice tray. Be patient and avoid checking for ice too frequently during this process.
4. Verify ice production: Once enough time has passed, check the ice tray to see if it’s filling up with new ice cubes. If you notice ice starting to form, it indicates that the ice maker has successfully restarted and is back in operation.
Remember, restarting the ice maker is optional and should only be done if you actually need to use it. If you prefer to have ice from an external source or if you won’t be using the ice maker for an extended period, it’s perfectly fine to leave it turned off.
With the ice maker now restarted (if desired), you’ve successfully gone through the process of turning it off and back on in your Whirlpool refrigerator.
Lastly, let’s wrap up this guide.
Read more: How To Turn Off Ice Maker In LG Refrigerator
Conclusion
Turning off the ice maker in your Whirlpool refrigerator is a simple and straightforward process. By following the steps outlined in this guide, you can easily locate the ice maker switch, turn off the ice maker, and verify its status.
Disabling the ice maker can be useful in various situations, such as when you’re going on vacation, prefer to use ice from an external source, or need to perform maintenance on your refrigerator. It’s a convenient feature that allows you to have control over ice production.
If you decide to restart the ice maker at a later time, the optional steps provided in this guide will help you reactivate it. Just remember to allow sufficient time for ice production before expecting to see a full tray of ice cubes.
Whether you choose to keep the ice maker turned off or restart it, it’s important to consult your Whirlpool refrigerator’s user manual for specific instructions and to ensure proper usage of the ice maker.
We hope this guide has been helpful in assisting you with turning off the ice maker in your Whirlpool refrigerator. By following these steps, you can easily control the ice production in your fridge and tailor it to your specific needs.
Thank you for reading, and we wish you a great experience with your Whirlpool refrigerator!
Frequently Asked Questions about How To Turn Off Ice Maker In Whirlpool Refrigerator
Was this page helpful?
At Storables.com, we guarantee accurate and reliable information. Our content, validated by Expert Board Contributors, is crafted following stringent Editorial Policies. We're committed to providing you with well-researched, expert-backed insights for all your informational needs.

0 thoughts on “How To Turn Off Ice Maker In Whirlpool Refrigerator”