
Articles
How To Fix A Moen Kitchen Faucet
Modified: October 28, 2024
Learn how to fix your Moen kitchen faucet with helpful articles and step-by-step instructions. Fixing your faucet has never been easier!
(Many of the links in this article redirect to a specific reviewed product. Your purchase of these products through affiliate links helps to generate commission for Storables.com, at no extra cost. Learn more)
Introduction
Having a functional and efficient kitchen faucet is essential for every home. It allows you to smoothly carry out daily tasks such as washing dishes, filling pots, and cleaning fruits and vegetables. However, over time, faucets may encounter problems like leaks, drips, or difficulty in turning the handle, which can be quite frustrating.
If you have a Moen kitchen faucet and are facing issues with its performance, don’t worry. In this article, we will guide you through the process of fixing your Moen kitchen faucet. Whether it’s a leaky faucet or a faulty cartridge, we’ve got you covered!
Before beginning any repairs, it’s important to gather the necessary tools and materials. This will ensure a smooth and hassle-free process. Now let’s take a look at what you’ll need:
Key Takeaways:
- Regular maintenance and prompt repairs are crucial for ensuring the longevity and optimal performance of your Moen kitchen faucet. By addressing issues promptly, you can prevent water waste and potential water damage, and enjoy a hassle-free kitchen experience.
- If you encounter any difficulties, seek professional assistance or consult Moen’s customer support for specialized advice. A well-functioning kitchen faucet is not only convenient but also plays a crucial role in the overall functionality and efficiency of your kitchen.
Read more: How To Fix A Leaky Moen Faucet
Tools and Materials Needed
Before starting the repair process, gather the following tools and materials:
- Adjustable wrench
- Phillips screwdriver
- Allen wrench
- Replacement cartridge
- Plumber’s tape
- Rag or towel
- Bucket or container
Make sure you have these items readily available before proceeding with the repair. Having the right tools will make the process much easier and save you from any unnecessary frustration.
Step 1: Turn off the Water Supply
Before you begin any repair work on your Moen kitchen faucet, it is crucial to turn off the water supply to avoid any accidents or water damage. Here’s how you can do it:
- Locate the shut-off valves under the sink. These are typically found on the hot and cold water supply lines, connected to the faucet.
- Turn the valve clockwise to shut off the water supply. You may need to use an adjustable wrench to do this, depending on the type of valve.
- Once the water supply is turned off, open the faucet handles to release any remaining water pressure. This will prevent any water from spraying when you start disassembling the faucet.
Double-check that the water supply is completely shut off by turning the faucet handles and ensuring no water flows out. It’s also a good idea to place a towel or rag under the sink to catch any residual water that may drip during the repair process.
Now that you have successfully turned off the water supply, you can proceed to the next step, which involves examining the faucet for any visible issues.
Step 2: Examine the Faucet
Once the water supply is turned off, it’s time to examine your Moen kitchen faucet to identify any visible issues. Here are a few key things to look for:
- Inspect the faucet handle: Check if the handle moves smoothly and without resistance. If it feels loose or wobbly, it may require tightening or replacement.
- Look for leaks: Examine the base of the faucet and around the handles for any signs of water leakage. Drips or puddles are clear indications of a problem.
- Observe water flow: Turn on the faucet to see if the water flows properly. If there is low pressure or irregular water flow, there may be an issue with the cartridge.
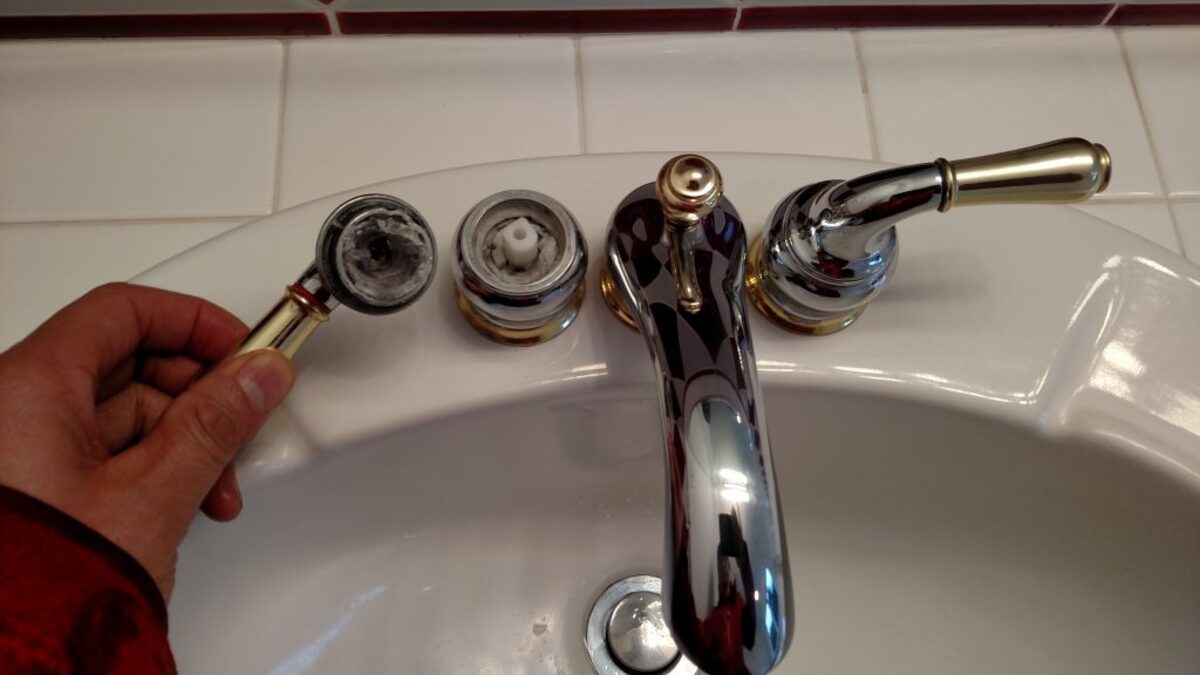
- Check for debris or mineral buildup: Over time, sediment, debris, or hard water minerals can accumulate in the faucet, affecting its performance. Look for any clogs or visible buildup.
By thoroughly examining the faucet, you can get a better understanding of the problem and determine the appropriate steps for repair. If you notice any specific issues such as a leaky handle or restricted water flow, it’s time to proceed to the next step and identify the root cause.
In the next step, we will guide you on how to identify the problem with your Moen kitchen faucet.
Step 3: Identify the Problem
Now that you’ve examined the faucet, it’s time to identify the specific problem that’s affecting the performance of your Moen kitchen faucet. Here are some common issues you may encounter:
- Leaky Faucet: If you noticed water dripping from the spout or around the base of the faucet, it’s likely that there’s a leak in the cartridge or other components.
- Difficult Handle Operation: If the faucet handle is difficult to turn or feels loose, it may indicate a problem with the handle mechanism or the cartridge.
- Low Water Pressure: If the water flow from the faucet is weak or inconsistent, there may be an obstruction or debris buildup in the aerator or cartridge.
- No Water Flow: If no water comes out when you turn on the faucet, the issue may be related to a blocked water supply line or a malfunctioning cartridge.
- Strange Noises: If you hear unusual noises such as rattling or grinding when you use the faucet, it could be due to loose components or a faulty cartridge.
Identifying the specific problem will help you determine the appropriate solution. In some cases, the issue may be resolved by simply cleaning or tightening certain components. However, if the problem lies with the cartridge, you may need to replace it. In the next step, we will guide you through the process of replacing the cartridge in your Moen kitchen faucet.
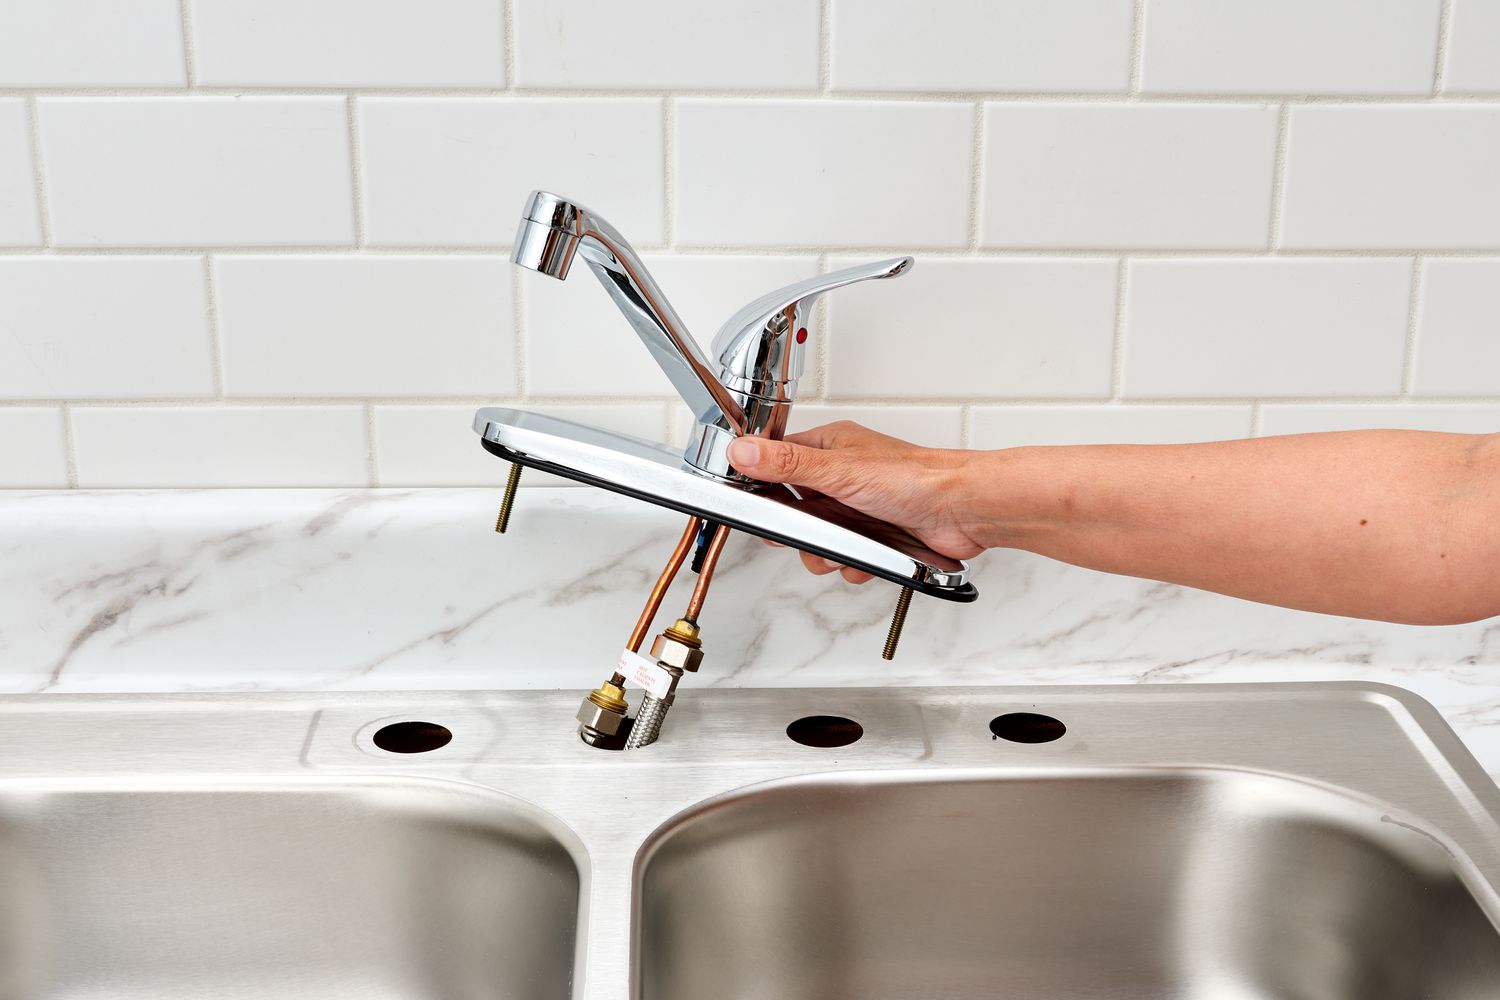
If your Moen kitchen faucet is leaking, try replacing the cartridge to fix the issue. This is a common problem and can often be resolved by replacing the cartridge with a new one.
Read more: How To Remove A Moen Kitchen Faucet
Step 4: Replace the Cartridge
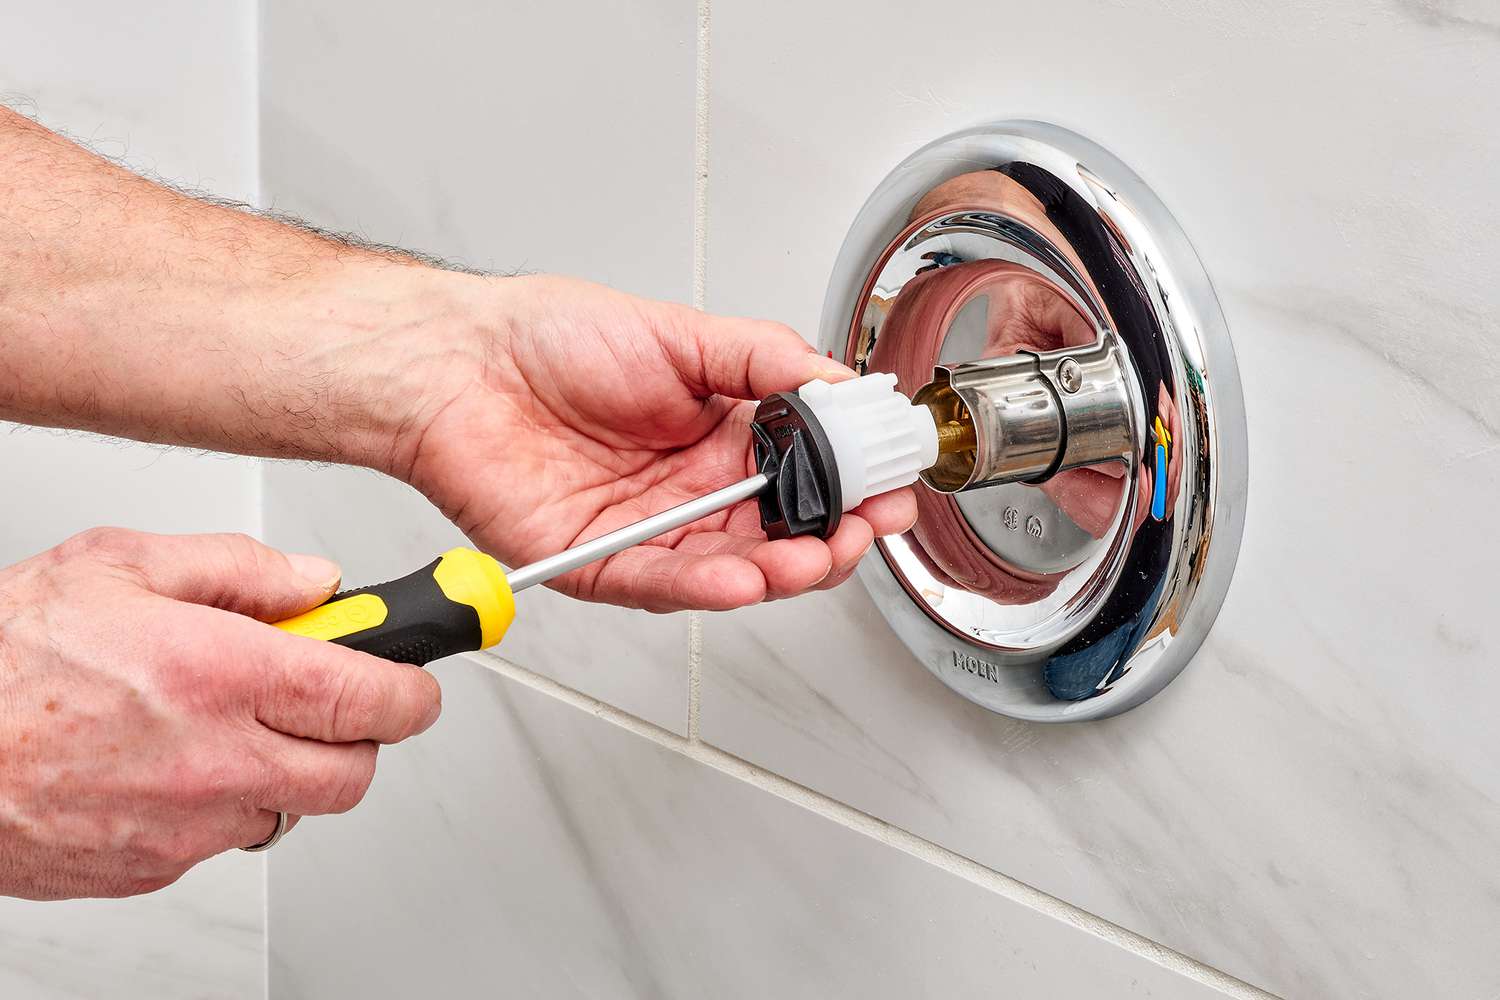
If you’ve identified that the issue with your Moen kitchen faucet lies with the cartridge, it’s time to replace it. Here’s how you can replace the cartridge:
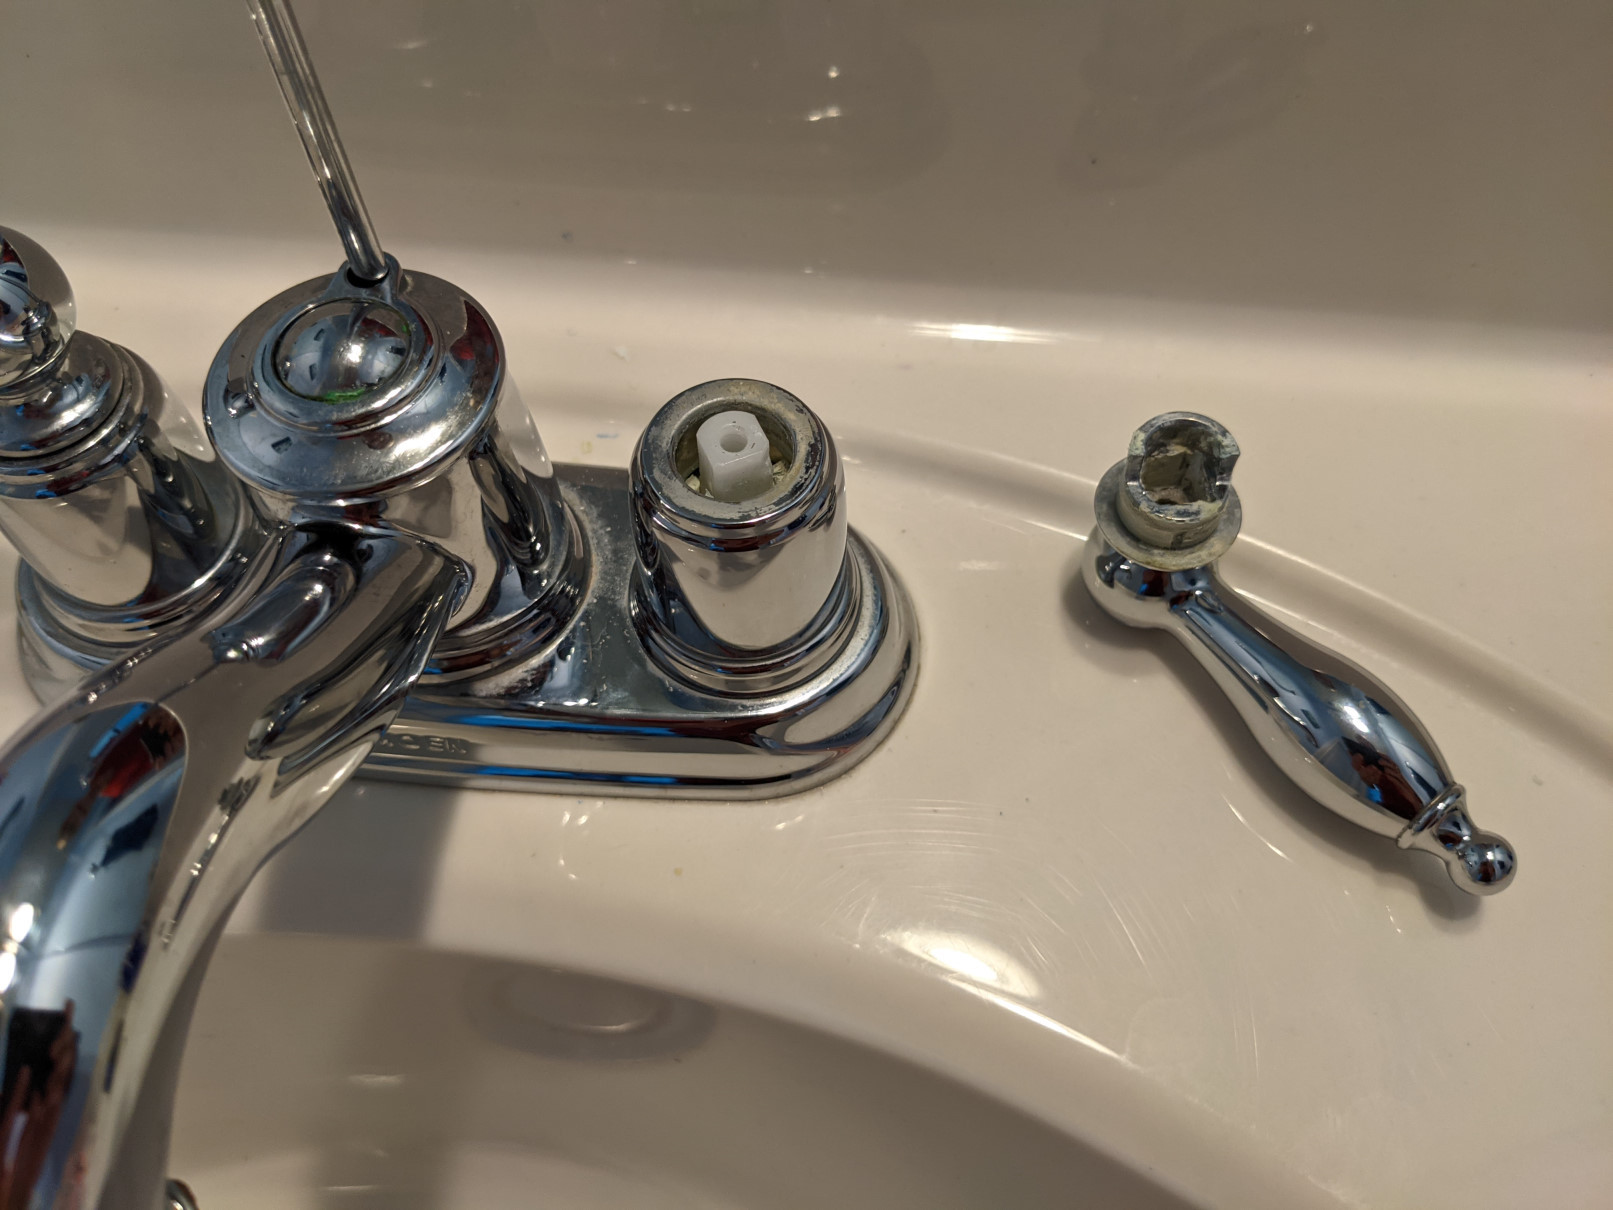
- Start by removing the faucet handle. Depending on your faucet model, you may need to use a Phillips screwdriver or an Allen wrench to loosen the set screw. Once loosened, pull the handle off.
- Next, locate the retaining clip or nut that holds the cartridge in place. Use pliers or an adjustable wrench to remove it. Be cautious and gentle while removing the clip, as it can be small and delicate.
- After removing the clip, carefully pull out the old cartridge from the faucet body. If it’s stuck, you may need to use pliers or a cartridge puller to help remove it.
- Take the replacement cartridge and align it correctly with the faucet body. Push it in firmly until it sits snugly in place.
- Secure the cartridge by reattaching the retaining clip or nut. Ensure it is tightened properly, but be careful not to overtighten it.
Once you’ve replaced the cartridge, it’s a good idea to apply plumber’s tape to the threads of the faucet handle before reassembling it. This will provide a watertight seal and prevent any leaks.
In the next step, we will guide you through the process of reassembling the faucet.
Step 5: Reassemble the Faucet
After replacing the cartridge, it’s time to reassemble your Moen kitchen faucet. Follow these steps to ensure a proper reassembly:
- Start by placing the faucet handle back onto the faucet body. Align it correctly and tighten the set screw using a Phillips screwdriver or an Allen wrench.
- If you have a decorative cap or cover for the handle, attach it securely.
- Turn on the water supply valves under the sink to restore water flow to the faucet.
- Check for any leaks or drips around the faucet and handles. If you notice any, tighten the connections or replace any worn-out gaskets.
- Gradually turn on the faucet handles and observe the water flow. Make sure it is running smoothly without any irregularities.
If everything looks and functions properly, congratulations! You have successfully reassembled your Moen kitchen faucet. However, if you are still experiencing any issues with the faucet, it may be necessary to seek professional help or consult Moen’s customer support for further assistance.
Finally, let’s move on to the last step, where we will test the faucet to ensure it’s functioning correctly.
Step 6: Test the Faucet
Now that you’ve reassembled your Moen kitchen faucet, it’s important to test it to ensure it is functioning correctly. Follow these steps to test your faucet:
- Turn on the water supply valves fully to allow maximum water flow to the faucet.
- Gradually turn on the faucet handles, starting with the cold water first. Check for any leaks or drips.
- Turn on the hot water handle and check for consistent water flow and temperature.
- Inspect the handle operation. Ensure it moves smoothly and without resistance.
- Observe the aerator. If the water flow is weak or uneven, remove and clean the aerator, or replace it if necessary.
If everything looks and functions properly during the faucet test, congratulations! You have successfully repaired your Moen kitchen faucet. Enjoy the smooth and efficient performance of your newly fixed faucet.
However, if you encounter any issues, such as persistent leaks, unusual noises, or inconsistent water flow, it’s recommended to seek professional assistance or consult Moen’s customer support. They can provide further guidance and help resolve any unresolved problems.
Remember, regular maintenance and periodic inspections can help prolong the lifespan of your kitchen faucet. By addressing any issues promptly, you can avoid potential damages and enjoy a hassle-free kitchen experience.
With that, we conclude our guide on how to fix a Moen kitchen faucet. We hope this step-by-step process has been helpful and has empowered you to tackle any faucet issues with confidence.
Conclusion
Fixing a Moen kitchen faucet doesn’t have to be a daunting task. By following the simple steps outlined in this guide, you can successfully address common issues such as leaks, drips, and difficulty in handle operation. Remember to gather the necessary tools and materials, turn off the water supply, carefully examine the faucet, identify the problem, replace the cartridge if necessary, reassemble the faucet, and thoroughly test it.
Regular maintenance and prompt repairs are key to ensuring the longevity and optimal performance of your Moen kitchen faucet. By addressing issues as soon as they arise, you can prevent water waste, potential water damage, and unnecessary frustrations in your daily kitchen activities.
If you encounter any difficulties or feel uncertain about any step in the repair process, it’s always a good idea to seek professional assistance or consult Moen’s customer support for further guidance. They are well-equipped to answer any specific questions you may have or provide specialized advice.
Remember, a well-functioning kitchen faucet is not only a matter of convenience but also plays a crucial role in the overall functionality and efficiency of your kitchen. Take the time to maintain and care for your faucet, and it will serve you reliably for many years to come.
We hope this guide has been valuable in assisting you in fixing your Moen kitchen faucet. Enjoy the satisfaction of successfully completing the repair and basking in the smooth and efficient performance of your faucet!
Now that you've mastered fixing your Moen kitchen faucet, why stop there? Dripping faucets can be a nuisance in any part of the house. Our guide on how to remedy leaky faucets offers practical steps and insights, ensuring no more water goes to waste. Whether dealing with a stubborn bathtub spout or a finicky kitchen mixer, our walkthrough provides all you need for a watertight fix. Ready to tackle these common household irritations? Dive into our comprehensive guide and transform into a home repair hero.
Frequently Asked Questions about How To Fix A Moen Kitchen Faucet
Was this page helpful?
At Storables.com, we guarantee accurate and reliable information. Our content, validated by Expert Board Contributors, is crafted following stringent Editorial Policies. We're committed to providing you with well-researched, expert-backed insights for all your informational needs.

0 thoughts on “How To Fix A Moen Kitchen Faucet”