Articles
How To Fix Leaky Pipe In Basement
Modified: December 7, 2023
Learn effective techniques and step-by-step instructions on how to quickly fix a leaky pipe in your basement with our informative articles.
(Many of the links in this article redirect to a specific reviewed product. Your purchase of these products through affiliate links helps to generate commission for Storables.com, at no extra cost. Learn more)
Introduction
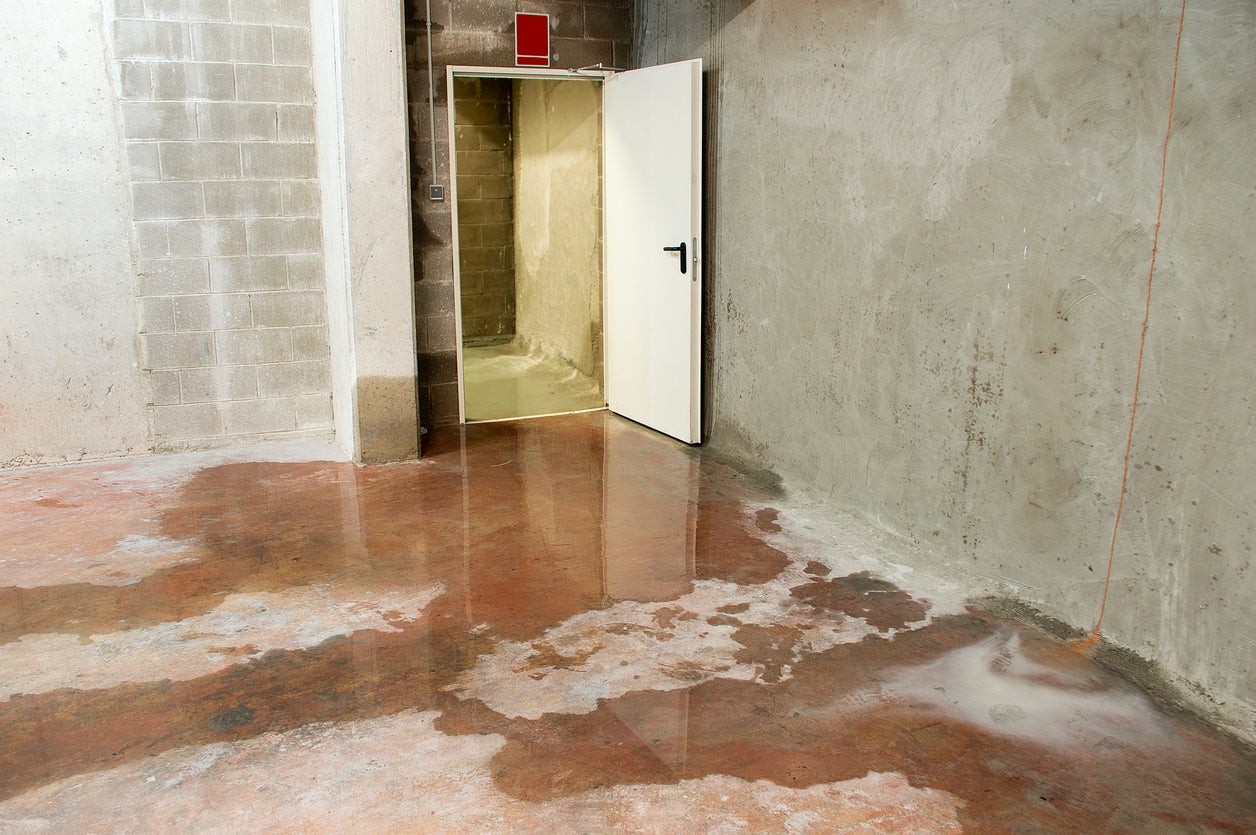
Dealing with a leaky pipe in the basement can be frustrating and potentially damaging to your home. Not only can it cause water damage, but it can also lead to mold growth and structural issues if left unattended. Thankfully, fixing a leaky pipe in the basement is something that most homeowners can tackle themselves with a little bit of know-how and the right tools.
In this article, we will guide you through the step-by-step process of fixing a leaky pipe in the basement. From identifying the source of the leak to turning off the water supply and applying the necessary repairs, we will cover everything you need to know to get the job done effectively and efficiently.
Before we dive into the process, it’s important to note that some leaks may require professional assistance, especially if they involve complex plumbing systems or are beyond your DIY capabilities. However, for minor leaks and simple repairs, you can save time and money by following these steps.
So, let’s get started and learn how to fix that leaky pipe in your basement!
Key Takeaways:
- Identifying the source of the leak, turning off the water supply, and gathering the necessary tools are crucial steps in successfully fixing a leaky pipe in the basement. With patience and attention to detail, homeowners can tackle this DIY project effectively.
- Properly preparing the pipe surface, applying the right sealant or epoxy, and testing for leaks are essential for a durable and long-lasting repair. By following the step-by-step process and exercising caution, homeowners can restore their basement pipes with confidence.
Read more: How To Fix A Leaky Faucet
Step 1: Identify the source of the leak
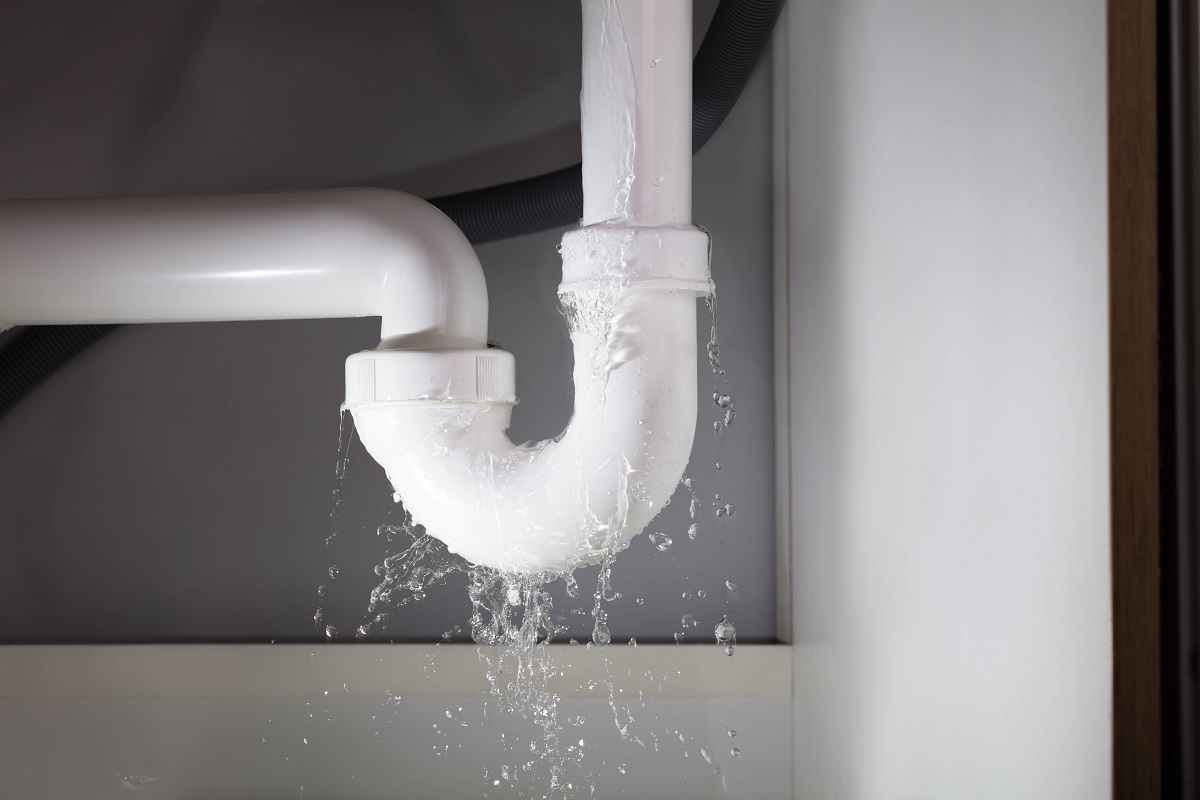
The first step in fixing a leaky pipe in the basement is to identify the source of the leak. It’s important to determine where exactly the water is coming from to effectively troubleshoot and address the issue.
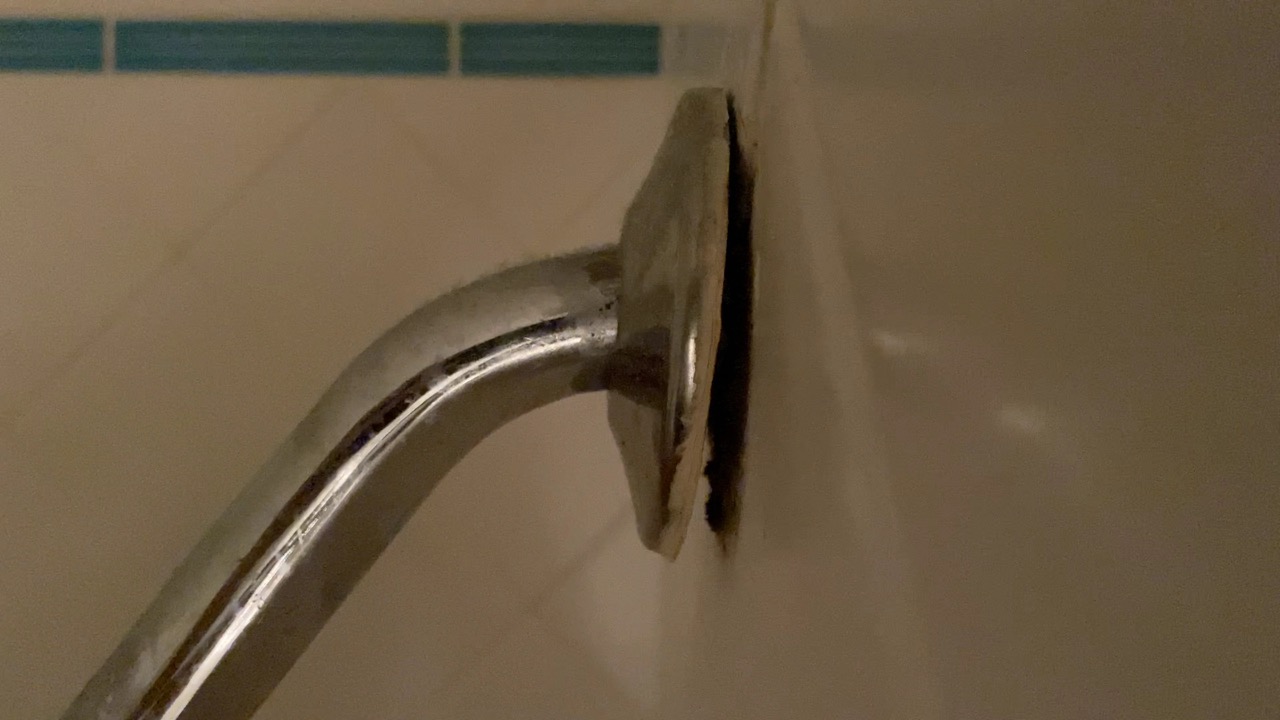
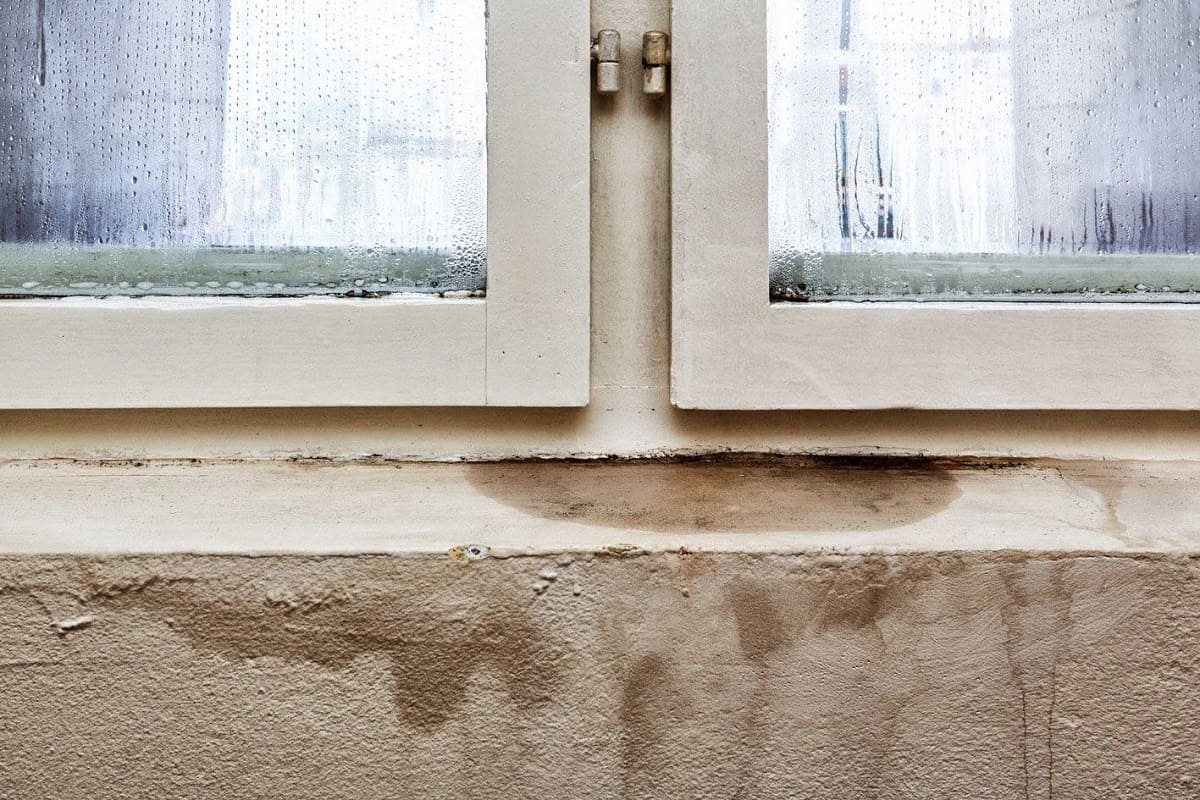
Start by checking the area around the leak for any signs of water damage, such as dampness, discoloration, or mold growth. Follow the water stains or puddles to trace the origin of the leak. Keep in mind that water can travel along pipes or through cracks, so the source of the leak may not be directly above the visible signs of water.
Inspect the pipes in the basement for any visible signs of damage, such as cracks, corrosion, or loose fittings. Pay close attention to joints and connections, as these are common areas for leaks to occur. Use a flashlight to illuminate dark corners and hard-to-reach areas.
If you can’t locate the source of the leak visually, you can try using a dry paper towel or tissue to detect any moisture. Carefully run the paper towel along the suspected areas and look for any signs of dampness or water absorption.
If the leak is not readily apparent, you may need to turn on the water supply temporarily to see if the leak becomes visible. However, proceed with caution to avoid causing further damage. Consider placing a bucket or towel beneath the suspected area to catch any water that may escape.
Once you have identified the source of the leak, take note of its location and the type of pipe involved. This information will be helpful when it comes time to gather the necessary tools and materials for the repair.
By properly identifying the source of the leak, you can ensure that your efforts are focused on the right area, increasing the chances of success in fixing the problem.
Step 2: Turn off the water supply
Before you begin repairing the leaky pipe in your basement, it is crucial to turn off the water supply. This step will prevent any further water damage and ensure your safety during the repair process.
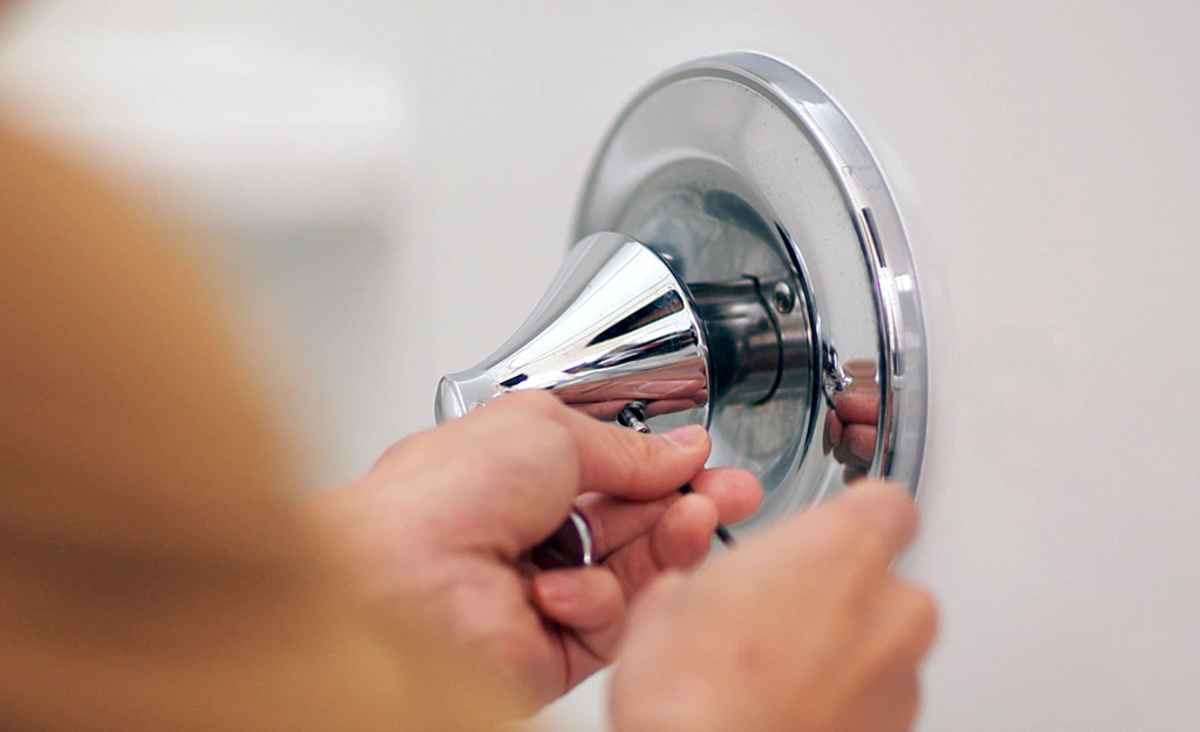
To turn off the water supply, locate the main water shut-off valve in your home. In most cases, you can find it near the water meter or where the main water line enters your house. It is typically a round or lever-style valve that you can turn clockwise to shut off the water flow.
If you are unable to locate the main shut-off valve or it is not functioning properly, consider shutting off the water supply at the specific branch line or fixture. For example, if you are repairing a leaky pipe connected to a sink, look for the shut-off valve under the sink and turn it off.
Once you have successfully turned off the water supply, relieve any pressure in the pipes by opening a faucet on a lower level of your home. This will help drain the remaining water from the system and minimize the amount of water that may leak during the repair.
Keep in mind that turning off the water supply will temporarily cut off water access to your entire home or the affected area. Plan ahead by storing water for essential use, such as drinking, cooking, or personal hygiene, during the repair process.
Turning off the water supply is a crucial step to prevent further damage and ensure your safety while working on the leaky pipe in your basement. By taking the time to turn off the water properly, you can proceed with the repair with peace of mind.
Step 3: Gather necessary tools and materials
Now that you have identified the source of the leak and turned off the water supply, it’s time to gather the necessary tools and materials to fix the leaky pipe in your basement. Having everything prepared before you begin will save you time and ensure a smooth repair process.
Here is a list of tools and materials you may need:
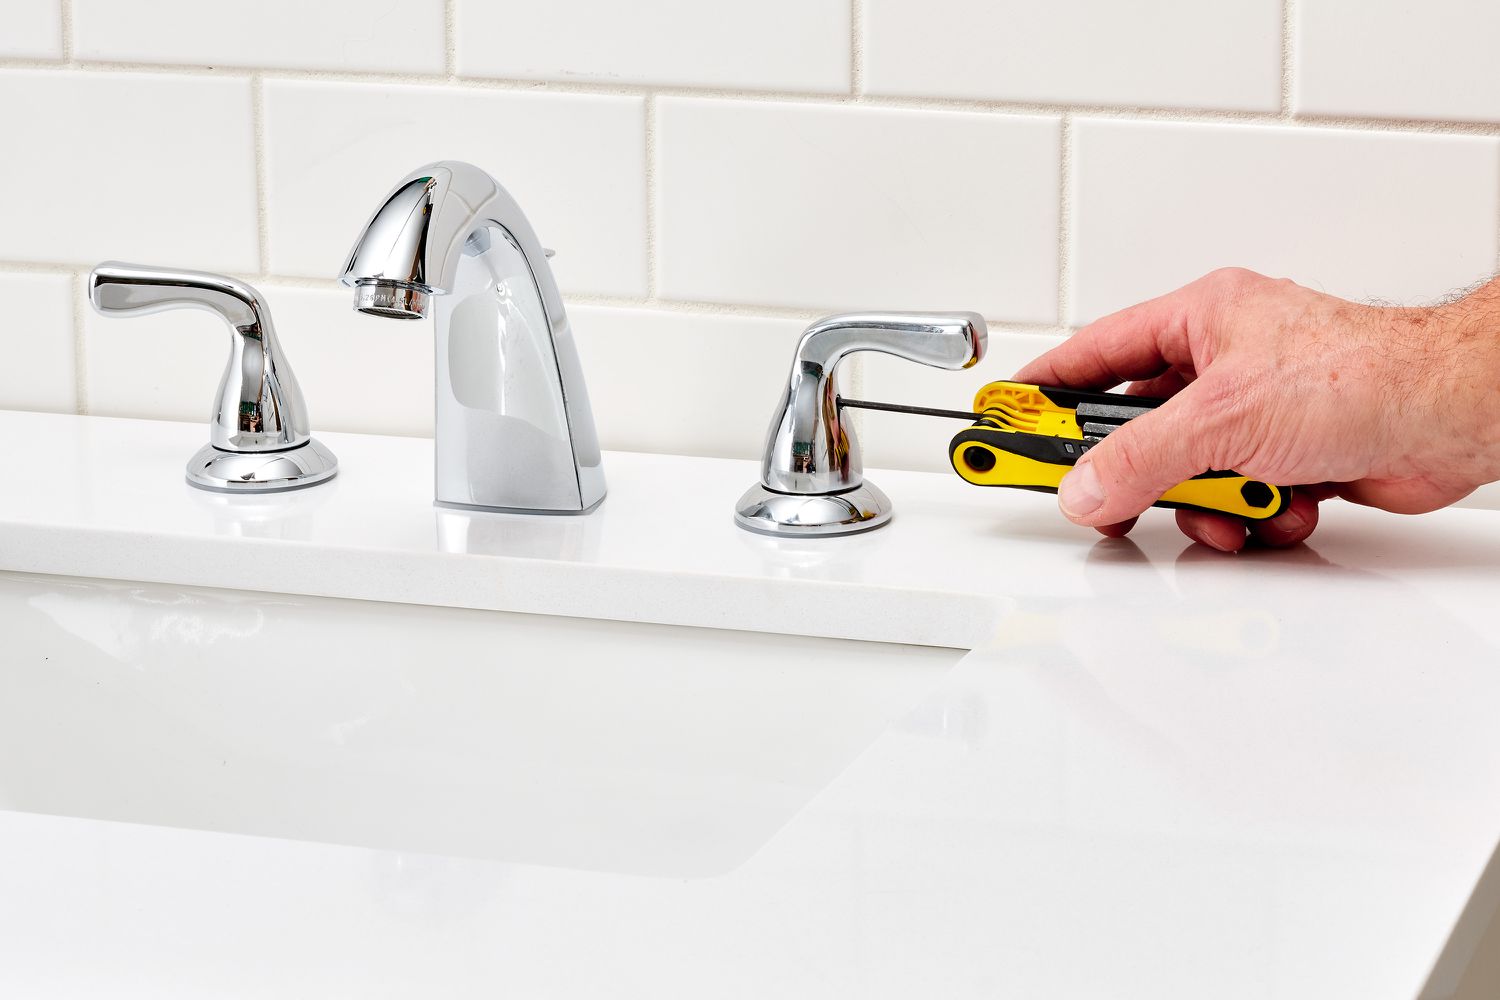
- Adjustable wrench or pipe wrench
- Hacksaw
- Pipe cutter
- Emery cloth or sandpaper
- Pipe sealant or epoxy compound
- Pipe clamps or repair sleeves
- Rags or towels
- Bucket or container
- Plumber’s tape
- Pipe fittings (if necessary)
Depending on the specific repair required, you may not need all of these tools and materials. However, it’s better to have them on hand in case you encounter any unexpected complications.
If you are unsure about the exact tools and materials needed for your specific repair, consult a professional or the manufacturer’s instructions for guidance.
Before you begin the repair, ensure that you have a clean and well-lit work area. Lay down rags or towels to protect the floor and surrounding surfaces from any water or debris that may be present during the repair process.
Gathering the necessary tools and materials beforehand will streamline the repair process and ensure that you have everything you need within reach. This preparation will help you work efficiently and minimize the risk of any delays or complications during the repair.
Step 4: Drain the pipes
Before you can effectively repair the leaky pipe in your basement, it is important to drain the pipes to remove any remaining water. Draining the pipes will help prevent water from spilling out during the repair, making the process safer and more manageable.
To drain the pipes, follow these steps:
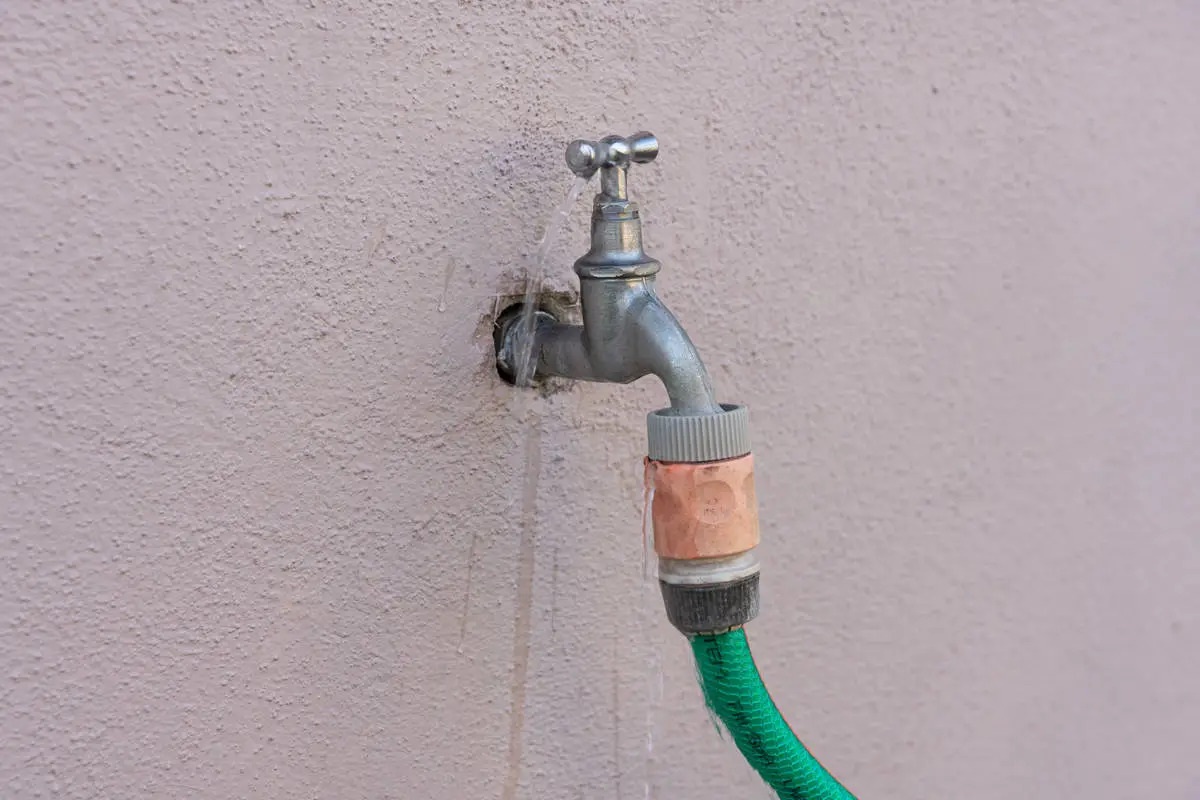
- Open all faucets connected to the affected pipe. This includes any sinks, showers, or outdoor spigots.
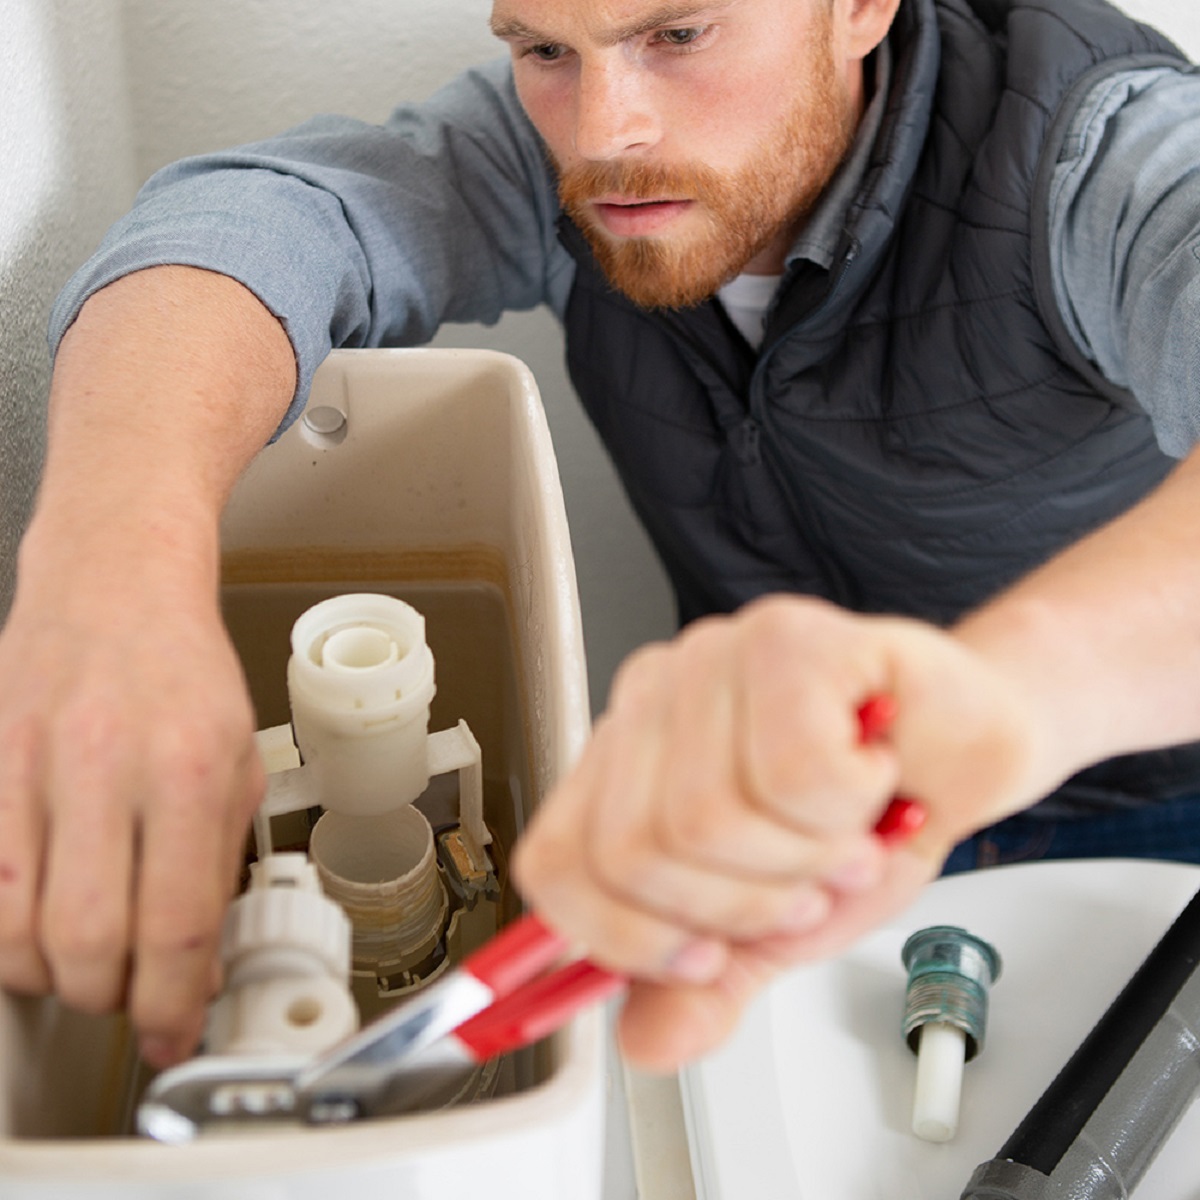
- Flush all toilets in your home to empty the water from the toilet tanks and bowls.
- Collect any water that flows out using a bucket or container. This will prevent water damage and allow you to measure the amount of water left in the pipes.
- If there is still water remaining in the pipes, use a sponge or towel to soak it up.
- Once the majority of the water has been drained, you can proceed with the repair.
It’s important to note that draining the pipes may take some time, depending on the size of your plumbing system and the amount of water in the pipes. Be patient and allow the water to flow out naturally.
During the draining process, it’s a good idea to place towels or rags around the area where the leak is located to catch any residual water that may trickle out.
Draining the pipes will ensure that you can work on the leaky pipe without the risk of excessive water flow or spillage. By taking the time to drain the pipes, you’ll be better prepared for the repair process and can proceed with confidence.
Read more: How To Hide Pipes In Basement
Step 5: Prepare the pipe surface
Before you can apply any repairs or sealants, it is important to prepare the surface of the leaky pipe in your basement. Properly preparing the pipe surface will ensure a clean and secure bond between the pipe and the repair materials, enhancing the effectiveness and longevity of the fix.
Follow these steps to prepare the pipe surface:
- Use an emery cloth or sandpaper to clean the pipe surface around the leaking area. This will remove any dirt, rust, or debris that may hinder the adhesion of the repair materials.
- Ensure that the pipe surface is dry before proceeding. Use a rag or towel to wipe away any moisture or excess water.
- Inspect the pipe for any sharp edges, burrs, or rough spots. Use sandpaper or a file to smooth out these imperfections. This will create a smoother surface for the repair materials to adhere to.
- If the pipe has any loose or damaged fittings, tighten or replace them as necessary. A secure pipe structure is essential for a successful repair.
- Apply plumber’s tape to any threaded connections. This will provide an additional layer of sealing and prevent leaks from occurring in those areas.
By properly preparing the pipe surface, you are creating an optimal environment for the repair materials to adhere to and form a secure, watertight seal.
Take your time during this step to ensure that the pipe surface is clean, dry, and free from any obstructions. This will contribute to the overall success and durability of the repair.
Use a pipe repair clamp to fix a leaky pipe in the basement. Make sure to turn off the water supply before starting the repair and follow the manufacturer’s instructions for proper installation.
Step 6: Apply pipe sealant or epoxy compound
Now that you have prepared the pipe surface, it’s time to apply the appropriate sealant or epoxy compound to fix the leaky pipe in your basement. The choice of sealant or epoxy will depend on the type of pipe and the severity of the leak.
Follow these steps to apply the pipe sealant or epoxy compound:
- Read and follow the manufacturer’s instructions for the specific sealant or epoxy compound you are using. Different products may have different application methods and curing times.
- If using a pipe sealant, apply a generous amount of sealant around the leaking area. Use a brush or your gloved fingers to evenly spread the sealant and ensure it covers the entire leaking section.
- If using an epoxy compound, mix the two components according to the manufacturer’s instructions. Once mixed, apply the epoxy onto the leaking area, covering it completely. Use a putty knife or your gloved fingers to spread the epoxy and create a smooth, even layer.
- Ensure that the sealant or epoxy compound extends slightly beyond the leaking area to create a strong bond with the surrounding pipe surface.
- Follow the recommended curing time specified by the manufacturer. This is crucial for allowing the sealant or epoxy to fully harden and create a durable, watertight seal.
After applying the sealant or epoxy compound, it’s important to give it enough time to cure properly. Avoid disturbing or putting pressure on the repaired area until the recommended curing time has passed.
Remember, the type of sealant or epoxy you use will depend on the materials of your pipe and the nature of the leak. If you are unsure which product to use, consult a professional or the manufacturer for guidance.
By applying the appropriate pipe sealant or epoxy compound, you are effectively sealing the leak and reinforcing the integrity of the pipe. This step is crucial for preventing future leaks and ensuring the long-term durability of the repair.
Step 7: Use a pipe clamp or repair sleeve
If the leak in your basement pipe requires additional support or if the damage is more extensive, using a pipe clamp or repair sleeve can provide extra reinforcement to the repaired area. These devices can help secure the integrity of the pipe and minimize the risk of future leaks.
Follow these steps to use a pipe clamp or repair sleeve:
- Select a pipe clamp or repair sleeve that is appropriate for the size and type of pipe you are repairing. Choose a device that matches the diameter of the pipe and provides a secure fit.
- If using a pipe clamp, position it over the leaking area. Make sure that the clamp completely encloses the damaged section of the pipe.
- Place a rubber gasket or rubber pad between the clamp and the pipe to prevent corrosion and provide a watertight seal.
- Tighten the clamp using an adjustable wrench or a socket wrench. Apply enough pressure to compress the gasket or pad and securely hold the pipe together.
- If using a repair sleeve, remove any water or debris from the leaking area and position the sleeve in place.
- Secure the sleeve by tightening the screws or bolts provided with the sleeve. Make sure all the connections are tight and secure.
Pipe clamps are effective for minor leaks or cracks in the pipe, while repair sleeves are suitable for larger or more severe damage. They provide added structural support and help distribute the pressure on the pipe, reducing the chances of future leaks.
Ensure that the clamp or repair sleeve is properly installed and tightened according to the manufacturer’s instructions. This will help ensure a secure and long-lasting repair.
Keep in mind that using a pipe clamp or repair sleeve is not always necessary for every leaky pipe repair in the basement. Evaluate the severity of the damage and consult a professional if you are unsure about the best course of action.
By using a pipe clamp or repair sleeve, you can reinforce the repaired area and enhance the overall integrity of the pipe, reducing the likelihood of future leaks.
Step 8: Test for leaks
After completing the repair and securing the damaged pipe in your basement, it is crucial to thoroughly test for leaks before restoring the water supply. This step will ensure that the repair is successful and that there are no remaining leaks or issues.
Follow these steps to test for leaks:
- Turn on the water supply to the repaired section of the pipe, either at the main shut-off valve or at the specific branch line or fixture.
- Observe the repaired area closely for any signs of water leakage. Look for drips, moisture, or water stains.
- If you notice any leaks, turn off the water supply immediately and re-evaluate the repair. Check for any loose fittings, gaps in sealant, or other areas that may require further attention.
- If no leaks are apparent, allow the water to flow through the repaired section for several minutes to ensure that the repair holds under normal water pressure.
- Inspect the surrounding area for any signs of water leakage. Be thorough in your examination, checking nearby walls, floors, and ceilings for any signs of dampness or water damage.
- Continue monitoring the repaired area and the surroundings over the next few days to ensure that no new leaks develop.
It’s essential to be patient and vigilant during the testing process. Even a small leak can lead to significant water damage if left undetected.
If you discover any leaks during the testing phase, don’t panic. It may be necessary to apply additional sealant, tighten fittings, or consider using a different repair approach. Consult a professional if the leak persists or if you are unsure about the best course of action.
By thoroughly testing for leaks, you can ensure that the repair is effective and that your basement pipe is restored to its normal functionality without any water leakage.
Read more: How To Fix A Leaky Moen Faucet
Step 9: Turn on the water supply
Congratulations! You’ve made it to the final step in fixing the leaky pipe in your basement. Now that you have successfully repaired the pipe and tested for leaks, it’s time to turn on the water supply and restore the flow of water.
Follow these steps to safely turn on the water supply:
- Double-check that all repaired areas are secure and free from any signs of leakage. Ensure that any sealants, epoxies, clamps, or repair sleeves are properly in place and functioning as intended.
- Slowly and gradually turn on the water supply, either at the main shut-off valve or at the specific branch line or fixture. Avoid sudden pressure changes that could potentially cause damage or dislodge the repair.
- Observe the repaired area closely as water begins to flow through the pipe. Look for any new leaks or signs of water leakage.
- If you notice any leaks, immediately turn off the water supply and reassess the repair. It may be necessary to tighten fittings, apply additional sealant, or consult a professional for further assistance.
- If no leaks are present and the water flows smoothly through the repaired section, you can consider the repair a success.
It’s important to note that even with a successful repair, you should continue to monitor the repaired area and the surrounding surfaces for any signs of water leakage over the next few days. This will provide assurance that the repair is holding up under normal water pressure and usage.
Remember to exercise caution and be prepared to turn off the water supply again if any issues arise. Address any new leaks or concerns promptly to avoid potential water damage to your basement and property.
By safely and confidently turning on the water supply after the repair, you can enjoy a functional and leak-free pipe in your basement once again.
Conclusion
Fixing a leaky pipe in the basement may seem like a daunting task, but with the right approach and guidance, it can be accomplished successfully. By following the step-by-step process outlined in this article, you can tackle the repair with confidence and ensure a long-lasting solution.
The key steps to fix a leaky pipe in the basement include identifying the source of the leak, turning off the water supply, gathering the necessary tools and materials, draining the pipes, preparing the pipe surface, applying pipe sealant or epoxy compound, using a pipe clamp or repair sleeve, testing for leaks, and finally, turning on the water supply.
Throughout the process, it’s important to take your time, carefully assess the damage, and make sure each step is executed properly. Monitor the repaired area for any signs of leakage and address any issues promptly to avoid further damage.
While this article provides a general guide, it’s crucial to remember that more complex plumbing systems or severe leaks may require professional assistance. Don’t hesitate to seek help from a licensed plumber or contractor if you feel unsure or overwhelmed by the repair.
By fixing the leaky pipe in your basement, you not only prevent further water damage to your home but also ensure the health and safety of your living environment. Regular maintenance and proactive care of your plumbing system can save you time, money, and stress in the long run.
Remember, if you encounter any difficulties along the way, it’s always best to consult a professional. They have the expertise and experience to handle any complex repairs or installations that may be beyond your capabilities.
With determination, the right tools, and a little know-how, you can fix that leaky pipe in your basement and enjoy a dry, functional, and worry-free space in your home.
Frequently Asked Questions about How To Fix Leaky Pipe In Basement
Was this page helpful?
At Storables.com, we guarantee accurate and reliable information. Our content, validated by Expert Board Contributors, is crafted following stringent Editorial Policies. We're committed to providing you with well-researched, expert-backed insights for all your informational needs.


0 thoughts on “How To Fix Leaky Pipe In Basement”