Articles
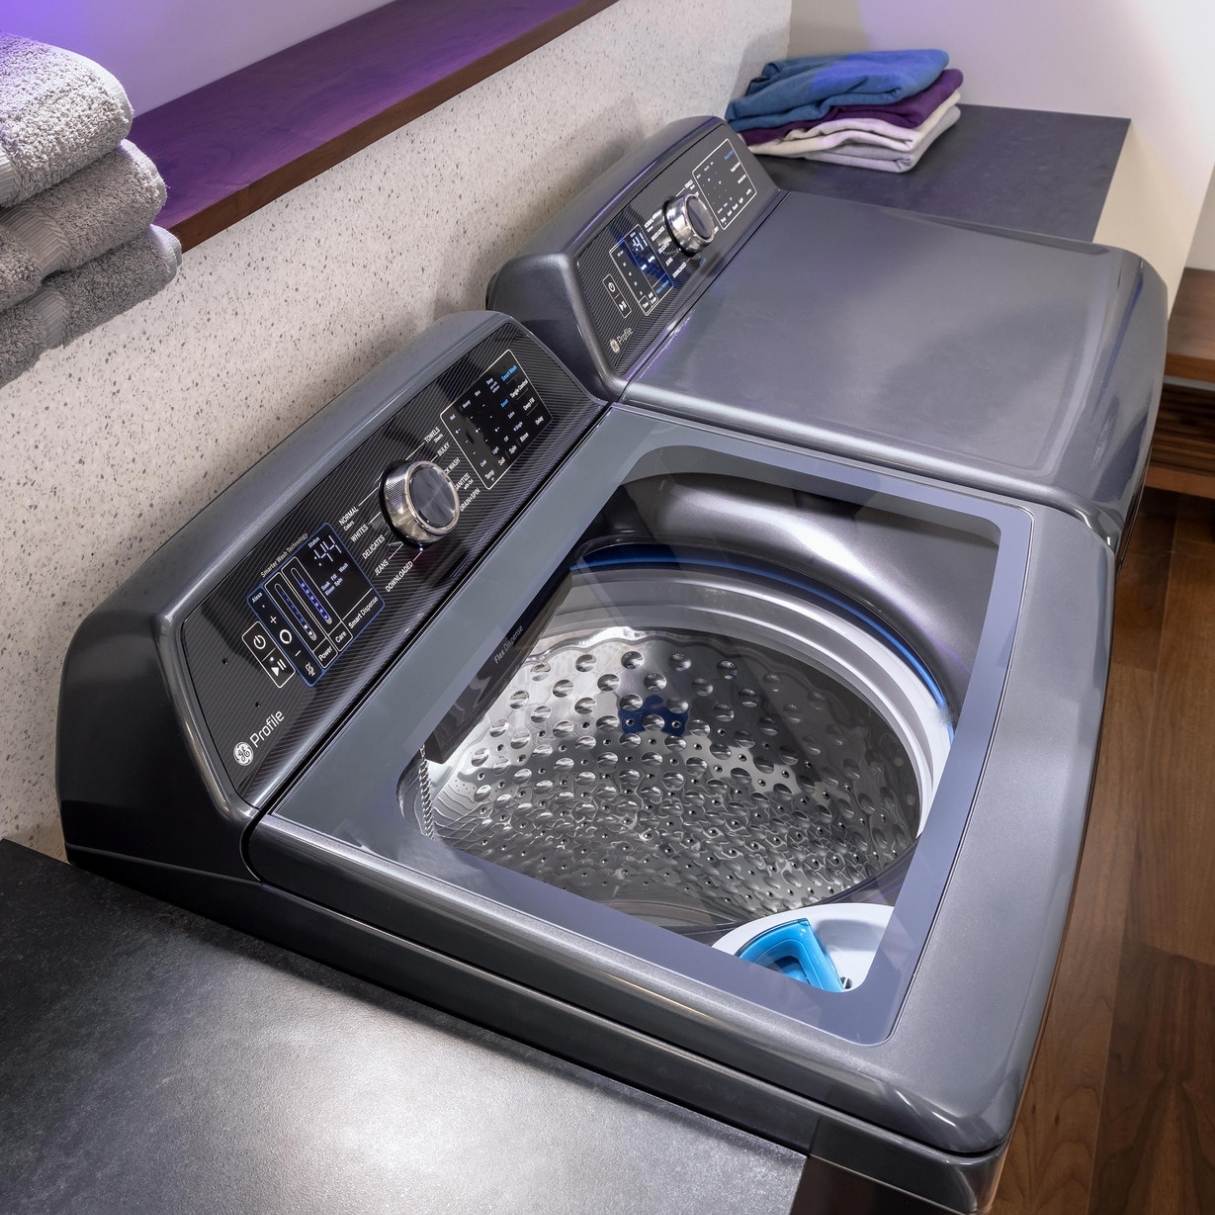
How To Fix The Error Code E75 For GE Dryer
Modified: August 31, 2024
Get step-by-step instructions and expert advice on how to resolve the error code E75 for your GE dryer. Read our informative articles to fix the issue quickly and efficiently.
(Many of the links in this article redirect to a specific reviewed product. Your purchase of these products through affiliate links helps to generate commission for Storables.com, at no extra cost. Learn more)
Are you experiencing the E75: Outlet Temperature Sensor Fault on your GE Dryer?
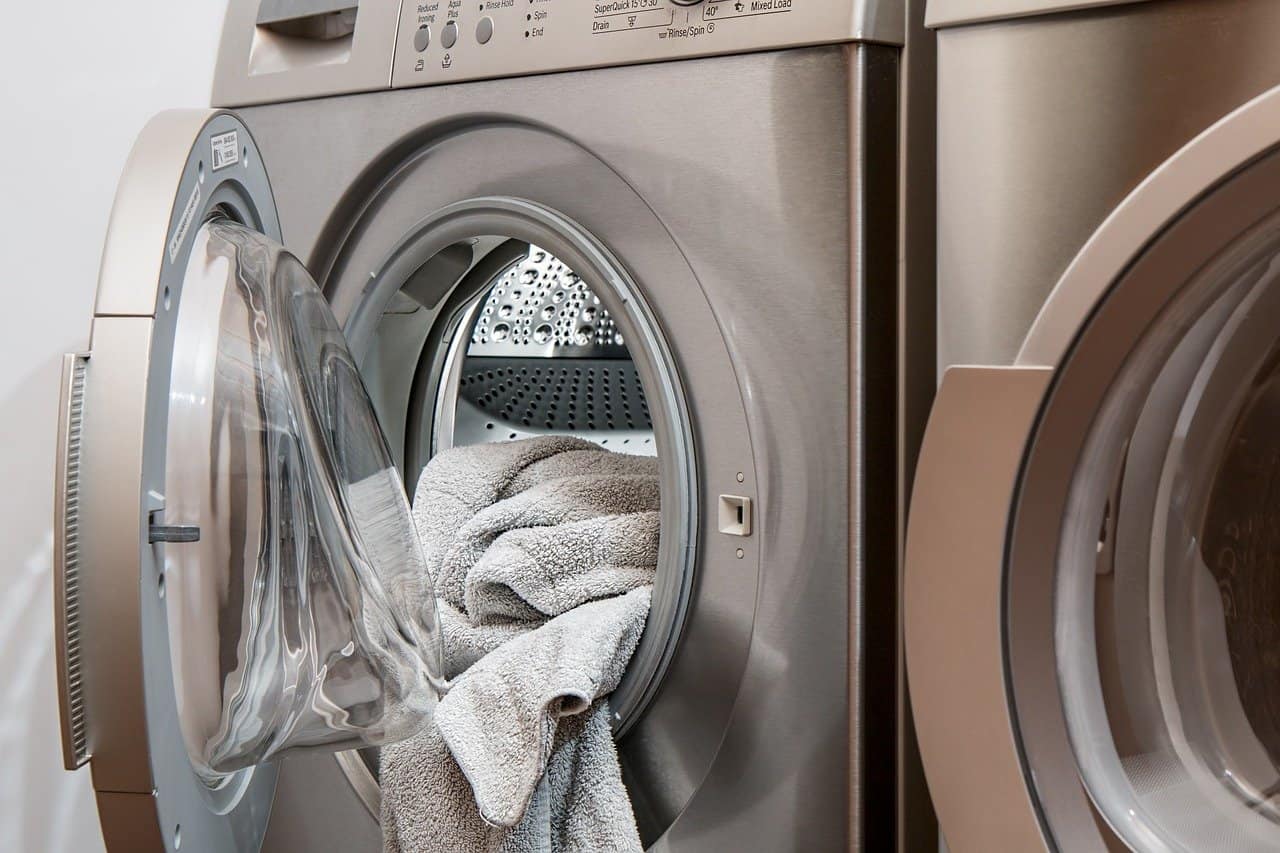
Picture this: you’re in the middle of doing your laundry, and suddenly your GE dryer flashes the dreaded error code E75. Panic may set in as you wonder what went wrong and how to fix it. But fear not, because I’m here to be your expert guide on troubleshooting this issue.
The E75 error code on your GE dryer specifically refers to the Outlet Temperature Sensor Fault. This means that there’s a problem with the sensor responsible for monitoring the temperature of the air leaving the dryer.
So, how can you fix the E75 error code and get your dryer up and running again? Let’s dive into some solutions!
Key Takeaways:
- The E75 error code on your GE dryer indicates a problem with the Outlet Temperature Sensor. To fix it, inspect and clean the sensor, test its functionality, and check the wiring for any loose connections.
- If the E75 error persists, try resetting the dryer or seek assistance from a professional technician. Always prioritize safety when handling electrical appliances and follow proper guidelines for repairs.
Check the Sensor
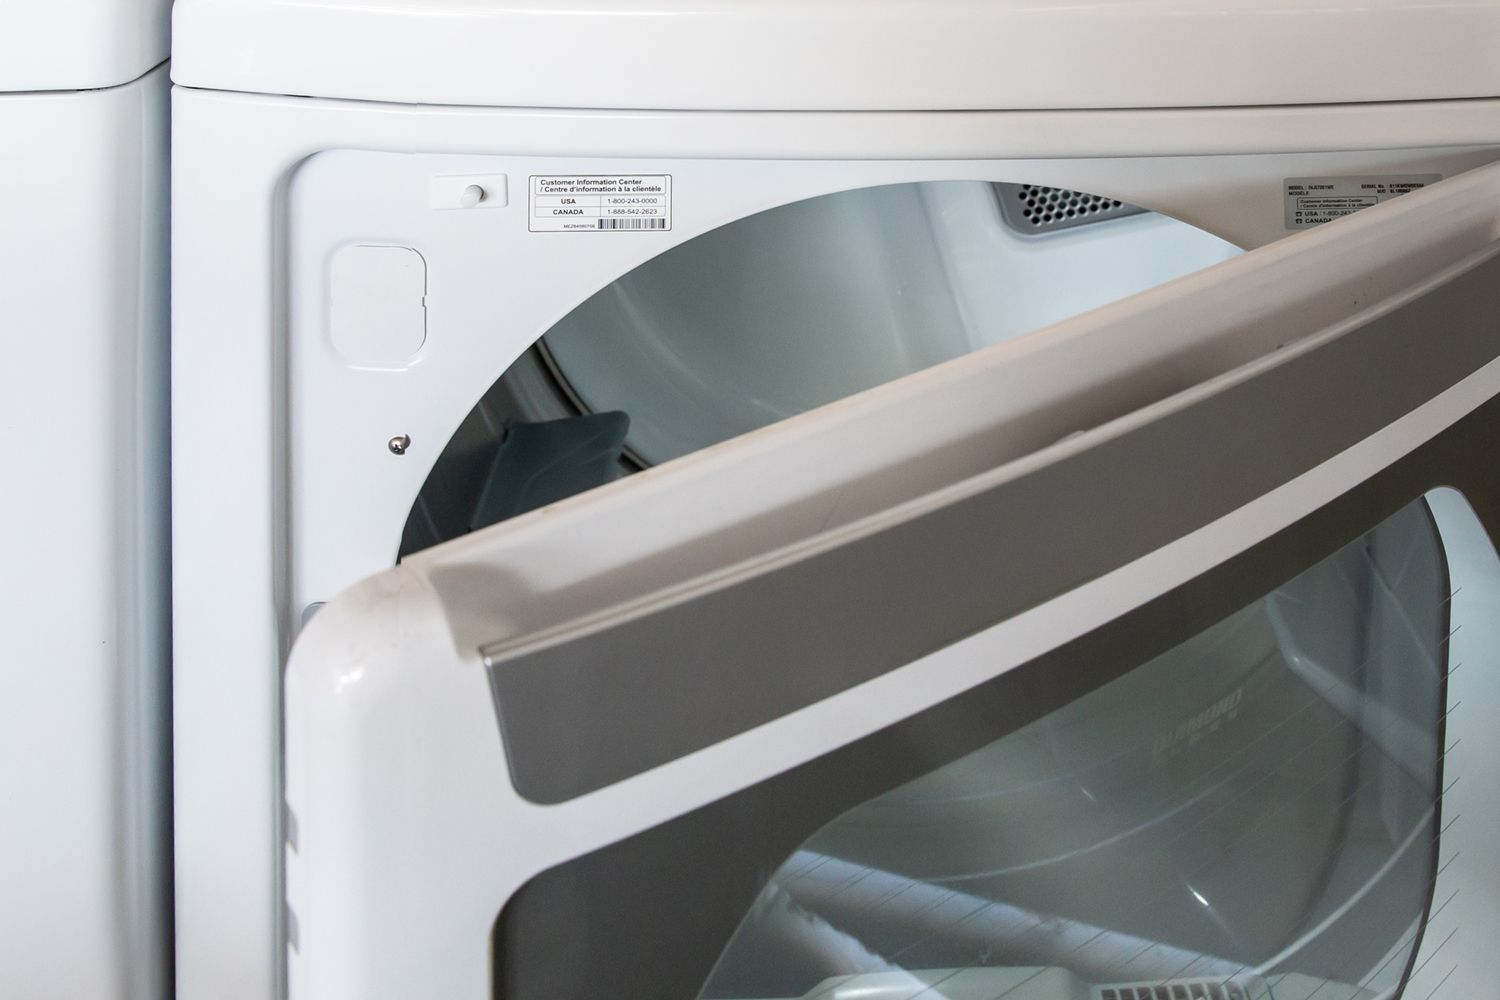
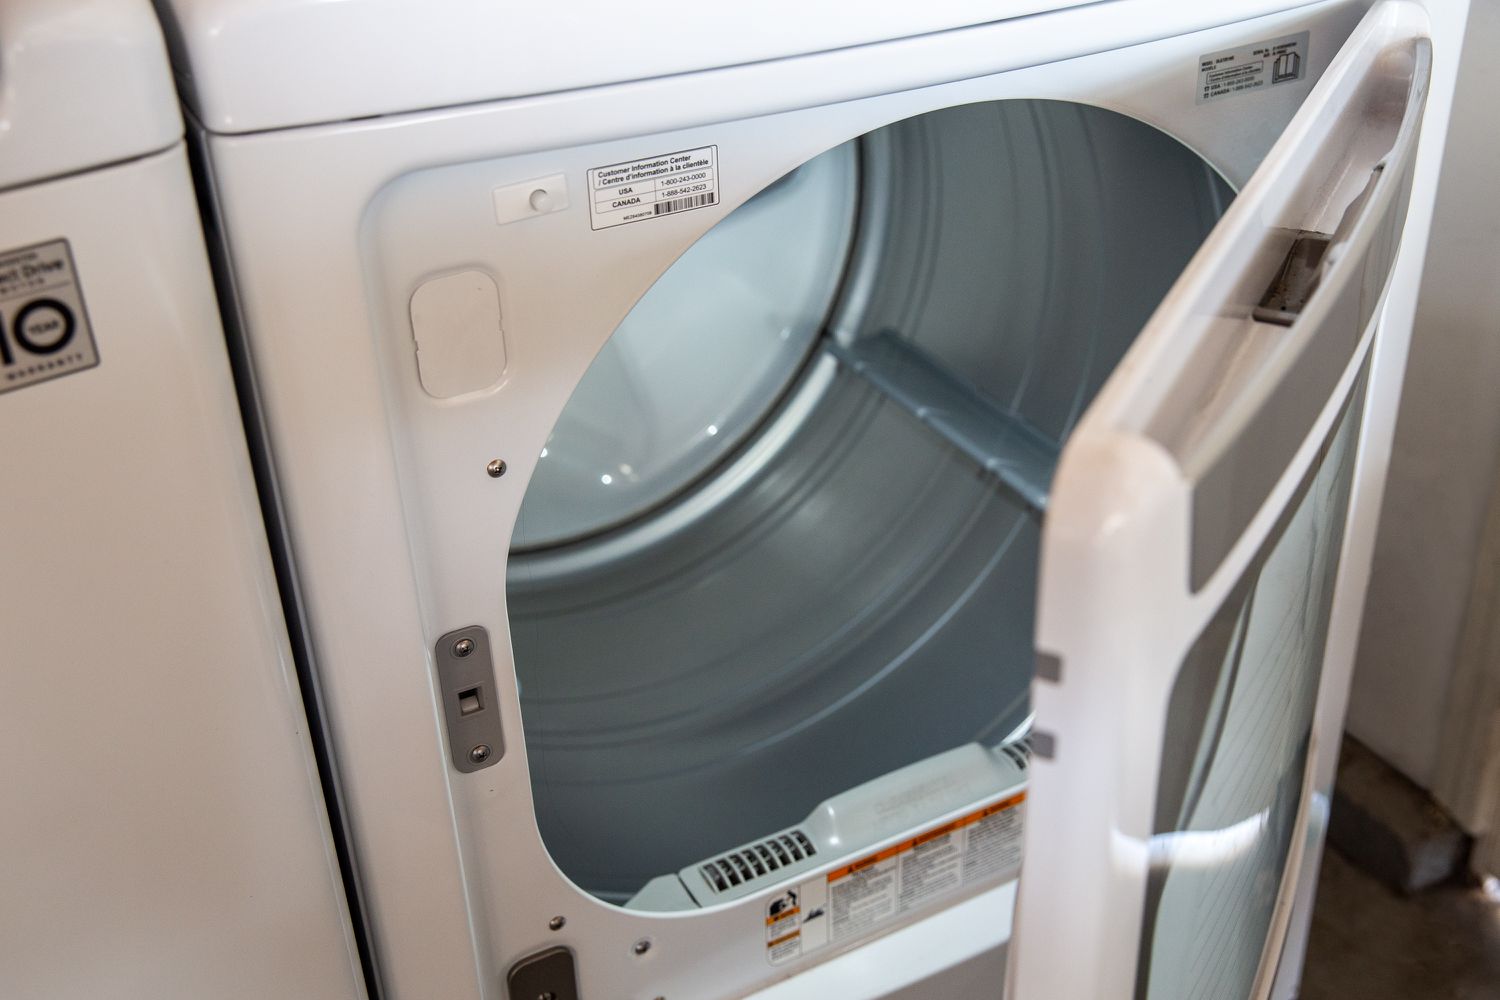
The first step in resolving the E75 error code is to inspect the outlet temperature sensor. This sensor is typically located near the exhaust vent at the back of the dryer. Disconnect the power supply and carefully remove the sensor from its position.
Take a close look at the sensor for any visible signs of damage, such as debris buildup or corrosion. Clean the sensor using a soft cloth or a mild solution of water and soap. Be gentle to avoid causing any further harm.
Test the Sensor
If the outlet temperature sensor appears to be in good condition, the next step is to test it. With a multimeter set to measure resistance, touch the meter’s probes to the sensor’s terminals. A functional sensor should provide a reading within a specific range. Consult your dryer’s manual or contact GE customer support for the appropriate resistance values.
If the test reveals that the sensor is faulty, you’ll need to replace it with a new one. Contacting a professional technician or reaching out to GE’s customer support team can help you acquire the right sensor and guide you through the installation process.
Check the wiring connections between the control board and the thermistor. If they are loose or damaged, reattach or replace them to fix the E75 error code on your GE dryer.
Check the Wiring
While you’re inspecting the outlet temperature sensor, it’s also a good idea to examine the wiring connected to it. Look for any loose or damaged connections that may be causing the E75 error code. Tighten any loose wires and replace any faulty or frayed wires to ensure a secure and reliable connection.
Reset the Dryer
If you’ve gone through the above steps and the error code persists, try resetting your GE dryer. To do this, unplug the dryer from the power source for a few minutes, then plug it back in. This can sometimes clear temporary issues and reset the dryer’s internal systems.
If none of these troubleshooting steps resolve the E75 error code, it’s advisable to seek assistance from a qualified technician. They have specialized knowledge and tools to diagnose and fix complex issues with your GE dryer.
Remember, dealing with electrical appliances requires caution. Always prioritize your safety and follow proper guidelines when handling and repairing any appliance.
By following these steps, you’ll be well on your way to resolving the E75: Outlet Temperature Sensor Fault on your GE dryer. So, put those worries aside, roll up those sleeves, and get your dryer back in action!
Read more: How To Fix The Error Code E72 For GE Dryer
Frequently Asked Questions about How To Fix The Error Code E75 For GE Dryer
1. Unplug the dryer from the power source and wait for a few minutes.
2. Confirm that the dryer door is securely closed.
3. Check the moisture sensor and ensure it is properly connected to the control board.
4. Inspect the control board for any loose connections or visible signs of damage.
5. If everything looks fine, you may need to replace either the moisture sensor or the control board itself.
1. Unplug the dryer from the power source.
2. Locate the moisture sensor, which is usually located near the lint screen or inside the dryer drum.
3. Inspect the sensor for any visible damage or debris. Clean it gently with a soft cloth if necessary.
4. Check the wiring connecting the moisture sensor to the control board for any loose or disconnected wires.
5. Reconnect any loose wires and ensure they are securely attached.
1. Unplug the dryer from the power source.
2. Remove the screws or clips that secure the top panel to the dryer.
3. Lift the top panel and locate the control board, usually located at the top rear of the dryer.
4. Disconnect the wiring harnesses attached to the control board. Take note of their positions or take a photo to ensure proper reconnection later.
5. Remove the screws securing the control board to the dryer.
6. Install the new control board and secure it with the screws.
7. Reconnect the wiring harnesses, ensuring they are properly aligned and attached.
8. Replace the top panel and secure it with the screws or clips.
9. Plug the dryer back into the power source and test if the Error Code E75 has been resolved.
Was this page helpful?
At Storables.com, we guarantee accurate and reliable information. Our content, validated by Expert Board Contributors, is crafted following stringent Editorial Policies. We're committed to providing you with well-researched, expert-backed insights for all your informational needs.


0 thoughts on “How To Fix The Error Code E75 For GE Dryer”