Articles
How To Fix Water Damaged Wood Floor
Modified: December 7, 2023
Learn how to fix water damaged wood floors with helpful articles and expert tips. Restore your flooring and prevent further damage.
(Many of the links in this article redirect to a specific reviewed product. Your purchase of these products through affiliate links helps to generate commission for Storables.com, at no extra cost. Learn more)
Introduction
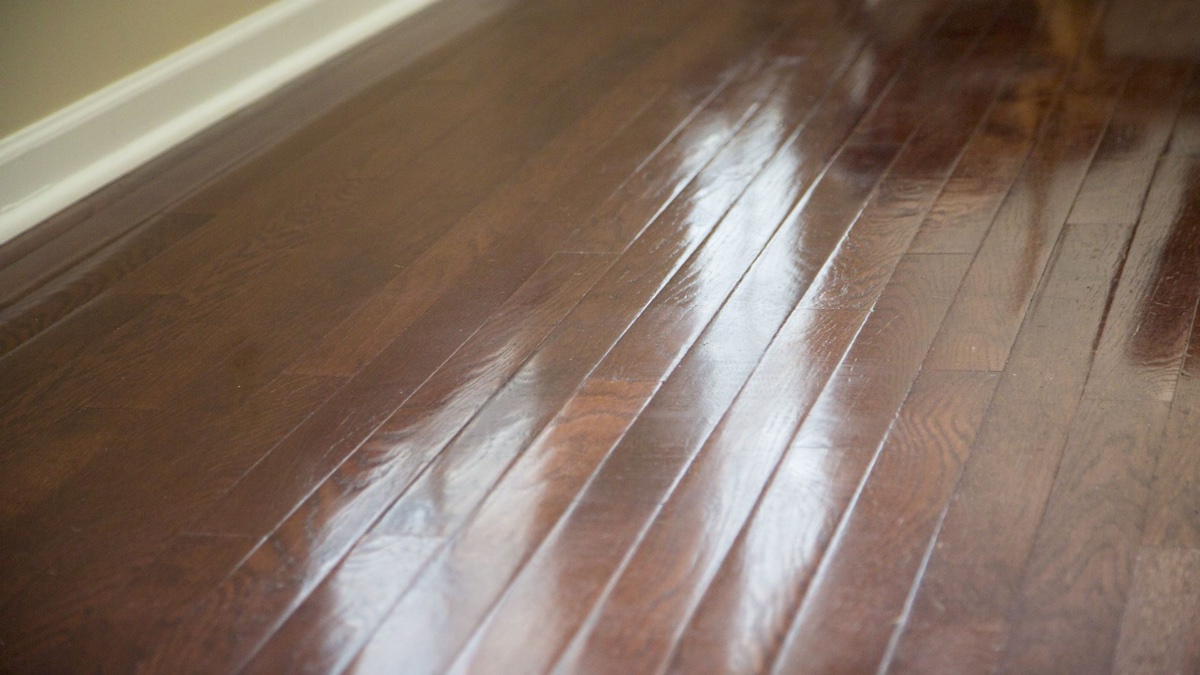
Water damage is a common problem that many homeowners face, and one area that is particularly susceptible to this issue is wood flooring. A water damaged wood floor not only looks unsightly, but it can also lead to further structural damage if not addressed promptly. However, with the right knowledge and steps, you can effectively fix water damaged wood floors and restore them to their former glory.
In this article, we will guide you through the process of fixing water damaged wood floors. Whether the damage is caused by a plumbing leak, a flood, or excessive moisture, following these steps will help you mitigate the damage and bring your wood floor back to life.
Before we dive into the restoration process, it’s important to note that water damage can vary in severity. Minor water damage may only affect the surface finish, while more severe cases may require the replacement of damaged boards. It’s important to assess the extent of the damage before proceeding with any repairs.
Now let’s get started with the first step – assessing the damage to your wood floor.
Key Takeaways:
- Assess the extent of water damage to your wood floor by visually inspecting, testing for moisture, and checking for structural issues. Categorize the damage as mild, moderate, or severe to guide your restoration approach.
- Effectively restore your water damaged wood floor by removing standing water, thoroughly drying the floor, sanding and refinishing, repairing or replacing damaged boards, and applying a protective sealant. Patience, attention to detail, and safety are crucial throughout the restoration process.
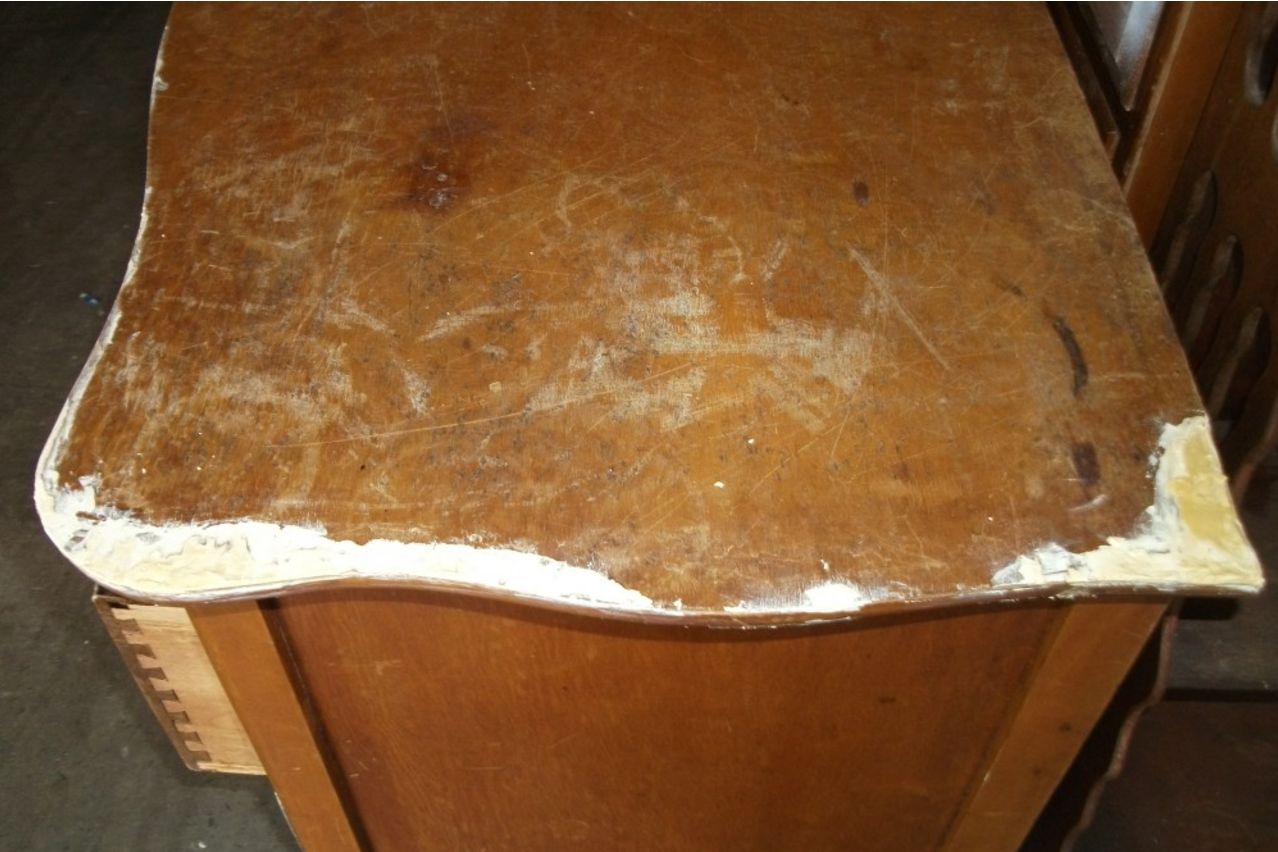
Read more: How To Fix Water-Damaged Wood Dresser
Step 1: Assess the Damage
The first step in fixing a water damaged wood floor is to assess the extent of the damage. This will help you determine the appropriate course of action and the level of repair needed. Here are some key points to consider when assessing the damage:
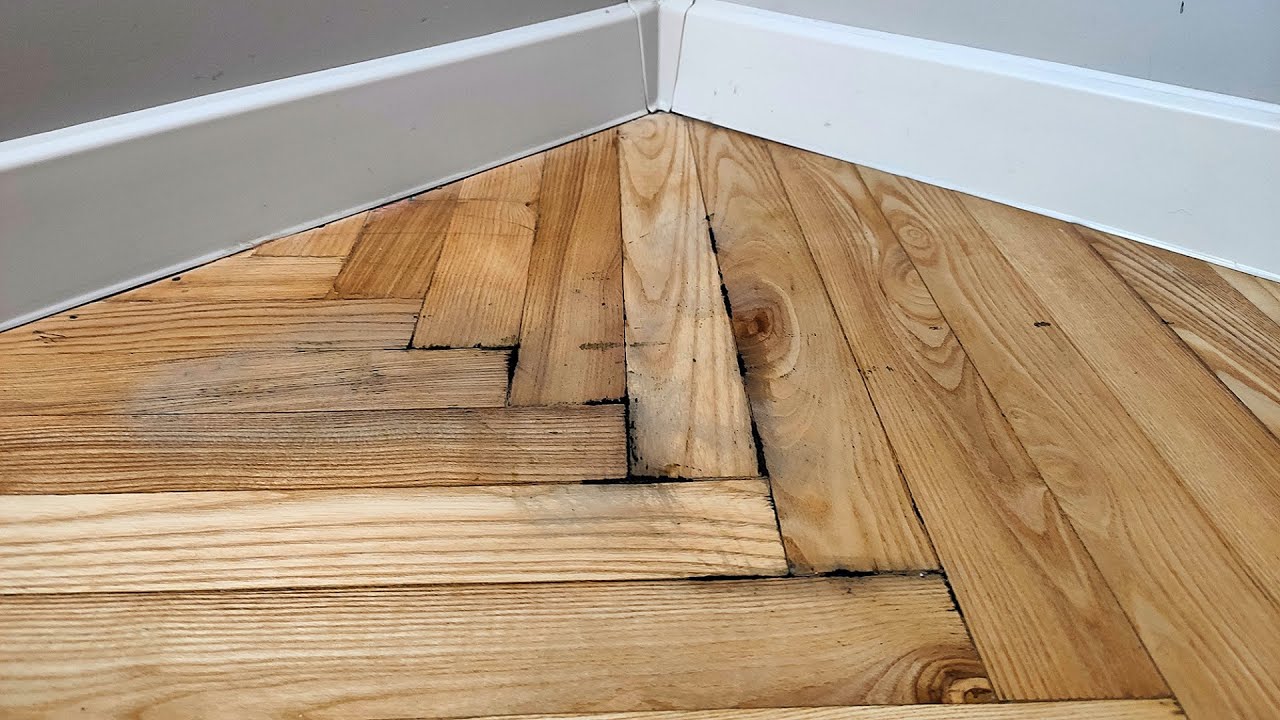
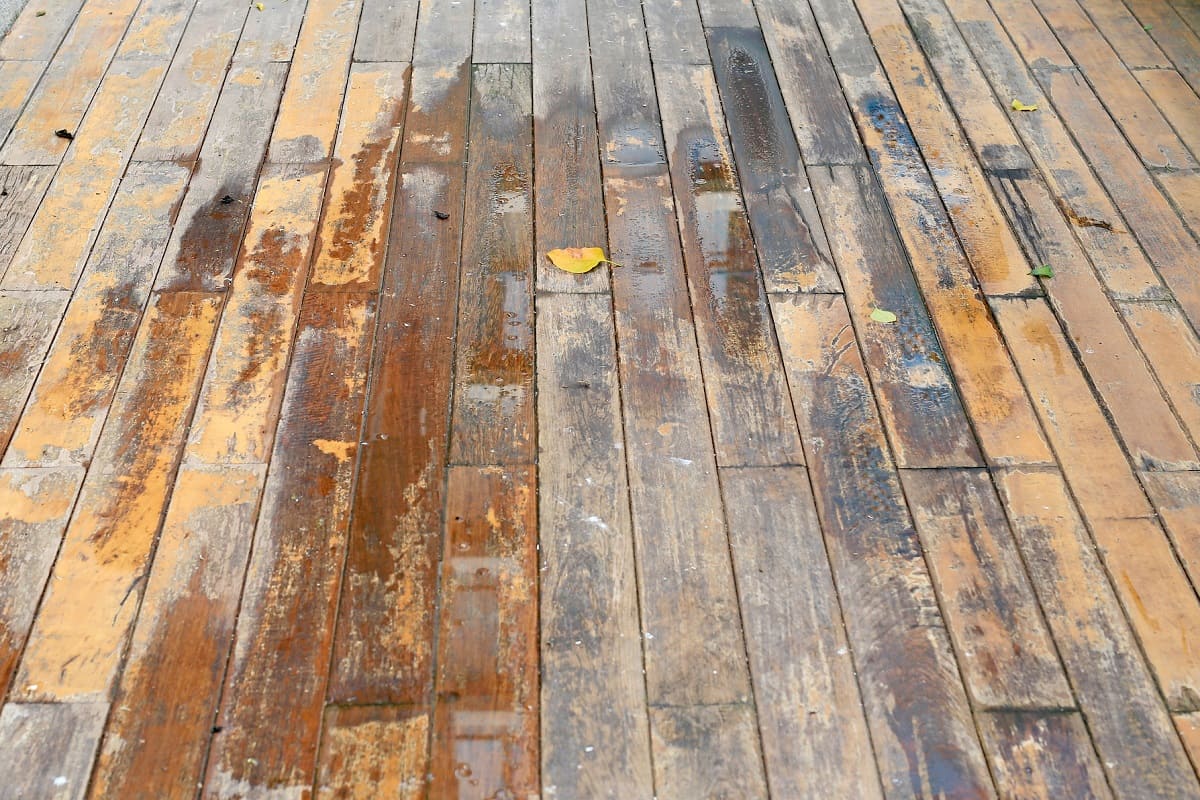
- Visual Inspection: Start by visually inspecting the affected area. Look for signs of discoloration, warping, or buckling of the wood. Pay attention to any mold or mildew growth, as this indicates prolonged exposure to moisture.
- Moisture Testing: Use a moisture meter to check the moisture content of the wood. This will give you a more accurate assessment of the damage below the surface. Ensure to test the affected area as well as adjacent areas to establish the extent of the water penetration.
- Structural Damage: Determine if the water damage has compromised the structural integrity of the floor. Look for signs of sagging or soft spots, as this could indicate underlying damage to the subfloor. If there is significant structural damage, it may be necessary to consult with a professional contractor.
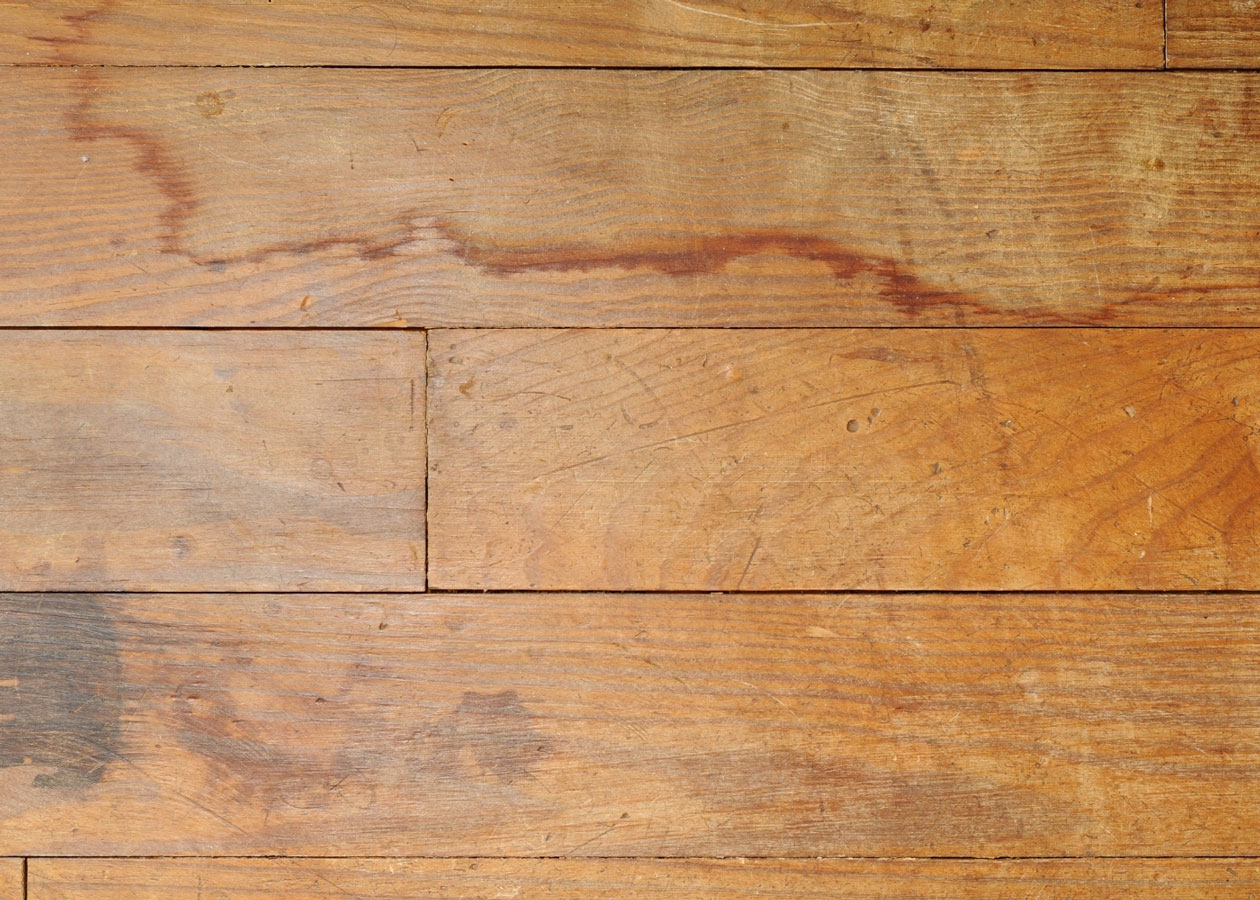
Based on your assessment, categorize the damage as mild, moderate, or severe. Mild damage typically involves minimal surface discoloration and can be addressed through basic restoration techniques. Moderate damage includes noticeable warping or staining and may require more extensive repair work. Severe damage refers to extensive structural issues or widespread damage that may require the replacement of affected boards.
By thoroughly assessing the damage, you will have a better understanding of the scope of the repair and the resources needed to restore your water damaged wood floor. With this information in hand, you can proceed to the next step: removing standing water.
Step 2: Remove Standing Water
After assessing the damage to your water damaged wood floor, the next step is to remove any standing water from the surface. Standing water can seep into the wood, causing further damage and promoting the growth of mold and mildew. Here’s how you can effectively remove standing water from your wood floor:
- Use a Wet/Dry Vacuum: Start by using a wet/dry vacuum to extract as much water as possible from the affected area. Make sure to use the appropriate attachment for hard floors to avoid scratching or damaging the wood.
- Soak up Excess Water: After vacuuming, use absorbent materials such as towels or mop heads to soak up any remaining water. Press them firmly onto the surface, focusing on the areas with the most moisture.
- Utilize Fans and Dehumidifiers: Set up fans and dehumidifiers in the room to increase air circulation and promote drying. Position the fans to blow the air directly onto the wet floor, and use a dehumidifier to remove excess moisture from the air.
- Monitor the Drying Process: Keep a close eye on the drying progress of your wood floor. Check for any signs of lingering moisture or dampness. It’s important to ensure that the floor is completely dry before proceeding to the next step.
Remember, the sooner you can remove the standing water from your wood floor, the better chances you have of preventing further damage and minimizing the risk of mold and mildew growth. By effectively removing the standing water, you’re laying the foundation for the next step in the restoration process – drying the floor.
Step 3: Dry the Floor
Once you have successfully removed the standing water from your water damaged wood floor, the next step is to thoroughly dry the floor. Proper drying is crucial to prevent further damage and to ensure the wood returns to its original state. Here’s how you can effectively dry your wood floor:
- Open Windows and Doors: If weather permits, open windows and doors to increase ventilation and allow fresh air to circulate. This will help expedite the drying process and remove any lingering moisture.
- Use Fans and Dehumidifiers: Place fans strategically around the room to facilitate air movement and promote faster drying. Position them to blow air directly across the surface of the wood floor. Additionally, continue running a dehumidifier to remove excess moisture from the air.
- Inspect with Moisture Meter: Regularly monitor the moisture levels of the wood floor using a moisture meter. This will help you gauge the progress of drying and determine when the floor is sufficiently dry.
- Remove Baseboards, if necessary: In some cases, it may be necessary to remove the baseboards to ensure proper airflow and drying. This can help prevent the growth of mold or mildew in hard-to-reach areas. Consult a professional or follow manufacturer guidelines for safe removal.
- Patience is key: Drying a water damaged wood floor can be a time-consuming process. It’s essential to exercise patience and allow the floor to dry completely before moving on to the next step. Rushing the drying process can lead to further damage or the need for future repairs.
By following these steps and allowing sufficient time for the floor to dry, you are taking important measures to restore your water damaged wood floor effectively. Once you’re confident that the floor is thoroughly dried, you can proceed to the next step – sanding and refinishing.
Use a dehumidifier to remove excess moisture from the wood floor. Place fans around the affected area to increase air circulation and speed up the drying process. Sand and refinish the floor to restore its appearance.
Step 4: Sand and Refinish
After drying the water damaged wood floor, the next step is to sand and refinish the surface. Sanding helps to remove any remaining stains or unevenness caused by the water damage, while refinishing adds a protective layer to enhance the appearance and durability of the floor. Follow these steps to properly sand and refinish your wood floor:
- Prepare the Floor: Clear the area of furniture, rugs, and other items that may obstruct the sanding process. Ensure the floor is clean and free from any debris or dust.
- Sand the Surface: Use a floor sander with a fine-grit sandpaper to sand the surface of the wood floor. Start from one corner and work your way across the room, following the grain of the wood. Repeat the sanding process with progressively finer grits of sandpaper until you achieve a smooth and even finish. Be sure to wear protective goggles and a respirator during the sanding process to avoid inhaling dust particles.
- Remove Dust: After sanding, thoroughly clean the floor to remove any dust or debris. Use a vacuum cleaner or a damp cloth to ensure a clean and dust-free surface.
- Apply the Finish: Select a suitable finish for your wood floor, such as polyurethane or varnish. Apply the finish according to the manufacturer’s instructions, using a brush, roller, or applicator pad. Work in small sections, starting from the farthest corner and working towards the exit to avoid trapping yourself in the room. Ensure to apply multiple coats of finish, allowing proper drying time between each coat.
- Allow for Cure Time: Give the finish adequate time to cure before placing furniture or heavy objects back on the floor. This will help prevent any damage to the freshly applied finish.
By sanding and refinishing the water damaged wood floor, you are not only restoring its appearance but also adding a layer of protection against future damage. The refinishing process helps to seal the wood and provide a durable finish, ensuring the longevity of your restored wood floor.
Once the refinishing process is complete and the floor is fully cured, you can move on to the next step – repairing or replacing damaged boards, if necessary.
Read more: How To Fix Water Damaged Ceiling
Step 5: Repair or Replace Damaged Boards
After sanding and refinishing the water damaged wood floor, it’s time to assess and address any boards that may need repair or replacement. Damaged boards can detract from the overall appearance and structural integrity of the floor. Follow these steps to repair or replace damaged boards:
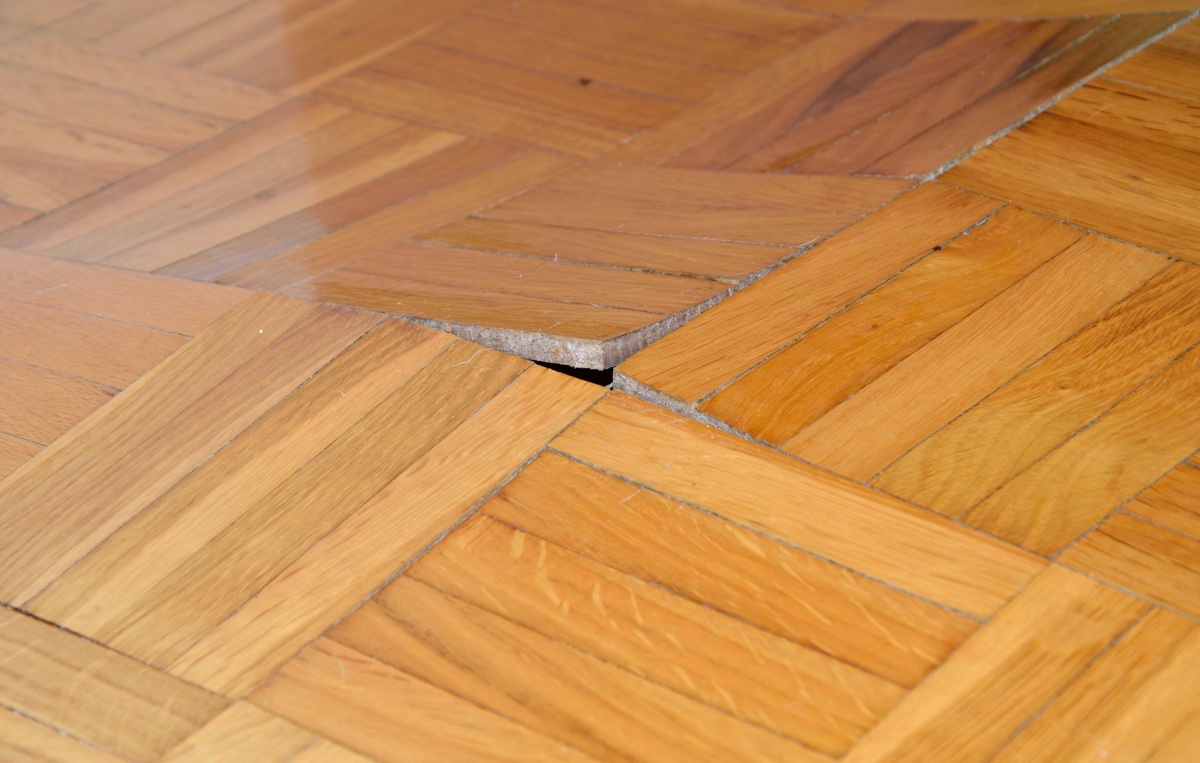
- Inspect for Damage: Conduct a thorough inspection of the wood floor to identify any boards that are beyond repair. Look for signs of extensive warping, deep cracks, or boards that are completely damaged.
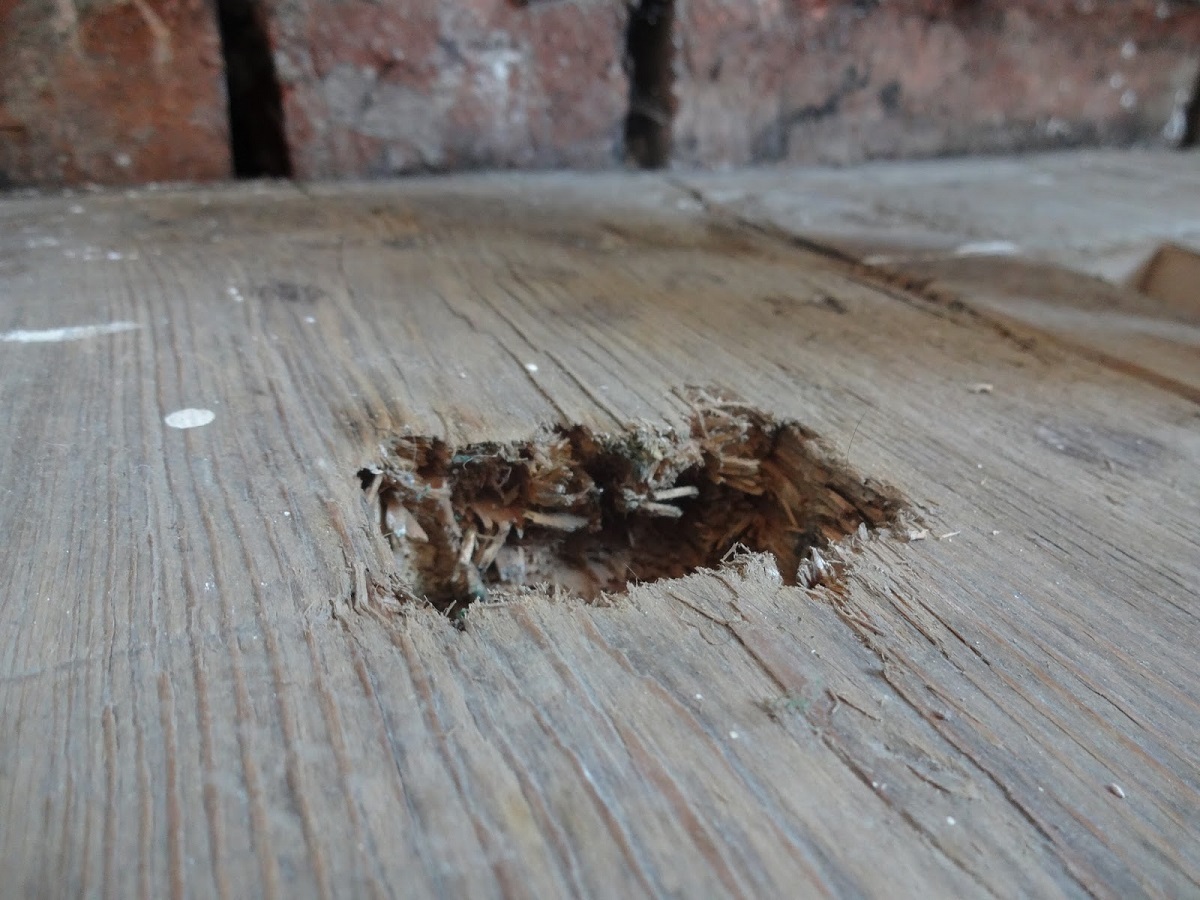
- Repair Minor Damage: For boards with minor damage such as small cracks or scratches, you can use wood filler or epoxy to fill in the imperfections. Follow the manufacturer’s instructions for proper application and drying time.
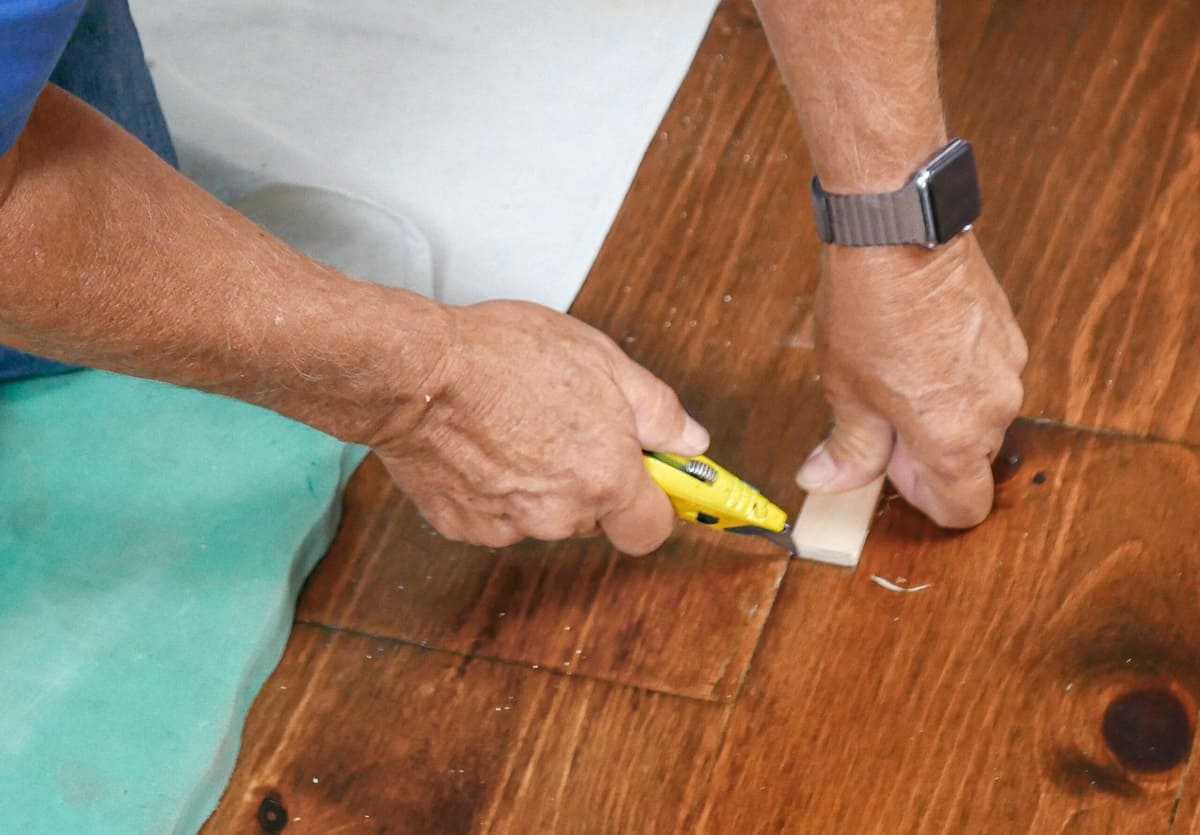
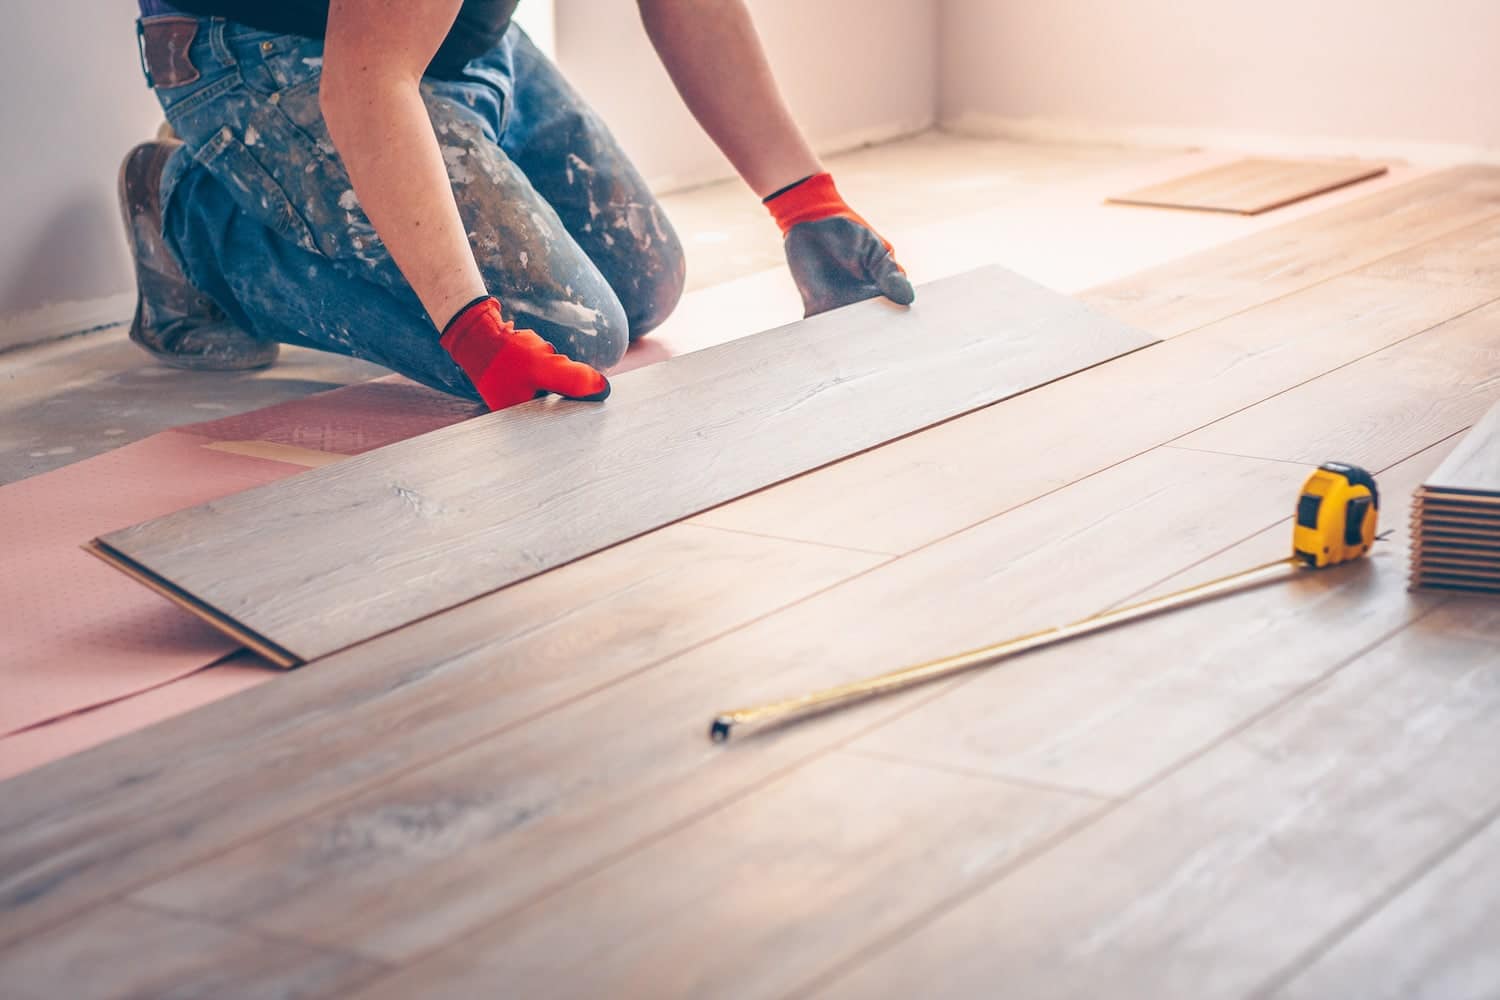
- Replace Severely Damaged Boards: If you come across boards that are severely damaged or cannot be repaired, it’s necessary to replace them. Use a circular saw or a reciprocating saw to carefully cut out the damaged board. Measure and cut a new piece of wood to fit the space. Install the new board, ensuring it is securely fastened to the subfloor.
- Blend with the Surrounding Floor: Sand the repaired or replaced area to smooth out any unevenness and ensure a seamless transition with the surrounding floor. Then, refinish that section of the floor to match the rest of the surface.
Repairing or replacing damaged boards is crucial for maintaining the overall aesthetic and structural integrity of your water damaged wood floor. Taking the time to address these issues will ensure a successful restoration and help prevent future problems.
With the damaged boards repaired or replaced, you can proceed to the final step – applying a protective sealant to enhance the longevity of your refurbished wood floor.
Step 6: Apply a Protective Sealant
Applying a protective sealant is the final step in the process of fixing a water damaged wood floor. A sealant acts as a barrier, providing an extra layer of protection against spills, stains, and everyday wear and tear. Here’s how you can apply a protective sealant to your refurbished wood floor:
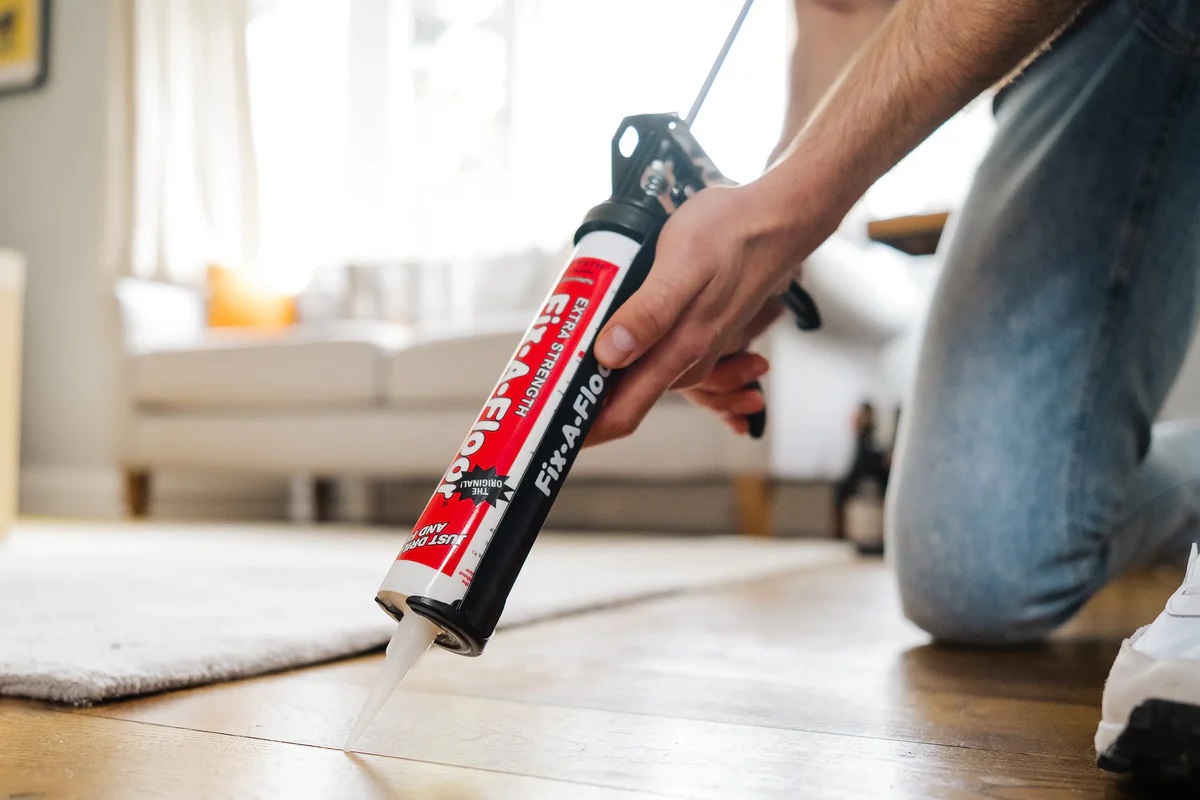
- Choose the Right Sealant: Select a sealant that is suitable for your wood floor type. There are various options available, including polyurethane, wax, or oil-based products. Consider factors such as durability, maintenance requirements, and the desired finish before making your choice.
- Prepare the Floor: Ensure the floor is clean and free from any dust or debris. Thoroughly sweep or vacuum the surface to create a smooth and clean base for the sealant.
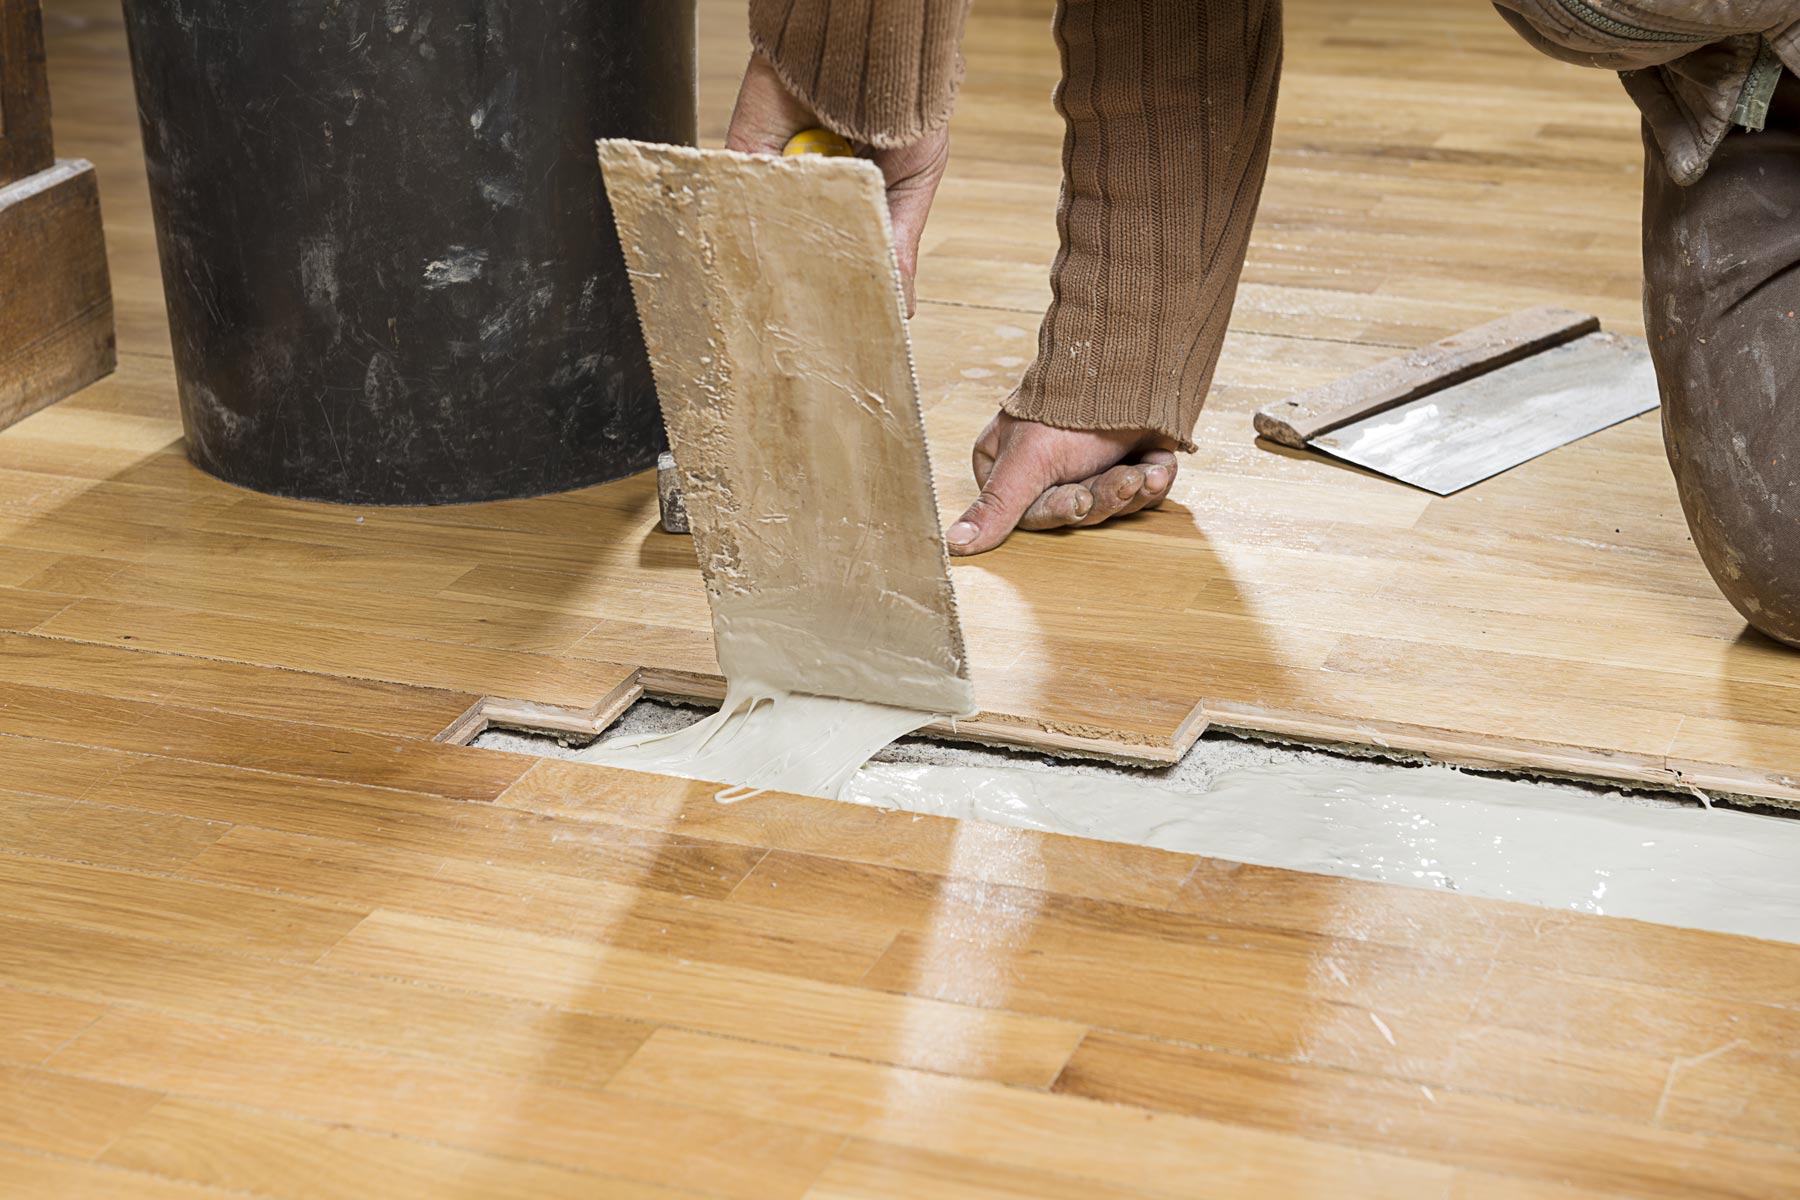
- Apply the Sealant: Follow the manufacturer’s instructions for applying the sealant. Use a brush, roller, or applicator pad to evenly coat the surface of the wood floor. Work in small sections, starting from one side of the room and working your way towards the exit. Allow the sealant to dry according to the recommended drying time mentioned on the product label.
- Apply Multiple Coats: Depending on the type of sealant you’re using, you may need to apply multiple coats. Follow the recommended drying time between each coat and lightly sand the surface before applying subsequent layers. This will help achieve a smooth and even finish.
- Ensure Proper Ventilation: While applying the sealant, ensure the room is well-ventilated. Open windows or use fans to promote air circulation and help with the drying process. This will also help to prevent the buildup of fumes from the sealant.
- Allow for Cure Time: After applying the final coat of sealant, allow sufficient time for it to fully cure. This usually takes a few days, depending on the product. Avoid placing furniture or heavy objects on the floor until the sealant has fully dried and hardened.
By applying a protective sealant, you are adding a crucial layer of defense to your water damaged wood floor. The sealant will help extend the lifespan of the floor, protect it from future water damage, and enhance its overall appearance.
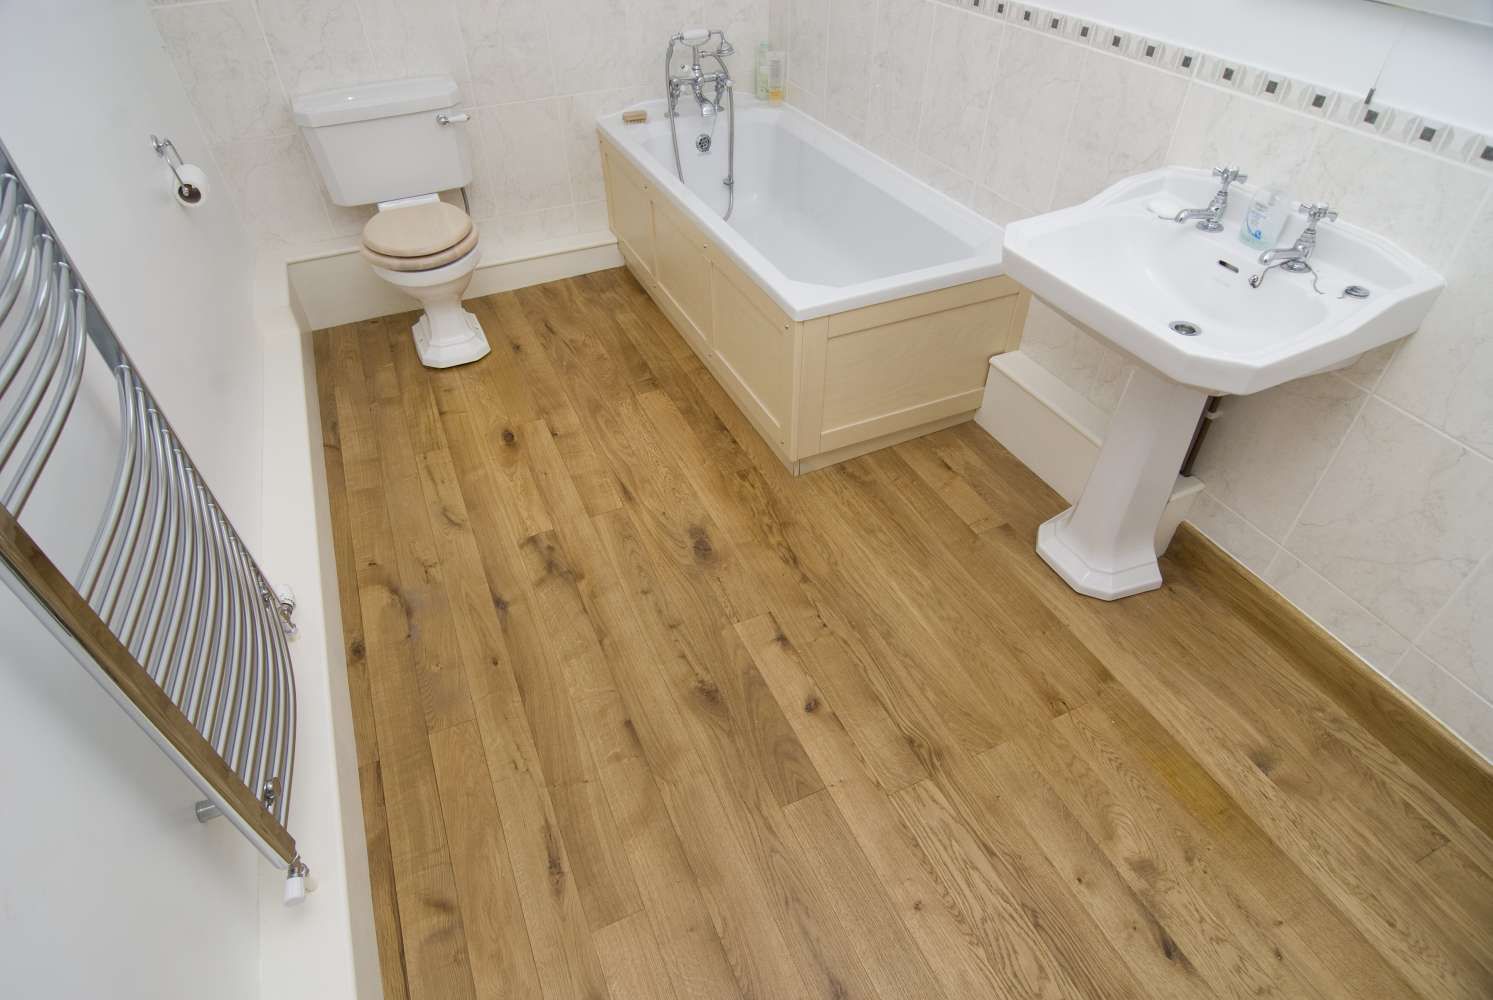
With the application of the protective sealant complete, take a step back and admire your restored and safeguarded wood floor. You have successfully navigated the process of fixing a water damaged wood floor, and now you can enjoy its beauty and durability for years to come.
Remember to maintain your wood floor regularly and address any spills or water damage promptly to ensure its long-term preservation.
Conclusion
Fixing a water damaged wood floor may seem like a daunting task, but with the right knowledge and steps, it can be successfully restored to its former glory. By following the six steps outlined in this article – assessing the damage, removing standing water, drying the floor, sanding and refinishing, repairing or replacing damaged boards, and applying a protective sealant – you can effectively repair your water damaged wood floor and safeguard it against future damage.
Remember to start by assessing the extent of the damage and categorizing it as mild, moderate, or severe. This initial evaluation will guide your approach to the restoration process. Removing standing water promptly is essential to prevent further damage and minimize the risk of mold and mildew. Thoroughly dry the floor using fans and dehumidifiers, allowing it to fully dry before proceeding with sanding and refinishing.
Repair or replace any damaged boards to maintain the structural integrity and visual appeal of the floor. Finally, apply a protective sealant to enhance the durability and longevity of your refurbished wood floor.
Throughout the restoration process, it’s important to exercise patience, attention to detail, and proper safety precautions. By taking these steps, you can effectively fix a water damaged wood floor and transform it into a beautiful and resilient surface that will enhance the overall aesthetic and value of your home.
Remember to regularly maintain your wood floor, addressing any spills or water damage promptly. This will help prolong its lifespan and prevent further issues down the line.
With the knowledge and guidance provided in this article, you are well-equipped to tackle the task of fixing a water damaged wood floor. Embrace the process, enjoy the journey of restoration, and revel in the satisfaction of a job well done.
Frequently Asked Questions about How To Fix Water Damaged Wood Floor
Was this page helpful?
At Storables.com, we guarantee accurate and reliable information. Our content, validated by Expert Board Contributors, is crafted following stringent Editorial Policies. We're committed to providing you with well-researched, expert-backed insights for all your informational needs.


0 thoughts on “How To Fix Water Damaged Wood Floor”