Home>Interior Design>How To Fix A Ceiling With Water Damage So It Stays High And Dry

Interior Design
How To Fix A Ceiling With Water Damage So It Stays High And Dry
Modified: April 22, 2024
Learn how to fix a ceiling with water damage and prevent future issues with our expert interior-design tips. Keep your ceiling high and dry with our helpful guide.
(Many of the links in this article redirect to a specific reviewed product. Your purchase of these products through affiliate links helps to generate commission for Storables.com, at no extra cost. Learn more)
Introduction
Welcome to our comprehensive guide on how to fix a ceiling with water damage. Dealing with water damage can be a frustrating and challenging task, but with the right approach and some basic tools, you can restore your ceiling to its former glory.
Water damage to a ceiling can occur due to various reasons, such as roof leaks, plumbing issues, or flooding. It not only affects the structural integrity of your home but can also lead to unsightly stains, mold growth, and even potential health risks.
In this guide, we will walk you through the step-by-step process of assessing the extent of the water damage, gathering the necessary materials, and preparing the ceiling for repair. We will also cover techniques for fixing minor water stains and discoloration, as well as addressing larger areas of damage that may require the replacement of ceiling panels.
Once the repairs are complete, we will guide you on applying primer and paint to seamlessly blend the repaired section with the rest of the ceiling. Finally, we will provide some tips on adding finishing touches to ensure a professional-looking result.
So, whether you are dealing with a small water stain or a major ceiling repair project, this guide will provide you with the information and guidance needed to tackle the job effectively, ensuring your ceiling stays high and dry.
Key Takeaways:
- Properly assessing the extent of water damage to your ceiling is crucial for effective repairs. From visible signs to hidden moisture, a thorough assessment sets the stage for successful restoration.
- Gathering the right materials, preparing the ceiling, and addressing minor or major damage are essential steps in restoring a water-damaged ceiling. Attention to detail and patience lead to a high-quality, professional finish.
Read more: How To Fix Water Damaged Ceiling
Assessing the extent of the water damage
Before you can begin repairing a water-damaged ceiling, it’s crucial to assess the extent of the damage. This will help you determine the necessary course of action and whether you need to consult a professional.
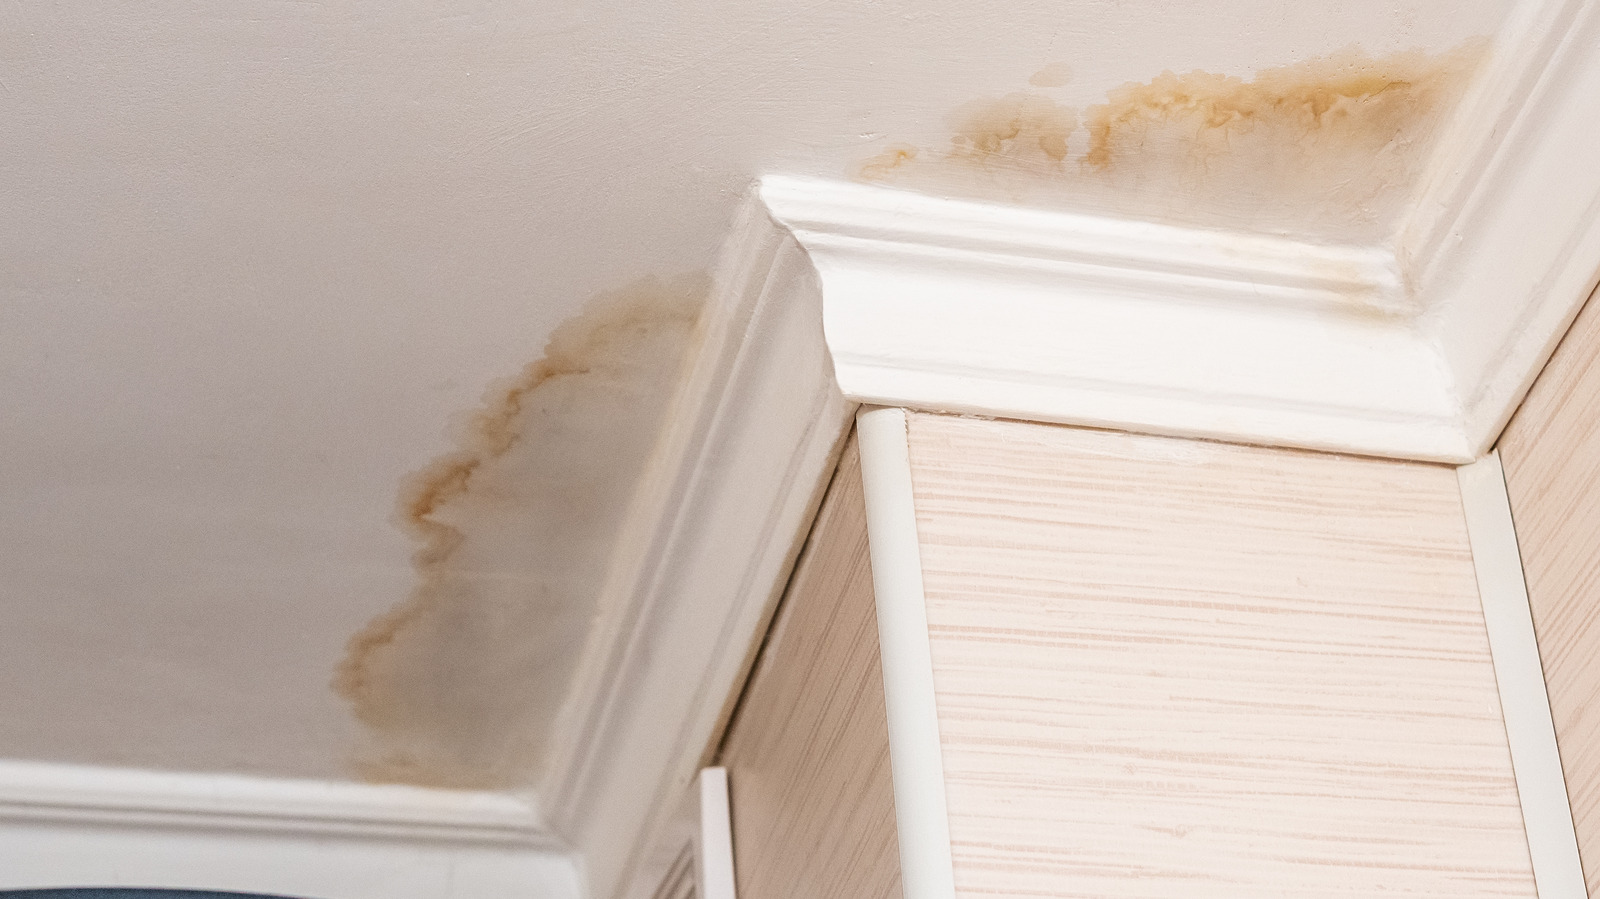
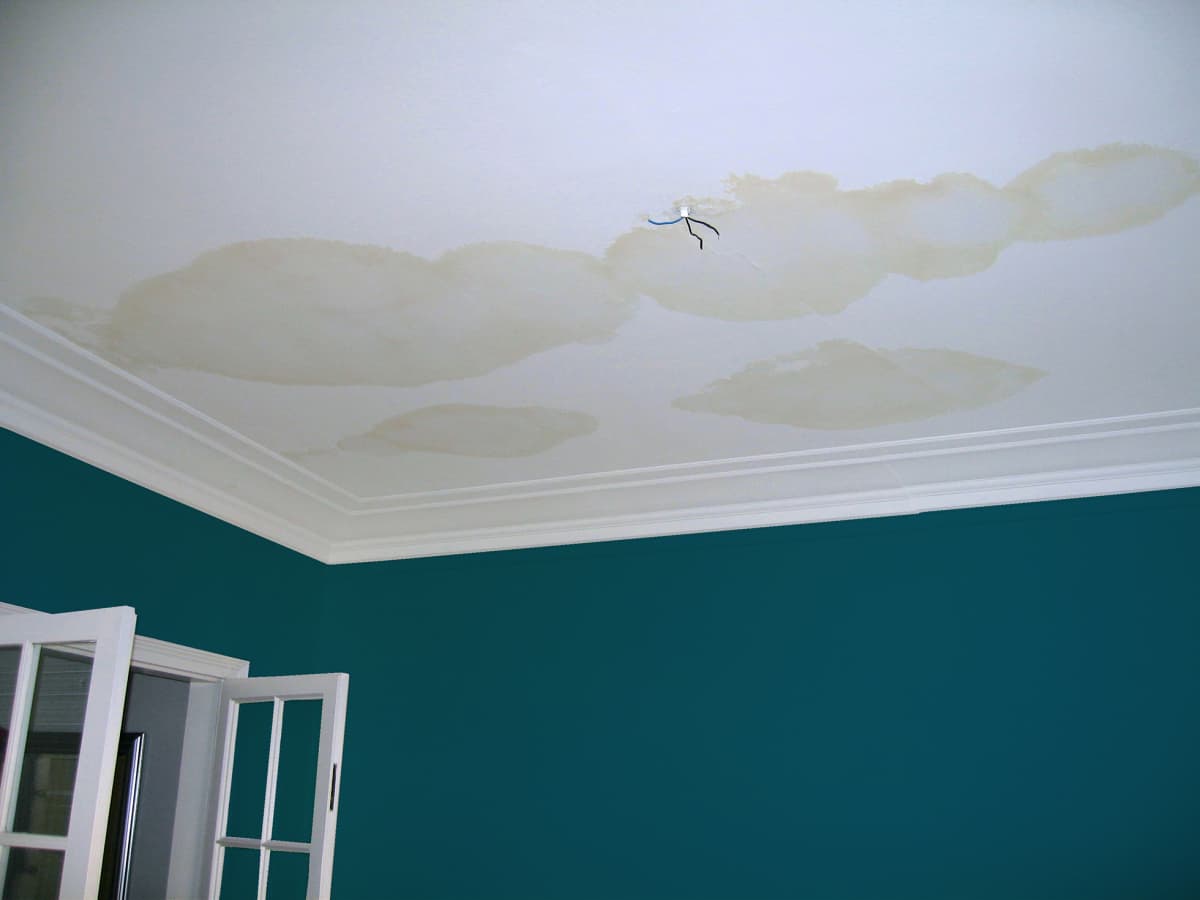
Start by visually inspecting the ceiling for any visible signs of water damage, such as discoloration, sagging, or water stains. Pay attention to the area around the source of the water, whether it’s a leaky roof or a burst pipe, as these areas are likely to have the most damage.
Next, use a moisture meter to measure the moisture content of the affected area. This will help you determine the severity of the damage and whether there is any hidden moisture that needs to be addressed. Ensure that you follow the manufacturer’s instructions for proper use of the moisture meter.
In some cases, the water damage may extend beyond the visible surface. It’s essential to check the insulation and structural components of the ceiling for any signs of moisture or damage. This may require accessing the attic or crawl space above the ceiling.
If the water damage is minimal and confined to a small area, you may be able to handle the repairs yourself. However, if the damage is extensive, involves structural components, or if you are unsure about the extent of the damage, it’s recommended to consult a professional to avoid further complications.
Remember, addressing water damage promptly is crucial to prevent mold growth and further deterioration of the ceiling. By accurately assessing the extent of the damage, you can take the appropriate measures to restore your ceiling effectively.
Gathering the necessary materials
Once you have assessed the extent of the water damage, it’s time to gather the necessary materials for the repair process. Having all the tools and supplies on hand will help streamline the process and ensure a smoother repair.
Here are the essential materials you will need:
- Protective gear: Before you start any repair work, it’s crucial to prioritize safety. Wear gloves, safety glasses, and a dust mask to protect yourself from any potential hazards.
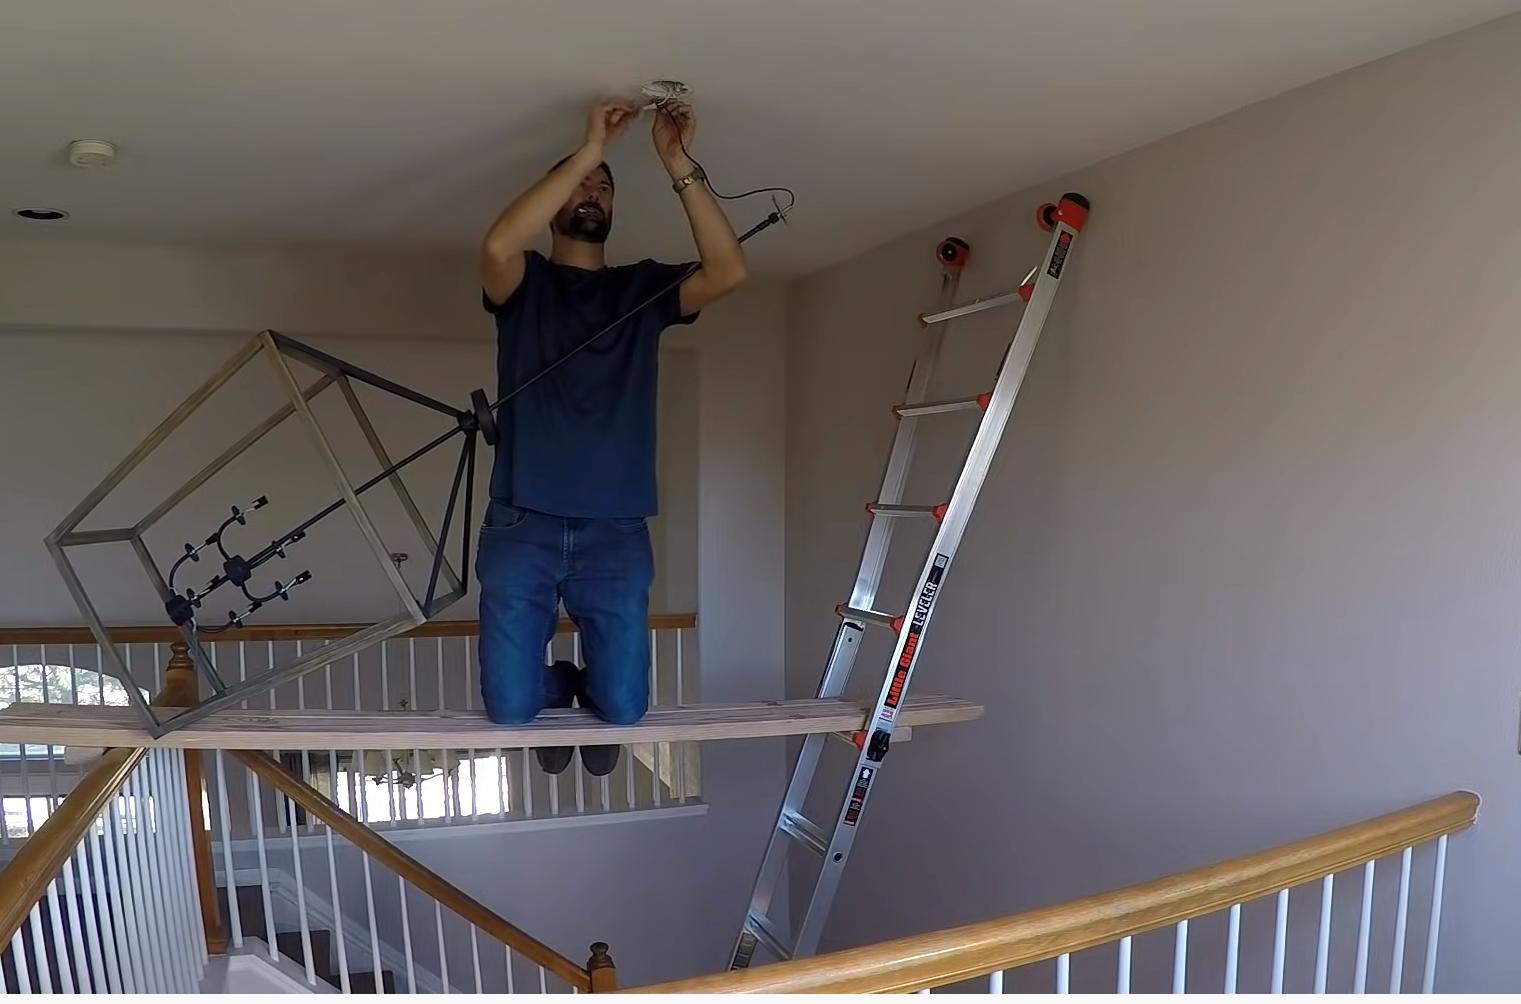
- Ladder: Depending on the height of your ceiling, you may need a sturdy ladder to access the damaged area. Ensure that the ladder is stable and secure before climbing it.
- Drop cloths or plastic sheets: To protect your furniture, flooring, and surrounding areas from dust and debris, lay down drop cloths or plastic sheets.
- Utility knife: A sharp utility knife will be needed for cutting and removing damaged materials, such as ceiling panels or drywall.
- Drywall saw: If you’re dealing with significant water damage and need to remove larger sections of the ceiling, a drywall saw will be necessary for cutting through the material.
- Putty knife: A putty knife is useful for scraping away loose or damaged material and applying filler or spackling compound during the repair process.
- Spackle or joint compound: These materials are used to fill in gaps, cracks, and holes in the ceiling. Opt for a lightweight spackle or joint compound for easier application.
- Sanding block or sandpaper: After applying the spackle or joint compound, you’ll need a sanding block or sandpaper to smooth out the repaired area.
- Primer and paint: Once the repair work is done, you’ll need primer and paint that matches the existing ceiling color to ensure a seamless finish.
- Paintbrushes and rollers: Depending on the size of the repair area, you’ll need various paintbrushes and rollers for applying the primer and paint.
These are the basic materials and tools you’ll need for most ceiling repairs. However, depending on the specific nature of the damage and the type of ceiling material, you may need additional supplies. Consult with a professional or a knowledgeable salesperson at your local hardware store to ensure you have everything you need for a successful repair.
By gathering all the necessary materials in advance, you can avoid unnecessary delays and complete the repair process efficiently, bringing your ceiling one step closer to being fully restored.
Preparing the ceiling for repair
Before you can begin repairing a water-damaged ceiling, it’s important to properly prepare the area to ensure a successful and long-lasting repair. Preparing the ceiling involves removing any damaged materials, cleaning the surface, and creating a smooth and stable base for the repairs.
Here are the steps to prepare the ceiling for repair:
- Clear the area: Remove any furniture or objects from the affected area to create a clean workspace. This will prevent any damage or obstruction during the repair process.
- Lay down drop cloths or plastic sheets: Place drop cloths or plastic sheets on the floor to protect it from dust, debris, and potential spills.
- Turn off the power: If the water damage is near electrical fixtures or outlets, turn off the power at the breaker box to ensure your safety during the repair process.
- Remove damaged materials: Using a utility knife or drywall saw, carefully cut and remove any damaged ceiling panels or drywall. Take caution not to create further damage to the surrounding area.
- Inspect for mold and mildew: Look for any signs of mold or mildew growth on the remaining ceiling material or in the surrounding area. If you notice any, consult a professional for proper remediation.
- Clean the surface: Use a mild detergent and water solution to clean the remaining ceiling material. This will remove any dirt, grime, or residue, ensuring better adhesion for the repair materials.
- Allow the ceiling to dry: If the ceiling is still damp, use fans or dehumidifiers to facilitate the drying process. It’s crucial to have a completely dry surface before proceeding with repair work to prevent future damage or mold growth.
- Smooth out rough edges: Using sandpaper or a sanding block, smooth out any rough or uneven edges on the remaining ceiling material. This will create a seamless transition between the repaired area and the surrounding ceiling.
By following these steps, you will create a clean and properly prepared surface for the repair work. This ensures that the repair materials will adhere well and result in a smooth and professional-looking finish.
Remember, proper preparation is key to a successful repair, so take the time to thoroughly prepare the ceiling before moving on to the actual repair process.
Fixing minor water stains and discoloration
If your water-damaged ceiling only has minor stains or discoloration, you may be able to fix it without having to replace any major sections. Here are some steps to help you address these minor issues:
- Prepare the surface: Ensure that the area around the stain is clean and free from any loose debris or residue. Use a mild detergent and water solution to gently clean the stained area and allow it to dry completely.
- Apply stain-blocking primer: To prevent the water stain from bleeding through the paint, apply a coat of stain-blocking primer over the affected area. This will help create a barrier and ensure a more even finish later on. Use a brush or roller to apply the primer and allow it to dry according to the manufacturer’s instructions.
- Blend the color: If the stain has caused discoloration on the ceiling, you’ll need to blend the color to ensure a seamless finish. Start by taking a sample of the existing ceiling color and bring it to a local paint store to match it as closely as possible. Once you have the matching paint, test it on a small inconspicuous area to ensure a perfect match.
- Touch up the spot: Using a small brush or a sponge, carefully apply the matching paint to the stained area. Start from the center of the stain and work your way outward, feathering the edges for a more natural look. Allow the paint to dry completely before assessing if additional touch-ups are needed.
- Evaluate the results: Once the paint has dried, step back and assess the repaired spot. If the stain is no longer visible and the color blends seamlessly with the rest of the ceiling, you’ve successfully fixed the minor water damage. If necessary, you can repeat the touch-up process until you achieve the desired result.
It’s important to note that fixing minor water stains and discoloration may not always result in a completely flawless finish. However, this method can significantly improve the appearance of the affected area without having to replace large sections of the ceiling.
If you find that the stain or discoloration is extensive or the repair work does not yield satisfactory results, you may need to consider more extensive repairs, such as replacing damaged ceiling panels or seeking professional assistance.
By following these steps, you can effectively address minor water stains and discoloration, restoring the visual appeal of your ceiling.
After fixing the water damage on the ceiling, apply a coat of stain-blocking primer to prevent any water stains from bleeding through. Then, use a high-quality paint specifically designed for bathrooms or high-moisture areas to ensure long-lasting protection.
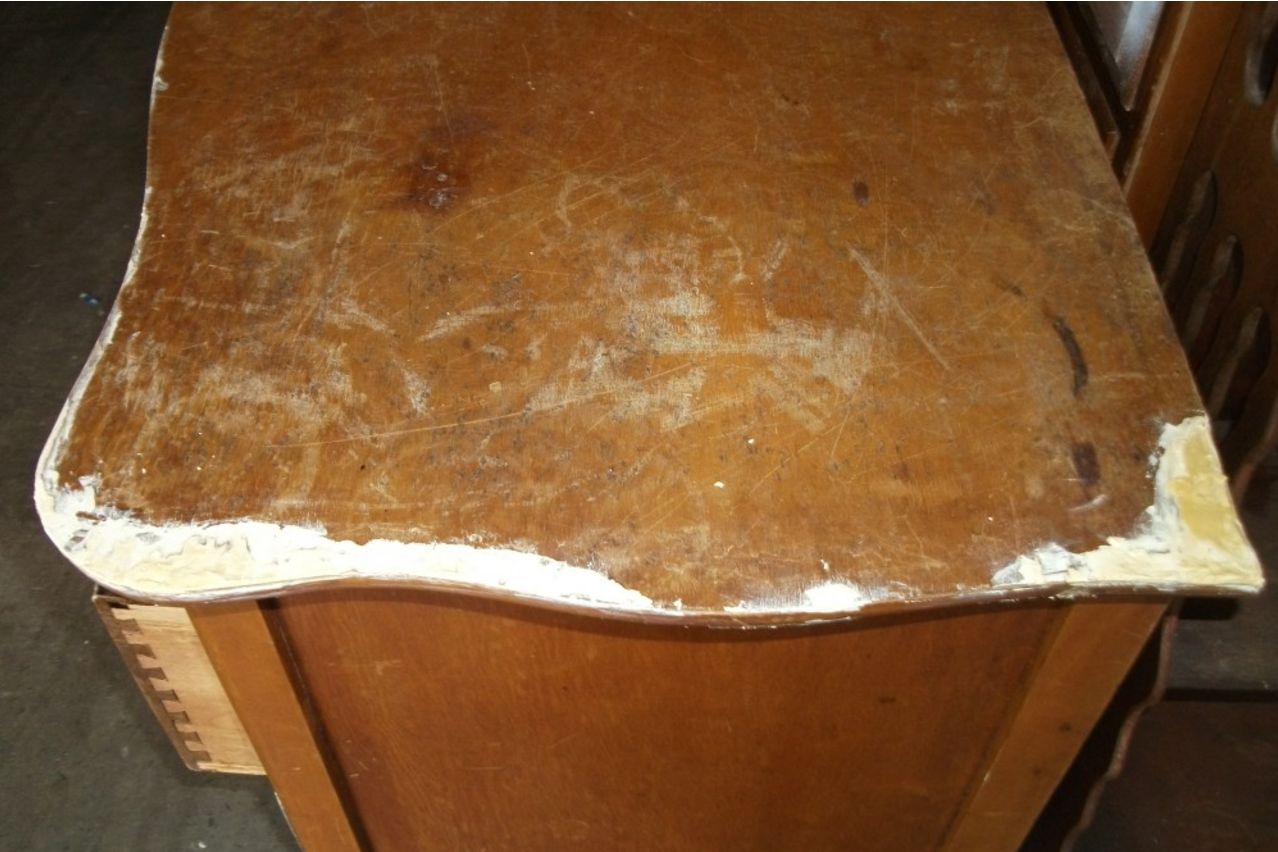
Read more: How To Fix Water-Damaged Wood Dresser
Addressing larger water damage areas
When dealing with larger water damage areas on your ceiling, a more extensive repair approach may be required. This usually involves removing and replacing damaged sections of the ceiling. Here’s how you can address larger water damage areas:
- Assess the extent of the damage: Determine the size and scope of the water-damaged area. This will help you determine how much of the ceiling needs to be repaired or replaced.
- Remove damaged ceiling materials: Use a utility knife or drywall saw to carefully cut away the damaged ceiling material. Create clean, straight lines by cutting along the edges of joists or other structural supports.
- Check for underlying structural damage: Inspect the underlying structure, such as wooden beams or studs, for any signs of water damage. If you notice any, make necessary repairs or consult a professional for assistance.
- Replace damaged ceiling panels: Measure the area that needs to be replaced and obtain new ceiling panels that match the existing ones in terms of size and thickness. Carefully install the new panels, ensuring a secure fit.
- Secure the replacement panels: Attach the new panels to the ceiling by using drywall screws or nails. Make sure to countersink the screws or nails slightly below the surface, so they can be easily covered later during the finishing process.
- Fill gaps and seams: Apply joint compound or spackle to fill any gaps or seams between the new panels and the existing ceiling. Use a putty knife to smooth out the compound and create a seamless transition.
- Sand the repaired area: Once the joint compound is dry, use sandpaper or a sanding block to smooth the repaired area. This will create a level surface for the next steps.
Once you have addressed the larger water damage areas and completed the initial repairs, you can proceed with the next steps of priming and painting the ceiling to achieve a seamless finish. However, it’s important to note that larger water damage areas may require more extensive repairs or the assistance of a professional, especially if there is significant structural damage or if you feel uncomfortable handling the repairs on your own.
By following these steps and being thorough in your repair process, you can effectively address larger water damage areas, restore the integrity of your ceiling, and prevent further complications.
Repairing and replacing ceiling panels
When dealing with significant water damage to your ceiling, repairing or replacing damaged ceiling panels may be necessary. Ceiling panels, also known as drywall or plasterboard, can become weakened by water exposure, leading to sagging, crumbling, or even complete failure. Here’s how you can repair or replace damaged ceiling panels:
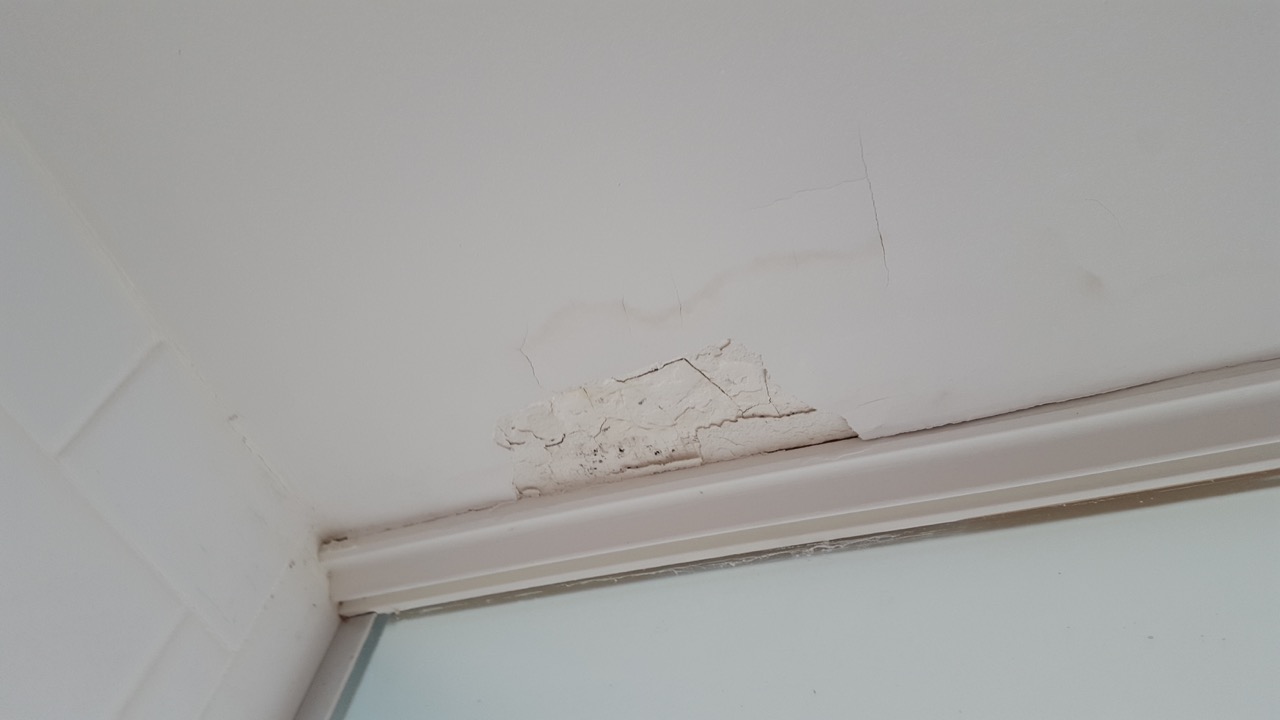
- Assess the damage: Determine the extent of the damage to the ceiling panels. Check for signs of sagging, water stains, or crumbling sections. This will help you identify which areas need repair or replacement.
- Remove damaged panels: Use a utility knife or drywall saw to carefully cut out the damaged sections of the ceiling panels. Ensure that you cut along the edges of the damaged area, creating clean lines for a seamless repair.
- Inspect the underlying structure: Once the damaged panels are removed, inspect the underlying structure for any signs of water damage or structural issues. Repair or reinforce the structure as necessary before proceeding with the new panels.
- Measure and cut replacement panels: Measure the dimensions of the area where the damaged panels were removed. Transfer the measurements onto new ceiling panels and use a utility knife or drywall saw to cut the panels to size. Ensure a precise fit.
- Install the replacement panels: Carefully position the replacement panels in the empty space, making sure they fit snugly. Attach the panels to the underlying structure using drywall screws or nails, placing them about 6 inches apart along the edges and at least 12 inches apart in the field of the panel.
- Tape and mud the seams: Apply joint tape over the gaps between the replacement panels and the existing ceiling. Use joint compound (mud) to cover the tape and fill in the seams. Use a putty knife to smooth out the compound and create a seamless transition.
- Sand and feather the edges: Once the joint compound is dry, use sandpaper or a sanding block to smooth the repaired area. Feather out the edges to blend them with the surrounding ceiling for a seamless finish.
Repairing or replacing ceiling panels can be a challenging task, and it’s important to pay attention to detail to ensure a professional-looking result. If you have limited experience with this type of repair work, it may be wise to consult a professional for assistance to ensure the best outcome.
By following these steps and being meticulous in your efforts, you can successfully repair or replace damaged ceiling panels and restore the structural integrity and aesthetics of your ceiling.
Applying primer and paint
Once you have completed the necessary repairs to your water-damaged ceiling, it’s time to move on to the final steps of the restoration process – applying primer and paint. These finishing touches will not only enhance the appearance of the repaired area but also provide protection and ensure a uniform look across the entire ceiling. Here’s how you can apply primer and paint:
- Prepare the surface: Before applying primer and paint, ensure that the repaired area is clean, dry, and free from any dust or debris. Use a soft cloth or a gentle brush to remove any loose particles.
- Choose the right primer: Select a high-quality primer that is specifically formulated for ceilings. Opt for a stain-blocking primer if you have previously treated water stains. Make sure to follow the manufacturer’s instructions for proper application.
- Apply the primer: Start by cutting in around the repaired area using a brush, ensuring that the primer covers the entire patched section. Then, use a roller to apply primer to the rest of the ceiling, working in small manageable sections. Apply a thin and even coat, and allow it to dry completely before proceeding.
- Inspect for proper coverage: Once the primer is dry, inspect the treated area for any areas that may require additional primer to ensure proper coverage. If necessary, apply an additional coat of primer and allow it to dry thoroughly.
- Select the paint color: Choose a paint color that matches the existing ceiling or opt for a fresh new color if desired. Consider using a low-sheen or flat finish paint to minimize any imperfections or differences in texture on the repaired area.
- Paint the ceiling: Start by cutting in around the edges of the ceiling with a brush, applying a generous amount of paint to ensure proper coverage. Then, use a roller to apply the paint to the rest of the ceiling, working in small sections to maintain a wet edge. Allow the first coat to dry according to the paint manufacturer’s instructions, and then assess if a second coat is necessary for optimal coverage.
- Clean up and inspect: Once you have completed painting the ceiling, clean up any drips or spills immediately. Inspect the painted surface for any unevenness, streaks, or missed areas. Touch up any imperfections as needed.
Applying primer and paint is a crucial step in the ceiling restoration process. It not only provides a protective coating but also gives the repaired area a seamless and professional finish. Remember to follow the manufacturer’s instructions for drying times between coats and before allowing normal use of the room.
By carefully applying primer and paint, you can achieve a beautifully restored ceiling that blends seamlessly with the surrounding area, leaving no trace of the previous water damage.
Adding finishing touches
Once you have completed the repairs and applied primer and paint to your water-damaged ceiling, it’s time to add the final touches to ensure a polished and professional finish. These finishing touches will help enhance the overall appearance of the ceiling and create a cohesive look throughout the room. Here are some finishing touches to consider:
- Inspect for imperfections: Carefully inspect the repaired and painted area for any imperfections, such as uneven texture or small cracks. Use a fine-grit sandpaper or a sanding block to gently smooth out any rough spots or inconsistencies.
- Smooth transitions: Check the repaired area where new ceiling panels were installed for any noticeable seams or edges. If needed, use joint compound or spackle to fill in any gaps or unevenness and sand them down to create a smooth transition between the repaired area and the existing ceiling.
- Touch up paint: Assess the painted surface for any areas that may require touch-ups. Use a small brush to carefully apply touch-up paint to any spots that may have been missed or need extra coverage. Feather the touch-up paint into the surrounding area for a seamless blend.
- Clean and polish: Once all the repairs and touch-ups are complete, give the entire ceiling a thorough cleaning. Use a soft cloth or a duster to remove any dust or debris that may have accumulated during the repair process. Additionally, consider using a ceiling cleaner or a mild soap solution to clean any remaining stains or marks.
- Finish with a protective coat: For added protection and a polished finish, consider applying a clear protective coat or sealer to the painted surface. This will help extend the life of the paint and make it easier to clean and maintain in the long run.
- Reinstall light fixtures or ceiling fans: If any light fixtures or ceiling fans were removed during the repair process, now is the time to reinstall them. Ensure that they are installed securely and properly connected to the electrical wiring.
- Enjoy your refreshed ceiling: Once all the finishing touches have been completed, take a step back and admire your work. Your water-damaged ceiling has been restored, and now you can enjoy a beautiful, high-quality ceiling that adds to the overall aesthetic of your space.
By paying attention to these finishing touches, you can elevate the overall appearance of your repaired ceiling and achieve a seamless integration with the rest of the room. Enjoy the satisfaction of a job well done and the peace of mind that comes with a fully restored and visually appealing ceiling.
Read more: How To Fix Water Damaged Wood Floor
Conclusion
Dealing with water damage to your ceiling can be a daunting task, but with the right approach and a bit of know-how, you can restore your ceiling to its original condition. By following the step-by-step guide we have provided, you can effectively assess the extent of the damage, gather the necessary materials, and prepare the ceiling for repair.
Whether you are addressing minor water stains and discoloration or tackling larger areas of damage that require the replacement of ceiling panels, our guide has provided you with the knowledge and techniques to successfully complete the repairs. Additionally, we have guided you through applying primer and paint, as well as adding the all-important finishing touches to achieve a professional and polished finish.
Remember, it’s essential to address water damage promptly to prevent further complications such as mold growth and deterioration of the ceiling. If you feel uncomfortable or unsure about the extent of the damage, it’s always best to consult a professional who can provide expert advice and assistance.
With patience, attention to detail, and the right tools, you can restore your water-damaged ceiling and transform it into a beautiful and functional part of your home. Enjoy the satisfaction of a job well done and the peace of mind knowing your ceiling is high and dry.
So, roll up your sleeves and get ready to revitalize your ceiling – it’s time to turn a water-damaged space into a space you can be proud of!
Frequently Asked Questions about How To Fix A Ceiling With Water Damage So It Stays High And Dry
Was this page helpful?
At Storables.com, we guarantee accurate and reliable information. Our content, validated by Expert Board Contributors, is crafted following stringent Editorial Policies. We're committed to providing you with well-researched, expert-backed insights for all your informational needs.






0 thoughts on “How To Fix A Ceiling With Water Damage So It Stays High And Dry”