Articles
How To Fix Wood Floor Discoloration
Modified: August 17, 2024
Discover effective articles on how to fix wood floor discoloration and restore the natural beauty of your flooring. Improve the appearance of your wood floors with our expert tips and techniques.
(Many of the links in this article redirect to a specific reviewed product. Your purchase of these products through affiliate links helps to generate commission for Storables.com, at no extra cost. Learn more)
Introduction
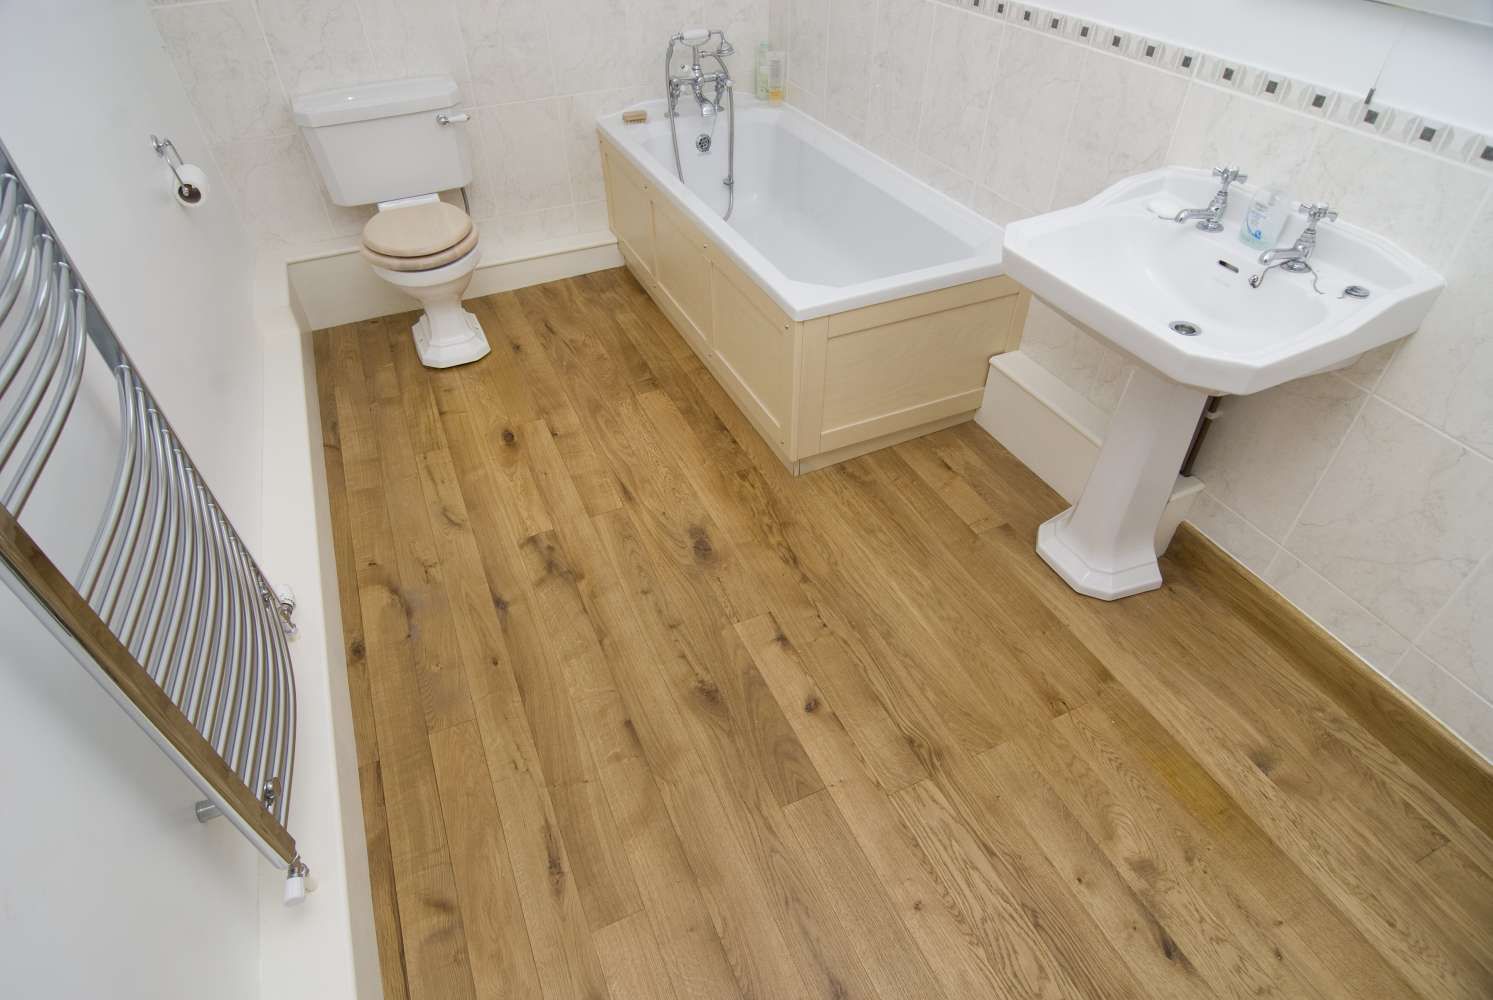
Wood floors are beautiful, timeless, and add a touch of elegance to any space. However, over time, they can develop discoloration that detracts from their natural beauty. Whether it’s due to sunlight exposure, water damage, or aging, discoloration can be a frustrating problem for homeowners.
The good news is that in many cases, wood floor discoloration can be fixed. With some patience, the right tools, and the right techniques, you can restore your wood floors to their former glory. In this article, we will explore the common causes of wood floor discoloration and provide you with step-by-step instructions on how to fix it.
Before we dive into the solutions, it’s important to understand the different types of discoloration. Discoloration can manifest in various ways, including dark spots, dull patches, or uneven coloring. Identifying the type of discoloration will help determine the most effective method for fixing it.
To fix wood floor discoloration, you’ll need a few essential tools and materials. These include sandpaper, floor cleaner, stain or bleach (depending on the method you choose), a brush or sponge applicator, and a protective topcoat. It’s essential to gather all the necessary items before starting the repair process to ensure a smooth and efficient workflow.
Now that we have the basics covered let’s dive into the step-by-step guide on how to Fix Wood Floor Discoloration. We will present you with three different methods, each tailored to address specific types of discoloration. Let’s get started!
Key Takeaways:
- Understanding the type of wood floor discoloration and choosing the appropriate method, such as sanding and refinishing, staining and re-coating, or bleaching and color correction, is crucial for successful restoration.
- Implementing preventative measures, including protecting from sunlight, using rugs and mats, and practicing regular maintenance, can significantly reduce the risk of wood floor discoloration and prolong the lifespan of your floors.
Read more: How To Fix A Chip In Wood Floor
Common Causes of Wood Floor Discoloration
Wood floor discoloration can be caused by a variety of factors. Understanding the common causes will help you not only in fixing the discoloration but also in preventing it from happening again in the future. Let’s take a look at some of the most frequent culprits.
- Sunlight Exposure: Excessive exposure to sunlight can cause wood floors to fade and develop uneven discoloration. Areas near windows or glass doors are particularly susceptible to this type of discoloration.
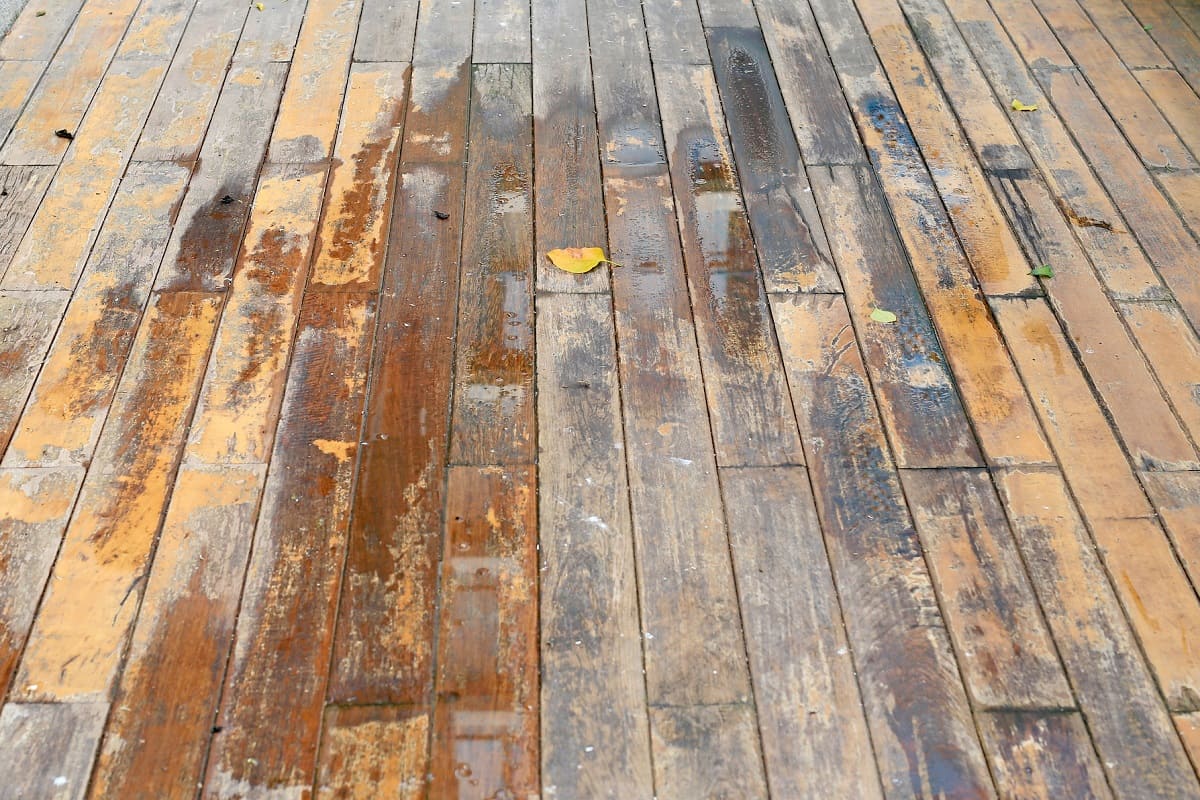
- Water Damage: Water spills, leaks, or high humidity levels can lead to discoloration on wood floors. When moisture penetrates the wood, it can cause dark spots, warping, or mold growth.
- Chemical Reactions: Certain household chemicals, such as bleach, ammonia, or strong cleaning agents, can react with the wood floor finish and cause discoloration or damage to the surface.
- Aging and Wear: Over time, wood floors naturally undergo wear and tear, which can result in discoloration. High foot traffic areas can become dull or discolored due to the constant abrasion and exposure to dirt and debris.
- Pet Stains: Accidents happen, and if not promptly cleaned, pet urine can seep into the wood and cause unsightly stains and discoloration.
- Furniture and Rugs: Placing heavy furniture or rugs in the same spot for an extended period can obstruct sunlight and create uneven areas of discoloration.
By identifying the cause of the discoloration, you can tackle it more effectively. For instance, if your floors have staining due to sunlight exposure, using a method that involves sanding and refinishing may be the best solution. On the other hand, water damage may require bleaching and color correction.
Now that you know the common causes of wood floor discoloration, it’s time to dive into the methods that can help fix it. Remember, prevention is key, so taking proper care of your wood floors, including regular cleaning and maintenance, can go a long way in preventing discoloration from occurring in the first place. Let’s move on to the next section to learn how to fix wood floor discoloration using various methods.
Understanding the Type of Discoloration
Before you start fixing the discoloration on your wood floors, it’s crucial to understand the type of discoloration you’re dealing with. Each type requires a different approach and technique to achieve the best results. Let’s explore the different types of discoloration you may encounter:
- Surface Stains: Surface stains are discolorations that have not penetrated the wood and are limited to the surface. They can be caused by spills, chemicals, or dirt. These stains can often be removed by cleaning or light sanding.
- Deep Stains: Deep stains are discolorations that have penetrated the surface and affected the underlying layers of wood. They may require more aggressive methods, such as sanding and refinishing, to completely eliminate them.
- Fading and Sun Damage: Fading and sun damage occur when the wood floor is exposed to excessive sunlight, causing the color to fade or become uneven. This type of discoloration tends to affect large areas and requires sanding and refinishing to restore the uniform color.
- Bleaching and Color Correction: Bleaching and color correction methods are used when dealing with deep stains or when you want to change the natural color of the wood. These methods involve the use of bleach or specialized products to lighten or darken the wood, depending on your desired result.
By identifying the specific type of discoloration, you can choose the most appropriate method to fix it. Light surface stains may be easily remedied with simple cleaning techniques, while deep stains or sun damage might require more extensive restoration processes.
It’s important to note that not all discoloration can be completely removed. Some types, such as deep ingrained stains, may only be lightened or minimized but not entirely eliminated. It’s essential to manage your expectations and accept that some level of discoloration may still be visible after the repair process.
Now that you have a better understanding of the different types of discoloration, you’re ready to proceed to the next step: preparing the tools and materials you’ll need to fix wood floor discoloration. Let’s move on to that section to gather everything you need for a successful repair.
Preparing the Tools and Materials
Before diving into the process of fixing wood floor discoloration, it’s essential to gather all the necessary tools and materials. Being prepared will ensure a smooth workflow and allow you to complete the repair effectively. Here’s a list of what you’ll need:
- Sandpaper: Different grits of sandpaper will be required depending on the method you choose. For sanding and refinishing, you’ll need progressively finer grits to achieve a smooth surface.
- Floor Cleaner: A gentle floor cleaner specifically designed for wood floors will be needed to clean the surface before starting the repair process.
- Stain or Bleach: Depending on the type of discoloration and the desired outcome, you may need a wood stain or bleach. Stains are used to darken or change the color of the wood, while bleach is used to lighten it.
- Brush or Sponge Applicator: To apply the stain, bleach, or other products, you’ll need a brush or sponge applicator. Make sure to choose one that is suitable for the specific product you’re using.
- Protective Topcoat: After the repair process, a protective topcoat is necessary to seal and protect the wood surface. This will help maintain the repaired area and prevent future discoloration.
- Protective Gear: Safety should always come first. Make sure to have gloves, safety glasses, and a mask to protect yourself from any chemicals or dust produced during the repair process.
By having all the necessary tools and materials ready, you can avoid interruptions and complete the repair process efficiently. It’s also a good idea to read and follow the instructions on the product labels to ensure you’re using them correctly and safely.
Now that you’ve gathered all the tools and materials, you’re ready to dive into the step-by-step guide on how to fix wood floor discoloration. In the next section, we’ll take you through the process using different methods tailored to specific types of discoloration. Let’s get started!
Step-by-Step Guide to Fix Wood Floor Discoloration
Fixing wood floor discoloration may seem like a daunting task, but with the right approach and technique, you can achieve impressive results. In this step-by-step guide, we’ll walk you through the process using three different methods, each tailored to address specific types of discoloration. Let’s get started:
Read more: How To Fix Buckled Wood Floor
Method 1: Sanding and Refinishing
- Start by cleaning the affected area thoroughly with a gentle wood floor cleaner. Remove any dust, dirt, or debris.
- Identify the affected boards and mark them for easier identification during the sanding process.
- Using the appropriate grit sandpaper, begin sanding the marked area gently. Start with a coarser grit and gradually work your way to a finer grit to achieve a smooth surface.
- After sanding, wipe away any dust using a clean, damp cloth and allow the floor to dry completely.
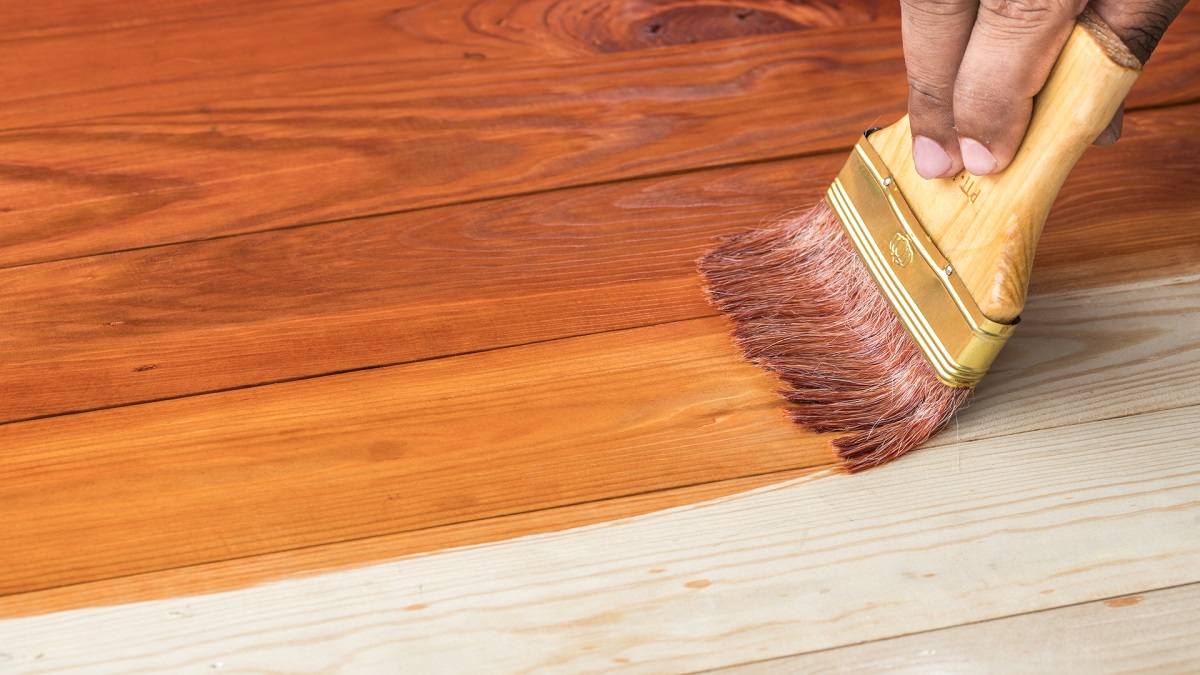
- Apply a wood stain that matches the color of the rest of the floor, following the instructions on the product label.
- Allow the stain to dry as per the manufacturer’s instructions, and then apply a protective topcoat to seal the newly refinished area.
- Finally, allow the floor to dry completely before reintroducing furniture or foot traffic to the area.
Method 2: Staining and Re-Coating
- Clean the affected area with a wood floor cleaner and make sure it’s dry before proceeding.
- Apply a wood stain in a color that matches the rest of the floor, using a brush or sponge applicator. Follow the instructions on the product label for application and drying time.
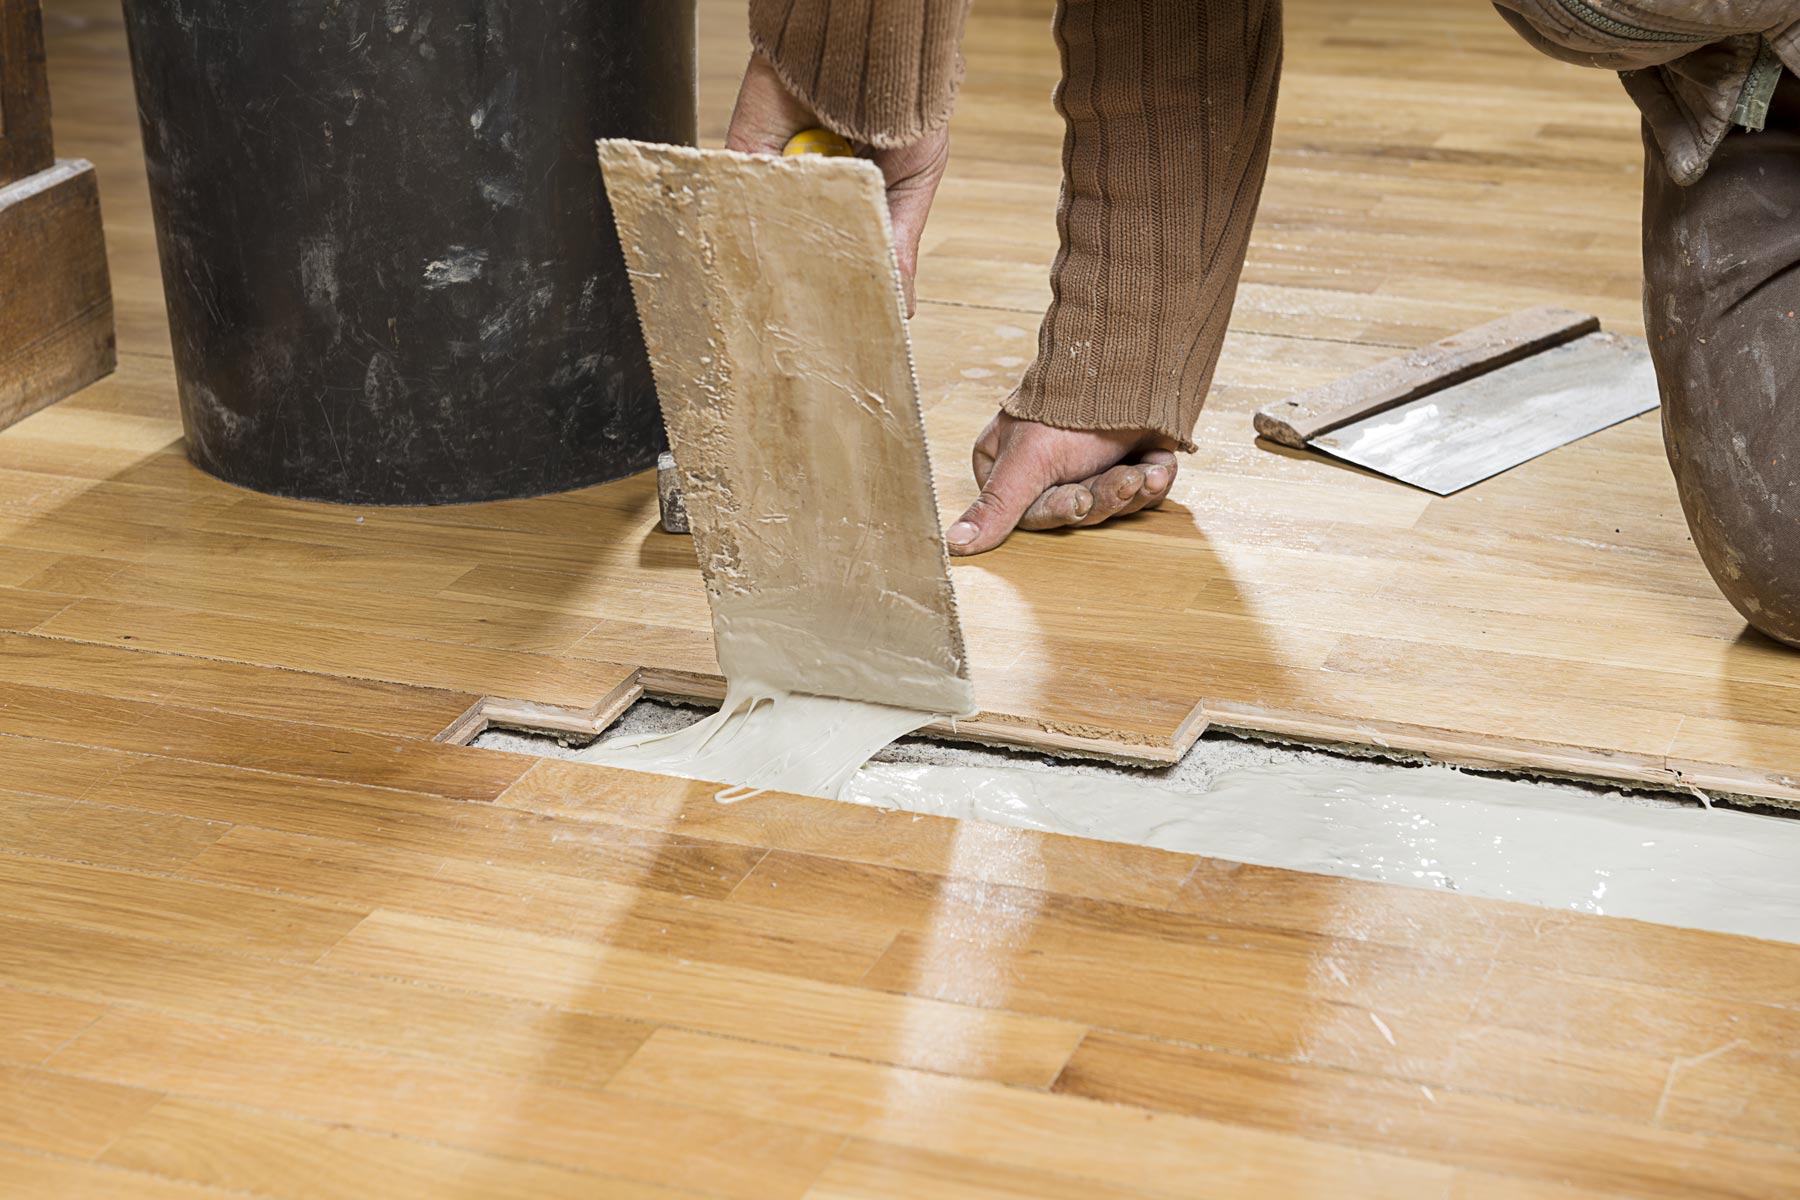
- Once the stain is dry, apply multiple coats of a clear protective finish, also known as a re-coating, following the manufacturer’s instructions.
- Allow each coat to dry fully before applying the next one, and make sure to feather the edges to blend the repaired area with the surrounding floor.
- Once the final coat is dry, give the floor ample time to cure before using the area again.
Method 3: Bleaching and Color Correction
- Clean the area thoroughly with a wood floor cleaner and ensure it’s completely dry before starting the bleaching process.
- Apply a wood bleach product specifically designed to lighten the wood. Follow the instructions on the product label carefully.
- If necessary, repeat the bleaching process until you achieve the desired level of lightening or color correction.
- Once the bleaching is complete, neutralize the wood by applying a neutralizer or water and vinegar solution.
- After the wood is neutralized, dry it thoroughly and apply a protective topcoat to seal and protect the area.
- Allow the floor to dry completely before resuming regular use.
Remember, the success of the repair process depends on various factors such as the severity of the discoloration and the type of wood floor, so it’s essential to follow the instructions provided by the product manufacturers and exercise patience and care.
Now that you have a step-by-step guide to fixing wood floor discoloration using different methods, you can choose the one that best matches your situation. In the next section, we’ll provide you with some valuable tips for preventing wood floor discoloration in the future.
Method 1: Sanding and Refinishing
If your wood floor has deep stains or uneven discoloration, sanding and refinishing can be an effective method to restore its natural beauty. This approach involves removing the damaged surface layer of the wood and applying a fresh finish. Here’s a step-by-step guide for sanding and refinishing your wood floor:
- Start by cleaning the affected area with a gentle wood floor cleaner. This will remove any dirt, dust, or debris that could interfere with the sanding process.
- Identify the boards that are discolored and mark them to ensure precise sanding and refinishing.
- Begin the sanding process using a coarse-grit sandpaper. Start along the grain of the wood and work your way across the marked area. Use a sanding block or a floor sander, depending on the size of the affected area.
- After the initial sanding, switch to a finer grit sandpaper and repeat the process to achieve a smoother surface. Gradually progress to even finer grits until the surface feels smooth to the touch.
- Once the sanding is complete, remove any residues and dust using a vacuum cleaner or a tack cloth.
- If desired, you can apply a wood stain to enhance or change the color of the floor. Follow the instructions on the stain product for application and drying time.
- Once the stain is dry, apply a protective topcoat such as polyurethane or varnish to seal the newly refinished area. Apply multiple coats, making sure to follow the recommended drying time between coats.
- Allow the floor to dry completely before reintroducing furniture or foot traffic to the area.
Sanding and refinishing can be a labor-intensive process, but it is highly effective in removing deep stains and restoring the natural beauty of your wood floor. However, it’s important to note that excessive sanding can thin the floor’s surface, so it’s crucial to avoid sanding more than necessary.
Remember to take safety precautions during the sanding process. Wear protective gear, such as gloves, safety glasses, and a mask, to protect yourself from dust and potential chemical exposure.
By following this method, you can bring new life to your wood floor and eliminate the discoloration. However, if the damage is too severe or you’re unsure about your sanding and refinishing skills, it may be a good idea to consult a professional flooring contractor for assistance.
Now that you’re familiar with the sanding and refinishing method, let’s move on to the next method: staining and re-coating, which can be used for surface discoloration and minor imperfections.
Read more: How To Fix A Hole In Wood Floor
Method 2: Staining and Re-Coating
If the discoloration on your wood floor is limited to the surface or if you’re dealing with minor imperfections, staining and re-coating can be a suitable method to restore its appearance. This method involves applying a fresh coat of stain and protective finish to even out the color and enhance the overall look of your floor. Here’s a step-by-step guide for staining and re-coating:
- Before starting the process, clean the affected area with a wood floor cleaner to remove any dirt or residue. Ensure the floor is completely dry before proceeding.
- Choose a wood stain that matches the color of your existing floor or select a different shade if you wish to change the floor’s appearance. Test the stain on a small, inconspicuous area to ensure it achieves the desired color.
- Using a brush or sponge applicator, apply the wood stain to the discolored area, following the manufacturer’s instructions. Work in small sections, and be careful to achieve an even and consistent application.
- Allow the stain to penetrate the wood according to the recommended time specified on the product label. This can vary depending on the type and brand of stain used.
- After the desired color is achieved, wipe away any excess stain using a clean cloth. Ensure there are no streaks or blotches left behind.
- Once the stain is dry, apply multiple coats of a clear protective finish, such as polyurethane or varnish, to seal and protect the stained area. Follow the manufacturer’s instructions for application and drying time.
- Allow each coat to dry fully before applying the next one. Ensure you feather the edges to blend the repaired area with the surrounding floor.
- Once the final coat is dry, give the floor ample time to cure before resuming regular use. This period can range from several hours to a few days, depending on the product used.
Staining and re-coating can be a relatively straightforward and cost-effective method to address surface discoloration or minor imperfections on your wood floor. It allows you to rejuvenate the appearance of your floor without the need for extensive sanding or refinishing. However, keep in mind that this method is best suited for minor issues, and deep stains or major discoloration may require more intensive techniques.
Remember to work in a well-ventilated area and follow all safety precautions mentioned in the product labels. Protect yourself by wearing gloves, safety glasses, and a mask when applying the stain and protective finish.
Now that you’ve learned how to use staining and re-coating as a method to fix wood floor discoloration, let’s move on to the next method: bleaching and color correction, which can be used to address deep stains or change the natural color of your wood floor.
Use a wood floor cleaner specifically designed for your type of wood. Test in an inconspicuous area first. If the discoloration persists, consider sanding and refinishing the affected area.
Method 3: Bleaching and Color Correction
If you’re dealing with deep stains or desire a significant color change in your wood floor, bleaching and color correction can be an effective method. This technique involves using bleach or specialized products to lighten or darken the wood, allowing you to achieve the desired color. Here’s a step-by-step guide for bleaching and color correction:
- Clean the affected area with a wood floor cleaner to ensure a pristine surface before beginning the bleaching process. Make sure the area is completely dry.
- Apply a wood bleach specifically designed for your type of wood flooring. Choose between two types of bleach: chlorine bleach and oxalic acid bleach. Carefully follow the instructions provided by the product manufacturer.
- If necessary, repeat the bleaching process to achieve the desired level of lightening or color correction. Each bleach application may require the use of a neutralizer or a water and vinegar solution to stop the bleaching action and restore the wood’s pH balance.
- After bleaching and neutralizing the wood, allow it to dry completely. This usually takes several hours to a day, depending on the type of wood and the surrounding humidity.
- Inspect the bleached area to determine if additional color correction is required. If needed, you can use specialized products, such as wood tints or stains, to darken or adjust the color to match the surrounding wood floor. Follow the product instructions carefully.
- Once the color correction is complete, apply a protective topcoat, such as polyurethane or varnish, to seal and protect the area. Follow the manufacturer’s guidelines for application and drying time.
- Allow the floor to dry completely before resuming regular use. This curing period can vary from several hours to a few days, depending on the products used and the environmental conditions.
Bleaching and color correction can be an effective method for addressing deep stains, removing stubborn discoloration, or altering the natural color of your wood floor. However, it’s important to note that the success of this method depends on factors such as the type of wood, the severity of the discoloration, and the desired outcome. It’s recommended to test the bleach and color correction products on a small, inconspicuous area before applying them to the entire floor.
When working with bleach or bleaching agents, take appropriate safety measures. Ensure the area is well-ventilated, and wear gloves, safety glasses, and a mask to protect yourself from chemical exposure. Follow all the safety guidelines and instructions provided by the product manufacturer.
Now that you’ve learned how to use the bleaching and color correction method to fix wood floor discoloration, you have a comprehensive set of techniques to choose from based on your specific needs. In the next section, we’ll share some valuable tips to help you prevent wood floor discoloration in the future.
Tips for Preventing Wood Floor Discoloration
Prevention is always better than cure, and when it comes to wood floor discoloration, taking proactive measures can help preserve the beauty and integrity of your floors. Here are some valuable tips to prevent wood floor discoloration:
- Protect from sunlight: Minimize direct sunlight exposure to your wood floors by using curtains, blinds, or window films. UV rays can cause fading and discoloration over time.
- Use rugs and mats: Place area rugs or mats in high-traffic areas, near entrances, or under furniture to prevent excessive wear, scratches, and discoloration caused by dirt and debris.
- Strictly follow manufacturer’s guidelines: When it comes to cleaning and maintenance, adhere to the manufacturer’s recommendations. Use appropriate wood floor cleaners and avoid harsh chemicals that can damage the finish and cause discoloration.
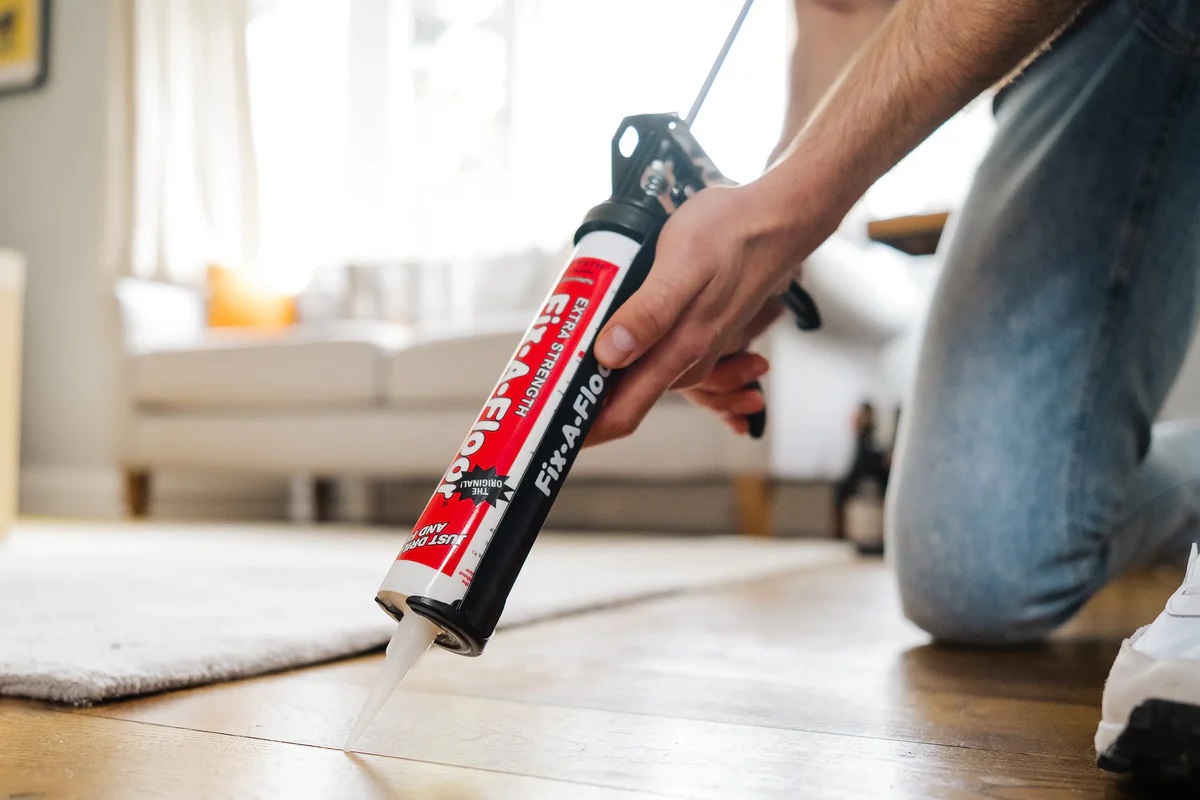
- Wipe up spills immediately: Accidents happen, but it’s crucial to clean up any spills promptly to prevent water or liquid penetration into the wood, which can lead to staining and warping.
- Use furniture pads: Attach felt or rubber pads to the bottom of furniture legs to prevent scratches and minimize the risk of discoloration from furniture movement.
- Control humidity levels: Wood is sensitive to changes in humidity, which can result in warping, cupping, or discoloration. Maintain a consistent indoor humidity level of around 40-60% to minimize these issues.
- Trim pet nails: Keep your pets’ nails trimmed to prevent scratches, gouges, and potential damage to the wood floor finish, which could lead to discoloration.
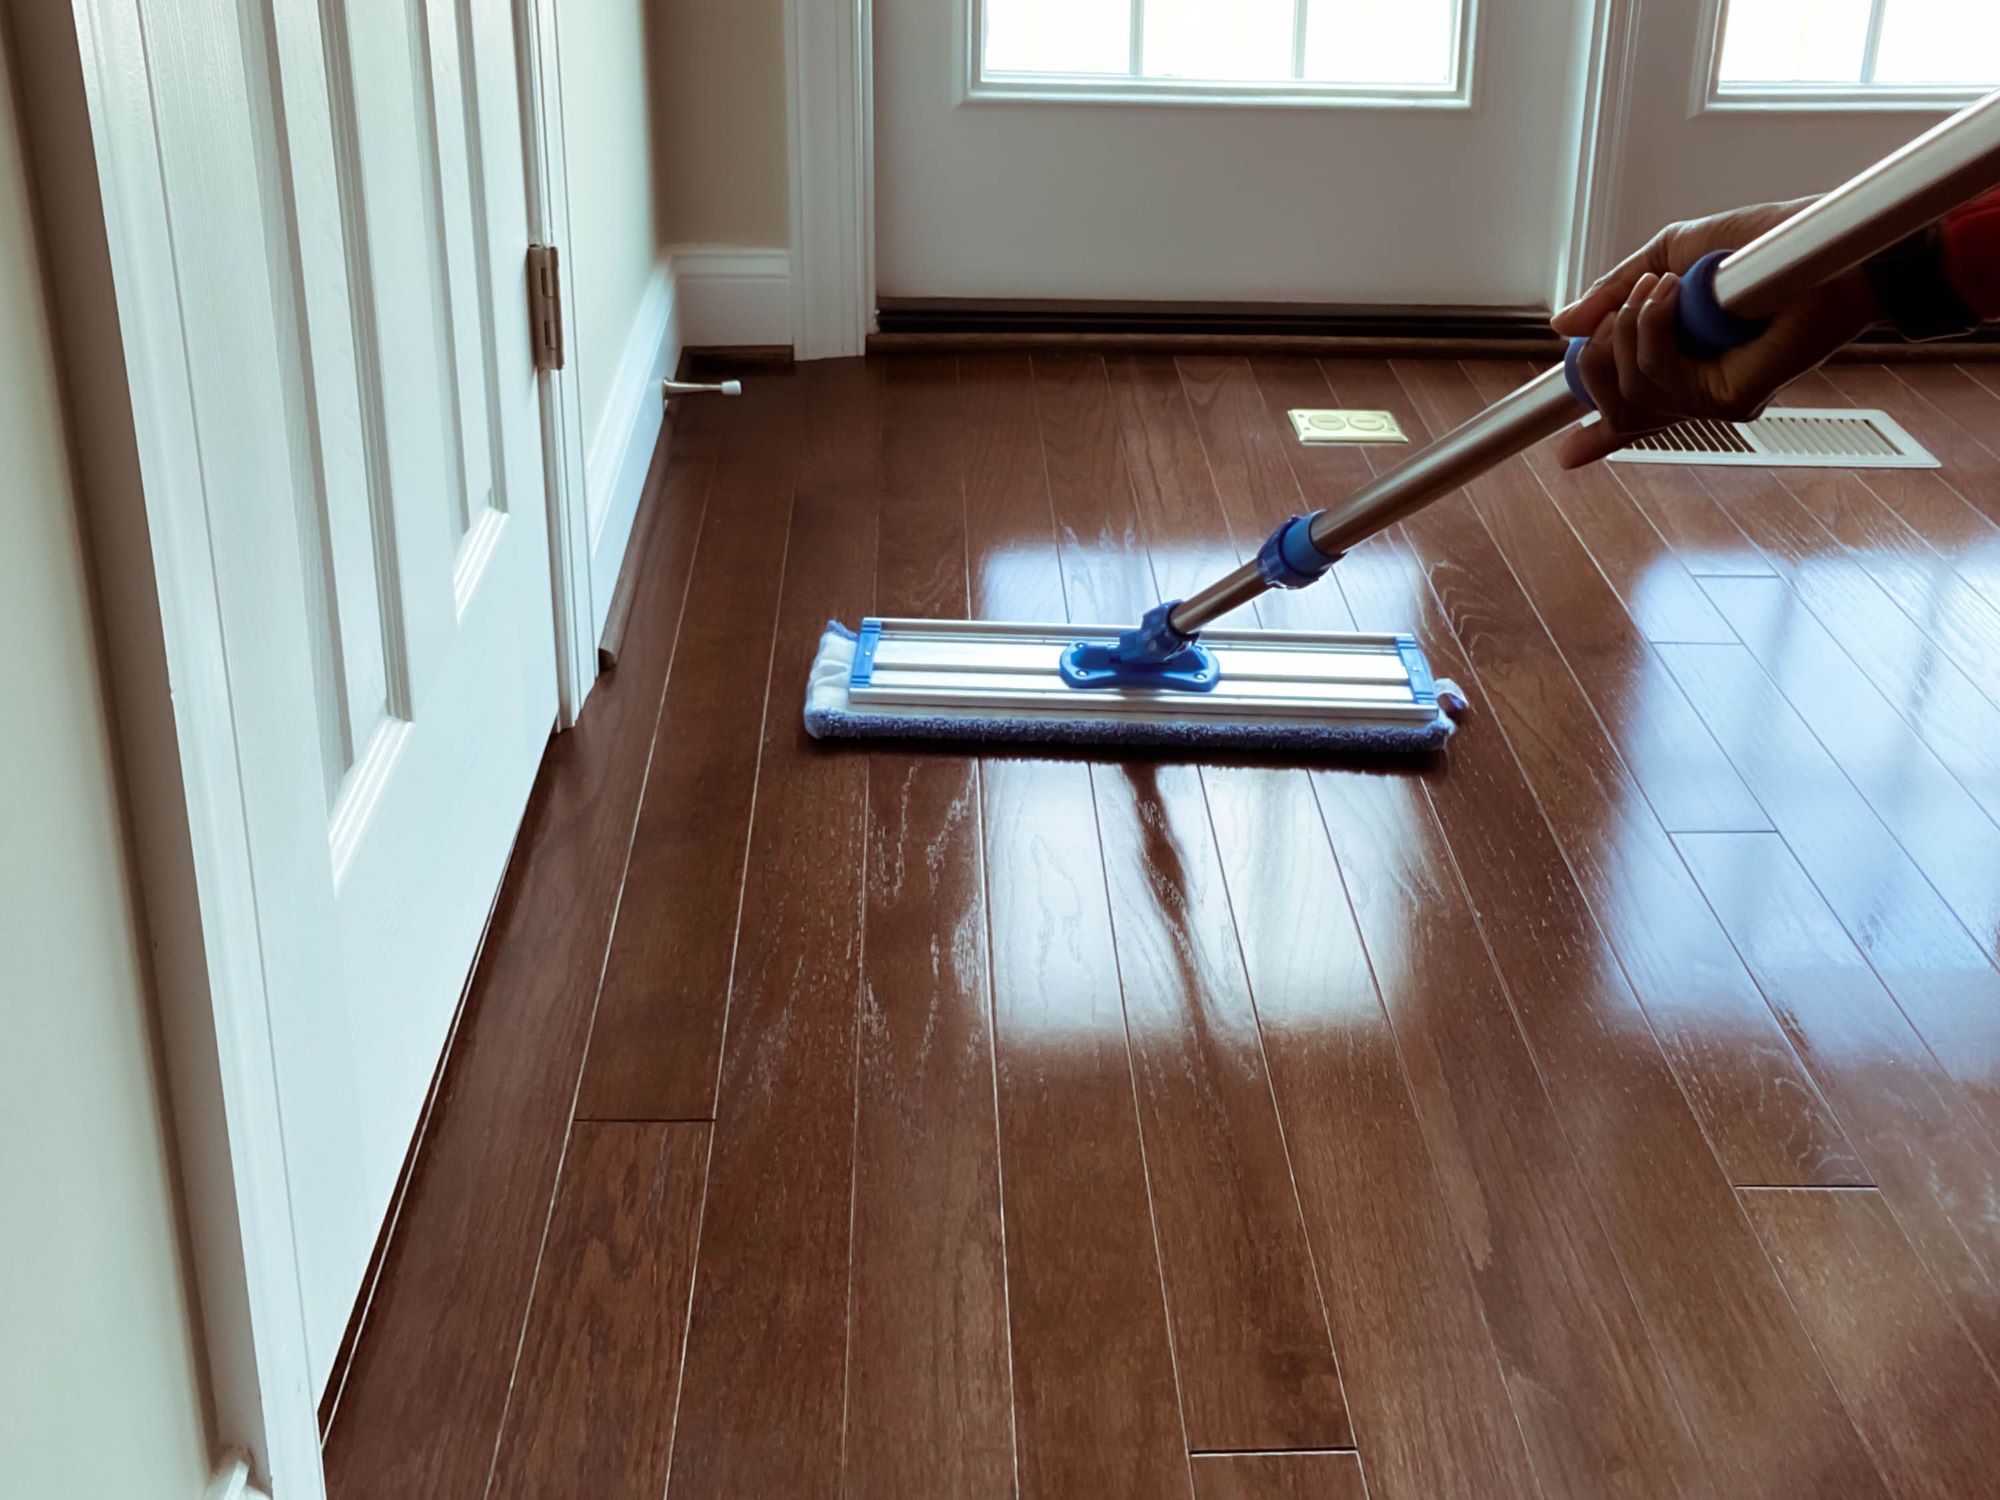
- Regularly clean and dust: Dust, dirt, and other debris can accumulate on the surface of your wood floors, leading to discoloration over time. Regularly clean and dust your floors using a soft broom, microfiber mop, or vacuum cleaner attachments designed for wood floors.
- Periodic maintenance: Implement a regular maintenance schedule that includes periodic reapplication of protective coatings, such as polyurethane or varnish, to keep your floors looking pristine and to protect them from discoloration.
- Be cautious with chemical exposure: Avoid using excessive amounts of harsh chemicals or cleaning products on your wood floors, as they can strip away the finish or cause discoloration. Be mindful when using household chemicals near the floors and promptly clean up any spills.
By following these preventative measures, you can significantly reduce the risk of wood floor discoloration and prolong the lifespan of your floors. Regular maintenance and mindful habits will help ensure that your wood floors remain beautiful and pristine for years to come.
With the knowledge and techniques provided in this article, you now have the tools to tackle wood floor discoloration and maintain the beauty of your floors. Remember to choose the method that suits your specific situation and always follow the instructions provided by product manufacturers for optimal results.
By taking care of your wood floors and addressing discoloration promptly, you can enjoy the timeless beauty and warmth that wooden flooring brings to your home.
This concludes our comprehensive guide on how to fix wood floor discoloration and prevent future issues. Cheers to beautiful, vibrant wood floors!
Conclusion
Wood floor discoloration can be a frustrating issue, but with the right knowledge and techniques, you can successfully restore the beauty of your floors. In this article, we explored different methods to fix wood floor discoloration, including sanding and refinishing, staining and re-coating, and bleaching and color correction. Each method is tailored to address specific types of discoloration, allowing you to choose the best approach for your situation.
Throughout the article, we emphasized the importance of understanding the type of discoloration you’re dealing with and gathering the necessary tools and materials before starting the repair process. By identifying the cause and type of discoloration, you can select the most appropriate method and achieve better results.
Furthermore, we provided tips for preventing wood floor discoloration in the first place. From protecting your floors from sunlight and using rugs and mats to controlling humidity levels and practicing proper cleaning and maintenance techniques, these preventative measures can help preserve the beauty and longevity of your wood floors.
Remember that patience, attention to detail, and following the manufacturer’s instructions are key to successfully fixing wood floor discoloration. If you’re unsure or face significant discoloration, it’s always a good idea to consult a professional flooring contractor for guidance.
With the information and techniques provided in this article, you have the knowledge and tools to tackle wood floor discoloration and maintain the beauty of your floors. By implementing the appropriate methods and practicing diligent care, you can enjoy the timeless elegance and warmth that wooden flooring brings to your home for years to come.
Thank you for reading, and here’s to beautifully restored wood floors!
Frequently Asked Questions about How To Fix Wood Floor Discoloration
Was this page helpful?
At Storables.com, we guarantee accurate and reliable information. Our content, validated by Expert Board Contributors, is crafted following stringent Editorial Policies. We're committed to providing you with well-researched, expert-backed insights for all your informational needs.


0 thoughts on “How To Fix Wood Floor Discoloration”