Articles
How To Fix Cupping Wood Floor
Modified: January 8, 2024
Learn how to fix cupping in a wood floor with these helpful articles. Discover effective solutions and prevent further damage.
(Many of the links in this article redirect to a specific reviewed product. Your purchase of these products through affiliate links helps to generate commission for Storables.com, at no extra cost. Learn more)
Introduction
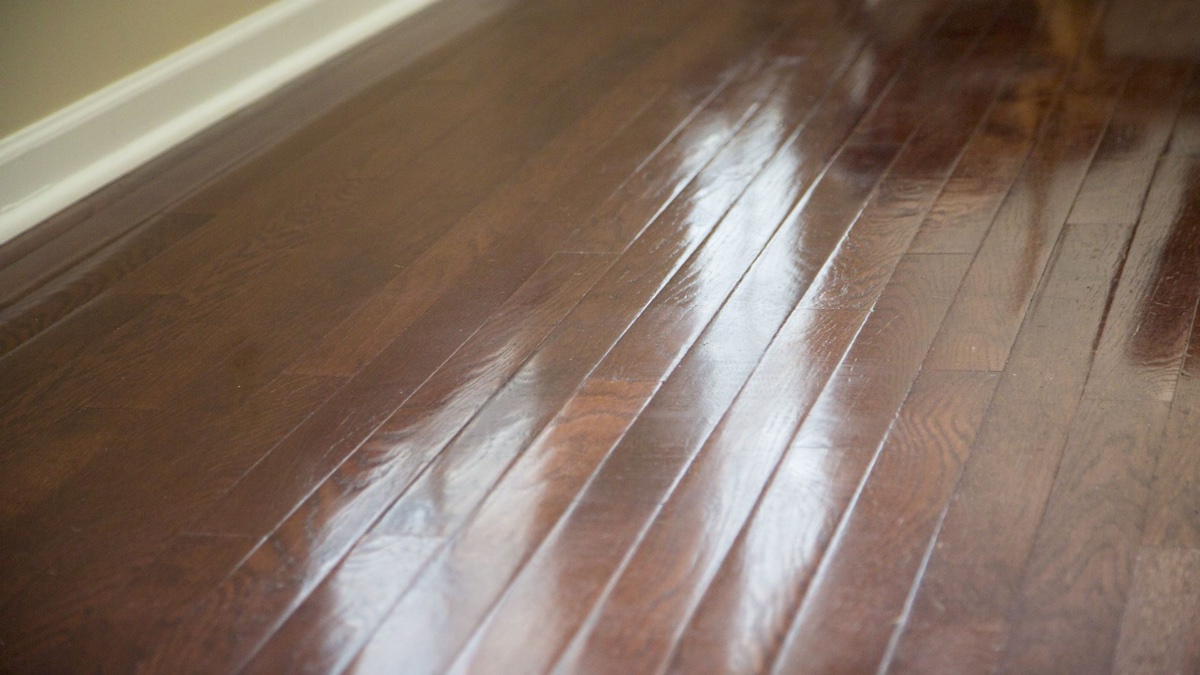
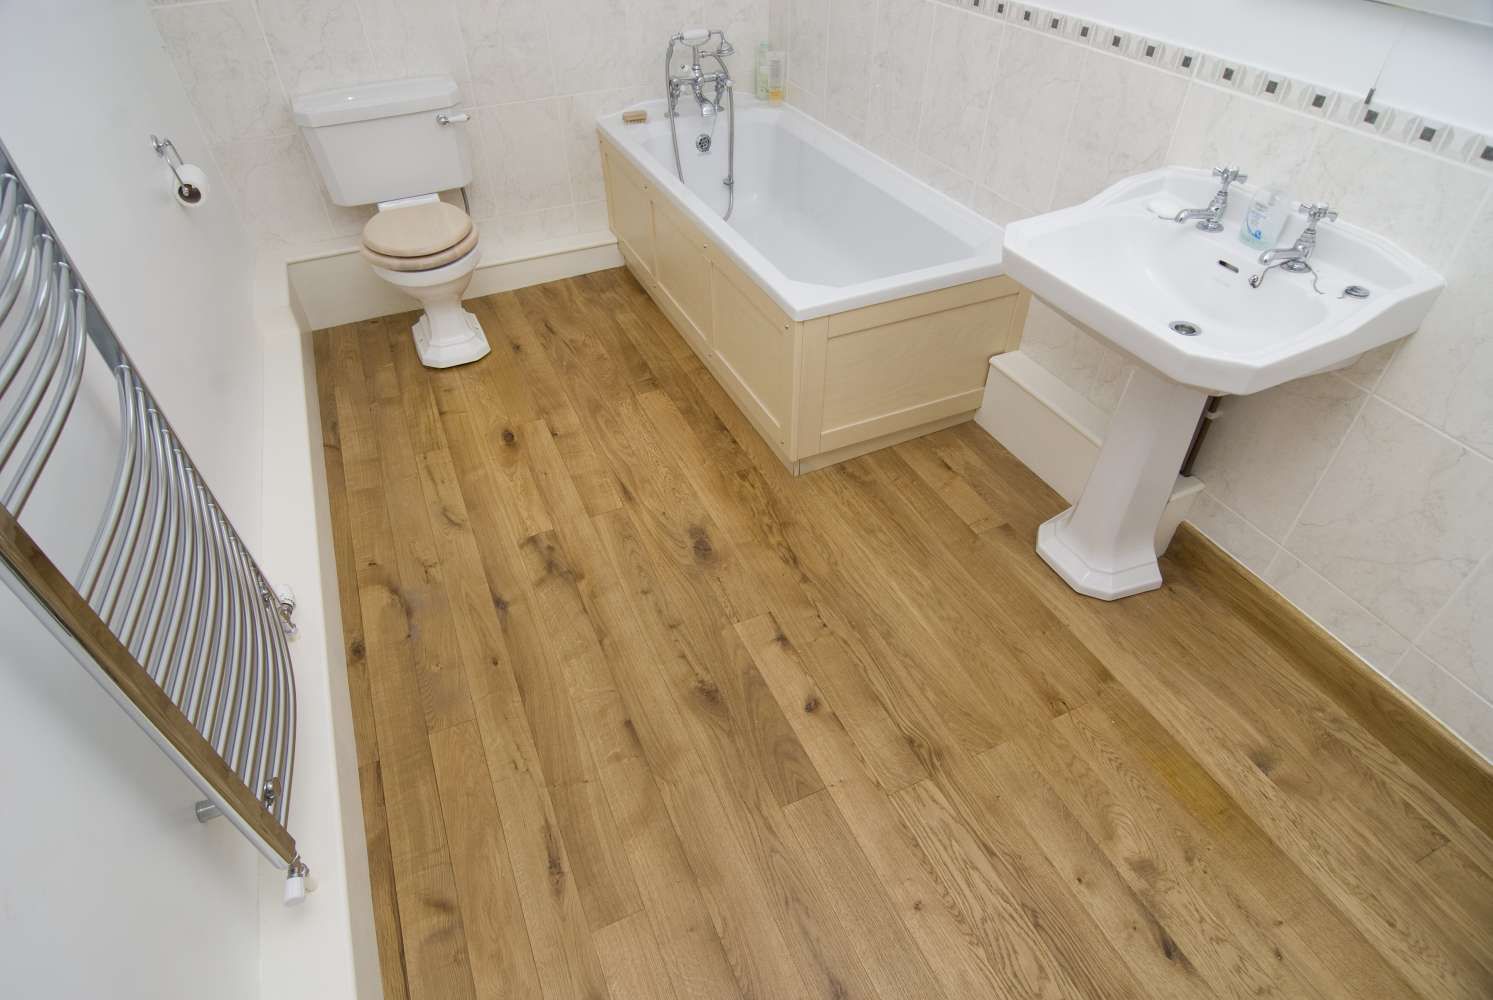
Wood floors are a timeless and elegant addition to any home or space. They provide warmth, beauty, and durability. However, over time, wood floors can develop issues such as cupping, which can mar their appearance and affect their functionality. Cupping occurs when the edges of the wood planks start to rise, creating an uneven surface that is not only unsightly but can also be a safety hazard.
If you have noticed cupping in your wood floor, it is important to take immediate action to prevent further damage and restore the floor’s original beauty. In this article, we will delve into the causes of cupping in wood floors and provide you with a comprehensive guide on how to fix cupping and prevent it from happening in the future.
Before we jump into the specific steps to fix cupping wood floors, it is crucial to have a clear understanding of what cupping entails and why it occurs. Let’s take a closer look.
Key Takeaways:
- Understanding the causes of cupping in wood floors, such as excessive moisture, poor ventilation, and improper installation, is crucial for effective repair and long-term prevention.
- Proper preparation, step-by-step repair processes, and regular maintenance are essential for fixing cupping in wood floors and ensuring their beauty and functionality for years to come.
Read more: How To Fix A Chip In Wood Floor
Understanding Cupping in Wood Floors
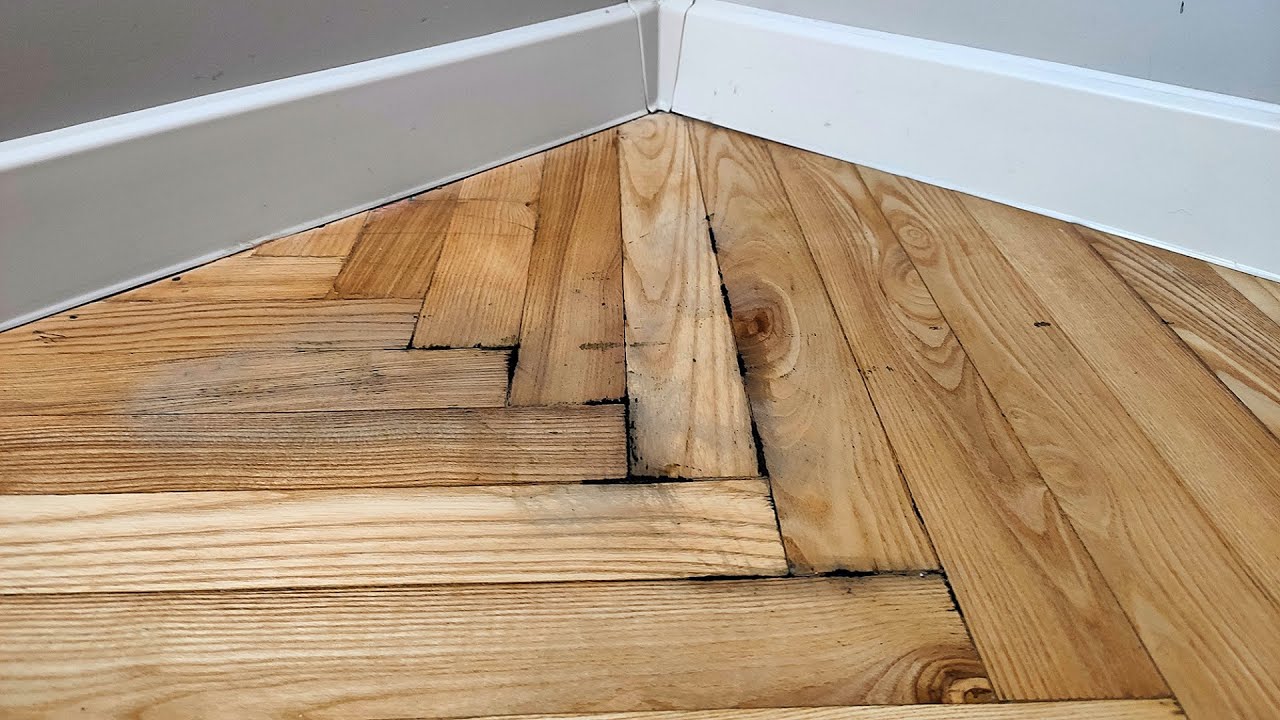
Cupping is a common issue that can occur in wood floors. It refers to the process where the edges of the wood planks begin to rise, causing the floor to form a concave or “cupped” shape. This can result in an uneven surface that not only detracts from the aesthetic appeal of the floor but also poses potential tripping hazards.
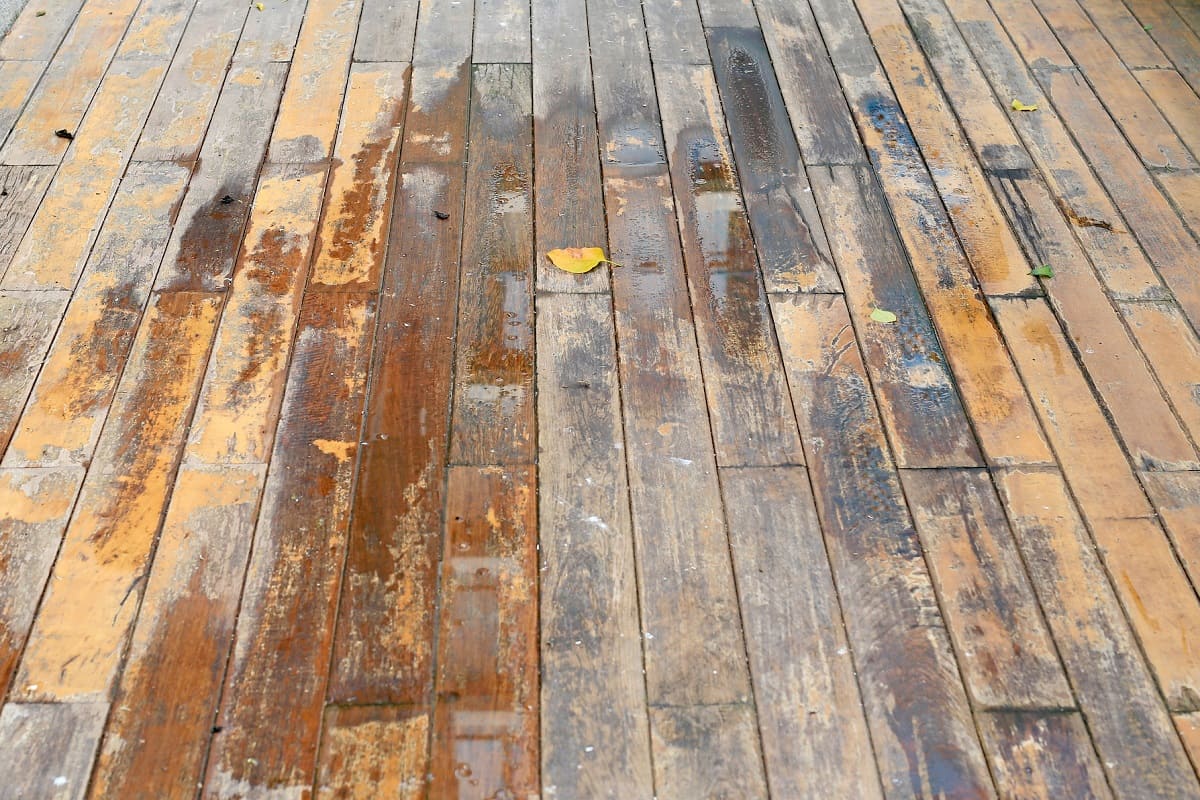
The cupping phenomenon is primarily caused by an imbalance in moisture content within the wood planks. Wood naturally expands and contracts with changes in humidity levels. When the moisture content in the air is higher than the moisture content in the wood, the boards absorb the excess moisture, causing them to expand and buckle. On the other hand, when the moisture content in the air is lower than the moisture content in the wood, the boards release moisture, leading to shrinkage and the appearance of gaps between the planks.
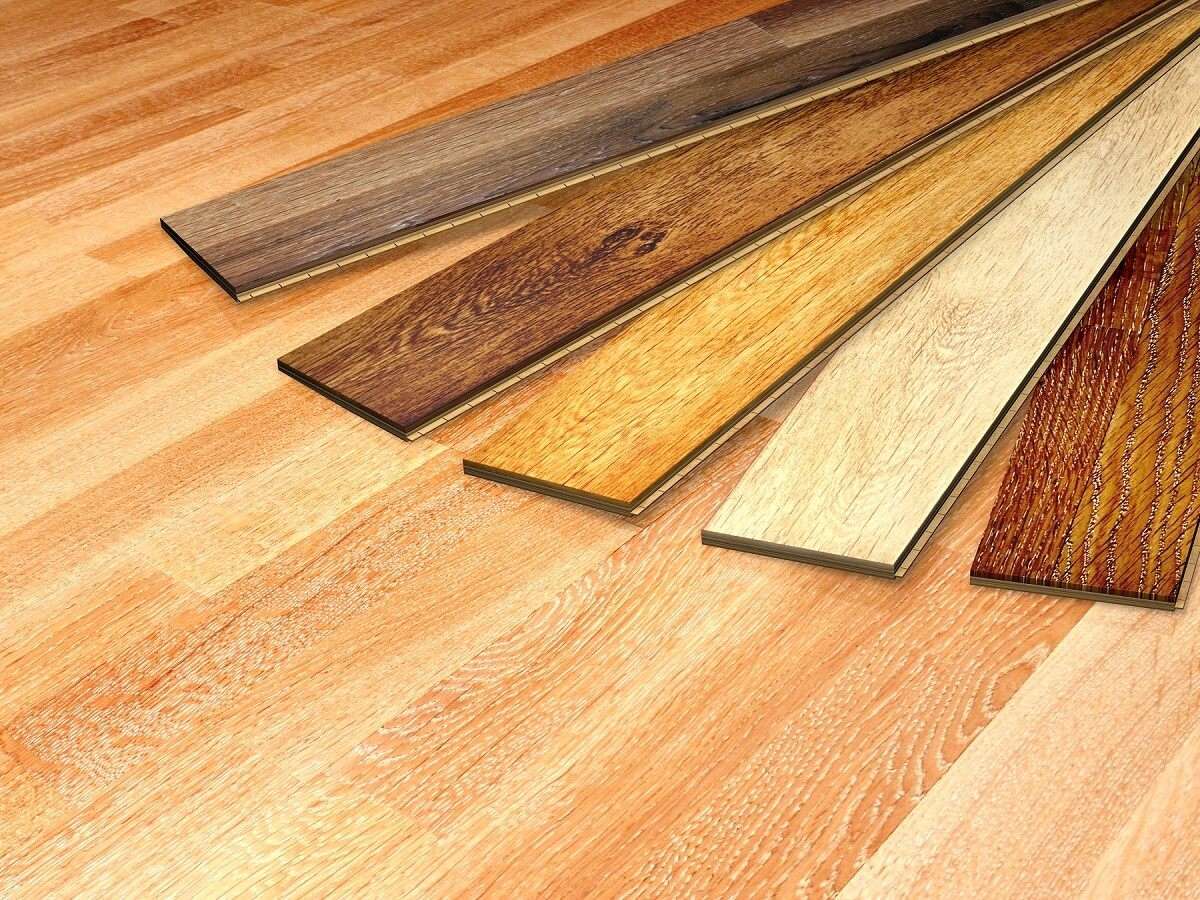
Cupping typically occurs when there is an excessive amount of moisture underneath the floor. This can happen due to a variety of reasons, such as leaks, spills, high humidity levels, or improper installation. It is important to note that cupping can affect both solid and engineered wood floors.
When cupping occurs, it is essential to address the issue promptly to prevent further damage and ensure a safe and visually appealing floor. By understanding the causes of cupping, you can take appropriate measures to fix the problem and prevent it from recurring in the future.
Now that we have a basic understanding of cupping in wood floors, let’s move on to identifying the causes of this issue.
Identifying the Causes of Cupping
In order to effectively fix cupping in wood floors, it is crucial to identify the underlying causes that have led to the issue. By determining the root cause, you can address it directly and prevent future instances of cupping. Here are some common causes of cupping:
- Excessive Moisture: One of the primary causes of cupping is excessive moisture. This can be due to water leaks, spills, or even high humidity levels in the environment. When moisture makes its way into the subfloor or gets trapped between the wood planks, it can cause the wood to absorb the moisture and expand, resulting in cupping.
- Poor Subfloor Ventilation: Insufficient ventilation in the subfloor can lead to moisture accumulation. Without proper airflow, moisture gets trapped and can cause the wood floor to cup.
- Inadequate Moisture Barrier: A moisture barrier is a crucial layer that helps protect wood floors from moisture damage. If the moisture barrier is not installed or is ineffective, it leaves the wood vulnerable to moisture infiltration, which can lead to cupping.
- Improper Installation: Incorrect installation techniques can also contribute to cupping. If the floorboards are not acclimated to the environment or are not properly spaced to allow for expansion and contraction, it can result in cupping.
- Plumbing or Roofing Issues: Leaks in plumbing or roofing systems can introduce excess moisture into the subfloor and cause cupping in wood floors. It is important to address and fix any plumbing or roofing issues promptly to prevent further damage.
Identifying the cause of cupping is crucial in determining the appropriate repair method and ensuring that the issue does not recur. Once you have identified the cause, you can move on to preparing for the repair process.
Preparing for the Repair Process
Before diving into fixing cupping in wood floors, it is important to make necessary preparations to ensure a smooth and successful repair process. Here are the steps you need to take to prepare for fixing cupping:
- Assess the extent of the damage: Start by assessing the severity of the cupping in your wood floor. This will help you determine the appropriate repair method and the extent of the materials you will need.
- Gather the necessary tools and materials: Make a list of the tools and materials you will need for the repair process. This may include a moisture meter, pry bar, sandpaper, wood filler, stain, finish, and any other specific products recommended for your particular type of wood floor.
- Identify the source of moisture: If the cupping is due to moisture infiltration, it is crucial to identify and address the source of the moisture. Look for any signs of leaks, plumbing issues, or inadequate ventilation. Fixing the underlying moisture problem is essential to prevent cupping from reoccurring in the future.
- Clear the area: Before beginning the repair process, remove all furniture and rugs from the affected area. This will provide you with a clear workspace and prevent any damage or obstacles during the repair process.
- Wear protective gear: It is important to prioritize safety during the repair process. Wear appropriate protective gear such as gloves, safety goggles, and a dust mask to protect yourself from any potential hazards.
- Ensure proper ventilation: Ventilate the area by opening windows and doors or using fans. This will help in the drying process and remove any fumes or odors associated with the repair materials.
- Follow manufacturer instructions: Read and understand the instructions provided by the manufacturers of the repair products you will be using. Adhering to these instructions will ensure effective and safe repairs.
By taking these preparatory steps, you will be ready to embark on the journey of fixing cupping in your wood floors. With the right tools, materials, and a clear understanding of the underlying causes, you are well-equipped to restore the beauty and functionality of your wood floor.
Step-by-Step Guide to Fixing Cupping Wood Floors
Fixing cupping in wood floors requires a systematic approach to ensure a successful repair. Here is a step-by-step guide to help you navigate through the process:
- 1. Assess the moisture level: Use a moisture meter to determine the moisture content of both the affected wood floor and the environment. This will help you gauge the extent of the moisture imbalance and guide your repair decisions.
- 2. Address the source of moisture: If the cupping is caused by excessive moisture, it is crucial to address the source. Fix any leaks, improve ventilation, or address any other issues that may be causing moisture to accumulate beneath the floor.
- 3. Allow the floor to dry: Depending on the severity of the cupping and the moisture level, it may be necessary to allow the floor to dry naturally. Use fans or dehumidifiers to expedite the drying process, ensuring that the moisture content is within the acceptable range.
- 4. Sand the affected area: Once the floor has dried, use a floor sander to carefully remove the cupped surface. Sand in the direction of the wood grain, starting with a coarse grit sandpaper and gradually progressing to finer grits until the surface is smooth and even.
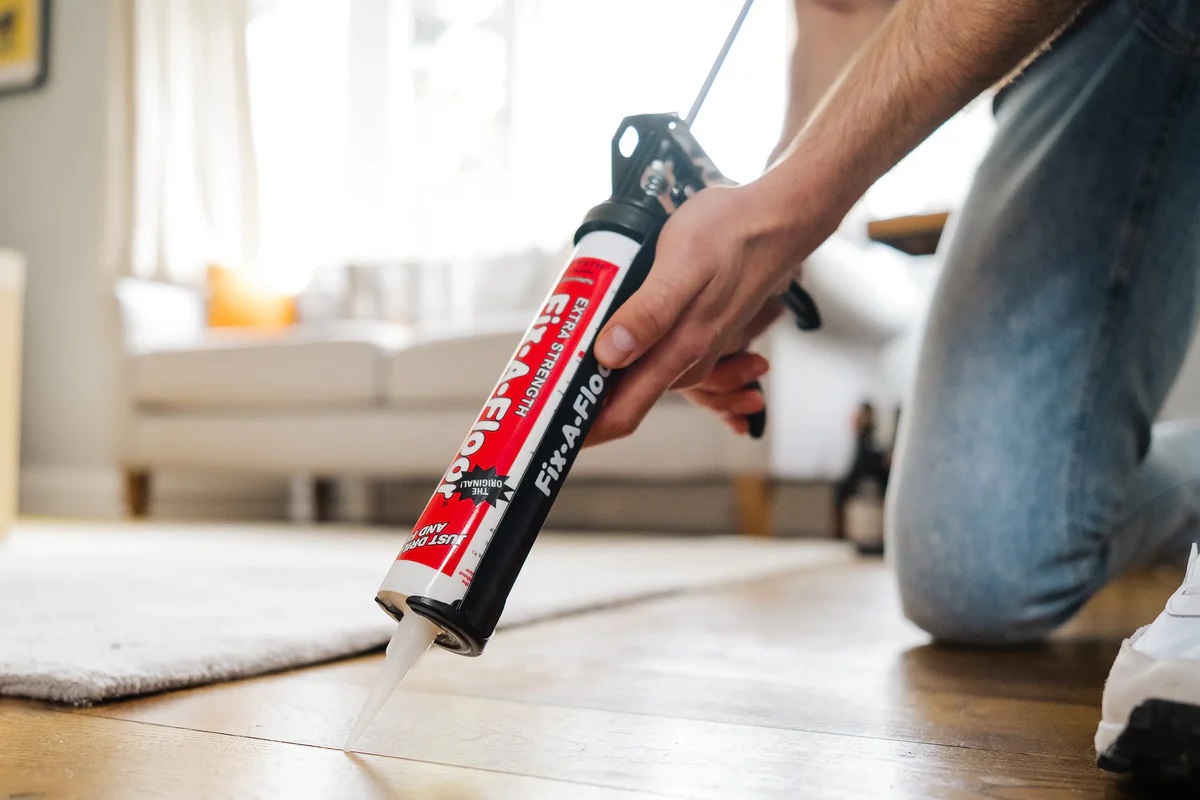
- 5. Fill gaps (if necessary): If there are any gaps between the wood planks due to the cupping, use a wood filler that matches the color of your floor to fill them. Apply the filler according to the manufacturer’s instructions and allow it to dry completely before proceeding.
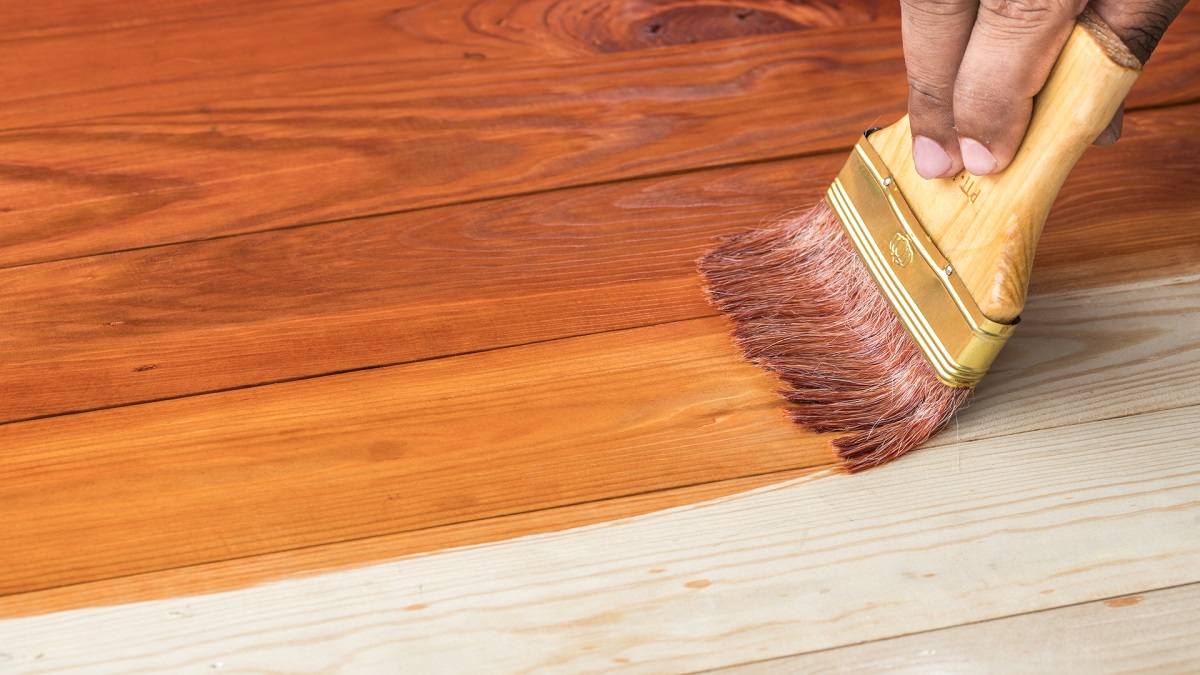
- 6. Stain or color match: If desired, apply a wood stain or color match the repaired area to seamlessly blend it with the rest of the floor. Choose a stain that matches the original color or consult a flooring professional for assistance.
- 7. Apply a protective finish: To safeguard the repaired area, apply a protective finish such as polyurethane or varnish. Follow the manufacturer’s instructions for application and drying times, and apply multiple coats if necessary.
- 8. Allow the finish to cure: Once the protective finish is applied, allow sufficient drying time for it to cure. Avoid placing furniture or heavy objects on the repaired area until the finish is fully cured.
Following these step-by-step instructions will help you effectively fix cupping in your wood floors. Remember to take your time and ensure that each step is done thoroughly for the best results. With proper knowledge and attention to detail, you can restore your wood floor’s beauty and integrity.
Read more: How To Fix Buckled Wood Floor
Applying Moisture to Restore Balance
After addressing the cupping issue in your wood floors and ensuring that the moisture source has been corrected, it is vital to restore the moisture balance in the affected area. Balancing the moisture content will help prevent future cupping and maintain the structural stability of the wood floor.
The goal is to gradually reintroduce moisture to the wood floor to achieve equilibrium with the surrounding environment. Here are some steps to follow when applying moisture to restore balance:
- 1. Monitor moisture levels: Use a moisture meter to monitor the moisture content of the affected wood floor. This will help you gauge the current moisture level and determine the amount of moisture needed for restoration.
- 2. Introduce controlled humidity: Increase the relative humidity in the room where the wood floor is located. This can be done by using a humidifier or by placing bowls of water strategically around the room to naturally increase humidity. Aim for a relative humidity level between 40-60%.
- 3. Gradually increase moisture: Over a period of time, gradually increase the moisture content in the affected area. This can be achieved by dampening cloths or using a fine mist sprayer to lightly moisten the surface of the wood floor. Make sure not to oversaturate the area as this can cause other issues such as swelling and warping.
- 4. Monitor equilibrium: Continuously monitor the moisture levels using the moisture meter. The goal is to reach a state of equilibrium where the moisture content of the wood floor matches that of the surrounding environment.
- 5. Allow time for acclimation: Once the moisture levels have balanced, give the wood floor time to acclimate to the new conditions. This will ensure that the wood adjusts and stabilizes before any further treatments or refinishing processes.
By applying moisture in a controlled manner, you can restore the balance in your wood floors and minimize the risk of cupping. It is important to note that maintaining a consistent humidity level in your home or space is crucial to prevent excessive moisture fluctuations, which can lead to future cupping.
Remember to be patient throughout the process and allow for adequate drying and acclimation time. This will help ensure a successful restoration and long-lasting results for your wood floors.
To fix cupping wood floors, identify and eliminate the source of moisture, sand down the raised edges, and refinish the floor to restore its flat surface.
Sanding the Affected Area
Once you have addressed the moisture imbalance and allowed sufficient drying time, the next step in fixing cupping wood floors is to sand the affected area. Sanding helps to level the surface and remove any remaining traces of cupping. It is an essential step in restoring the smoothness and uniformity of the wood floor. Here’s a step-by-step guide on how to sand the affected area:
- 1. Equipment selection: Start by selecting the appropriate sanding equipment for the job. Depending on the size and severity of the cupping, you can use a handheld belt sander, a drum sander, or an orbital sander. Ensure that you have the necessary sandpaper grits, ranging from coarse to fine.
- 2. Prepare the area: Clear the area of any furniture, rugs, or debris. This will provide you with a clear workspace and prevent any damage or obstacles during the sanding process.
- 3. Begin with coarse-grit sandpaper: Start the sanding process with a coarse-grit sandpaper, such as 40 or 60 grit, depending on the severity of the cupping. Sand in the direction of the wood grain, making smooth and even passes over the affected area.
- 4. Gradually progress to finer grits: As the surface becomes smoother, switch to progressively finer grit sandpaper. Move from 80 grit to 120 grit, and finally to 220 grit. This step will help remove any remaining roughness and refine the surface.
- 5. Feather the edges: Pay close attention to feathering the edges of the cupped area to blend it seamlessly with the surrounding floor. This will create a smooth transition without any noticeable differences in height or texture.
- 6. Vacuum and clean: Regularly vacuum and clean the sanded area to remove any dust or debris. A clean surface ensures better adherence of any subsequent treatments or finishes.
It is important to note that excessive sanding should be avoided, as it can remove too much material and compromise the integrity of the wood floor. Keep an eye out for areas where the cupping is deep, as additional sanding may be required to level the surface properly.
Remember to take breaks during the sanding process to prevent overheating of the sandpaper and to allow the wood floor to cool down. Strive for a smooth and even finish throughout the affected area to ensure optimal results.
Once you have completed the sanding process, you are ready to move on to the next step: filling and staining the wood.
Filling and Staining the Wood
After sanding the affected area and achieving a smooth surface, the next step in fixing cupping wood floors is to fill any gaps or imperfections and apply a stain to match the surrounding floor. This process helps to restore the visual integrity of the wood and create a seamless appearance. Here’s a step-by-step guide on how to fill and stain the wood:
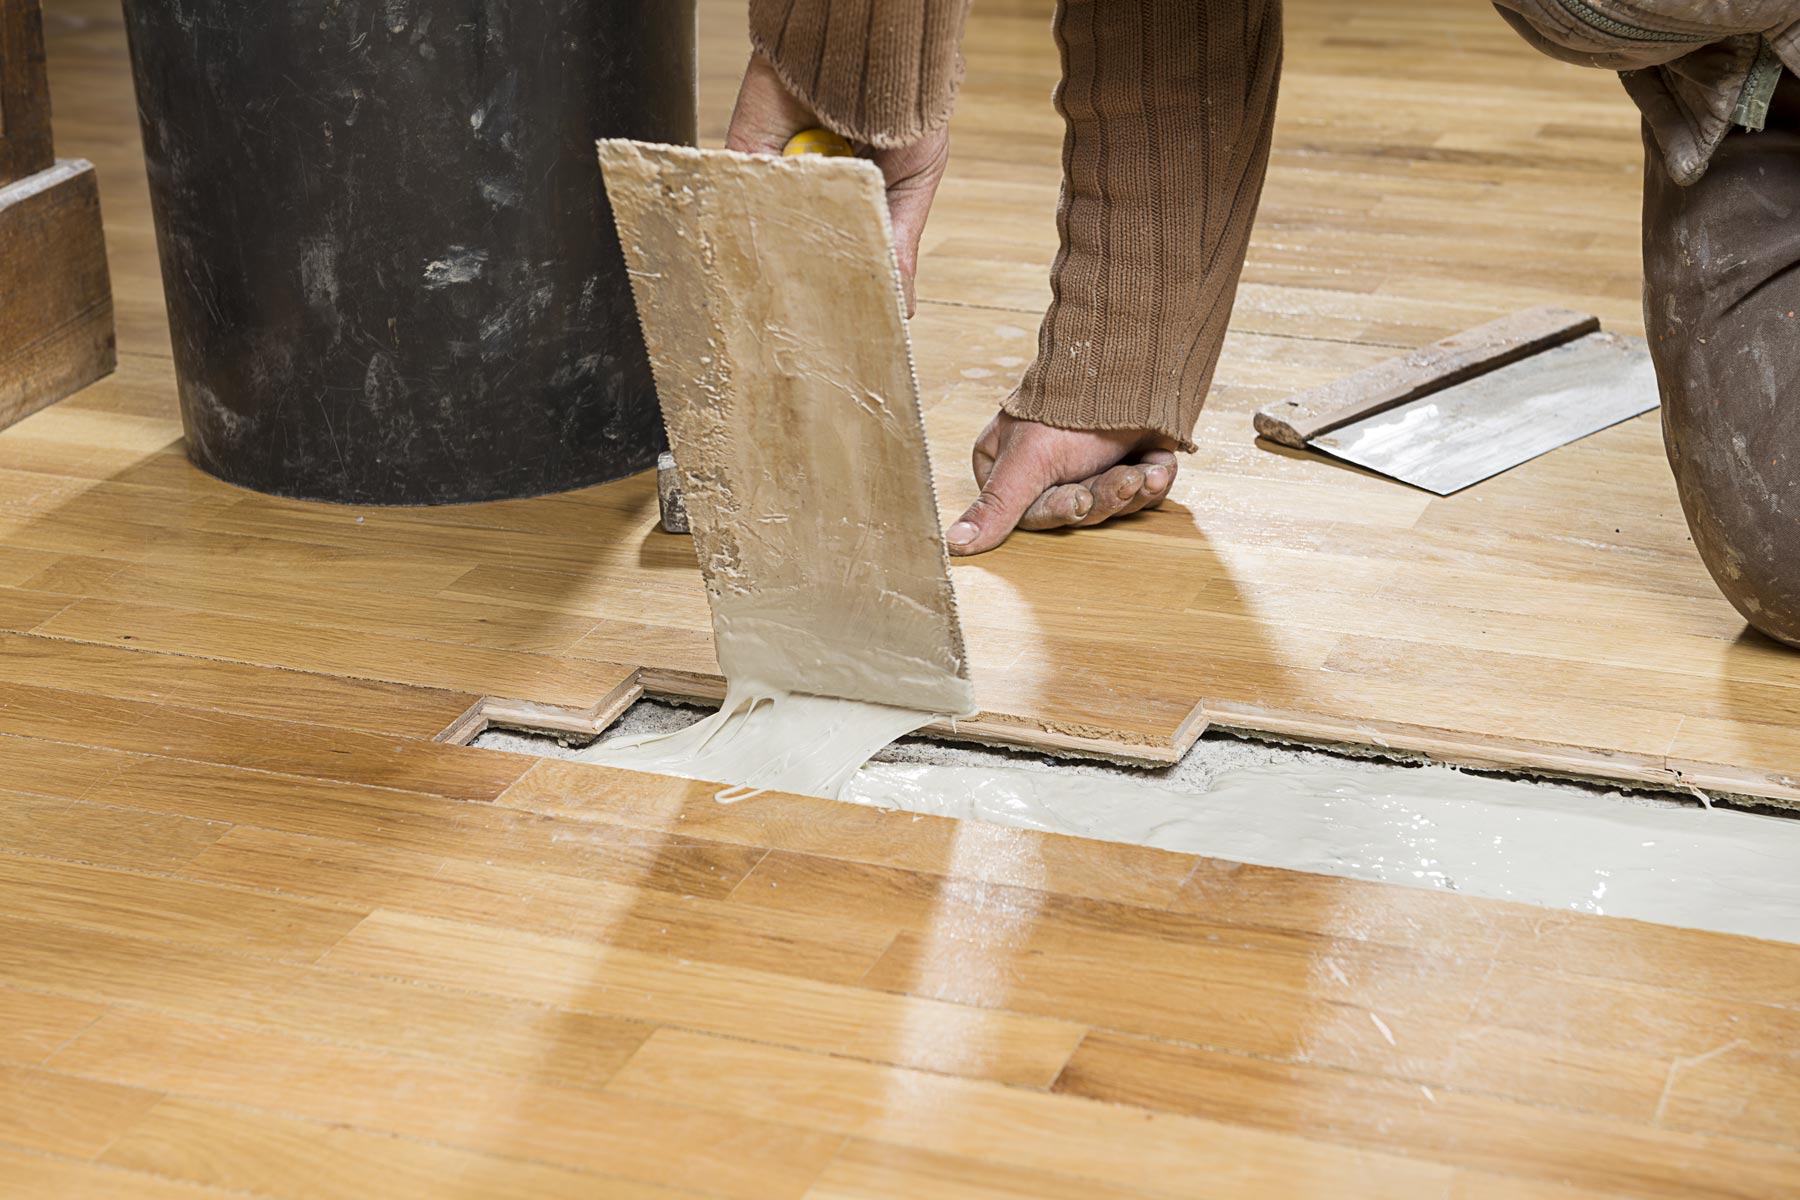
- 1. Inspect the area: Carefully inspect the sanded area for any gaps between the wood planks or imperfections that need to be filled. Use a wood filler that matches the color of your floor to fill these gaps. Choose a filler that is specifically designed for wood floors and follows the manufacturer’s instructions.
- 2. Apply the wood filler: Using a putty knife or a similar tool, apply the wood filler into the gaps or imperfections. Press the filler firmly into place and smooth it out to create a level surface. Remove any excess filler using a clean cloth or the edge of the putty knife.
- 3. Allow the filler to dry: Give the wood filler sufficient time to dry and harden. Follow the manufacturer’s instructions for the recommended drying time. It is important to ensure that the filler is completely dry before proceeding to the next steps.
- 4. Sand the filled areas: Once the wood filler is dry, lightly sand the filled areas using a fine grit sandpaper. This will help level the filled spots with the surrounding wood and create a smooth surface.
- 5. Prepare the area for staining: Before applying the stain, ensure that the sanded and filled areas are clean and free of dust or debris. Use a vacuum or a soft cloth to remove any residues.
- 6. Choose and apply the stain: Select a stain that matches the color of the surrounding floor. Apply the stain using a brush, sponge, or cloth, following the manufacturer’s instructions. Work in small sections, blending the stain with the surrounding areas to achieve a consistent color. Allow the stain to penetrate and dry fully before proceeding.
- 7. Apply additional coats (if desired): If you prefer a darker or richer color, you can apply additional coats of stain, allowing each coat to dry completely before applying the next. Take care to maintain consistency and avoid uneven application.
- 8. Seal with a protective finish: Once the stain is dry, apply a protective finish, such as polyurethane or varnish, to protect the stained area. Follow the manufacturer’s instructions for application and drying times. Apply multiple coats, if necessary, to ensure durability and long-lasting results.
Take your time during the filling and staining process to ensure precision and achieve a seamless blend between the repaired area and the rest of the wood floor. The wood filler and stain should match as closely as possible to create a natural and cohesive appearance.
After completing the filling and staining process, allow the finish to dry and cure fully before subjecting the floor to regular use. With the final step of applying a protective finish, you are on your way to a beautifully restored wood floor free from cupping.
Applying a Protective Finish
After filling the gaps and staining the wood to achieve a seamless look, the next crucial step in fixing cupping wood floors is to apply a protective finish. This finish serves as a barrier that shields the wood from everyday wear and tear, moisture, and other potential damage. Applying a protective finish will help preserve the beauty and longevity of your wood floor. Here’s a step-by-step guide on how to apply a protective finish:
- 1. Choose the right finish: Select a finish that is suitable for your type of wood floor, such as polyurethane, varnish, or oil-based finishes. Consider factors such as durability, sheen level, and ease of application. Read the manufacturer’s instructions to ensure compatibility with your wood floor.
- 2. Prepare the area: Clear the area of any furniture, rugs, or debris. Make sure the floor is clean and free of dust or particles. Use a vacuum or a soft cloth to remove any residues.
- 3. Stir the finish: Thoroughly stir the finish according to the manufacturer’s instructions. This will ensure an even distribution of the protective properties within the finish.
- 4. Apply the first coat: Use a brush, roller, or applicator pad to apply the protective finish along the grain of the wood. Start at one corner of the room and work your way towards an exit to avoid stepping on the freshly applied finish. Apply an even and thin coat, being careful to avoid puddles or excessive build-up of the finish.
- 5. Allow the first coat to dry: Follow the manufacturer’s instructions for the recommended drying time of the first coat. Ensure proper ventilation in the room to facilitate drying. Avoid walking on the floor or placing any objects on it until the finish is completely dry.
- 6. Lightly sand (optional): If desired, you can lightly sand the first coat of finish with fine grit sandpaper to smooth out any imperfections or roughness. Wipe away any dust or debris before proceeding.
- 7. Apply subsequent coats: Apply additional coats of the protective finish, following the same process of proper application and drying time between each coat. Multiple coats are typically recommended for better protection and durability.
- 8. Final drying and curing: Allow the final coat of finish to dry and cure fully. This may take several days, depending on the type of finish and environmental conditions. Refrain from placing heavy furniture or rugs on the floor until the finish has thoroughly cured.
By applying a protective finish, you provide a shield for your wood floor, helping it withstand daily use, spills, and other potential damage. Regular maintenance and periodic reapplication of the protective finish will further extend the life and beauty of your wood floor.
Remember to follow the instructions and recommendations provided by the finish manufacturer for the best results. With the final step of applying a protective finish complete, your wood floor is now ready to be enjoyed for years to come.
Read more: How To Fix A Hole In Wood Floor
Regular Maintenance for Preventing Cupping
While fixing cupping in wood floors is essential for restoring their appearance and functionality, it is equally important to implement regular maintenance practices to prevent cupping from occurring in the future. By following these maintenance tips, you can keep your wood floors in optimal condition and minimize the risk of cupping:
- Control humidity levels: Maintain a consistent humidity level in your home or space, ideally between 40% and 60%. Use humidifiers or dehumidifiers as needed to balance the moisture content in the air and minimize fluctuations that can lead to cupping.
- Address spills and leaks promptly: Clean up any spills or water leaks immediately to prevent moisture from seeping into the wood floor. Use absorbent towels or a wet vacuum to remove the moisture and dry the area thoroughly.
- Protect wood floors from direct sunlight: Ultraviolet (UV) rays from sunlight can cause wood to fade and potentially alter its moisture content. Use curtains, blinds, or window films to block excessive sunlight and protect your wood floors.
- Use protective mats or rugs: Place mats or rugs in high-traffic areas and near entryways to prevent dirt, debris, and moisture from being tracked onto the wood floor. Ensure that they have non-slip backing to avoid any potential accidents.
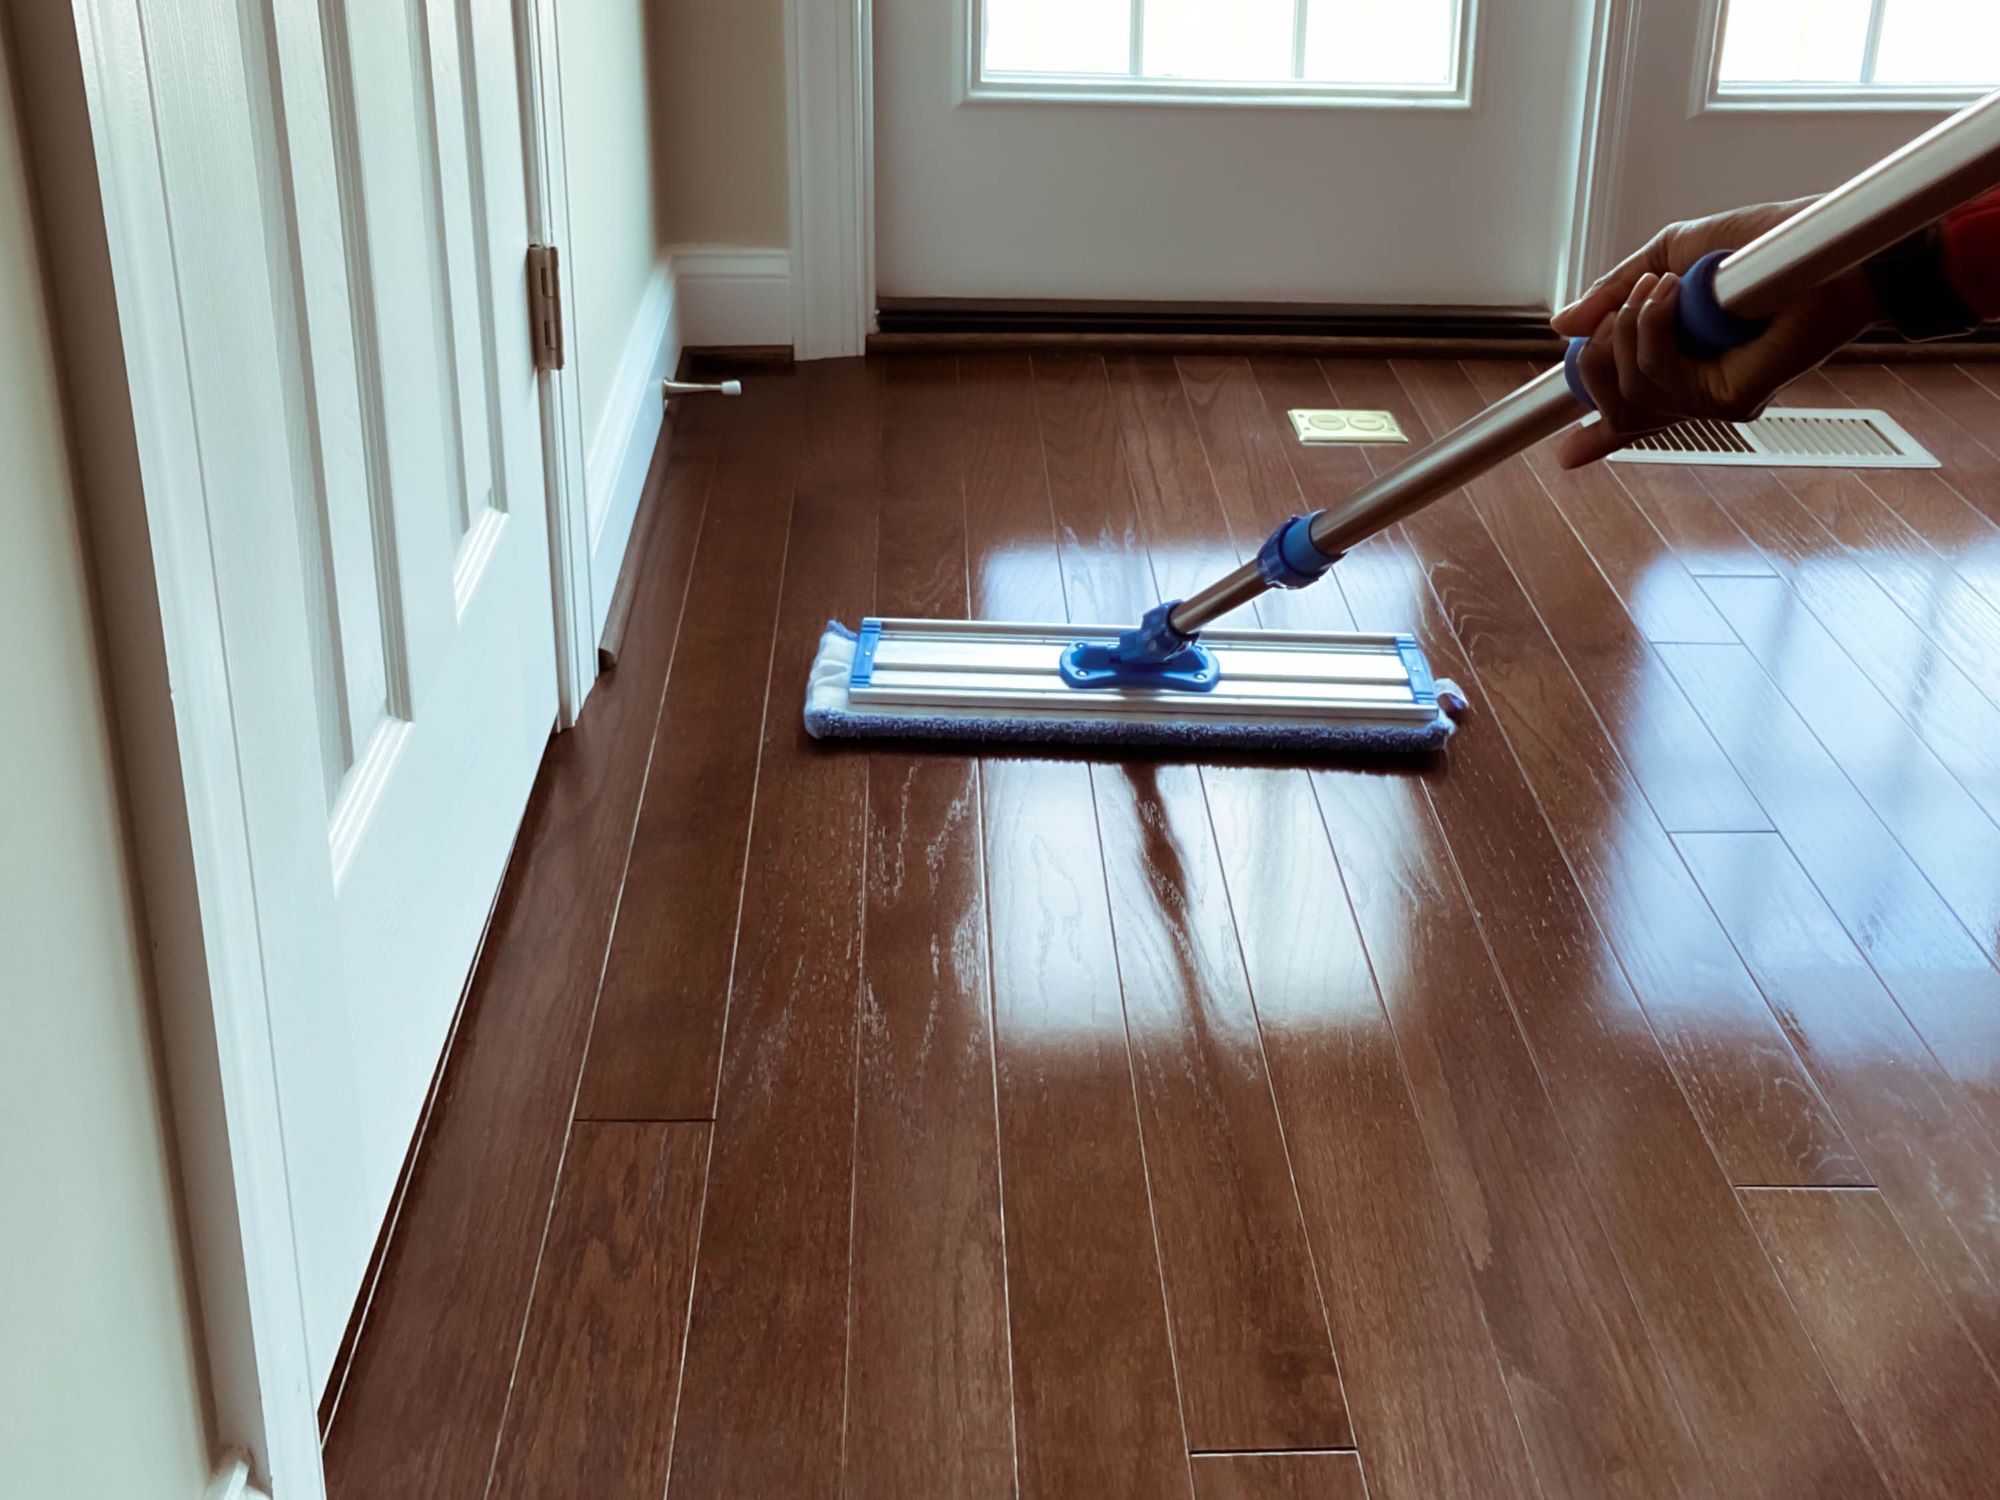
- Regularly clean and dust: Dust and sweep your wood floors regularly to remove particles or grit that can scratch the surface. Use a microfiber mop or damp cloth to clean the floors, avoiding excessive moisture.
- Avoid using excessive water: When cleaning your wood floors, use minimal amounts of water. Excessive moisture can seep into the wood and lead to cupping. Use a damp mop or a specific wood floor cleaner recommended by the manufacturer.
- Trim pet’s nails: If you have pets, keep their nails trimmed to prevent them from scratching or damaging the wood floor. Long nails can gouge the surface, making it more susceptible to moisture penetration.
- Reapply protective finish periodically: Over time, the protective finish on your wood floors may wear off. Periodically assess the condition of the finish and reapply it as recommended by the manufacturer. This will help maintain the integrity and moisture resistance of the wood.
- Inspect for plumbing or roof leaks: Regularly check for any plumbing or roof leaks that may introduce excessive moisture into the subfloor. Address any issues promptly to prevent damage to your wood floors.
- Consult with professionals: If you notice any signs of cupping or other issues with your wood floor, consult with flooring professionals or experts who can guide you with proper maintenance techniques or necessary repairs.
By implementing these regular maintenance practices, you can significantly reduce the chances of cupping and maintain the beauty and longevity of your wood floors. Prevention and proactive care are key to preserving the quality and appearance of your wood flooring investment.
Conclusion
Fixing cupping in wood floors is a critical process that restores the beauty, safety, and functionality of your flooring. By understanding the causes of cupping, preparing for the repair process, and following a step-by-step guide, you can successfully overcome this issue and prevent it from recurring in the future.
First, it is essential to identify the underlying causes of cupping, such as excessive moisture, poor subfloor ventilation, inadequate moisture barriers, improper installation, or plumbing and roofing issues. Addressing these factors is crucial to ensure a long-lasting solution.
Preparing for the repair process involves assessing the extent of the damage, gathering the necessary tools and materials, identifying the source of moisture, clearing the area, wearing protective gear, and following the manufacturer’s instructions.
The step-by-step guide to fixing cupping includes applying moisture to restore balance, sanding the affected area, filling gaps, staining the wood, and applying a protective finish. Each step must be performed with care and attention to detail to achieve the best results.
Regular maintenance is key to preventing cupping in the future. Controlling humidity levels, addressing spills promptly, protecting floors from sunlight, using protective mats, regular cleaning, and periodic reapplication of protective finishes are all essential maintenance practices.
In conclusion, understanding cupping in wood floors, identifying the causes, and following the correct repair and maintenance processes are crucial for keeping your wood floors in optimal condition. With proper care and attention, you can enjoy the beauty and longevity of your wood floors for many years to come.
Frequently Asked Questions about How To Fix Cupping Wood Floor
Was this page helpful?
At Storables.com, we guarantee accurate and reliable information. Our content, validated by Expert Board Contributors, is crafted following stringent Editorial Policies. We're committed to providing you with well-researched, expert-backed insights for all your informational needs.


0 thoughts on “How To Fix Cupping Wood Floor”