Articles
How To Wire A Reversible Electric Motor
Modified: August 27, 2024
Learn how to wire an electric motor for reversible functionality with our informative articles. Discover step-by-step instructions and expert tips for a successful wiring process.
(Many of the links in this article redirect to a specific reviewed product. Your purchase of these products through affiliate links helps to generate commission for Storables.com, at no extra cost. Learn more)
Introduction
Electric motors are essential components in various applications, from powering industrial machinery to operating household appliances. While most motors operate in a single direction, there are instances where the ability to reverse the motor’s rotation is necessary. This can be beneficial for tasks such as driving reversible pumps, adjusting speed control, or facilitating multiple functions in a machine. In this article, we will explore the process of wiring an electric motor to be reversible, providing you with the knowledge and steps needed to accomplish this task. Whether you are a DIY enthusiast or a professional electrician, understanding the basics of motor wiring and how to reverse its direction can be invaluable. Before we dive into the wiring process, let’s first familiarize ourselves with the tools and materials you will need to complete this project successfully.
Key Takeaways:
- Master the skill of wiring reversible electric motors to enhance equipment functionality and versatility, whether for DIY projects or professional applications.
- Prioritize safety, follow wiring diagrams, and seek professional assistance when needed to ensure safe and successful motor wiring for reverse rotation.
Read more: How To Reverse An Electric Motor Rotation
Tools and Materials
Before you begin wiring your electric motor to be reversible, it’s important to gather all the necessary tools and materials. Here is a list of what you’ll need:
- Wire cutters
- Wire strippers
- Electrical tape
- Screwdrivers (both flathead and Phillips)
- Wire nuts
- Multimeter
- Toggle switch or drum switch (depending on motor type)
- Motor wiring diagram
- Electrical cables (make sure they meet the electrical requirements of your motor)
Having these tools and materials readily available will make the wiring process smoother and more efficient. Make sure to use high-quality electrical components for reliable and safe operation. Now let’s take a moment to understand the basics of electric motors and how they function.
Understanding Electric Motors
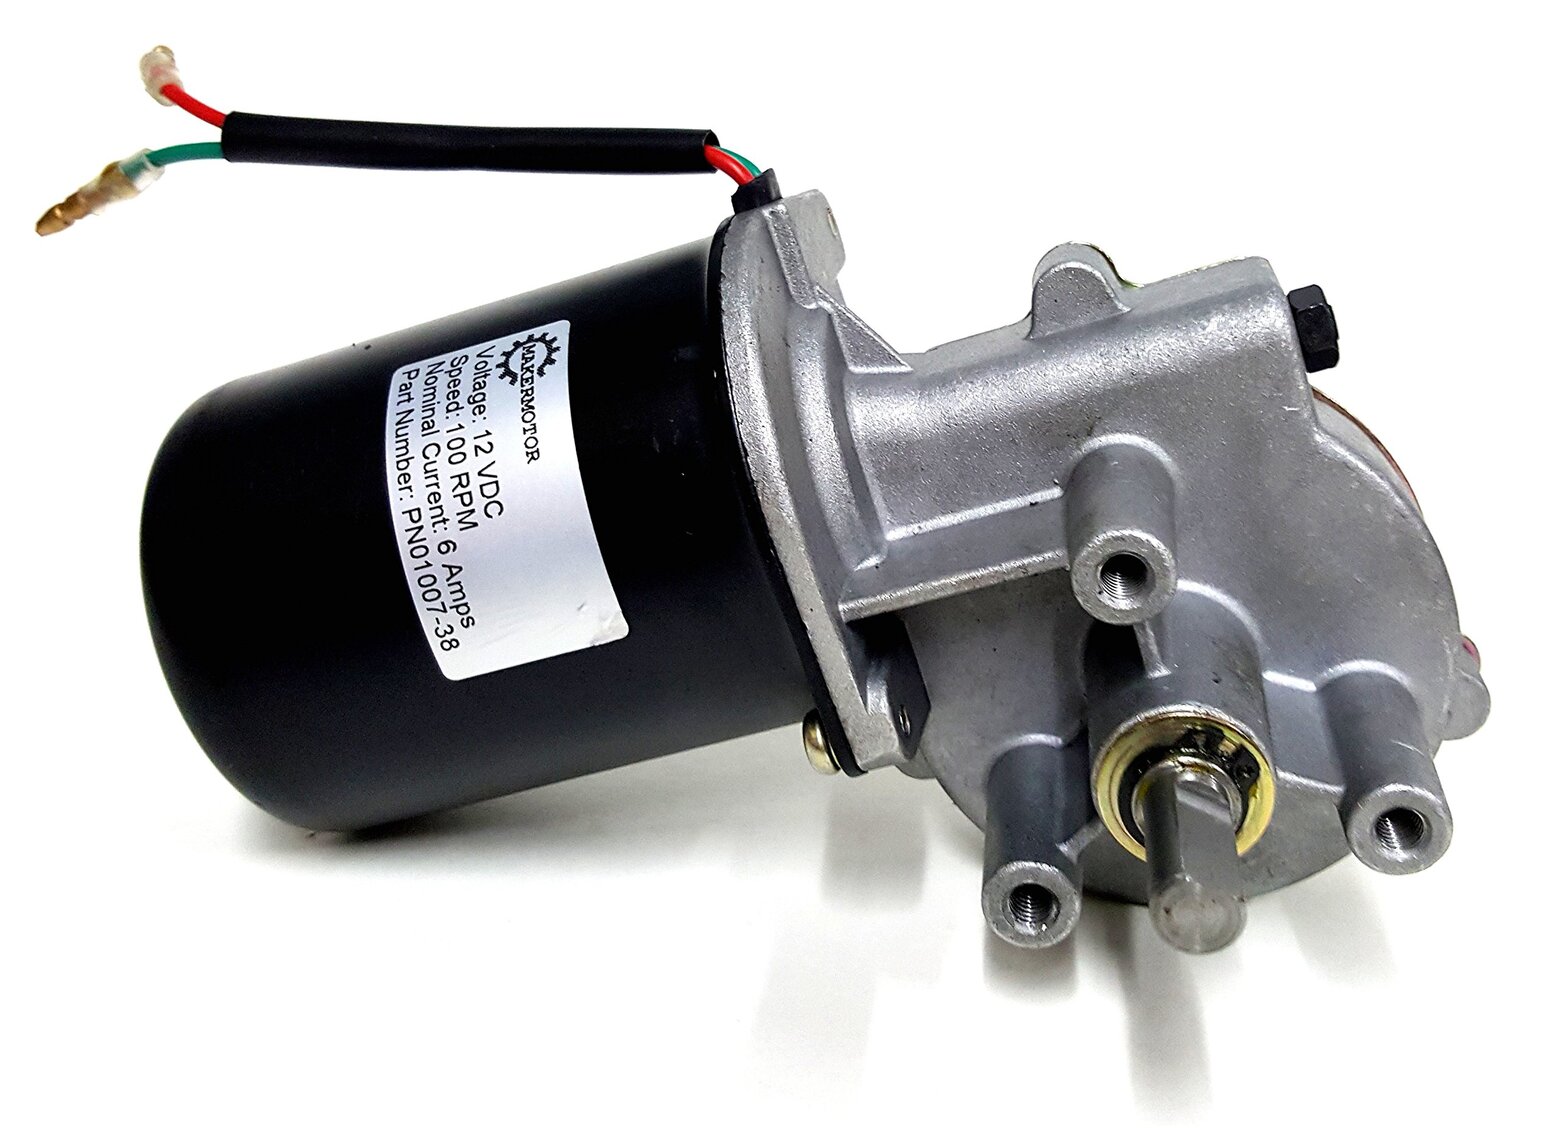
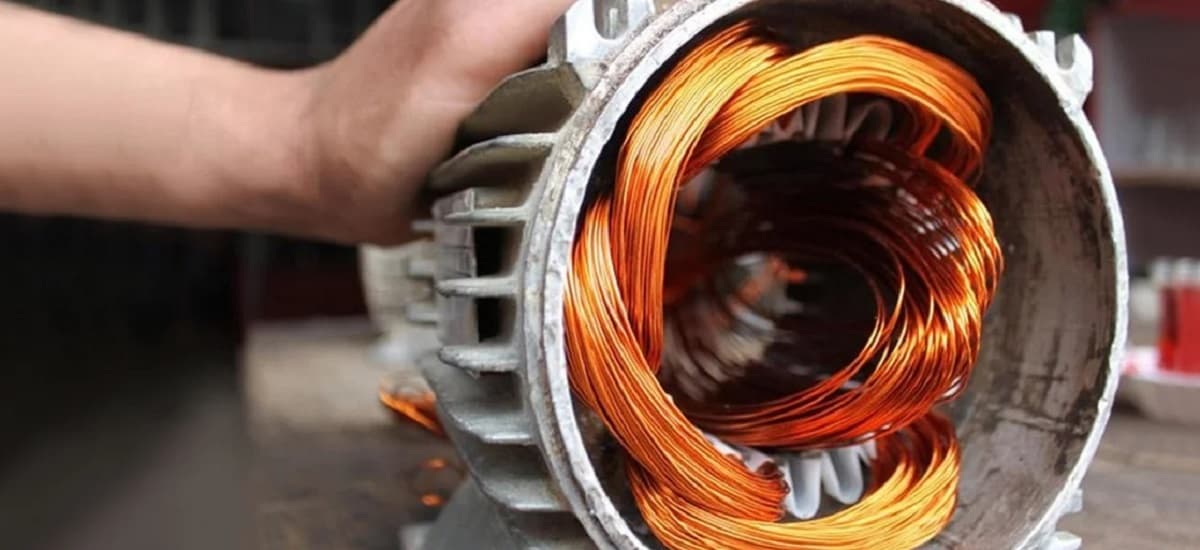
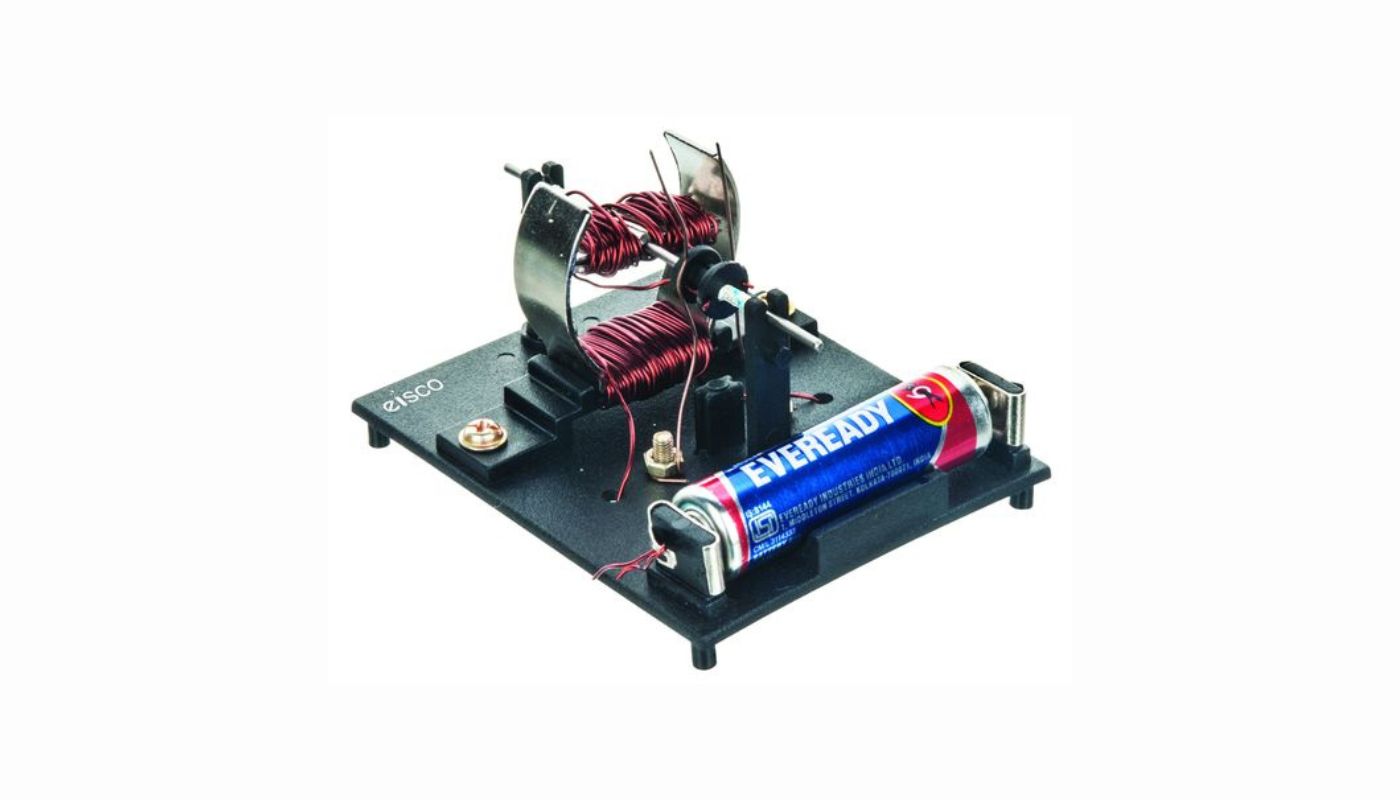
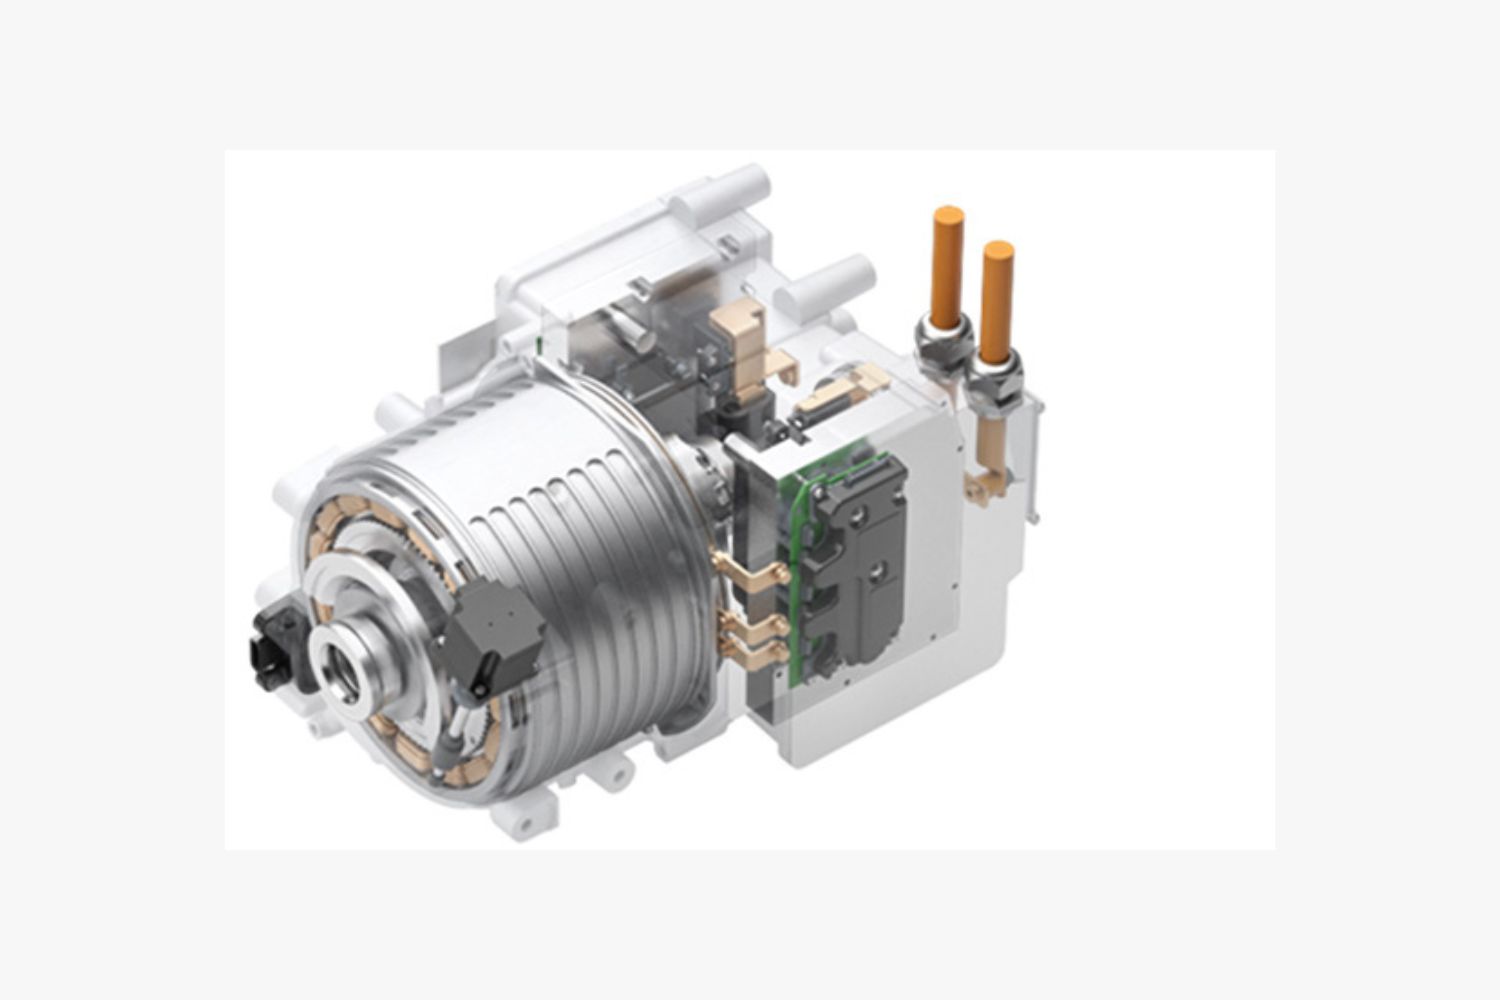
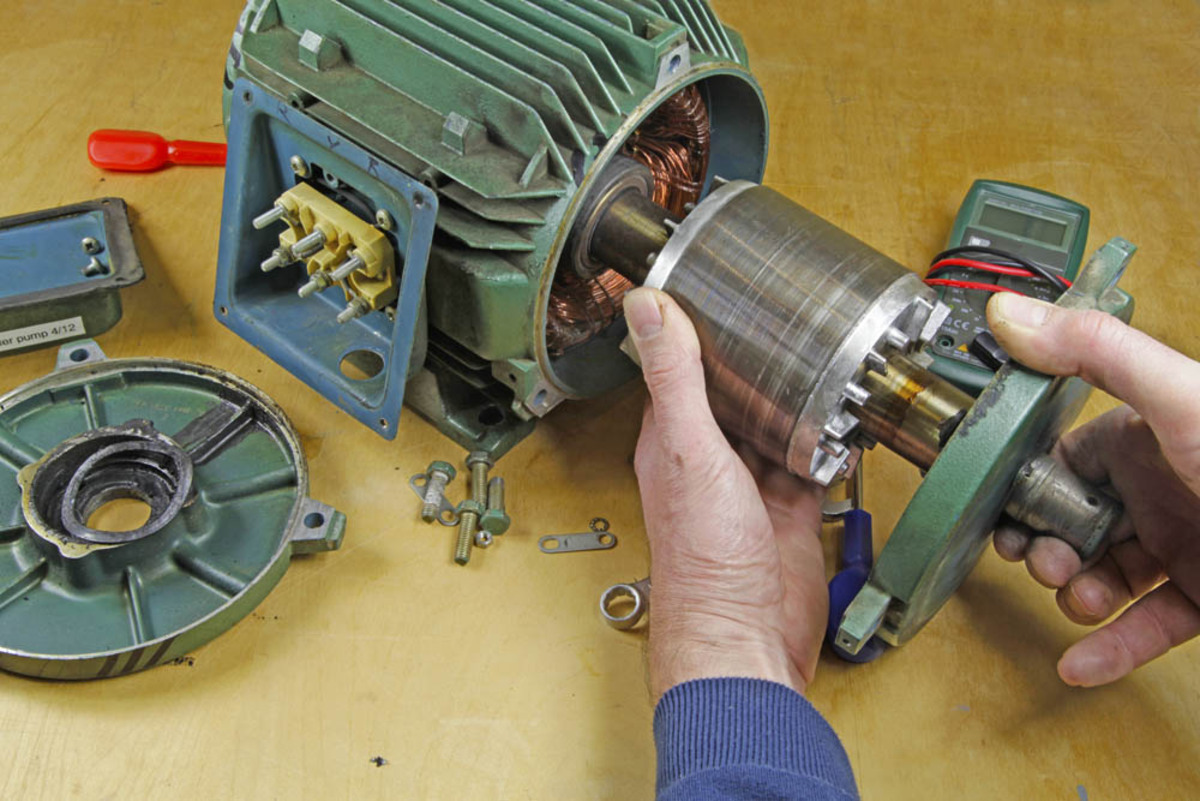
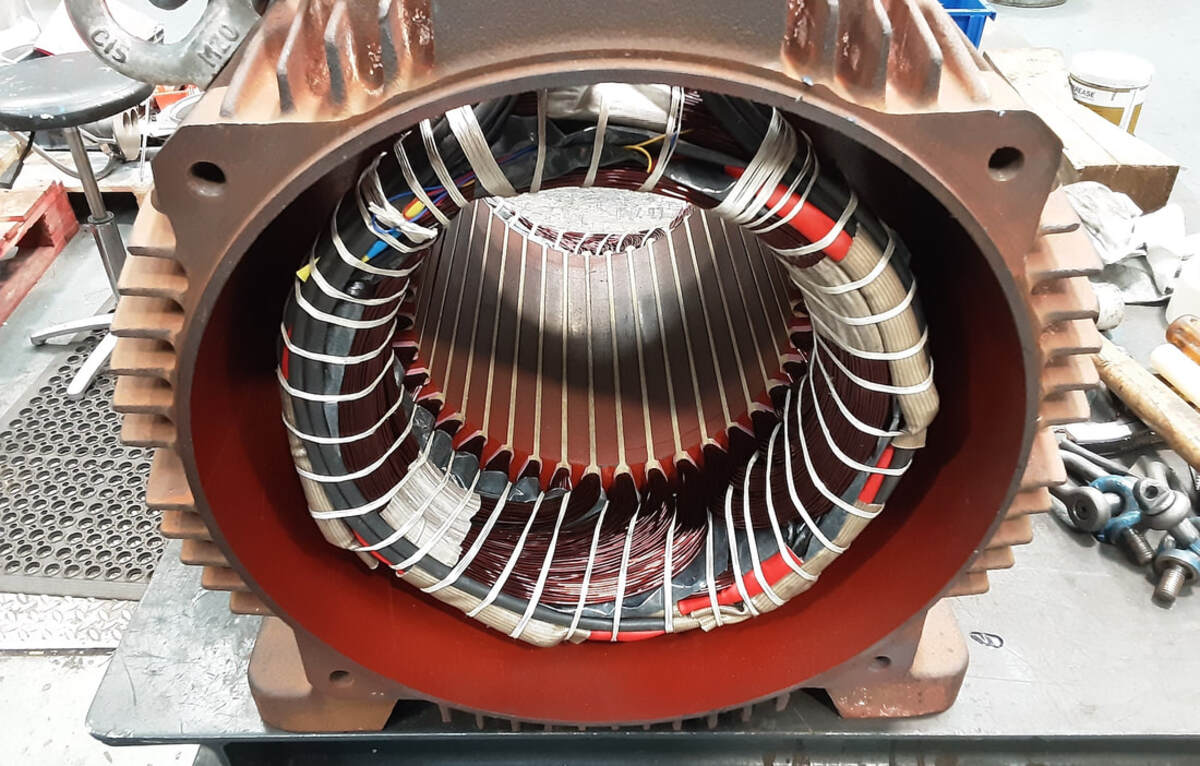
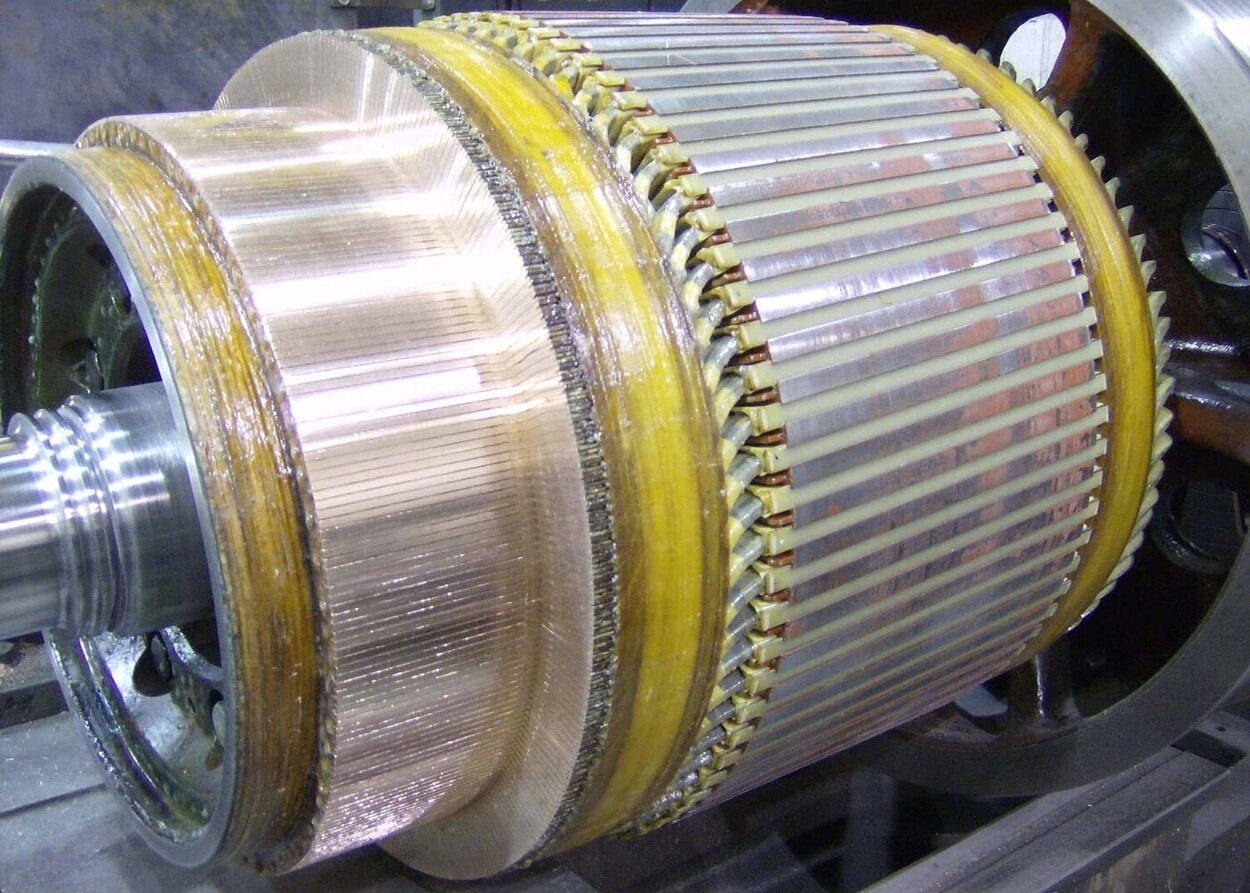
Electric motors are devices that convert electrical energy into mechanical energy, typically through the interaction of a magnetic field and electric current. They consist of various components, including a rotor (rotating part), stator (stationary part), and a series of windings, which create magnetic fields. To understand how to reverse an electric motor, it’s helpful to know the two types of motors commonly used: AC (alternating current) motors and DC (direct current) motors. AC motors are widely used in household appliances, industrial equipment, and HVAC systems. They operate on alternating current, meaning the direction of current flow changes periodically. Reversing an AC motor involves swapping the connections of its winding coils. DC motors, on the other hand, operate on direct current, where the current flow remains constant in one direction. Reversing a DC motor can be achieved by changing the polarity of the current delivered to its brushes or terminals. Both types of motors have their own wiring configurations and considerations for reversal. Knowing the specific motor type you are working with is crucial before undertaking the wiring process. Now that we have a basic understanding of electric motors, let’s dive into the fundamental principles of motor wiring.
Wiring Basics
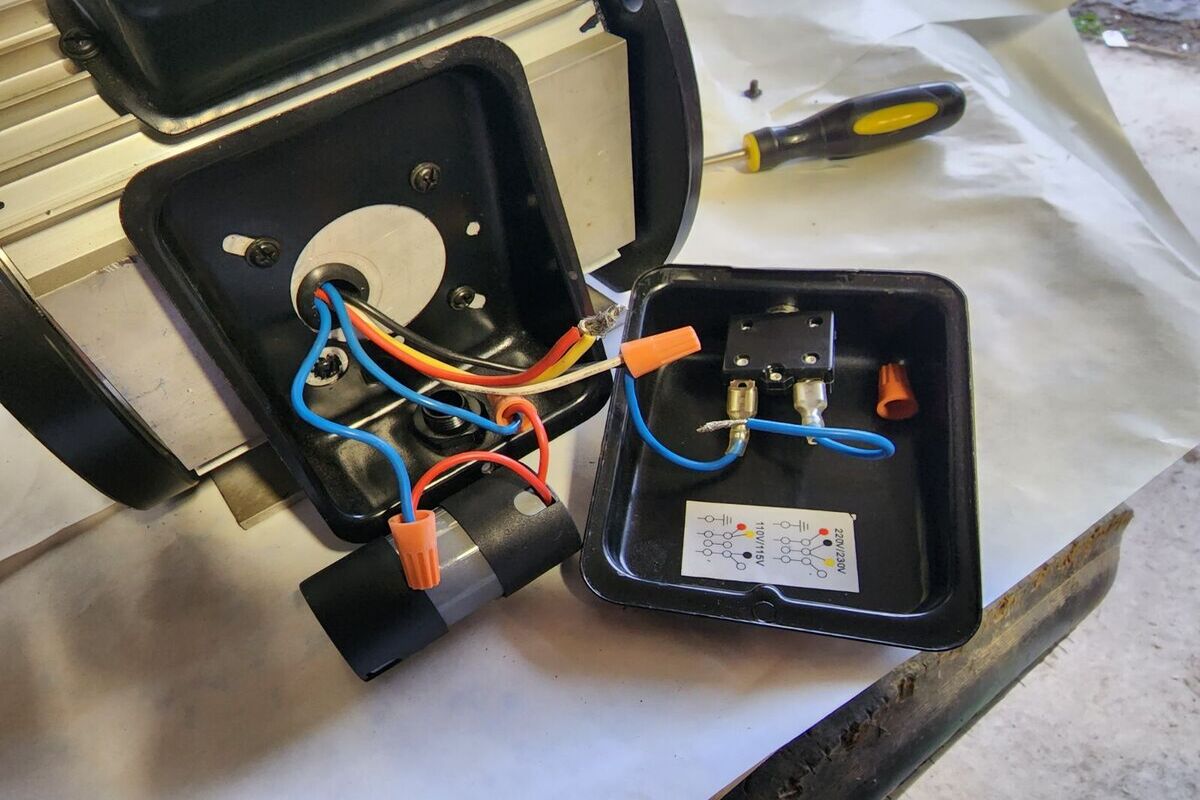
Wiring an electric motor involves connecting it to a power source and controlling its operation. Before attempting any wiring, it’s important to understand the basic principles to ensure a safe and successful installation. The first step is to refer to the motor’s wiring diagram. This diagram provides a visual representation of the motor’s electrical connections, including the terminals and associated components. Familiarize yourself with the diagram and make note of the necessary connections for reversing the motor’s rotation. Next, ensure that the power source is compatible with the motor’s voltage and current requirements. Improper power supply can damage the motor or pose safety risks. Verify the motor’s voltage rating and wire it accordingly. When it comes to wiring, there are different methods depending on the motor type and desired functionality. For example, some motors may require the use of a toggle switch, while others may require a drum switch. Refer to the wiring diagram and instructions specific to your motor model. To ensure safe and reliable connections, always use appropriate wire sizes to handle the current flow. Use wire strippers to remove insulation from the wire ends and wire nuts or terminals to secure the connections. Wrap electrical tape around the connections for added protection. When wiring a reversible electric motor, it’s important to ensure that you create proper connections for both forward and reverse rotation. This typically involves switching the polarity of the wires or reversing the connections on the motor terminals. Follow the instructions provided in the wiring diagram to make the appropriate connections. Once the wiring is complete, it’s crucial to test the motor’s operation. Use a multimeter to verify voltage and current readings, as well as the motor’s rotation. If the motor rotates in the desired direction, then the wiring has been successfully implemented. In the next section, we will walk you through a step-by-step guide to wiring a reversible electric motor, providing detailed instructions on each stage of the process.
Reversing an Electric Motor
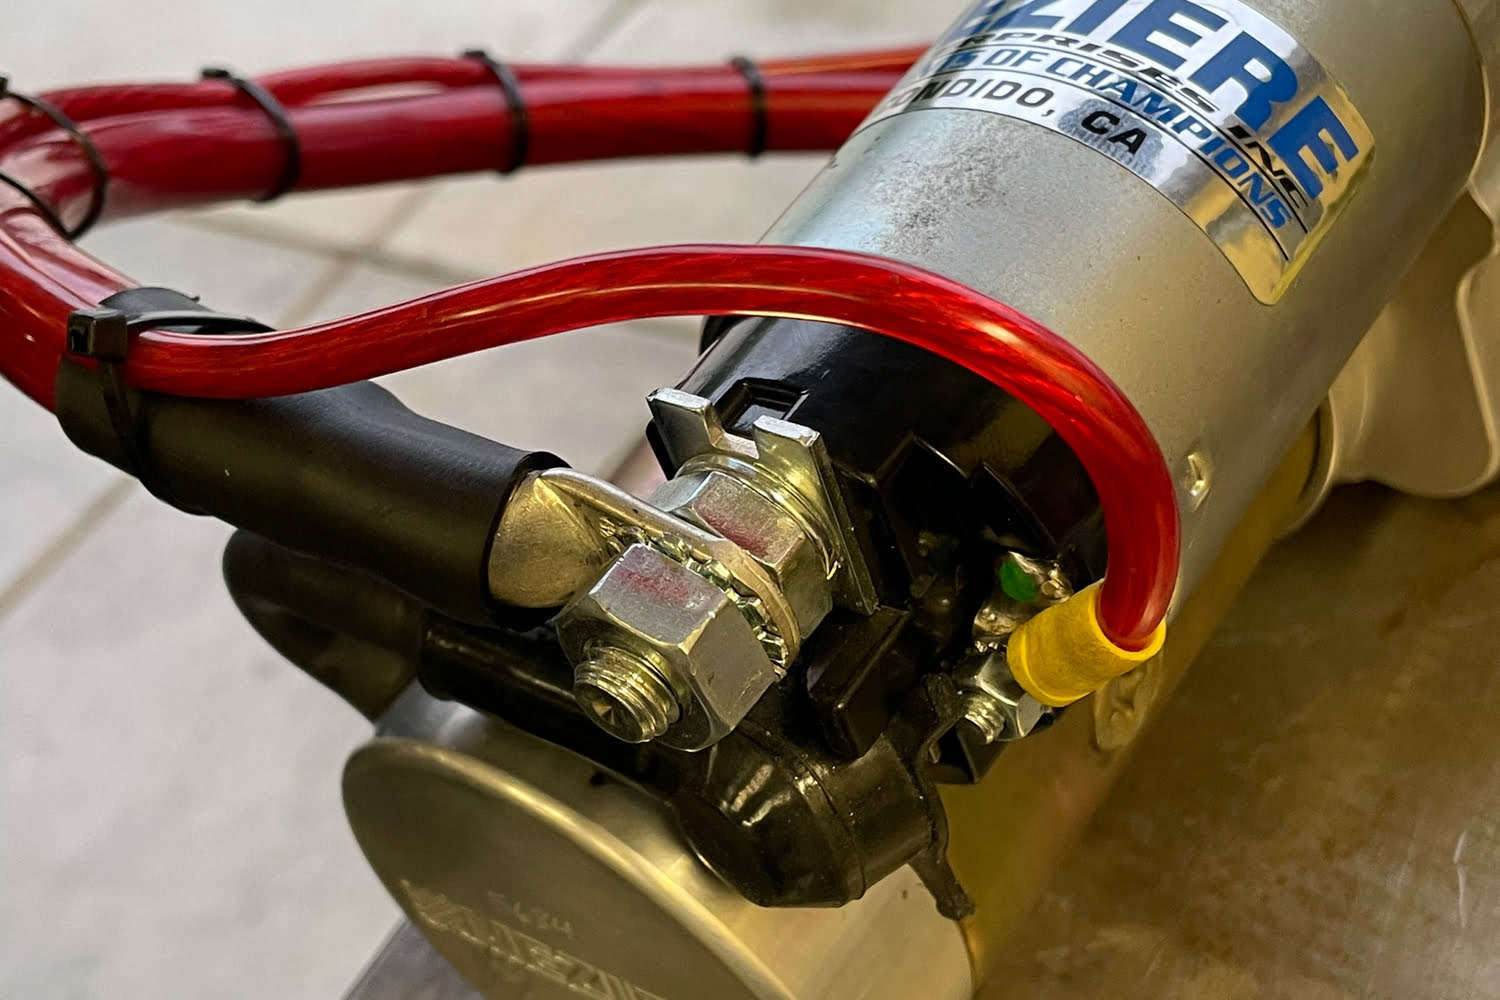
Reversing the direction of an electric motor involves changing the flow of current through its windings. This can be achieved by swapping the connections of the motor’s coils or changing the polarity of the current supplied to it, depending on the motor type. For AC motors, reversing the rotation is typically achieved by interchanging the connections of the motor’s winding coils. This can be done by disconnecting the power supply and swapping the positions of two of the wires connected to the motor’s terminals. By doing so, the current will flow in the opposite direction, resulting in a reverse rotation. DC motors, on the other hand, require a different approach. Reversing the rotation of a DC motor involves changing the polarity of the current supplied to it. This can be done by either swapping the connections on the motor’s terminal or using a specialized controller that allows for forward and reverse operation. It’s important to note that not all electric motors are designed to be reversible. Some motors, particularly those with fixed field windings, may not be easily reversible without modification. Always refer to the motor’s documentation or consult with a professional to determine if your motor is compatible with reverse operation. In the next section, we will guide you through a step-by-step process of wiring a reversible electric motor, providing detailed instructions to help you accomplish the task successfully.
When wiring an electric motor for reversible operation, use a double pole, double throw (DPDT) switch to easily change the direction of the motor rotation. Connect the motor’s power supply to the center terminals of the switch, and then connect the motor’s leads to the outer terminals of the switch.
Step-by-Step Guide to Wiring a Reversible Electric Motor
Wiring a reversible electric motor requires careful attention to detail to ensure correct connections and safe operation. Follow these steps to wire your motor for reverse rotation: 1. Start by gathering all the necessary tools and materials mentioned earlier, including wire cutters, wire strippers, screwdrivers, wire nuts, and a motor wiring diagram specific to your motor model. 2. Familiarize yourself with the motor wiring diagram to understand the connections and components involved. Take note of the terminals and labels for forward and reverse rotation. 3. Ensure that the power supply matches the motor’s voltage and current requirements. Double-check the motor’s nameplate information for the correct power inputs. 4. Disconnect the power supply to avoid any electrical mishaps while working on the wiring. 5. Carefully strip the insulation from the wire ends, ensuring that you have enough exposed wire for secure connections. 6. Refer to the wiring diagram and identify the connections for forward rotation. Connect the power supply wires to their corresponding terminals, using wire nuts or terminals to secure the connections. Use the appropriate screwdrivers to tighten any terminal screws. 7. Verify that the connections for forward rotation are secure and properly insulated with electrical tape. 8. Now, let’s move on to the wiring for reverse rotation. If you have an AC motor, locate the two coil wires that are currently connected to the power supply. Swap the positions of these wires, effectively reversing the flow of current through the motor’s windings. 9. For DC motors, there are a few options. One method is to directly connect the positive terminal of the power supply to the motor’s negative terminal, and vice versa. Another option is to use a specialized controller that allows for easy forward and reverse operation. 10. Ensure that all wire connections for reverse rotation are securely fastened and insulated with electrical tape. 11. After completing the wiring, double-check all the connections against the wiring diagram and make sure everything is properly secured. 12. Once everything is connected and secured, it’s time to test the motor’s operation. Reconnect the power supply and turn on the motor. Verify that it rotates in the forward direction as per the forward rotation wiring. Then, use the reverse rotation switch or controller to toggle the current flow and observe if the motor reverses its rotation. 13. If the motor rotates in both forward and reverse directions smoothly, congratulations! You have successfully wired a reversible electric motor. If not, double-check your connections, refer to the motor’s documentation, or seek professional assistance to troubleshoot any issues. Remember, safety is paramount when working with electricity. Always follow proper safety precautions and consult with a professional if you are unsure about any aspect of the wiring process.
Troubleshooting Common Issues
While wiring a reversible electric motor, you may encounter certain issues that can hinder the motor’s proper operation. Here are some common problems that you may come across and tips for troubleshooting them: 1. Motor not rotating in either direction: Double-check all the connections, ensuring that they are properly tightened and secure. Verify that the power supply matches the motor’s voltage and current requirements. Use a multimeter to measure the voltage at the motor’s terminals to ensure it is receiving the correct power. If everything seems correct but the motor still doesn’t rotate, there may be an issue with the motor itself, and it may require professional inspection or repair. 2. Motor only rotating in one direction: If the motor rotates in one direction but not the other, make sure that the connections for forward and reverse rotation are correctly wired. Refer to the motor wiring diagram and double-check that the connections have been swapped or reversed appropriately. Inspect the switch or controller used for reversing and ensure it is functioning correctly. If the issue persists, there could be a problem with the switch or controller itself, and it may need to be replaced. 3. Motor rotating erratically or making strange noises: This can indicate an issue with the wiring or motor components. Check for any loose or frayed wires and tighten them if necessary. Inspect the motor for any mechanical issues, such as misaligned or worn-out parts. A malfunctioning motor may require professional repair or replacement. 4. Overheating or tripping circuit breaker: Excessive heat or a tripping circuit breaker can indicate an overloaded motor. Ensure that the motor is not being asked to exceed its rated capacity. Check the motor’s current draw to ensure it is within the specified limits. If the motor is overheating or causing the circuit breaker to trip, it may be necessary to upgrade to a motor with a higher capacity or consult an electrician for further assistance. If you encounter any other issues during the wiring or operation of your reversible electric motor, it is always recommended to consult the motor’s documentation or seek professional guidance. Electrical systems can be complex, and it’s important to prioritize safety and accuracy in troubleshooting and resolving any problems that arise.
Safety Precautions
When working with electricity and wiring, it is crucial to prioritize safety to minimize the risk of accidents or injury. Here are some essential safety precautions to follow when wiring a reversible electric motor: 1. Always disconnect the power supply: Before starting any wiring work, ensure that the power supply to the motor is turned off and disconnected to prevent accidental electrical shock. Use a lockout/tagout system if necessary to prevent anyone from inadvertently turning the power back on while you are working. 2. Wear protective gear: Protect yourself by wearing appropriate personal protective equipment (PPE) such as safety glasses or goggles, insulated gloves, and protective clothing. This will help guard against potential hazards such as electrical shocks or flying debris. 3. Familiarize yourself with electrical codes and standards: Ensure that you are knowledgeable about the electrical codes and standards applicable to your area and specific installation. Adherence to these regulations will help ensure the safety and compliance of your wiring work. 4. Use the right tools and materials: Utilize high-quality tools and materials that are suitable for electrical work. Insulated tools, wire cutters, and wire strippers designed for electrical applications are essential for safe and efficient wiring. 5. Verify voltage and current ratings: Before connecting your motor to a power source, confirm that the voltage and current ratings of the motor match the power supply. Using the wrong voltage or overloading the motor can lead to equipment damage or hazardous conditions. 6. Double-check connections: Take the time to review and double-check all wire connections before applying power. Ensure that all connections are secure and properly insulated to avoid short circuits or electrical faults. 7. Follow the motor’s wiring diagram: Always refer to the motor’s wiring diagram and follow the manufacturer’s instructions. This will ensure that you make the correct connections and avoid any potential risks or complications. 8. Test the motor’s operation: After completing the wiring, test the motor’s operation before putting it into service. Ensure that the motor rotates smoothly and in the desired direction. Monitor for any unusual noises, vibrations, or signs of overheating during the testing process. 9. Seek professional assistance if needed: If you are unsure about any aspect of wiring or encounter unexpected issues, it is recommended to consult with a qualified electrician or seek professional assistance. They can provide expert guidance and ensure that the wiring is done safely and correctly. Remember, electrical work can be dangerous, and practicing proper safety precautions is essential. If you have any doubts or concerns about your abilities or the safety of the wiring process, it is best to seek professional help to avoid potential hazards and ensure a successful outcome.
Conclusion
Wiring a reversible electric motor can be a rewarding and practical skill to have, whether you are a DIY enthusiast or a professional electrician. By understanding the basics of motor wiring and following the appropriate steps, you can successfully wire a motor to have the capability of reversing its rotation. In this article, we covered the tools and materials needed for the wiring process, as well as the importance of understanding electric motors and their operation. We explored the wiring basics, including the principles of reversing both AC and DC motors, and provided a step-by-step guide to help you wire your motor for reverse rotation. We also discussed common issues that may arise during the wiring process and offered troubleshooting tips to help you overcome them. Safety precautions were emphasized throughout the article, reminding you to prioritize safety and adhere to electrical codes and standards. It is important to remember that electrical work can be complex and potentially dangerous. If you ever feel unsure or encounter difficulties during the wiring process, it is recommended to seek professional assistance to ensure a safe and reliable outcome. By mastering the skill of wiring a reversible electric motor, you open up possibilities for various applications where the ability to reverse motor rotation is necessary. Whether it is for driving reversible pumps, controlling speed, or enabling multiple functions in a machine, having a reversible motor can greatly enhance the functionality and versatility of your equipment. So, whether you are looking to upgrade the capabilities of your existing electric motor or embark on a new project that requires reversible motor operation, this article has provided you with the knowledge and guidance to successfully wire your motor for reverse rotation. Remember to always prioritize safety, follow the manufacturer’s instructions, and consult professionals when needed. With careful attention to detail and a focus on safety, you can confidently wire a reversible electric motor and enjoy its enhanced functionality in your applications.
Frequently Asked Questions about How To Wire A Reversible Electric Motor
Was this page helpful?
At Storables.com, we guarantee accurate and reliable information. Our content, validated by Expert Board Contributors, is crafted following stringent Editorial Policies. We're committed to providing you with well-researched, expert-backed insights for all your informational needs.


0 thoughts on “How To Wire A Reversible Electric Motor”