
Articles
How To Hide Plumbing Behind Pedestal Sink
Modified: October 19, 2024
Learn how to hide plumbing behind a pedestal sink with our informative articles. Transform your bathroom into a sleek and clutter-free space.
(Many of the links in this article redirect to a specific reviewed product. Your purchase of these products through affiliate links helps to generate commission for Storables.com, at no extra cost. Learn more)
Introduction
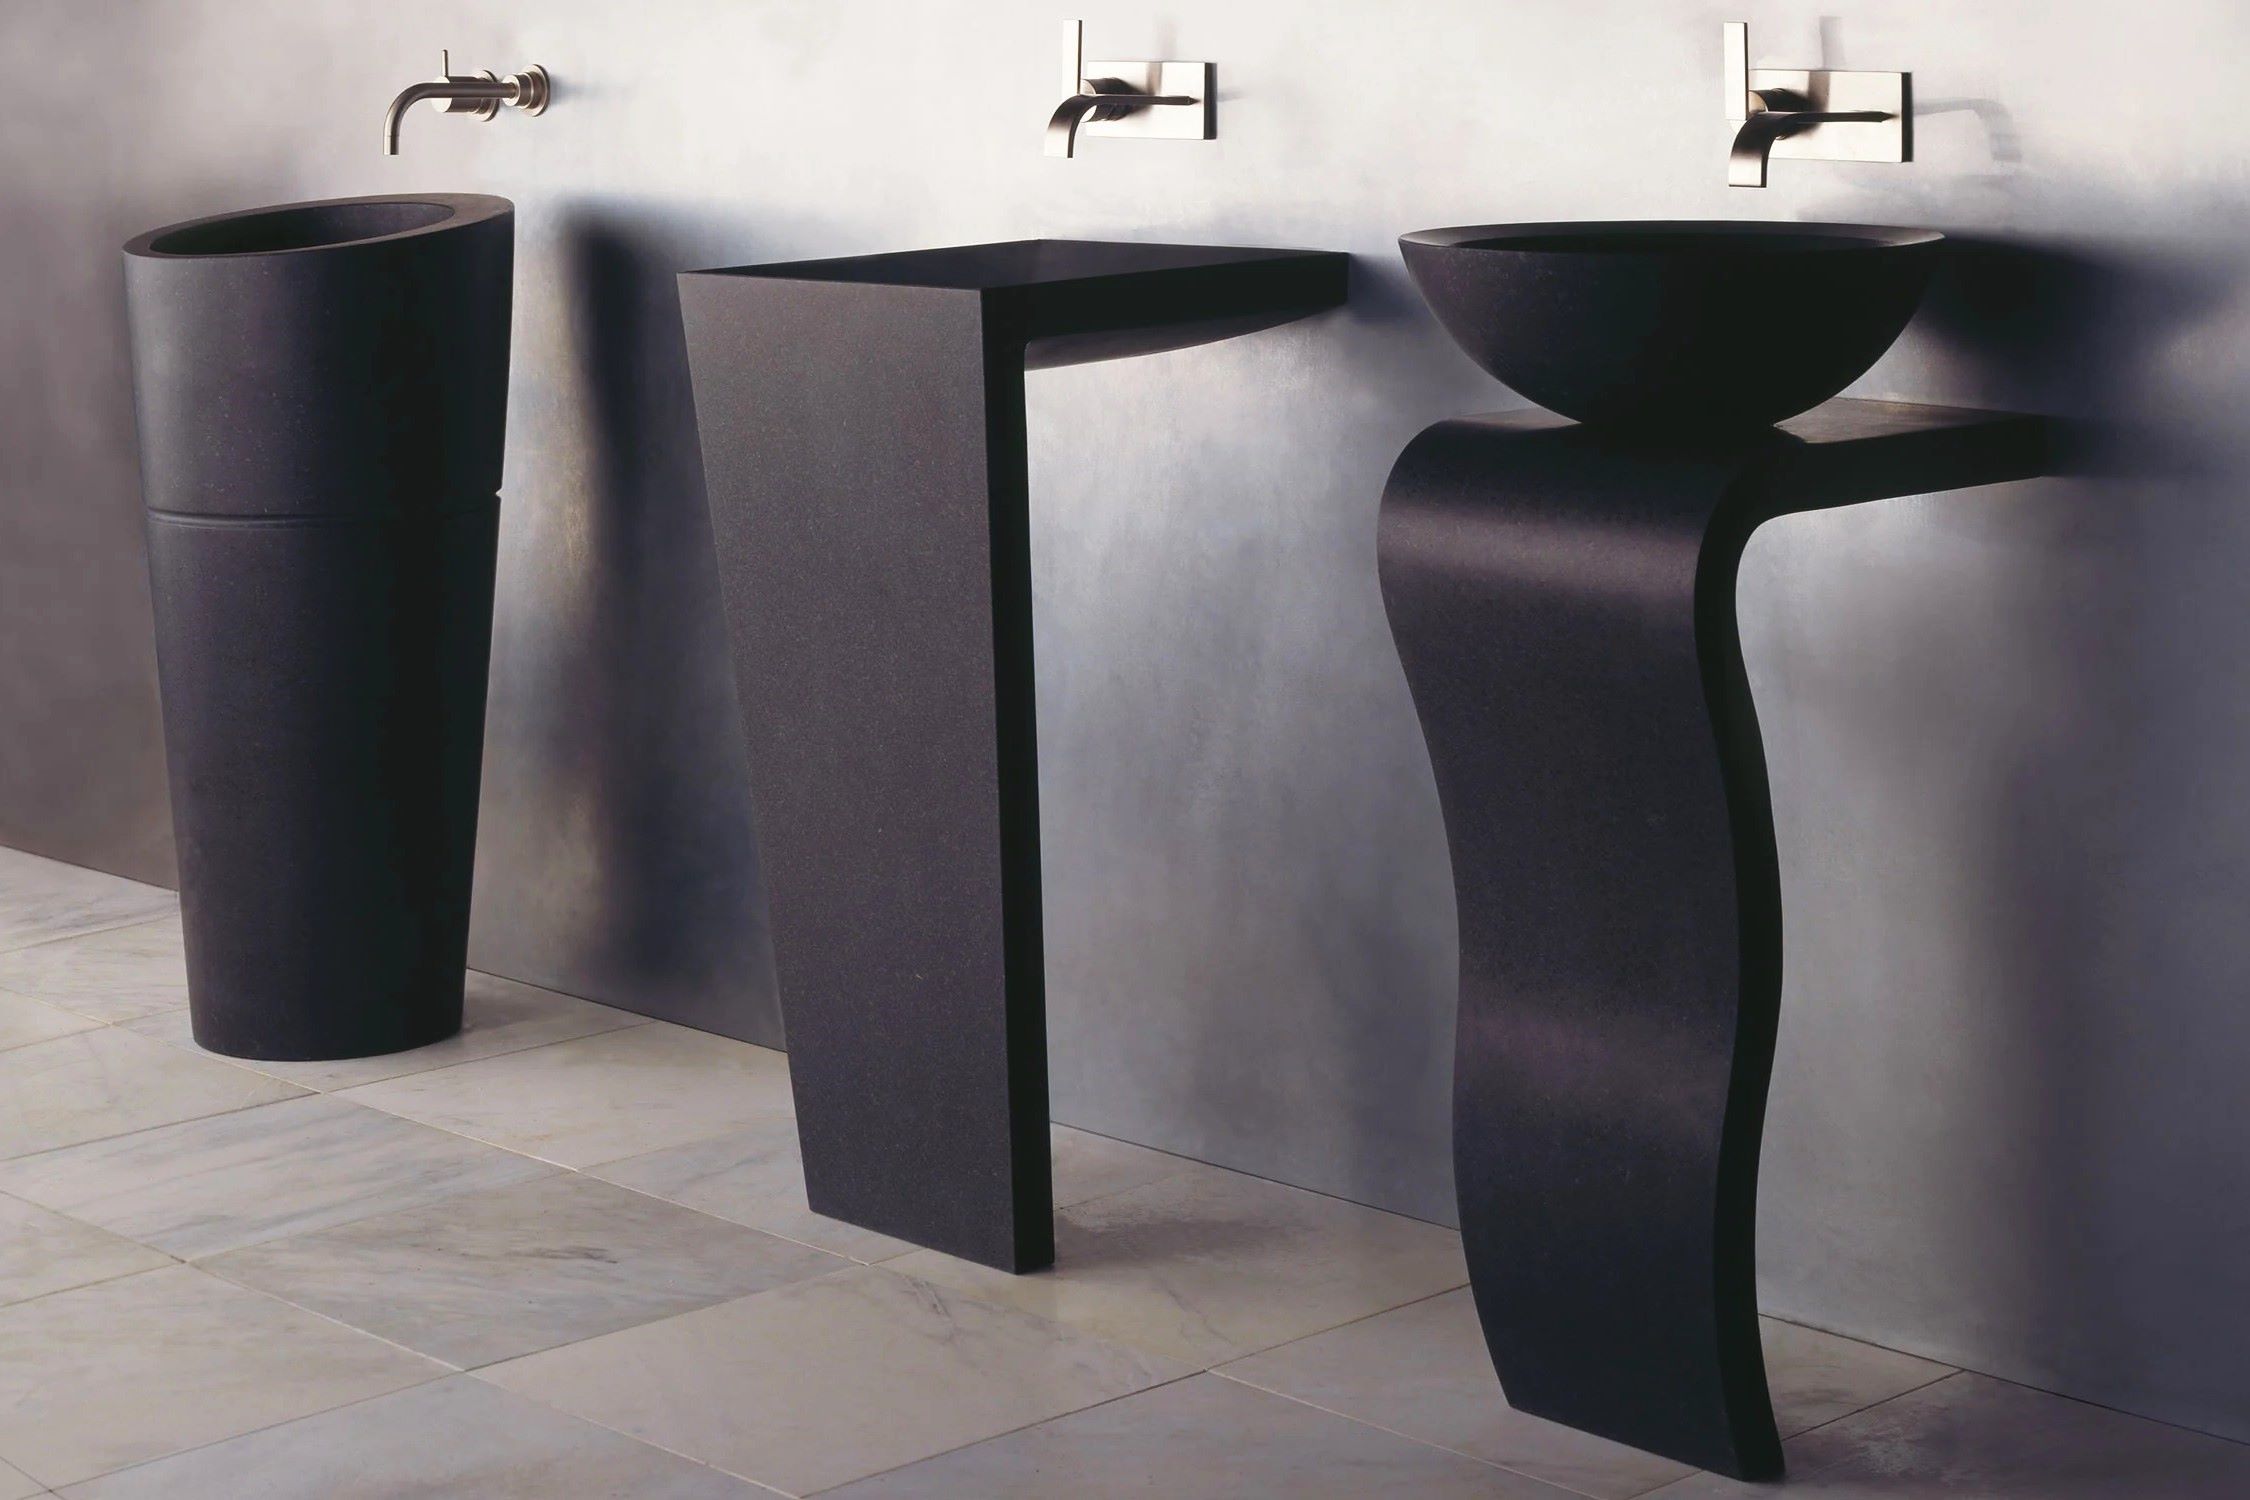
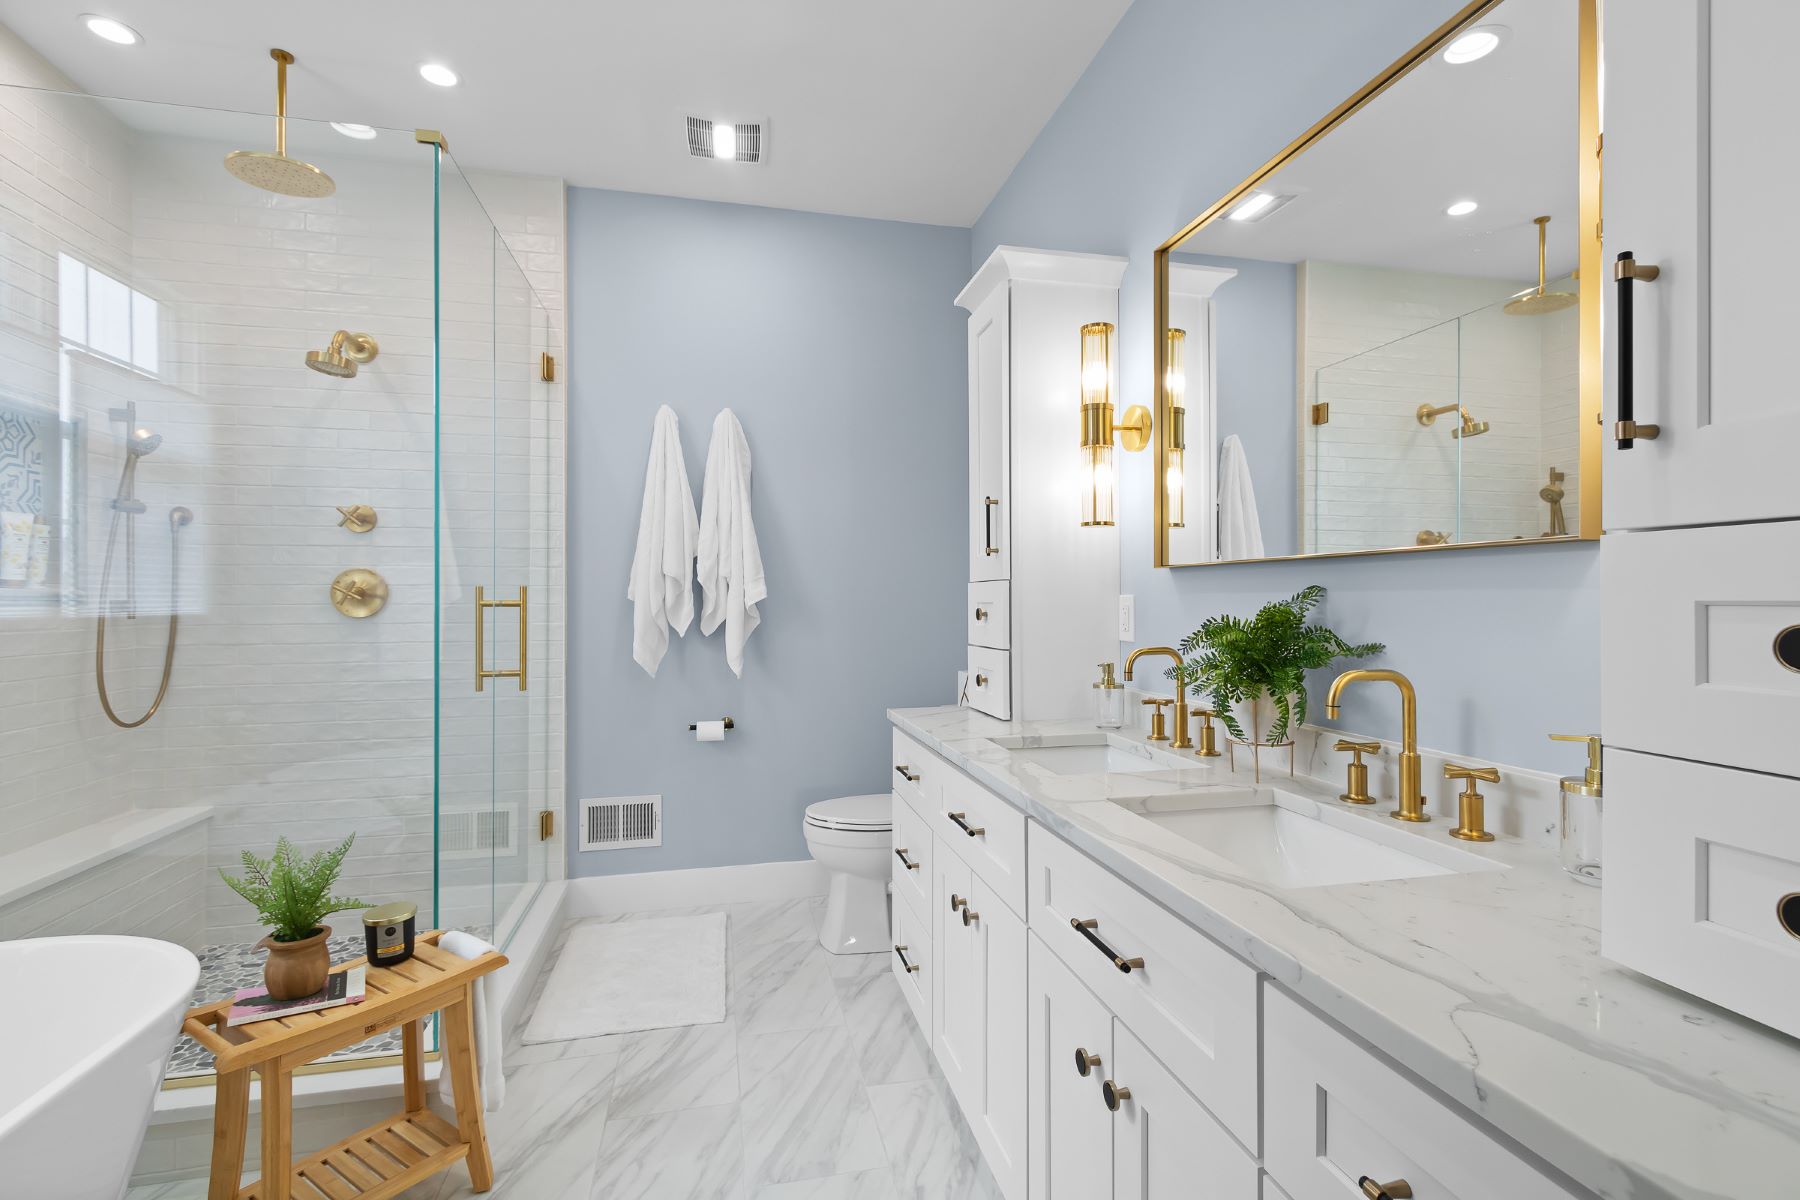
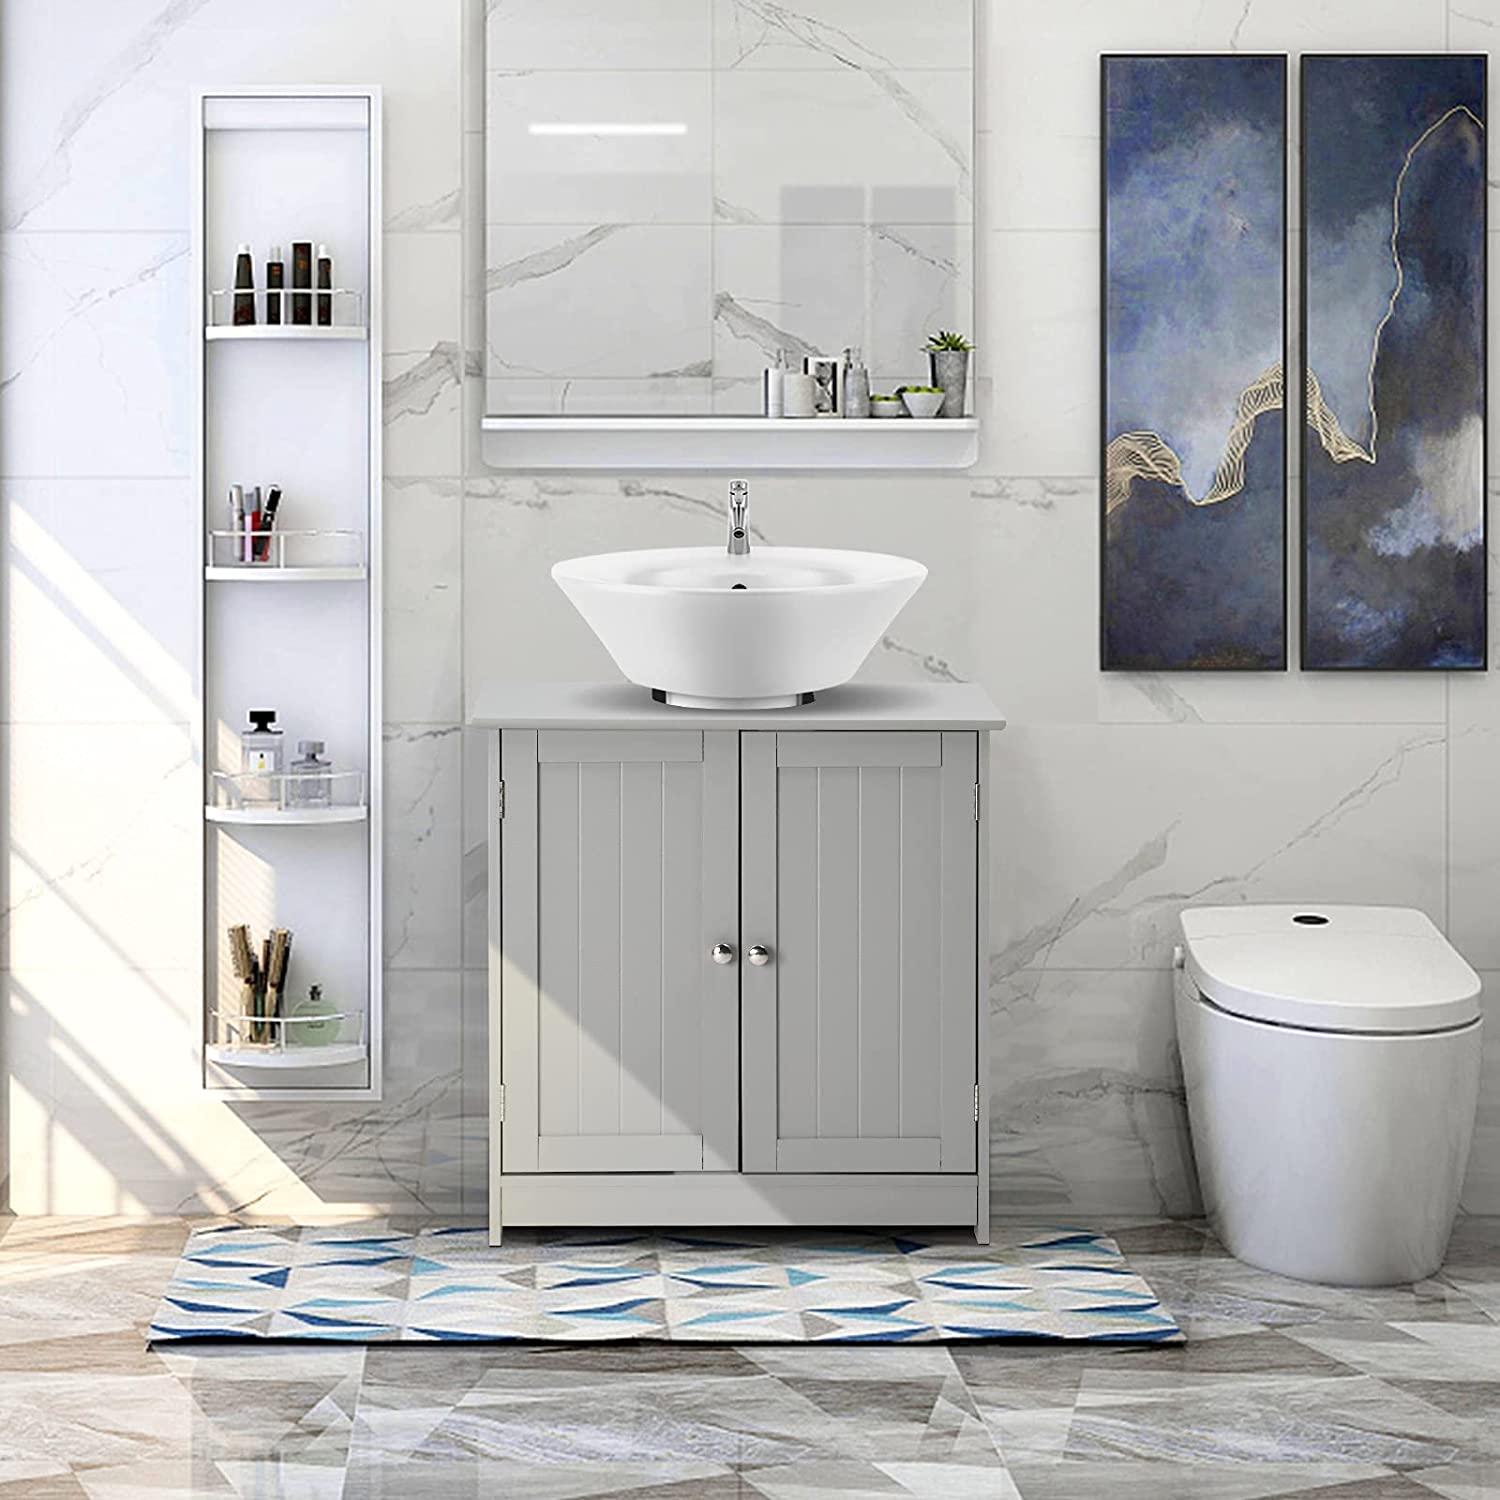
When it comes to bathroom design, a pedestal sink can add a touch of elegance and sophistication. With its sleek and minimalist look, it’s no wonder that many homeowners choose this design for their bathrooms. However, one of the challenges that come with installing a pedestal sink is how to hide the plumbing behind it. Exposed pipes and unsightly plumbing fixtures can detract from the overall aesthetic appeal of the sink.
In this article, we will show you how to hide the plumbing behind a pedestal sink, allowing you to achieve a clean and polished look in your bathroom. By following a few simple steps, you can conceal the pipes and fixtures, creating a seamless and visually appealing sink area.
Before we delve into the steps, it’s important to understand that every bathroom layout and plumbing configuration may vary. Therefore, it’s crucial to assess your specific situation and make any necessary adjustments throughout the process.
Now, let’s get started on transforming your pedestal sink into a focal point of your bathroom, free from any visible plumbing!
Key Takeaways:
- Transform your bathroom with a pedestal sink by concealing plumbing for a sleek, modern look. Follow precise measurements, careful planning, and proper installation to achieve a polished and finished sink area.
- Maintain the hidden plumbing behind your pedestal sink with regular cleaning, prompt repairs, and periodic inspections. Add finishing touches and decorative accessories to enhance the functionality and aesthetic of the sink area.
Step 1: Measure and Plan
The first step in hiding the plumbing behind a pedestal sink is to measure the available space and plan accordingly. This is an important step to ensure that the plumbing fixtures and pipes can be concealed properly without any obstructions.
Start by measuring the distance between the wall and the center of the drainpipe. This will determine the positioning of the sink and the plumbing behind it. Take note of any obstacles such as studs, electrical wires, or vent pipes that may impede the installation process.
Next, consider the height at which you want to install the sink. This will depend on your preferences and the comfort level for using the sink. Keep in mind that the plumbing pipes will need to be run behind the sink and should be positioned accordingly.
Once you have a clear understanding of the measurements and space available, it’s time to plan how the plumbing will be concealed. Consider the materials you will use to cover the pipes, such as a decorative panel, a custom-built cabinet, or a combination of both.
Take into account any access points you may need for future repairs or maintenance. It’s important to have a plan in place that allows for easy access to the plumbing while still maintaining the aesthetic of the sink area.
Remember, proper measurement and planning are essential for a successful installation and hiding of the plumbing behind a pedestal sink. By taking the time to assess your specific bathroom layout and needs, you can ensure a seamless and effective concealment of the plumbing.
Step 2: Install the Sink First
Before you can hide the plumbing, you need to install the pedestal sink itself. This will serve as the foundation for concealing the pipes and fixtures. Follow these steps to properly install the sink:
- Start by locating the studs or support beams behind the wall. This is important for securing the sink and ensuring its stability. Use a stud finder or knock on the wall to find the solid areas.
- Mark the locations of the sink mounting holes on the wall, using the template provided with the sink or by measuring the hole spacing on the sink itself.
- Drill pilot holes into the marked locations on the wall, ensuring they are deep enough for the sink mounting bolts or screws.
- Install the sink mounting bolts or screws into the pilot holes, leaving them slightly loose to allow for adjustments during the final positioning of the sink.
- With the help of a friend or family member, carefully lift the sink and slide it onto the mounting bolts or screws. Adjust the position of the sink as needed to ensure it is level and centered.
- Using a wrench or screwdriver, tighten the mounting bolts or screws to secure the sink firmly in place. Be careful not to overtighten and damage the sink or the mounting hardware.
- Double-check the levelness and stability of the sink, adjusting if necessary.
Once the sink is securely installed, you have a solid base to work with for hiding the plumbing. It’s important to ensure that the sink is level and properly aligned before proceeding to the next step.
Now that the sink is in place, we can move on to the next step: installing the plumbing behind the sink.
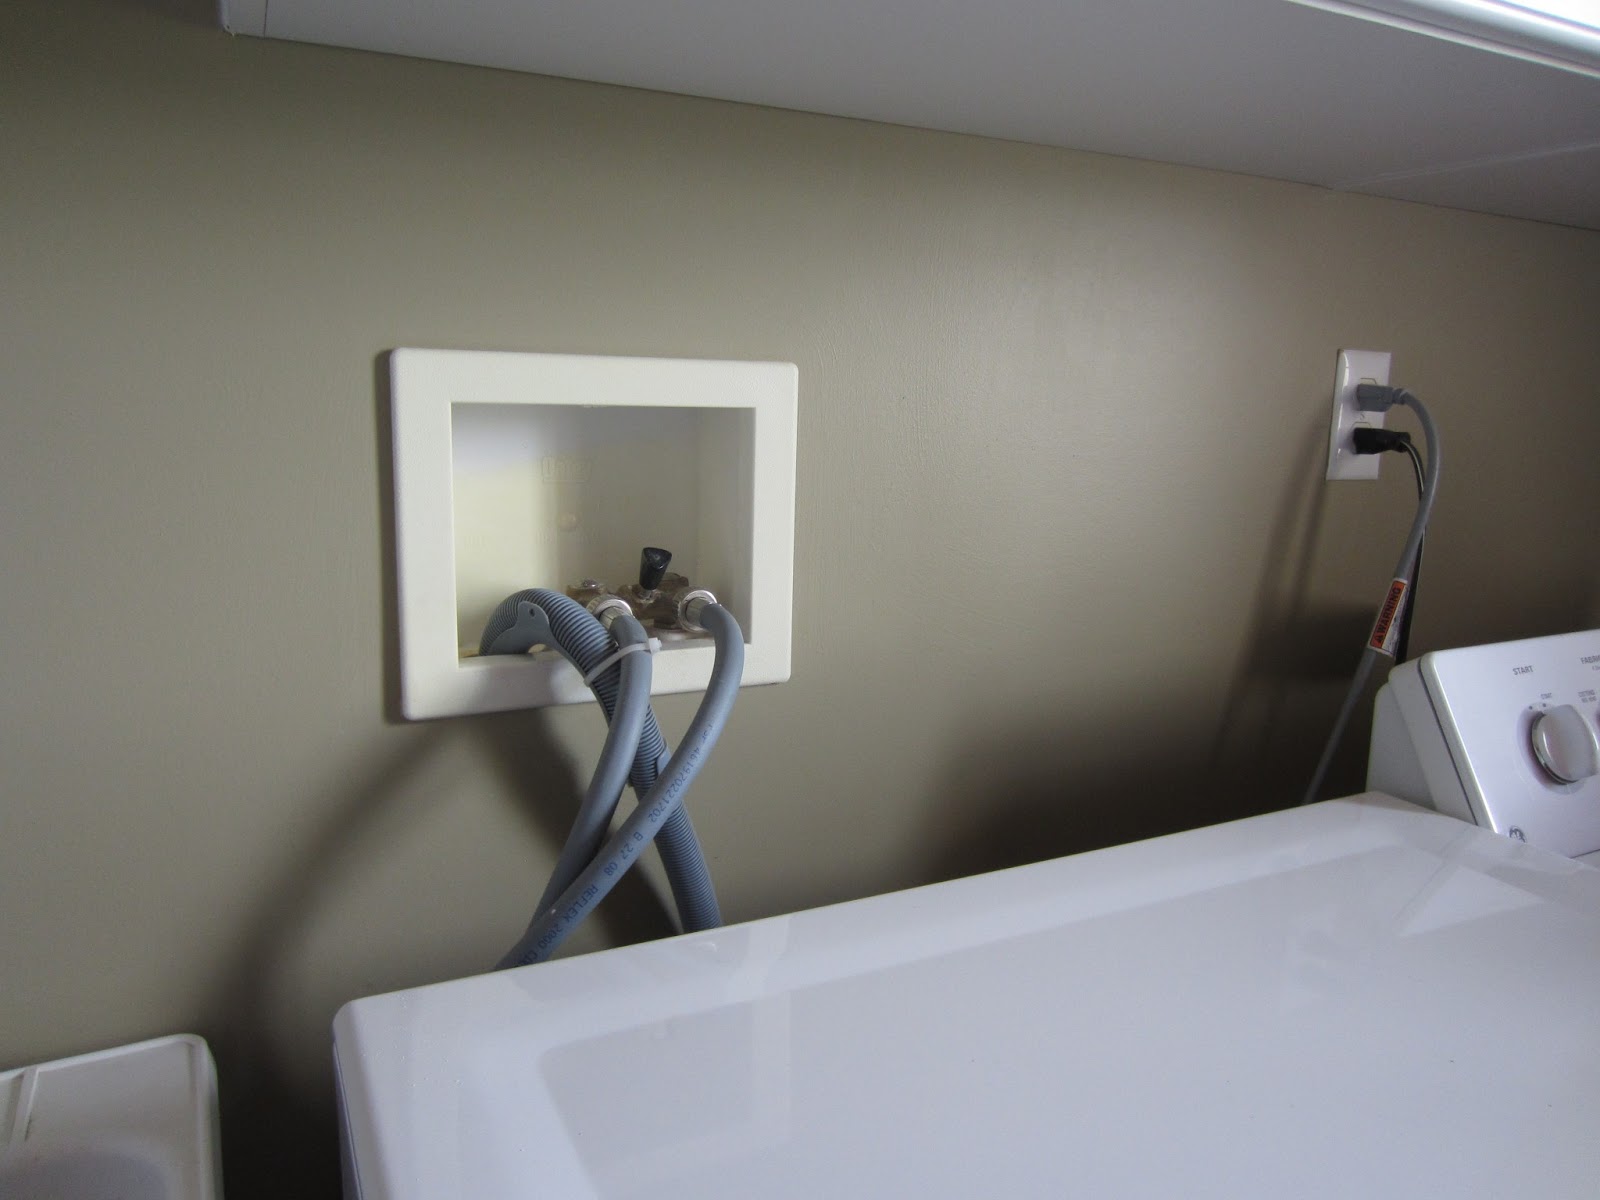
Step 3: Install the Plumbing Behind the Sink
Now that the sink is securely installed, it’s time to focus on installing the plumbing behind it. Follow these steps to ensure a proper and efficient installation:
- Start by turning off the water supply to the bathroom. Locate the shut-off valve near the sink or the main water supply line. Turn the valve clockwise to shut off the water.
- Next, remove the old plumbing fixtures, including the faucet, drain, and supply lines. Use a wrench or pliers to disconnect the connections, ensuring that any residual water is captured in a bucket or towel.
- Inspect the wall for any existing plumbing holes or openings. If needed, create new openings for the sink’s supply lines and drainpipe. Use a hole saw or appropriate drill bit size to create the openings.
- Install the new faucet and drain according to the manufacturer’s instructions. Apply plumber’s tape or thread sealant to the threaded connections for a secure and leak-free installation.
- Connect the supply lines to the hot and cold water valves, ensuring that they are tightened securely. Use an adjustable wrench or pliers to tighten the connections, being careful not to over-tighten and risk damaging the fittings.
- Connect the drainpipe to the sink’s drain opening. Apply plumber’s putty or silicone sealant to create a watertight seal. Use a wrench or pliers to tighten the connections, ensuring that they are snug but not overly tightened.
- Turn on the water supply and check for any leaks. If necessary, tighten the connections or replace any faulty components.
By following these steps, you will have successfully installed the plumbing behind the sink. It’s important to test for any leaks and ensure that all connections are secure before moving on to the next step: concealing the exposed plumbing.
Consider installing a decorative skirt around the pedestal to hide plumbing. Use a tension rod and fabric for an easy and affordable solution.
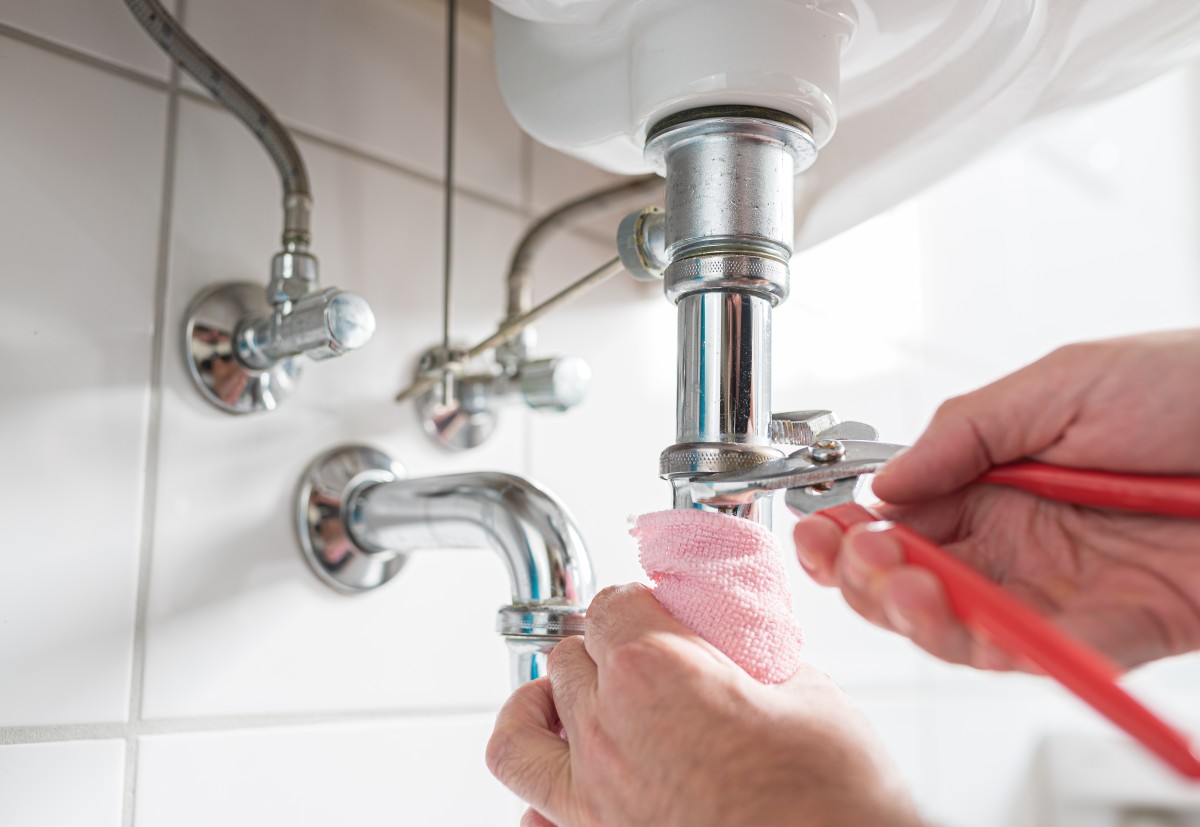
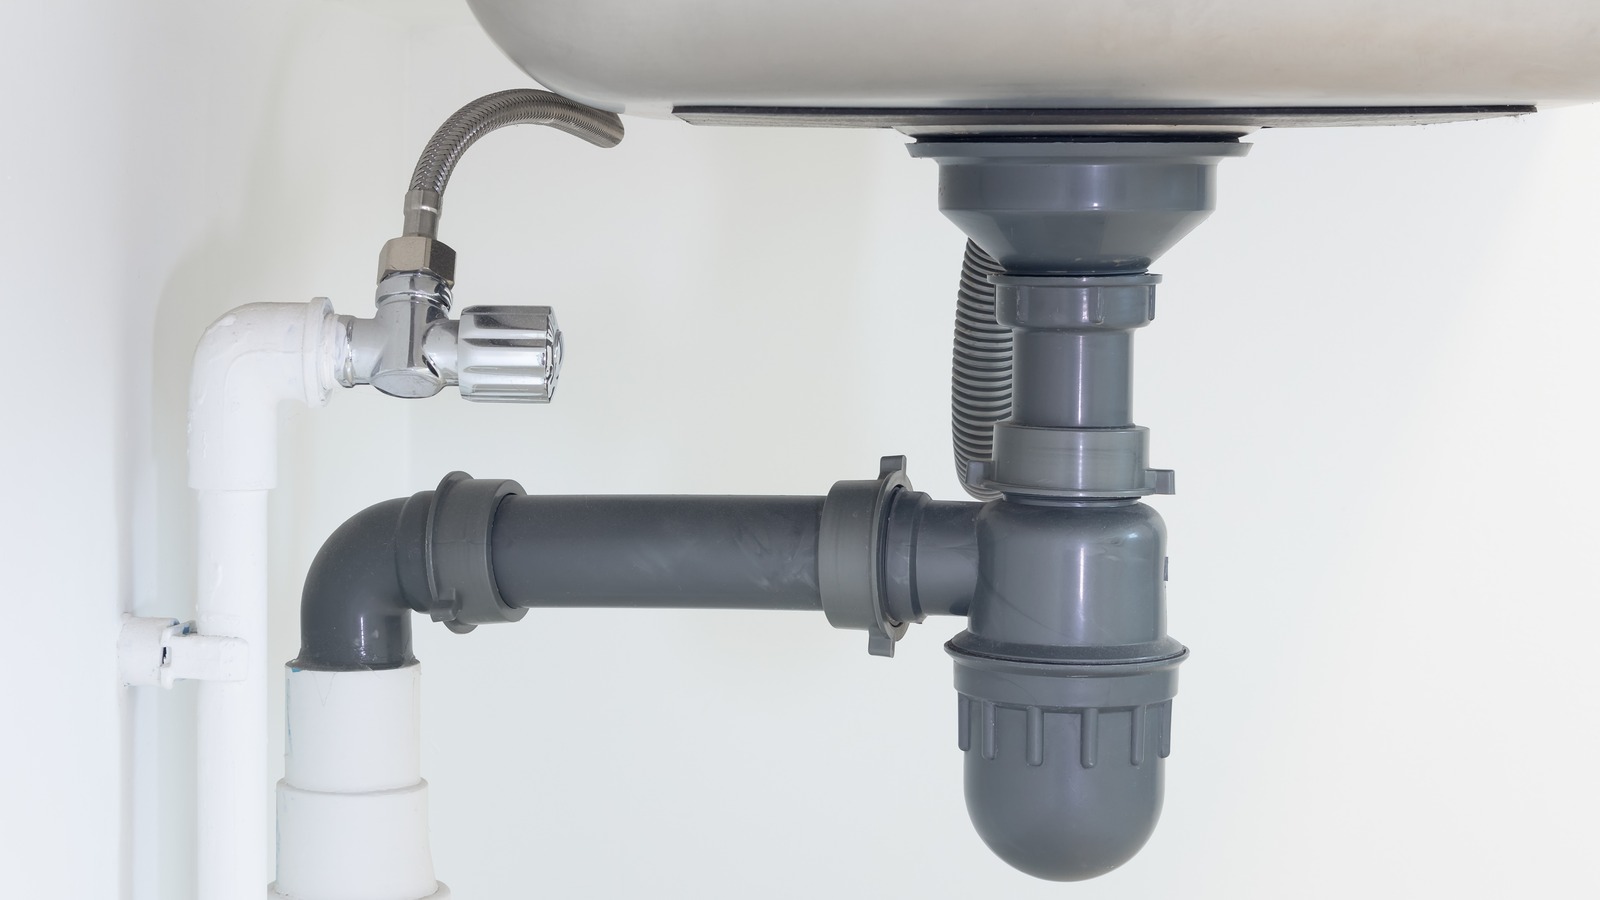
Step 4: Conceal the Exposed Plumbing
Now that the plumbing is installed behind the sink, it’s time to conceal the exposed pipes and fixtures. Concealing the plumbing will not only enhance the aesthetic appeal of the sink area but also protect the pipes from damage. Follow these steps to effectively hide the exposed plumbing:
- Measure and cut a decorative panel or custom-built cabinet to fit the space between the sink and the wall. The panel or cabinet should be wide enough to cover the plumbing but not obstruct any access points.
- Secure the panel or cabinet to the wall, ensuring that it is level and centered with the sink. Use screws, brackets, or adhesive to hold it in place.
- If using a decorative panel, consider adding a removable access panel to facilitate future repairs or maintenance. This will allow you to easily access the plumbing without having to remove the entire panel.
- If using a custom-built cabinet, ensure that it is properly constructed to accommodate the plumbing behind the sink. Cut out holes or slots in the back of the cabinet to allow for the pipes and fixtures to pass through.
- Paint or finish the panel or cabinet to match the decor of your bathroom. This will help it blend seamlessly with the surroundings and create a cohesive look.
- Attach any necessary trim or molding to conceal any gaps or rough edges. This will give the concealed plumbing a polished and finished appearance.
By following these steps, you will successfully conceal the exposed plumbing behind the sink. This will create a clean and cohesive look in your bathroom, without any unsightly pipes or fixtures in sight.
Read more: How To Remove A Pedestal Sink
Step 5: Finishing Touches and Maintenance Tips
Now that you have successfully hidden the plumbing behind the pedestal sink, it’s time to add some finishing touches and learn how to maintain the concealed plumbing for long-lasting functionality. Follow these final steps and tips to complete the project:
- Install a backsplash or apply a waterproof sealant to the wall behind the sink. This will protect the wall from any water damage and provide a clean backdrop for the sink area.
- Add decorative accessories, such as a soap dispenser, toothbrush holder, or towel rack, to enhance the functionality and aesthetic of the sink. Choose accessories that complement the style and design of your bathroom.
- Regularly clean and maintain the concealed plumbing to prevent any blockages or leaks. Use a mixture of warm water and mild detergent to clean the pipes and fixtures. Avoid using harsh chemicals that may damage the plumbing or cause corrosion.
- If you notice any leaks or plumbing issues, address them immediately. Ignoring even minor leaks can lead to bigger problems down the line. Repair or replace any faulty components as needed.
- Periodically inspect the concealed plumbing for any signs of wear or damage. Look for water stains, corrosion, or unusual smells. If you notice anything out of the ordinary, consult a professional plumber.
- Consider installing shut-off valves for the sink’s supply lines. This will allow you to easily turn off the water in case of a plumbing emergency or when performing maintenance tasks.
- Regularly check the access panel or cabinet to ensure it is securely attached. Make any necessary adjustments or repairs to maintain its stability.
By following these finishing touches and maintenance tips, you can ensure that your hidden plumbing remains functional and visually appealing for years to come. Remember, regular maintenance and prompt repairs are essential for a well-functioning sink and plumbing system.
Conclusion
Transforming your bathroom with a pedestal sink can create a sleek and modern look. However, the challenge lies in hiding the plumbing behind it to maintain a clean and aesthetically pleasing space. By following the steps outlined in this article, you can successfully conceal the exposed pipes and fixtures, achieving a seamless and polished sink area.
Starting with precise measurements and careful planning, you can ensure that the plumbing is positioned correctly behind the sink. Installing the sink itself provides a solid foundation for the concealment process. Properly connecting the plumbing fixtures and supply lines is crucial for a secure and leak-free system.
Concealing the exposed plumbing is the final step in achieving a polished and finished look. Whether you choose a decorative panel or a custom-built cabinet, make sure it fits snugly and complements the overall design of your bathroom. Adding finishing touches, such as a backsplash and decorative accessories, can further enhance the sink area while protecting the walls.
To maintain the hidden plumbing, regular cleaning and maintenance are essential. Watch out for any leaks or signs of damage and address them promptly to prevent further issues. Periodic inspections and occasional adjustments will help keep the system in good working order.
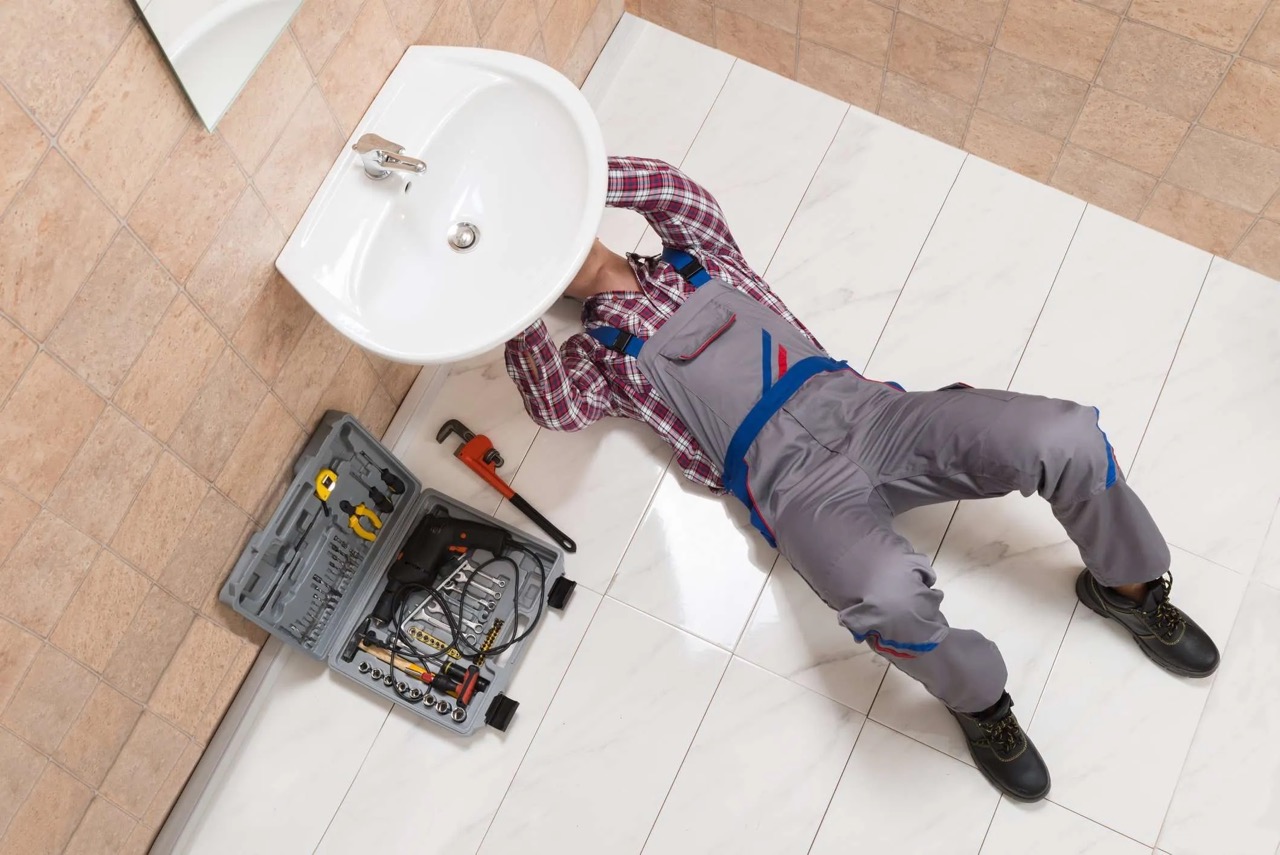
Remember, each bathroom layout and plumbing configuration may vary, so it’s important to adapt the steps to suit your specific needs. Consulting a professional plumber can provide valuable guidance and ensure a successful installation and concealment process.
By following these steps and incorporating your personal style, you can enjoy a beautifully designed bathroom with a pedestal sink, free from any visible plumbing. So, go ahead and transform your bathroom into a stylish and functional space that you can be proud of!
Now that you've mastered hiding plumbing with style, why not tackle another bathroom upgrade? Installing a new faucet can completely transform your sink's look and functionality. Our guide breaks down the process into easy-to-follow steps, ensuring you get it right without any fuss. Don't miss out on creating that perfect bathroom setup – check out our detailed walkthrough on fitting that new fixture.
Frequently Asked Questions about How To Hide Plumbing Behind Pedestal Sink
Was this page helpful?
At Storables.com, we guarantee accurate and reliable information. Our content, validated by Expert Board Contributors, is crafted following stringent Editorial Policies. We're committed to providing you with well-researched, expert-backed insights for all your informational needs.


0 thoughts on “How To Hide Plumbing Behind Pedestal Sink”