Articles
How To Install A Driveway Culvert
Modified: May 6, 2024
Learn how to install a driveway culvert with our informative articles. Find step-by-step guides, tips, and expert advice for a successful installation.
(Many of the links in this article redirect to a specific reviewed product. Your purchase of these products through affiliate links helps to generate commission for Storables.com, at no extra cost. Learn more)
Introduction
Welcome to our comprehensive guide on how to install a driveway culvert. If you’re planning on improving your driveway, a culvert is an essential component that helps to manage water flow and prevent flooding. Whether you’re a homeowner or a contractor, understanding how to properly install a driveway culvert is crucial to ensure the longevity and functionality of your driveway.
In this article, we’ll walk you through the steps involved in installing a driveway culvert, from planning and preparation to finishing touches. We’ll provide detailed instructions and useful tips to help you successfully complete the project.
Before we dive into the steps, it’s important to understand what a driveway culvert is and why it’s necessary. A culvert is a structure that allows water to pass underneath a driveway or road, preventing water accumulation and potential damage. It acts as a conduit for stormwater to flow, reducing the risk of erosion and flooding.
By installing a culvert, you are effectively creating a passage for water to be redirected away from your driveway and surrounding areas. This is especially important if your property is located in an area prone to heavy rainfall or if you have a sloped driveway that tends to accumulate water.
Now that we have a basic understanding of what a driveway culvert is and its significance, let’s move on to the first step: planning and preparation.
Key Takeaways:
- Proper planning, obtaining necessary permits, accurate measurements, and careful installation are crucial for a successful driveway culvert installation. Prioritize safety, compliance, and maintenance for long-term functionality.
- Backfilling, compacting soil, and adding finishing touches are essential for stability and visual appeal. Regular maintenance and professional guidance ensure a well-designed, functional driveway culvert.
Read more: What Is A Culvert Driveway
Step 1: Planning and Preparation
Before you start the installation process, it’s crucial to carefully plan and prepare for the project. Here are the key steps to follow:
- Assess the area: Begin by assessing the area where you plan to install the culvert. Take note of any existing structures, utilities, or obstructions that may impact the installation process. It’s important to clear the area of any debris or vegetation that might hinder the installation or future maintenance.
- Measurements: Measure the width and length of your driveway to determine the appropriate size of the culvert pipe. Consider the average water flow in your area and choose a size that can handle the expected volume. Consult local building codes and regulations to ensure compliance.
- Determine the culvert type: There are various culvert materials available, including reinforced concrete, corrugated metal, and plastic. Each material has its own advantages and considerations. Research the different options and choose the one that best suits your needs and budget.
- Obtain necessary permits: Check with your local municipality or governing authority to determine if any permits are required for the installation. This can vary depending on your location and the size of the culvert.
- Gather tools and materials: Make a list of the tools and materials you’ll need for the installation. This may include a shovel, excavator, culvert pipes, connectors, gravel, geotextile fabric, and a compactor. Having everything ready before you start will save time and ensure a smooth installation process.
By taking the time to plan and prepare for the installation, you’ll avoid unnecessary delays and ensure that the project is carried out smoothly and efficiently. Once you have completed these steps, you’re ready to move on to the next phase: obtaining the necessary permits.
Step 2: Obtaining the Necessary Permits
Before you begin the installation of your driveway culvert, it’s essential to obtain the necessary permits and approvals from the appropriate authorities. These permits ensure that your project meets local regulations and guidelines. Here’s what you need to do:
- Research local regulations: Start by researching the specific requirements and regulations related to driveway culvert installations in your area. Check with your local municipality, zoning department, or building codes office to understand the permits needed and any specific guidelines to follow. This could include setback requirements, pipe size regulations, and any additional documentation needed for the permit application.
- Prepare the necessary documents: Once you have a clear understanding of the requirements, gather all the necessary documents for the permit application. This may include a detailed site plan, culvert specifications, dimensions, and any other supporting information requested by the authorities. Make sure that all the information is accurate and up to date.
- Submit the permit application: Fill out the permit application accurately and completely. Attach all the required documents and pay the applicable fees. It’s important to follow the submission guidelines and deadlines provided by the authorities. If you have any questions or need assistance, don’t hesitate to contact the relevant department for clarification.
- Wait for approval: After submitting the permit application, you’ll need to wait for approval from the authorities. This process can vary in duration depending on the complexity of the project and the workload of the department. Be patient and refrain from starting any construction until you receive the official permit.
- Comply with permit conditions: Once you receive the permit approval, carefully review the conditions and guidelines specified. Ensure that you adhere to all the requirements during the installation process. Failure to comply with the permit conditions can result in penalties or the revocation of the permit.
Obtaining the necessary permits is a crucial step in the driveway culvert installation process. It ensures compliance with local regulations and helps maintain the safety and quality of your project. Take the time to research and follow the permit application process to ensure a smooth and successful installation.
Once you’ve successfully obtained the necessary permits, you can proceed to the next step: measuring and marking the area for the culvert installation.
Step 3: Measuring and Marking the Area
Measuring and marking the area is a crucial step in the installation of a driveway culvert. Accurate measurements and proper markings ensure that the culvert will be positioned correctly and function effectively. Here’s what you need to do:
- Measure the width and length: Begin by accurately measuring the width and length of your driveway. Use a measuring tape or measuring wheel to determine the dimensions. Take into account any curves or bends in the driveway, as this will affect the placement of the culvert.
- Mark the placement of the culvert: Once you have the measurements, mark the placement of the culvert. Start by determining the ideal location for the culvert based on factors such as slope, water flow direction, and potential for future maintenance. Use stakes or spray paint to mark the edges of the culvert area.
- Create reference points: It’s important to establish reference points to ensure the culvert is positioned correctly. Use a string line or level to create reference points that align with the marked edges of the culvert. This will ensure that the culvert is installed level and straight.
- Determine the depth: Consider the depth at which the culvert should be installed. This will depend on various factors such as the desired grade of the driveway and the depth required for proper water flow. Use a string line or measuring tape to determine the depth at various points along the marked area.
- Double-check measurements and markings: Before proceeding with excavation, double-check all your measurements and markings to ensure accuracy. Make any necessary adjustments or corrections to ensure the culvert will be installed in the correct position and at the desired depth.
Taking the time to measure and mark the area accurately is essential for a successful culvert installation. Proper positioning and alignment will ensure optimal water flow and functionality. Remember to double-check your measurements and markings before moving on to the next step.
Now that you have measured and marked the area, you’re ready for the next step: excavating the driveway.
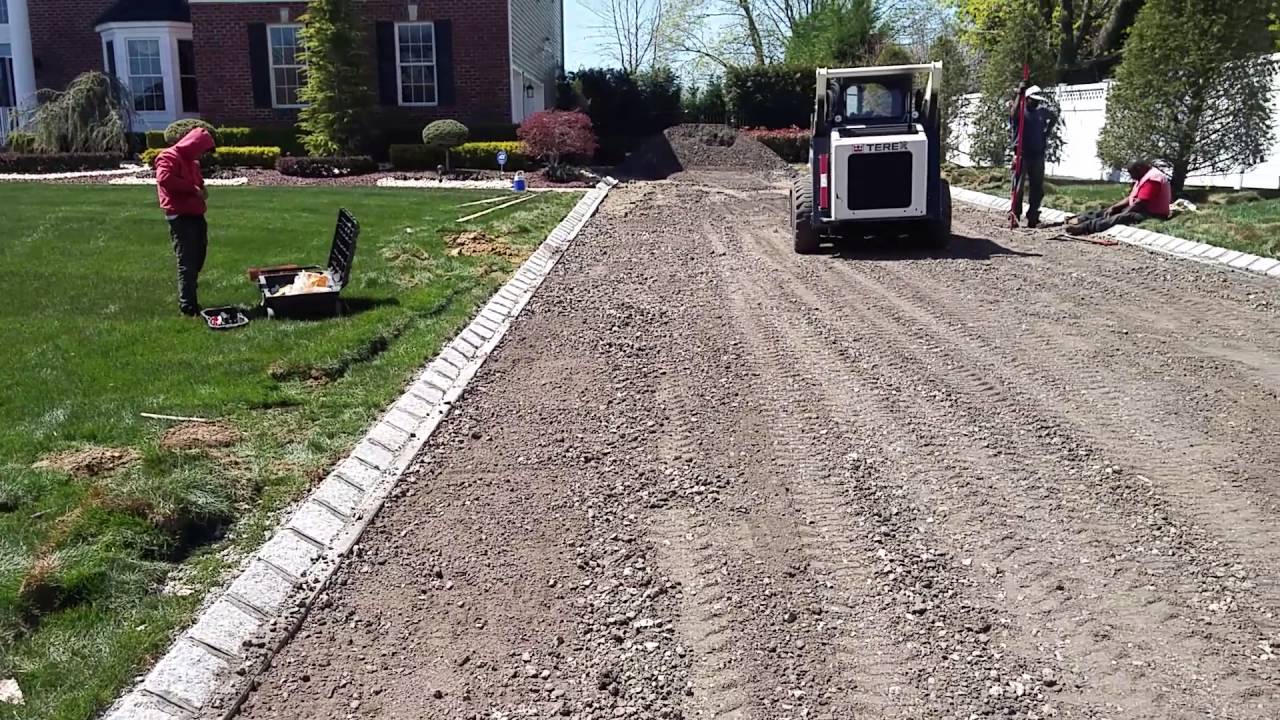
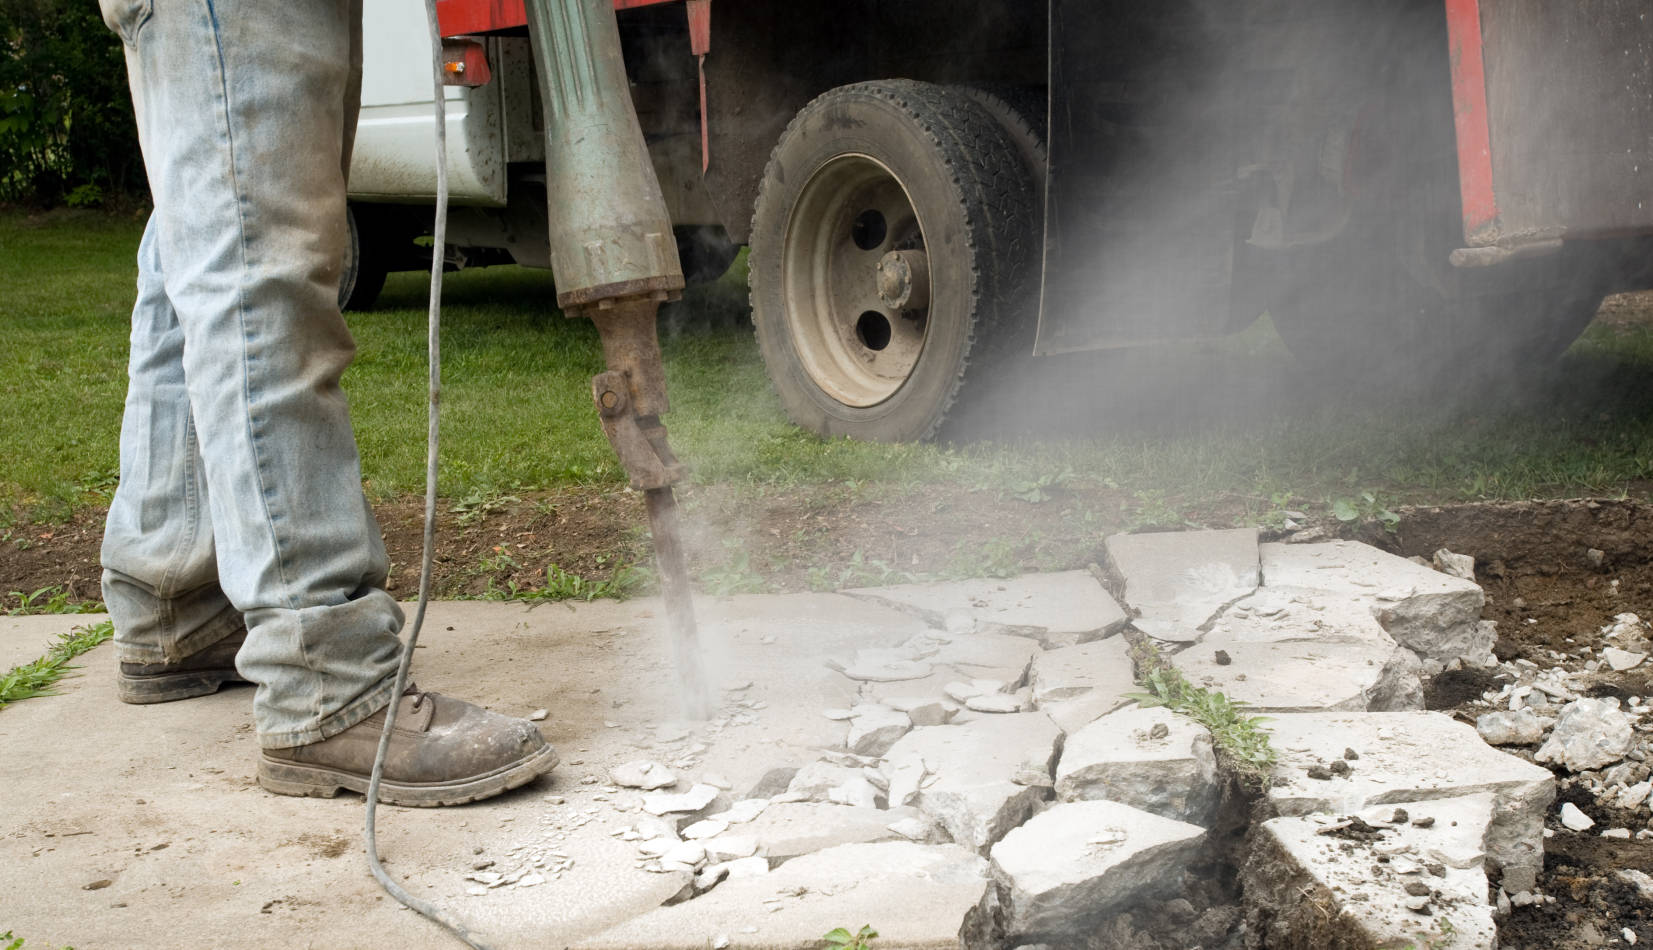
Step 4: Excavating the Driveway
Excavating the driveway is a crucial step in the installation of a culvert. This process involves removing the necessary amount of soil to create a trench for the culvert pipe. Here’s how to properly excavate the driveway:
- Prepare the excavation equipment: Before you start excavating, ensure that you have the necessary equipment ready. This may include a backhoe, excavator, or shovel, depending on the size of the project. Make sure the equipment is in good working condition and follow all safety precautions.
- Start digging the trench: Begin by digging the trench for the culvert pipe. Start at one end of the marked area and work your way along the length of the driveway. Dig the trench to the desired depth, following the reference points you established during the marking phase. Ensure that the sides of the trench are smooth and even.
- Check the slope and grade: As you excavate the trench, periodically check the slope and grade to ensure proper water flow. The trench should be sloped slightly to allow water to flow towards the desired direction. Use a level or measuring tool to verify that the trench has the correct slope.
- Remove excess soil and debris: During the excavation process, there may be excess soil and debris that need to be removed from the trench. Use a wheelbarrow or other suitable equipment to transport and dispose of the excavated materials. Keep the work area tidy to avoid any safety hazards.
- Inspect the trench: Once the excavation is complete, carefully inspect the trench to ensure it meets the required specifications. Check for any irregularities or areas that may need further adjustment. The trench should be wide enough and have a smooth bottom to accommodate the culvert pipe.
Excavating the driveway trench requires precision and attention to detail. Take your time to ensure that the trench is of the correct size and shape to accommodate the culvert pipe. Once you have finished excavating, you’re ready for the next step: installing the culvert pipe.
Before installing a driveway culvert, make sure to check local regulations and obtain any necessary permits. It’s important to properly size the culvert to handle expected water flow and to ensure proper installation for long-term durability.
Read more: How To Clean Out A Driveway Culvert
Step 5: Installing the Culvert Pipe
Now that the driveway has been excavated, it’s time to proceed with installing the culvert pipe. This step involves placing the pipe in the trench and ensuring proper alignment and connections. Follow these steps to install the culvert pipe:
- Lay a layer of gravel: Before placing the culvert pipe, it’s recommended to lay a layer of gravel at the bottom of the trench. This will provide a stable base for the pipe and aid in proper drainage.
- Position the culvert pipe: Carefully lower the culvert pipe into the trench, ensuring that it aligns with the marked edges and reference points. The pipe should fit snugly in the trench, with enough space for backfilling without displacing the pipe.
- Connect multiple pipe sections: If your culvert requires multiple sections, connect them together using appropriate connectors or couplers. Ensure that the connections are secure and watertight to prevent any leaks.
- Secure the culvert pipe: Use gravel or soil to backfill around the culvert pipe, filling the trench up to the desired level. As you backfill, periodically check the alignment and slope of the pipe to ensure proper water flow. Compact the backfilled soil using a compactor to provide stability.
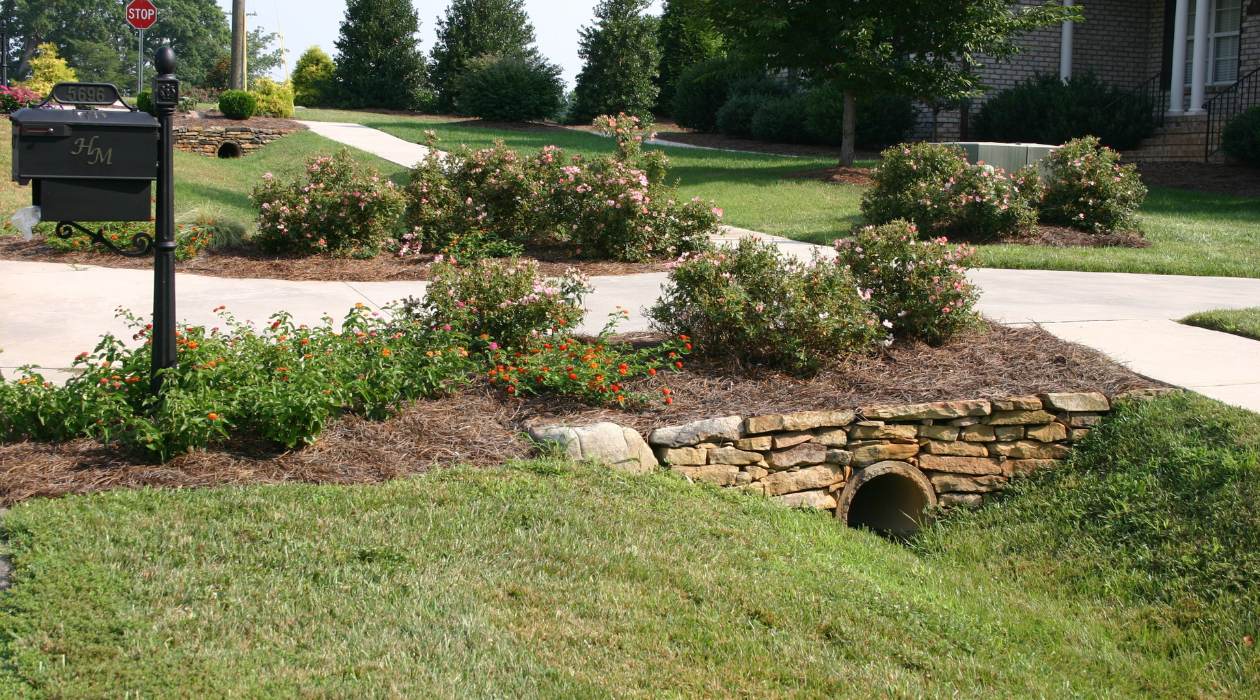
- Install end treatments: Depending on the design and regulations in your area, you may need to install end treatments for the culvert pipe. This can include wing walls, headwalls, or other types of structures to prevent erosion and promote efficient water flow. Follow the recommended guidelines for the specific end treatment you are installing.
During the installation process, it’s important to take the necessary precautions to maintain the integrity of the culvert pipe. Avoid applying excessive force or placing heavy equipment directly on the pipe. Be mindful of any surrounding utilities or structures that could potentially be damaged.
Once the culvert pipe is securely installed and any necessary end treatments are in place, you’re ready to move on to the next step: backfilling and compacting the soil.
Step 6: Backfilling and Compacting the Soil
After the culvert pipe has been installed, it’s time to backfill and compact the soil around the pipe. This step is crucial for providing stability and support to the culvert, ensuring its longevity and functionality. Here’s how to properly backfill and compact the soil:
- Backfill with soil: Begin by backfilling the trench with soil, starting from the sides and working your way toward the top. Use a shovel or other suitable equipment to carefully place the soil around the culvert pipe, ensuring that it fills the voids and gaps evenly. Gradually build up the backfill, taking care not to apply excessive pressure on the pipe.
- Compact the backfilled soil: Once the backfill is in place, use a compactor to compact the soil around the culvert pipe. This will help to minimize settling and provide additional stability. Compact the soil in layers, gradually increasing the compaction pressure as you go. Pay particular attention to the sides of the culvert, ensuring that the soil is tightly packed.
- Check for proper compaction: Periodically check the compacted soil for proper compaction. It should feel firm and resistant to movement. If you notice any soft or unstable areas, add additional soil and re-compact until the desired level of compaction is achieved.
- Ensure proper drainage: As you backfill and compact the soil, ensure that the drainage around the culvert pipe is not impeded. The soil should provide a smooth and sloping surface to allow water to flow freely. Avoid creating any low spots or areas where water can collect and potentially cause damage.
- Inspect the backfilled area: Once the backfilling and compaction process is complete, carefully inspect the backfilled area. Check for any signs of settling or unevenness, and make any necessary adjustments. The surface around the culvert should be smooth and level to prevent disruption to the driveway or potential water pooling.
By properly backfilling and compacting the soil, you ensure the stability and functionality of the culvert installation. This step is critical to prevent any future issues and maintain the integrity of your driveway. Now that the soil has been backfilled and compacted, you’re ready for the final step: adding finishing touches.
Step 7: Finishing Touches
With the culvert pipe installed and the soil backfilled and compacted, it’s time to add the finishing touches to complete the installation. These final steps will provide the necessary reinforcement and enhance the overall appearance of your driveway culvert. Here’s what you need to do:
- Add additional reinforcement: Depending on the specific requirements of your culvert installation, you may need to add additional reinforcement to ensure its stability. This can include using geotextile fabric to line the trench and prevent soil erosion, or installing riprap or other protective materials around the culvert to prevent damage from heavy water flow.
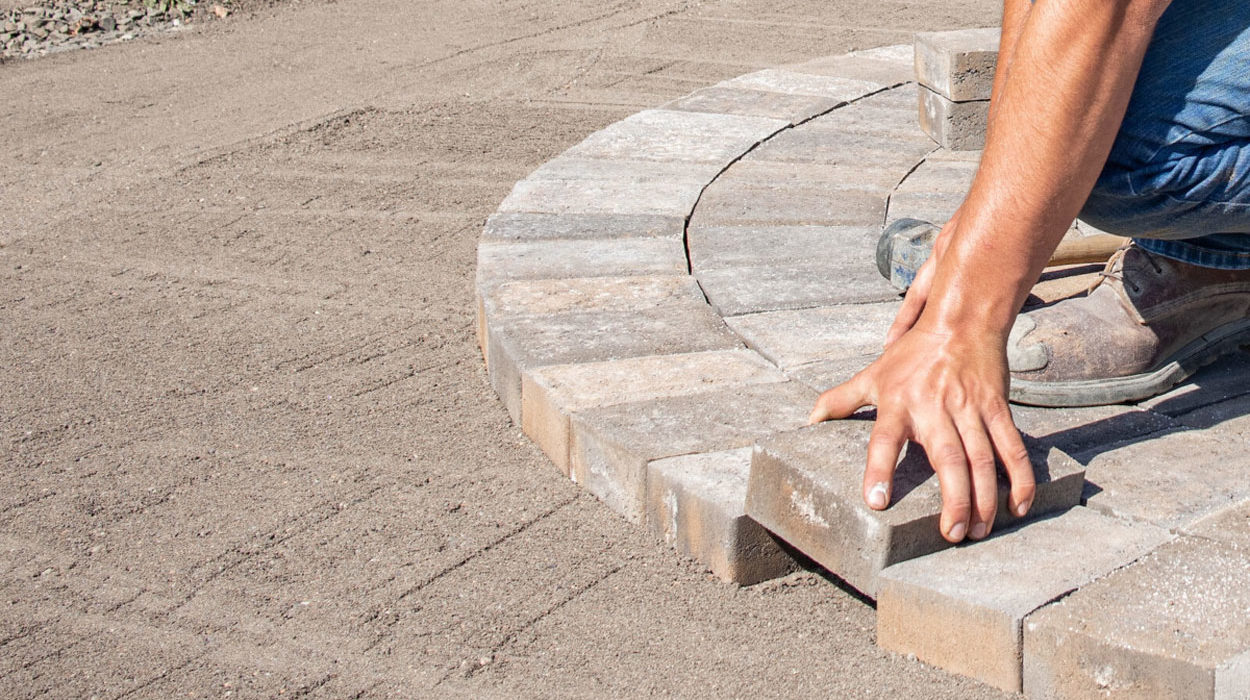
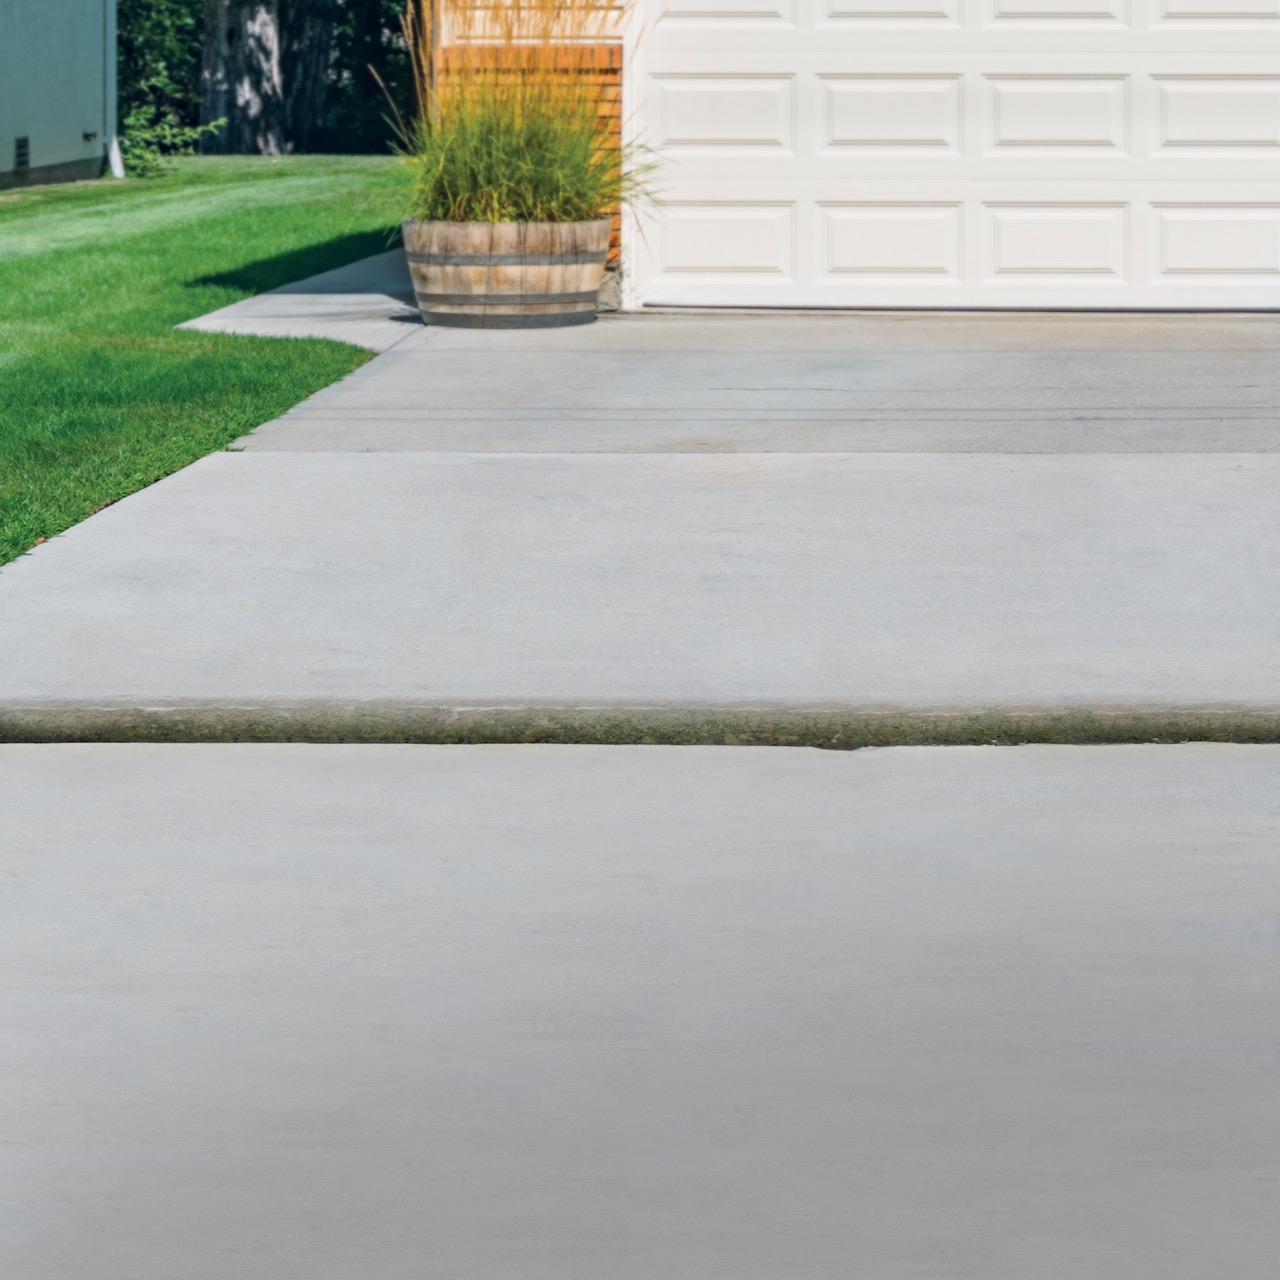
- Re-establish the driveway surface: Once the installation is complete, it’s important to re-establish the surface of your driveway. This may involve filling any gaps or depressions with additional soil or gravel, and leveling the surface to create a smooth and even transition over the culvert.
- Consider landscaping: If desired, you can enhance the visual appeal of your culvert installation by incorporating landscaping elements. Planting grass, flowers, or shrubs along the sides of the culvert can help blend it with the surrounding environment and add aesthetic appeal to your driveway.
- Maintain the culvert: Regular maintenance is key to ensuring the long-term functionality of your driveway culvert. Inspect the culvert periodically for any signs of damage or blockage, and remove any debris that may accumulate around or inside the pipe. Clear any obstructions in the water flow to prevent potential flooding or drainage issues.
- Consult professionals if needed: In case you encounter any challenges during the installation process or are unsure about certain aspects, it’s always a good idea to consult professionals. They can provide guidance and expertise to ensure that your driveway culvert installation is successful and meets the necessary requirements.
By following these finishing touches, you can ensure that your driveway culvert is not only functional but also visually appealing. Regular maintenance and proper upkeep will help extend the lifespan of the culvert and prevent any potential issues in the future.
Congratulations! You have completed the installation of your driveway culvert. By following the steps outlined in this guide, you have taken the necessary measures to effectively manage water flow and protect your driveway from potential damage caused by flooding or erosion.
Remember to always prioritize safety and compliance with local regulations throughout the installation process. Now you can enjoy a well-designed and properly functioning driveway culvert for years to come.
If you have any further questions or need clarification on any of the steps mentioned, don’t hesitate to seek assistance from professionals or consult with local authorities.
Good luck with your driveway culvert installation!
Conclusion
Installing a driveway culvert is a significant undertaking, but with proper planning and execution, you can successfully manage water flow and protect your driveway from potential damage. By following the steps outlined in this comprehensive guide, you have learned how to effectively install a driveway culvert, from planning and preparation to the finishing touches.
A driveway culvert plays a vital role in redirecting water away from your driveway and preventing flooding and erosion. It is essential to conduct thorough research, obtain the necessary permits, and accurately measure and mark the area before proceeding with excavation and installation. Backfilling and compacting the soil properly, as well as adding any necessary reinforcements, will ensure the stability and longevity of your culvert installation.
Throughout the process, it is crucial to prioritize safety, comply with local regulations, and seek professional guidance if needed. Regular maintenance and inspection of the culvert will help prevent blockages and maintain its functionality over time.
Remember, installing a driveway culvert requires careful planning, attention to detail, and adherence to best practices. By following the steps outlined in this guide and incorporating the finishing touches, you can enjoy a well-designed, functional, and visually appealing driveway culvert.
Now that you have the knowledge and understanding of how to install a driveway culvert, you can confidently take on this project and improve the water management capabilities of your property. Always keep safety at the forefront and consult professionals or local authorities when needed.
Good luck with your driveway culvert installation, and may it bring you years of efficient water flow and protection for your driveway!
Now that you've mastered installing a driveway culvert, why not spruce up your garden's perimeter with some creative fencing options? Our article on unique garden fence ideas offers loads of inspiration for transforming your outdoor space. For those who prefer tackling various enhancements around the house, our detailed guide on DIY home projects is perfect. It provides practical steps to make improvements yourself, saving money and adding personal touches to your living space.
Frequently Asked Questions about How To Install A Driveway Culvert
Was this page helpful?
At Storables.com, we guarantee accurate and reliable information. Our content, validated by Expert Board Contributors, is crafted following stringent Editorial Policies. We're committed to providing you with well-researched, expert-backed insights for all your informational needs.


0 thoughts on “How To Install A Driveway Culvert”