Articles
How To Install Molding On Floor
Modified: December 7, 2023
Learn how to install molding on the floor with our comprehensive articles. Find step-by-step instructions and tips for a professional finish.
(Many of the links in this article redirect to a specific reviewed product. Your purchase of these products through affiliate links helps to generate commission for Storables.com, at no extra cost. Learn more)
Introduction
Installing molding on the floor is a great way to add elegance and a finished look to any room. Whether you are renovating your home or just looking to upgrade the appearance of your floors, adding molding can make a significant difference. In this article, we will guide you through the step-by-step process of installing molding on the floor, from measuring and planning to the finishing touches.
Before we dive into the installation process, let’s first go over the tools and materials you will need:
- Miter saw
- Measuring tape
- Pencil
- Finishing nails
- Nail set
- Hammer
- Putty knife
- Caulk gun (if caulking is desired)
- Wood filler (if filling nail holes is desired)
- Sandpaper (if sanding and painting the molding is desired)
- Paint and paintbrush (if painting the molding is desired)
Key Takeaways:
- Installing molding on the floor requires precision and attention to detail, from measuring and planning to securing the molding. Optional steps like sanding and painting can enhance the overall appearance of the installation.
- Proper maintenance, such as regular cleaning and occasional touch-ups, will help preserve the beauty of the molding for years to come. Enjoy the enhanced aesthetic and the sense of accomplishment that comes with completing a DIY project.
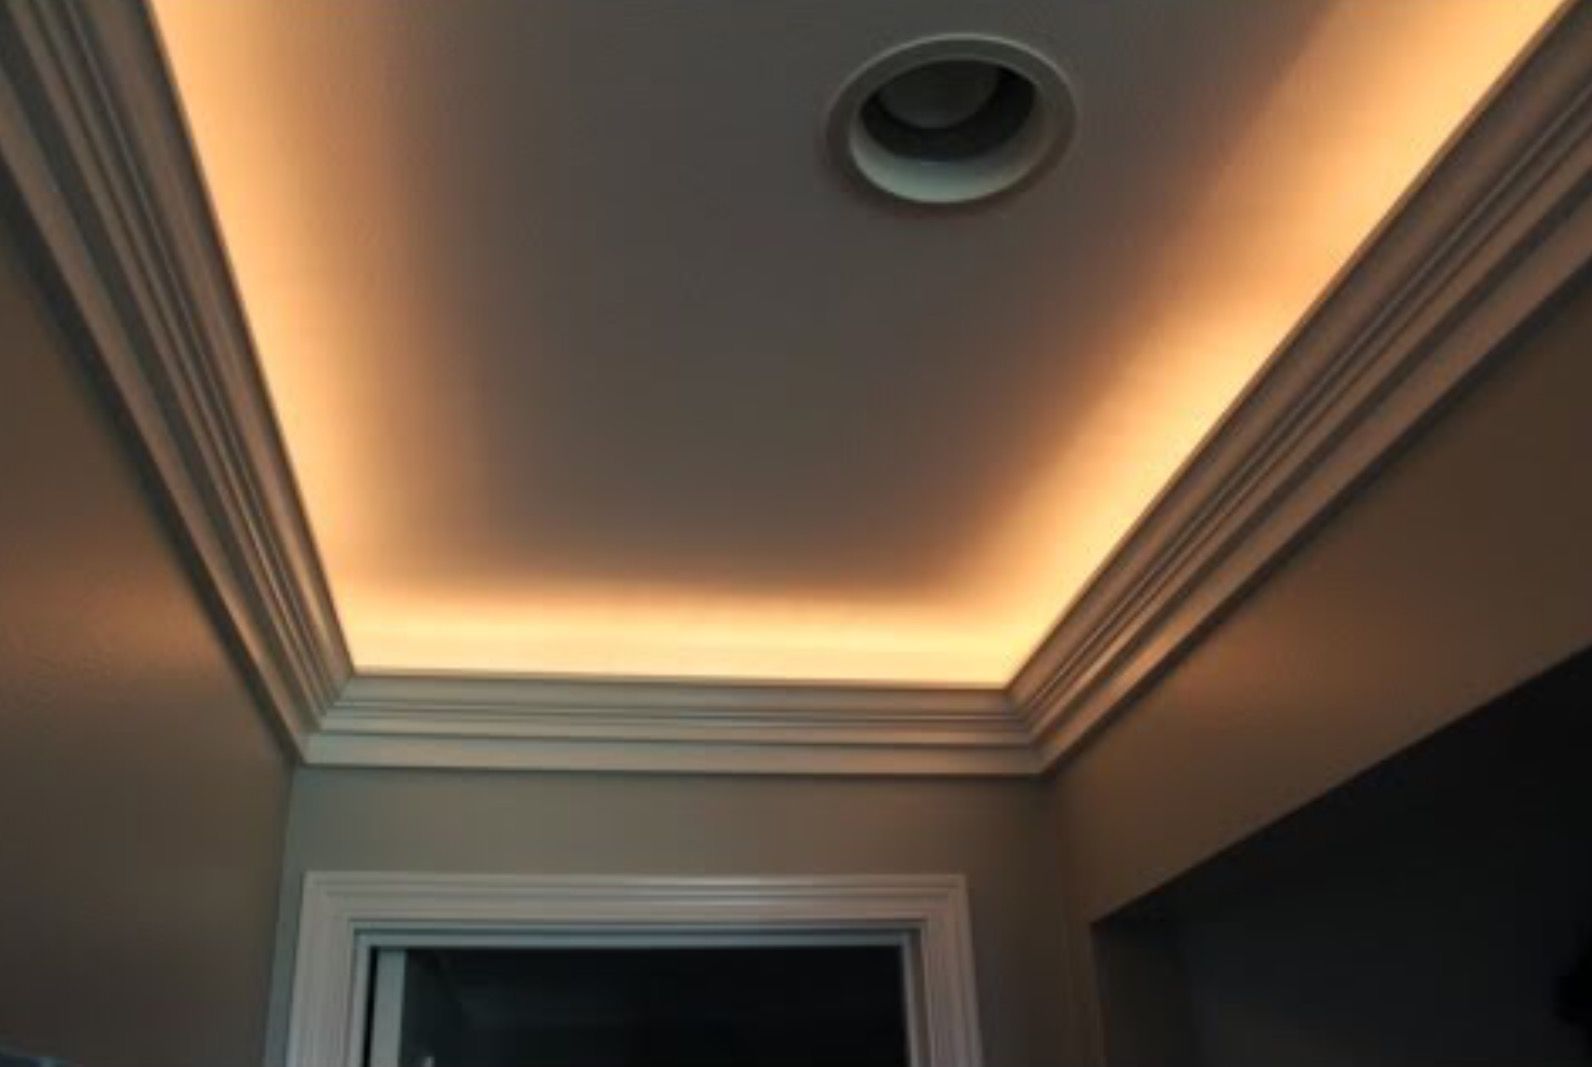
Read more: How To Install Ceiling Molding
Tools and Materials Needed
Before you begin installing molding on the floor, it’s important to gather all the necessary tools and materials. Here’s a list of what you’ll need:
- Miter saw: A miter saw is essential for making precise cuts on the molding. It allows you to cut the molding at different angles, ensuring a perfect fit.
- Measuring tape: Accurate measurements are crucial for ensuring that the molding fits properly. A measuring tape will help you measure the length and width of the floor.
- Pencil: You’ll need a pencil to mark the measurements on the molding and the floor.
- Finishing nails: Finishing nails are used to secure the molding to the floor. Make sure to choose nails that are long enough to penetrate the molding and into the subfloor.
- Nail set: A nail set is a small tool used to countersink the finishing nails below the surface of the molding.
- Hammer: You’ll need a hammer to drive the finishing nails into the molding and secure it to the floor.
- Putty knife: A putty knife is used to fill any nail holes or gaps in the molding with wood filler.
- Caulk gun (if caulking is desired): If you plan to caulk the gaps between the molding and the floor for a seamless finish, you’ll need a caulk gun.
- Wood filler (if filling nail holes is desired): Wood filler is used to fill in the nail holes and create a smooth surface on the molding. Choose a color that matches the molding for a seamless look.
- Sandpaper (if sanding and painting the molding is desired): If you prefer to sand and paint the molding, you’ll need sandpaper to smooth out any rough edges or imperfections.
- Paint and paintbrush (if painting the molding is desired): Choose a paint color that complements your floor and gather a paintbrush to apply the paint evenly to the molding.
Once you have gathered all the necessary tools and materials, you’re ready to start installing molding on the floor. The next step is to measure and plan the placement of the molding on the floor, which we will cover in detail in the following section.
Step 1: Measure and Plan
Before you begin installing the molding on the floor, it’s important to take accurate measurements and plan the layout. Follow these steps:
- Start by measuring the length and width of the room. Use a measuring tape to determine the dimensions of the floor surface where you will be installing the molding. Write down these measurements for reference.
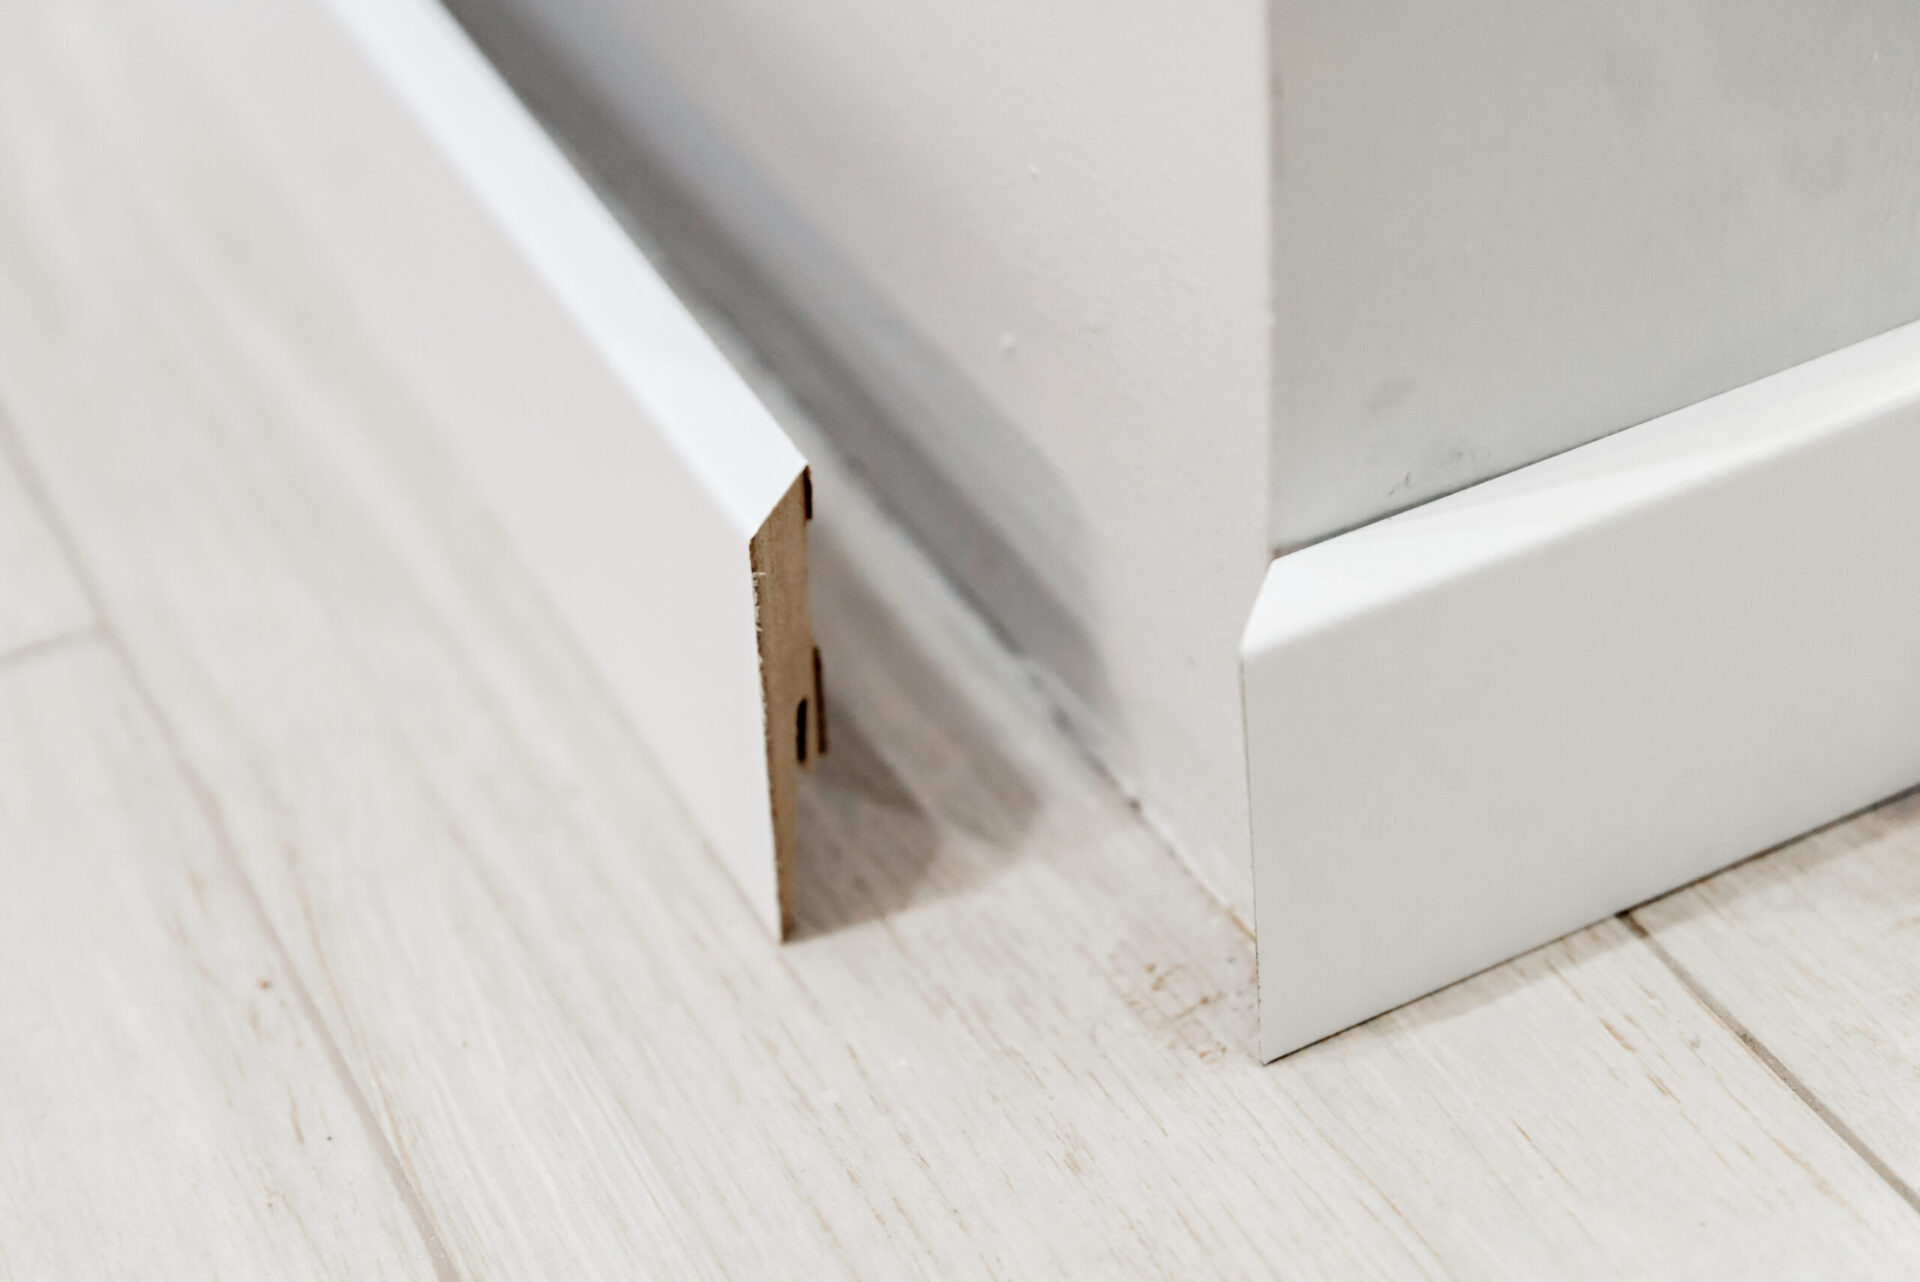
- Next, decide on the type of molding you want to install. There are various options available, such as baseboards, quarter rounds, and crown moldings. Consider the style of your room and choose a molding that complements the overall design.
- Based on the measurements, determine how much molding you will need. Measure the walls where the molding will be installed and calculate the total linear footage needed. It’s always a good idea to purchase a little extra to account for any mistakes or miscalculations.
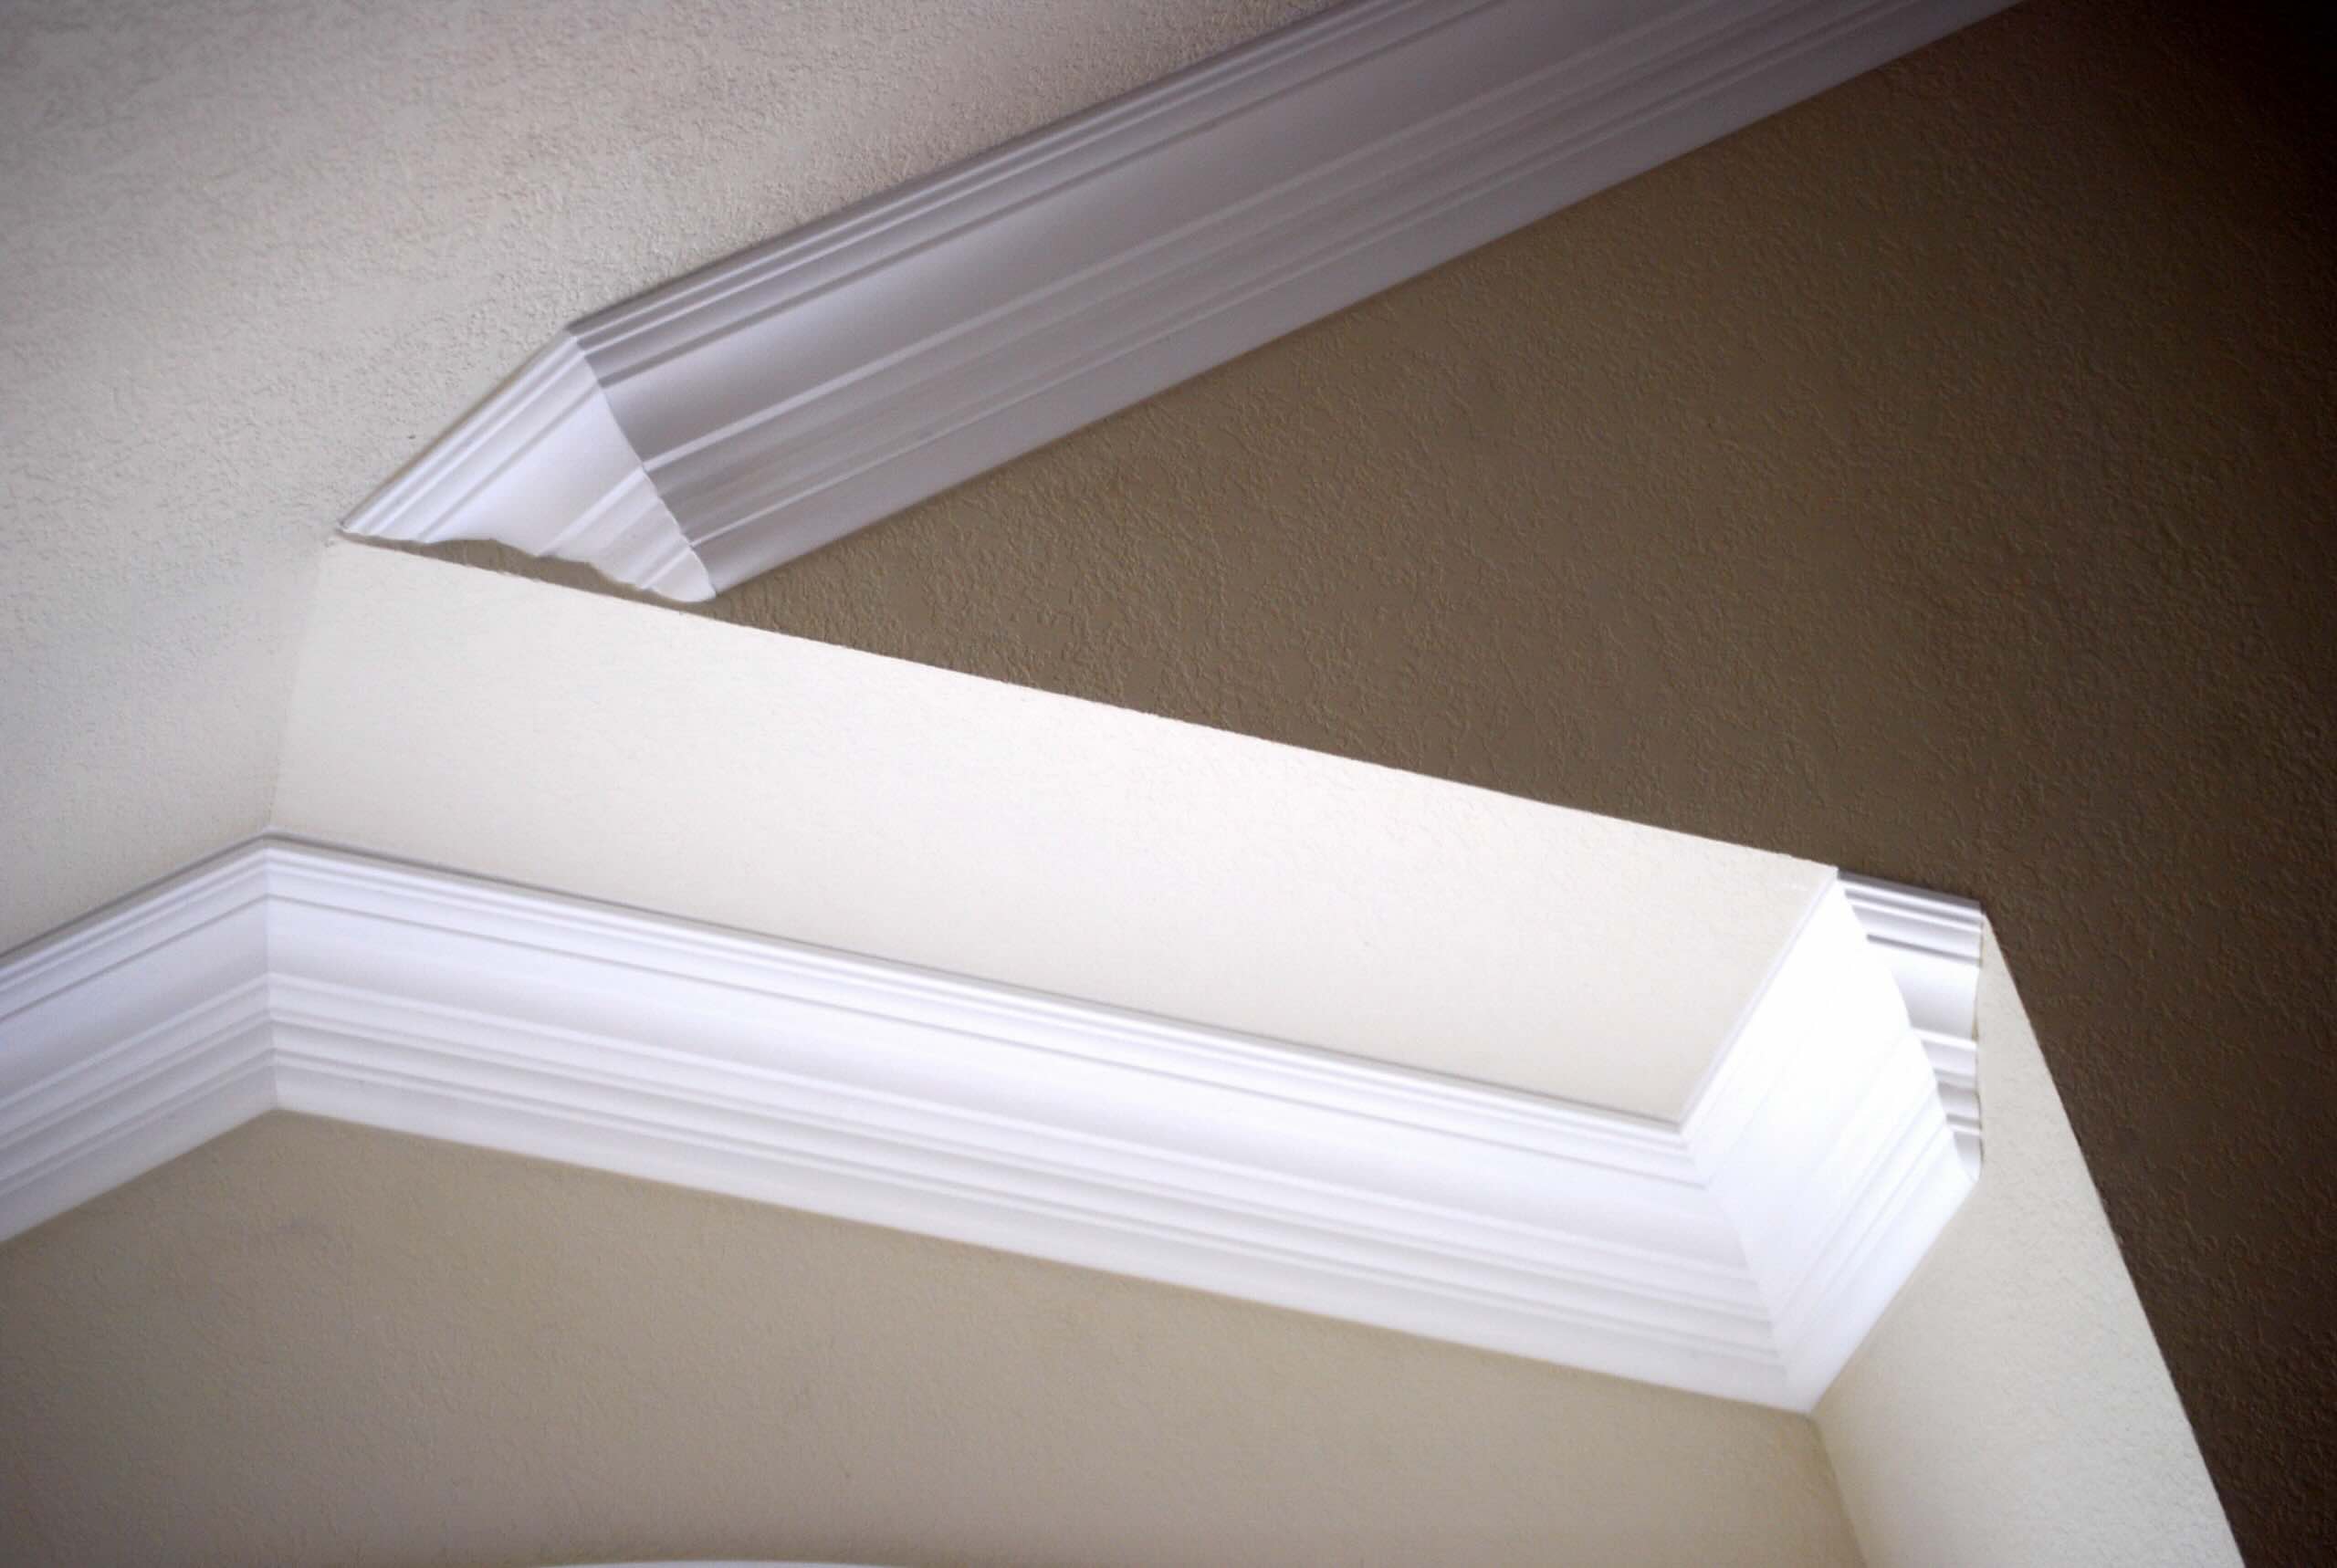
- Once you have the necessary measurements and the molding, it’s time to plan the layout. Consider the corners and transitions in the room and determine the best configuration for the molding. You may need to make miter cuts at the corners or use corner blocks for a polished look.
- Mark the desired placement of the molding on the floor using a pencil. Take into account any obstructions, such as door frames or vents, and make adjustments accordingly.
By taking accurate measurements and planning the layout beforehand, you can ensure that the molding fits properly and creates a cohesive look in the room. With the measurements and layout in place, you’re now ready to move on to the next step: preparing the floor.
Step 2: Prepare the Floor
Preparing the floor is an essential step in installing molding. It ensures a smooth and even surface for the molding to be attached to. Follow these steps to prepare the floor:
- Start by removing any existing baseboards or moldings from the walls. Use a pry bar and a hammer to carefully loosen and remove the moldings. Be cautious not to damage the walls or the moldings in the process.
- Inspect the floor for any debris, dirt, or unevenness. Clear the area of any loose particles and clean the floor thoroughly. This will provide a clean surface for the molding to adhere to.
- If there are any gaps or uneven areas on the floor, fill them with a floor-leveling compound. Use a putty knife to spread the compound evenly, following the manufacturer’s instructions.
- Allow the floor-leveling compound to dry completely. This usually takes about 24 hours, but refer to the product instructions for specific drying times.
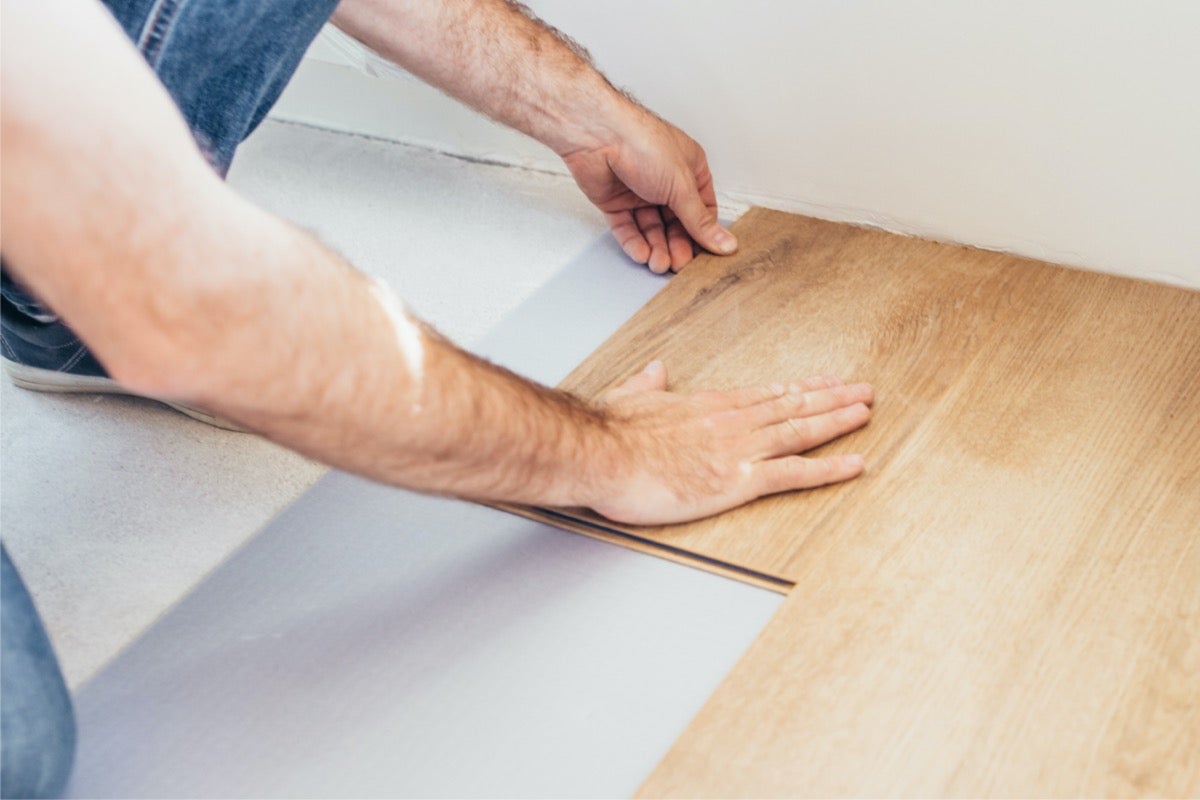
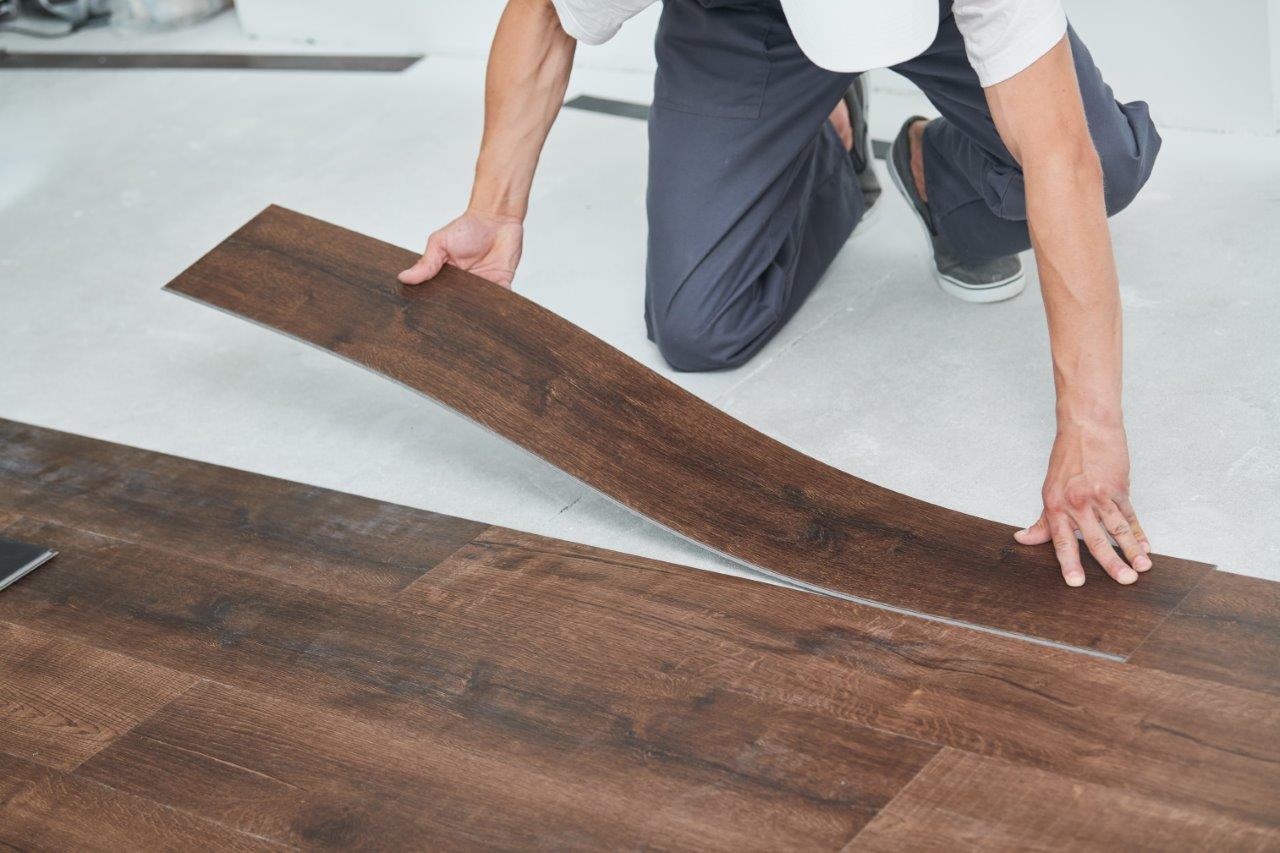
- Once the floor is dry and level, you can proceed to install an underlayment if necessary. An underlayment provides additional stability and can help with sound reduction. Follow the manufacturer’s instructions for installing the underlayment.
- If your flooring is carpeted, it’s recommended to remove the carpet within the area where you will be installing the molding. This allows for a cleaner and more secure installation.
- Inspect the subfloor to ensure it is secure and in good condition. If there are any loose boards or damage, repair or replace them before proceeding.
Preparing the floor before installing the molding is crucial for a successful and long-lasting installation. It ensures that the molding sits flat and securely on the floor surface. Once the floor is prepared, you can move on to the next step: cutting the molding to the appropriate lengths.
Step 3: Cut the Molding
Now that the floor is prepared, it’s time to cut the molding to the appropriate lengths. Follow these steps to cut the molding:
- Measure the length of the wall where you will be installing the molding. Use a measuring tape to get an accurate measurement.
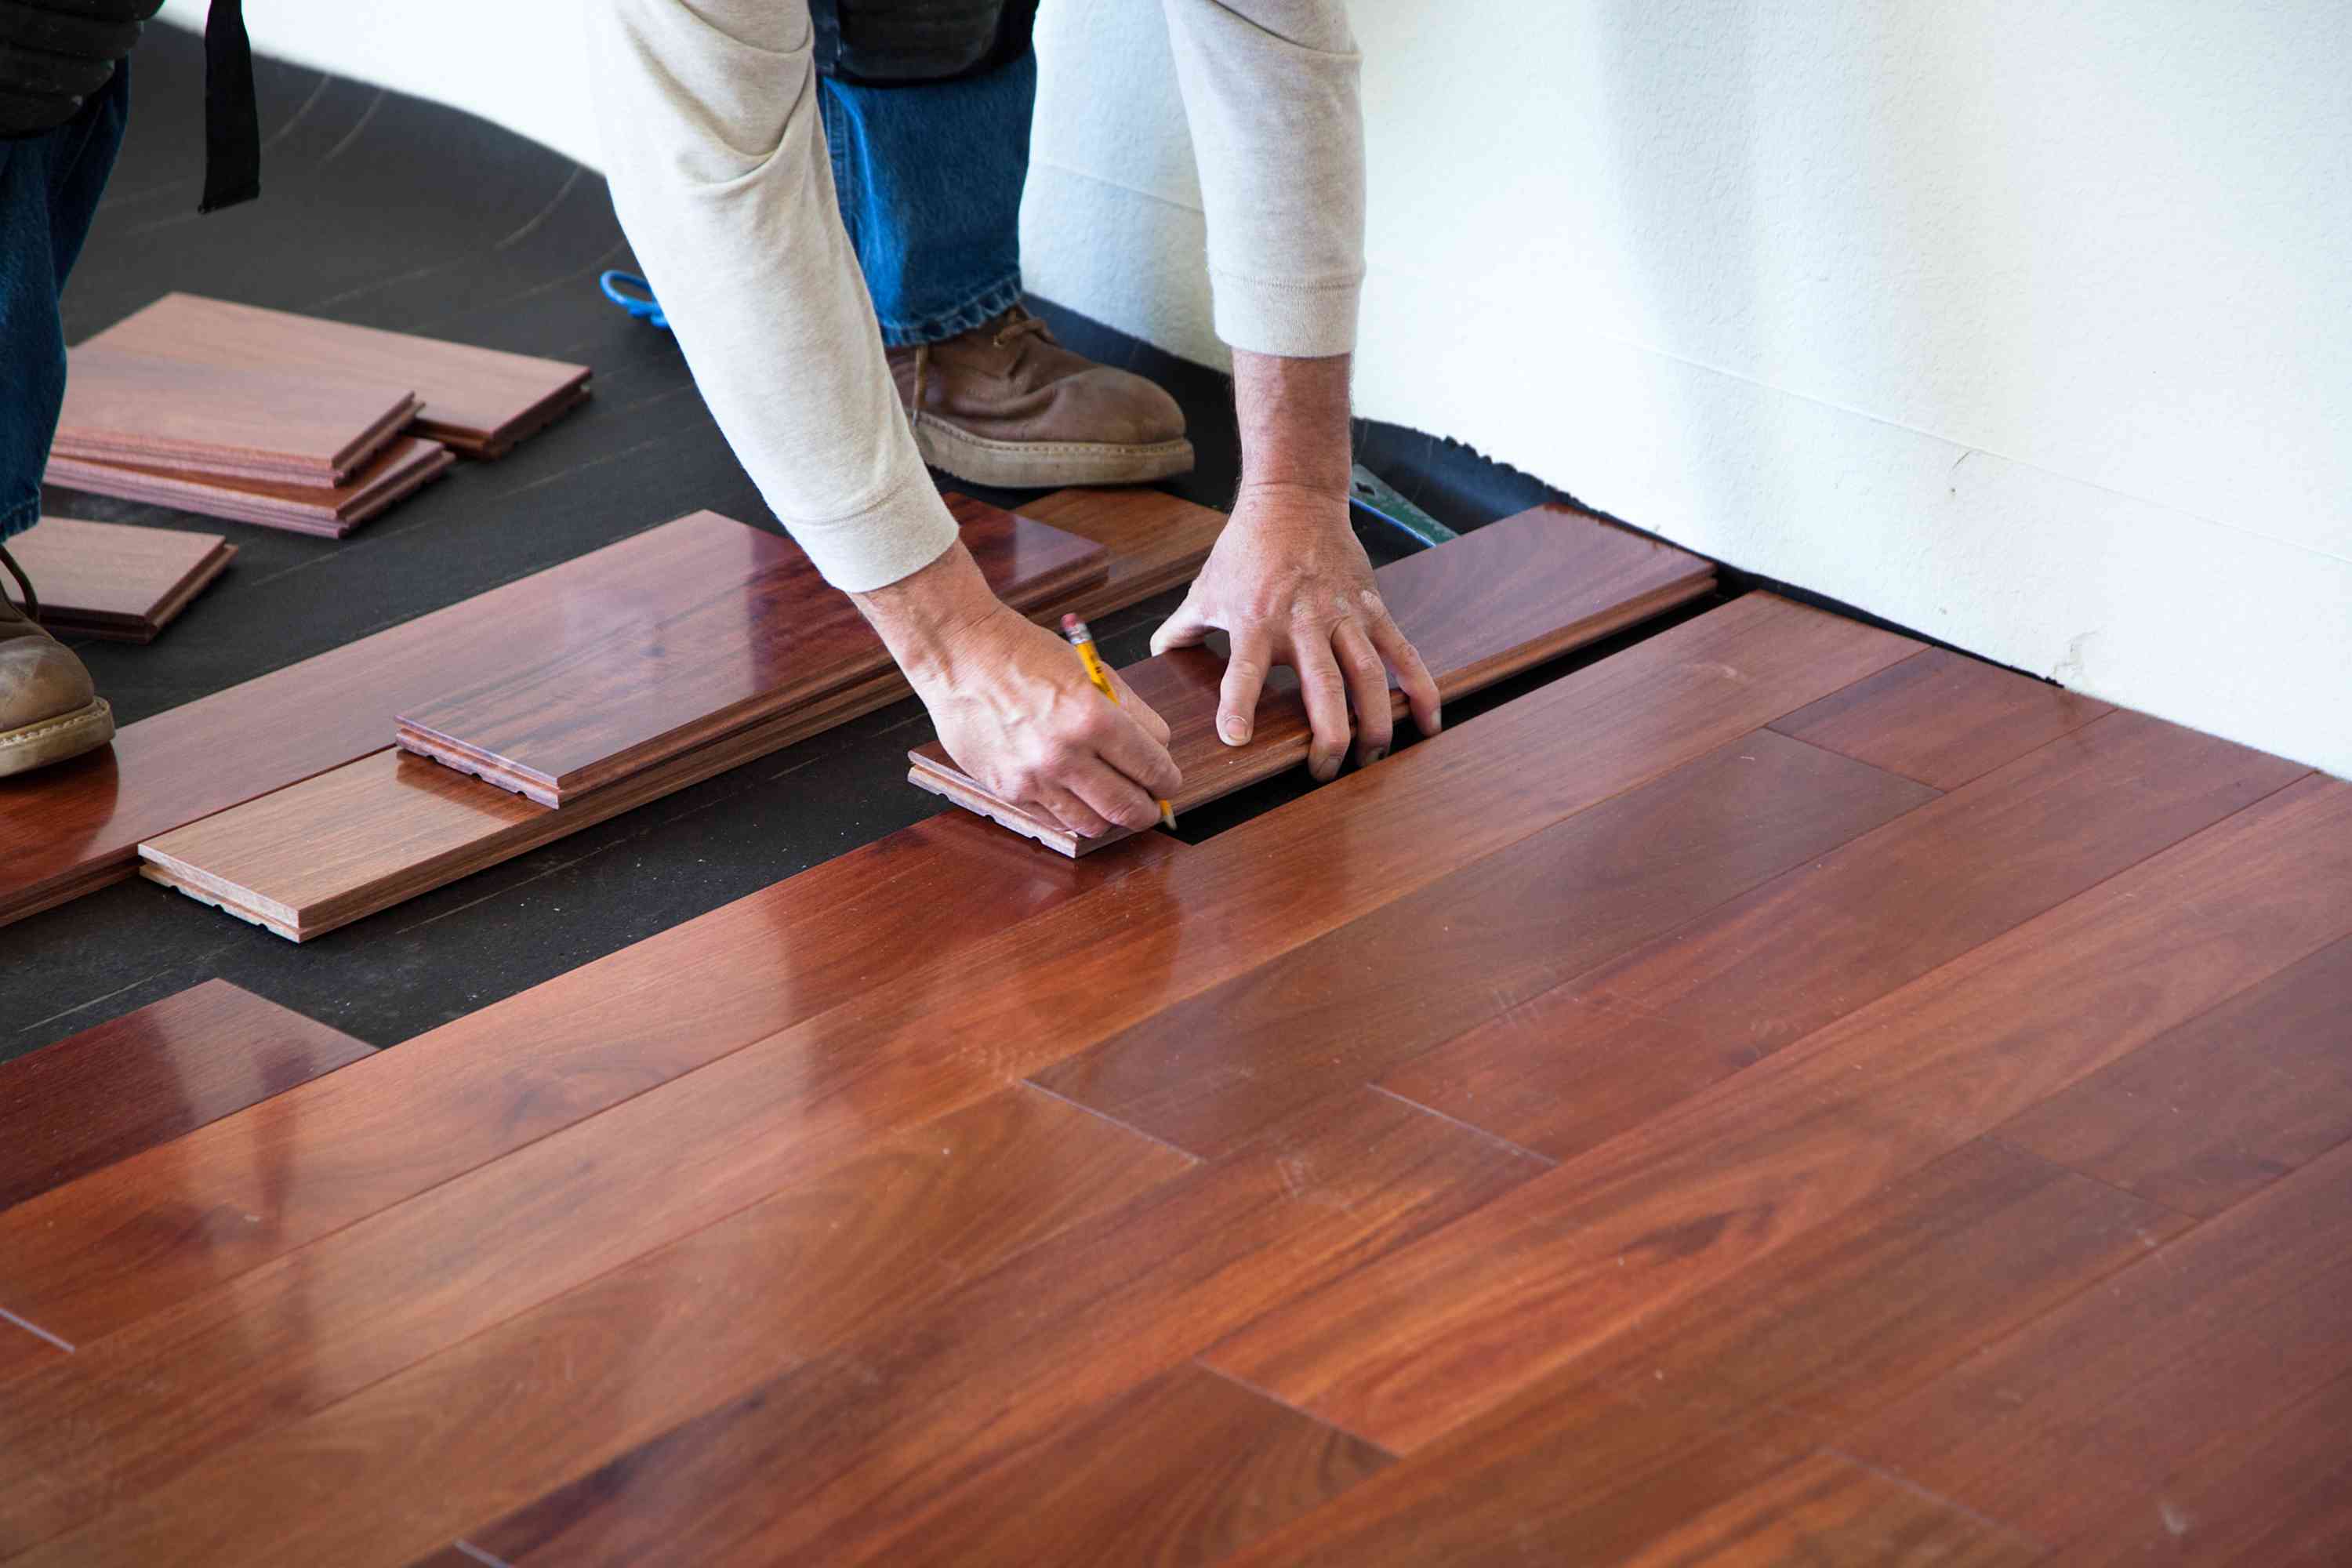
- Transfer the measurement to the molding. Mark the measurement using a pencil, making sure to account for any corners or transitions where the molding will need to be cut at an angle.
- Place the molding on a miter saw, ensuring that the marked line is aligned with the appropriate angle guide on the saw. Make sure the molding is secure and stable before proceeding.
- Using the miter saw, carefully cut the molding at the marked measurement. Take your time and make precise cuts to ensure a proper fit.
- Repeat the process for each section of molding, making adjustments as necessary for corners, transitions, or any other special cuts.
When cutting the molding, it’s important to be accurate and make clean cuts. Take your time and double-check your measurements before making any cuts. It’s always better to err on the side of caution and cut the molding slightly longer than needed, as you can always trim it later if necessary.
Once you have cut all the sections of the molding to the appropriate lengths, you can move on to the next step: sanding and painting the molding.
Read more: How To Remove Molding From Floor
Step 4: Sand and Paint the Molding (optional)
If you want to add a polished and finished look to your molding, you have the option to sand and paint it. This step is purely optional, but it can enhance the overall appearance of the molding. Follow these steps to sand and paint the molding:
- Start by sanding the molding. Use a fine-grit sandpaper to smooth out any rough edges or imperfections on the surface of the molding. Sand in the direction of the wood grain for the best results.
- After sanding, wipe down the molding with a clean, damp cloth to remove any dust or debris. This will ensure a clean surface for painting.
- If you want to change the color of the molding, apply a primer before painting. The primer will help the paint adhere better to the surface and provide a more even finish. Follow the manufacturer’s instructions for applying the primer.
- Once the primer is dry, you can begin painting the molding. Use a paintbrush and apply a thin, even coat of paint. Allow the first coat to dry completely before applying additional coats. Apply as many coats as necessary to achieve the desired color and finish.
- Once the paint is dry, inspect the molding for any missed spots or unevenness. Touch up any areas that need attention.
Remember to choose a paint color that complements your room’s decor and style. You can also consider using a gloss or satin finish for a more polished look.
While sanding and painting the molding is an optional step, it can significantly enhance the visual impact of the finished installation. Take your time and ensure that the surfaces are smooth and the paint application is even.
With the molding sanded and painted (if desired), you’re ready to move on to the next step: installing the molding on the floor.
Before installing floor molding, make sure to measure and cut the pieces accurately. Use a miter saw for precise angles and a nail gun for secure attachment. Sand and paint the molding before installation for a professional finish.
Step 5: Install the Molding
Now that you have prepared the floor and the molding is ready, it’s time to install the molding on the floor. Follow these steps to properly install the molding:
- Start by placing the first piece of molding against the wall, aligning it with the marked placement you made earlier. Make sure the molding is flush against the floor and the wall.
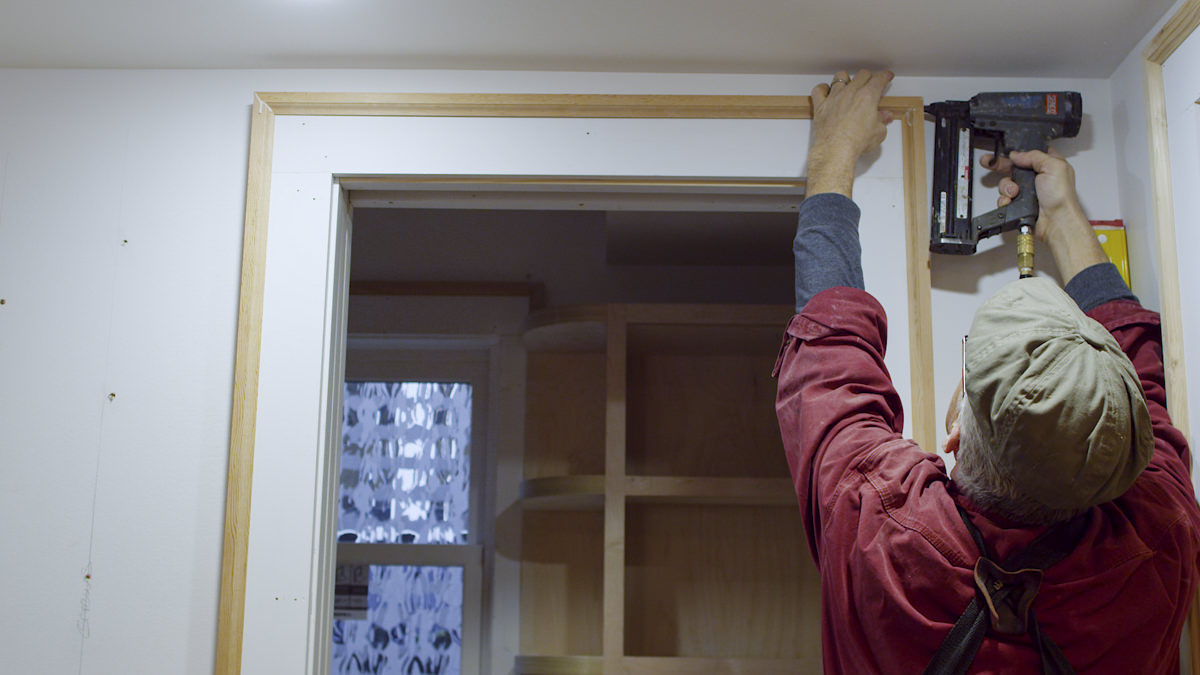
- Using a nail gun or a hammer and finishing nails, secure the molding to the floor. Place nails about every 12 inches along the length of the molding, ensuring it is firmly attached to the floor. If you’re using a nail gun, follow the manufacturer’s instructions for safe and proper use.
- Continue installing the rest of the molding along the wall, making sure each piece is properly aligned and securely fastened to the floor. Take your time to ensure a neat and consistent installation.
- For corners and transitions where the molding meets at an angle, make miter cuts to create a seamless joint. Use a miter saw or a miter box to make precise cuts, following the angle markings on the molding. Fit the molding pieces together and secure them with finishing nails.
- If you need to install molding around door frames or other obstacles, make careful measurements and make necessary cuts to fit the molding around them.
As you progress with the installation, periodically check to ensure that the molding is straight and level. Adjust as necessary and make any additional cuts or modifications to ensure a seamless fit along the floor.
Take your time during this step to ensure that the molding is properly installed. A well-installed molding will enhance the overall appearance of the room. With the molding securely in place, you can move on to the next step: securing the molding.
Step 6: Secure the Molding
Once the molding is installed on the floor, it’s important to ensure that it is securely fastened to prevent any movement or gaps. Follow these steps to properly secure the molding:
- Inspect the installed molding to identify any areas where it may be loose or not fully flush against the floor.
- Using a nail set and a hammer, gently countersink the finishing nails below the surface of the molding. This will create a smooth and seamless look.
- Check for any gaps between the molding and the floor. If you notice any, use a pry bar or a putty knife to carefully lift the molding slightly and add a small amount of construction adhesive or caulk underneath. Press the molding back down to secure it and to fill the gap.
- Repeat this process for any loose areas or gaps along the length of the installed molding.
- Wipe away any excess adhesive or caulk using a damp cloth.
By ensuring that the molding is securely fastened and any gaps are filled, you can prevent the molding from shifting or popping up over time. This step is crucial for a long-lasting and professional-looking installation.
After securing the molding, you can choose to move on to the next optional step: filling nail holes and caulking.
Step 7: Fill Nail Holes and Caulk (optional)
Once the molding is securely installed and any loose areas are fixed, you have the option to further enhance the look of the installation by filling nail holes and caulking any remaining gaps. Follow these steps to fill nail holes and caulk the molding:
- Inspect the installed molding for any visible nail holes. If you notice any, use a putty knife to apply a small amount of wood filler to each hole. Smooth the filler with the putty knife and remove any excess. Allow the filler to dry completely.
- Sand the filled nail holes lightly with fine-grit sandpaper. This will ensure a smooth and seamless surface.
- If there are any remaining gaps between the molding and the floor, use a caulk gun to apply a bead of caulk along the gap. Press the caulk into the gap using a caulk smoothing tool or your finger. Wipe away any excess caulk with a damp cloth.
- Allow the caulk to dry completely before moving furniture or walking on the newly installed molding.
Filling nail holes and caulking the molding can give your installation a clean and polished appearance. It helps to create a seamless look and ensures that the molding blends seamlessly with the floor and walls.
Once you have filled the nail holes and caulked any gaps, you are ready to move on to the final step: adding the finishing touches.
Read more: How To Install Baseboard Molding
Step 8: Finishing Touches
With the molding installed, secured, and any necessary touch-ups completed, it’s time to add the final finishing touches to complete the look. Follow these steps to add those final details:
- Clean the molding and the surrounding area with a damp cloth to remove any dust or debris. This will give your installation a polished and clean appearance.
- Inspect the molding for any marks or smudges. If needed, gently wipe the moldings with a mild soap solution to remove any stains or dirt.
- Consider adding a coat of clear polyurethane or a similar protective finish to the molding. This will help protect it from wear and tear and keep it looking fresh.
- Take a step back and admire your newly installed molding. Appreciate the transformation it has made to the overall appearance of the room.
- Finally, clean up your work area by properly disposing of any leftover materials and tools. Store your tools in a secure and organized manner for future use.
By paying attention to these final details, you can ensure that your installation looks professional and enhances the overall aesthetics of the room. Taking the time to clean and protect the molding will help maintain its beauty for years to come.
Congratulations! You have successfully installed molding on your floor. Step back and admire the transformation it has made to the space. Enjoy the elegant and finished look that the molding adds to your room.
Remember, installing molding requires precision and attention to detail. By following these steps and taking your time, you can achieve a professional and polished result that will elevate the overall decor of your home.
Thank you for reading and happy molding installation!
Conclusion
Installing molding on the floor is a rewarding project that adds a touch of elegance and refinement to any room. By following the step-by-step process outlined in this article, you can achieve a professional-looking installation that enhances the overall appeal of your space. From measuring and planning to securing the molding, each step plays a crucial role in the success of the project.
Remember to gather all the necessary tools and materials before starting, and take accurate measurements to ensure a precise fit. Preparing the floor by removing any existing moldings and ensuring a smooth surface is essential for a seamless installation. Cutting the molding with care and precision guarantees a clean and professional appearance.
Optional steps such as sanding and painting the molding, as well as filling nail holes and caulking, provide an opportunity to customize the look and achieve a flawless finish. Whether you choose to take on these additional steps or not, the important thing is to ensure that the molding is securely installed and any gaps are properly filled.
Once you have completed the installation and added the finishing touches, take a moment to admire your work and appreciate the impact it has made on the room. Proper maintenance, such as regular cleaning and occasional touch-ups, will help preserve the beauty of the molding for years to come.
By following these guidelines and infusing your own creativity, you can transform the appearance of your space with the installation of molding on the floor. Enjoy the enhanced aesthetic and the sense of accomplishment that comes with completing a DIY project that adds both style and value to your home.
Thank you for reading, and we hope this article has been helpful in guiding you through the process of installing molding on the floor. Happy renovating!
Frequently Asked Questions about How To Install Molding On Floor
Was this page helpful?
At Storables.com, we guarantee accurate and reliable information. Our content, validated by Expert Board Contributors, is crafted following stringent Editorial Policies. We're committed to providing you with well-researched, expert-backed insights for all your informational needs.


0 thoughts on “How To Install Molding On Floor”