Home>Articles>How To Install Shoe Molding For The Perfect Finishing Touch
Articles
How To Install Shoe Molding For The Perfect Finishing Touch
Modified: May 6, 2024
Learn how to install shoe molding in this step-by-step guide. Enhance your interior with this essential finishing touch. Expertly written articles by professionals in the field.
(Many of the links in this article redirect to a specific reviewed product. Your purchase of these products through affiliate links helps to generate commission for Storables.com, at no extra cost. Learn more)
Introduction
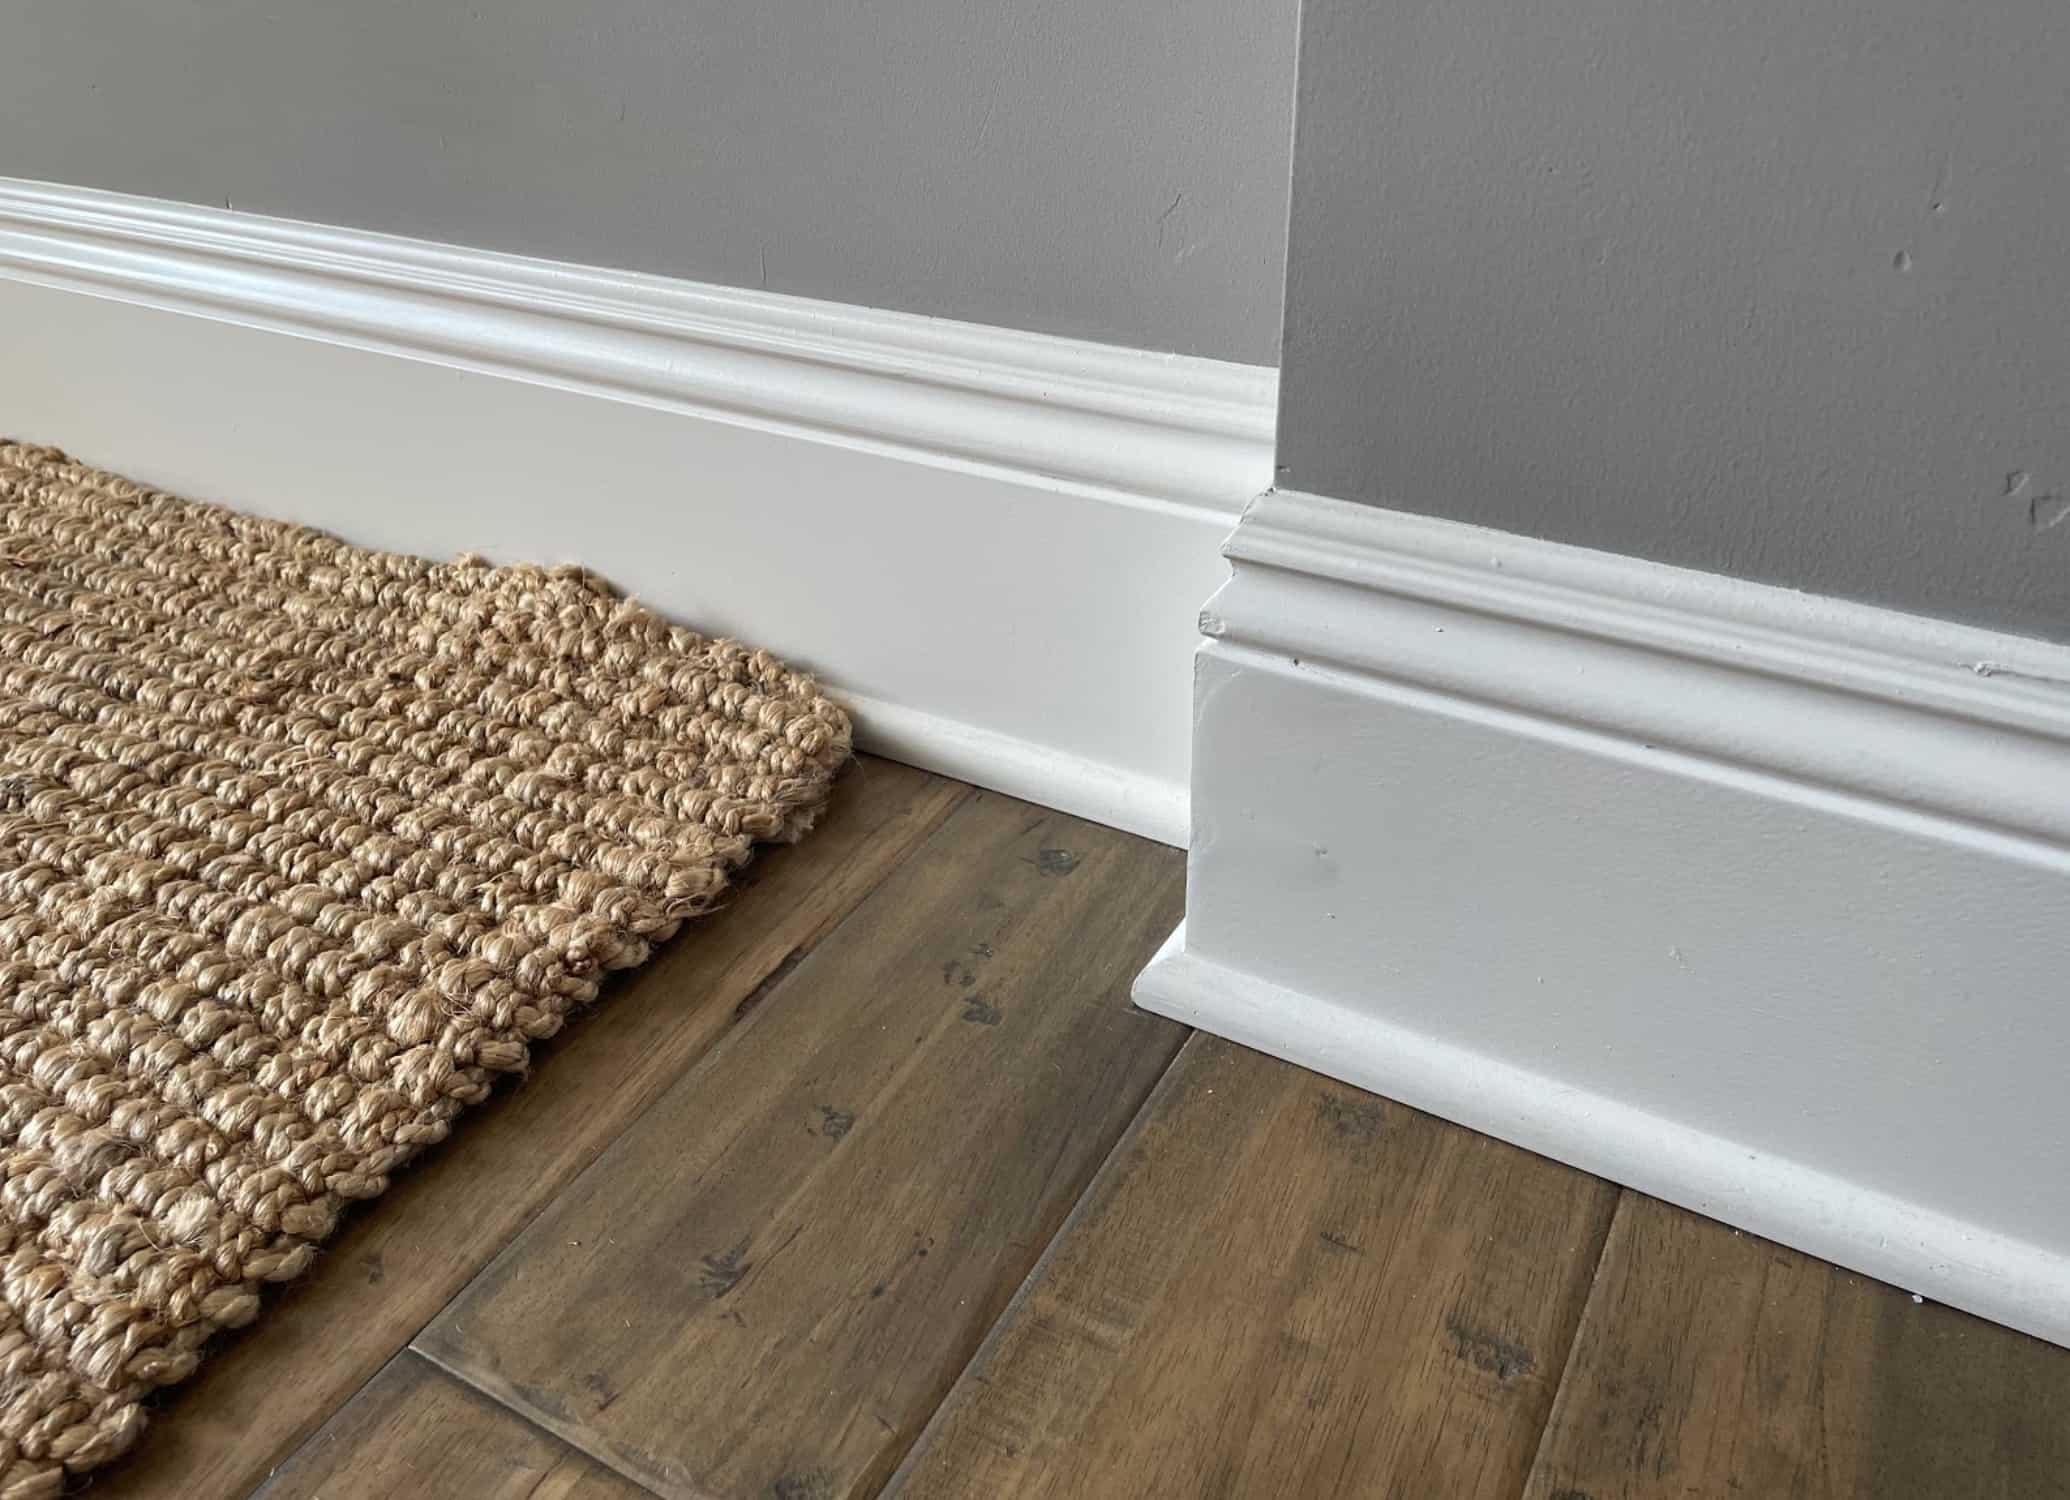
When it comes to giving your home a polished and finished look, installing shoe molding can make all the difference. Shoe molding, also known as quarter round molding, is a narrow strip of wood that is installed along the bottom edge of baseboards or where the baseboards meet the flooring. It not only adds a decorative touch but also covers any gaps or inconsistencies between the baseboard and the floor.
In this article, we will walk you through the process of installing shoe molding step by step. Whether you are a seasoned DIY enthusiast or a beginner tackling your first home improvement project, this guide will provide you with the knowledge and confidence to achieve a professional-looking result.
Before we dive into the installation process, let’s gather the tools and materials you will need:
Key Takeaways:
- Installing shoe molding is a manageable DIY project that adds elegance to any room. With precision cutting, proper prep, and a polished finish, you can achieve a professional look that covers gaps and enhances your home’s aesthetic appeal.
- By following the step-by-step guide, you can confidently install shoe molding to give your home the perfect finishing touch. Gather the necessary tools, measure and cut with precision, and enjoy the satisfaction of transforming your space with this impactful upgrade.
Read more: How To Store Shoes To Prevent Mold
Tools and Materials Needed
Before you start installing shoe molding, make sure you have the following tools and materials on hand:
Tools:
- Measuring tape
- Miter saw or coping saw
- Miter box (if using a coping saw)
- Brad nailer
- Utility knife
- Hammer
- Sandpaper or sanding block
- Paintbrush or foam brush
Materials:
- Shoe molding
- Nails
- Wood filler
- Primer
- Paint
It’s important to have proper tools and materials to ensure a smooth and successful installation process. If you don’t already have these items, you can find them at your local hardware store or online.
Once you have everything ready, it’s time to move on to the first step of installing shoe molding: measuring and cutting the molding.
Step 1: Measure and Cut the Molding
The first step in installing shoe molding is to accurately measure and cut the molding to the appropriate lengths. Here’s how you can do it:
- Start by measuring the length of each wall where you plan to install the shoe molding. Make sure to account for any corners and doorways.
- Transfer the measurements onto the shoe molding, marking them with a pencil or a piece of tape.
- Use a miter saw or coping saw to make precise cuts at a 45-degree angle. If using a miter saw, set the saw to a 45-degree angle and position the molding against the fence of the saw. Carefully make the cuts, ensuring they are clean and accurate. If using a coping saw, use a miter box to guide the saw and make precise cuts.
- Continue measuring and cutting the remaining pieces of shoe molding according to your measurements.
- Once all the pieces are cut, dry-fit them against the walls to ensure they fit properly. Make any necessary adjustments by trimming the molding further if needed.
Remember, accuracy is key when measuring and cutting the shoe molding. Take your time and double-check your measurements before making any cuts. This will ensure a seamless and professional-looking installation.
With the molding cut to the right lengths, it’s time to move on to the next step: prepping the wall and floor.
Step 2: Prep the Wall and Floor
Before attaching the shoe molding, it’s important to properly prepare the wall and floor surfaces. Follow these steps to ensure a smooth installation:
- Clean the baseboard and floor areas where the shoe molding will be installed. Remove any dust, dirt, or debris that could affect the adhesion of the molding.
- If there are any existing baseboards, use a utility knife to carefully cut away any caulk or paint along the top edge. This will create a clean surface for the shoe molding to sit against.
- Inspect the baseboards and floors for any unevenness or protrusions. Use sandpaper or a sanding block to smooth out any imperfections.
- Fill any gaps or nail holes with wood filler. Allow the filler to dry completely before sanding it down to create a smooth surface.
- When everything is cleaned and prepped, it’s time to move on to the next step: attaching the shoe molding.
Properly prepping the wall and floor surfaces will ensure that the shoe molding sits flat and securely against the baseboard and floor. It will also contribute to a professional-looking and long-lasting installation.
Now that the preparation work is complete, let’s move on to the next step: attaching the shoe molding.
Step 3: Attach the Shoe Molding
With the wall and floor surfaces prepped, it’s time to attach the shoe molding. Follow these steps for a successful installation:
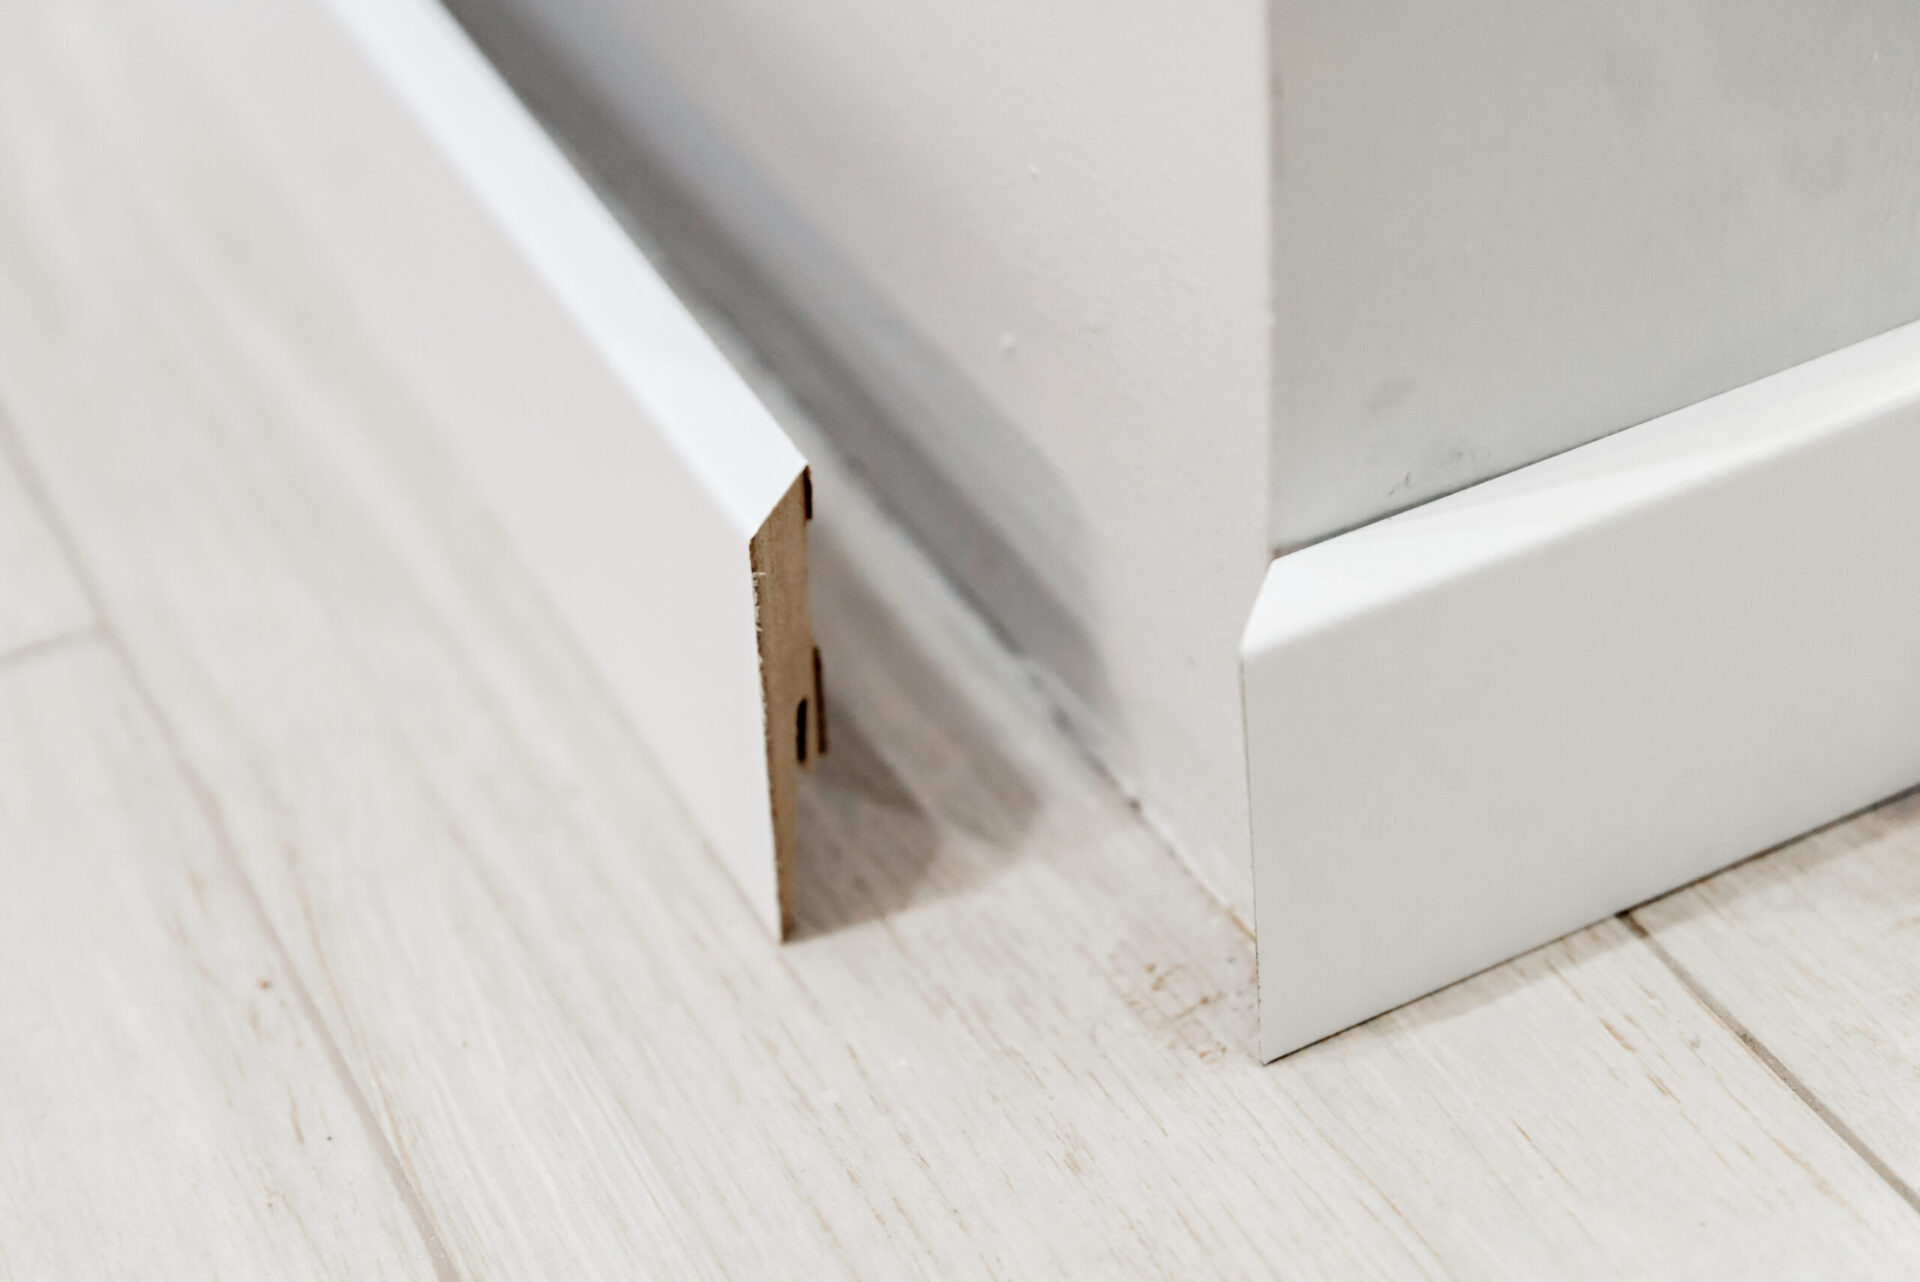
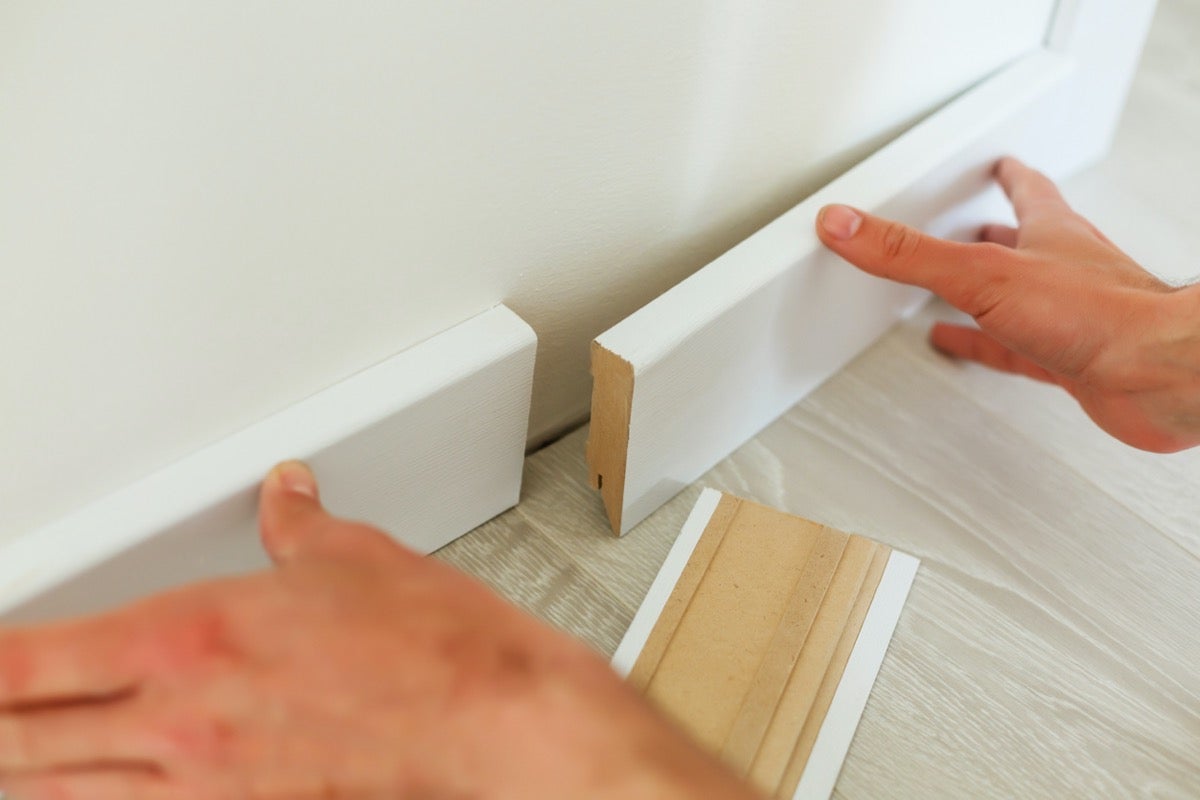
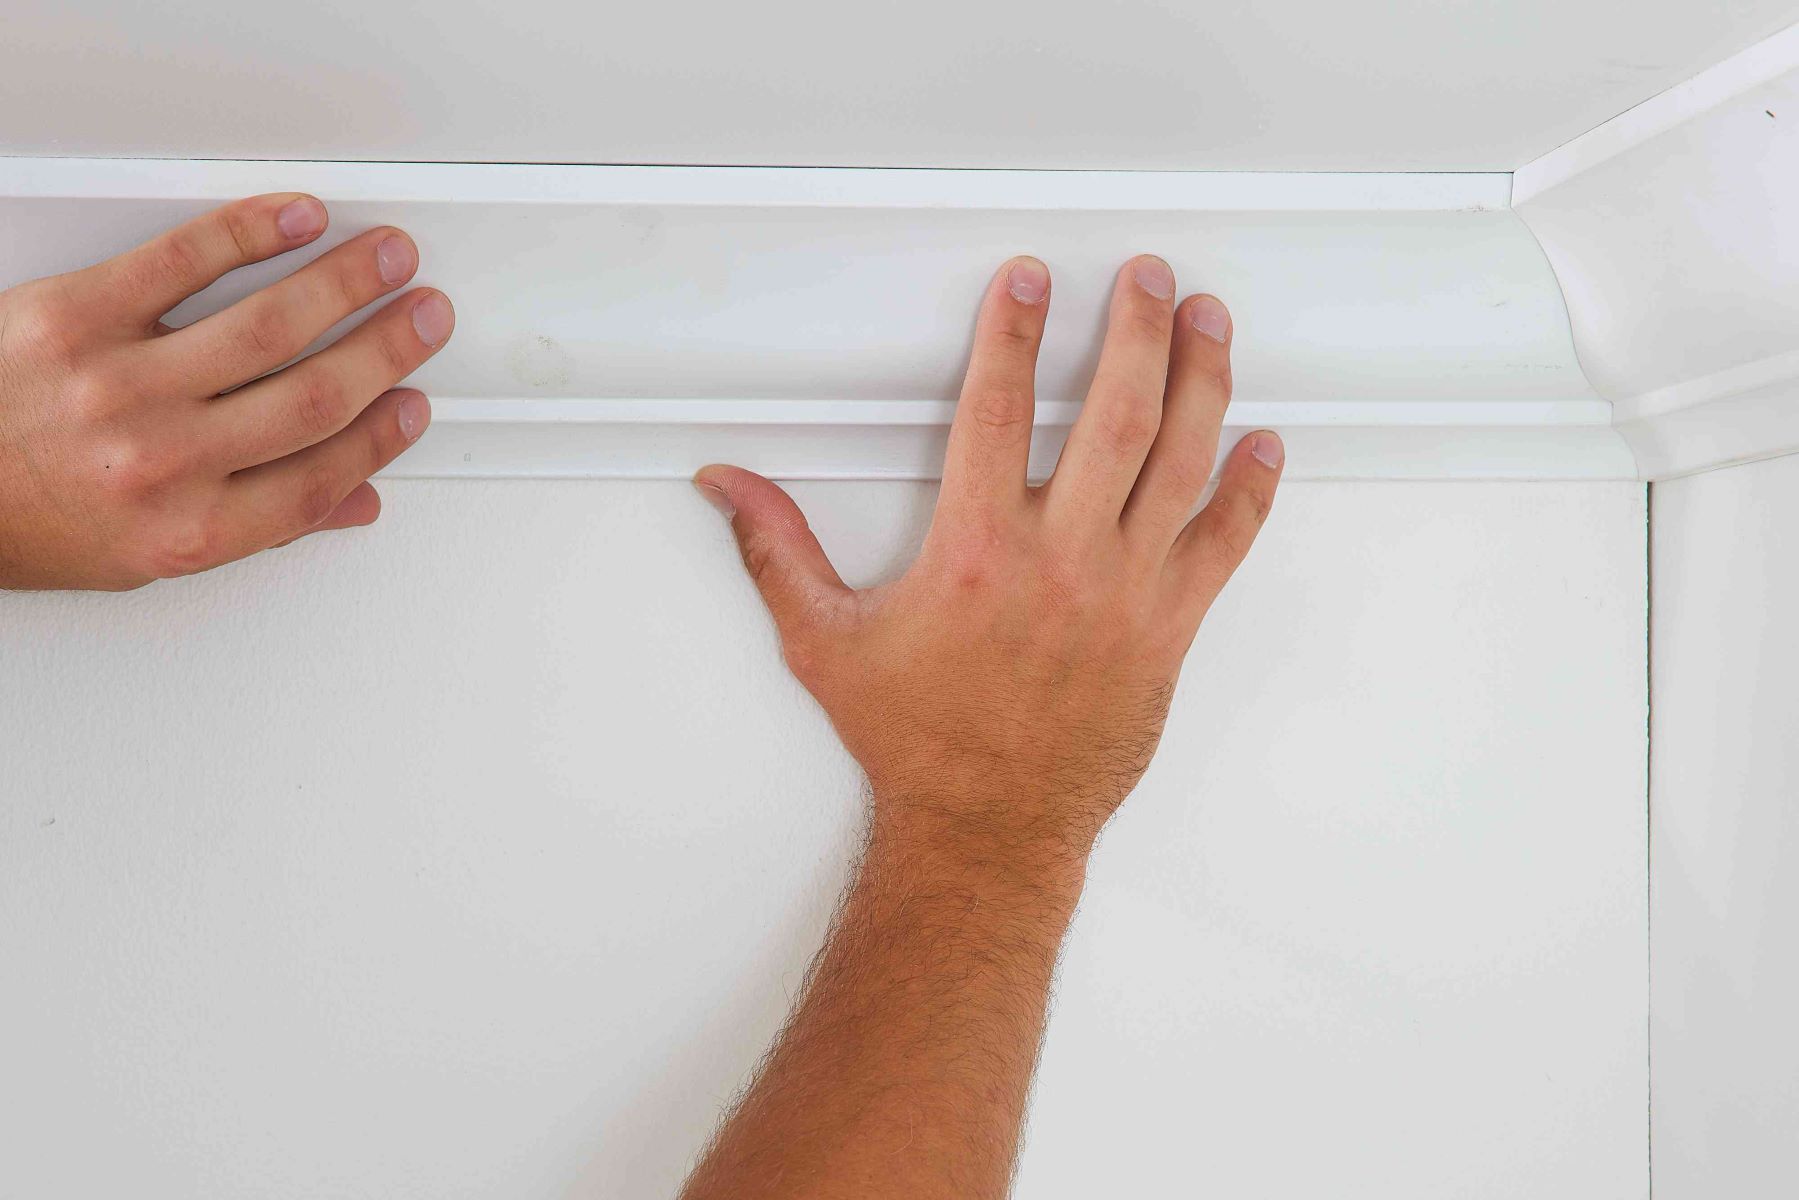
- Begin at one corner of the room and hold the first piece of shoe molding against the wall, aligning it with the bottom edge of the baseboard.
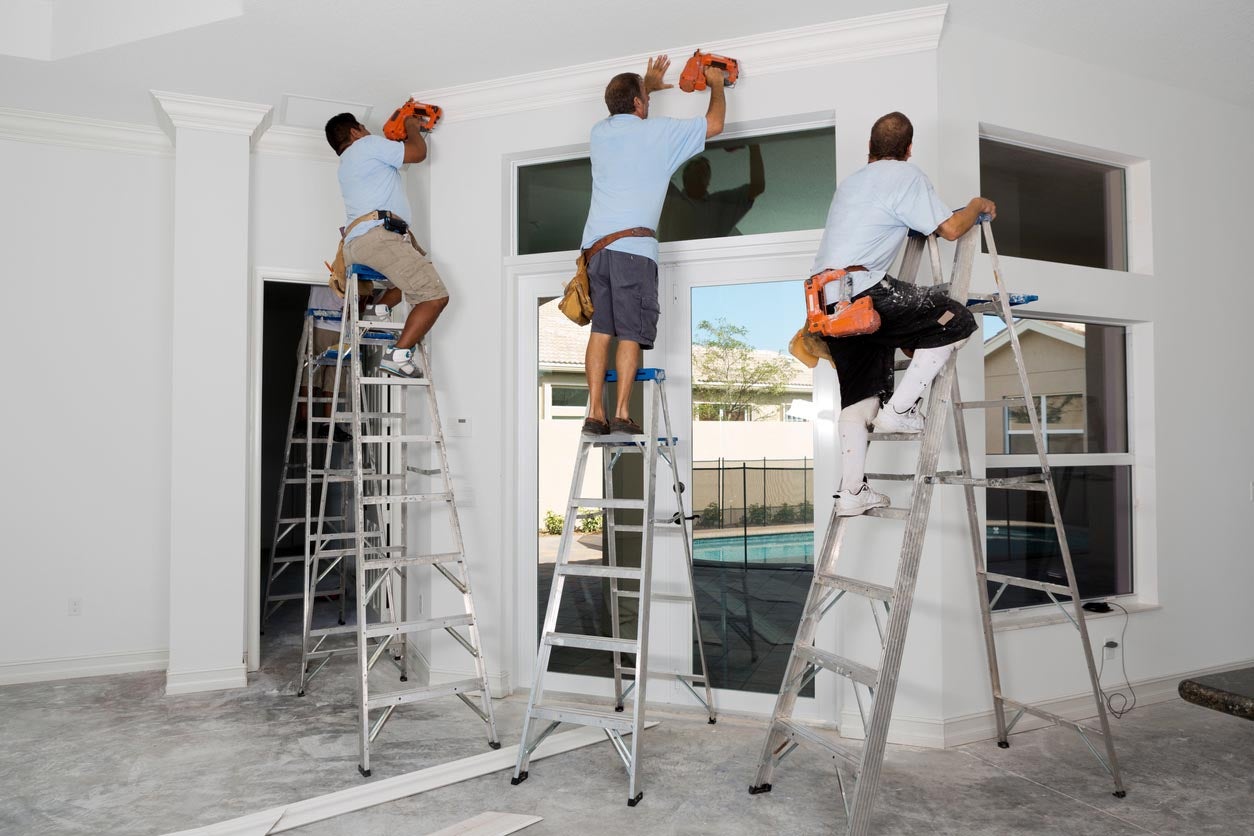
- Using a brad nailer, insert nails into the shoe molding, angling them downward towards the floor. Place the nails approximately every 12-18 inches along the length of the molding, ensuring it is securely fastened to the wall.
- Continue attaching the remaining pieces of shoe molding in the same manner, moving clockwise or counterclockwise around the room.
- When reaching corners, cut the molding at a 45-degree angle to create a clean and seamless joint. Secure the corners by nailing them into both the wall and the adjacent piece of molding.
- Ensure that the shoe molding is flush against the wall and floor as you work your way around the room.
Take your time when attaching the shoe molding to ensure a precise and professional finish. The nails should be driven in just enough to secure the molding without breaking the surface or causing any damage.
Once all the shoe molding is attached, it’s time to move on to the next step: fill any nail holes and sand the molding for a seamless appearance.
When installing shoe molding, make sure to measure and cut each piece accurately to ensure a seamless fit against the baseboard and floor. Use a miter saw for precise angled cuts.
Step 4: Fill Nail Holes and Sand
To achieve a seamless and polished look, it’s necessary to fill in any nail holes and sand the shoe molding. Here’s how you can do it:
- Inspect the shoe molding and identify any nail holes or imperfections.
- Using wood filler that matches the color of the molding, fill in the nail holes. Use a putty knife or a small spatula to apply the filler, ensuring it is evenly distributed and flush with the surface of the molding.
- Allow the wood filler to dry completely according to the manufacturer’s instructions.
- Once the filler is dry, lightly sand the shoe molding using sandpaper or a sanding block. This will smooth out any rough edges or imperfections and create a uniform and polished surface.
- Wipe away any sanding residue with a damp cloth or tack cloth.
By filling in and sanding the nail holes, you’ll achieve a seamless appearance where the molding meets the wall. This step is crucial for a professional-looking finish.
Now that the shoe molding is filled and sanded, let’s move on to the final step: priming and painting the molding.
Step 5: Prime and Paint the Molding
Applying a coat of primer and paint to the shoe molding will not only enhance its appearance but also protect it from moisture and wear. Follow these steps to achieve a finished look:
- Start by applying a coat of primer to the shoe molding. Use a paintbrush or foam brush to evenly coat the molding, covering all surfaces. Primer helps to create a smooth and uniform base for the paint.
- Allow the primer to dry completely according to the manufacturer’s instructions. This usually takes a few hours, but be sure to check the label for specific drying times.
- Once the primer is dry, lightly sand the molding again to smooth out any rough spots or brushstrokes.
- Wipe away any sanding residue with a damp cloth or tack cloth.
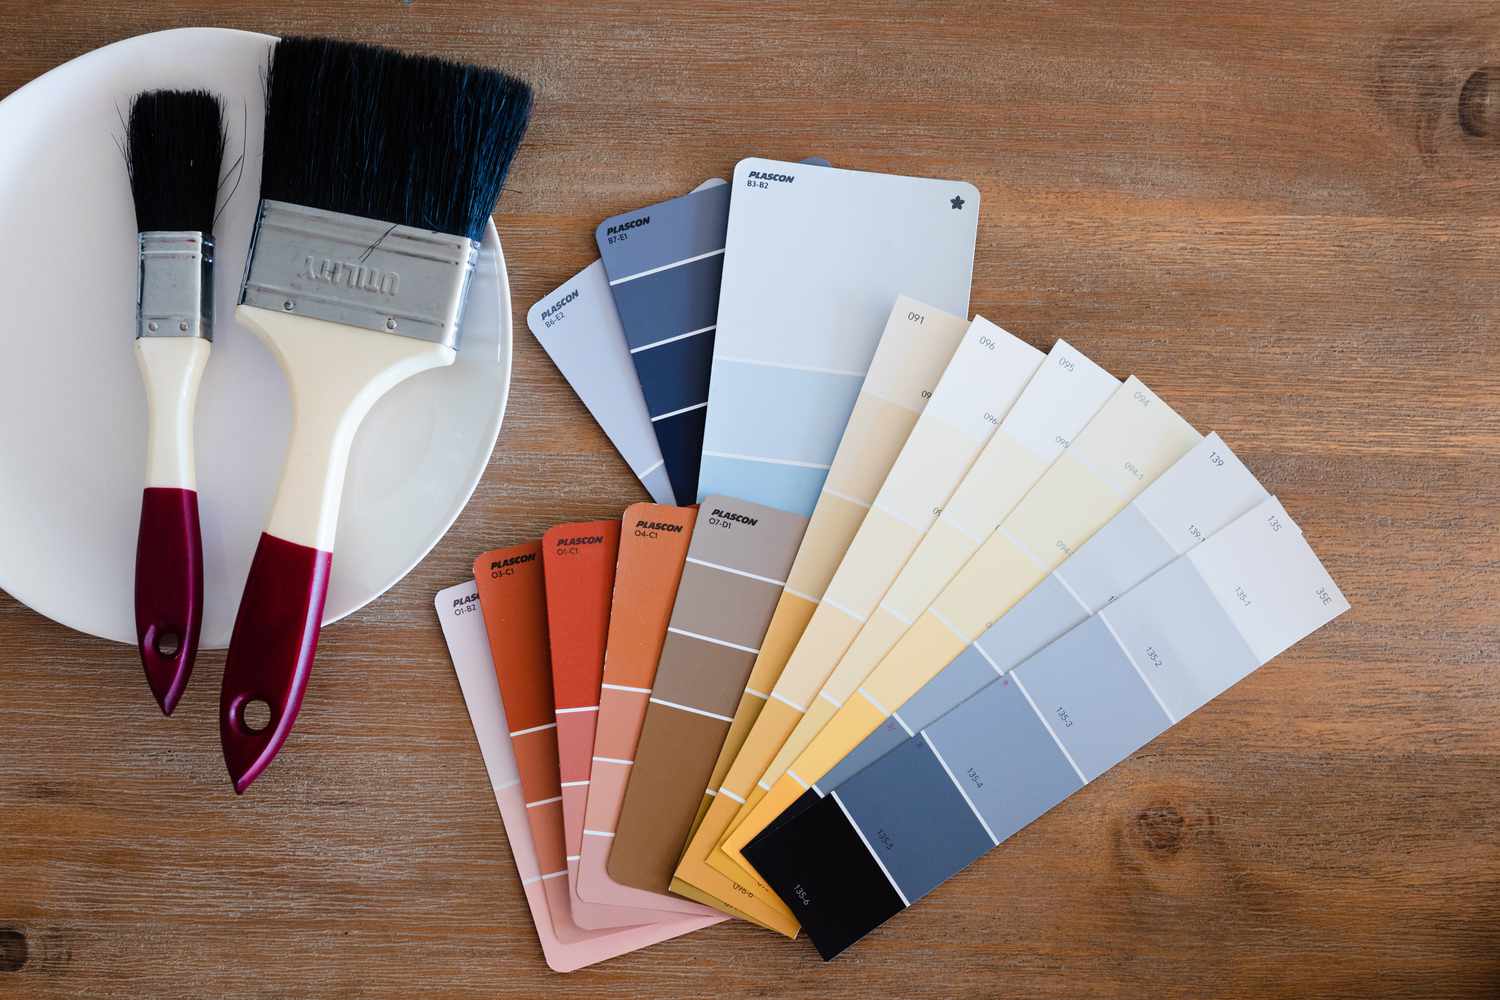
- Next, apply a coat of paint to the shoe molding. Choose a paint color that complements your baseboards or blends well with your decor. Use a paintbrush or foam brush to apply an even layer of paint, ensuring that all surfaces are covered.
- Allow the first coat of paint to dry according to the instructions on the paint can. Once dry, assess if a second coat is needed for full coverage. If necessary, apply a second coat following the same process.
- Let the paint cure for the recommended time before touching or reinstalling any furniture in the room.
Priming and painting the shoe molding will give it a polished and professional finish. Be sure to choose a high-quality paint that is suitable for trim and molding to ensure long-lasting results.
With the final step complete, you can now stand back and admire your newly installed and beautifully finished shoe molding.
Read more: How To Install Ceiling Molding
Conclusion
Installing shoe molding is a fantastic way to add a finishing touch to your home. It not only enhances the aesthetic appeal but also covers any gaps or inconsistencies between the baseboard and the floor. By following the step-by-step guide outlined in this article, you can achieve a professional-looking result that adds a touch of elegance to any room.
Remember to gather the necessary tools and materials before starting the installation process. Measure and cut the molding with precision, ensuring it fits perfectly along the walls. Preparing the surfaces by cleaning, filling nail holes, and sanding will contribute to a seamless and polished finish. Finally, priming and painting the shoe molding will not only enhance its appearance but also provide protection against moisture and wear.
Whether you are a seasoned DIY enthusiast or a beginner tackling your first home improvement project, installing shoe molding is a manageable task that can yield impressive results. Take your time, follow the steps outlined in this guide, and enjoy the satisfaction of transforming your space with this simple yet impactful upgrade.
Now that you have the knowledge and confidence to install shoe molding, it’s time to get started. So grab your tools, put on your favorite playlist, and let’s give your home the perfect finishing touch it deserves.
Ready to tackle more DIY projects? After mastering shoe molding, why not dive into the world of woodworking? Our upcoming guide on the best woodworking projects for 2024 offers exciting opportunities to level up your skills. Whether you're looking to create stunning furniture or unique decorative pieces, this guide has something for everyone. Don't miss out on these fresh ideas to enhance your crafting journey.
Frequently Asked Questions about How To Install Shoe Molding For The Perfect Finishing Touch
Was this page helpful?
At Storables.com, we guarantee accurate and reliable information. Our content, validated by Expert Board Contributors, is crafted following stringent Editorial Policies. We're committed to providing you with well-researched, expert-backed insights for all your informational needs.


0 thoughts on “How To Install Shoe Molding For The Perfect Finishing Touch”