Home>Technology>Home Entertainment Systems>How To Install Door Light Projector
Home Entertainment Systems
How To Install Door Light Projector
Modified: August 27, 2024
Learn how to install a door light projector for your home entertainment system with our step-by-step guide. Enhance your home theater experience today!
(Many of the links in this article redirect to a specific reviewed product. Your purchase of these products through affiliate links helps to generate commission for Storables.com, at no extra cost. Learn more)
Introduction
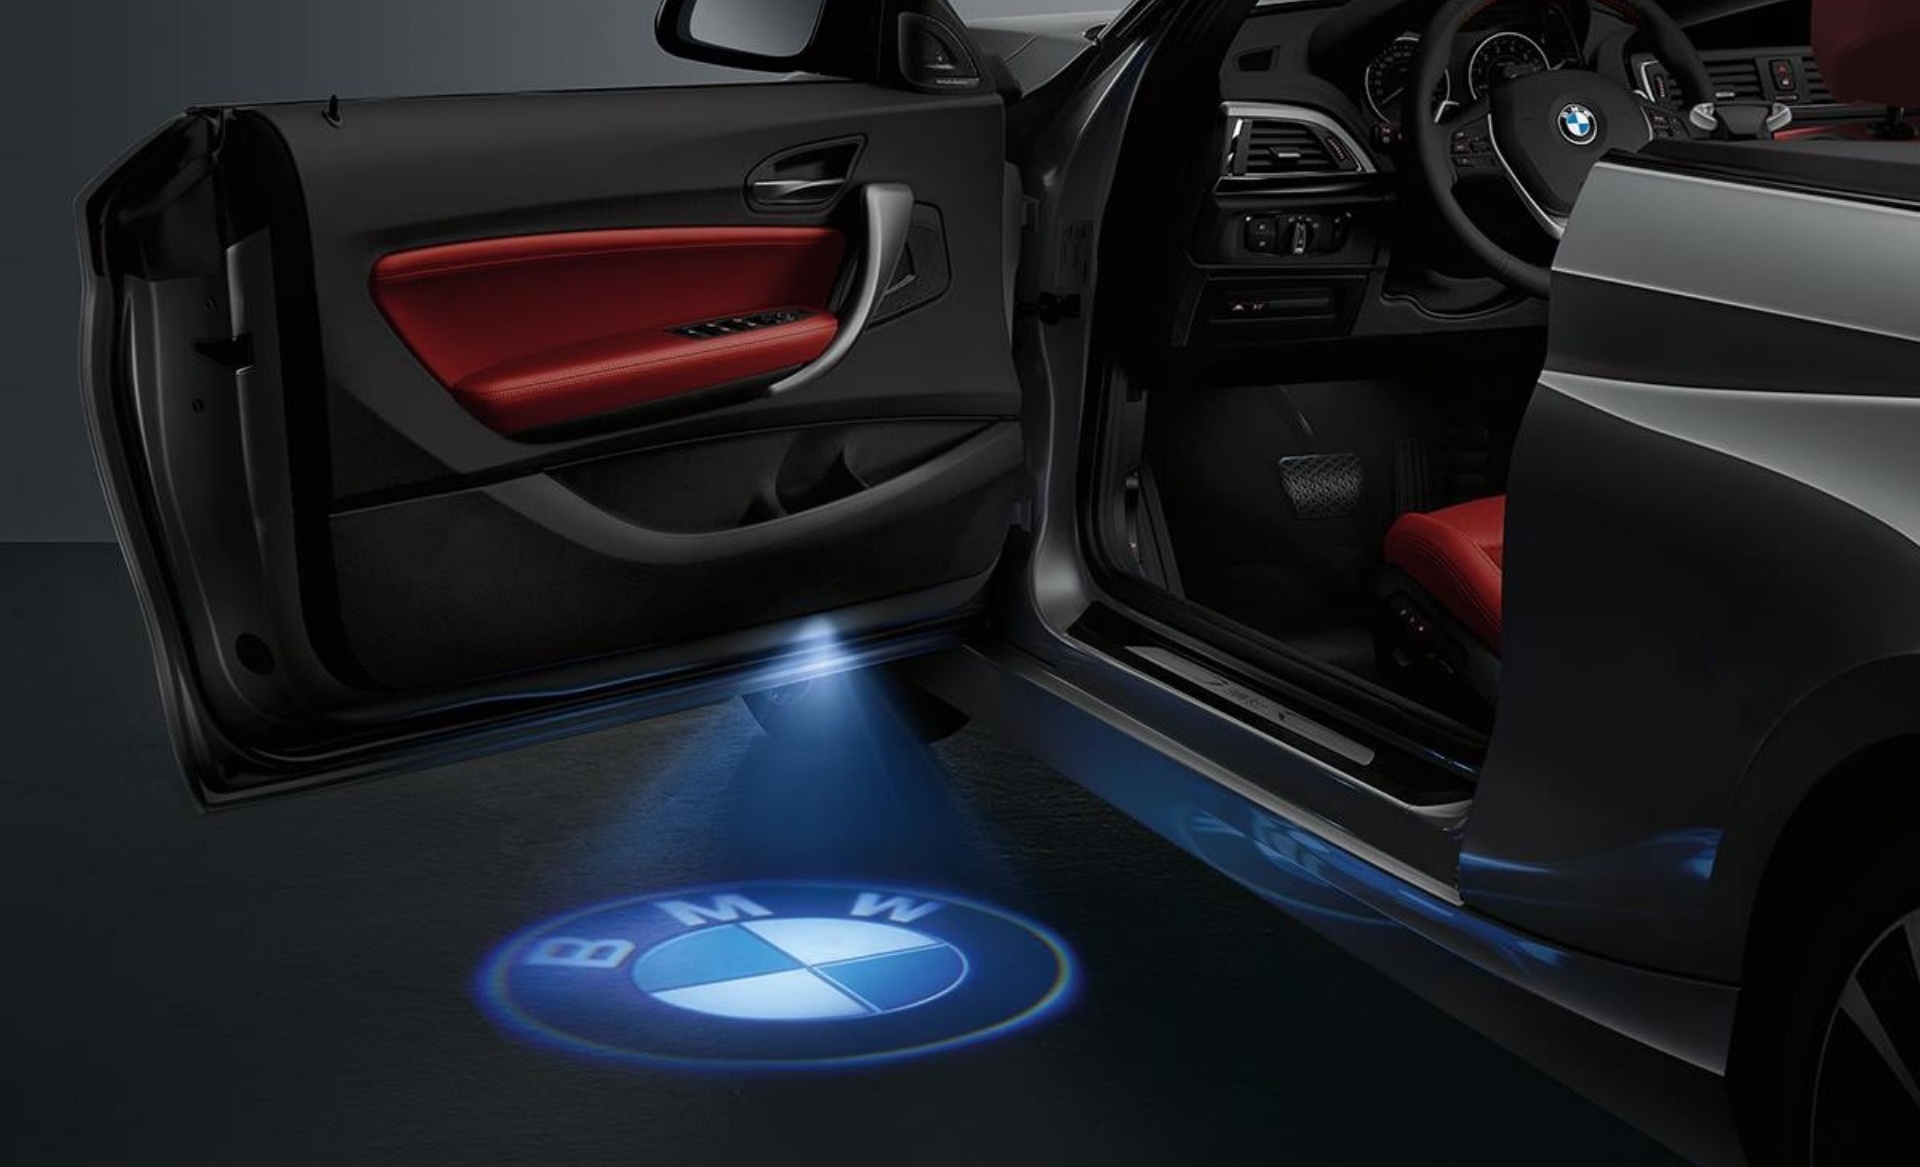
Welcome to the world of door light projectors, where technology meets creativity to transform the entrance of your home into a captivating and welcoming space. Door light projectors have gained popularity for their ability to illuminate doorways with stunning visuals, adding an enchanting touch to any occasion or everyday life. Whether you're preparing for a festive gathering, a themed party, or simply seeking to elevate the ambiance of your home, a door light projector can be a game-changer.
Imagine stepping into a world of wonder as you approach your front door, greeted by a mesmerizing display of lights and patterns that reflect your unique style and personality. These innovative devices offer a delightful way to make a lasting impression on guests and create a warm, inviting atmosphere for your family and friends.
In this comprehensive guide, we will delve into the exciting realm of door light projectors, exploring everything from selecting the right projector for your needs to the step-by-step installation process. Whether you're a tech enthusiast or someone who appreciates the art of home decor, this guide is designed to equip you with the knowledge and confidence to bring your doorway to life with a mesmerizing door light projector.
So, let's embark on this illuminating journey and discover how to transform an ordinary door into a captivating focal point that leaves a lasting impression. It's time to unlock the potential of your home's entrance and embrace the magic of door light projectors.
Key Takeaways:
- Elevate your home’s entrance with a door light projector, showcasing your creativity and welcoming guests with captivating visuals that set a positive tone for any occasion.
- Embrace the blend of technology and home decor, infusing your living space with charm, creativity, and a touch of enchantment through the transformative power of modern innovations.
Read more: How To Install Projector Screen On Wall
Tools and Materials Required
Before diving into the installation process, it’s essential to gather the necessary tools and materials to ensure a smooth and efficient setup for your door light projector. Here’s a comprehensive list of what you’ll need:
Tools:
- Screwdriver set (flathead and Phillips head)
- Tape measure
- Pencil or marker
- Power drill and drill bits
- Level
- Step ladder
Materials:
- Door light projector kit (including projector unit, power cord, and mounting hardware)
- Outdoor extension cord (if the power outlet is not within reach of the projector)
- Weatherproof sealant or silicone caulk
- Optional: Decorative mounting bracket or stand
These tools and materials will provide you with the foundation to successfully install your door light projector. It’s important to ensure that the tools are in good working condition and that the materials are suitable for outdoor use, especially if the projector will be exposed to the elements.
By having these items at your disposal, you’ll be well-prepared to embark on the installation process, making it a seamless and enjoyable experience. With the right tools and materials in hand, you can proceed with confidence, knowing that you have everything you need to bring your door light projector to life.
Choosing the Right Door Light Projector
When it comes to selecting a door light projector, several key factors should be considered to ensure that you find the perfect fit for your specific needs and preferences. Here are essential considerations to keep in mind as you embark on your search:
Read more: How To Install A Door Closer On A Storm Door
1. Projection Quality and Clarity:
Look for a projector that offers high-definition visuals with crisp, clear images. The quality of the projection will significantly impact the overall visual impact, so prioritize models that deliver sharp and vibrant displays.
2. Versatility of Designs and Patterns:
Consider a projector that provides a wide range of designs and patterns to suit various occasions and themes. Whether you prefer festive holiday motifs, elegant floral patterns, or dynamic abstract designs, having versatility in the projector’s visual options allows for greater creativity and customization.
3. Weather Resistance and Durability:
Since the projector will be installed outdoors, it’s crucial to choose a model that is designed to withstand the elements. Look for weather-resistant construction and durable materials to ensure long-term reliability, even in challenging outdoor conditions.
4. Ease of Installation and Adjustability:
Opt for a projector that offers straightforward installation procedures and adjustable settings. The ability to customize the projection angle, focus, and other parameters will make it easier to achieve the desired visual effect and ensure a hassle-free installation process.
Read more: How To Install A Dog Door In A Storm Door
5. Energy Efficiency and Power Options:
Consider the energy efficiency of the projector and its power requirements. Look for models that offer energy-saving features and flexible power options, such as battery operation or low-power consumption, to minimize energy costs and provide greater flexibility in placement.
6. User Reviews and Recommendations:
Take the time to read user reviews and seek recommendations from reputable sources to gain insights into the performance and reliability of different door light projectors. Real-world experiences from other users can offer valuable perspectives and help you make an informed decision.
By carefully evaluating these factors and conducting thorough research, you can confidently choose a door light projector that aligns with your vision and requirements. Whether you prioritize visual quality, durability, or versatility, finding the right projector will set the stage for a captivating and enchanting doorway experience.
Preparing the Door for Installation
Before installing the door light projector, it’s essential to prepare the door and its surroundings to ensure a secure and visually optimal setup. Here are the key steps to take when preparing the door for installation:
1. Clearing and Cleaning the Installation Area:
Begin by clearing any obstructions or decor items from the area surrounding the door. This includes removing potted plants, welcome mats, or any other objects that may obstruct the projection or installation process. Once the area is clear, thoroughly clean the surface of the door and its immediate surroundings to ensure a smooth and secure installation.
Read more: How To Install Closet Doors
2. Assessing Power Source Accessibility:
Determine the proximity of the nearest power outlet to the installation area. If the power source is not within reach of the projector’s power cord, you may need to plan for the use of an outdoor extension cord to provide the necessary power supply. Ensure that the chosen power source is easily accessible and compatible with the projector’s power requirements.
3. Marking the Mounting Location:
Using a tape measure and a pencil or marker, carefully mark the desired mounting location for the projector on the door or the adjacent wall. Take into account the projector’s projection angle and the desired height for optimal visual impact. Use a level to ensure that the markings are aligned and straight, providing a solid foundation for the installation.
4. Weatherproofing Considerations:
If the installation area is exposed to the elements, consider applying weatherproof sealant or silicone caulk around the mounting location to create a protective barrier against moisture and environmental factors. This extra step can help safeguard the installation and prolong the longevity of the projector in outdoor settings.
5. Optional: Decorative Mounting Accessories:
If you opt for a decorative mounting bracket or stand for the projector, ensure that it is compatible with the projector’s design and installation requirements. Follow the manufacturer’s instructions for assembling and positioning the mounting accessory to complement the overall visual appeal of the installation.
By meticulously preparing the door and its surroundings for the installation of the door light projector, you can lay the groundwork for a seamless and visually stunning setup. Taking the time to clear the area, assess the power source, and consider weatherproofing measures will contribute to a successful and visually impactful installation process.
Read more: How To Install Blinds On A Door
Installing the Door Light Projector
With the preparation complete, it’s time to embark on the exciting installation process of the door light projector. Follow these step-by-step instructions to bring your doorway to life with captivating visuals:
Step 1: Assembling the Projector Unit
Begin by carefully unpacking the door light projector kit and familiarizing yourself with its components. Assemble the projector unit according to the manufacturer’s instructions, ensuring that all parts are securely connected and in good working condition. Pay attention to any adjustable features, such as the projection angle and focus, and make any necessary adjustments before proceeding with the installation.
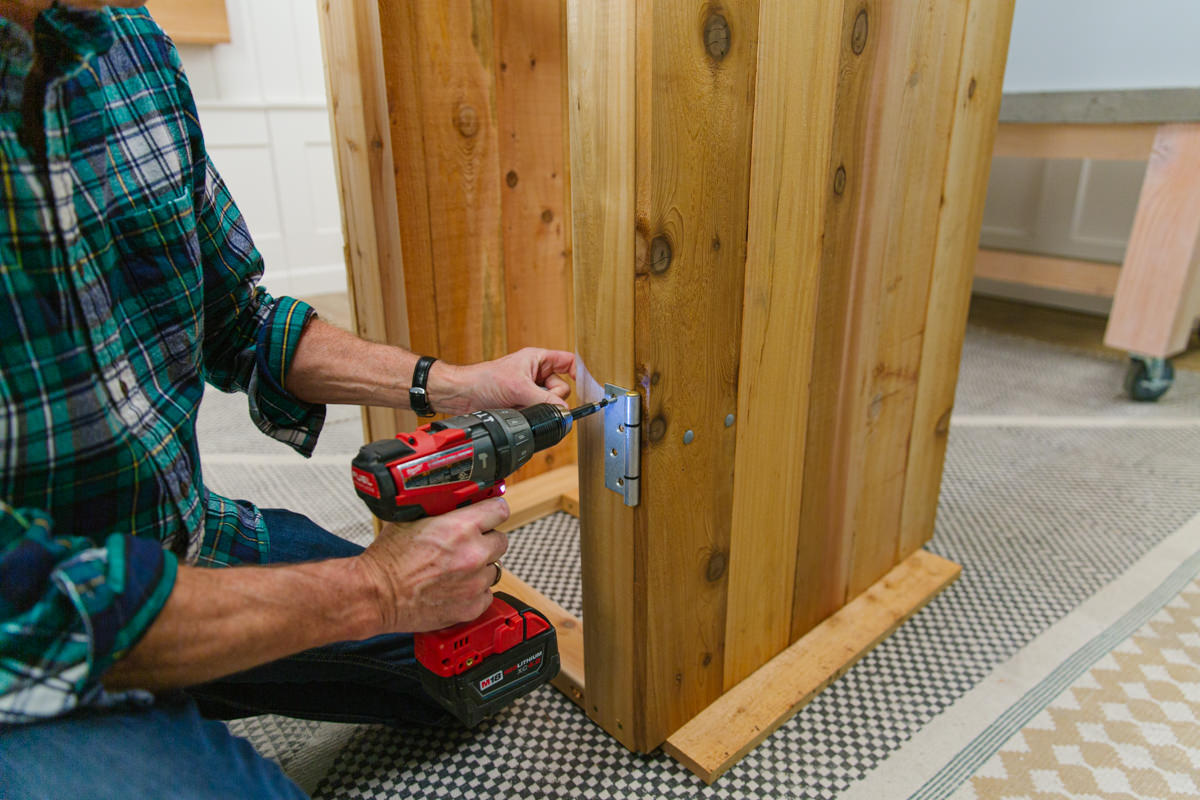
Step 2: Mounting the Projector
Position the projector at the marked mounting location on the door or the adjacent wall. Use the provided mounting hardware and tools to securely affix the projector in place, taking care to align it according to the predetermined angle and height for optimal visual impact. If using a decorative mounting bracket or stand, follow the specific instructions for attaching the projector to the accessory while ensuring stability and proper alignment.
Step 3: Connecting the Power Cord
Once the projector is securely mounted, connect the power cord to the nearest power outlet, ensuring that the cord is safely routed and free from potential hazards or obstructions. If using an outdoor extension cord, select a high-quality, weather-resistant cord that is suitable for outdoor use and provides the necessary reach to the power source.
Read more: How To Install A Dog Door In A Glass Door
Step 4: Securing the Cord and Adjusting Settings
Secure the power cord along the door frame or adjacent surface using suitable clips or fasteners to prevent tripping hazards and maintain a tidy appearance. With the projector powered on, adjust the settings to fine-tune the projection angle, focus, and visual effects according to your preferences. Take the time to experiment with different patterns and designs to find the most captivating display for your doorway.
Step 5: Testing the Projection
Step back and observe the projected visuals to ensure that they cover the desired area and create the intended ambiance. Make any necessary adjustments to the projector’s position or settings to achieve the ideal visual impact. Test the projector during different times of the day and night to assess its visibility and clarity under various lighting conditions.
By following these steps, you can confidently install the door light projector, bringing a touch of enchantment and creativity to your home’s entrance. With the projector securely mounted and the visuals finely tuned, you are ready to welcome guests and passersby with a mesmerizing doorway experience that sets the stage for memorable moments.
Testing and Adjusting the Projector
After the installation of the door light projector, thorough testing and fine-tuning are essential to ensure that the projected visuals create the desired impact and ambiance. Follow these steps to test and adjust the projector for optimal performance:
Step 1: Assessing Visual Clarity and Coverage
Stand at various distances from the door to evaluate the clarity and coverage of the projected visuals. Ensure that the patterns and designs are displayed with crispness and vibrancy, and that they effectively illuminate the surrounding area without appearing distorted or dim. Make note of any areas that may require adjustments to enhance the overall visual impact.
Read more: Installing A Storm Door
Step 2: Observing Projection in Different Lighting Conditions
Test the projector’s visuals during different times of the day and night to gauge their visibility and impact under varying lighting conditions. Assess how the projected patterns appear in natural daylight, as well as during dusk and nighttime hours. This evaluation will help determine the projector’s effectiveness in creating a captivating display regardless of the ambient lighting.
Step 3: Fine-Tuning Projection Settings
Utilize the projector’s adjustable settings to fine-tune the projection angle, focus, and visual effects. Experiment with different patterns and designs to find the most captivating and visually appealing display for your doorway. Take note of any adjustments that enhance the overall impact and ambiance, ensuring that the projected visuals align with your desired aesthetic and theme.
Step 4: Addressing Visibility and Clarity Issues
If any visibility or clarity issues are identified during testing, consider repositioning the projector to achieve better coverage and focus. Make incremental adjustments to the projector’s angle and height, taking care to observe how each change affects the projected visuals. Additionally, ensure that the projector’s lens is clean and free from obstructions that may impact clarity.
Step 5: Securing and Finalizing Adjustments
Once the desired visual impact is achieved, secure the projector in its optimized position, ensuring that it is firmly mounted and stable. Double-check the power cord’s routing and security to prevent tripping hazards and maintain a tidy appearance. Confirm that all settings are adjusted to your satisfaction before finalizing the installation.
By meticulously testing and adjusting the door light projector, you can fine-tune its performance to create a captivating and enchanting doorway experience. Taking the time to evaluate visual clarity, coverage, and adjustability will ensure that the projected visuals effectively enhance the ambiance of your home’s entrance, leaving a lasting impression on all who encounter it.
Read more: How To Install Decking Lights
Conclusion
Congratulations on successfully bringing the magic of door light projectors to your home’s entrance! By following the steps outlined in this guide, you have embarked on a journey to transform an ordinary doorway into a captivating focal point that exudes warmth, creativity, and visual allure. As you reflect on the installation process and the enchanting visuals now adorning your door, consider the following key takeaways:
Unleashing Creativity and Personal Expression
The installation of a door light projector opens the door to boundless creativity and personal expression. Whether you’re celebrating festive occasions, creating a welcoming atmosphere for guests, or simply infusing your home with a touch of magic, the projector serves as a canvas for your imagination. Embrace the opportunity to curate stunning visual displays that reflect your unique style and captivate all who encounter your doorway.
Elevating Home Ambiance and Welcoming Guests
With the projector in place, your home’s entrance is now a beacon of warmth and hospitality. The captivating visuals emanating from the door light projector set the stage for memorable moments and create a welcoming atmosphere for guests, family, and passersby. The enchanting display serves as an invitation to step into a world of wonder and sets a positive tone for any occasion or gathering.
Embracing Technological Innovation in Home Decor
The integration of a door light projector represents a harmonious blend of technology and home decor, showcasing the potential of innovative devices to enhance the ambiance and visual appeal of living spaces. Embrace the seamless fusion of technology and creativity, recognizing the transformative power of modern innovations in elevating everyday experiences within the home environment.
Read more: How To Install Porch Light
Continued Exploration and Customization
As you revel in the captivating visuals adorning your doorway, remember that the journey doesn’t end with installation. Embrace the spirit of continued exploration and customization, experimenting with different patterns, designs, and themes to suit various occasions and personal preferences. The projector’s versatility allows for ongoing creativity and adaptability, ensuring that your doorway remains a dynamic and visually engaging focal point.
With the door light projector now installed and enchanting visuals gracing your home’s entrance, you have embarked on a transformative journey that infuses your living space with charm, creativity, and a touch of enchantment. As you bask in the warm glow of the projector’s captivating displays, may your home’s doorway continue to serve as a beacon of hospitality, creativity, and visual allure for all who cross its threshold.
Frequently Asked Questions about How To Install Door Light Projector
Was this page helpful?
At Storables.com, we guarantee accurate and reliable information. Our content, validated by Expert Board Contributors, is crafted following stringent Editorial Policies. We're committed to providing you with well-researched, expert-backed insights for all your informational needs.


0 thoughts on “How To Install Door Light Projector”