

Articles
How To Install Gutters
Modified: October 20, 2024
Looking for step-by-step articles on how to install gutters? Find expert guidance and tips for installing gutters efficiently and effectively here.
(Many of the links in this article redirect to a specific reviewed product. Your purchase of these products through affiliate links helps to generate commission for Storables.com, at no extra cost. Learn more)
Introduction
Installing gutters is an essential part of maintaining and protecting your home. Gutters play a crucial role in directing rainwater away from the foundation, preventing water damage to your walls, roof, and landscaping. Proper installation of gutters ensures that rainwater flows smoothly and efficiently, reducing the risk of leaks and water buildup.
In this comprehensive guide, we will walk you through the step-by-step process of installing gutters. Whether you are a seasoned DIY enthusiast or a beginner looking to tackle your first home improvement project, you will find valuable information and tips to help you successfully install a gutter system that will protect your home for years to come.
Before we dive into the installation process, let’s first take a look at the tools and materials you will need.
Key Takeaways:
- Proper planning and preparation are essential for successful gutter installation. From measuring and planning the layout to clearing debris and securing the gutters, attention to detail ensures a functional and durable gutter system.
- Testing the gutter system after installation is crucial to identify and address any issues. By simulating rainfall, checking for leaks, and assessing drainage, you can ensure that your gutters effectively protect your home from water damage.
Read more: How To Install Gutters Yourself
Step 1: Gather the necessary tools and materials
Before you begin the gutter installation process, it’s essential to gather all the necessary tools and materials. Here is a list of items you will need:
- Gutter sections: These are the main components of the gutter system that will collect and channel water away from your home. Choose the appropriate size and material for your specific needs.
- Downspouts: These are the vertical pipes that connect to the gutters and direct water down and away from the foundation.
- End caps: These are used to seal the ends of the gutters to prevent water from leaking out.
- Mounting brackets: These are used to secure the gutters to the fascia or roof.
- Gutter hangers: These provide additional support for the gutters and help maintain their stability.
- Screws or nails: These are used to secure the gutters and accessories in place. Choose stainless steel or galvanized options for durability.
- Sealant: A high-quality sealant will help prevent leaks and ensure a watertight connection between gutter sections and accessories.
- Measuring tape: This tool will help you accurately measure the length of gutter sections and downspouts.
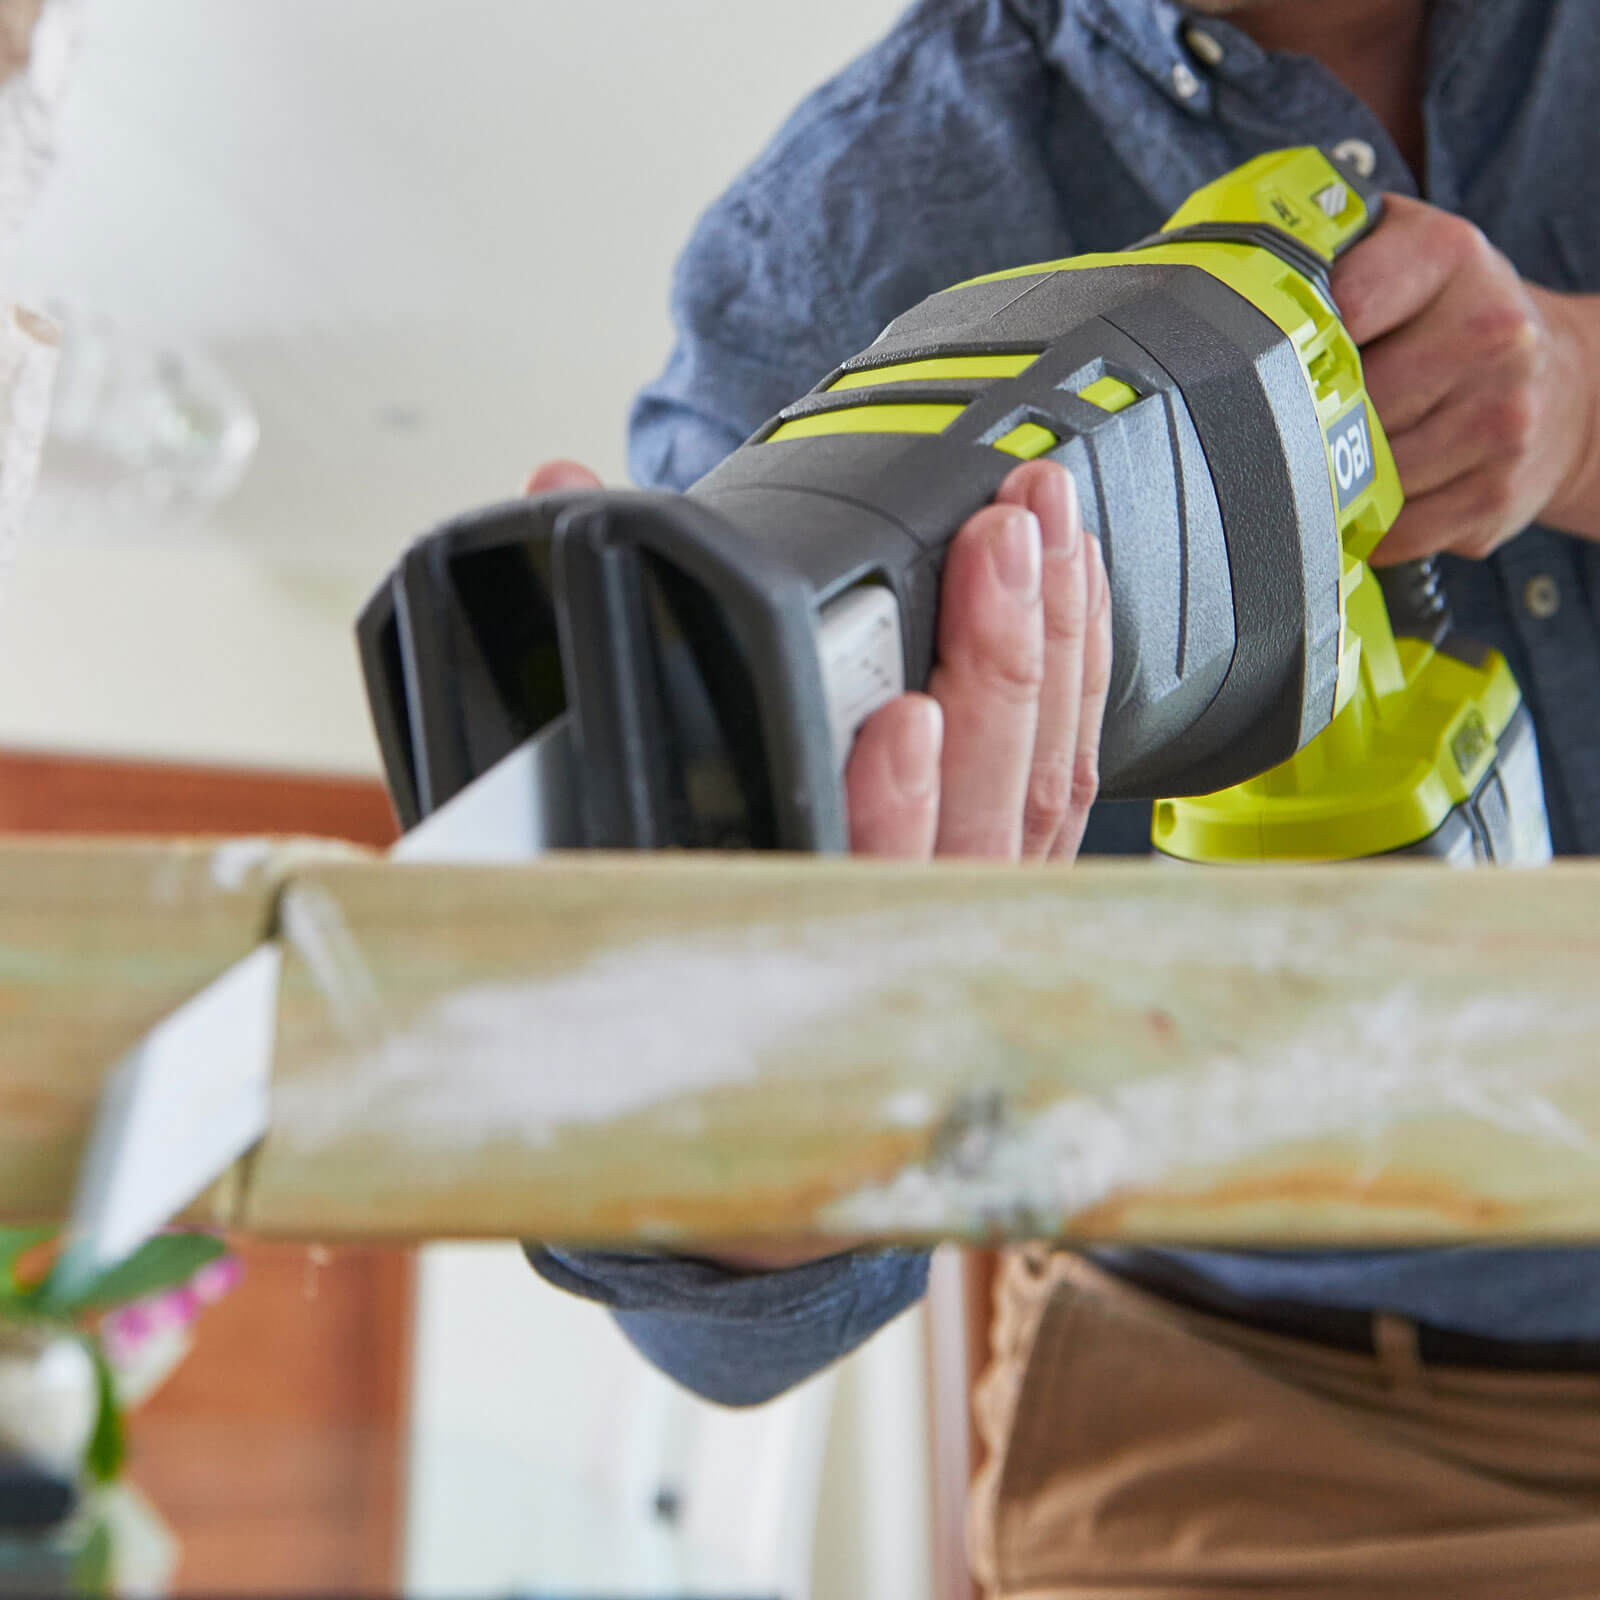
- Saw or snips: You will need these tools to cut the gutter sections and downspouts to the desired lengths.
- Drill: A power drill will be handy for attaching brackets and hangers to the fascia or roof.
- Ladder: Ensure you have a sturdy ladder that allows you to safely access the area where the gutters will be installed.
- Safety goggles and gloves: Protect your eyes and hands from debris and sharp edges during the installation process.
It’s important to have all the necessary tools and materials before you start the installation process. This will help ensure a smooth and efficient installation without unnecessary delays.
Once you have gathered all the required items, it’s time to move on to the next step: measuring and planning the gutter installation.
Step 2: Measure and plan the gutter installation
Before you start installing the gutters, it’s crucial to measure and plan the installation properly. This will ensure that you have the correct amount of materials and that the gutters are positioned correctly for optimal water flow. Follow these steps:
- Start by measuring the length of the area where you plan to install the gutters. Measure the fascia board or the roof edge from one corner of the house to the other. Make sure to take into account any corners or angles in the measurement.
- Determine the ideal slope for the gutters. The minimum slope required for efficient water flow is 1/4 inch per 10 feet of gutter length. This will ensure that water drains properly towards the downspouts.
- Based on the measurements, calculate the number of gutter sections and downspouts needed. Remember to account for end caps and accessories.
- Plan the placement of downspouts. Ideally, install downspouts at each end of the gutter system and at intervals of 30 to 40 feet along the length.
- Consider the placement of downspouts in areas where you can direct rainwater away from the foundation, such as a sloped area or a drainage system.
- Inspect the fascia board for any signs of damage or rot. If necessary, repair or replace the fascia board before proceeding with the installation.
By properly measuring and planning the gutter installation, you can ensure that you have the right amount of materials and that the gutters are positioned to effectively collect and channel rainwater.
Once you have completed these steps, you are ready to move on to the next phase: preparing the area for installation.
Step 3: Prepare the area for installation
Before you can begin installing the gutters, it’s important to prepare the area to ensure a smooth and successful installation. Follow these steps to prepare the area:
- Clear debris: Remove any leaves, twigs, or other debris from the roof and the area where the gutters will be installed. This will prevent clogs and improve water flow.
- Clean the fascia board: Thoroughly clean the fascia board to remove dirt, dust, and any loose paint. A clean surface will provide a better foundation for attaching the gutters.
- Inspect the fascia board: Carefully examine the fascia board for any signs of damage or rot. If you notice any issues, address them before proceeding with the installation. Repair or replace any damaged sections to ensure a secure attachment for the gutters.
- Mark the gutter slope: Use a chalk line or a laser level to mark the desired slope on the fascia board. This will serve as a guide when attaching the gutter sections.
- Plan for downspout placement: Determine the location of downspouts based on your initial plan. Mark these spots on the fascia board, ensuring they are aligned with the downspout outlets on the gutter sections.
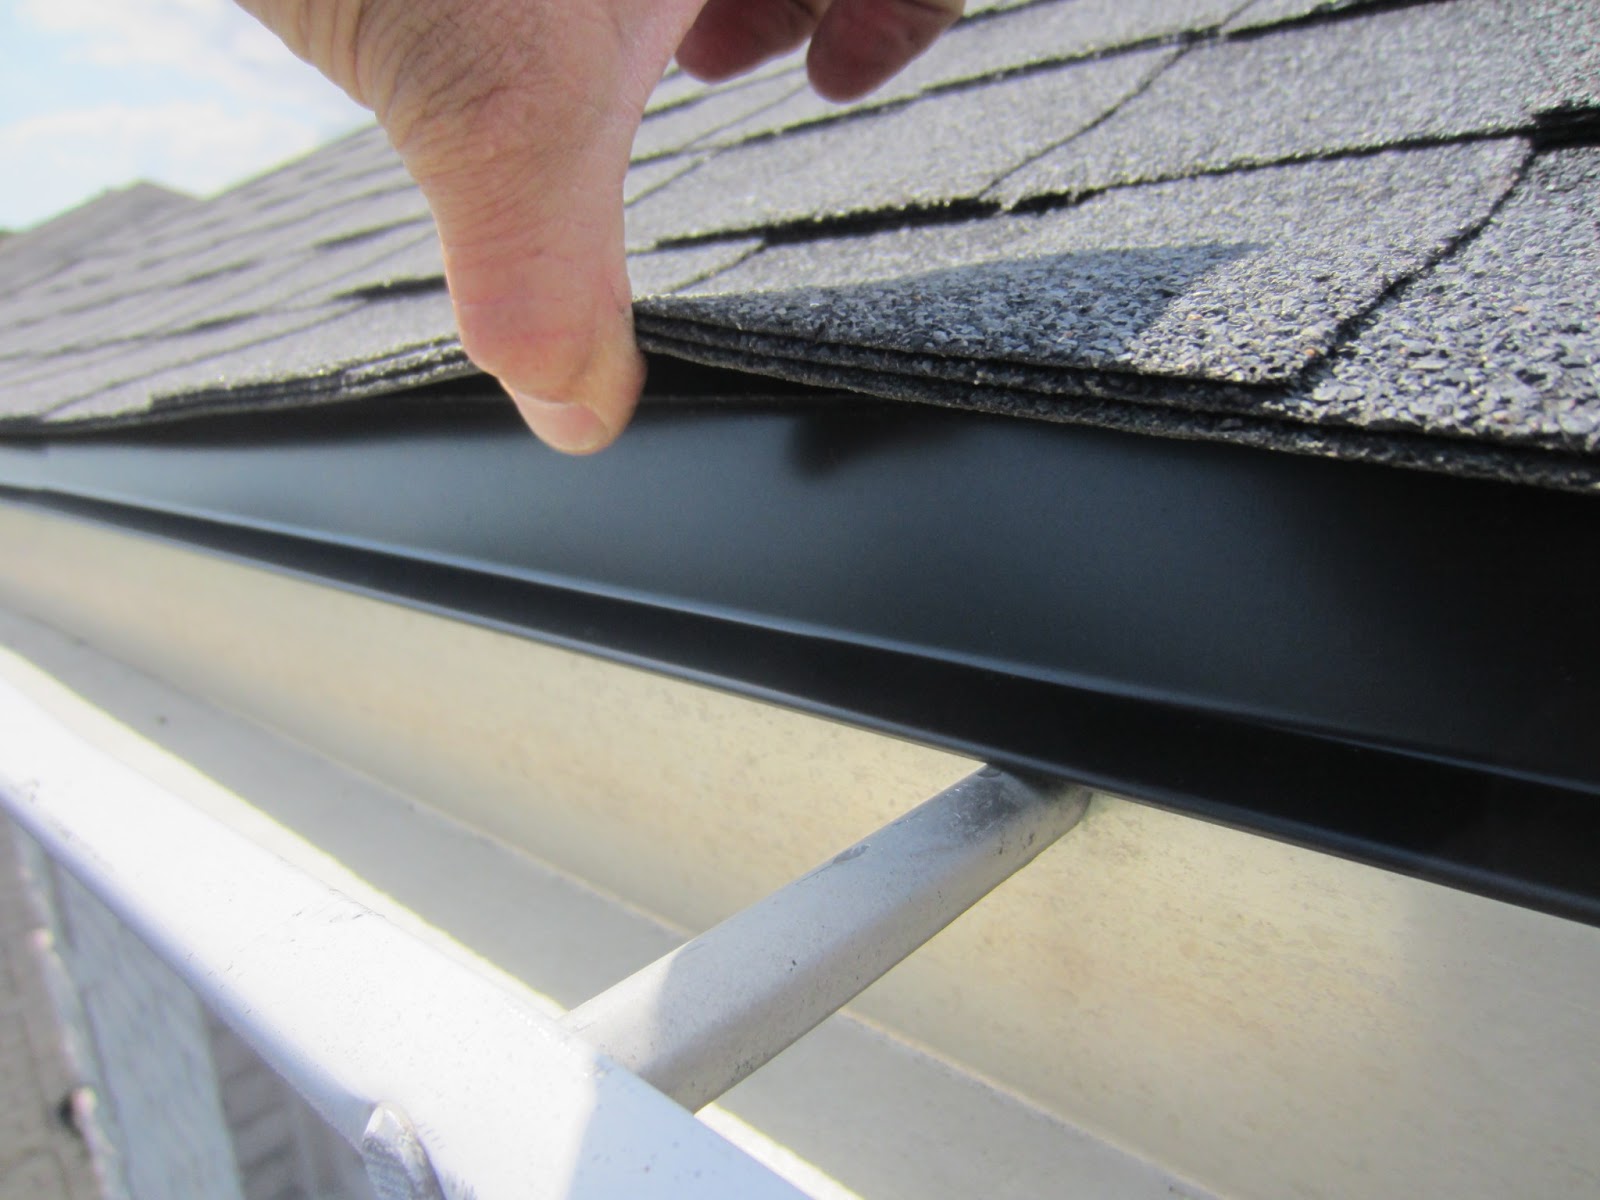
- Install gutter flashing: If necessary, install flashing along the roof edge to provide additional protection against water infiltration. This is particularly important if you have a gutter apron or drip edge.
- Seal any existing gaps: Inspect the fascia board and roof decking for any gaps or holes. Fill them with a suitable sealant to prevent water leakage.
Properly preparing the area for installation will ensure that the gutters have a solid foundation and can function optimally. Taking the time to clear debris, clean the fascia board, and address any damage or rot will contribute to a successful gutter installation.
With the area prepared, you are now ready to move on to the next step: installing the gutter system.
When installing gutters, make sure to properly slope them towards the downspouts to ensure proper drainage and prevent water from pooling.
Step 4: Install the gutter system
Now that you have prepared the area, it’s time to start installing the gutter system. Follow these steps for a successful installation:
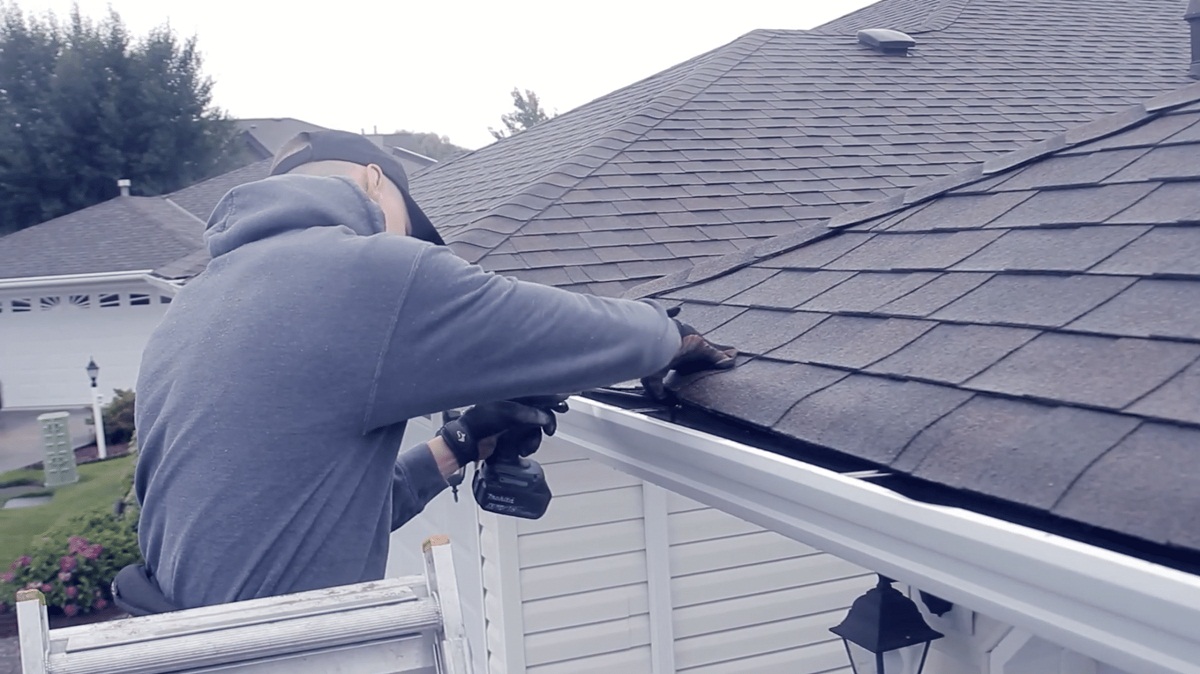
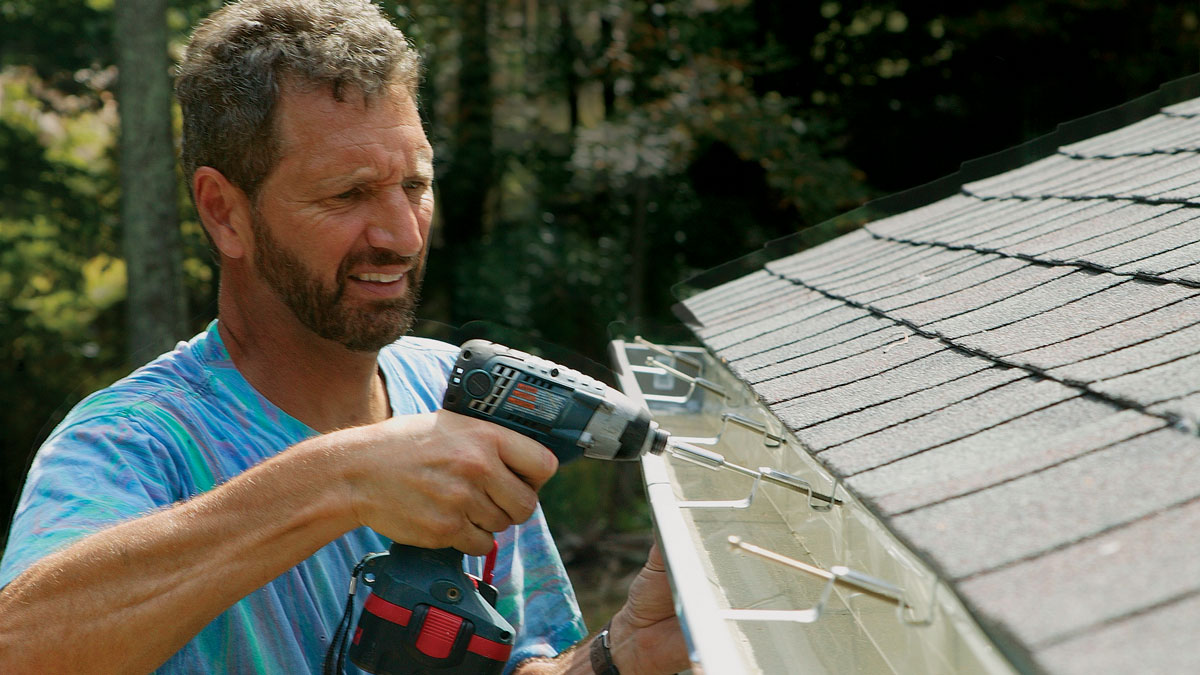
- Start by attaching the gutter brackets: Position the first gutter bracket near one end of the fascia board, aligning it with the marked slope. Use a drill and screws to secure the bracket in place. Repeat this process, spacing the remaining brackets according to the manufacturer’s instructions.
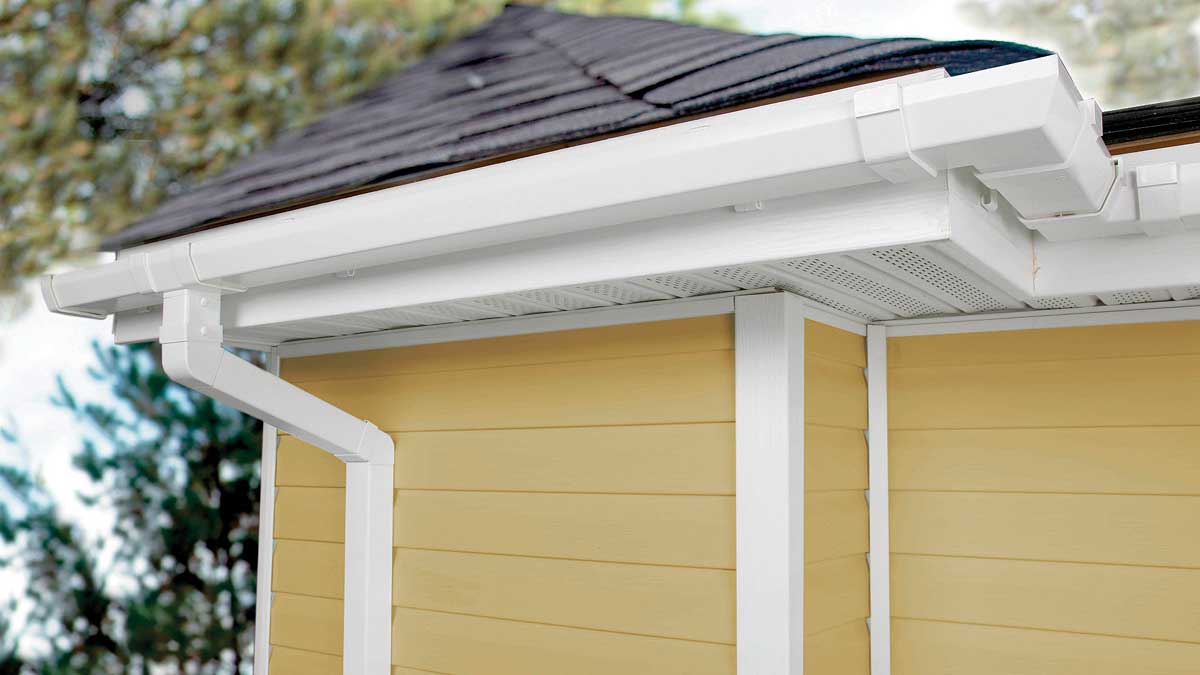
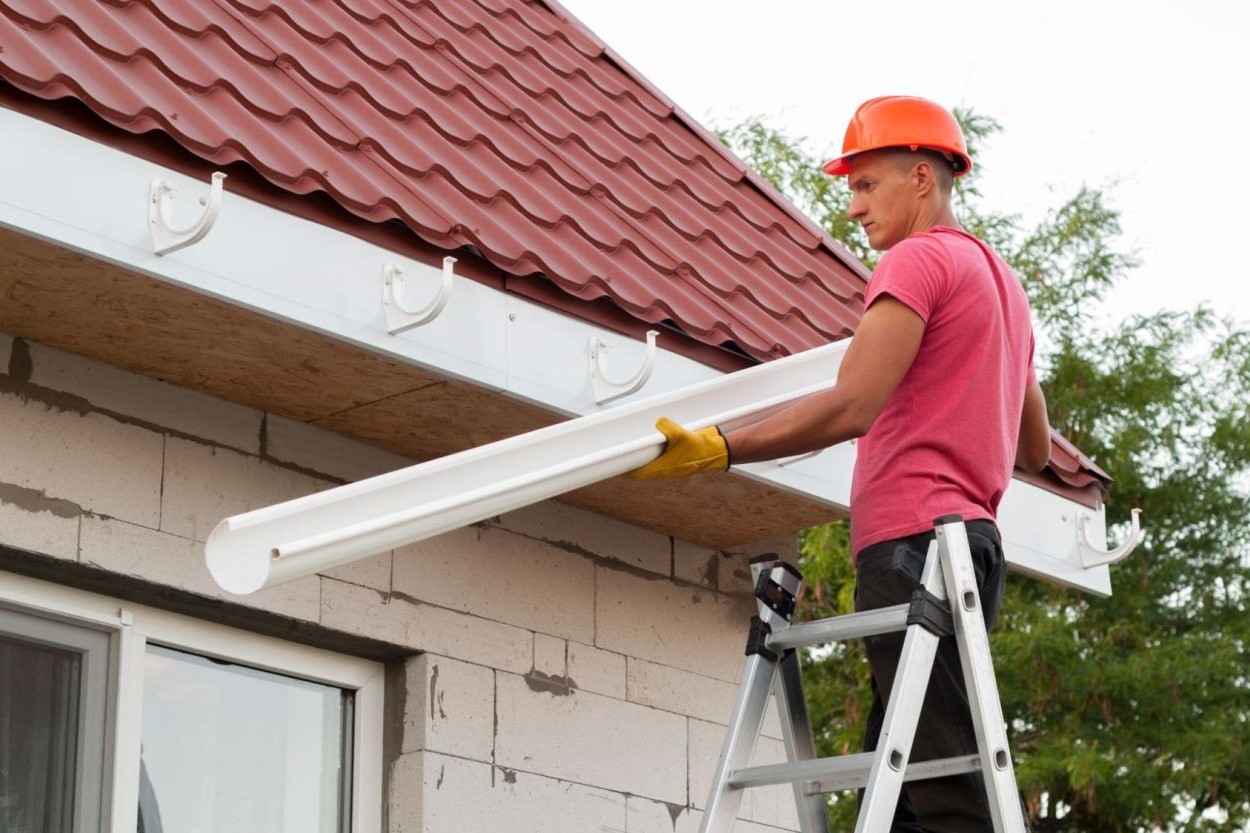
- Install the gutter sections: Place the first gutter section on the installed brackets, ensuring it aligns with the marked slope. Attach the gutter section to the brackets using screws or rivets. Connect additional gutter sections using connectors or slip joints, securely fastening them together.
- Continue installing the gutter sections: Repeat the process of attaching brackets and connecting gutter sections until you have installed all the necessary sections along the length of the area. Cut gutter sections to size as needed using a saw or snips.
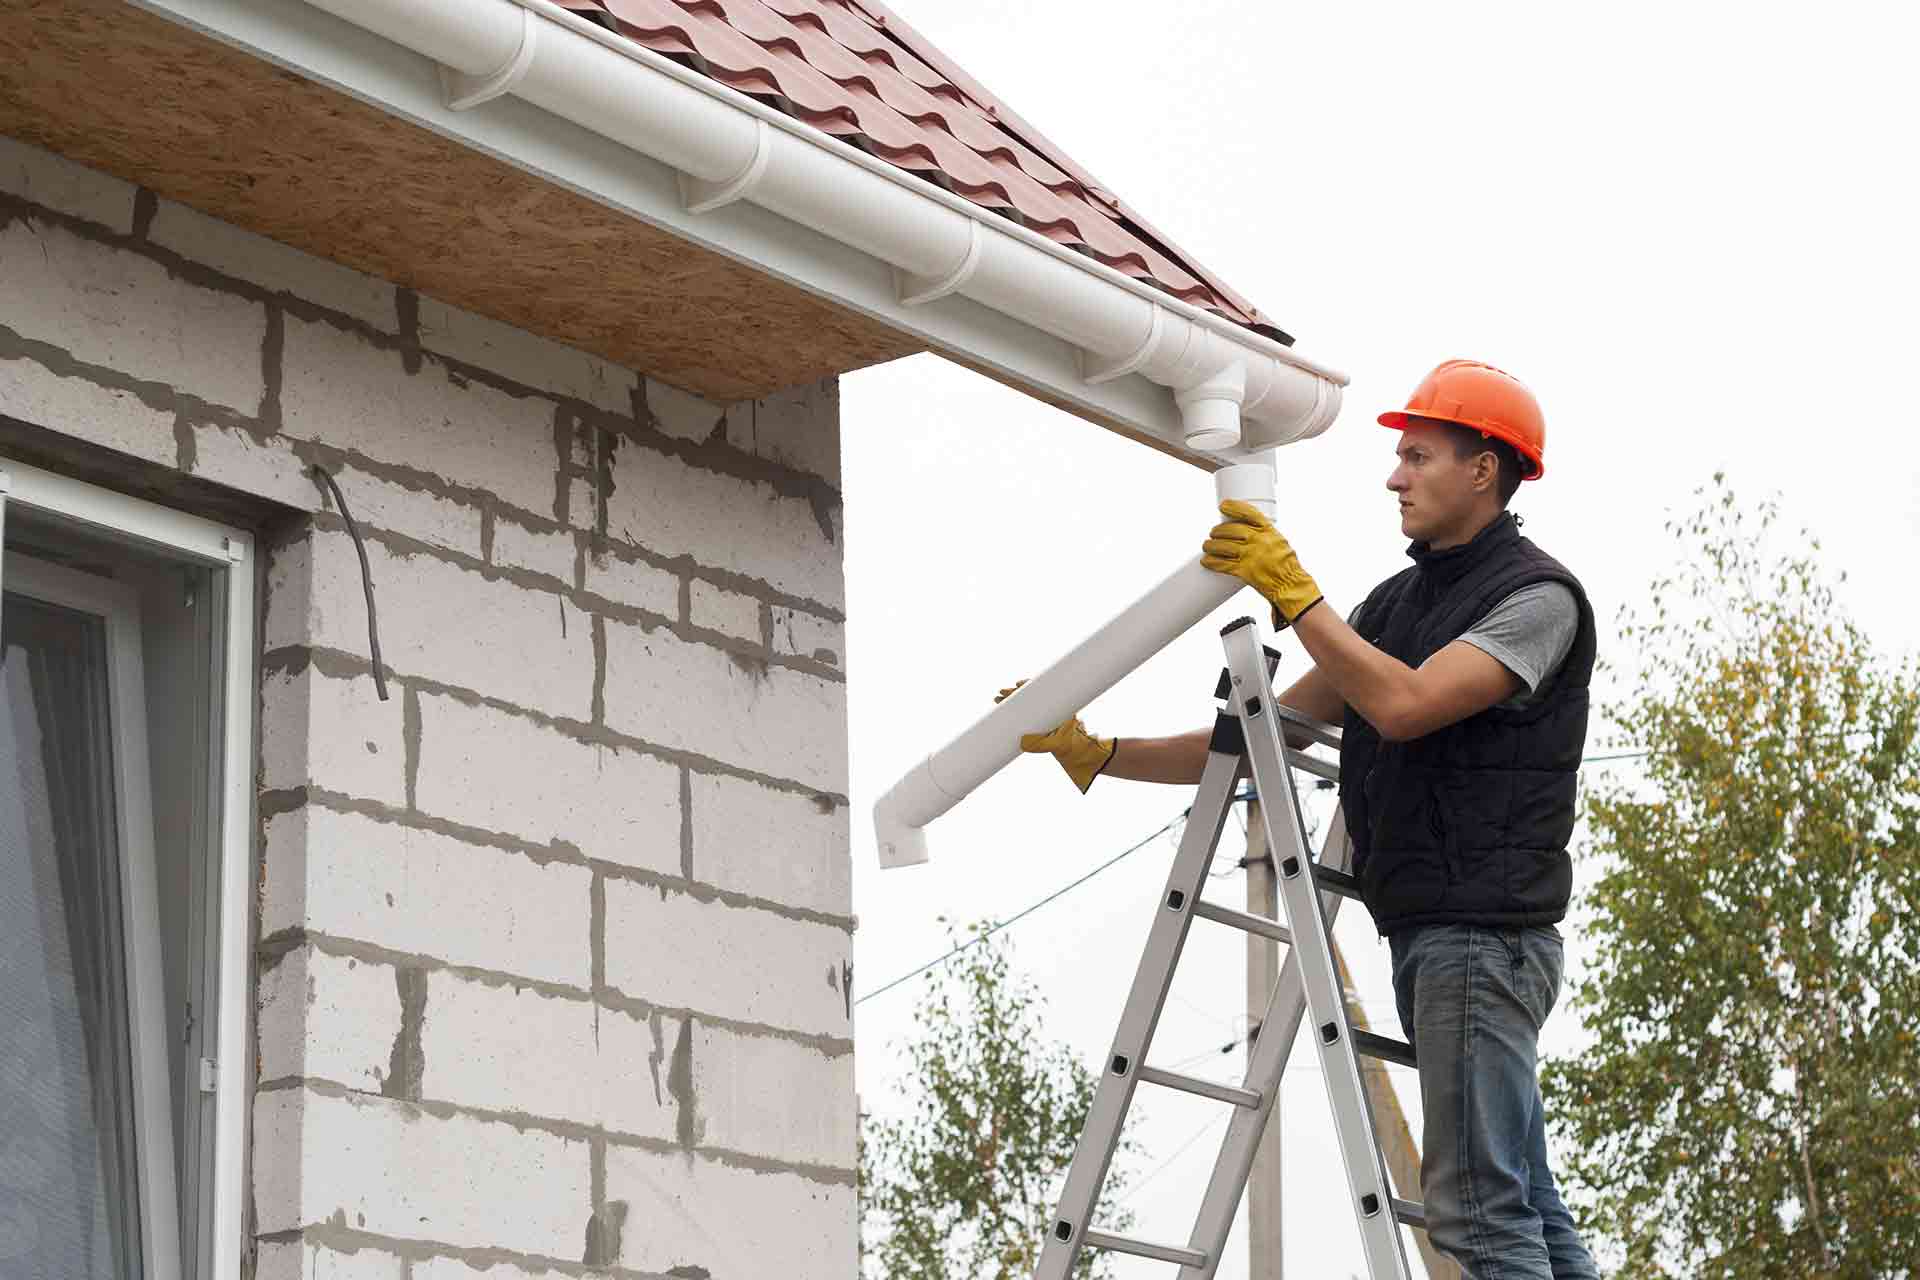
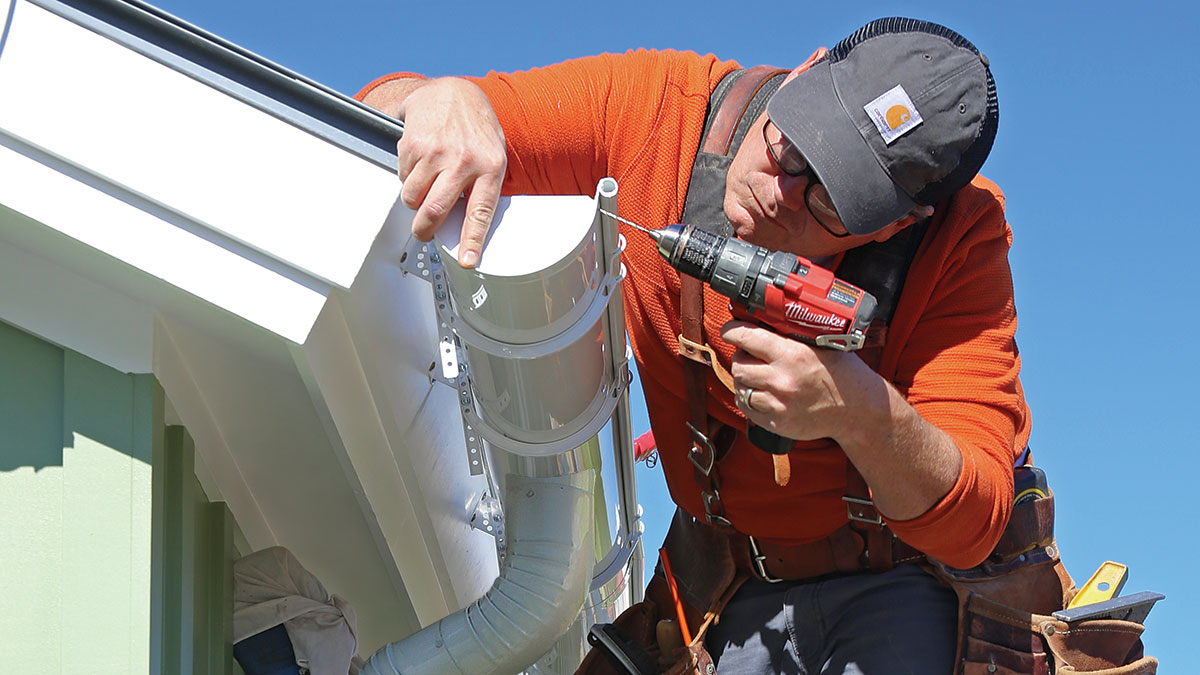
- Attach the downspouts: Position the downspout outlets on the gutter sections above the marked spots for downspout placement. Secure the outlets using screws or rivets. Attach the downspouts to the outlets, ensuring a snug fit. Use additional brackets to secure the downspouts to the wall as needed.
- Install end caps: Seal the ends of the gutter sections with end caps, using sealant to prevent water leakage. Ensure that the end caps are securely attached.
- Check for proper alignment and slope: Double-check that the gutters are properly aligned with the marked slope and that they have a slight downward slope towards the downspouts. This will ensure proper water flow.
Throughout the installation process, it’s important to take accurate measurements, align the gutters correctly, and securely fasten all components. This will result in a system that is not only aesthetically pleasing but also functional and durable.
Once you have installed the gutter system, it’s time to move on to the next step: securing the gutters in place.
Read more: How To Install Gutters On A Metal Building
Step 5: Secure the gutters in place
After installing the gutter system, it’s crucial to secure the gutters in place to ensure their stability and longevity. Follow these steps to properly secure the gutters:
- Check the alignment: Before securing the gutters, double-check their alignment and make any necessary adjustments. The gutters should be straight and evenly spaced along the fascia board.
- Attach gutter hangers: Start by attaching gutter hangers to the fascia board. Place the hangers at regular intervals, ensuring they align with the brackets already installed. Use screws or nails to secure the hangers, ensuring they are tightly fastened.
- Support additional weight: For added support, especially in areas where heavy rainfall is common or where the gutters may be subjected to snow accumulation, consider installing additional gutter hangers for added stability and weight-bearing capacity.
- Test for stability: After securing the gutters with hangers, gently tug on the gutters to ensure they are firmly attached and do not move or sag. Make any additional adjustments if needed.
Properly securing the gutters will prevent them from pulling away from the fascia board or sagging, ensuring that they can effectively carry the weight of rainwater and debris without any issues. This step is crucial for the long-term durability and functionality of the gutter system.
With the gutters securely in place, you are almost finished with the installation process. The next and final step is to test the gutter system for functionality.
Step 6: Test the gutter system for functionality
Once you have completed the installation and secured the gutters, it’s important to thoroughly test the gutter system to ensure it functions properly. Follow these steps to test the functionality of the gutter system:
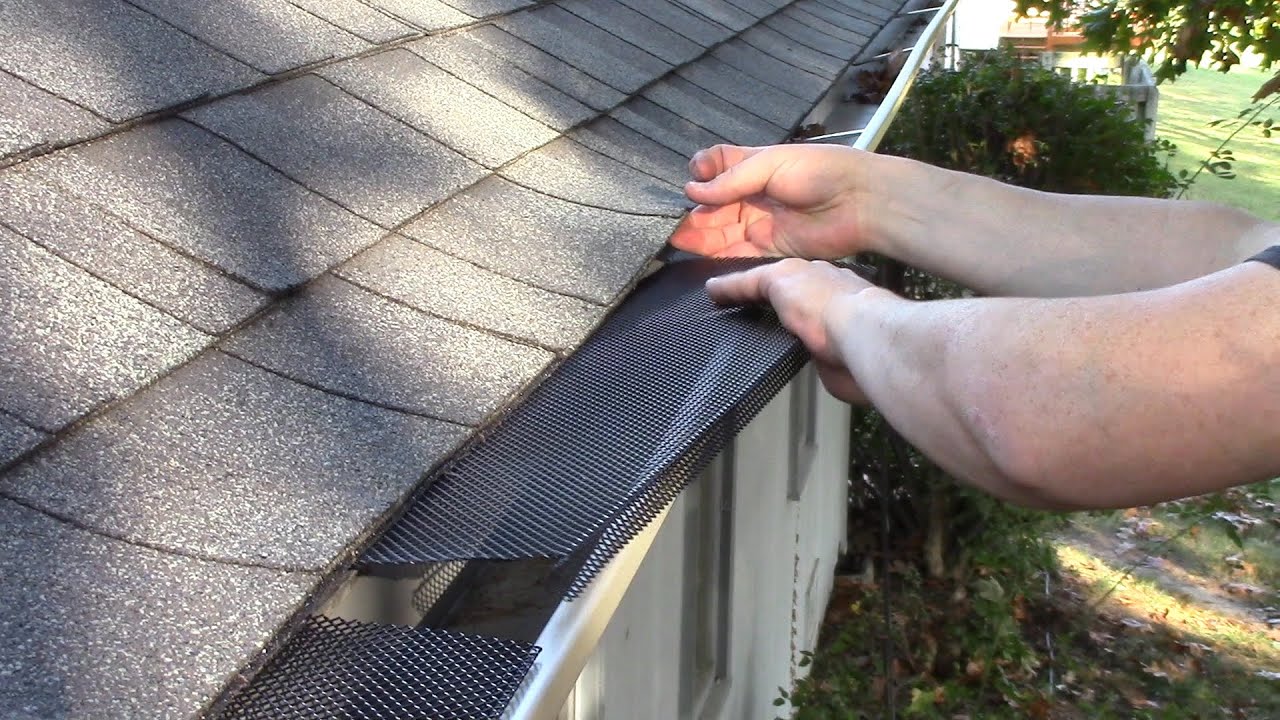
- Clear out debris: Before testing the gutters, remove any debris that may have accumulated during the installation process. This includes leaves, twigs, or any other obstructions that may hinder water flow.
- Simulate rainfall: Use a garden hose or simulate rainfall by pouring water into the gutter system. Start by pouring the water into the highest point of the gutters.
- Observe water flow: As the water flows through the gutters, observe the trajectory and speed of the water. Ensure that the water is effectively directed towards the downspouts and away from the foundation of your home.
- Check for leaks: Inspect the gutters and downspouts for any signs of leaks or water dripping. Pay close attention to the joints, connectors, and end caps. If you notice any leaks, apply sealant to the affected areas to prevent further leakage.
- Assess drainage: Examine the downspouts to ensure that water is properly draining away from your home’s foundation. Check that the downspouts are securely attached and positioned in a way that will effectively redirect water away from your property.
By testing the gutter system, you can identify any issues or areas that require adjustment. This step will give you the opportunity to address any leaks, improve water flow, and ensure that your gutters are functioning optimally.
With the gutter system tested and functioning properly, you have successfully completed the installation process. Congratulations! Your home is now equipped with a reliable gutter system that will protect it from water damage and ensure the longevity of your property.
Remember, regular maintenance and cleaning of your gutters is essential to keep them in good condition. Clear away debris, inspect for any signs of damage, and make repairs as needed. This will help extend the lifespan of your gutters and maintain their effectiveness.
Thank you for following this comprehensive guide on how to install gutters. We hope you found it helpful and that your gutter installation project was a success.+
Conclusion
Installing gutters is a vital step in protecting your home from water damage. By directing rainwater away from your foundation, gutters help prevent costly structural issues and maintain the integrity of your property. With the step-by-step guide provided, you now have the knowledge and skills to install a gutter system successfully.
Starting with gathering the necessary tools and materials, measuring and planning the installation, and preparing the area, you laid the groundwork for a smooth and efficient installation process. By securely attaching the gutters and testing their functionality, you ensured a properly functioning gutter system that will effectively collect and channel rainwater away from your home.
Remember to regularly maintain and clean your gutters to keep them in optimal condition. By clearing out debris and promptly addressing any issues such as leaks, you can prolong the lifespan of your gutters and maintain their effectiveness.
We hope this comprehensive guide has provided you with the knowledge and confidence to tackle your gutter installation project. By following these steps, you have taken a proactive step in protecting and preserving your home. Enjoy the peace of mind knowing that your property is safeguarded against the potential risks of water damage.
Thank you for choosing to install gutters and for entrusting us with guiding you through the process. Should you have any further questions or need assistance, do not hesitate to seek professional help or consult relevant resources. Happy installing!
Frequently Asked Questions about How To Install Gutters
Was this page helpful?
At Storables.com, we guarantee accurate and reliable information. Our content, validated by Expert Board Contributors, is crafted following stringent Editorial Policies. We're committed to providing you with well-researched, expert-backed insights for all your informational needs.


0 thoughts on “How To Install Gutters”