Articles
How To Install Old Work Electrical Box
Modified: August 27, 2024
Learn how to install an old work electrical box with our comprehensive articles. Get step-by-step instructions and expert tips to ensure a successful installation.
(Many of the links in this article redirect to a specific reviewed product. Your purchase of these products through affiliate links helps to generate commission for Storables.com, at no extra cost. Learn more)
Introduction
Installing an old work electrical box is a common task that many homeowners or DIY enthusiasts may encounter. Whether you are planning to install a new electrical outlet, switch, or light fixture in an existing wall, an old work electrical box provides a convenient solution. It allows you to add electrical components without having to tear down walls or access the wiring from behind.
In this article, we will guide you through the step-by-step process of installing an old work electrical box. We will cover everything you need to know, from gathering the necessary tools and materials, to planning the location, cutting the hole, preparing the box, and connecting the wiring. By following these steps, you can safely and efficiently install an old work electrical box and have it ready for use in no time.
Before we begin, it is essential to note that electrical work should be done by a qualified professional whenever possible. If you are not experienced or confident in performing electrical installations, it is strongly recommended to hire a licensed electrician to ensure the work is done correctly and safely.
Now, let’s get started with step one – gathering the necessary tools and materials.
Key Takeaways:
- Installing an old work electrical box is a manageable DIY project with the right tools and guidance. Prioritize safety, plan the location, and follow the step-by-step process for a successful installation.
- Completing the wall and adding finishing touches is essential for a polished outcome. With careful patching, priming, and painting, you can seamlessly integrate the electrical box into your wall for a professional finish.
Read also: 11 Best Electrical Box Old Work for 2025
Step 1: Gather the necessary tools and materials
Before you begin installing an old work electrical box, it is important to gather all the necessary tools and materials. This will ensure that you have everything you need within reach, saving you time and effort during the installation process.
Here is a list of the essential tools and materials you will need:
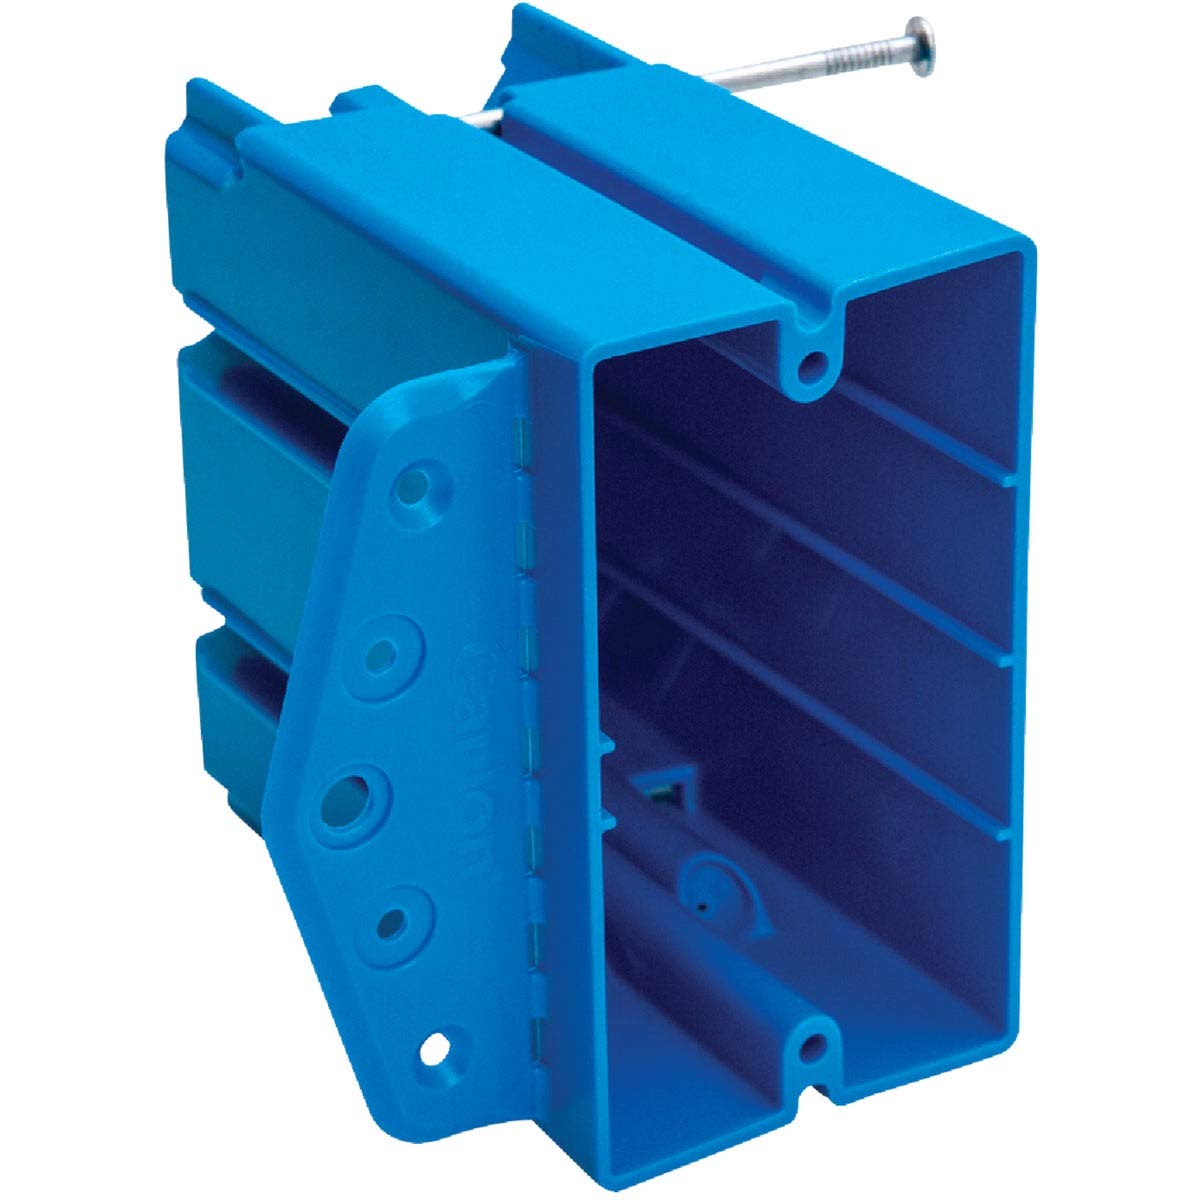
- Old work electrical box
- Wire cutter/stripper
- Utility knife
- Screwdriver (flathead and Phillips head)
- Drill
- Drill bits
- Pencil
- Measuring tape
- Circuit tester
- Wire connectors
- Electrical tape
- Drywall saw or reciprocating saw
- Safety goggles
- Work gloves
Make sure to double-check your inventory and ensure that you have all the tools and materials on hand before proceeding with the installation. This will prevent any unnecessary delays or interruptions during the process.
Additionally, it is crucial to prioritize safety while working with electricity. Always wear safety goggles to protect your eyes from any debris or dust, and work gloves to safeguard your hands. If you are unsure about any electrical components or procedures, consult a professional electrician.
Once you have gathered all the necessary tools and materials, you can proceed to the next step – planning the location for the electrical box.
Step 2: Plan the location for the electrical box
Before you start cutting into the wall, it’s important to carefully plan and determine the ideal location for the old work electrical box. This will ensure that the box is conveniently placed and meets all necessary safety and code requirements.
Here are some factors to consider when planning the location:
- Functionality: Think about the purpose of the electrical box. Are you installing an outlet, a switch, or a light fixture? Consider the proximity to where you will be using the electrical device.
- Accessibility: Choose a location that is easily accessible and convenient. Consider factors like wall obstructions, furniture placement, and the overall layout of the room.
- Height: Determine the appropriate height for the electrical box based on your needs. Consider factors like the height of nearby electrical devices and the convenience of accessing the box.
- Code requirements: Familiarize yourself with local building codes and regulations related to electrical installations. Ensure that the location you choose complies with these rules.
Once you have considered these factors, use a pencil to mark the desired location for the electrical box on the wall. Take measurements to ensure accuracy and make any necessary adjustments if required.
It’s always a good idea to double-check your measurements and location before proceeding to the next step. This will help prevent any mistakes or issues during the installation process.
With the location planned and marked, you are ready to move on to step three – cutting the hole in the wall.
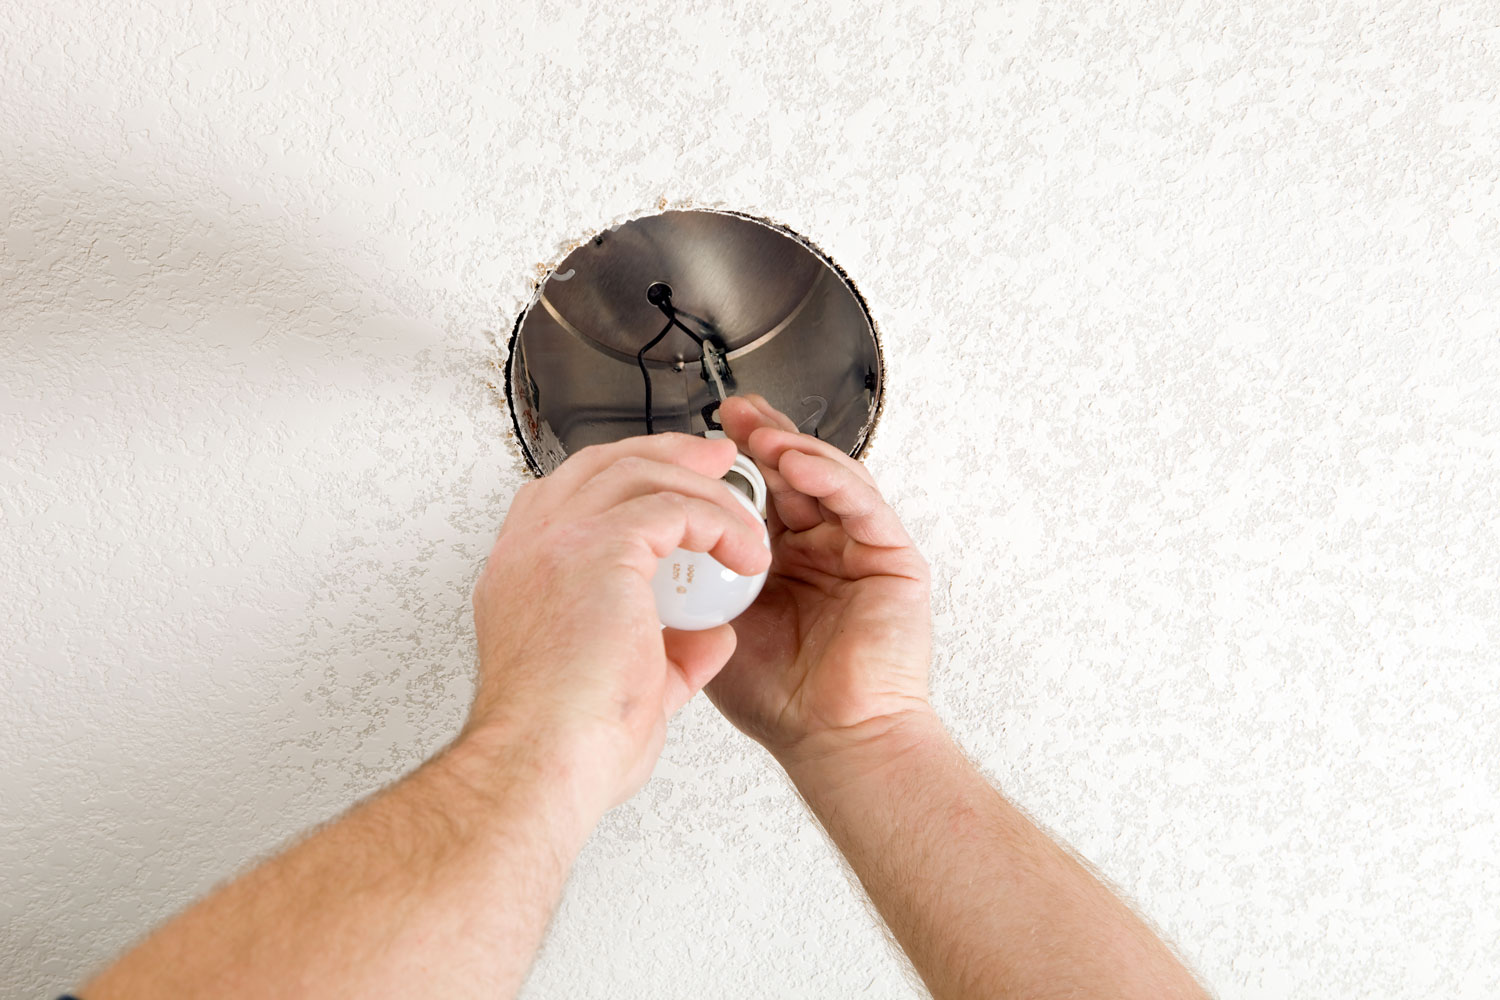
Step 3: Cut the hole in the wall
Now that you have planned the location for the old work electrical box, it’s time to cut the hole in the wall. This is where the electrical box will be inserted, so it’s important to be precise and accurate during this step.
Here’s how you can cut the hole in the wall:
- Put on your safety goggles and work gloves to protect yourself.
- Turn off the power to the area where you’ll be working. Locate the circuit breaker and switch off the corresponding circuit.
- Measure the dimensions of the electrical box and transfer those measurements to the marked location on the wall. Use a pencil to outline the shape of the hole.
- Using a drywall saw or reciprocating saw, carefully cut along the penciled outline. Take your time and make controlled cuts to prevent any damage to the surrounding wall.
- Once you have cut through the wall, remove the piece of drywall and set it aside. Make sure to save the piece in case it needs to be reattached later.
After cutting the hole, inspect the inside to make sure there are no electrical wires or obstacles in your path. Ensure that the electrical box will fit properly and snugly once installed.
Remember, safety is your top priority. Always exercise caution when using tools and cutting into walls. If you are unsure about the process or don’t have the necessary tools, it’s best to consult a professional electrician.
With the hole cut in the wall, you are now ready to move on to step four – preparing the electrical box.
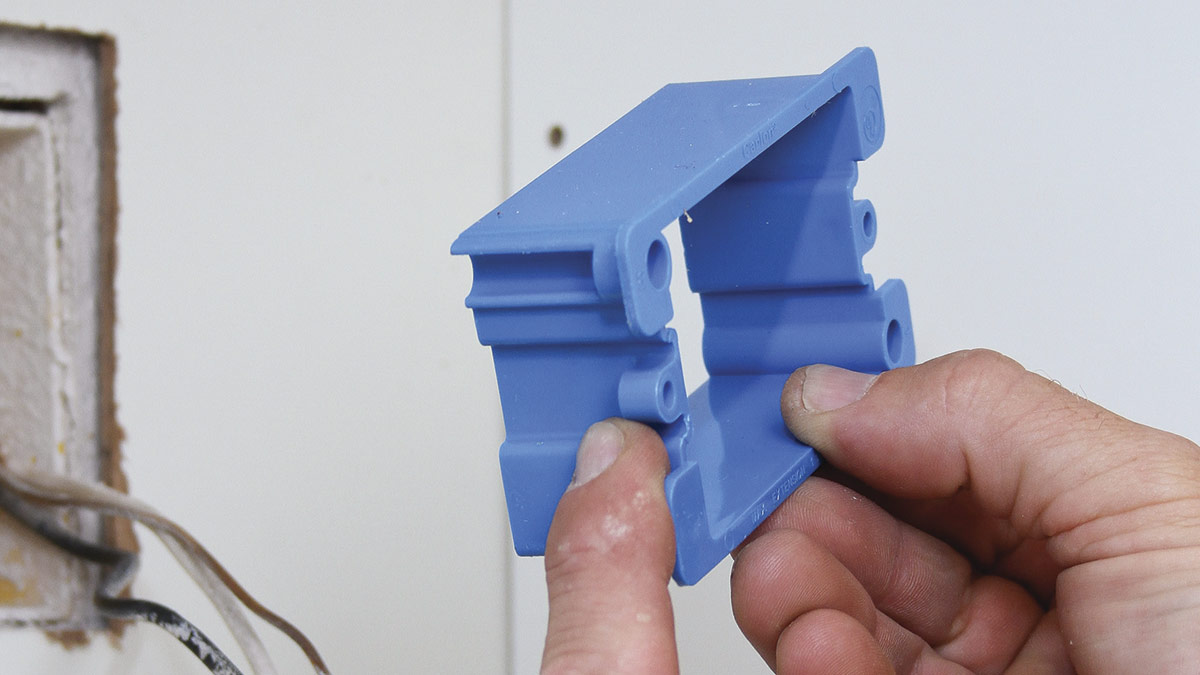
Step 4: Prepare the electrical box
After cutting the hole in the wall, the next step is to prepare the old work electrical box. Properly preparing the box will ensure a secure and stable installation.
Here’s how you can prepare the electrical box:
- Inspect the electrical box to ensure it is in good condition and free from any defects or damages. If you notice any issues, it’s best to replace the box before proceeding.
- If your electrical box has knockout holes, use a screwdriver or a knockout punch tool to remove the appropriate ones. These knockout holes allow for the entry and exit of electrical wires.
- Check the manufacturer’s instructions for any specific guidelines on preparing the electrical box. Some boxes may require additional preparations or modifications.
- Attach any mounting brackets or clamps that may be included with the electrical box. Follow the manufacturer’s instructions to properly secure these components.
- Double-check the wiring connections inside the electrical box. Ensure that there are no loose or exposed wires. If necessary, use wire connectors and electrical tape to secure and protect the wires.
It’s important to follow the manufacturer’s instructions and guidelines when preparing the electrical box. This will ensure that the box is ready for a successful installation and will help prevent any future issues.
Once you have prepared the electrical box, you’re ready to move on to the next step – inserting the electrical box into the wall.
Read more: How To Install Electrical Box
Step 5: Insert the electrical box into the wall
With the electrical box prepared, it’s time to insert it into the hole you cut in the wall. This step requires careful handling to ensure the box fits properly and securely.
Follow these steps to insert the electrical box into the wall:
- Hold the electrical box with one hand, positioning it in front of the hole in the wall.
- Feed the wires through the back of the electrical box, ensuring they are securely inside.
- Slide the electrical box into the hole in the wall, making sure it sits flush against the drywall.
- Apply gentle pressure to the front of the electrical box to ensure it is held securely in place.
- Check that the electrical box is level and aligned properly.
It’s important to ensure that the electrical box is properly inserted and seated securely in the wall. This will provide stability and prevent any movement or issues once the installation is complete.
If the electrical box does not fit properly or feels loose, you may need to make adjustments. Consider using adjustable brackets or additional support to secure the box in place.
Once the electrical box is inserted into the wall and securely positioned, you are ready to move on to step six – securing the electrical box.
When installing an old work electrical box, make sure to turn off the power to the circuit you’ll be working on. Use a stud finder to locate a suitable location for the box, then trace and cut out the opening. Insert the box into the opening and tighten the screws to secure it in place. Always follow local electrical codes and regulations.
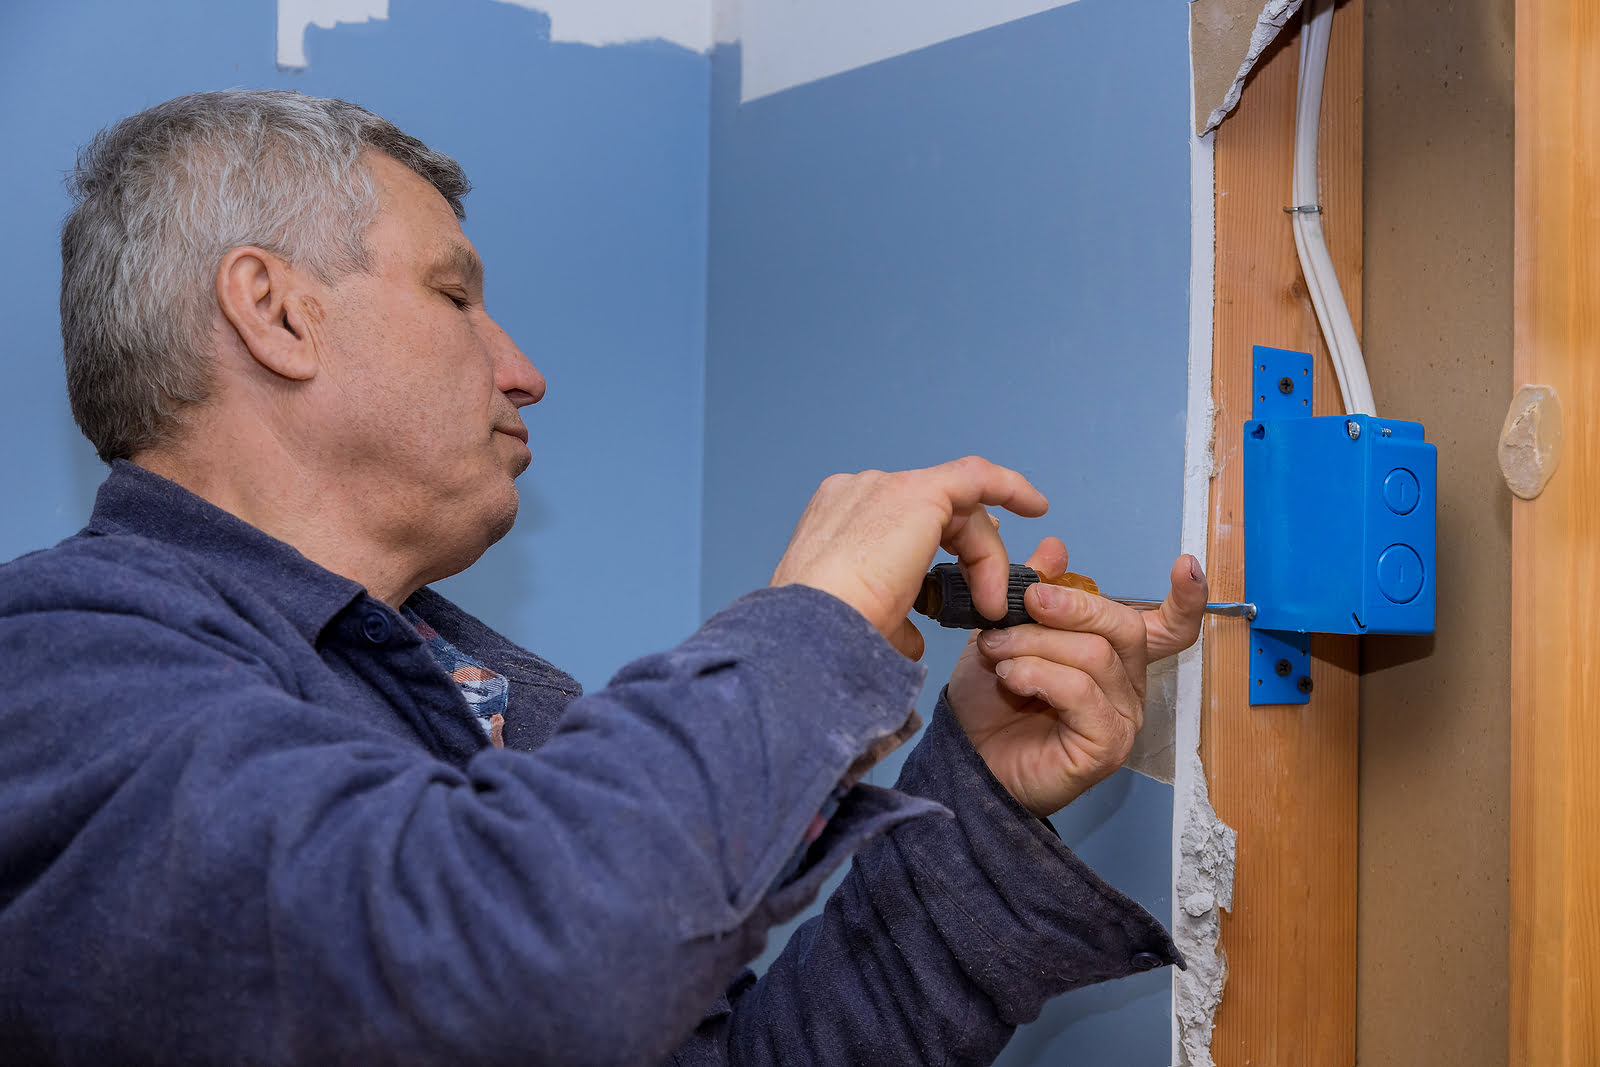
Step 6: Secure the electrical box
Securing the electrical box is a crucial step in ensuring a safe and stable installation. It prevents the box from moving or shifting, providing a secure base for the electrical components.
Follow these steps to properly secure the electrical box:
- Locate the screw holes on the electrical box. These are typically found near the edges or corners of the box.
- Insert screws into the screw holes, ensuring they are long enough to securely fasten the box to the wall.
- Using a screwdriver or drill, tighten the screws until the electrical box is firmly secured to the wall.
- Check for any movement or looseness in the box. If needed, tighten the screws further or add additional screws for extra support.
It is important to note that over-tightening the screws can damage the electrical box or the wall. Use caution and tighten them just enough to hold the box securely in place.
If you are working with a metal electrical box, be mindful of any exposed wires near the screw holes. Take care not to damage or pinch the wires while securing the box.
Once the electrical box is securely fastened to the wall, you have completed step six. The box is now ready for the next step – connecting the wiring.
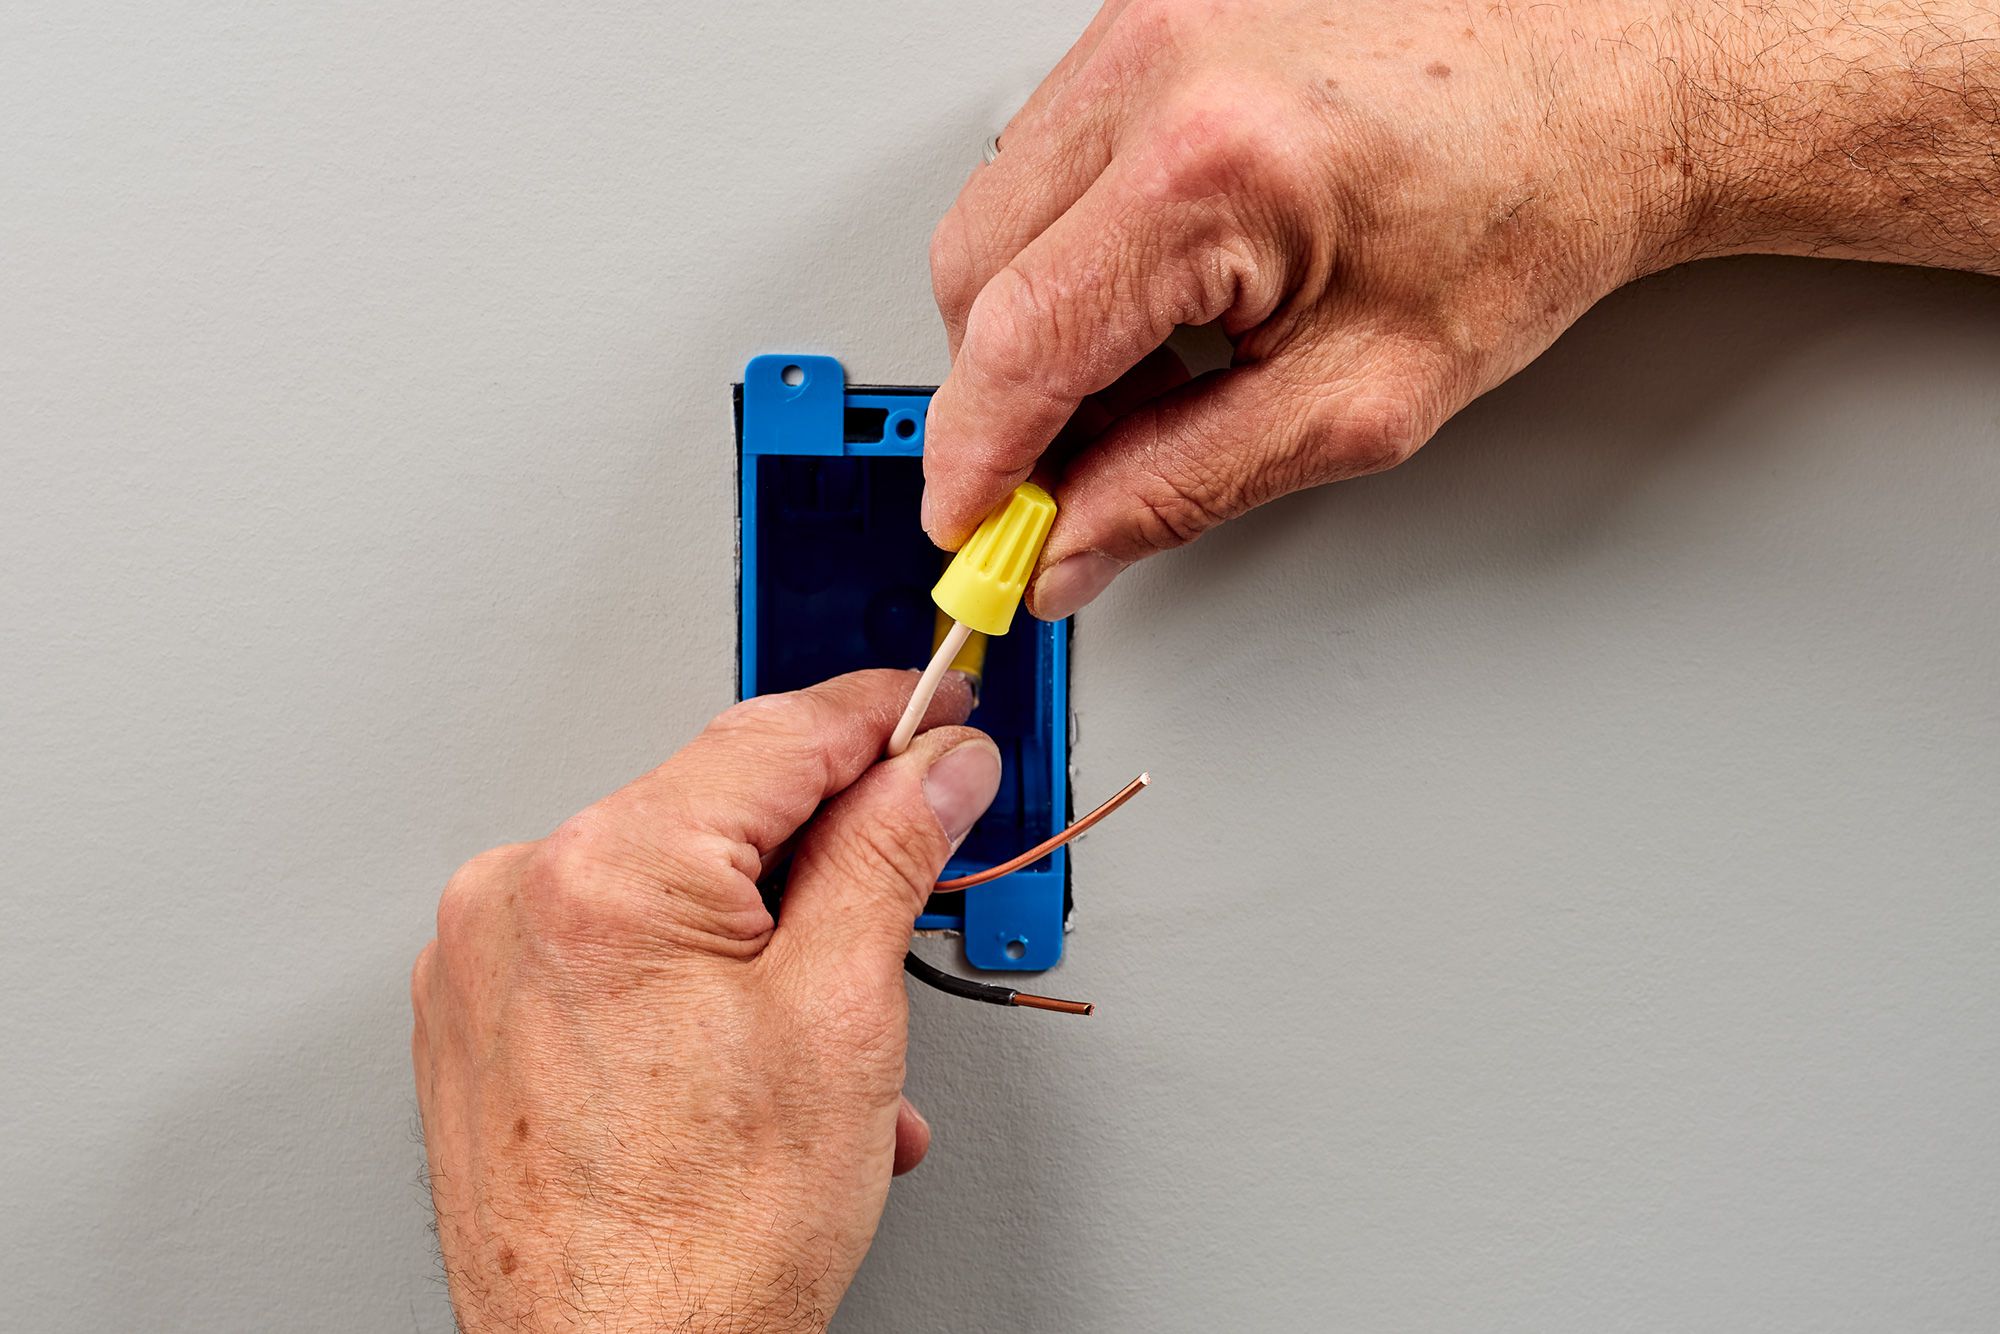
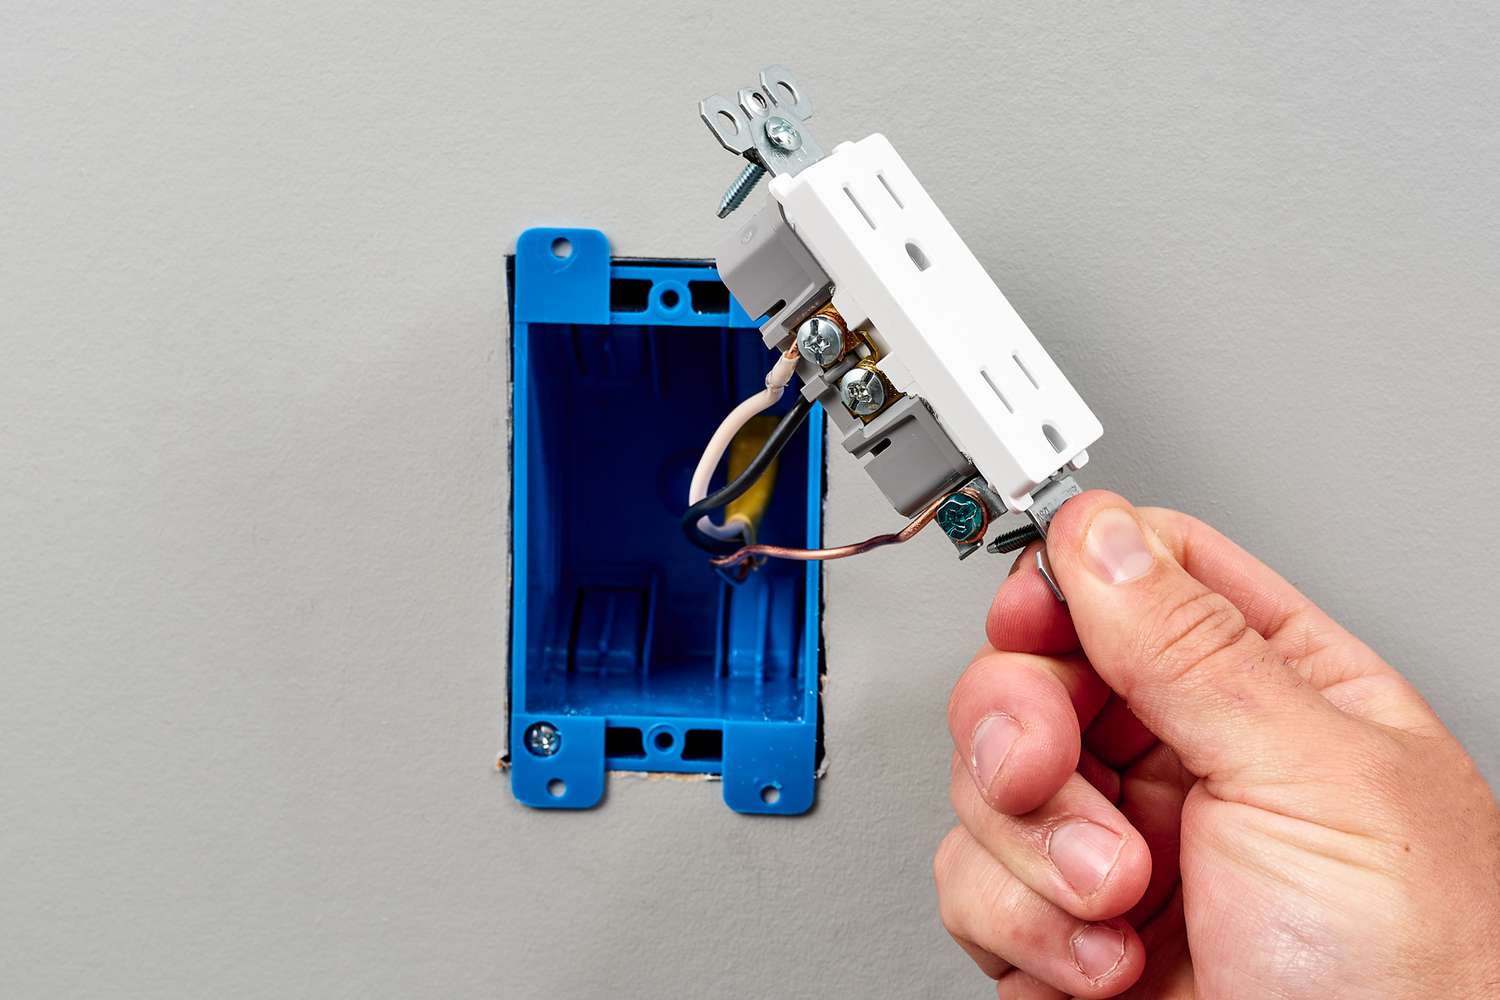
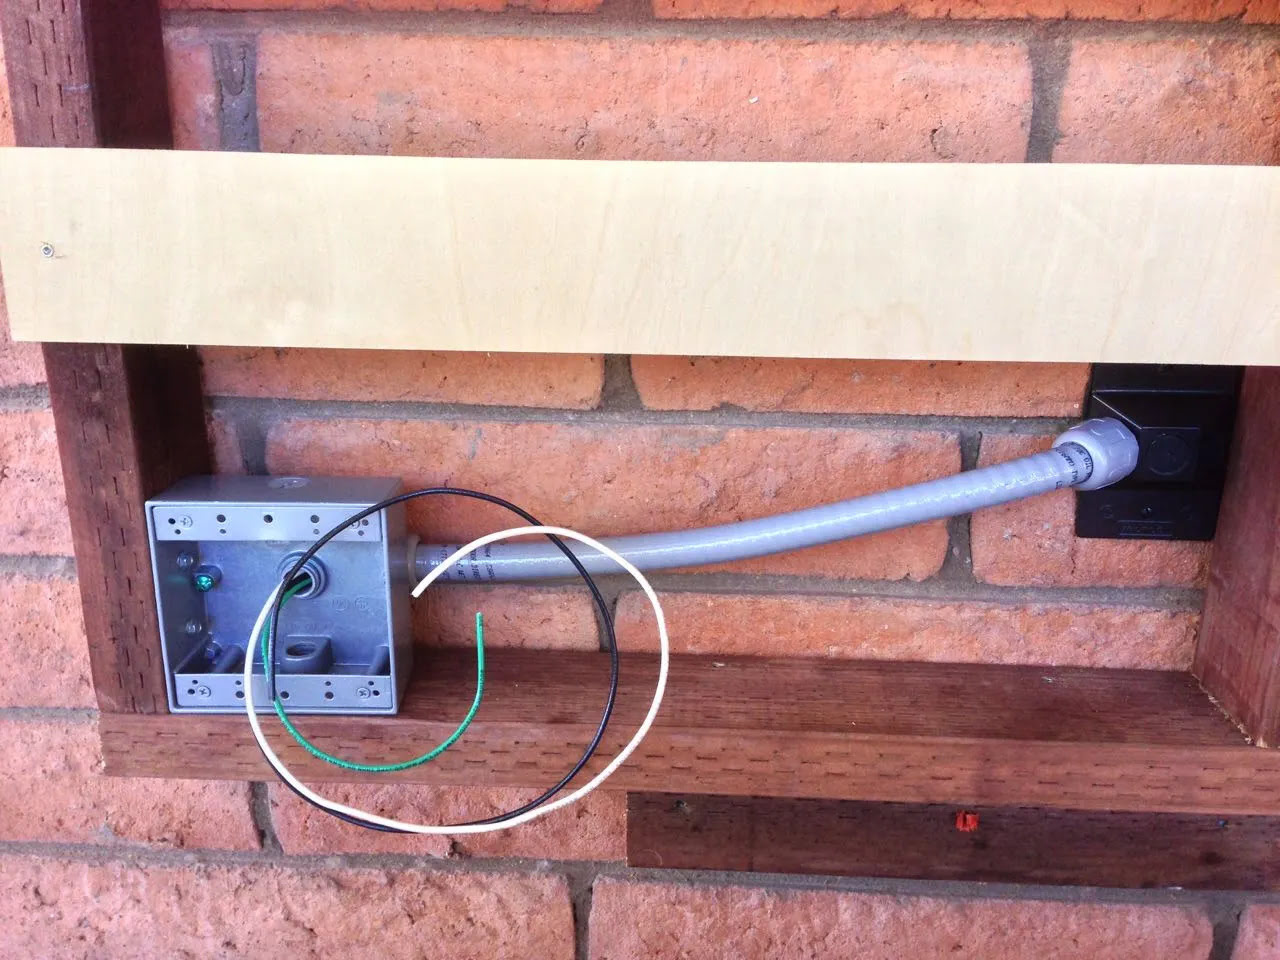
Step 7: Connect the wiring to the old work electrical box
Now that the electrical box is securely in place, it’s time to connect the wiring. This step involves safely and correctly attaching the electrical wires to the old work electrical box.
Follow these steps to connect the wiring:
- Before working with the wiring, ensure the power is turned off at the circuit breaker to prevent any electrical accidents.
- Strip the ends of the electrical wires to expose the bare copper using a wire cutter/stripper. Be sure to remove enough insulation to make a secure connection.
- Identify the type of wiring you have. If you have newer wiring, it may have color-coded insulation (e.g., black for hot, white for neutral, and green or bare copper for ground). If not, use a circuit tester to identify and label the wires correctly.
- Match the corresponding wires from the electrical box to the wires coming from the wall. Connect the black (hot) wires, white (neutral) wires, and green or bare copper (ground) wires together. Use wire connectors to make secure connections, twisting the wires together before attaching the connector.
- Securely attach the wire connectors with electrical tape for added protection.
- Once the connections are made, gently push the wires into the electrical box, ensuring they are not crimped or pinched.
- Double-check that all connections are secure and that there are no exposed wires.
It’s essential to follow the proper wiring practices and ensure a secure and reliable connection. If you are uncertain about any wiring aspect, it is best to consult a qualified electrician to avoid any risks or damage.
After successfully connecting the wiring, you can proceed to step eight, which involves testing the electrical connection.
Step 8: Test the electrical connection
Testing the electrical connection is a crucial step in ensuring that everything is wired correctly and functioning safely. This step will help identify any issues before finalizing the installation.
Follow these steps to test the electrical connection:
- Turn on the power at the circuit breaker for the specific circuit you are working on.
- Use a circuit tester to check for the presence of electrical current at the outlet, switch, or light fixture connected to the old work electrical box.
- Test each function separately, such as checking for power at an outlet or testing the functionality of a switch.
- If the circuit tester indicates that there is no power or if there are any issues, turn off the power at the circuit breaker and recheck the wiring for any incorrect connections or loose wires.
- If everything tests successfully and there are no issues, you can proceed with the finishing touches.
It’s crucial to ensure the electrical connection is tested and verified to prevent any potential hazards or malfunctions. If you are unsure about conducting this testing yourself, it’s recommended to consult a licensed electrician for assistance.
Once you have successfully tested the electrical connection and ensured everything is working correctly, you can move on to step nine, which involves completing the wall and adding the finishing touches.
Read more: How To Install Ceiling Electrical Box
Step 9: Complete the wall and finishing touches
After successfully installing the old work electrical box and testing the electrical connection, it’s time to complete the wall and add the finishing touches to your project. This final step will ensure a tidy and aesthetically pleasing outcome.
Follow these steps to complete the wall and add the finishing touches:
- Inspect the area around the electrical box for any damage or debris. Clean up any dust or debris using a soft cloth or vacuum.
- If you have saved the piece of drywall you removed earlier, you can now reattach it to cover the hole. Use drywall screws to secure it in place.
- Apply a thin layer of joint compound or drywall mud over the seams between the patch and the existing wall.
- Smooth out the joint compound using a putty knife or a drywall knife. Allow it to dry according to the manufacturer’s instructions.
- Sand the dried joint compound until it is smooth and even with the surrounding wall.
- Apply primer to the patched area and allow it to dry.
- Paint the patched area to match the color of the surrounding wall. Use a paintbrush or roller for even coverage.
- Once the paint is dry, inspect the area for any touch-ups or imperfections. Make any necessary adjustments to ensure a seamless finish.
Completing the wall and adding the finishing touches will give your installation a professional and polished appearance. It’s important to take the time to carefully blend the patched area with the existing wall to achieve a seamless result.
Congratulations! You have successfully completed the installation of the old work electrical box. Now you can enjoy the convenience of having the electrical component of your choice in your wall.
Remember, if you encounter any difficulties during this process or if you are unsure about any aspect, it’s always recommended to seek advice from a qualified electrician.
Thank you for following this step-by-step guide. We hope this article provided you with the necessary information to install an old work electrical box with confidence.
Happy DIY-ing!
Conclusion
Installing an old work electrical box doesn’t have to be a daunting task. With the right tools, materials, and step-by-step guidance, you can successfully complete this project and bring electrical convenience to your walls.
In this article, we explored the process of installing an old work electrical box from start to finish. We discussed the importance of gathering the necessary tools and materials, planning the location for the box, cutting the hole in the wall, preparing the electrical box, inserting and securing the box, connecting the wiring, testing the electrical connection, and completing the wall with the finishing touches.
Throughout the installation process, it is crucial to prioritize safety. Wear appropriate protective gear, turn off the power at the circuit breaker, and consult a qualified electrician if you are unsure about any aspect of the installation.
By following the steps outlined in this guide, you can confidently install an old work electrical box and enjoy the convenience of electrical components without the need to tear down walls or access the wiring from behind.
Remember, if you are not comfortable or experienced in performing electrical work, it is always best to consult a professional electrician. Your safety should be the top priority.
We hope this article has provided you with valuable insights and guidance for your old work electrical box installation. Enjoy the convenience and functionality it brings to your home!
Happy DIY-ing!
Frequently Asked Questions about How To Install Old Work Electrical Box
Was this page helpful?
At Storables.com, we guarantee accurate and reliable information. Our content, validated by Expert Board Contributors, is crafted following stringent Editorial Policies. We're committed to providing you with well-researched, expert-backed insights for all your informational needs.


0 thoughts on “How To Install Old Work Electrical Box”