Home>Articles>How To Install Stack-On Electrical Cord Accessory Kit
Articles
How To Install Stack-On Electrical Cord Accessory Kit
Modified: October 19, 2024
Learn how to install the Stack-On Electrical Cord Accessory Kit with our informative articles. Upgrade your cord management system effortlessly.
(Many of the links in this article redirect to a specific reviewed product. Your purchase of these products through affiliate links helps to generate commission for Storables.com, at no extra cost. Learn more)
Introduction
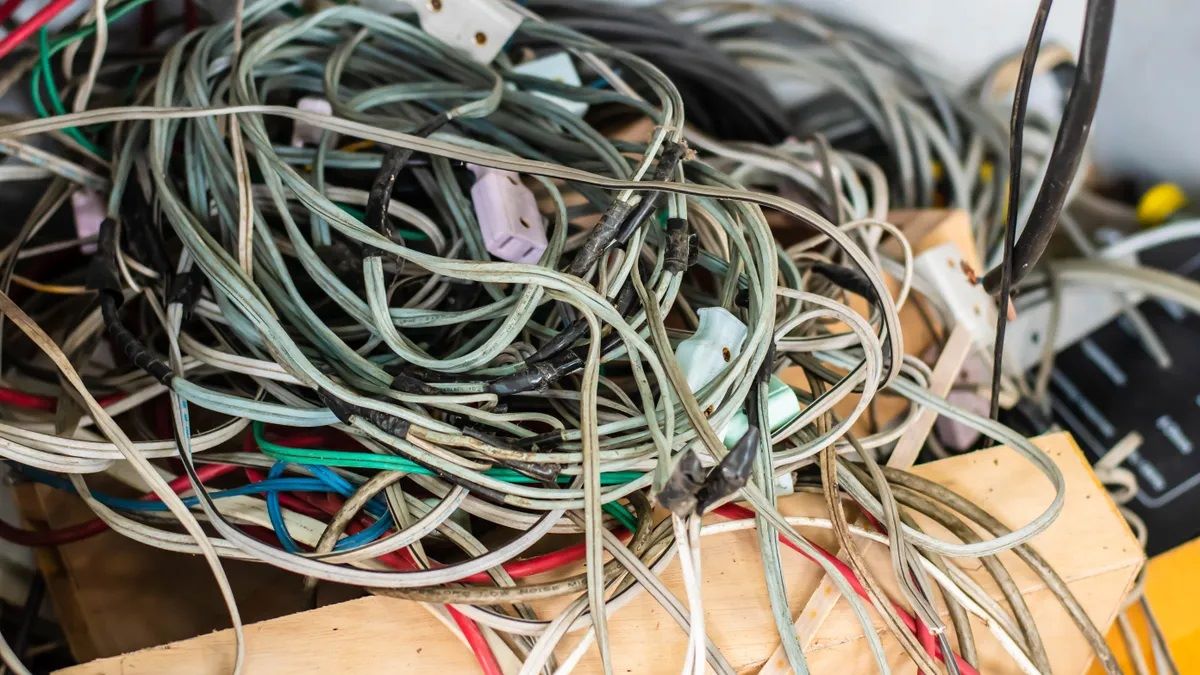
Installing an electrical cord accessory kit can greatly improve the organization and functionality of your living or workspace. The Stack-On Electrical Cord Accessory Kit is designed to provide a convenient solution for managing and securing electrical cords and power strips, reducing the risk of tangled wires and potential hazards. In this article, we will guide you through the step-by-step process of installing the Stack-On Electrical Cord Accessory Kit.
Whether you’re setting up a home office, workshop, or entertainment center, having a clean and organized environment is essential. With the Stack-On Cord Accessory Kit, you can effectively manage and route your electrical cords, keeping them neatly organized and out of sight.
Before we dive into the installation process, let’s take a look at the tools and materials you’ll need:
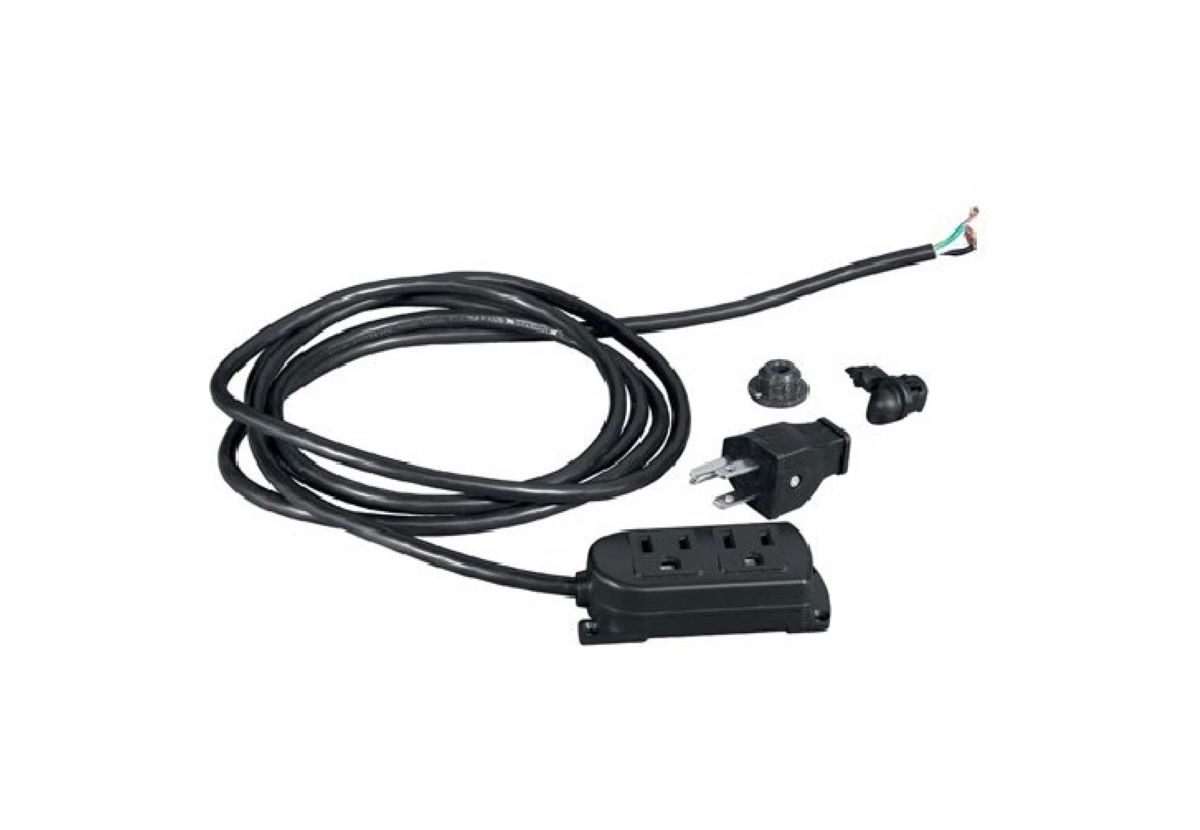
- Stack-On Electrical Cord Accessory Kit (including power strip, cord management bracket, and cord clips)
- Drill
- Screwdriver
- Tape measure
- Level
- Pencil
Now that we have our tools ready, let’s proceed with the installation process.
Key Takeaways:
- Installing the Stack-On Electrical Cord Accessory Kit is a simple yet effective way to organize and secure electrical cords, reducing hazards and creating a clutter-free space for a more efficient and aesthetic living or workspace.
- By following the step-by-step installation process, you can enjoy the convenience and safety of a well-organized environment, allowing easy access to devices while keeping cords neatly out of sight.
Read more: How To Cut An Electrical Cord
Tools and Materials Needed
Before you begin installing the Stack-On Electrical Cord Accessory Kit, make sure you have the following tools and materials ready:
- Stack-On Electrical Cord Accessory Kit (including power strip, cord management bracket, and cord clips)
- Drill
- Screwdriver
- Tape measure
- Level
- Pencil
The Stack-On Electrical Cord Accessory Kit typically includes all the necessary components to effectively manage and secure your electrical cords. The power strip serves as the central hub for plugging in and powering your devices, while the cord management bracket and cord clips help route and organize the cords.
A drill will be needed to create holes for mounting the power strip and cord management bracket. Choose a drill bit size that is suitable for the screws provided with the kit. A screwdriver will be required to tighten the screws and ensure a secure installation.
To ensure proper alignment and positioning of the components, it is recommended to have a tape measure and level on hand. These tools will help you accurately measure and ensure that the power strip and cord management bracket are installed straight and level.
Lastly, a pencil will be handy for marking the positions of the holes and outlining the installation area. This will allow you to have a visual guide and ensure precise placement of the components.
Now that we have all the necessary tools and materials gathered, let’s move on to the step-by-step installation process for the Stack-On Electrical Cord Accessory Kit.
Step 1: Unboxing the Stack-On Electrical Cord Accessory Kit
The first step in installing the Stack-On Electrical Cord Accessory Kit is to unbox the kit and familiarize yourself with its components. Carefully open the packaging and ensure that all the necessary parts are included.
Inside the kit, you should find the following components:
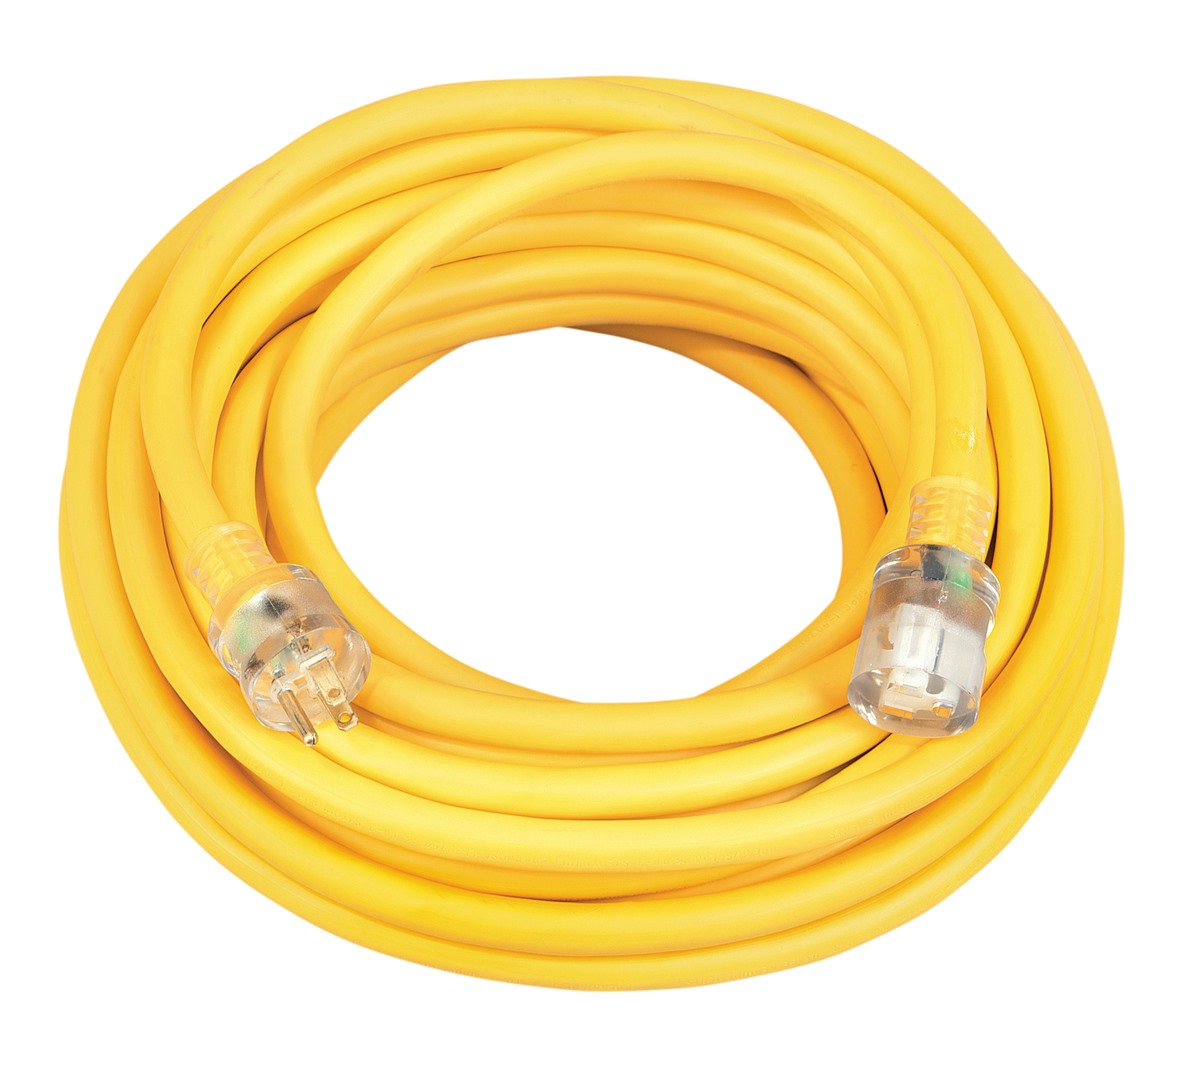
- Power strip: This is the main component of the accessory kit and serves as the central hub for your electrical cords. It typically features multiple outlets for plugging in your devices.
- Cord management bracket: This bracket acts as a support for the power strip and helps route the cords, keeping them organized and out of the way.
- Cord clips: These clips are used to secure the electrical cords to the cord management bracket, preventing them from hanging loosely and reducing the risk of tripping hazards.
Inspect each component to ensure there are no visible damages or defects. If you notice any issues, contact the manufacturer for a replacement or further assistance.
Take a moment to read through the instruction manual or any included documentation provided by Stack-On. This will give you a better understanding of the installation process and any specific guidelines or recommendations for your particular electrical cord accessory kit.
By familiarizing yourself with the components and instructions, you’ll be better prepared for the upcoming installation steps. Let’s move on to step two, where we’ll prepare the installation area.
Step 2: Preparing the Installation Area
Before mounting the Stack-On Electrical Cord Accessory Kit, it’s important to properly prepare the installation area. This will ensure a secure and efficient installation process. Follow these steps to prepare the area:
- Identify the ideal location: Choose the location where you intend to install the power strip and manage your electrical cords. Consider factors such as accessibility, proximity to power outlets, and aesthetic appeal. It’s recommended to select a location that is easily accessible and has enough space to accommodate the power strip and associated cords.
- Clear the area: Clear any objects or obstructions that may hinder the installation process. Ensure there is enough space to work comfortably and maneuver the tools.
- Measure and mark the placement: Use a tape measure to determine the appropriate positioning of the power strip and cord management bracket. Mark the desired locations with a pencil, ensuring they are level and aligned with your installation preferences. Double-check the markings to make sure they are accurate and well-placed.
- Check for electrical outlets: Verify that there are nearby electrical outlets that can provide power to the power strip. Ensure the outlets are accessible and in good working condition.
By taking the time to properly prepare the installation area, you’ll be able to proceed with confidence and precision in the next steps. Now that the area is ready, let’s move on to step three and mount the power strip.
Step 3: Mounting the Power Strip
With the installation area prepared, it’s time to mount the power strip from the Stack-On Electrical Cord Accessory Kit. Follow these steps to securely mount the power strip:
- Position the power strip: Place the power strip in the desired location on the wall or surface where you marked the placement. Ensure that it is aligned with the markings and level using a bubble level.
- Mark the mounting holes: Use a pencil to mark the positions of the mounting holes on the wall or surface. These holes should align with the pre-drilled holes on the power strip.
- Drill the pilot holes: Select an appropriate drill bit size for the screws provided with the kit. Use a drill to create pilot holes at the marked positions. Take caution to drill straight and to the appropriate depth.
- Attach the power strip: Line up the pre-drilled holes on the power strip with the pilot holes on the wall or surface. Insert the screws into the holes, and use a screwdriver to tighten them. Ensure that the power strip is securely fastened.
- Double-check the alignment: Verify that the power strip is level and properly aligned. Make any necessary adjustments now, before proceeding to the next step.
Mounting the power strip is an important step to provide a stable and convenient location for plugging in your devices. Once the power strip is securely mounted, you can move on to step four and secure the cord management bracket.
Read more: How To Store An Electrical Cord
Step 4: Securing the Cord Management Bracket
After mounting the power strip, it’s time to secure the cord management bracket from the Stack-On Electrical Cord Accessory Kit. This bracket will provide support and help route the cords in an organized manner. Follow these steps to secure the cord management bracket:
- Position the cord management bracket: Align the cord management bracket with the power strip, ensuring that it is level and aligned with the mounting holes on both the bracket and the power strip.
- Mark the mounting holes: Use a pencil to mark the positions of the mounting holes on the wall or surface, based on the holes on the cord management bracket.
- Drill the pilot holes: Select an appropriate drill bit size for the screws provided with the kit. Use a drill to create pilot holes at the marked positions. Take caution to drill straight and to the appropriate depth.
- Attach the cord management bracket: Line up the pre-drilled holes on the cord management bracket with the pilot holes on the wall or surface. Insert the screws into the holes, and use a screwdriver to tighten them. Ensure that the cord management bracket is securely fastened.
- Double-check the alignment: Verify that the cord management bracket is level and properly aligned with the power strip. Make any necessary adjustments now to ensure a straight and secure installation.
Securing the cord management bracket is crucial for routing the electrical cords in an organized and efficient manner. Once the bracket is securely fastened, you can move on to step five and install the cord clips.
When installing the Stack-On Electrical Cord Accessory Kit, make sure to carefully follow the manufacturer’s instructions to ensure proper installation and safe use of the product. Always turn off the power before working with electrical components.
Step 5: Installing the Cord Clips
Installing the cord clips from the Stack-On Electrical Cord Accessory Kit is the next step in achieving a neat and organized cord management system. These clips will help secure the electrical cords to the cord management bracket, preventing them from hanging loosely and creating potential hazards. Follow these steps to install the cord clips:
- Position the cord clips: Decide where you want to place the cord clips along the cord management bracket. Consider the length of your cords and spacing them evenly for a clean and organized appearance.
- Mark the installation points: Use a pencil to mark the positions where you will install the cord clips on the cord management bracket.
- Prep the cord clips: Take each cord clip and separate the top and bottom sections. Ensure that the clip is open and ready for the cord.
- Insert the cords into the clips: Take each electrical cord and insert it into the opened cord clip. Push the clip closed, securing the cord in place. Repeat this step for all the cords you wish to route and organize.
- Attach the cord clips to the cord management bracket: Align each cord clip with the marked positions on the cord management bracket. Press the clip firmly onto the bracket, ensuring it is securely fastened.
- Adjust the cord clips: If needed, you can adjust the position of the cord clips along the cord management bracket to achieve the desired cord routing and organization.
By installing the cord clips, you can effectively secure and route your electrical cords, keeping them neatly organized and out of the way. This will help reduce the risk of tripping hazards and create a cleaner and more streamlined workspace. Once the cord clips are installed, you’re ready to move on to step six and connect and organize the electrical cords.
Step 6: Connecting and Organizing Electrical Cords
Now that you have the cord management bracket and cord clips installed, it’s time to connect and organize your electrical cords. Follow these steps to effectively arrange your cords:
- Prepare the cords: Gather the electrical cords that you wish to connect and organize. Ensure that they are free from tangles and knots.
- Find the appropriate cord clip: Identify the cord clip that is closest to the power strip and aligns with the length of each cord. This will help you determine the corresponding cord to attach to each clip.
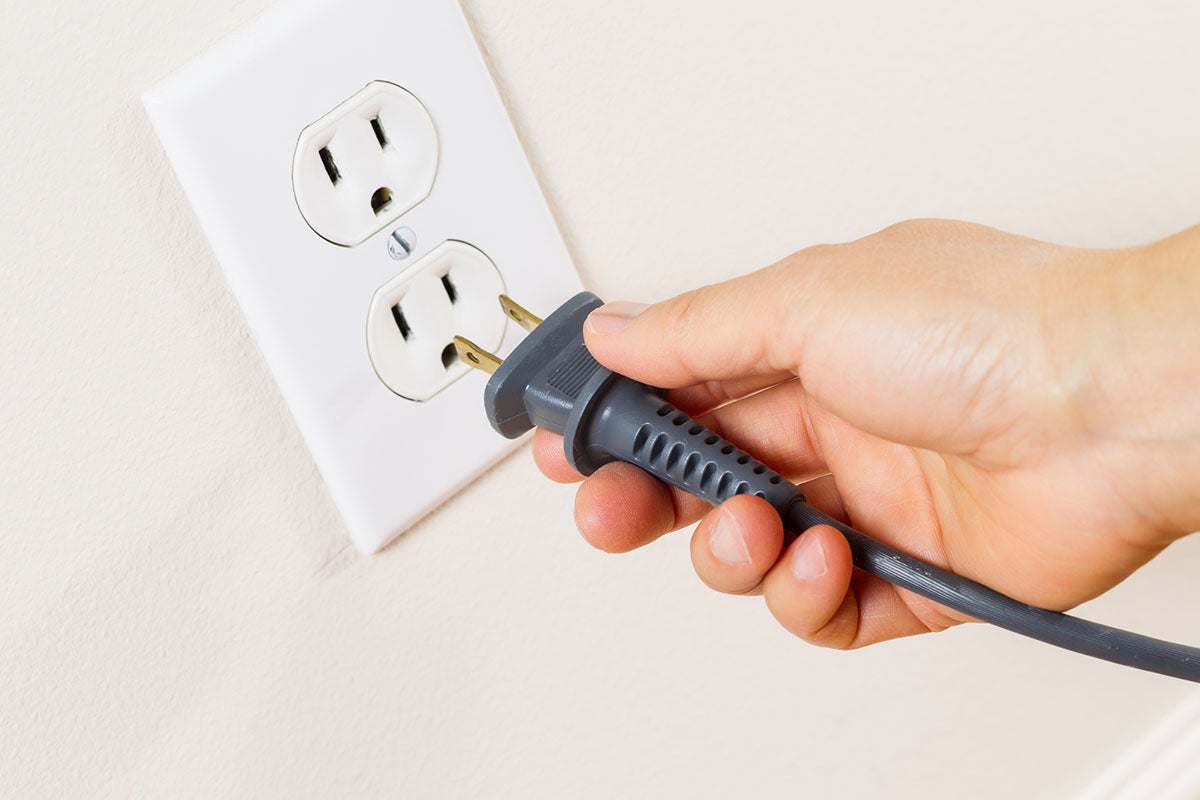
- Plug in the cords: Connect each cord to the power strip by plugging them into the available outlets. Make sure to route the cords through the cord clips as you go.
- Guide the cords through the cord clips: Once the cords are plugged in, route them through the cord clips in a neat and organized manner. Make sure the cords are securely held by the clips and follow the desired path along the cord management bracket.
- Adjust as necessary: After connecting the cords and routing them through the cord clips, take a step back and assess the overall organization. Make any adjustments or re-routing if needed to achieve a clean and clutter-free appearance.
Connecting and organizing your electrical cords using the cord management bracket and cord clips will help minimize cable mess and improve the overall aesthetics of your space. It also makes it easier to identify and access specific cords when necessary. With your cords connected and organized, we’re almost done. Let’s move on to step seven and test the electrical connections to ensure everything is working properly.
Step 7: Testing the Electrical Connections
Once you have connected and organized your electrical cords using the Stack-On Electrical Cord Accessory Kit, it’s important to test the electrical connections to ensure they are functioning correctly. Follow these steps to test the connections:
- Check power strip functionality: Ensure that the power strip is receiving power by plugging in a device or appliance and verifying that it turns on or charges. Test each outlet on the power strip to ensure they are all working properly.
- Inspect cord connections: Examine each cord connection to ensure they are secure and snugly plugged into the power strip. If any cords are loose, adjust and re-plug them as necessary.
- Test individual devices: Plug in each device or appliance to its designated outlet on the power strip. Confirm that each device is receiving power and functioning as expected.
- Verify cord organization: While testing the individual devices, observe if any cords become tangled or disconnected from the cord clips. Make any necessary adjustments to ensure the cords remain organized and properly routed.
- Monitor for overheating: During the testing process, pay attention to any signs of overheating, such as unusual odors, excessive heat, or sparks. If you notice any of these signs, immediately disconnect the power strip and consult a professional.
Testing the electrical connections is crucial to ensure that all devices receive power and operate safely. It also allows you to identify and rectify any issues with cord organization or connectivity before they become more problematic. Once you have confirmed that the electrical connections are working properly, it’s time to move on to the final step.
Read more: How To Extend An Electrical Cord
Step 8: Finalizing the Installation
With the electrical connections tested and verified, you are now ready to finalize the installation of the Stack-On Electrical Cord Accessory Kit. Follow these steps to complete the installation process:
- Secure any loose cords: Take a moment to ensure that all cords are securely attached to the cord clips and properly routed along the cord management bracket. This will help prevent accidental disconnections and maintain a tidy appearance.
- Tighten any loose screws: Double-check that all screws holding the power strip and cord management bracket are tightened securely. Use a screwdriver if needed to tighten any loose screws. This ensures a stable and secure installation.
- Clean up the area: Remove any debris or tools from the installation area and clean up any mess created during the installation process. This will leave you with a clean and organized workspace.
- Review safety precautions: Take a moment to review any safety precautions provided by the manufacturer. Familiarize yourself with any warnings or recommendations for the safe use of the Stack-On Electrical Cord Accessory Kit.
- Enjoy your organized space: Now that the installation is complete, you can enjoy the benefits of a well-organized and clutter-free space. Take pride in your efforts to improve the functionality and aesthetics of your living or workspace.
By finalizing the installation, you have successfully installed the Stack-On Electrical Cord Accessory Kit and created a more efficient and organized environment. Remember to periodically check the cords and connections for any signs of wear or damage, and make any necessary adjustments as needed. This will help ensure the ongoing safety and effectiveness of your cord management system.
With the completion of the installation process, congratulations on a job well done!
Conclusion
Installing the Stack-On Electrical Cord Accessory Kit is a simple yet effective way to improve the organization and functionality of your living or workspace. By following the step-by-step installation process, you can efficiently manage and secure your electrical cords, reducing the risk of tangled wires and potential hazards.
Throughout the installation process, we covered the unboxing of the kit, preparing the installation area, mounting the power strip, securing the cord management bracket, installing the cord clips, connecting and organizing the electrical cords, testing the electrical connections, and finalizing the installation.
With the Stack-On Electrical Cord Accessory Kit, you can now enjoy a neat and clutter-free space. No more tripping over tangled cords or struggling to find the right plug. The power strip serves as a central hub, allowing you to easily connect and access your devices while keeping the cords out of sight.
Remember to periodically check on the cords and connections for any signs of wear or damage. Make any necessary adjustments or replacements to ensure a safe and functional cord management system.
With the installation complete, you can now fully enjoy the benefits of a well-organized workspace or living area. Enjoy the convenience, aesthetics, and safety that the Stack-On Electrical Cord Accessory Kit brings to your environment.
So go ahead, take pride in your newly organized space, and let the Stack-On Electrical Cord Accessory Kit make your life easier and more efficient!
Frequently Asked Questions about How To Install Stack-On Electrical Cord Accessory Kit
Was this page helpful?
At Storables.com, we guarantee accurate and reliable information. Our content, validated by Expert Board Contributors, is crafted following stringent Editorial Policies. We're committed to providing you with well-researched, expert-backed insights for all your informational needs.


0 thoughts on “How To Install Stack-On Electrical Cord Accessory Kit”