Articles
How To Level A Toilet On An Uneven Floor
Modified: October 19, 2024
Learn how to level a toilet on an uneven floor with these informative articles. Discover tips and techniques for achieving a stable and balanced installation.
(Many of the links in this article redirect to a specific reviewed product. Your purchase of these products through affiliate links helps to generate commission for Storables.com, at no extra cost. Learn more)
Introduction
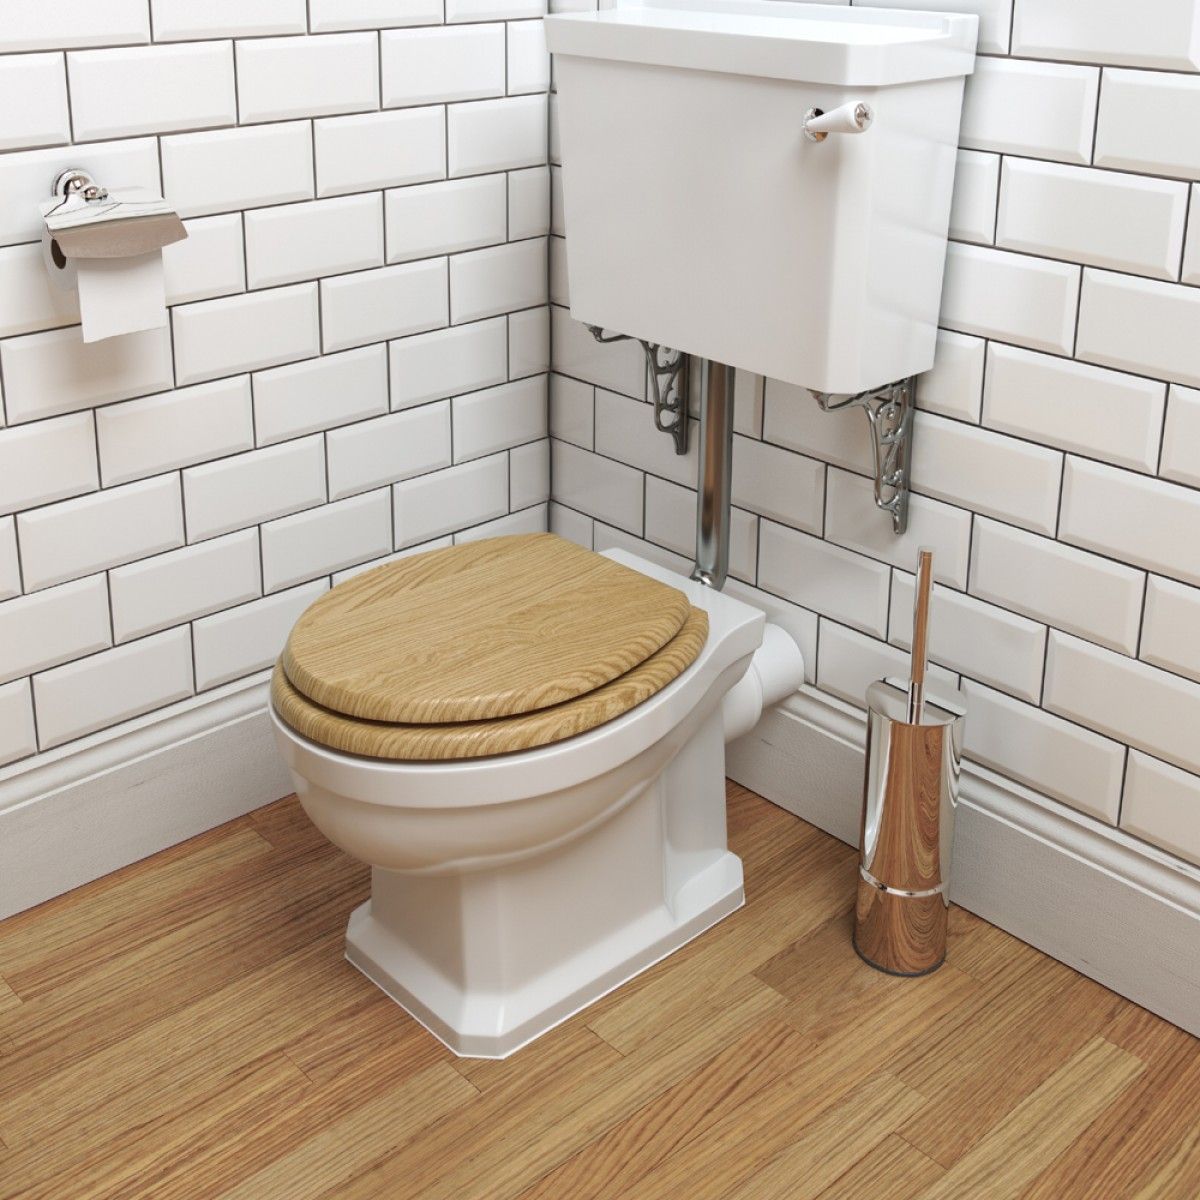
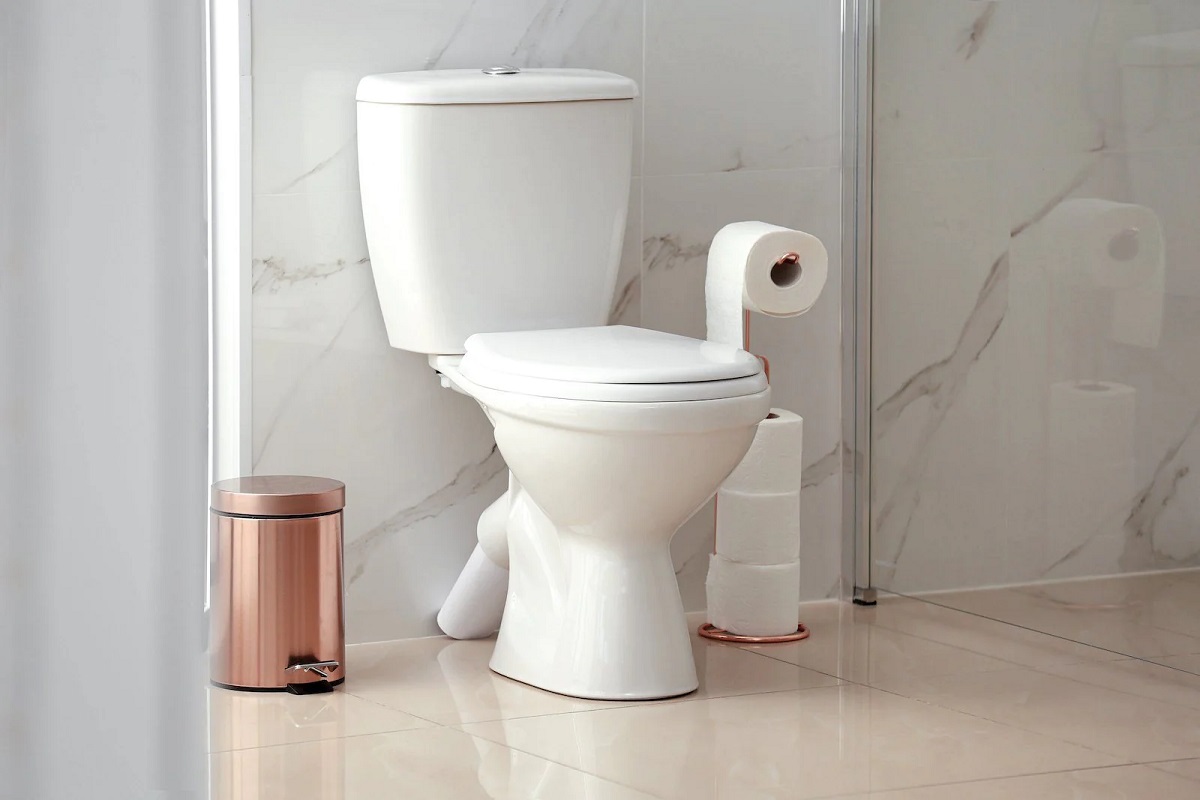
Having a level toilet is crucial for both its functionality and aesthetic appeal. An uneven toilet can lead to leaks, wobbling, and even discomfort during use. Whether you’re remodeling your bathroom or simply dealing with an existing uneven floor, leveling a toilet is a task that can be accomplished with the right tools and techniques.
In this article, we will guide you through the process of leveling a toilet on an uneven floor. We’ll provide you with step-by-step instructions to ensure a stable and secure installation. So, let’s dive in and learn how to achieve a level toilet that will provide years of trouble-free use.
Key Takeaways:
- Ensure a stable and secure toilet installation by assessing floor unevenness, using shims, and checking levelness. This process prevents leaks, discomfort, and enhances the overall aesthetic appeal of your bathroom.
- Securing the toilet to the floor with silicone caulk and proper bolt tightening ensures stability and prevents wobbling. Testing for leaks and stability guarantees a reliable and long-lasting toilet installation.
Read more: How To Level Uneven Grass
Understanding the Importance of a Level Toilet
A level toilet plays a crucial role in maintaining its proper functionality and appearance. When a toilet is not level, it can cause several issues that can negatively impact your bathroom experience.
First and foremost, an uneven toilet can lead to leaks. A small gap between the toilet base and the floor can allow water to seep through, causing damage to the subfloor and potentially leading to costly repairs. Additionally, a wobbling toilet can damage the wax ring seal, which can result in leaks and unpleasant odors.
Furthermore, an unlevel toilet can be quite uncomfortable to use. It can cause a feeling of instability and even make you question the overall durability and safety of the fixture. Nobody wants to use a toilet that moves or wobbles when they sit on it.
Not only is a level toilet essential for functionality and comfort, but it also contributes to the overall aesthetic appeal of your bathroom. An unlevel toilet can create an unbalanced and visually displeasing look. On the other hand, a level toilet provides a clean and professional finish, enhancing the overall appearance of the space.
For these reasons, it is essential to ensure that your toilet is level, especially when dealing with an uneven floor. The good news is that leveling a toilet is a manageable task that can be accomplished with a few simple steps.
Assessing the Unevenness of the Floor
Before you begin the process of leveling a toilet, it’s important to assess the unevenness of the floor. This will help you determine the extent of the problem and come up with the appropriate solution.
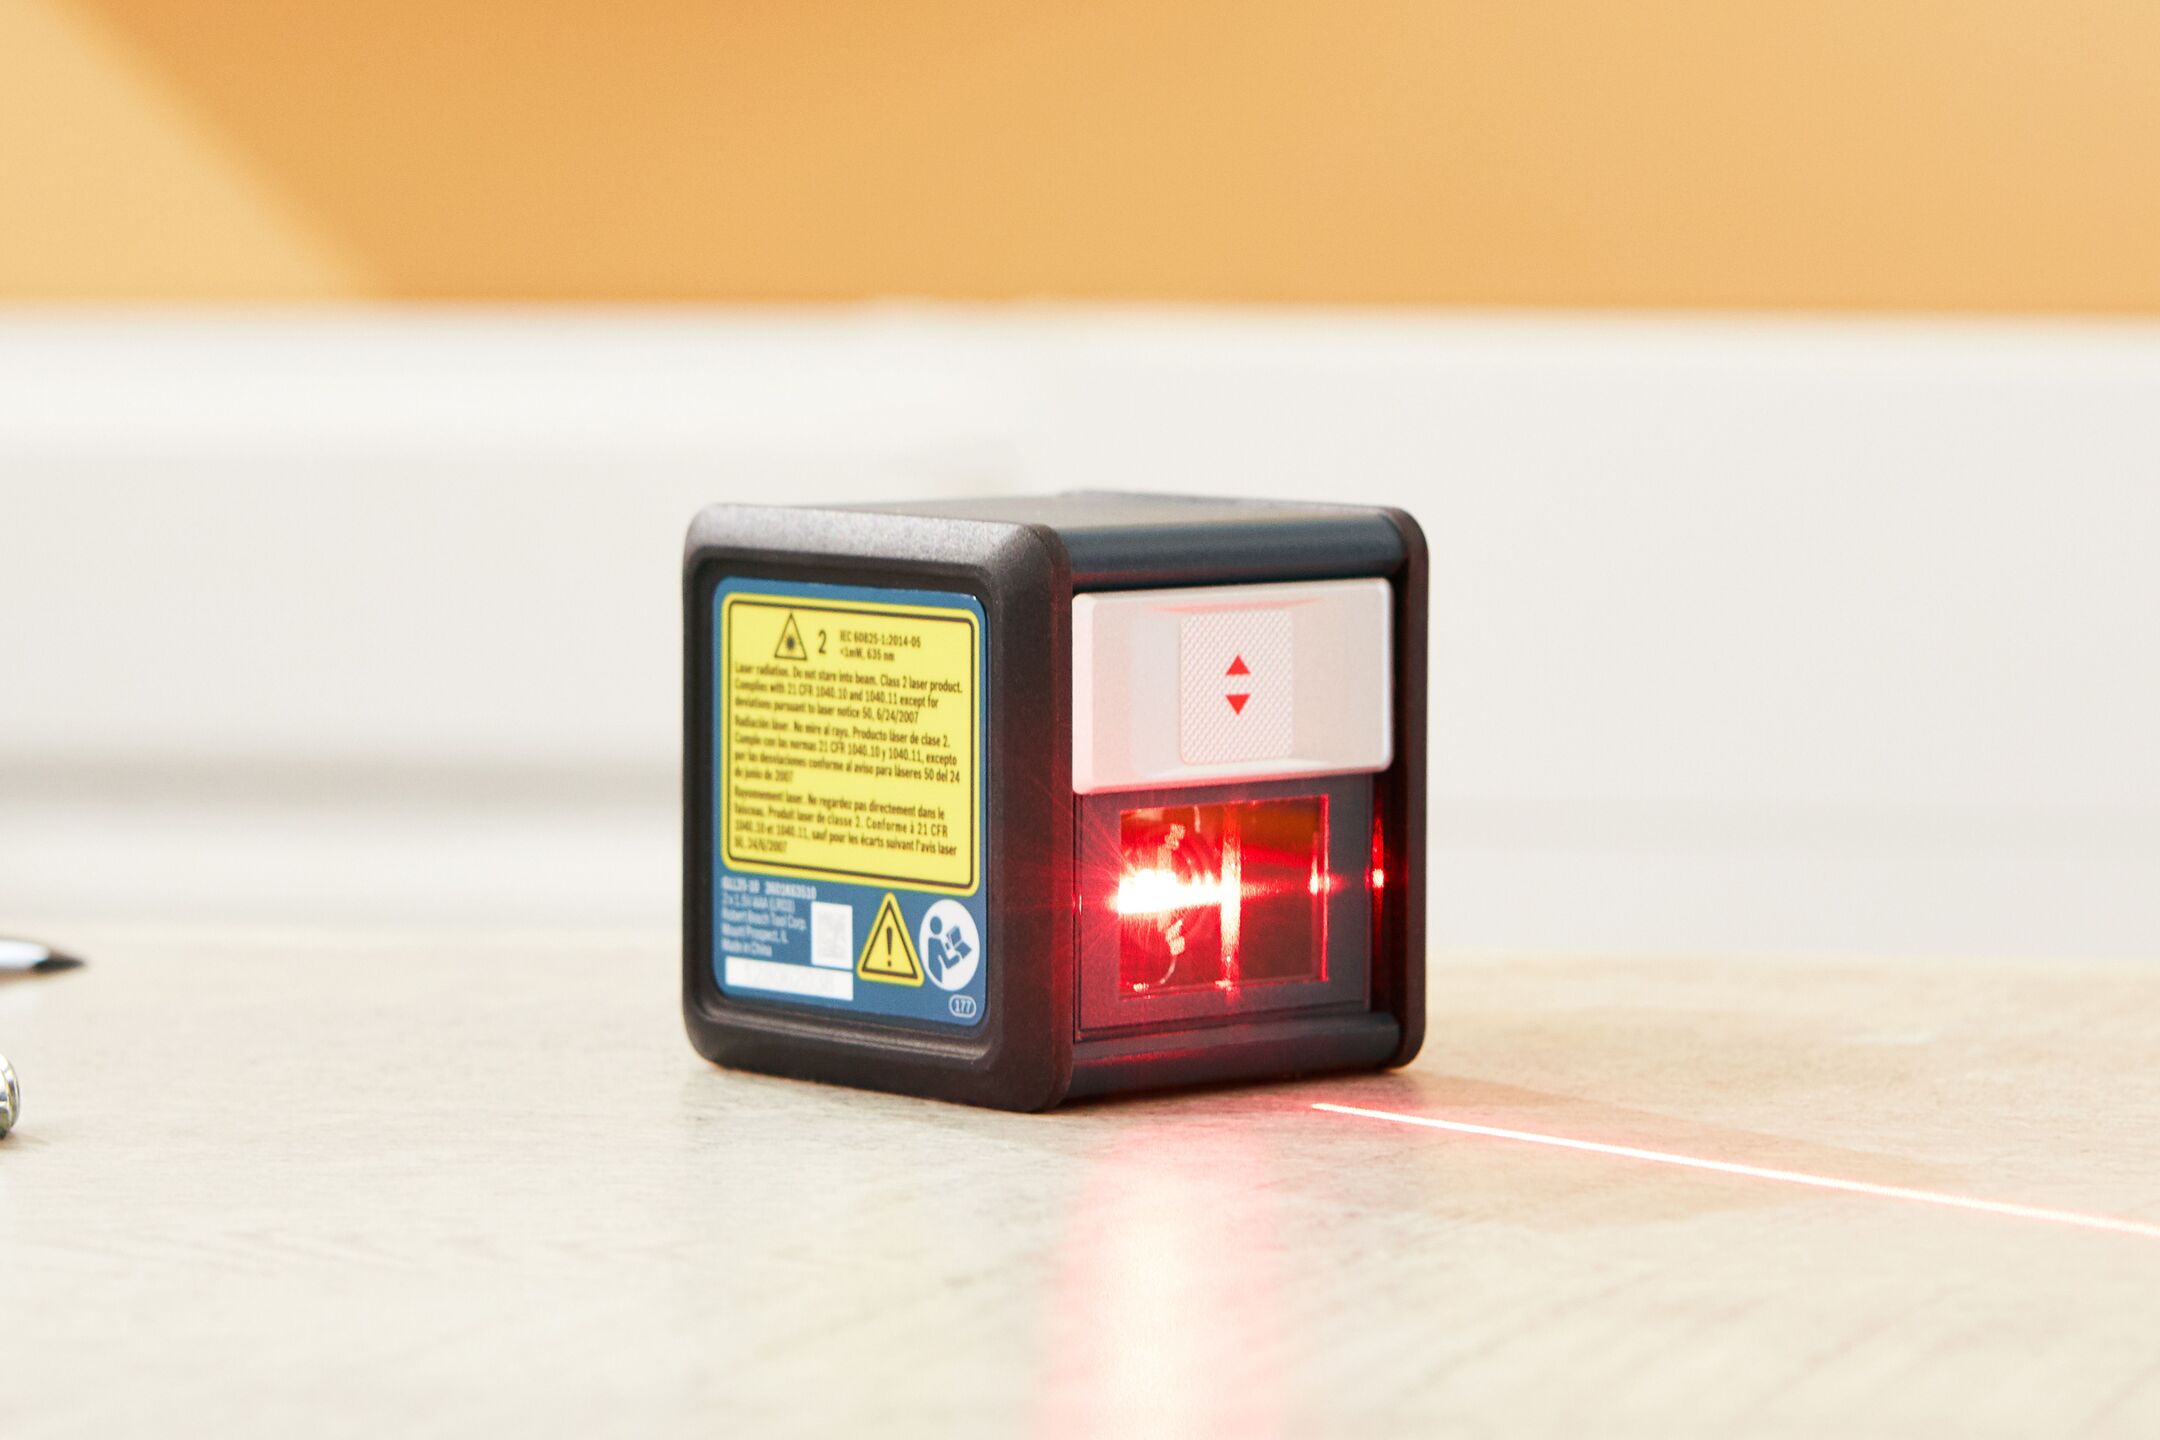
Start by thoroughly examining the area where the toilet will be installed. Look for any noticeable slopes, dips, or bumps on the floor. You can use a level tool to get a more accurate measurement of the unevenness.
If the unevenness is minimal, you might be able to address it by adjusting the toilet flange or using shims under the toilet base. However, if the floor has significant slopes or irregularities, you may need to consider more extensive measures, such as leveling the subfloor or using a self-leveling compound.
It’s also important to consider the cause of the unevenness. Common factors include settling or shifting of the floor over time, improper installation of previous flooring, or structural issues. Identifying the underlying cause can help you determine the most effective solution and prevent future problems.
If you’re unsure about the extent of the unevenness or the best course of action, it’s always a good idea to consult a professional. They can provide expert advice based on their knowledge and experience, ensuring that your toilet installation is both level and secure.
Once you have assessed the unevenness of the floor and identified the cause, you’re ready to gather the necessary tools and materials to begin the leveling process.
Gathering the Required Tools and Materials
Before you start leveling your toilet, it’s important to gather all the necessary tools and materials. Having everything you need on hand will make the process smoother and more efficient.
Here’s a list of the essential tools and materials you’ll need:
- Adjustable wrench
- Level tool
- Shims
- Toilet bolts
- Toilet wax ring
- Putty knife
- Pliers
- Caulking gun
- Silicone caulk
- Bucket or basin
- Towel or rag
Make sure you have all these items ready before you begin the leveling process. It’s also a good idea to have a clear workspace, free from any clutter or obstacles that might hinder your progress.
Keep in mind that the specific tools and materials required may vary depending on your unique situation. For example, if you’re leveling a toilet on a concrete floor, you may need additional tools such as a hammer drill or masonry screws.
Once you have gathered all the necessary tools and materials, you’re ready to move on to the next step: preparing the area for toilet installation.
Preparing the Area
Before you can begin the process of leveling your toilet, it’s important to prepare the area for installation. This involves clearing the space around the toilet and ensuring that the floor is clean and free from any debris.
Follow these steps to prepare the area:
- Turn off the water supply: Locate the shut-off valve near the toilet and turn it clockwise to stop the flow of water.
- Flush the toilet: Flush the toilet to empty the tank and bowl. This will make it easier to remove the toilet later on.
- Remove the toilet tank lid: Lift the lid off the toilet tank and set it aside in a safe place.
- Disconnect the water supply line: Use an adjustable wrench to loosen the nut connecting the water supply line to the bottom of the toilet tank. Once loosened, remove the supply line from the tank.
- Remove the toilet: Carefully lift the toilet straight up to detach it from the floor. If the toilet feels heavy, you can remove some water from the bowl using a bucket or basin to make it easier to lift.
- Set the toilet aside: Place the toilet on a soft towel or rag in a secure location, away from the work area. This will prevent any damage to the toilet and provide a clean and safe workspace.
- Scrape away any old wax ring residue: Use a putty knife to remove any remnants of the old wax ring from the flange on the floor. Ensure that the surface is clean and smooth.
Once the area is prepared and the floor is clean, you can proceed to the next step of leveling your toilet: installing shims.
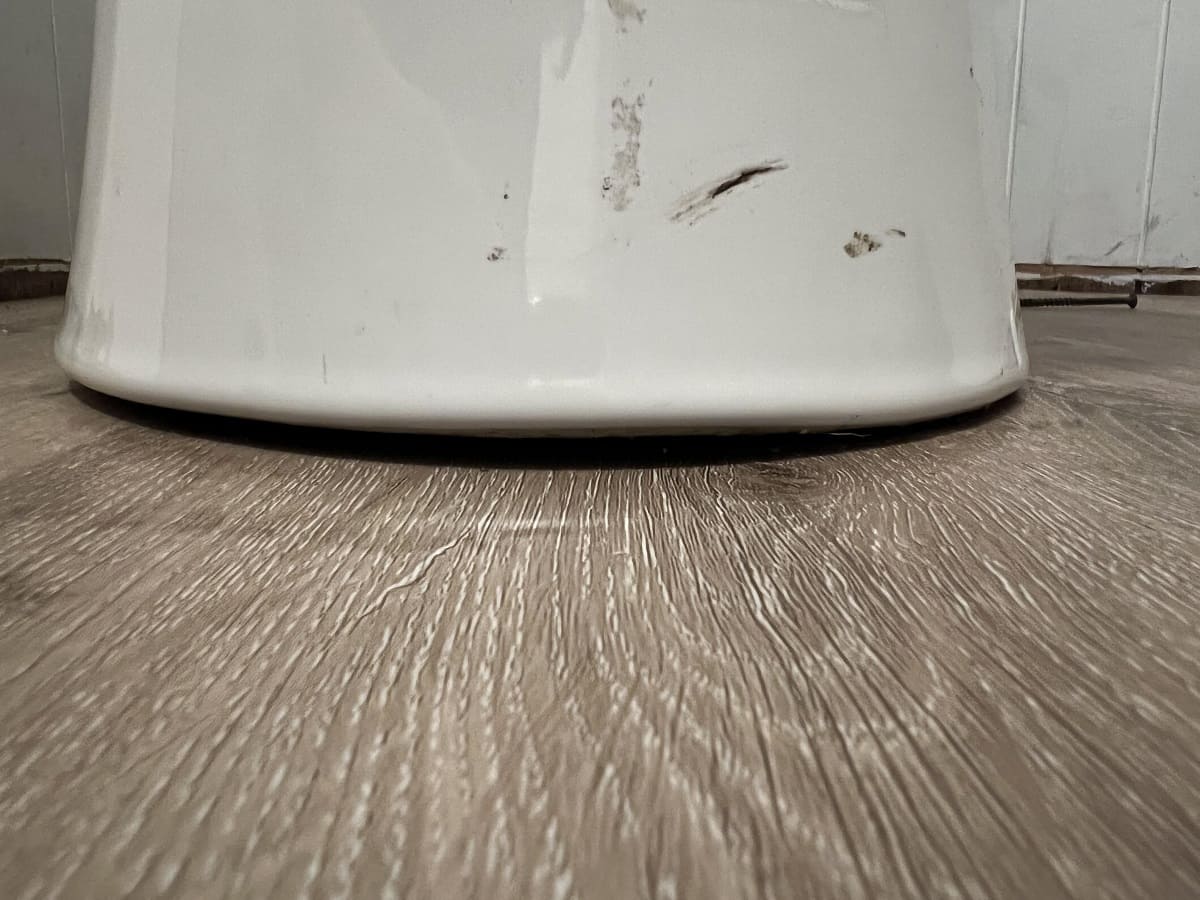
Use shims to level the toilet on an uneven floor. Place the shims under the base of the toilet until it is level, then trim off any excess shim. Check for levelness before tightening the bolts.
Read more: How To Level A Ladder On Uneven Ground
Installing Shims
Shims are an essential tool for leveling a toilet on an uneven floor. They are small, wedge-shaped pieces made from various materials such as plastic or wood. Shims can be inserted under the toilet base to compensate for any unevenness in the floor.
Follow these steps to install shims:
- Inspect the toilet flange: Check the condition of the toilet flange on the floor. Make sure it is securely fastened and in good shape. If it is damaged or worn, it is recommended to replace it before proceeding.
- Place the wax ring on the flange: Position the new wax ring on the flange, ensuring that it is centered and properly aligned.
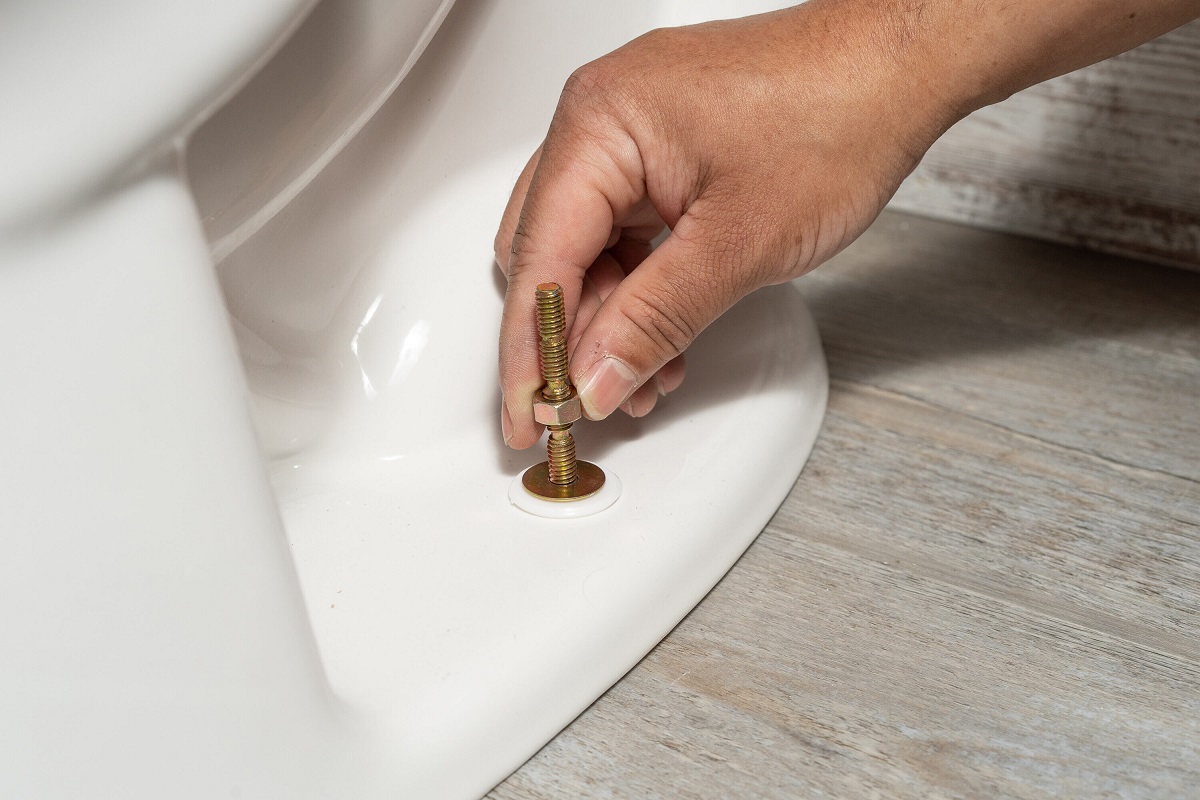
- Reposition the toilet: Carefully lower the toilet back onto the flange, making sure the bolts at the base of the toilet align with the holes on the flange.
- Check for levelness: Use a level tool to check the levelness of the toilet. Place the level across the bowl and adjust the toilet’s positioning as needed to achieve a level reading.
- Insert the shims: Once the toilet is level, insert shims under the base of the toilet as necessary to fill any gaps caused by unevenness in the floor. Start with thin shims and gradually add thicker ones if needed. Be careful not to overdo it, as too many shims can cause instability.
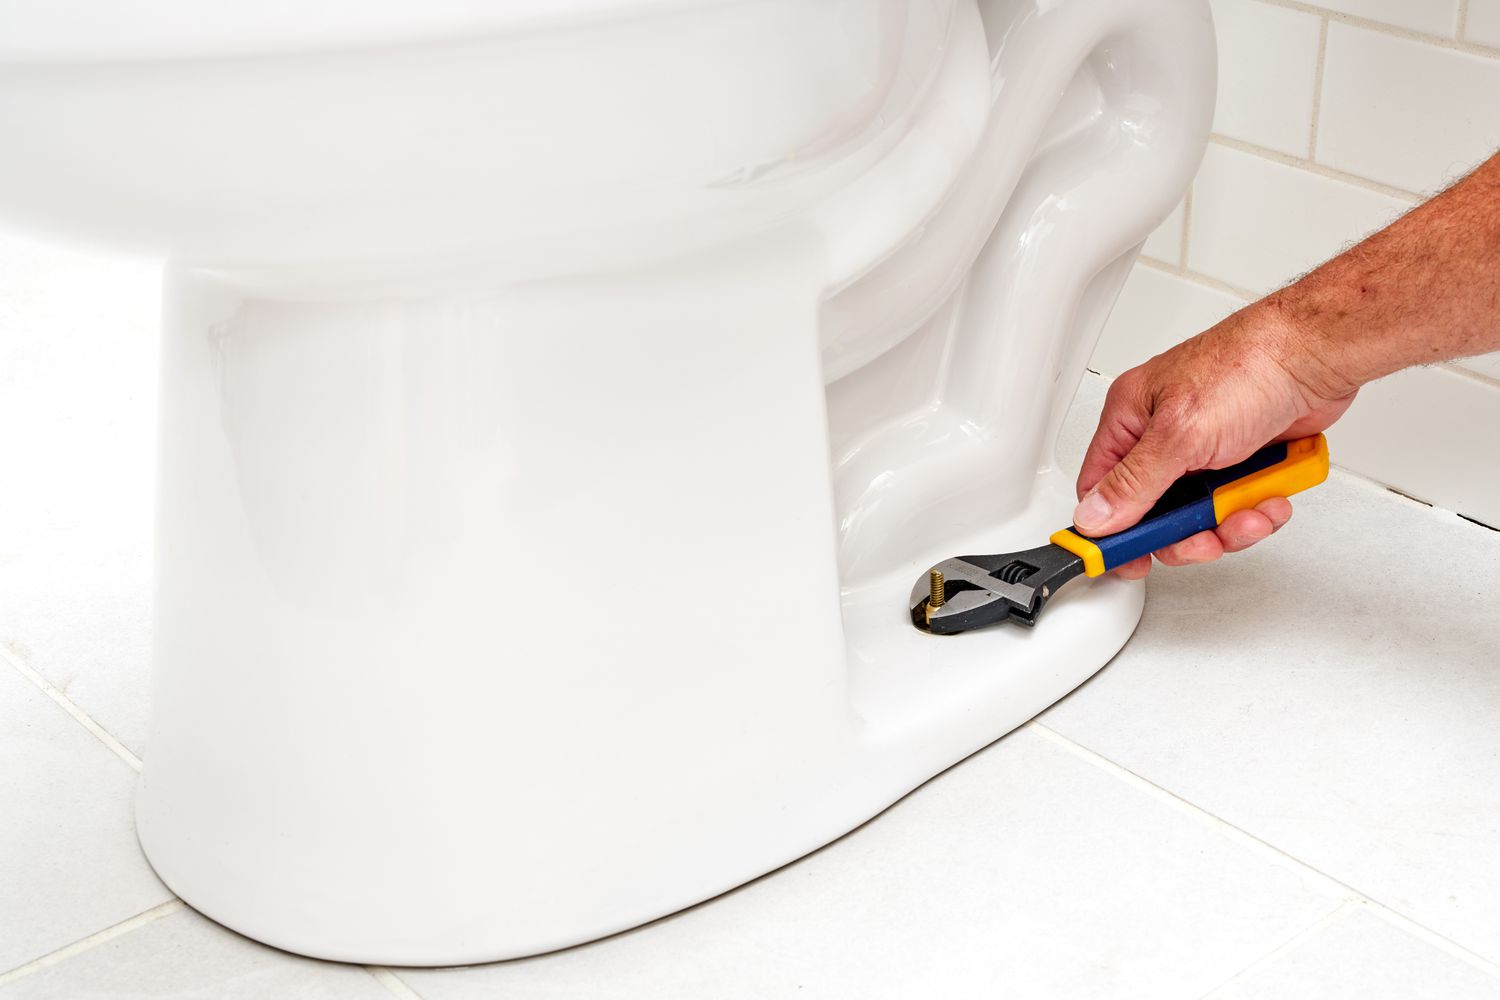
- Tighten the toilet bolts: Use pliers or an adjustable wrench to tighten the toilet bolts, securing the toilet to the floor. Alternate between the bolts to ensure even tightening. Be cautious not to overtighten, as this can damage the toilet or the flange.
- Trim the excess shims: If the shims extend beyond the base of the toilet, use a utility knife or a saw to trim them flush with the toilet’s base. This will provide a neat and clean appearance.
Once the shims are installed and trimmed, it’s time to check the levelness of the toilet again and proceed with securing it to the floor.
Checking the Levelness of the Toilet
After installing the shims, it’s important to check the levelness of the toilet once again. This step ensures that the toilet is securely positioned and provides a comfortable and stable user experience.
Follow these steps to check the levelness of the toilet:
- Place a level on top of the toilet tank: Position a level tool across the top of the toilet tank. Check if the bubble indicator is centered, indicating that the tank is level from front to back.
- Place a level across the bowl: Position the level tool across the bowl of the toilet, making sure it spans the widest part. Check if the bubble indicator is centered, indicating that the bowl is level from side to side.
- Adjust the shims if necessary: If the level indicates any unevenness in the toilet, adjust the shims accordingly. You can add or remove shims as needed to achieve a level reading. Remember to check both the tank and bowl levels.
- Re-tighten the toilet bolts: Once the toilet is level, use pliers or an adjustable wrench to re-tighten the toilet bolts. Ensure they are secure but not overly tightened to avoid damaging the toilet or the flange.
It’s important to note that achieving absolute perfection in levelness may be challenging, especially with heavily uneven floors. The goal is to achieve a reasonable level position that provides stability and comfort during use.
With the toilet now level, you can proceed to the next step of securing it to the floor.
Securing the Toilet to the Floor
Now that the toilet is level, it’s time to secure it firmly to the floor. This step ensures a stable and secure installation that prevents any movement or wobbling during use.
Follow these steps to secure the toilet to the floor:
- Apply silicone caulk around the base: Using a caulking gun, apply a bead of silicone caulk around the base of the toilet where it meets the floor. This creates a watertight seal and helps to prevent any leaks.
- Tighten the toilet bolts: Using pliers or an adjustable wrench, tighten the nuts on the toilet bolts evenly and firmly. This will secure the toilet to the floor.
- Check for any movement: Gently rock the toilet back and forth to ensure that it is securely anchored and there is no movement. If you notice any wobbling or shifting, tighten the bolts further or adjust the shims as necessary.
Once the toilet is securely fastened to the floor, you can move on to the final step: testing the stability of the toilet.
It’s important to note that over-tightening the bolts can cause damage to the toilet or the flange, so exercise caution when tightening.
Testing the Stability of the Toilet
After securing the toilet to the floor, it’s crucial to test its stability to ensure that it can withstand regular use without any issues. Testing the stability will give you peace of mind and ensure that the installation is reliable and long-lasting.
Follow these steps to test the stability of the toilet:
- Sit on the toilet: Carefully sit on the toilet and shift your weight around to test its stability. Ensure that the toilet remains steady and does not wobble or move. If you feel any movement, it may indicate that the toilet is not securely fastened, and you should tighten the bolts further.
- Flush the toilet: Flush the toilet to check for any movement or wobbling during the flushing process. The toilet should remain stable without any noticeable shaking or shifting.
- Check for leaks: After flushing, inspect the area around the base of the toilet for any signs of leaks. Look for water seepage or dampness on the floor. If you notice any leaks, it may indicate a problem with the wax ring seal, and you should address it promptly by replacing the wax ring.
- Listen for unusual sounds: While the toilet is flushing, listen for any unusual sounds, such as gurgling or running water. Unusual sounds can indicate an issue with the plumbing or improper installation.
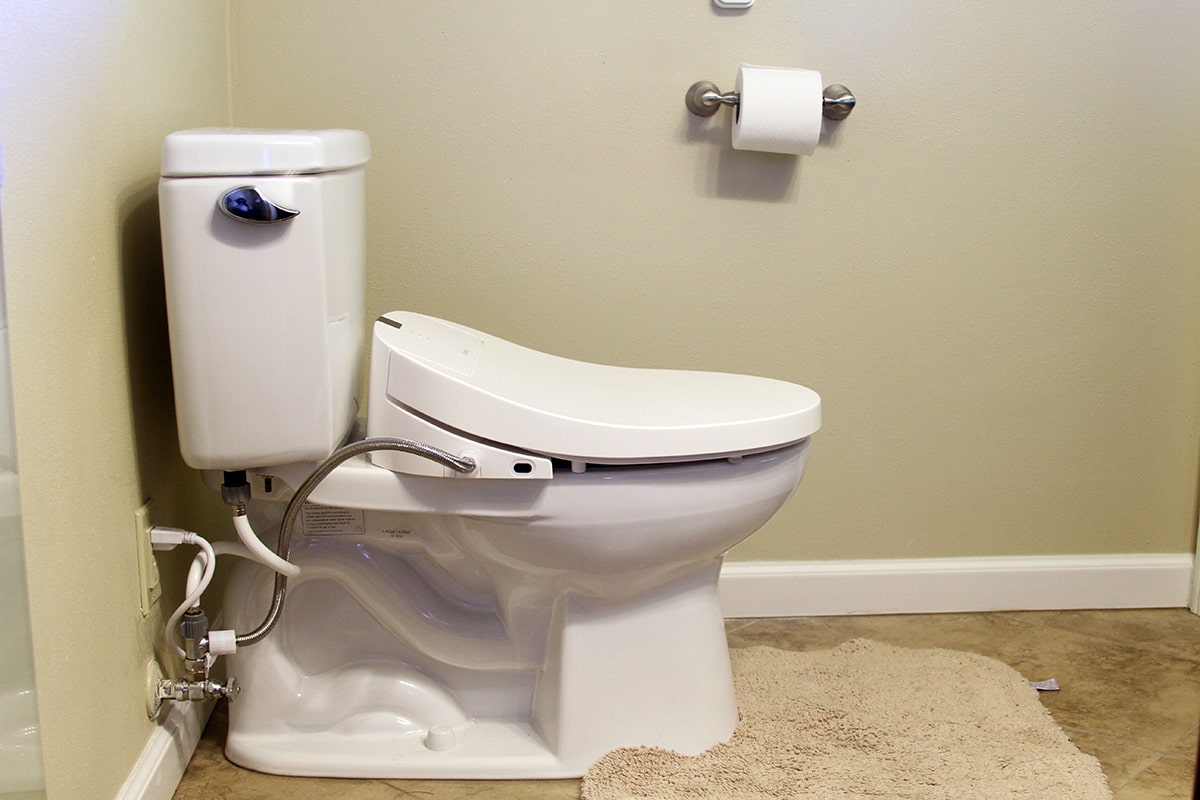
If the toilet passes the stability test without any issues, congratulations! You have successfully leveled and secured the toilet on an uneven floor. Now you can enjoy a stable and comfortable toilet that will serve you well for years to come.
However, if you encounter any problems during the stability test, it’s essential to address them promptly. Recheck the bolts, shims, and wax ring to ensure they are properly installed and secure. If necessary, seek the assistance of a professional plumber to diagnose and fix the issue.
With the stability test passed and any necessary adjustments made, you can now confidently use and enjoy your leveled toilet.
Read more: How To Fix An Uneven Concrete Floor
Conclusion
Leveling a toilet on an uneven floor is a task that requires attention to detail and the right tools and techniques. However, by following the steps outlined in this article, you can achieve a level and secure installation that ensures the functionality, comfort, and aesthetic appeal of your toilet.
We began by understanding the importance of a level toilet, highlighting the potential issues that can arise from an uneven toilet. We then discussed the importance of assessing the unevenness of the floor to determine the extent of the problem.
Next, we covered the essential step of gathering the required tools and materials before diving into the process. Preparing the area, including disconnecting the water supply, removing the toilet, and cleaning the floor, was crucial in ensuring a smooth and effective leveling process.
We then detailed the installation of shims, which play a vital role in compensating for the unevenness of the floor. We discussed the importance of checking the levelness of the toilet and making necessary adjustments to achieve a stable positioning.
Securing the toilet to the floor using bolts and applying silicone caulk was highlighted as a crucial step in preventing any movement or wobbling. Finally, we emphasized the significance of testing the stability of the toilet through sitting on it, flushing, and checking for leaks or unusual sounds.
By completing these steps, you can confidently enjoy a level and secure toilet that enhances the functionality, comfort, and overall beauty of your bathroom.
Remember, if you encounter any difficulties or feel unsure about any aspect of the leveling process, it’s always a good idea to consult a professional plumber who can provide expert guidance and assistance.
With patience, attention to detail, and the right tools, you can successfully level your toilet on an uneven floor, ensuring a reliable and enjoyable bathroom experience for years to come.
Now that you've mastered leveling a toilet on uneven floors, why stop there? Extend your renovation skills further by discovering effective strategies for a complete bathroom overhaul. Learn about timelines, planning tips, and more in our detailed guide on how long a bathroom renovation takes. Ready to turn that old bathroom into a stylish, functional space? Dive into our resource next!
Frequently Asked Questions about How To Level A Toilet On An Uneven Floor
Was this page helpful?
At Storables.com, we guarantee accurate and reliable information. Our content, validated by Expert Board Contributors, is crafted following stringent Editorial Policies. We're committed to providing you with well-researched, expert-backed insights for all your informational needs.


0 thoughts on “How To Level A Toilet On An Uneven Floor”