Articles
How To Raise A Toilet Flange
Modified: October 19, 2024
Learn the step-by-step process of raising a toilet flange with our informative articles. Fix your plumbing issues with our expert tips and techniques.
(Many of the links in this article redirect to a specific reviewed product. Your purchase of these products through affiliate links helps to generate commission for Storables.com, at no extra cost. Learn more)
Introduction
A toilet flange plays a critical role in securing your toilet to the floor and ensuring a proper seal. Over time, however, the flange may become damaged or may not sit at the correct height, causing issues such as leaks, wobbling, or even sewage backup. If you notice any of these problems, it’s essential to address them promptly to prevent further damage and maintain the functionality of your toilet.
In this article, we will guide you through the process of raising a toilet flange. By following the steps outlined, you can restore the flange to the correct height and ensure a secure and leak-free toilet installation. Before we dive into the steps, let’s take a moment to understand what exactly a toilet flange is and why it is crucial for your toilet’s performance.
Key Takeaways:
- Ensure a stable and leak-free toilet installation by raising a damaged or low toilet flange. Follow the step-by-step guide to address issues and maintain a secure and reliable bathroom fixture.
- By identifying signs of a damaged or low flange and following the correct process, you can successfully raise a toilet flange and enjoy a worry-free bathroom experience. Prioritize safety and seek professional help if needed.
Read more: What Is A Toilet Flange
What is a Toilet Flange?
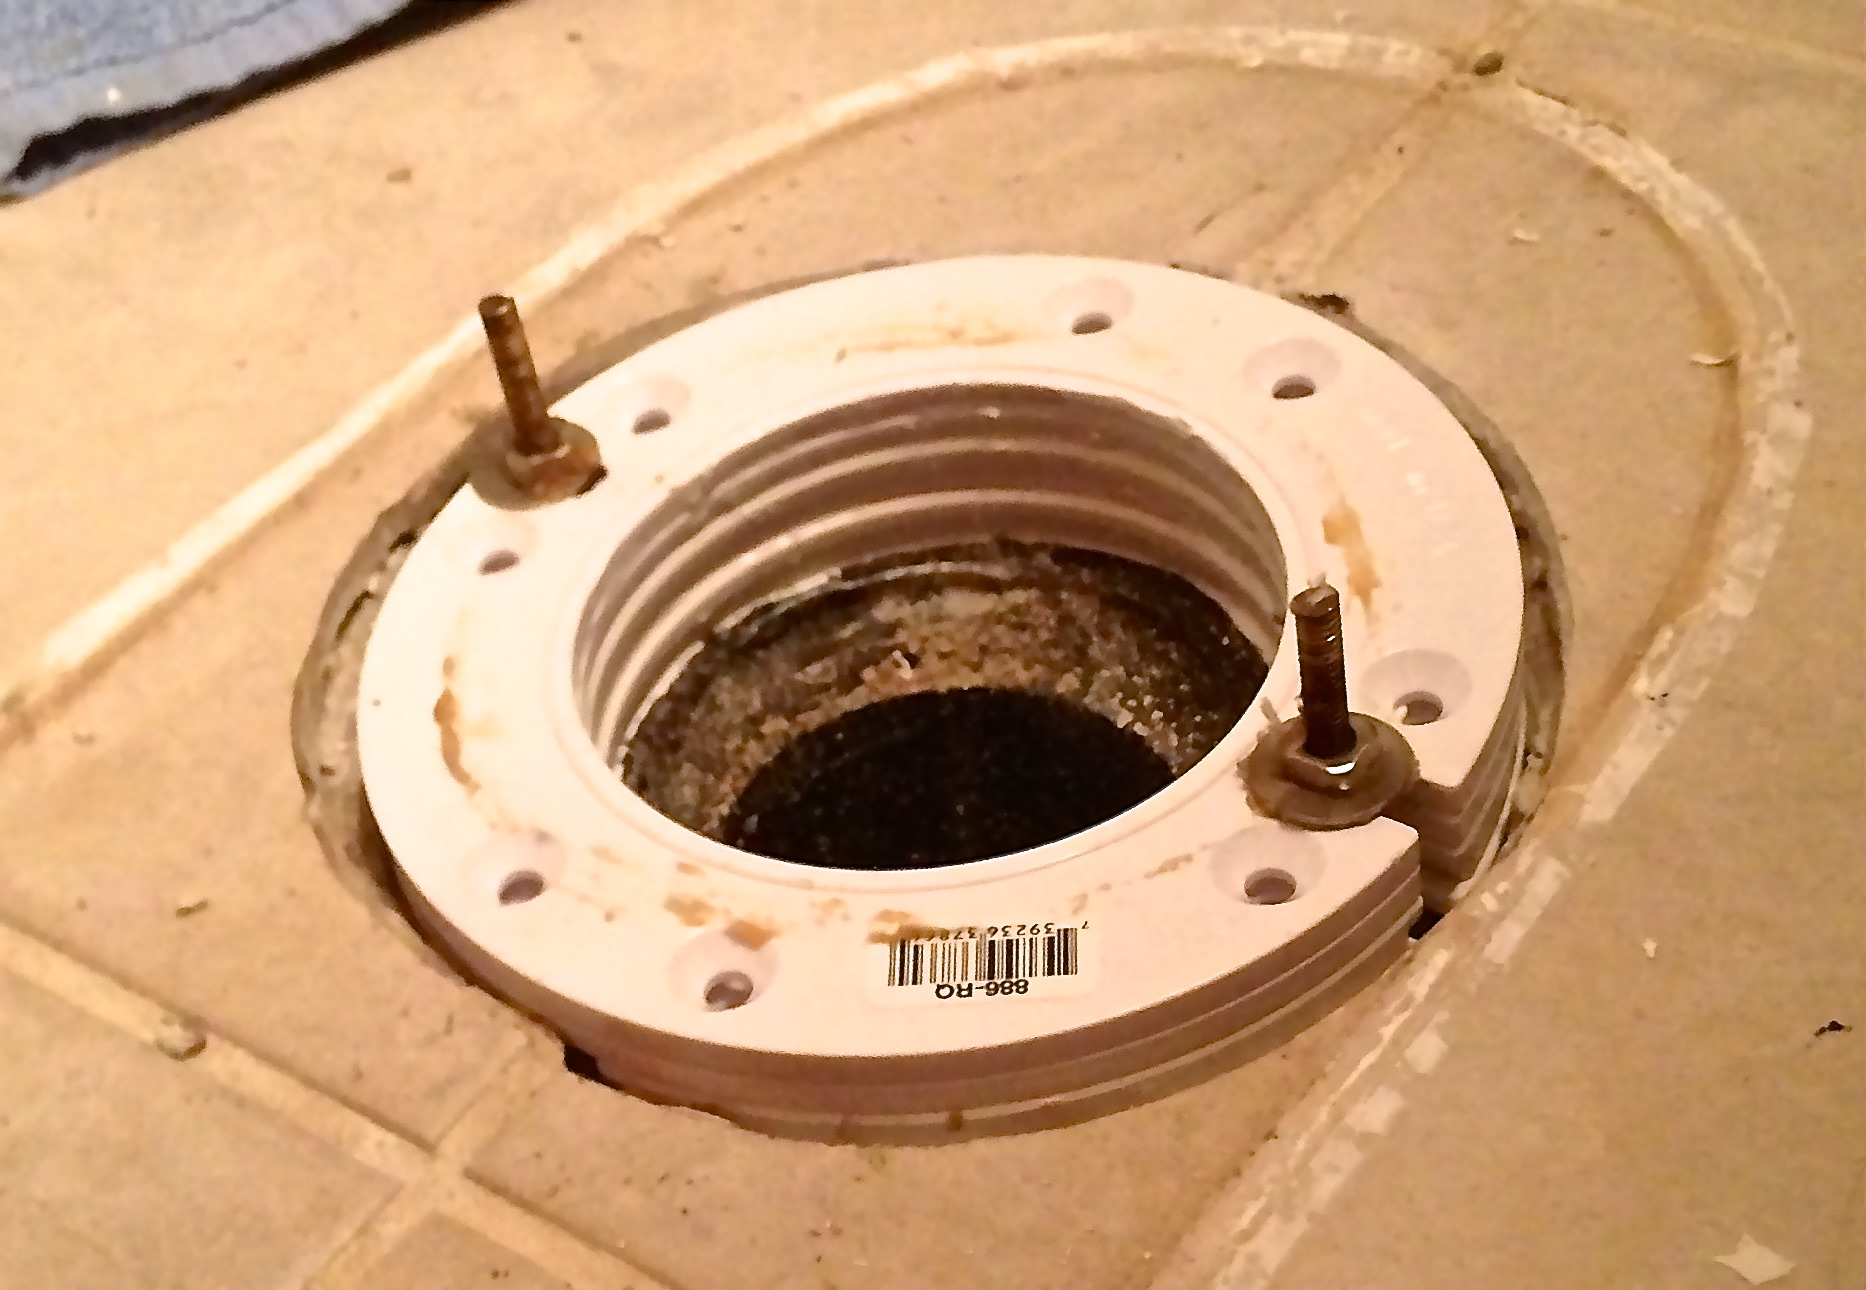
A toilet flange, also known as a closet flange, is a plumbing fitting that connects the toilet to the drain pipe in the floor. It is typically made of PVC or ABS plastic or cast iron. The flange serves as a secure mounting point for the toilet and forms a seal to prevent leaks and odors from escaping.
The flange is installed on top of the drain pipe and is secured to the floor using screws or bolts. It has a round opening that matches the diameter of the toilet waste outlet and is usually fitted with a wax ring to create a watertight seal between the toilet and the drain pipe.
Aside from providing a secure attachment point for the toilet, the flange also ensures that the waste is properly directed into the drain pipe, preventing any clogs or blockages. It also helps to maintain the stability and balance of the toilet, reducing the risk of wobbling or shifting.
Flanges come in different sizes and types to accommodate various toilet models and floor configurations. The most common types are the standard flange, which sits level with the finished floor, and the offset flange, used when the drain pipe is positioned too close to the wall or in an offset location.
Now that we have a better understanding of what a toilet flange is and its importance, let’s move on to identifying the signs that indicate a damaged or low flange, which may require raising.
Signs of a Damaged or Low Toilet Flange
There are several indicators that suggest a damaged or low toilet flange. Recognizing these signs early on can help prevent further problems and ensure the proper functioning of your toilet. Here are some common signs to look out for:
- Leaking around the base of the toilet: If you notice water pooling around the base of your toilet or detect a foul odor, it may indicate a faulty flange seal. Water leakage can lead to water damage to your flooring and subfloor if left untreated.
- Wobbling or movement of the toilet: A loose or unstable toilet is often a sign of a flange problem. If the flange is damaged or not secured properly, it can cause the toilet to wobble or shift when in use.
- Sewage backup: If you experience sewage backup or frequent clogging, it could be a sign that the flange is not positioned correctly, obstructing the proper flow of waste through the drain pipe.
- Visible cracks or damage: Inspect the flange visually to check for any cracks, breaks, or other signs of damage. These can weaken the flange’s structure and compromise its ability to securely hold the toilet.
- Low toilet sitting: If your toilet sits lower than the surrounding flooring, it may indicate that the flange is too low. This can cause an uneven or unstable toilet installation.
If you notice any of these signs, it is important to address the issue promptly. Ignoring a damaged or low flange can lead to further damage and more expensive repairs down the line. Luckily, raising a toilet flange can be a relatively straightforward process, and with the right tools and materials, you can restore the flange to its proper height and ensure a secure toilet installation.
Now that we’ve identified the signs of a damaged or low toilet flange, let’s move on to discussing the tools and materials you will need for the flange-raising process.
Tools and Materials Needed
Before you begin the process of raising a toilet flange, it’s important to gather the necessary tools and materials. Having everything prepared ahead of time will streamline the process and ensure a smooth and efficient flange-raising project. Here are the tools and materials you will need:
- Adjustable wrench: This versatile tool will be used to disconnect and reconnect the water supply line to the toilet.
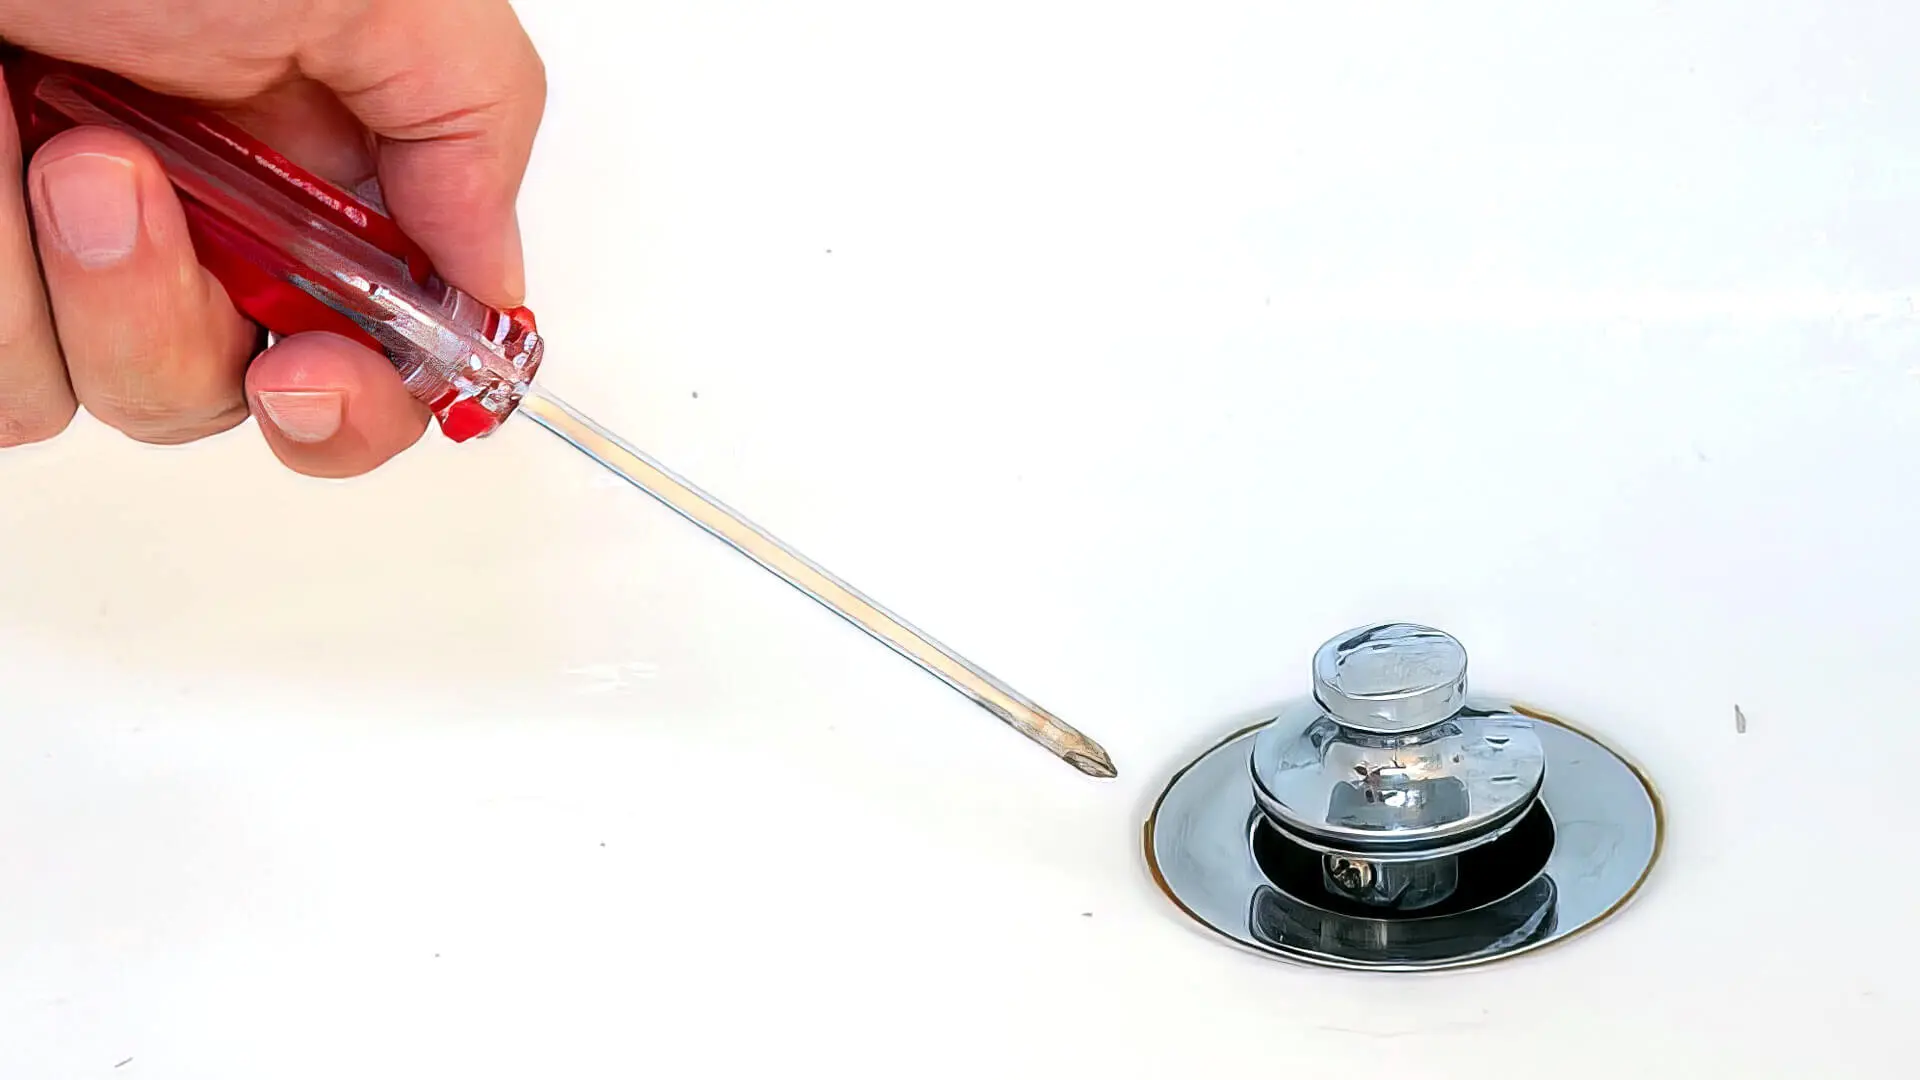
- Screwdriver: You may need a screwdriver to remove any screws or bolts securing the toilet to the floor.
- Hacksaw or reciprocating saw: In some cases, you may need to cut the existing flange or pipe to make room for raising the flange. A hacksaw or reciprocating saw will be useful for this task.
- PVC or ABS flange extension kit: This kit contains the necessary components to raise the flange to the desired height. It typically includes a flange extender ring, spacers, and longer screws or bolts.
- Wax ring: A new wax ring will be needed to create a watertight seal between the toilet and the flange once it is raised.
- Plumber’s putty or silicone sealant: This will help create a waterproof seal between the toilet base and the floor.
- Cloths or rags: Prepare some cloths or rags to clean up any water or debris that may be present during the process.
Make sure to have these tools and materials ready before you start working on raising the toilet flange. It’s also essential to wear appropriate safety gear, such as goggles and gloves, to protect yourself during the process.
Now that you have all the necessary tools and materials, let’s move on to the step-by-step process of raising a toilet flange.
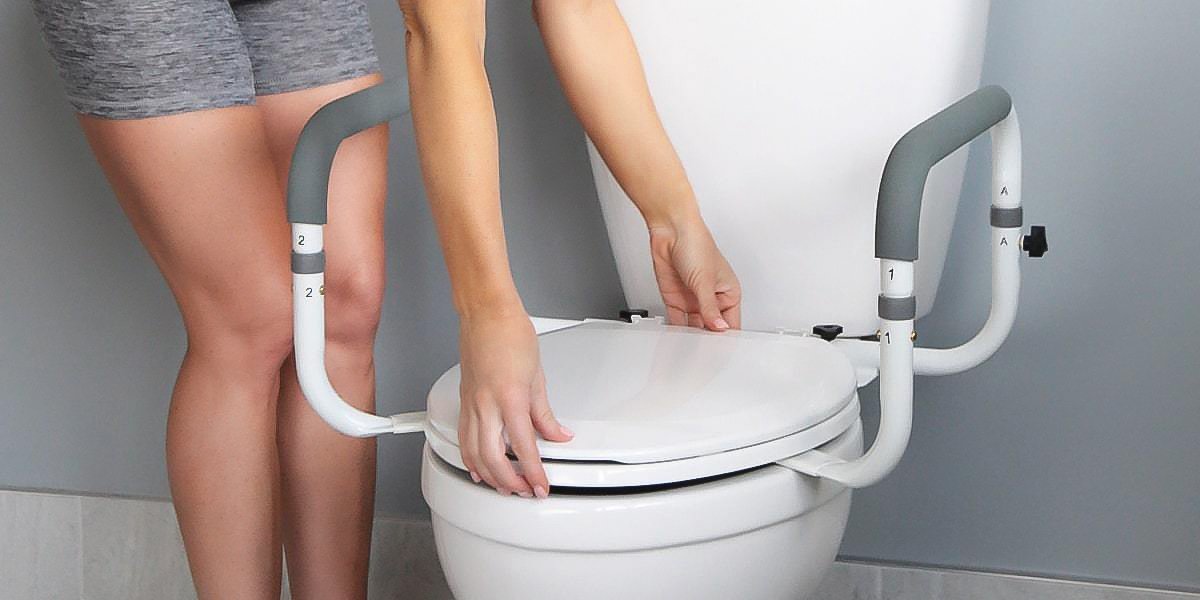
Step 1: Remove the Toilet
Before you can raise the toilet flange, you’ll need to remove the toilet itself. This step is essential to gain access to the flange and perform the necessary adjustments. Follow these steps to remove the toilet:
- Turn off the water supply: Locate the water shut-off valve behind the toilet and turn it clockwise to shut off the water supply. Flush the toilet to drain any water in the tank and bowl.
- Disconnect the water supply line: Use an adjustable wrench to disconnect the water supply line from the bottom of the tank.
- Remove the tank lid: Lift off the tank lid and set it aside in a safe place.
- Remove the tank from the bowl: Unscrew the bolts or nuts connecting the tank to the bowl using a screwdriver or adjustable wrench. Lift the tank off the bowl and place it on a soft surface, such as a towel or blanket, to avoid scratching or damaging it.
- Disconnect the toilet from the flange: Locate the bolts or screws securing the toilet to the flange on the floor. Remove the nuts or screws and gently lift the toilet off the flange. It may be helpful to rock the toilet back and forth slightly to break the seal created by the wax ring.
- Place the toilet aside: Once the toilet is removed, carefully place it aside in a safe and clean area, preferably covered with a cloth or plastic wrap to prevent any damage or debris from entering the drainpipe.
With the toilet removed, you now have access to the flange and can proceed to the next step of inspecting it for any damage or issues. Make sure to handle the toilet with care, as it can be heavy and fragile. Take the necessary precautions to prevent any accidents or injuries.
Now let’s move on to step 2, where we will inspect the flange for any problems.
When raising a toilet flange, use a flange extender kit to ensure a proper seal and prevent leaks. Make sure to follow the manufacturer’s instructions for installation.
Read more: How To Remove Old Toilet Flange
Step 2: Inspect the Flange
Now that you have removed the toilet, it’s time to inspect the flange to determine if there are any issues that need to be addressed. Here’s how to inspect the flange:
- Visually examine the flange: Take a close look at the flange to check for any visible signs of damage, such as cracks, breaks, or corrosion. Pay attention to the condition of the flange and note any areas that may need attention or repair.
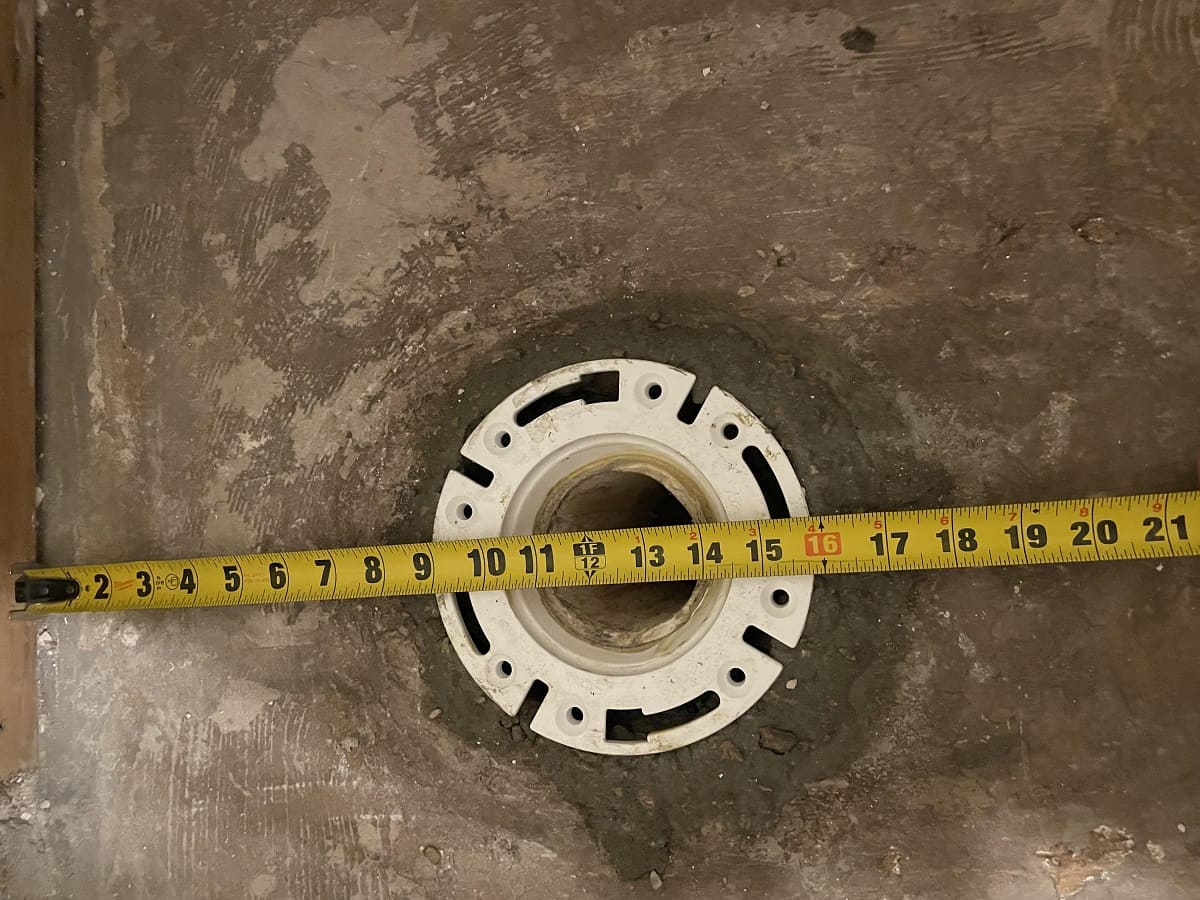
- Check the flange height: Use a measuring tape or ruler to measure the height of the flange. The flange should sit slightly above or level with the finished floor surface. If you find that the flange is too low, it will need to be raised to ensure a proper installation.
- Inspect the sealing surface: Examine the sealing surface of the flange where the wax ring sits. Ensure that it is clean and free from debris or old wax remnants. This will help ensure a proper seal when reinstalling the toilet.
- Check the flange bolts or screws: Inspect the flange bolts or screws that secure the toilet to the flange. Ensure that they are in good condition and securely fastened. Replace any damaged or corroded bolts or screws as needed.
If you notice any damage to the flange or if it is sitting too low, it’s essential to address these issues before proceeding with the flange-raising process. Depending on the severity of the damage, you may be able to repair the flange or opt to replace it entirely.
Once you have thoroughly inspected the flange and made note of any necessary repairs or adjustments, you can move on to step 3, which involves raising the flange to the appropriate height.
Step 3: Raise the Flange
Now that you have inspected the flange and identified the need for raising it, it’s time to proceed with the actual flange-raising process. Follow these steps to raise the flange:
- Remove the old flange: If the existing flange is damaged beyond repair or needs to be replaced, use a hacksaw or reciprocating saw to cut it off. Cut as close to the floor as possible, being careful not to damage the drainpipe.
- Clean the drainpipe and subfloor: Use a cloth or brush to clean the drainpipe and the area around it, removing any debris or old wax residue. Ensure that the subfloor is clean and level, providing a solid foundation for the new flange.
- Install the flange extension kit: Take the PVC or ABS flange extension kit and fit the flange extender ring onto the existing flange, aligning the bolt or screw holes. If necessary, use spacers provided in the kit to adjust the height and ensure a secure fit.
- Secure the flange extender ring: Insert longer screws or bolts into the bolt or screw holes of the flange extender ring and tighten them securely. Ensure that the flange extender ring is firmly attached to the existing flange and sits level with or slightly above the finished floor surface.
- Apply plumber’s putty or silicone sealant: Apply a thin layer of plumber’s putty or silicone sealant around the base of the flange extender ring. This will help create a waterproof seal between the flange and the floor, preventing any leaks.
By following these steps, you can raise the toilet flange to the desired height. It’s important to ensure that the flange is securely attached and that the new height aligns with the finished floor surface. Taking the time to properly raise the flange will help prevent future issues such as leaks or an unstable toilet installation.
Once you have raised the flange, it’s time to move on to step 4, which involves testing the stability of the flange before reinstalling the toilet.
Step 4: Test for Stability
Now that you have raised the toilet flange to the desired height, it’s crucial to test its stability before proceeding with the reinstallation of the toilet. Follow these steps to ensure the flange is secure:
- Apply pressure: Place your weight on the flange by stepping or pressing down on it. This will help determine if the flange is securely attached to the floor and if it can withstand the weight of the toilet without shifting or wobbling.
- Check for movement: Wiggle or gently twist the flange to see if there is any movement. A stable and secure flange should not move or shift when pressure is applied.
- Inspect the seal: Check the seal between the flange and the floor. Ensure that there are no gaps or spaces that could result in leaks once the toilet is reinstalled.
- Make adjustments if needed: If you notice any instability or issues with the flange, you may need to make further adjustments. This could include tightening the screws or bolts, adding additional spacers, or repositioning the flange extender ring if necessary.
Testing the stability of the flange is crucial to ensure a secure installation and prevent future problems. A stable flange will provide a solid foundation for the toilet and minimize the risk of leaks, wobbling, or damage to the surrounding flooring.
Once you are satisfied with the stability of the flange, you can proceed to the final step: reinstalling the toilet.
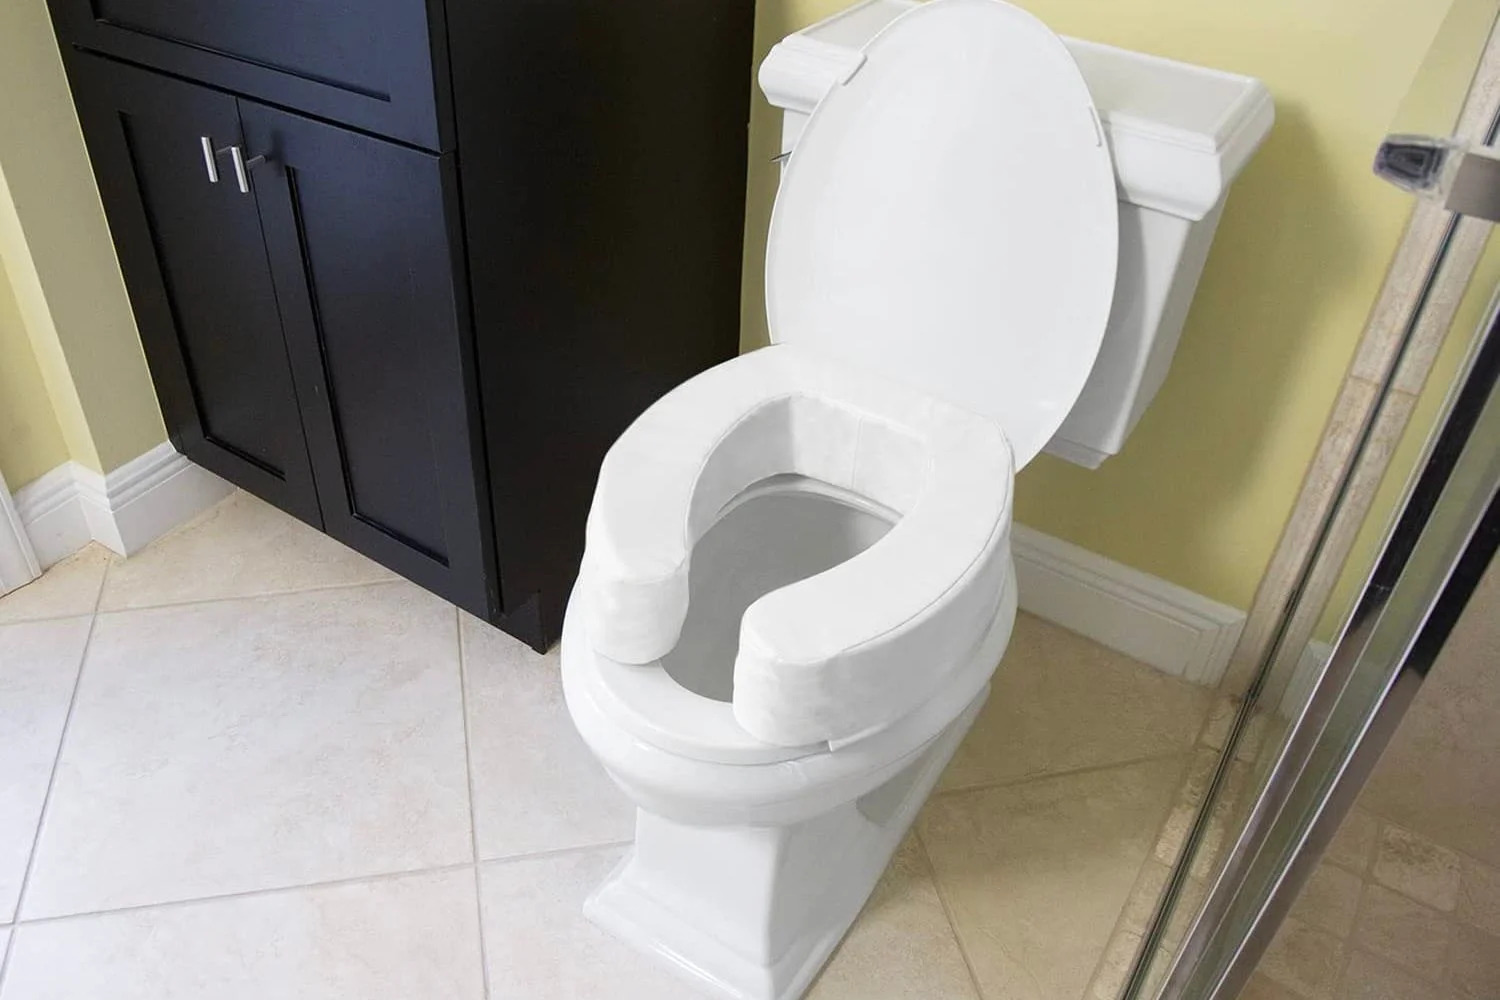
Step 5: Reinstall the Toilet
After successfully raising and testing the stability of the toilet flange, it’s time to reinstall the toilet. Follow these steps to ensure a proper and secure installation:
- Prepare the new wax ring: Place a new wax ring onto the flange, ensuring that it is centered and aligned with the waste outlet of the toilet. The wax ring creates a watertight seal between the toilet and the flange.
- Position the toilet: Carefully lower the toilet onto the flange, aligning the waste outlet with the wax ring. Gently rock the toilet back and forth to help the wax ring create a tight seal.
- Secure the toilet: Place the washers and nuts onto the flange bolts or screws that secure the toilet to the flange. Tighten them evenly and alternately to ensure a secure fit, being careful not to overtighten and crack the toilet.
- Reattach the tank: If you had disconnected the tank from the bowl earlier, reattach it using the bolts or nuts and tighten them securely.
- Reconnect the water supply: Reconnect the water supply line to the bottom of the tank and tighten it with an adjustable wrench.
- Turn on the water supply: Open the water shut-off valve to allow water to fill the tank. Check for any leaks around the connections and tighten them if needed.
Once the toilet is securely installed and there are no leaks, flush the toilet to ensure proper functioning. Listen for any unusual sounds or observe any signs of water leakage during and after the flush. If everything is working properly and there are no issues, you have successfully raised the toilet flange and reinstalled the toilet.
Remember to clean up any water or debris that may have been left behind during the installation process. Dispose of any old wax rings or other materials properly.
Now you can enjoy a properly installed and stable toilet, free from leaks or wobbling. By following these steps carefully, you have successfully raised the toilet flange, ensuring a secure and reliable toilet installation.
As a final note, if you feel unsure or uncomfortable performing these steps yourself, it is always advisable to seek the assistance of a professional plumber to ensure the job is done correctly and safely.
Congratulations on completing the process of raising a toilet flange!
Read also: 9 Amazing Toilet Flange for 2025
Conclusion
Raising a toilet flange is a task that may seem daunting at first, but with the right tools and guidance, it can be accomplished successfully. By addressing a damaged or low flange and ensuring its proper height, you can eliminate issues such as leaks, wobbling, and sewage backup, and maintain the functionality of your toilet.
In this article, we have explored the importance of a toilet flange and discussed the signs that indicate a damaged or low flange. We have also provided a step-by-step guide on how to raise the flange, including removing the toilet, inspecting the flange, raising it to the correct height, testing its stability, and reinstalling the toilet.
Throughout the process, it’s crucial to pay attention to detail, use the right tools and materials, and ensure a proper seal between the flange and the toilet. Taking the time to raise the flange correctly will not only prevent future problems but also provide you with a more stable and secure toilet installation.
However, if you feel unsure or uncomfortable performing the steps yourself, it is always recommended to seek the assistance of a professional plumber. They have the expertise and experience to handle the task effectively and ensure a proper installation.
With the information provided in this article, you are now equipped with the knowledge to identify and address issues with your toilet flange. By taking prompt action, you can maintain a fully functional and leak-free toilet, enhancing the comfort and convenience of your bathroom.
Remember to prioritize safety throughout the process, and don’t hesitate to seek professional help if needed. By following these guidelines, you can successfully raise a toilet flange and enjoy a worry-free bathroom experience.
Now that you've mastered raising a toilet flange, why not tackle bigger projects or address more specific fixtures? If you're curious about the time commitment for larger upgrades, our article on how long bathroom renovations take offers valuable insights to plan effectively. For those dealing with more specific toilet issues, our guide on the top toilet repair techniques for 2024 provides the latest methods to ensure your bathroom functions flawlessly.
Frequently Asked Questions about How To Raise A Toilet Flange
Was this page helpful?
At Storables.com, we guarantee accurate and reliable information. Our content, validated by Expert Board Contributors, is crafted following stringent Editorial Policies. We're committed to providing you with well-researched, expert-backed insights for all your informational needs.


0 thoughts on “How To Raise A Toilet Flange”