
Articles
How To Make A Coat Out Of A Blanket
Modified: December 7, 2023
Discover step-by-step instructions on transforming a blanket into a stylish coat with our insightful articles. Unleash your creativity and stay warm in a unique fashion statement!
(Many of the links in this article redirect to a specific reviewed product. Your purchase of these products through affiliate links helps to generate commission for Storables.com, at no extra cost. Learn more)
Introduction
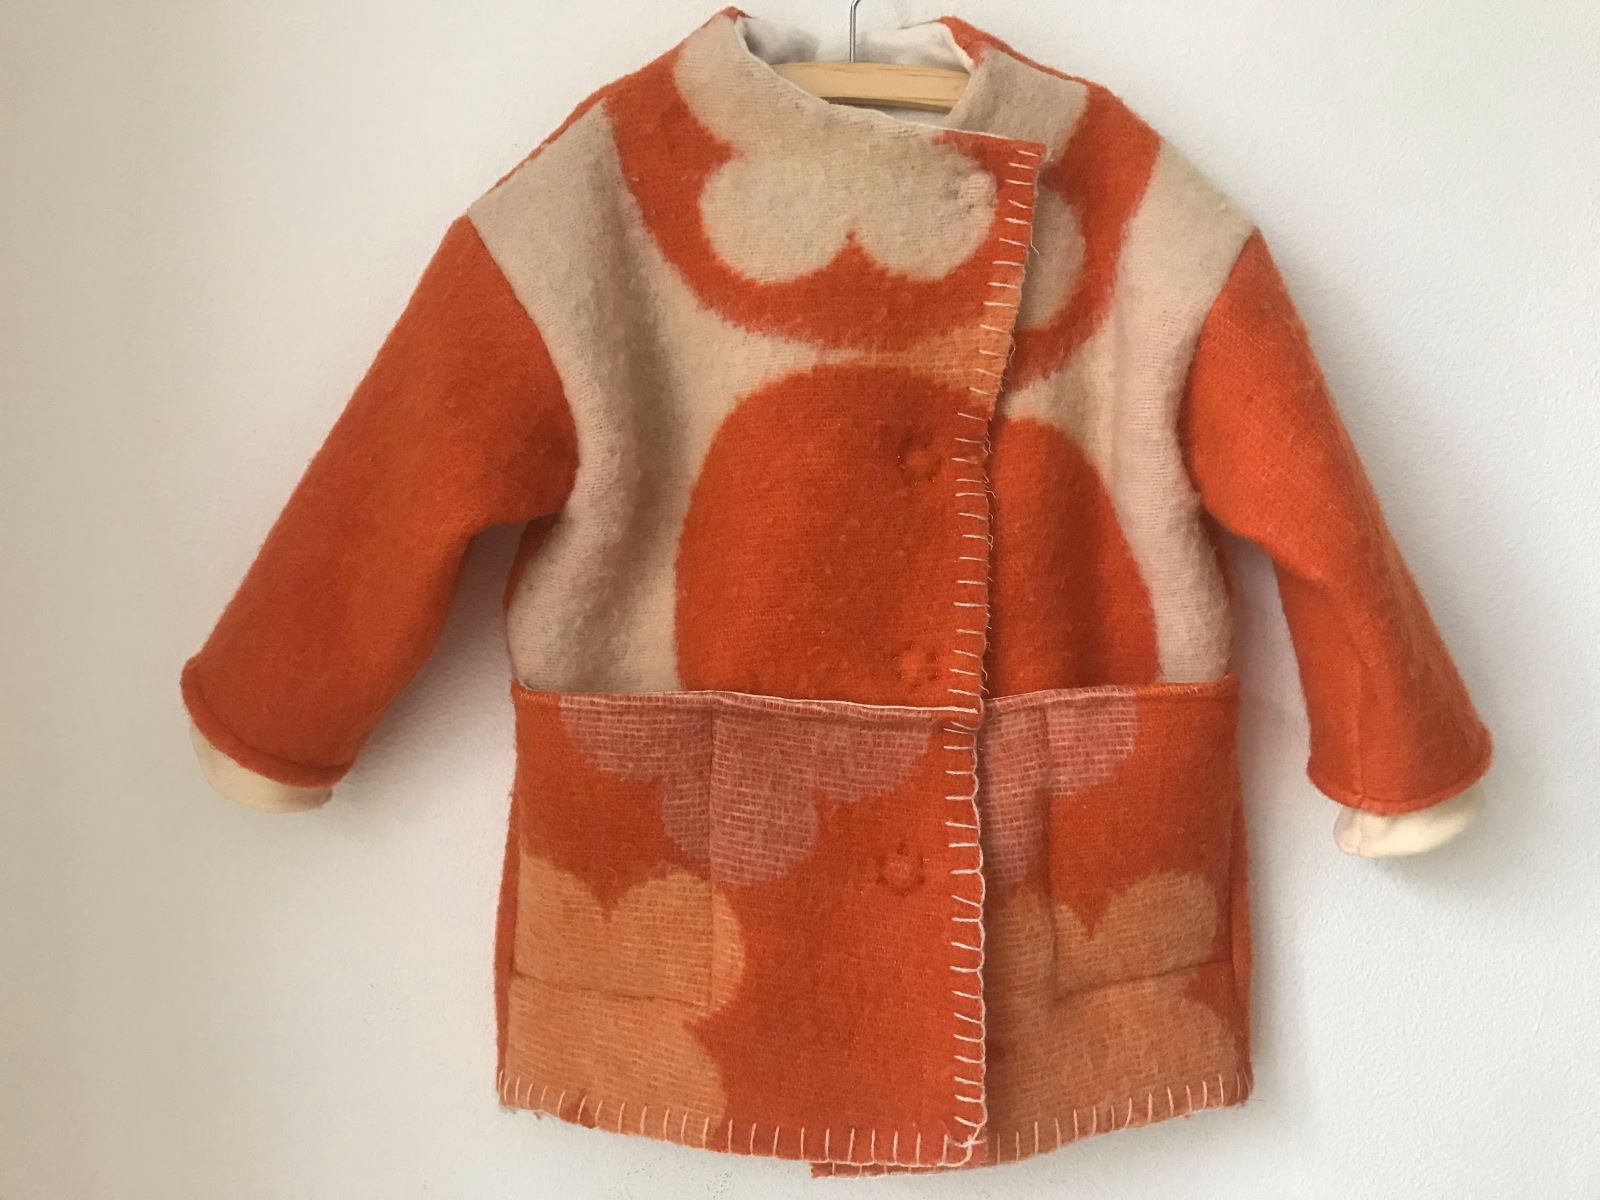
Do you have an old blanket lying around that you don’t use anymore? Instead of letting it collect dust, why not repurpose it into something new and stylish? In this article, we will show you how to make a coat out of a blanket, giving your beloved blanket a new lease of life and providing yourself with a cozy and unique piece of outerwear.
Making a coat out of a blanket is not only a great way to upcycle and save money, but it also allows you to showcase your creativity and have a one-of-a-kind garment. Plus, with the rising popularity of sustainable fashion, repurposing materials is an excellent way to reduce waste and contribute to a greener planet.
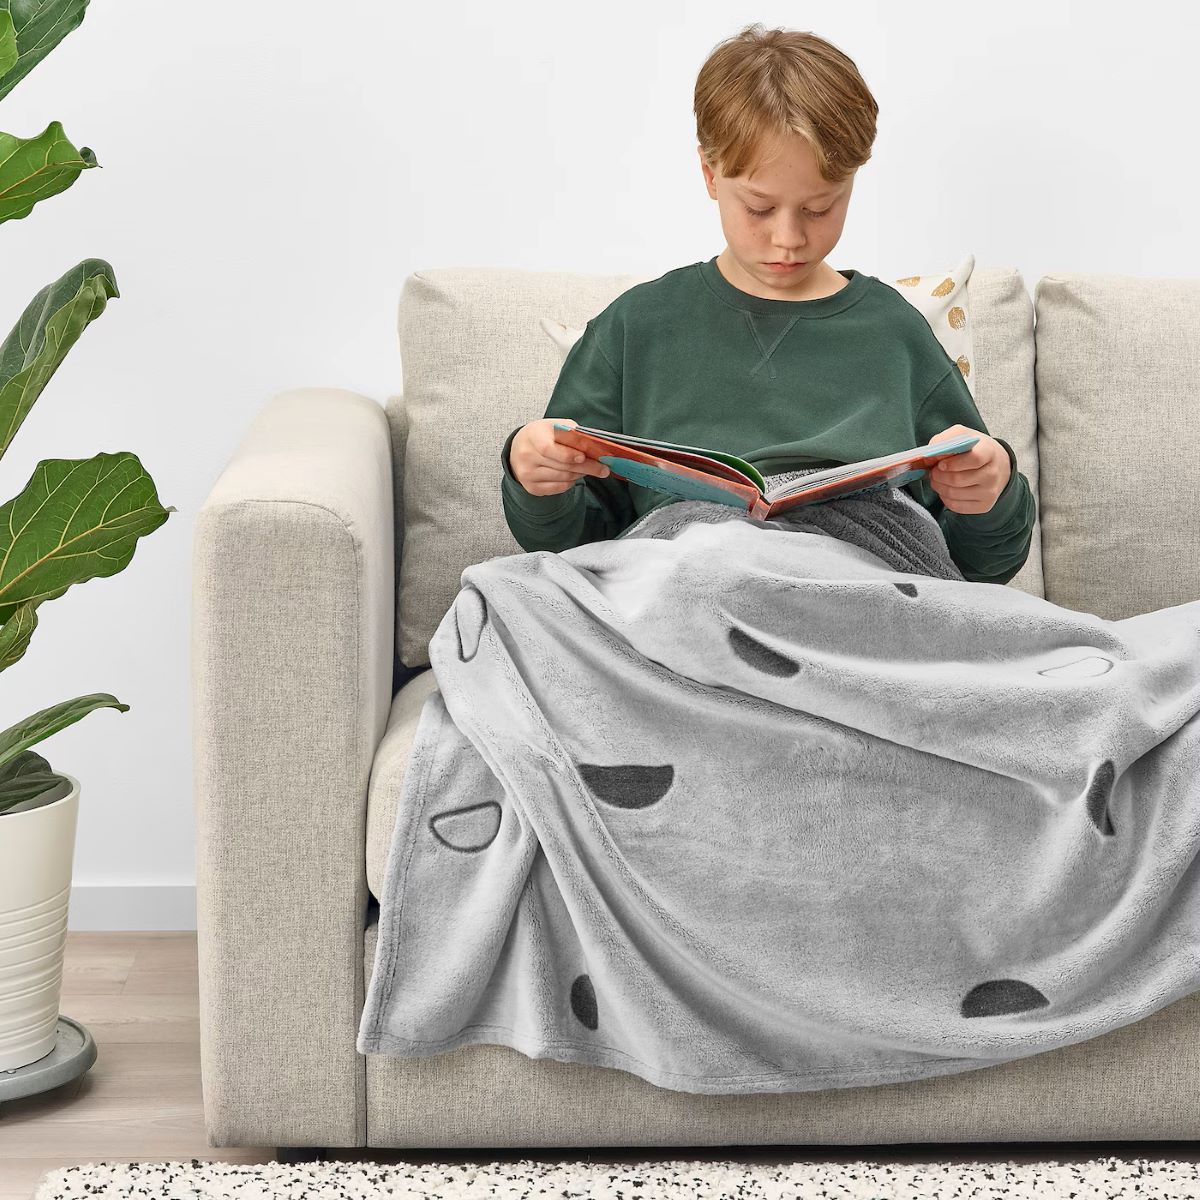
Before we dive into the steps, let’s talk about choosing the right blanket for your coat. Look for a blanket that is warm, durable, and in a style that you love. Wool blankets or thick cotton blankets are ideal, as they provide insulation and are easier to work with when sewing.
Now, without further ado, let’s gather our materials and get started on creating your fabulous coat!
Key Takeaways:
- Transform old blankets into stylish, sustainable coats by following simple DIY steps. Showcase creativity, reduce waste, and stay warm with a one-of-a-kind garment that reflects personal style.
- Upcycle and repurpose blankets to create unique, cozy coats. Embrace sustainability, express creativity, and inspire others to embark on their own DIY fashion projects.
Read more: How To Make A Hammock Out Of A Blanket
Step 1: Gather Materials
Before you can begin making your coat, you’ll need to gather the necessary materials. Here’s a list of what you’ll need:
- A blanket of your choice – Look for a blanket that is warm, durable, and in a style that suits your taste. Wool blankets or thick cotton blankets work best for this project.
- A measuring tape – This will help you take accurate measurements for cutting and sewing.
- Scissors – Sharp fabric scissors will make it easier to cut through the blanket.
- Sewing machine or needle and thread – Depending on your sewing skills and preference, you can use a sewing machine or sew by hand using a needle and thread.
- Buttons, snaps, or a zipper – These will be used as the closure for your coat.
- Optional: Lining fabric – If you want to add a lining to your coat for extra warmth and comfort, choose a fabric that complements the blanket.
- Optional: Trim or embellishments – If you want to add some personal flair to your coat, consider using trim or embellishments like lace, ribbon, or patches.
Make sure you have all the materials ready before you start. It’s always better to be prepared and have everything within reach to avoid any delays during the crafting process.
Once you have gathered all the necessary materials, you’re ready to move on to the next step: measuring and cutting the blanket for your coat.
Step 2: Measure and Cut
Now that you have all your materials ready, it’s time to measure and cut the blanket to create the basic shape of your coat. Follow these steps:
- Spread the blanket out on a flat surface, ensuring that it is free from wrinkles and folds.
- Decide on the length of your coat. Measure from your shoulder down to your desired length, and mark it on the blanket using chalk or a fabric pen.
- To determine the width of your coat, measure your chest or bust circumference and add a few inches for ease and comfort. Divide this measurement by two.
- Start from the top corner of the blanket and measure out half of the width measurement on both sides. Mark these points.
- Next, measure from the top corner down to the length measurement you marked earlier, and mark this point. Repeat on the other side of the blanket.
- Connect the marked points with a straight line using your chalk or fabric pen. This will be the outline of your coat.
- Carefully cut along the outlined shape using your fabric scissors. Take your time to ensure a clean and even cut.
Once you have finished cutting, you should have a single piece of fabric that resembles the shape of a coat. This will serve as the foundation for the next steps in creating your coat.
Keep in mind that the measurements can be adjusted based on your personal preferences. Feel free to make the coat longer or shorter, wider or slimmer, to cater to your style and comfort.
With the cutting complete, your coat is starting to take shape. In the next step, we will begin sewing the shoulders and sides to bring the coat together.
Step 3: Sew the Shoulders and Sides
Now that you have the basic shape of your coat, it’s time to sew the shoulders and sides to create the structure. Follow these steps:
- Place the fabric with the right sides together, matching the shoulder seams.
- Pin the shoulders in place to secure them before sewing.
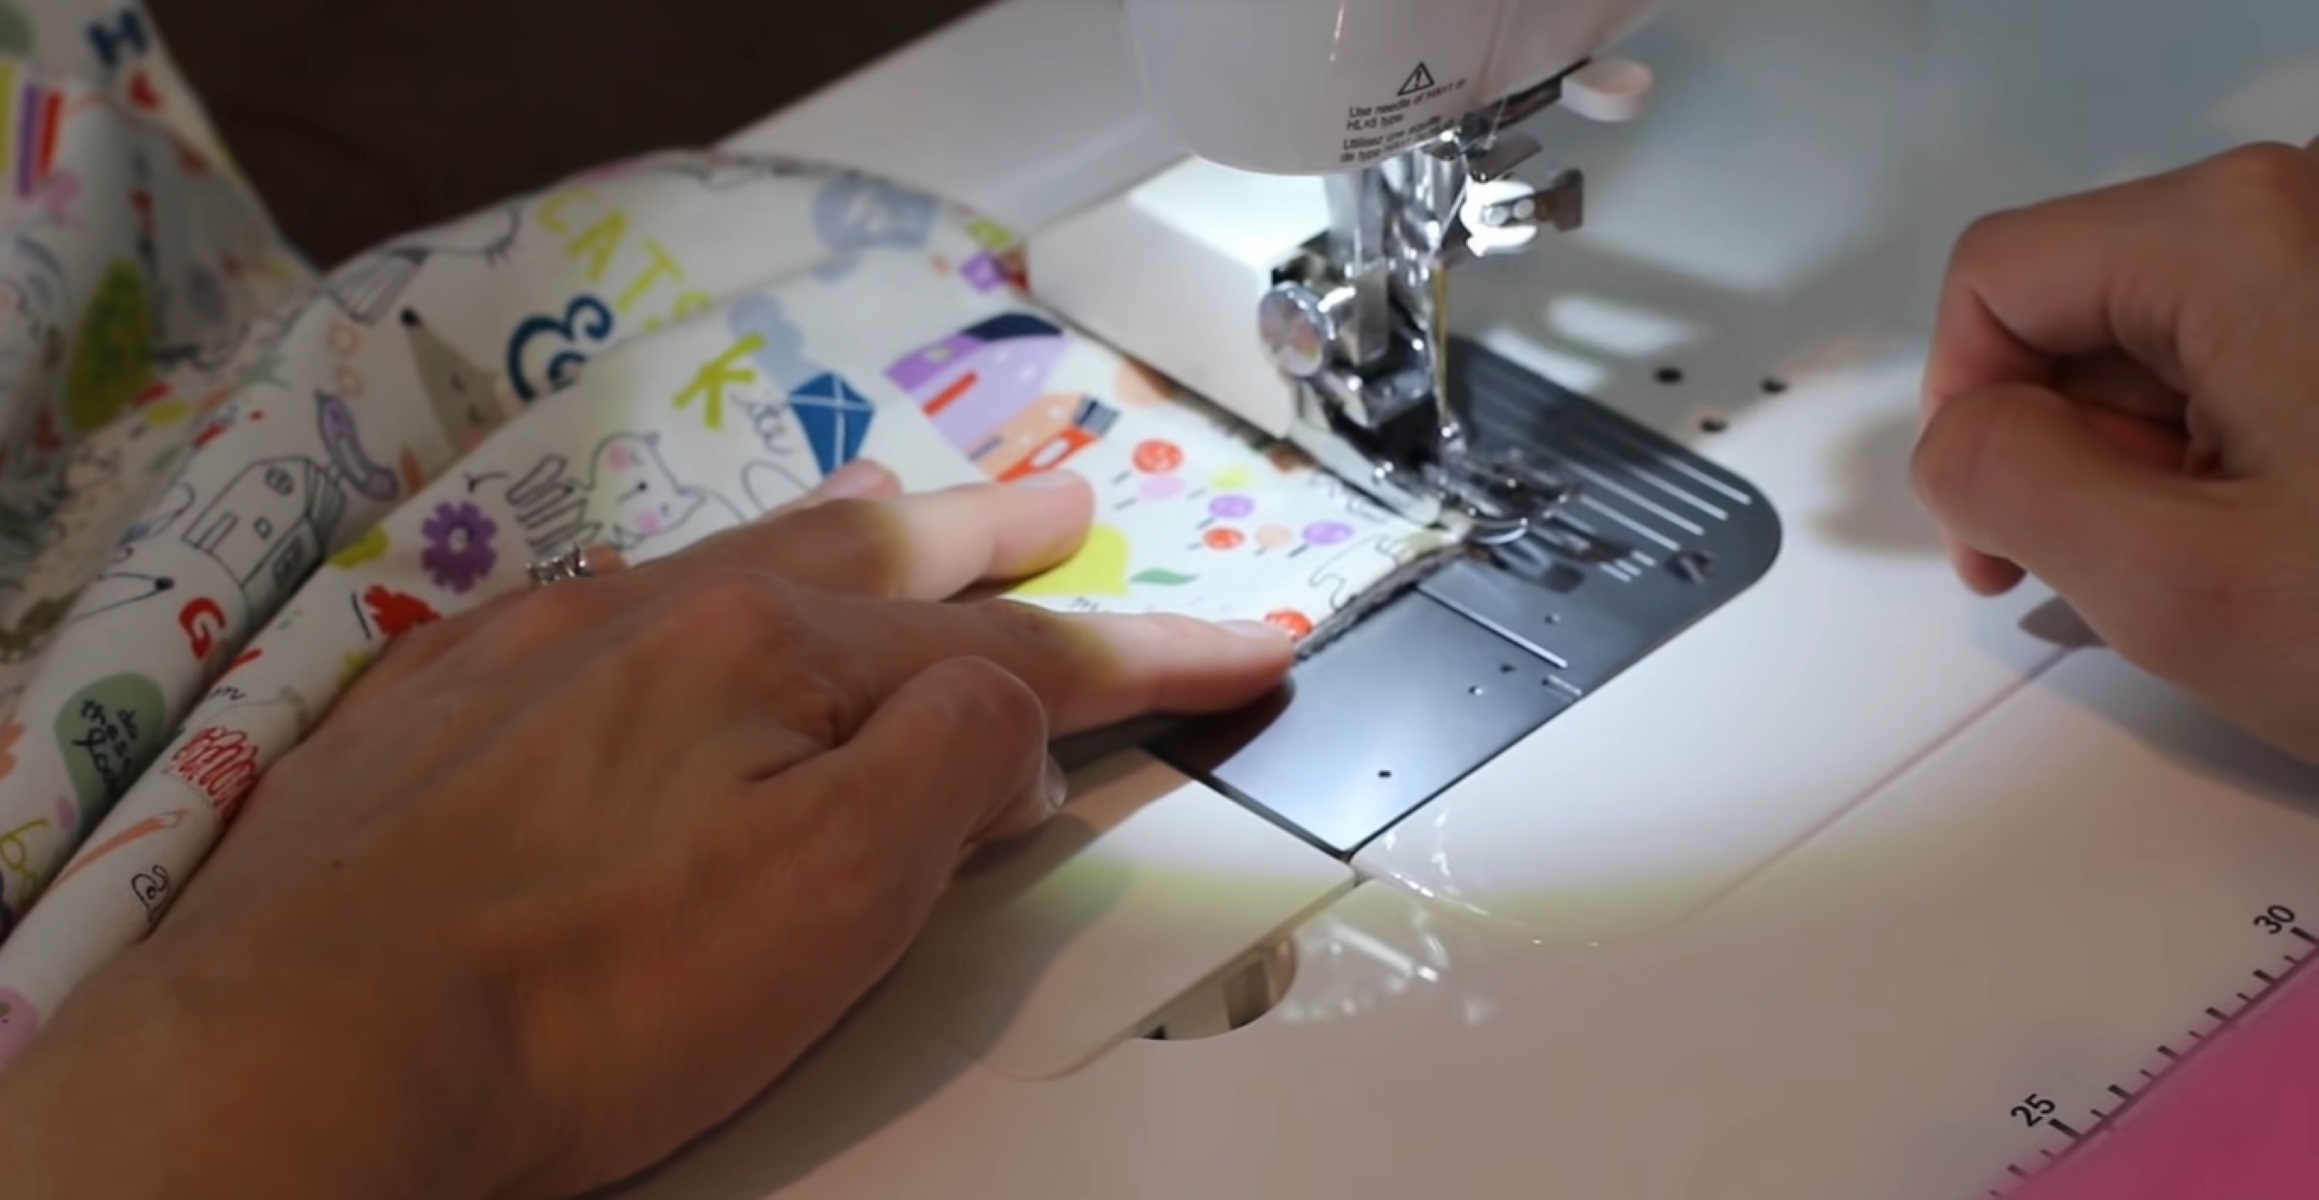
- Using a sewing machine or a needle and thread, sew along the pinned edges of the shoulders, ensuring a straight and secure stitch. If using a sewing machine, a straight stitch is typically used for this step.
- Trim any excess fabric and finish the raw edges with a zigzag stitch or an overlock stitch to prevent fraying.
- Next, fold the fabric in half lengthwise, with the right sides facing each other.
- Pin the sides together, aligning the edges.
- Sew along the pinned edges, starting from the armpit area and ending at the hemline. Again, trim any excess fabric and finish the raw edges.
Remember to backstitch at the beginning and end of each seam for added durability. Take your time while sewing to ensure strong and neat stitches.
Once you have sewn the shoulders and sides, you will start to see the shape of your coat coming together. In the next step, we will move on to creating armholes for added comfort and mobility.
When making a coat out of a blanket, be sure to choose a thick, warm blanket for maximum insulation. Use a sewing machine to create clean, sturdy seams, and consider adding a lining for extra warmth and comfort.
Step 4: Create Armholes
Creating armholes for your coat is an essential step to ensure comfort and mobility. Follow these steps to create armholes:
- Put on the coat and mark the desired placement for your armholes. They should be positioned where your arms naturally hang by your sides.
- Take off the coat and lay it flat on a surface.
- Measure a short distance inward from the side seams at the marked spots for the armholes. This measurement will depend on your arm size and comfort level.
- Using a curved ruler or a round object like a plate, draw a smooth curve connecting the marked points. This will serve as the outline of your armholes.
- Carefully cut along the marked curve to create the armholes.
- Once the armholes are cut, fold the raw edges inside the armholes, and pin them in place.
- Sew along the pinned edges to secure the folded fabric, using a straight stitch or a zigzag stitch.
Ensure that the armholes are comfortable and allow for easy movement. You can try on the coat during the sewing process to make any necessary adjustments.
With the armholes created, your coat is starting to take shape. In the next step, we will add a closure to complete the front of the coat.
Read more: How To Make A Robe Out Of A Blanket
Step 5: Add a Closure
Adding a closure to your coat will not only keep it securely fastened but also add a stylish touch. Choose a closure option that suits your style and the overall look of the coat. Here are a few options:
- Buttons: Sew evenly spaced buttonholes on one side of the coat’s front, and sew buttons on the opposite side to correspond with the buttonholes. Choose buttons that complement the blanket and enhance the coat’s aesthetic.
- Snaps: Attach snaps to the front edges of the coat, ensuring they align properly for a secure closure. Snaps are easy to install and provide a clean and streamlined look.
- Zipper: If you prefer a zipper closure, measure the length needed and sew the zipper along one side of the coat’s front. Make sure to sew it evenly and stitch securely for durability.
Take your time while attaching the closure to ensure it is positioned straight and securely sewn. This step will give your coat its final touch and functional element.
Remember to consider the functionality and appearance of the closure option you choose. It should complement the overall design and make the coat easy to put on and take off.
With the closure added, your coat is nearly complete. In the next step, we will finish the coat by addressing any remaining details.
Step 6: Finish the Coat
Now that your coat is taking shape, it’s time to add the finishing touches to complete your project. Here are a few optional steps to consider:
- Lining: If you want to add an extra layer of warmth and a polished look to your coat, you can choose to add a lining. Measure and cut the lining fabric using the same dimensions as the main coat piece, sew it together, and attach it to the inside of the coat.
- Trim and Embellish: To personalize your coat and make it uniquely yours, consider adding decorative trim or embellishments. This can include lace trim, ribbon accents, or even patches. Sew them onto the coat in desired locations to enhance its overall appearance.
- Hemming: To ensure a clean finish, hem the bottom of the coat and the sleeves. Fold the fabric inward and sew along the edge to secure the hem.
- Final Touches: Take a moment to inspect your coat and make any necessary adjustments or touch-ups. Trim any loose threads and ensure that all seams are secure.
By implementing these finishing touches, you’ll elevate the overall look and functionality of your coat, making it a true reflection of your personal style.
Once you’ve completed these final steps, your coat is ready to wear! Put it on, embrace the warmth and comfort, and enjoy the satisfaction of creating a beautiful garment out of a blanket.
Congratulations on successfully making a coat out of a blanket! Not only have you repurposed a material, but you’ve also showcased your creativity and contributed to sustainable fashion. Wear your coat proudly and inspire others to embark on their own upcycling journeys.
Remember, with a little imagination and skill, you can transform everyday items into something extraordinary!
Conclusion
Repurposing a blanket into a coat is a wonderful way to revitalize old materials and create a unique and cozy garment. By following the steps outlined in this article, you can proudly wear a coat that is not only stylish but also sustainable.
Throughout the process, we explored how to properly measure and cut the blanket, sew the shoulders and sides, create armholes for comfort and mobility, and add a closure for a secure and stylish finish. We also discussed optional steps such as adding a lining, embellishments, and hemming to personalize your coat even further.
By upcycling a blanket, you’ve not only saved money but also contributed to reducing waste and promoting sustainable fashion. This project allows you to express your creativity while staying warm and fashionable.
Remember to choose a blanket that you love and reflects your personal style. The options for closures, trims, and embellishments are endless, allowing you to create a coat that is truly one-of-a-kind.
Now, it’s time to put your coat on, flaunt your unique creation, and inspire others to embrace their own DIY projects. You’ve shown that with a little ingenuity and some basic sewing skills, you can transform everyday items into something extraordinary.
So go ahead, grab that old blanket, gather your materials, and let your creativity soar as you embark on the journey of making your own coat out of a blanket. Enjoy the process, and embrace the warmth and style of your one-of-a-kind creation!
Frequently Asked Questions about How To Make A Coat Out Of A Blanket
Was this page helpful?
At Storables.com, we guarantee accurate and reliable information. Our content, validated by Expert Board Contributors, is crafted following stringent Editorial Policies. We're committed to providing you with well-researched, expert-backed insights for all your informational needs.
