
Articles
How To Make A Kegerator Handle
Modified: August 31, 2024
Learn how to make a kegerator handle with this informative article. Step-by-step instructions and helpful tips for creating your own unique kegerator handle.
(Many of the links in this article redirect to a specific reviewed product. Your purchase of these products through affiliate links helps to generate commission for Storables.com, at no extra cost. Learn more)
Introduction
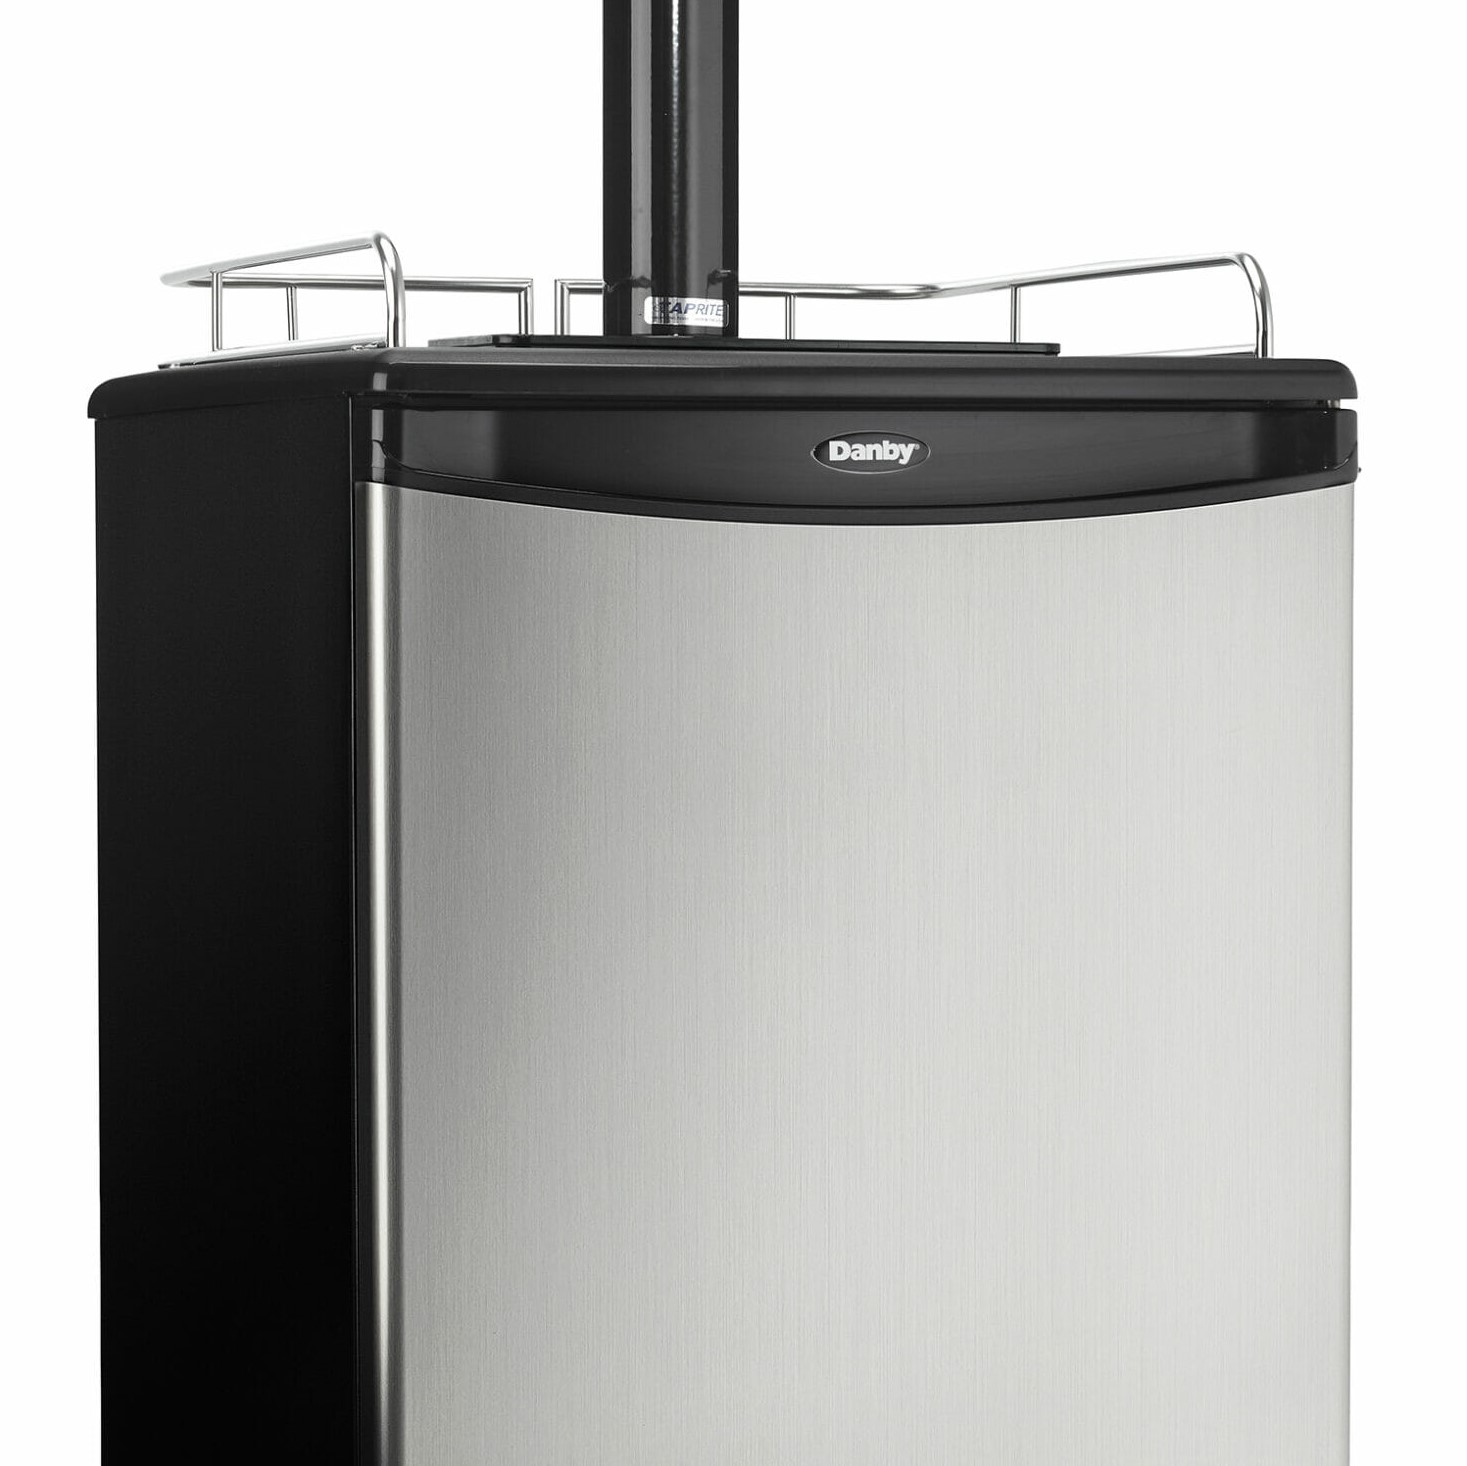
Welcome to this comprehensive guide on how to make a kegerator handle. If you’re a beer enthusiast or a homebrewer, having a customized kegerator handle can be a great way to add a personal touch to your kegerator setup. Not only does it serve as a functional tool for dispensing your favorite brews, but it also adds a unique flair to your home bar or man cave.
In this article, we will walk you through the step-by-step process of creating your own kegerator handle. Whether you’re a seasoned DIYer or a novice with little experience in woodworking or crafting, fear not! We’ll provide you with all the necessary information and guidance to help you successfully complete this project.
Before we jump into the instructions, let’s quickly go over the materials you’ll need to gather for this project.
Key Takeaways:
- Personalize your kegerator setup with a DIY handle, adding flair to your home bar. Follow the step-by-step guide to create a unique, functional, and stylish kegerator handle.
- Ensure a perfect pour every time by securely attaching the tap and testing the fit of your custom kegerator handle. Add a personal touch and enjoy your favorite brews with style.
Read also: 9 Best Kegerator Handle For 2025
Materials Needed
Before getting started, make sure you have the following materials on hand:
- A wooden block or dowel: Choose a piece of wood that’s solid enough to handle the weight and pressure of a kegerator tap. It should be around 4-6 inches in length and have a diameter of 1-2 inches, depending on your personal preference.
- Woodworking tools: You’ll need some basic woodworking tools such as a saw, sandpaper, a drill with different-sized drill bits, and a chisel.
- A kegerator tap: You can purchase a tap online or at a local homebrew store. Make sure it’s compatible with the type of kegerator system you have.
- Screws and washers: These will be used to secure the tap to the wooden handle.
- Stain or paint: If you want to add some color or finish to your kegerator handle, choose a stain or paint that is suitable for wood.
- Clear sealant: This will protect the wood and keep it looking polished.
- Safety goggles and gloves: It’s always a good idea to protect yourself while working with tools.
Once you have gathered all the necessary materials, we can move on to the step-by-step process of making a kegerator handle.
Step 1: Preparing the Handle
The first step in making a kegerator handle is preparing the wooden block or dowel that will serve as the base of your handle. Here’s how to do it:
- Measure and mark the desired length for your handle. Use a ruler and pencil to make accurate measurements.
- If your wooden block or dowel is longer than the desired length, use a saw to cut it down to size. Make sure to follow proper safety precautions and use a saw guide if necessary.
- Once you have the correct length, use sandpaper to smooth out any rough edges or imperfections on the wood. This will ensure a clean and polished look for your handle.
- Next, decide on the shape of your handle. You can go for a classic cylindrical shape or get creative with a unique design. Use a pencil to sketch the desired shape on the wood.
- With a chisel, carefully carve out the shape of the handle, following your pencil markings. Take your time to create clean and smooth curves or angles.
- After carving the handle shape, use sandpaper to further refine the shape and smooth out any remaining rough spots. Pay attention to the grip area, ensuring it’s comfortable to hold.
- Once you’re satisfied with the shape and smoothness of the handle, wipe it down with a clean cloth to remove any dust or debris.
Now your kegerator handle base is ready to move on to the next step. In the following steps, we will guide you through the process of drilling holes, attaching the tap, securing the handle, and testing the fit. Let’s continue with step 2.
Step 2: Drilling Holes
Now that you have prepared the base of your kegerator handle, it’s time to drill the necessary holes to attach the tap. Follow these steps:
- Decide on the placement of the tap on your handle. It’s recommended to position it near the top for easy access and comfortable pouring.
- Measure and mark the center point of the handle where the hole for the tap will be drilled. Use a pencil to make a small dot.
- Choose the appropriate drill bit size for the tap’s shank. Typically, it will be around 7/8 inch, but make sure to check the specifications of your specific tap.
- Secure the wooden handle in a vise or clamp to keep it steady during drilling. This will help prevent any accidental slips or movement.
- Put on your safety goggles and gloves to protect yourself while drilling.
- Carefully align the drill bit with the marked center point on the handle, and drill a hole straight through the handle. Take your time and apply gentle pressure to avoid any splintering or damage to the wood.
- If your kegerator system has multiple taps, repeat the drilling process for the additional holes, making sure to space them evenly and in line with the first hole.
- Once all the holes are drilled, use sandpaper to smooth out any roughness around the edges of the holes.
- Finish by wiping away any debris or wood shavings from the handle.
Great work! You have successfully drilled the necessary holes for your kegerator handle. In the next step, we will guide you on how to attach the tap to the handle. Continue reading to learn more.
When making a kegerator handle, consider using a durable and easy-to-grip material such as wood or metal. Make sure the handle is securely attached to the kegerator for safe and convenient use.
Step 3: Attaching the Tap
Now that you have drilled the holes for your kegerator handle, it’s time to attach the tap. Follow these steps:
- Take the kegerator tap and remove any protective coverings or packaging.
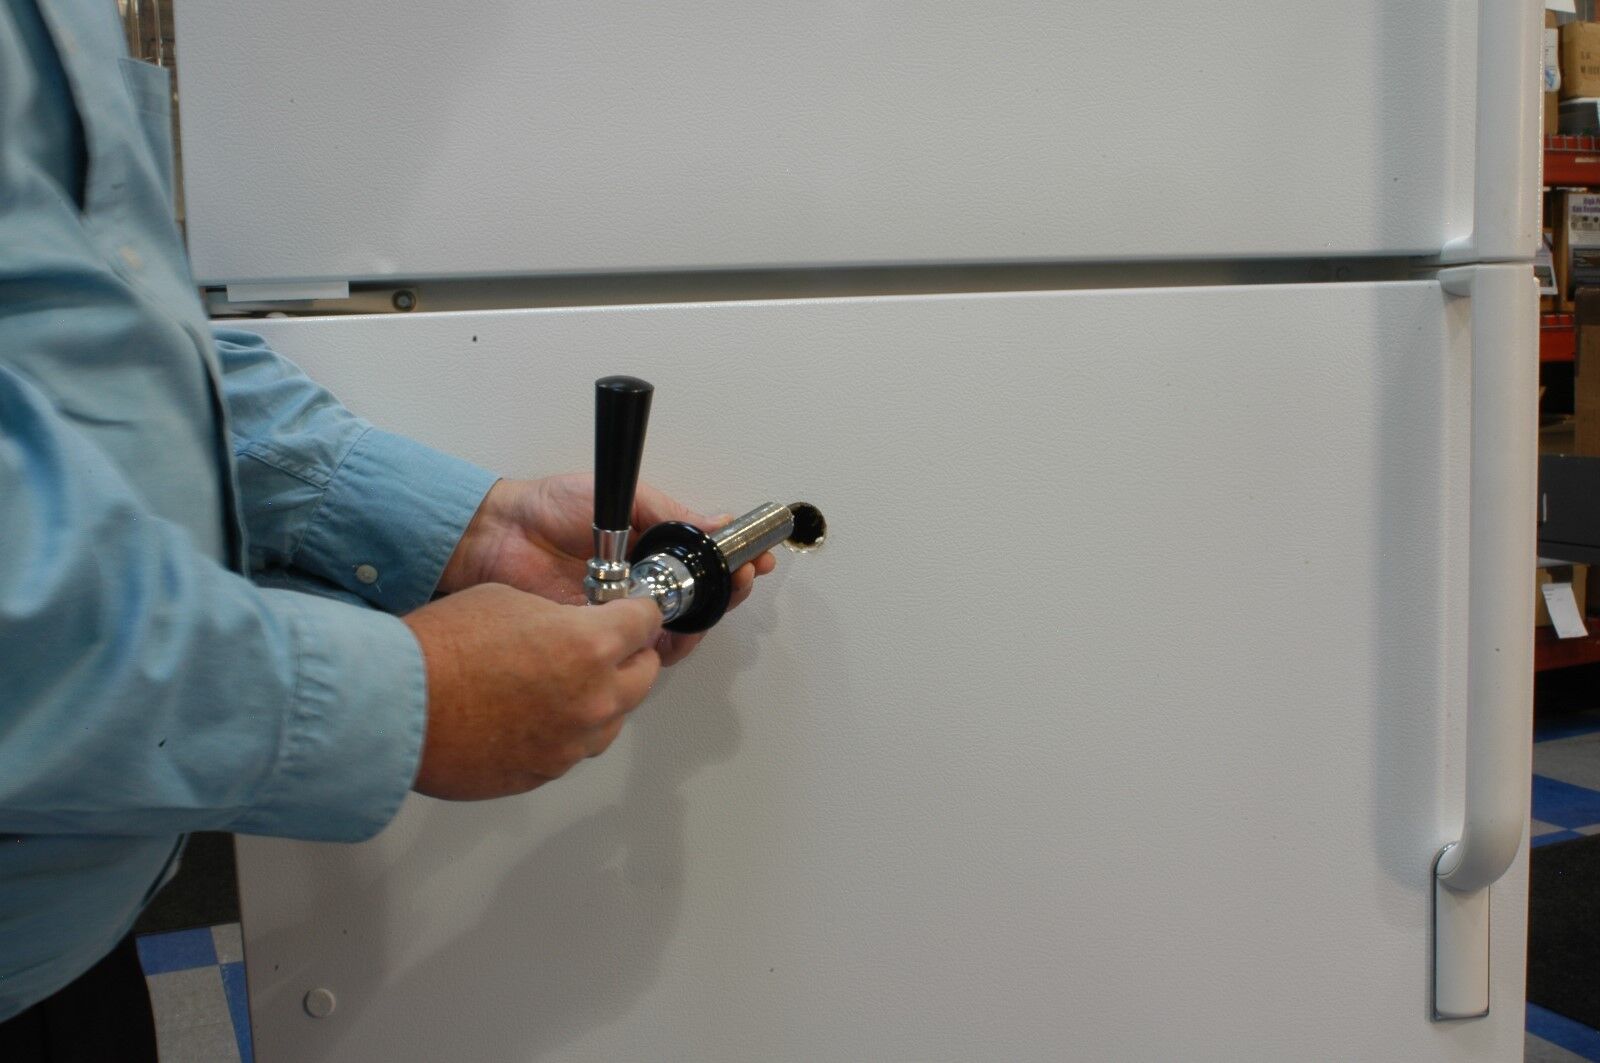
- Insert the threaded end of the tap into one of the drilled holes on the handle. Make sure it fits securely and aligns properly.
- Once the tap is in position, secure it in place by inserting a screw through the hole on the side of the tap. This will prevent the tap from rotating or coming loose while in use.
- Place a washer over the screw on the inside of the handle to provide additional stability and prevent any damage to the wood.
- Tighten the screw with a screwdriver, making sure it’s secure but not overly tight. Be careful not to overtighten, as this may cause damage to the tap or handle.
- If you have multiple taps, repeat the process for each one, ensuring they are evenly spaced and aligned.
Once you have attached the tap(s) to the handle, it’s time to move on to the next step – securing the handle. Keep reading to learn how to ensure your kegerator handle is sturdy and secure.
Read also: 12 Best Kegerator Tap Handle For 2025
Step 4: Securing the Handle
Now that you have attached the tap(s) to your kegerator handle, it’s important to ensure that the handle is securely fastened to the kegerator itself. Follow these steps to securely secure the handle:
- Locate the mounting area on the front of your kegerator where you want to attach the handle. This area should be sturdy and capable of supporting the weight of the handle and tap(s).
- Position the handle against the mounting area, aligning the holes in the handle with the corresponding holes on the kegerator.
- Insert screws through the holes in the handle and into the pre-drilled holes on the kegerator. Make sure the screws are long enough to provide a secure hold, but not so long that they penetrate the interior of the kegerator.
- Using a screwdriver, tighten the screws until the handle is firmly pressed against the kegerator. Be careful not to overtighten, as this may damage the handle or kegerator.
- Check the stability of the handle by gently applying pressure in different directions. If the handle feels loose or wobbly, adjust the screws accordingly until it is securely fastened.
With the handle now securely attached to your kegerator, you’re almost ready to start pouring your favorite brews. Before you do, however, it’s important to test the fit and functionality of the handle. Read on to learn how to do that in the next step.
Step 5: Testing the Fit
Now that you have successfully attached and secured the kegerator handle, it’s time to test its fit and functionality. Follow these steps to ensure everything is working as expected:
- Ensure that your kegerator is properly set up and connected to the beer keg.
- Hold onto the handle and position the tap(s) over the keg, ensuring the spout is inside the glass or container you’ll be using for pouring.
- Gently pull the tap handle towards you to engage the keg and start pouring your beer.
- Observe the flow of beer from the tap. Ensure there are no leaks around the connection between the tap and the handle or the handle and the kegerator.
- Check that the handle feels comfortable in your hand and that the grip allows for smooth and easy pouring.
- Repeat the pouring process a few times to ensure consistent performance.
- If you encounter any issues, such as leaks or difficulties with pouring, double-check the connections and make necessary adjustments.
If everything is working smoothly and the handle feels comfortable and secure, congratulations! You have successfully made a kegerator handle. Now it’s time to sit back, relax, and enjoy your freshly poured cold beer.
Remember, crafting your own kegerator handle allows you to add a personal touch to your beer dispensing setup. Feel free to get creative with different shapes, finishes, or decorative elements to make it truly unique. Cheers!
Conclusion
Congratulations on completing your kegerator handle! By following the step-by-step instructions outlined in this guide, you have successfully created a functional and customized addition to your kegerator setup.
A kegerator handle not only serves as a practical tool for dispensing your favorite brews but also adds a touch of personalization to your home bar or man cave. With a few basic materials and some simple woodworking techniques, you have created a unique handle that reflects your personal style and taste.
Throughout the process, you learned how to prepare the handle, drill the necessary holes, attach the tap securely, and make sure the handle is properly fastened to the kegerator itself. By testing the fit and functionality of the handle, you ensured that you can pour a perfect glass of beer every time.
Feel free to get creative and experiment with different designs, finishes, and decorative elements to make your kegerator handle truly one-of-a-kind. You can stain or paint the handle to match your home décor or add additional embellishments to showcase your love for beer.
Remember, safety is paramount when working with tools and materials. Always use protective gear, such as safety goggles and gloves, and take your time to handle the tools properly. If you’re not confident in your woodworking skills, consider seeking assistance or guidance from a professional.
We hope this guide has been informative and helpful in your kegerator handle-making journey. Now, you’re ready to showcase your newfound creation to friends and family and enjoy pouring refreshing beers with style. Cheers!
Frequently Asked Questions about How To Make A Kegerator Handle
Was this page helpful?
At Storables.com, we guarantee accurate and reliable information. Our content, validated by Expert Board Contributors, is crafted following stringent Editorial Policies. We're committed to providing you with well-researched, expert-backed insights for all your informational needs.



0 thoughts on “How To Make A Kegerator Handle”