
Furniture
How To Make Chandelier Shade
Modified: August 28, 2024
Learn how to make your own chandelier shade with our step-by-step guide. Create a custom piece of furniture that adds elegance and style to any room in your home.
(Many of the links in this article redirect to a specific reviewed product. Your purchase of these products through affiliate links helps to generate commission for Storables.com, at no extra cost. Learn more)
Introduction
Welcome to the world of DIY chandelier shade making! If you’re looking to add a touch of elegance, style, and individuality to your chandelier, creating your own custom chandelier shade is the way to go. Not only will it give your chandelier a unique and personal touch, but it can also be a fun and satisfying project to undertake.
Whether you’ve grown tired of your chandelier’s original shade, or you simply want to switch things up and add a new focal point to your space, making your own chandelier shade allows you to unleash your creativity and customize your lighting fixture to match your decor perfectly.
In this guide, we’ll take you through the step-by-step process of making a chandelier shade. From choosing the style to measuring and attaching the fabric, we’ll cover everything you need to know to create a stunning shade that will transform the look and feel of your chandelier.
Before we dive into the details, let’s quickly go over the materials you’ll need for this project.
Key Takeaways:
- Create a personalized chandelier shade to match your decor and style using fabric, wire frame, and basic tools. Enjoy the process and admire your unique DIY creation!
- Transform the ambiance of your space by choosing a chandelier shade style, measuring and cutting fabric, preparing the wire frame, and securely attaching the fabric. Unleash your creativity and enjoy the rewarding process!
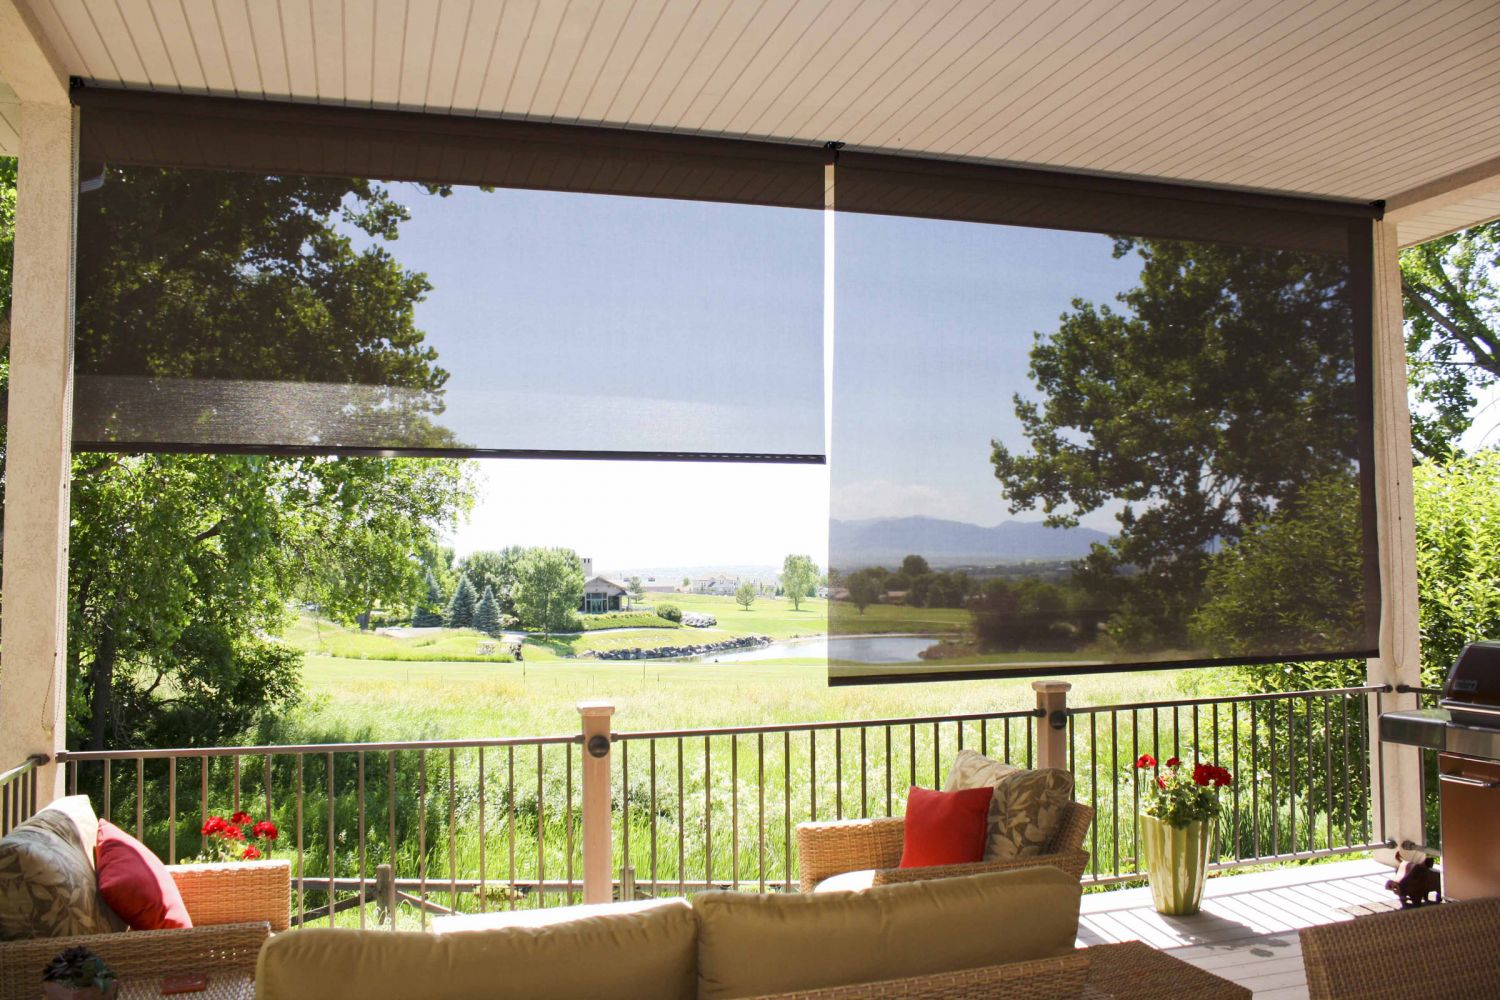
Read more: How To Make A Skylight Shade
Materials Needed
Before you begin making your chandelier shade, make sure you have the following materials ready:
- Fabric of your choice
- Wire frame
- Scissors
- Measuring tape
- Hot glue gun
- Hot glue sticks
- Thread or fishing line
- Needle
- Ribbon or trim (optional)
The fabric you choose can be anything from silk to linen to lace, depending on the style and look you want to achieve. Keep in mind the color and pattern of your fabric should complement the overall aesthetic of your chandelier and the room it’s in.
The wire frame is the foundation of your chandelier shade. You can find pre-made wire frames at craft stores or online, or you can create your own using wire and pliers.
Scissors are essential for cutting the fabric to the correct size and shape. Make sure they are sharp to ensure clean and precise cuts.
Measuring tape will help you determine the dimensions of your chandelier shade. It’s important to measure the height and width of your frame accurately to ensure a proper fit.
A hot glue gun is necessary for securing the fabric to the frame. Make sure you have enough glue sticks to complete the project.
Thread or fishing line will be used to attach the fabric to the wire frame. Choose a strong and durable thread that matches the color of your fabric, or use clear fishing line for an invisible attachment.
Finally, if you want to add an extra decorative touch to your chandelier shade, consider using ribbon or trim. This can be used to embellish the edges or create interesting patterns on the fabric.
With these materials in hand, you’re ready to start making your chandelier shade. Let’s move on to the next step: choosing the style of your shade.
Step 1: Choose the Chandelier Shade Style
The first step in making your chandelier shade is to choose the style that best matches your aesthetic preferences and complements your chandelier. There are various styles to choose from, each offering a unique look and feel. Here are a few popular options:
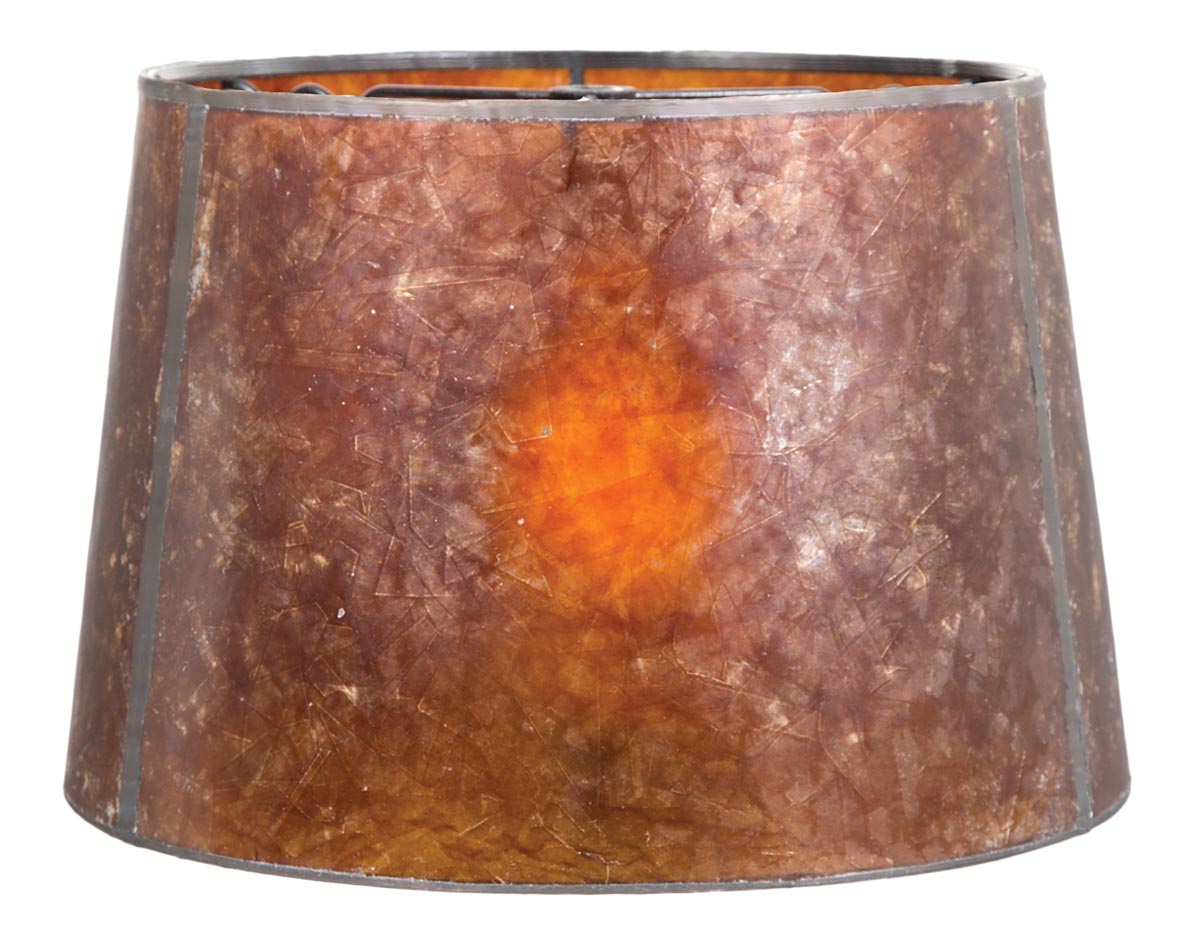
- Drum Shade: This style features a cylindrical shape, similar to a drum. It is one of the most versatile and timeless options, suitable for both traditional and contemporary chandeliers. The drum shade provides a clean and streamlined look.
- Empire Shade: This style is characterized by a wider top that gradually tapers down to a narrow bottom. It has a classic and elegant appearance, often associated with traditional and formal settings.
- Tapered Shade: Similar to the empire shade, the tapered shade has a wider top and a narrower bottom. However, it has a more modern and sleek design, offering a contemporary touch to your chandelier.
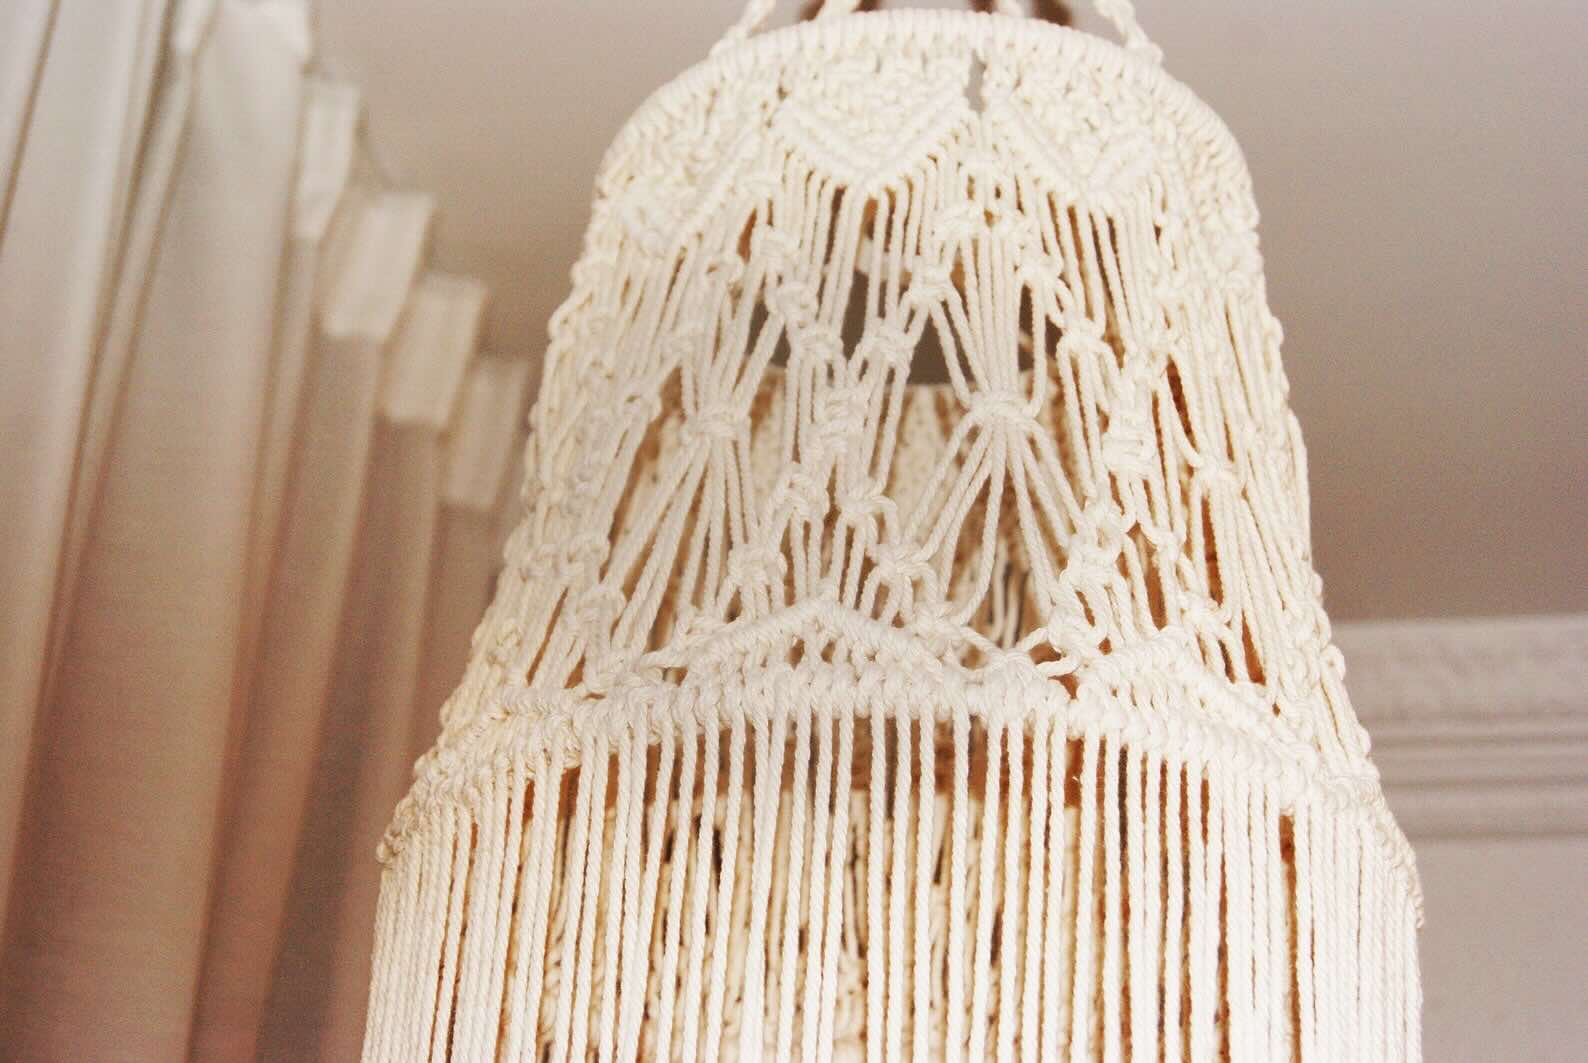
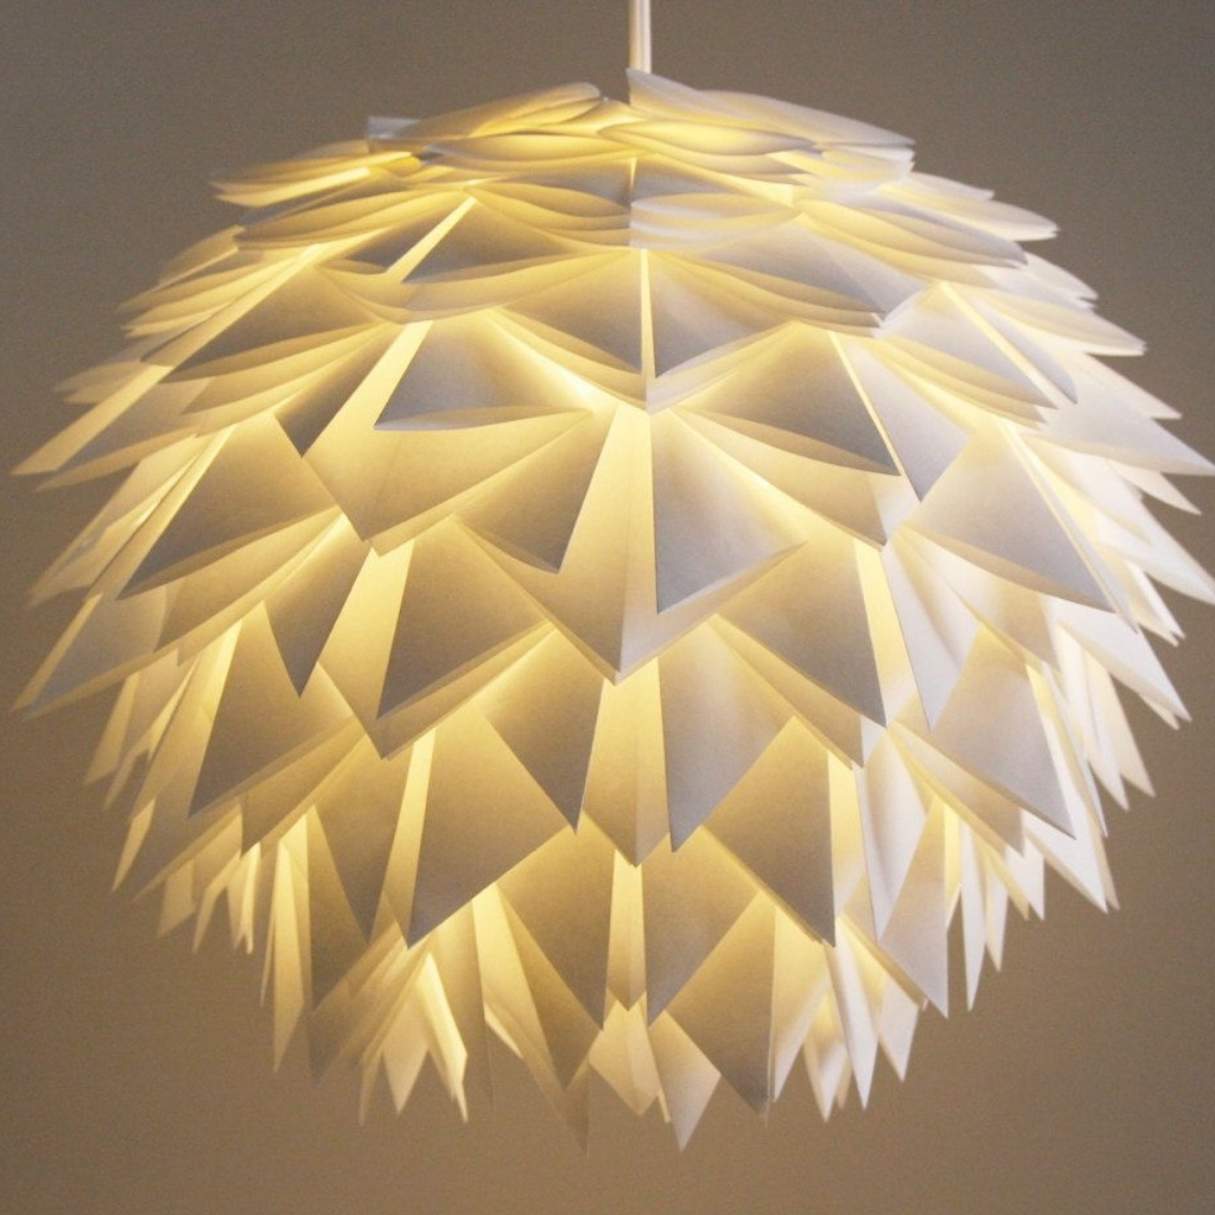
- Pleated Shade: If you’re looking for a shade with texture and visual interest, consider the pleated style. Pleats can add depth and dimension to your chandelier, creating a sophisticated and stylish look.
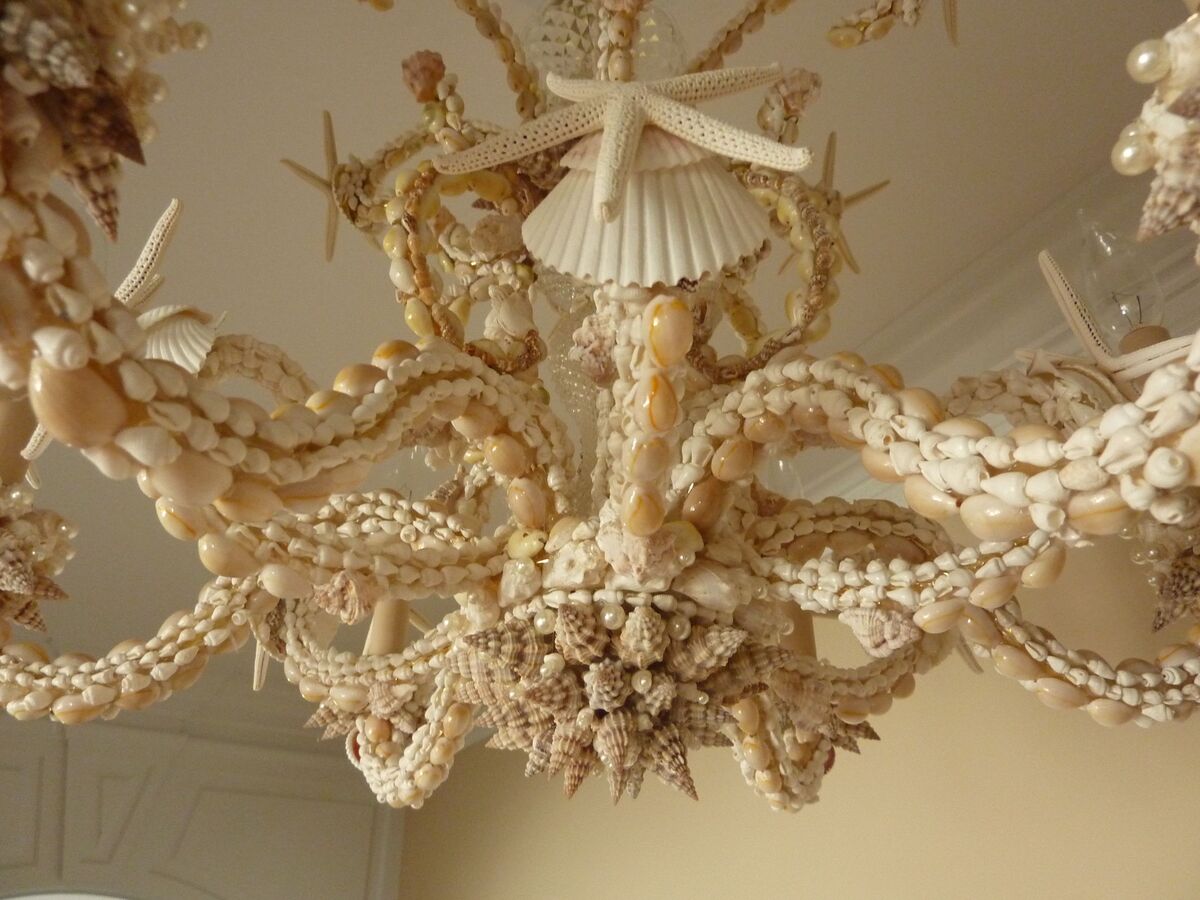
- Scalloped Shade: This style features curved edges that resemble the shape of scallop shells. It adds a playful and whimsical touch to your chandelier, perfect for rooms with a more eclectic or bohemian vibe.
Take into consideration the size and shape of your chandelier when choosing the shade style. A large chandelier may require a proportionately sized shade, while a small chandelier may look overwhelmed by a heavy or oversized shade.
Additionally, think about the atmosphere you want to create in the room. A light-colored and sheer shade can provide a soft and romantic ambiance, while a dark-colored and opaque shade can create a more dramatic and moody effect.
Once you have chosen the style of your chandelier shade, you’re ready to move on to the next step: measuring and cutting the fabric.
Step 2: Measure and Cut the Fabric
Now that you have chosen the style of your chandelier shade, it’s time to measure and cut the fabric to fit the wire frame. This step is crucial to ensure a proper fit and a clean finished look. Follow these steps to measure and cut your fabric:
- Start by measuring the height of your wire frame. Use a measuring tape to determine the distance from the top to the bottom of the frame. Add a few extra inches to this measurement to allow for folding and attaching the fabric to the frame.
- Next, measure the circumference of the wire frame at its widest point. This will determine the width of your fabric. Again, add a few extra inches to this measurement for a secure fit.
- Using the measurements you obtained, mark and cut the fabric accordingly. It’s best to lay the fabric flat on a clean surface and use a sharp pair of scissors to ensure clean and precise cuts.
- If your fabric has a pattern, make sure to align it properly when cutting to maintain symmetry and visual appeal.
- Once you have cut the fabric, you can also create additional decorative elements, such as scalloped edges or pleats, if desired. This step is optional but can add an extra touch of creativity to your chandelier shade.
Remember, it’s always better to cut the fabric slightly larger than the measurements and trim it down if necessary. It’s easier to make adjustments to a larger piece of fabric than trying to stretch a piece that’s too small.
Once you have measured and cut the fabric to the right size, you’re ready to move on to the next step: preparing the wire frame.
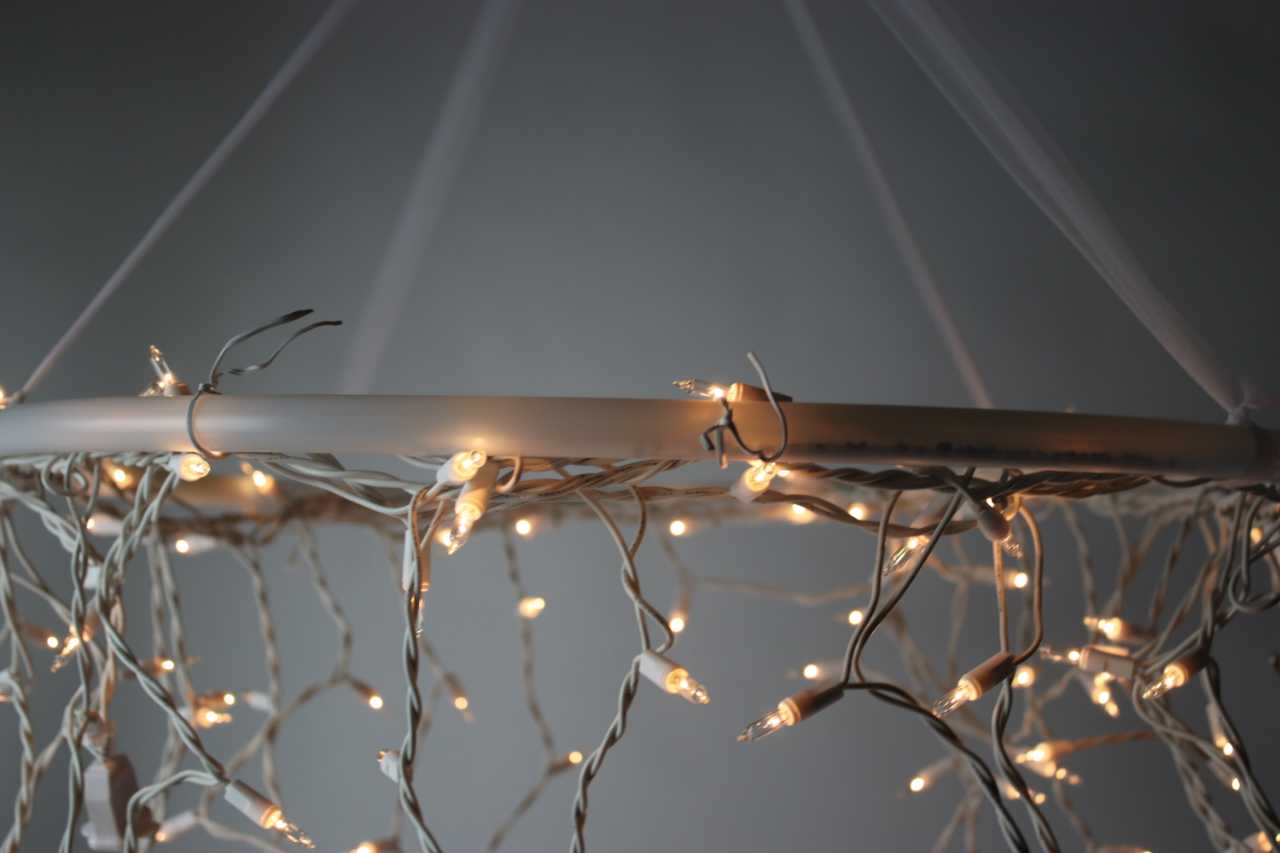
Step 3: Prepare the Wire Frame
Preparing the wire frame is an important step in ensuring the stability and structure of your chandelier shade. Follow these steps to get your wire frame ready:
- Inspect the wire frame for any loose or bent pieces. Use pliers to straighten any bent wires and ensure that all parts are securely connected.
- Clean the wire frame to remove any dust or debris. You can use a damp cloth or a mild cleaning solution to gently wipe down the frame. Make sure to dry it thoroughly before proceeding.
- If your wire frame does not already have a small loop at the top, create one using pliers. This loop will be used to hang the chandelier shade from the chandelier itself.
- Before attaching the fabric, consider adding a layer of fabric lining to the wire frame. This will help diffuse the light and create a softer glow. Cut a piece of fabric lining slightly smaller than the dimensions of the wire frame and attach it using a hot glue gun.
- At this stage, you may also choose to spray paint the wire frame if you want to change the color or customize its appearance. Make sure to use a paint that is suitable for metal surfaces and allow ample time for it to dry before proceeding.
Once you have prepared the wire frame, it’s time to move on to the next step: attaching the fabric to the frame.
When making a chandelier shade, choose a fabric that is translucent to allow light to shine through, and make sure the shade is slightly wider than the widest part of the chandelier for a balanced look.
Read also: 8 Best Chandelier Lamp Shades for 2025
Step 4: Attach the Fabric to the Frame
Now that the wire frame is ready, it’s time to attach the fabric and bring your chandelier shade to life. Follow these steps to securely attach the fabric to the frame:
- Place the fabric over the wire frame, ensuring that it covers the entire frame and hangs evenly on all sides.
- Starting at one end, fold the excess fabric over the top wire of the frame. Use a hot glue gun to secure the fabric in place. Be careful not to apply too much glue, as it can seep through the fabric and create unsightly marks.
- Continue folding the fabric over the wire frame, applying hot glue at regular intervals to keep it secure. Smooth out any wrinkles or creases as you go along.
- If your fabric has a pattern or design, make sure it is aligned and centered as you attach it to the frame.
- For a more finished look, you can add a rim of ribbon or trim along the bottom edge of the fabric. Apply a thin line of hot glue and carefully press the trim onto the fabric, making sure it is evenly spaced and adhered securely.
Take your time during this step to ensure that the fabric is firmly attached and fits smoothly around the wire frame. Make any necessary adjustments as you go along, keeping the fabric taut and wrinkle-free.
Once you have attached the fabric to the frame, you’re ready for the next step: securing the fabric in place.
Step 5: Secure the Fabric in Place
After attaching the fabric to the frame, it’s important to secure it in place to ensure that it stays in position and maintains its shape. Follow these steps to securely fasten the fabric:
- Using a needle and thread or fishing line, sew a few stitches through the fabric and around the top wire of the frame. This will provide an additional layer of reinforcement and prevent the fabric from slipping or sagging.
- Continue sewing stitches along the sides of the fabric, securing it to the wire frame at regular intervals. Make sure the stitches are tight and evenly spaced for a secure hold.
- Repeat the same process along the bottom edge of the fabric, ensuring it is securely attached to the wire frame. This will help maintain the shape and prevent any loose fabric from hanging down.
- If you chose to add a rim of ribbon or trim in the previous step, sew it to the fabric using the same needle and thread or fishing line. Make small stitches along the edge of the trim, ensuring it is firmly attached and evenly distributed.
- Once you have sewn all the necessary stitches and secured the fabric in place, trim any excess thread or fishing line.
Double-check that the fabric is smooth and properly positioned on the wire frame. Adjust if needed before moving on to the next step.
With the fabric securely in place, it’s time for the final step: installing the chandelier shade.
Step 6: Install the Chandelier Shade
Congratulations! You’re now in the final step of creating your chandelier shade – installing it onto your chandelier. Follow these steps to properly install your shade:
- Ensure that your chandelier is turned off and the bulbs are cool to the touch before installation.
- Carefully lift the chandelier shade and position it over the chandelier, aligning the hanging loop on the top of the shade with the chandelier hook or mount.
- Gently lower the shade onto the chandelier, making sure that it sits securely and evenly on the frame.
- If your chandelier shade has multiple attachment points, such as clips or screws, secure them to the chandelier accordingly. This will provide extra stability and prevent the shade from moving or falling off.
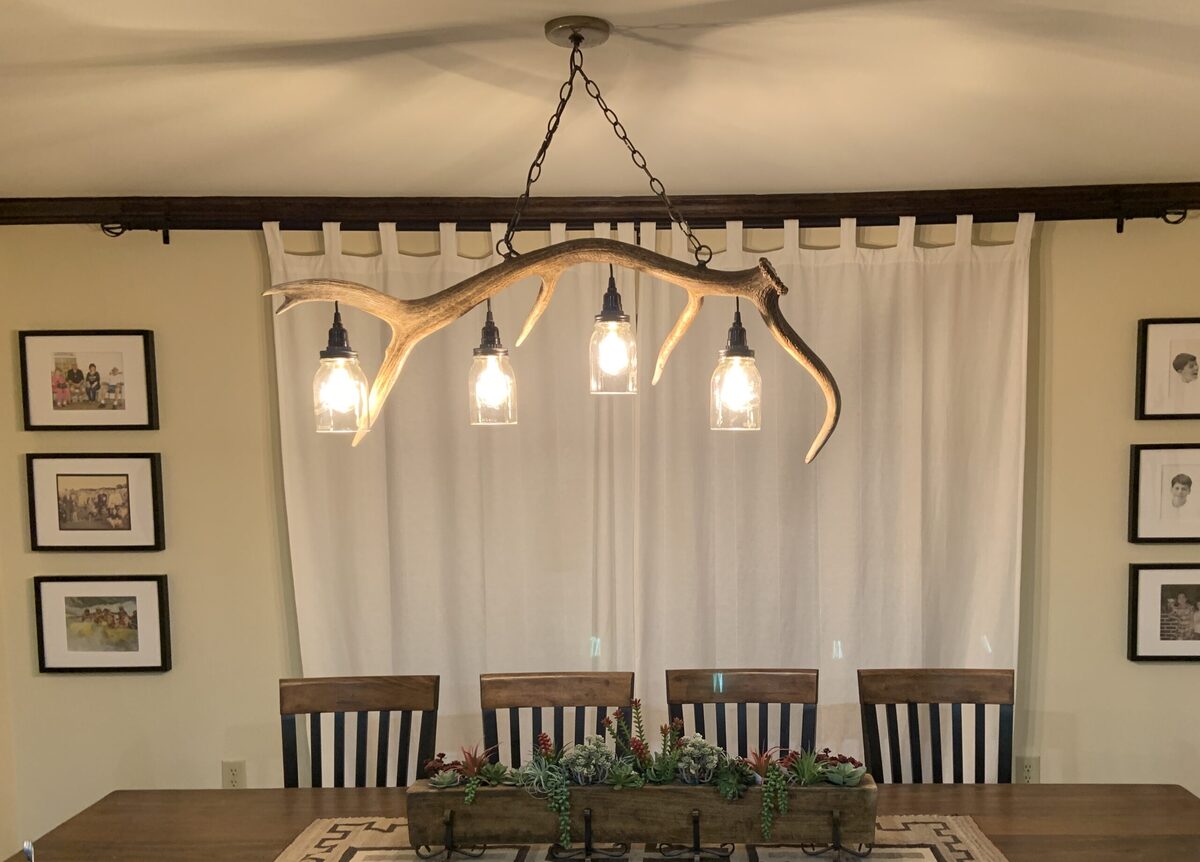
- Step back and admire your newly installed chandelier shade! Turn on the chandelier to see how the shade filters the light and enhances the ambiance of the room.
It’s important to periodically check the attachment points and fabric to ensure everything remains secure and in good condition. Tighten any loose screws or clips as needed, and clean the fabric with a soft cloth or vacuum attachment to remove dust and debris.
Remember, the chandelier shade you have created is a unique and personalized addition to your lighting fixture. It adds a touch of style and character to your space, making it truly your own.
With the installation complete, take a moment to bask in the pride of your DIY creation. Sit back, relax, and enjoy the enhanced beauty and ambiance of your chandelier with the newly installed shade.
So go ahead and let your creativity shine as you experiment with different fabrics, styles, and designs to create chandelier shades that perfectly reflect your style and elevate the aesthetic of your space.
Happy chandelier shade making!
Conclusion
Creating your own chandelier shade is a rewarding and fulfilling DIY project that allows you to add a personal touch to your lighting fixture. By following the steps outlined in this guide, you can confidently embark on this creative journey and create a stunning shade that enhances the beauty of your chandelier and transforms the ambiance of your space.
From choosing the style of your shade to measuring and cutting the fabric, preparing the wire frame, attaching the fabric, securing it in place, and finally installing the shade, each step is essential in achieving a professional-looking and functional chandelier shade.
Remember to take your time, pay attention to detail, and let your creativity shine through. Don’t be afraid to experiment with different fabrics, patterns, and styles to find the one that perfectly complements your chandelier and matches your decor.
Not only will making your own chandelier shade save you money compared to purchasing a pre-made one, but it will also give you a sense of accomplishment and pride as you admire your handiwork. Plus, you’ll have a one-of-a-kind shade that perfectly reflects your unique style and adds a personal touch to your space.
So go ahead, gather your materials, follow the steps, and start creating your own chandelier shade today. Let your creativity soar and enjoy the process of crafting a beautiful and functional piece for your chandelier.
Happy chandelier shade making!
Frequently Asked Questions about How To Make Chandelier Shade
Was this page helpful?
At Storables.com, we guarantee accurate and reliable information. Our content, validated by Expert Board Contributors, is crafted following stringent Editorial Policies. We're committed to providing you with well-researched, expert-backed insights for all your informational needs.


0 thoughts on “How To Make Chandelier Shade”