
Articles
How To Make Acrylic Picture Frames
Modified: October 18, 2024
Discover the best articles and tutorials on how to make acrylic picture frames. Learn step-by-step techniques and unleash your creativity today!
(Many of the links in this article redirect to a specific reviewed product. Your purchase of these products through affiliate links helps to generate commission for Storables.com, at no extra cost. Learn more)
Introduction
Welcome to our comprehensive guide on how to make acrylic picture frames! Acrylic frames are a modern and sleek way to display your favorite photographs or artworks. They offer a clear and vibrant presentation, enhancing the beauty of any image without distracting elements. Creating your own acrylic picture frames allows you to customize the size, shape, and design to perfectly complement your artwork.
Whether you”re a DIY enthusiast or an art lover looking for a unique display option, this step-by-step tutorial will walk you through the process of making acrylic picture frames from scratch. With just a few materials and some basic tools, you”ll be able to create professional-looking frames that showcase your pictures in a contemporary and eye-catching way.
Before we dive into the step-by-step instructions, let”s take a quick look at the materials you”ll need for this project.
Key Takeaways:
- Create sleek and modern acrylic picture frames to showcase your artwork or photographs. Customize the size, shape, and design for a professional and personalized display.
- Enjoy the creative process of making acrylic frames and proudly display your DIY masterpiece. Experiment with different styles and create a captivating gallery wall.
Read also: 11 Superior Acrylic Picture Frames for 2025
Materials Needed
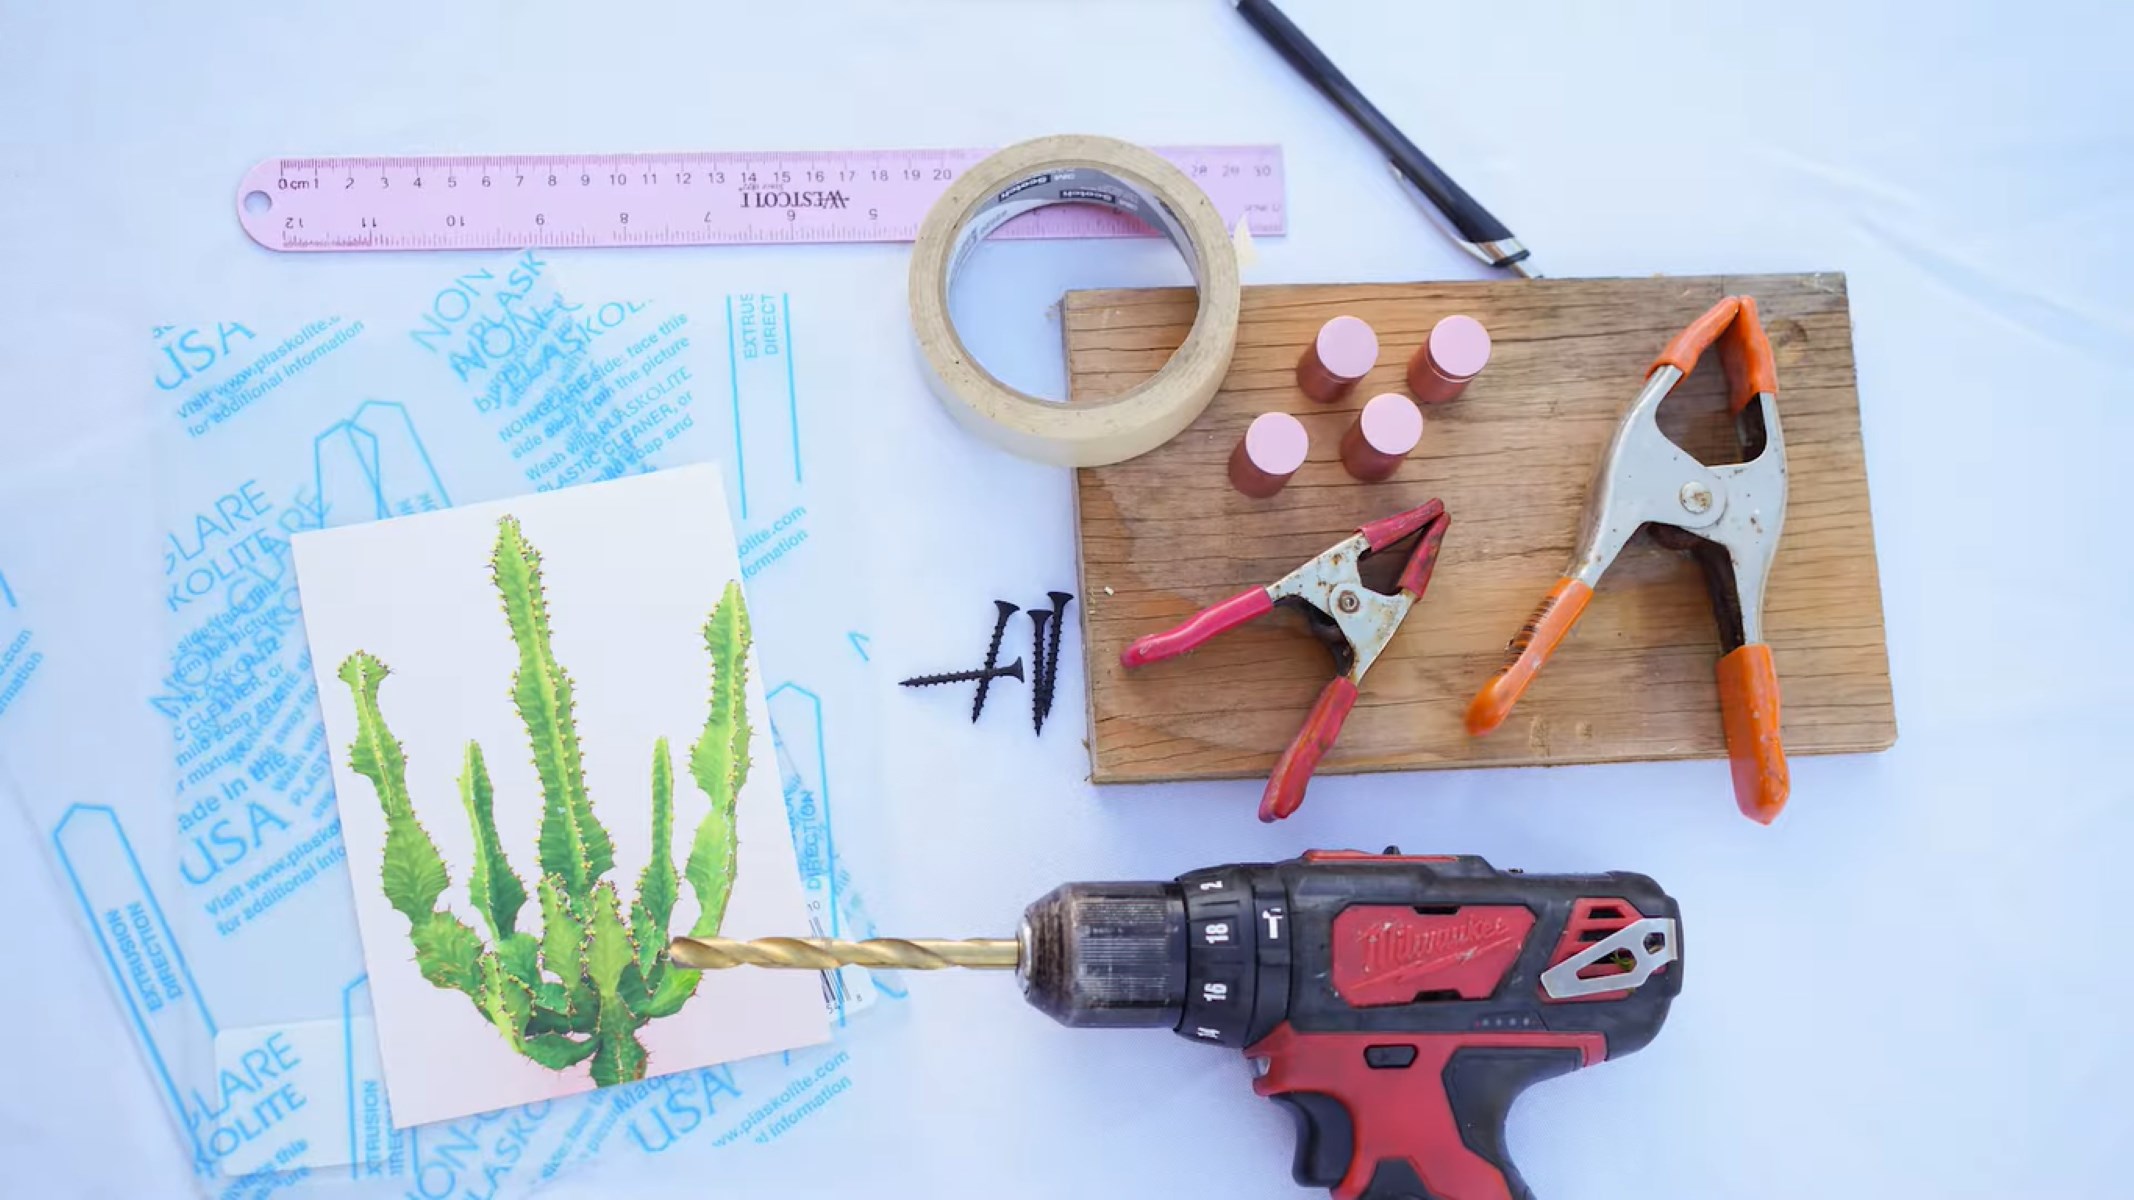
To make acrylic picture frames, you will need the following materials:
- Acrylic sheets – These will serve as the main material for the frame. Choose a thickness and size that suits your needs.
- Backing material – This can be a piece of foam board, cardboard, or any other sturdy material that will provide support for your picture.
- Artwork or photographs – Select the images you want to display in your acrylic frames.
- Adhesive – You will need a strong adhesive that works well with acrylic, such as acrylic cement or a specialized adhesive for plastics.
- Cutting tools – Depending on the thickness of the acrylic sheets, you may need a saw, a laser cutter, or a scoring knife to cut the sheets to size.
- Measuring tools – Have a ruler or a measuring tape to measure and mark the dimensions of your frame.
- Clamps or clips – These will help secure the acrylic sheets together while the adhesive dries.
- Sanding materials – Optionally, you can use sandpaper or a sanding block to smooth the edges of the acrylic sheets for a polished finish.
With these materials on hand, you”ll be ready to start creating your own acrylic picture frames. Let”s move on to the step-by-step process.
Step 1: Gather Supplies
Before we begin, make sure you have all the necessary supplies and tools gathered in one place. This will make the process smoother and more efficient.
First, ensure you have your acrylic sheets ready. Measure and mark the desired dimensions for your frame on the sheets. If needed, use a saw, laser cutter, or scoring knife to cut the sheets to the correct size. Remember to wear appropriate safety equipment, such as gloves and safety goggles, when cutting acrylic.
Next, prepare your backing material. Cut it to fit the dimensions of your frame. This will provide support for your artwork or photograph.
Make sure you have your chosen artwork or photographs printed and ready to be inserted into the frames.
Ensure you have the appropriate adhesive for bonding the acrylic sheets together. Acrylic cement or a specialized adhesive for plastics works well for this purpose.
Have your measuring tools, such as a ruler or measuring tape, on hand to accurately measure and mark the dimensions of your frame.
If you plan to sand the edges of the acrylic sheets for a polished finish, gather your sanding materials, such as sandpaper or a sanding block.
Lastly, have clamps or clips available to hold the acrylic sheets together while the adhesive dries.
Once you have all the necessary supplies gathered, you”re ready to move on to the next step: measuring and cutting the acrylic sheets.
Step 2: Measure and Cut Acrylic Sheets
In this step, we will measure and cut the acrylic sheets to the desired size for our picture frames.
Start by measuring the dimensions of the artwork or photograph you want to display. Add some extra space around the image to determine the overall size of your frame. Remember to account for the thickness of the acrylic sheets when measuring.
Using a ruler or measuring tape, mark the measurements on the acrylic sheet. Ensure the markings are clear and accurate, as they will guide your cutting process.
If you have a scoring knife, you can score along the marked lines to create a groove in the acrylic sheet. This groove will make it easier to break the sheet cleanly. If you’re using a saw or laser cutter, follow the manufacturer’s instructions for cutting acrylic.
Once you have made the initial cut, repeat the process for the remaining sides of the frame. Take your time and double-check your measurements to ensure accuracy.
If there are any rough or jagged edges on the cut acrylic sheets, you can use sandpaper or a sanding block to smooth them out. Hold the sandpaper securely and move it in a gentle, circular motion along the edges until they become smooth and polished.
Remember, safety is important when working with acrylic sheets. Wear gloves and protective eyewear to prevent any potential injuries.
With your acrylic sheets measured and cut to size, you’re now ready to move on to the next step: preparing the backing and picture for your acrylic picture frames.
Step 3: Prepare Backing and Picture
In this step, we will prepare the backing material and the picture that will be displayed in the acrylic picture frame.
First, take your backing material, which can be foam board, cardboard, or any other sturdy material. Cut it to match the dimensions of your frame. Ensure that the backing material is slightly smaller than the acrylic sheets to allow for a snug fit.
If desired, you can customize the backing material by covering it with fabric, decorative paper, or even painting it to add a personal touch to your frame.
Next, place your chosen artwork or photograph on top of the backing material. Ensure that it is centered and aligned properly. You can use small pieces of double-sided tape or adhesive to secure the picture in place if needed.
Before moving on, make sure to clean the acrylic sheets to remove any dust or fingerprints. Use a soft, lint-free cloth and a gentle cleaner specifically designed for acrylic surfaces. Avoid using harsh chemicals or abrasive materials that could scratch or damage the acrylic.
Now that your backing material is prepared and your picture is in position, you’re ready to move on to the next step: assembling the acrylic picture frame.
When assembling acrylic picture frames, use a soft cloth to avoid scratching the surface. Clean the acrylic with a mild soap and water solution to maintain its clarity.
Read more: How To Make Picture Frames
Step 4: Assemble the Acrylic Picture Frame
In this step, we will assemble the acrylic picture frame by bonding the cut acrylic sheets together.
Start by laying one of the acrylic sheets flat on a clean and stable surface. Apply a thin, even layer of adhesive along the edge of the sheet. Be sure to spread the adhesive evenly to ensure a strong bond.
Carefully place the second acrylic sheet on top of the first, aligning the edges. Press the sheets together firmly to create a strong bond. It’s essential to work quickly and accurately as some adhesives dry rapidly.
If you’re using acrylic cement, follow the manufacturer’s instructions for application and drying times. Apply the cement to the edges of one sheet, then press the second sheet against the cemented edges. Use clamps or clips to hold the sheets together while the adhesive cures.
Repeat this process for any additional acrylic sheets you have, layering them on top of each other and using adhesive or cement to bond them together.
Ensure that all the edges align properly and that the sheets are secured tightly. Use a clean cloth or paper towel to wipe away any excess adhesive that may have seeped out between the sheets.
Allow the adhesive or cement to dry completely according to the manufacturer’s instructions. This drying process may take a few hours or longer, depending on the type of adhesive used.
Once the adhesive has fully cured, you’re ready to move on to the next step: attaching the picture and backing to the frame.
Step 5: Attach Picture and Backing
In this step, we will attach the picture and backing to the assembled acrylic picture frame.
Start by placing the acrylic frame on a flat and clean surface with the front side facing down.
Take the prepared backing material with the picture attached and carefully align it with the back of the acrylic frame. Ensure that the picture is centered within the frame.
Apply a small amount of adhesive or double-sided tape to the edges of the backing material. Press it firmly against the frame to secure it in place. Be cautious to avoid getting any adhesive or tape on the front surface of the acrylic.
Ensure that the backing material is fully adhered to the frame and that it is secure. You can use clamps or clips to hold it in place while the adhesive sets, following the manufacturer’s instructions.
Double-check that the picture is securely attached and centered within the frame. Smooth out any wrinkles or creases on the backing material if necessary.
Allow the adhesive to dry or set completely according to the instructions provided. This may take a few hours or longer, depending on the type of adhesive used.
Once the adhesive is fully dried and the backing is securely attached, you’re ready to move on to the next step: securing the frame.
Step 6: Secure the Frame
In this step, we will secure the acrylic picture frame to ensure it remains intact and stable.
Start by inspecting the edges of the frame to ensure there are no gaps or areas where the adhesive may have weakened. If you notice any gaps, you may need to apply additional adhesive or use a clear acrylic sealant to fill them in.
Once you are satisfied with the integrity of the frame, you can move on to reinforcing its stability.
If your frame is small and lightweight, you can use small adhesive-backed hooks or Velcro strips to attach the frame to the wall. Make sure to follow the manufacturer’s instructions for the adhesive and weight limits.
For larger or heavier frames, consider using picture hanging hardware. Install D-rings or sawtooth hangers on the back of the frame, ensuring they are securely attached. Alternatively, you can use frame hanging brackets or wire attached across the back of the frame. These will provide additional support and stability when hanging the frame on the wall.
Before hanging the frame, it’s a good practice to locate the wall studs or use appropriate wall anchors to ensure that the frame is securely mounted.
Once you have determined the best method for securing your frame, carefully hang it on the wall using the chosen hardware.
Step back and admire your beautifully constructed acrylic picture frame. Ensure that it is level, straight, and secure on the wall.
You have now successfully secured your acrylic picture frame! All that’s left to do is display your frame and enjoy the artwork or photograph it showcases.
Congratulations on creating your own professional-looking acrylic picture frame!
Step 7: Display Your Acrylic Picture Frame
Congratulations on completing your acrylic picture frame! Now, it’s time to proudly display your framed artwork or photograph.
Choose the perfect spot on your wall where you would like to showcase your frame. Take into consideration the lighting, surrounding décor, and eye-level placement.
If you have multiple acrylic frames, you can create an appealing gallery wall by arranging them in a pattern or grouping.
Before hanging your frame, ensure that the wall is clean and free from any dust or debris. Using a level, make sure that the frame is straight and aligned properly.
If you’re using adhesive-backed hooks or Velcro strips, carefully attach them to the wall according to the manufacturer’s instructions. If you’re using picture hanging hardware, use a nail or wall anchor to securely hang the frame.
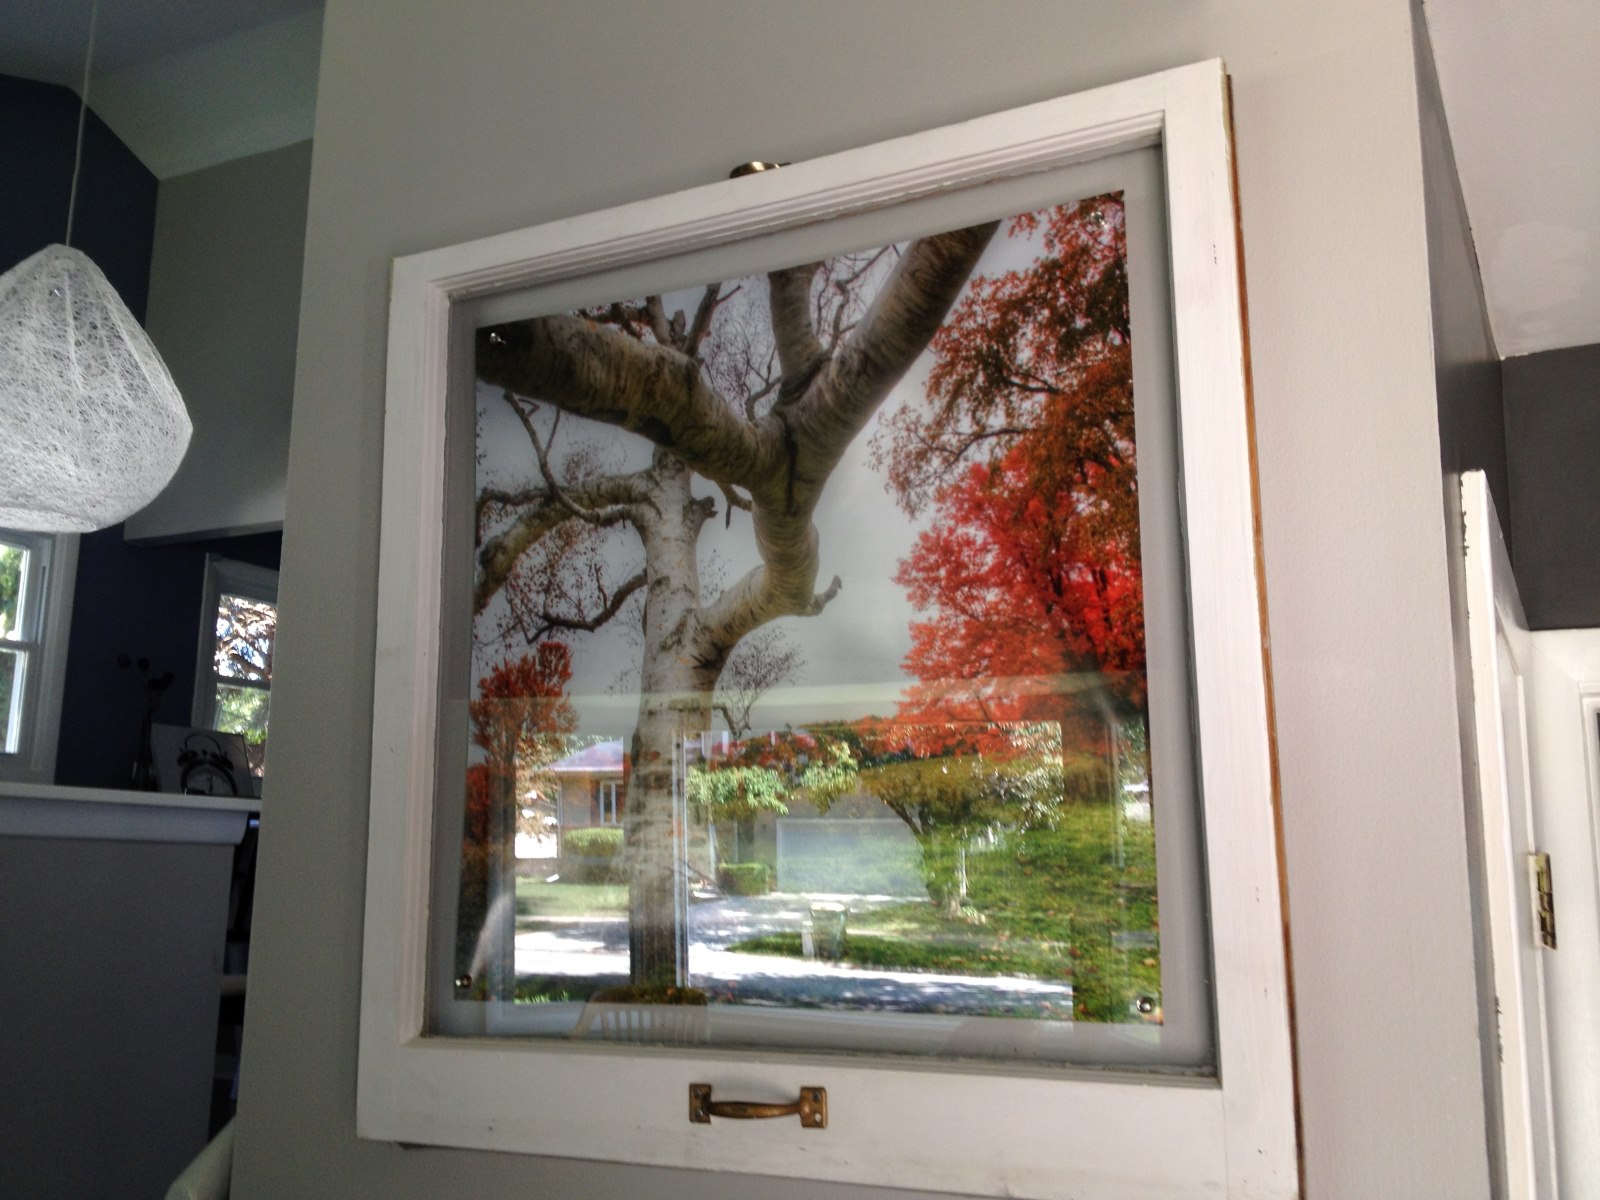
Once your frame is securely mounted, step back and enjoy the captivating presence it brings to your space. The clarity and transparency of acrylic will showcase your artwork or photograph beautifully, creating a modern and elegant display.
Remember to periodically clean the acrylic surface with a soft, lint-free cloth and a gentle acrylic cleaner to maintain its pristine appearance.
Consider switching out the artwork or photograph in your acrylic frame periodically to keep your display fresh and dynamic.
Now that you have successfully displayed your acrylic picture frame, sit back, relax, and take pride in your DIY creation!
Thank you for following our comprehensive guide on how to make acrylic picture frames. We hope you found it informative and inspiring. Enjoy the beauty of your framed artwork or photograph!
Happy framing!
Read more: How To Make Stands For Picture Frames
Conclusion
Congratulations on completing this comprehensive guide on how to make acrylic picture frames! By following the step-by-step instructions, you’ve learned how to create professional-looking frames that beautifully display your favorite photographs or artworks.
Acrylic picture frames offer a sleek and modern alternative to traditional frames, allowing the focus to be on the artwork without distracting elements. Creating your own acrylic frames gives you the freedom to customize the size, shape, and design, ensuring a perfect fit for your artwork.
Throughout this process, you’ve gathered the necessary materials, measured and cut the acrylic sheets, prepared the backing and picture, assembled the frame, and securely attached the artwork and backing. Finally, you learned how to secure the frame and properly display it on your wall.
By incorporating your personal touch into the frame-making process, you’ve created a unique and eye-catching display that enhances the beauty of your artwork or photograph.
Remember to always take safety precautions when working with acrylic sheets and adhesives. Wear gloves, safety goggles, and follow the manufacturer’s instructions for any tools or materials used.
Now that you have mastered the art of making acrylic picture frames, the possibilities are endless. Consider experimenting with different shapes, sizes, and styles to create a gallery wall or a cohesive display of multiple frames.
Thank you for joining us on this creative journey. We hope you enjoyed the process and are proud of the stunning acrylic picture frame you’ve created. Display your masterpiece with pride and enjoy the beauty it brings to your space.
Happy framing!
Frequently Asked Questions about How To Make Acrylic Picture Frames
Was this page helpful?
At Storables.com, we guarantee accurate and reliable information. Our content, validated by Expert Board Contributors, is crafted following stringent Editorial Policies. We're committed to providing you with well-researched, expert-backed insights for all your informational needs.







0 thoughts on “How To Make Acrylic Picture Frames”