Articles
How To Use A Hand Crank Ice Cream Maker
Modified: February 20, 2024
Learn how to make delicious homemade ice cream with a hand crank ice cream maker. Get step-by-step instructions and helpful tips in our informative articles.
(Many of the links in this article redirect to a specific reviewed product. Your purchase of these products through affiliate links helps to generate commission for Storables.com, at no extra cost. Learn more)
Introduction
Welcome to the delicious world of hand crank ice cream makers! If you’re a fan of homemade ice cream and enjoy a nostalgic touch of traditional cooking methods, then a hand crank ice cream maker might just be the perfect addition to your kitchen. Not only do these machines produce incredibly creamy and flavorful ice cream, but they also provide a fun and interactive experience for you and your family or friends.
In this article, we’ll explore all the ins and outs of using a hand crank ice cream maker. Whether you’re a seasoned pro or a beginner, we’ll guide you through the process, step by step, so you can churn out delectable frozen treats right at home.
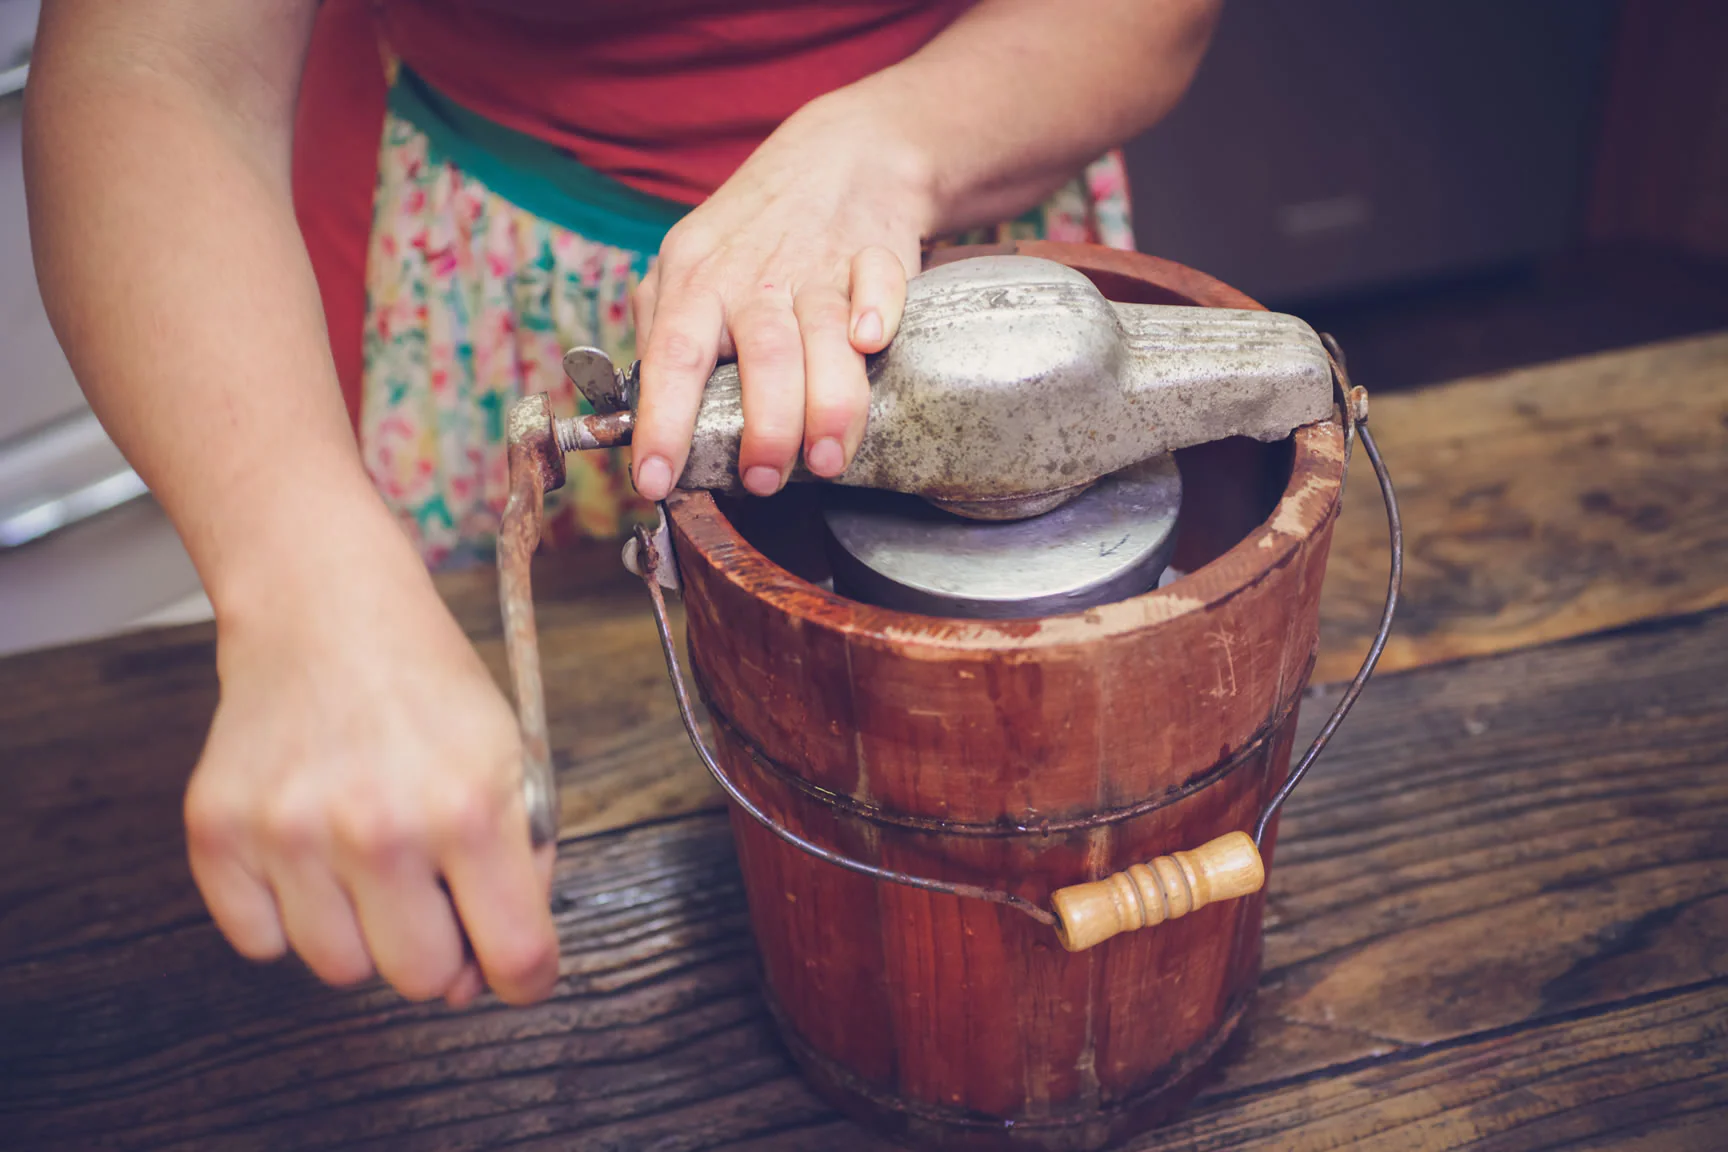
Before we dive into the technicalities, let’s take a moment to appreciate the charm and simplicity of these iconic machines. Hand crank ice cream makers have been around for decades, harkening back to a time when homemade ice cream was a labor of love. The mechanics are relatively straightforward, consisting of a metal canister, a paddle, and a hand crank. The magic happens when you combine your ice cream mix with ice and rock salt, then turn the hand crank to churn the mixture into a creamy dessert.
Now that we have a basic understanding of hand crank ice cream makers, let’s move on to the next section to learn how to assemble and set up your machine.
Key Takeaways:
- Embrace the nostalgic joy of hand crank ice cream making and create delightful frozen treats with a sense of tradition and fun for lasting memories.
- Master the art of homemade ice cream with a hand crank ice cream maker, experiment with flavors, and enjoy the rewarding process of churning out creamy, flavorful creations.
Read more: How To Use The Kitchenaid Ice Cream Maker
Understanding the Hand Crank Ice Cream Maker
Before we jump into the process of making ice cream with a hand crank ice cream maker, it’s important to have a solid understanding of how the machine works. This knowledge will not only help you operate the device more efficiently but also ensure that you achieve the best results.
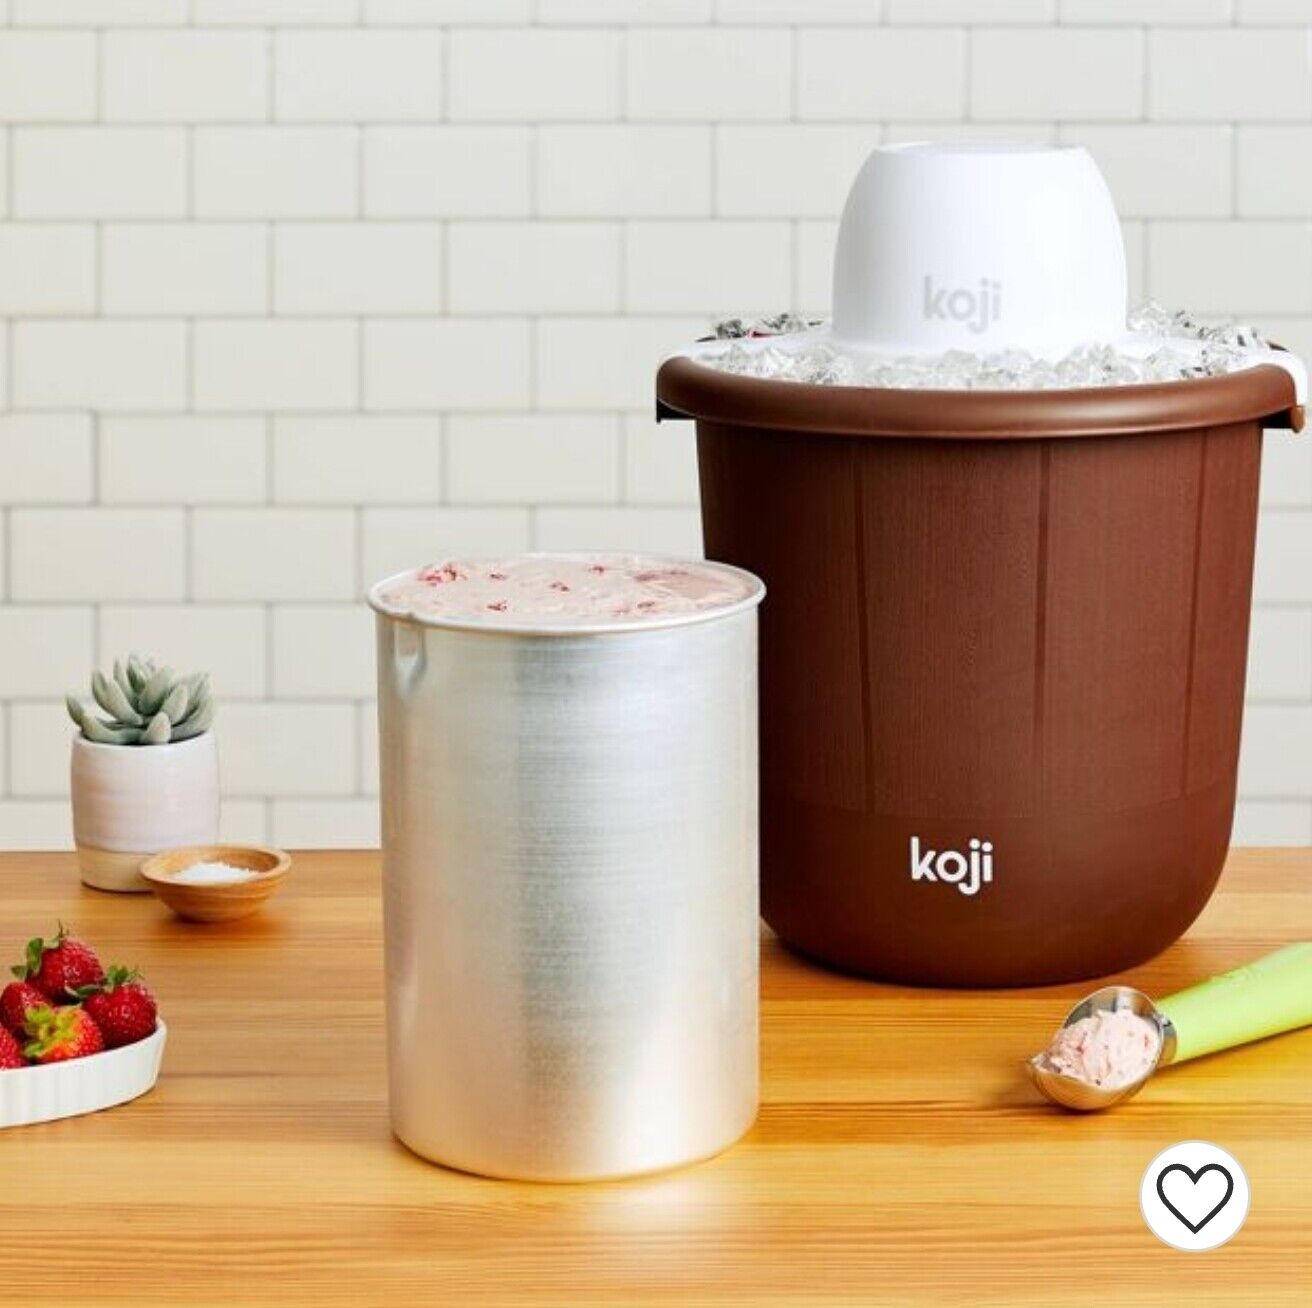
The key components of a hand crank ice cream maker include the metal canister, the paddle, and the hand crank. The metal canister is typically made of aluminum or stainless steel and is where the ice cream mixture is placed. It has a sealed lid to prevent any leakage during the churning process.
The paddle is responsible for agitating the ice cream mixture and creating the creamy texture we all love. It is attached to the hand crank, which is used to manually rotate the paddle inside the canister. As the paddle turns, it incorporates air into the mixture and breaks up any ice crystals that form, resulting in a smooth and creamy consistency.
Now that we have a basic understanding of the components, let’s briefly discuss the science behind how a hand crank ice cream maker works. The mixture inside the canister undergoes a process known as freezing point depression. When you add ice and rock salt to the outer chamber of the machine, the salt lowers the freezing temperature of the ice, creating an environment that is cold enough to freeze the ice cream mixture.
During the churning process, the paddle continuously scrapes the frozen ice cream mixture from the sides of the canister, preventing it from forming large ice crystals. This constant agitation also helps to incorporate air into the mixture, increasing its volume and creating a lighter, fluffier texture.
Now that you have a better understanding of how a hand crank ice cream maker works, let’s move on to the next section to learn how to assemble the machine properly.
Assembling the Hand Crank Ice Cream Maker
Before you can start making delicious ice cream with your hand crank ice cream maker, you need to ensure that it is properly assembled. Don’t worry, assembling the machine is a straightforward process that won’t take much of your time.
Here are the steps to assemble your hand crank ice cream maker:
- Start by ensuring that the canister is clean and dry. Remove the lid from the canister and set it aside.
- Take the paddle and insert it into the canister. Make sure it fits securely in the center of the canister.
- Next, place the canister into the outer chamber of the ice cream maker. Align the notches or tabs on the canister with the corresponding slots or grooves in the outer chamber.
- Once the canister is secured in place, carefully place the lid back onto the canister. Ensure that it is tightly sealed to prevent any leaks during the churning process.
- Now, your hand crank ice cream maker is fully assembled and ready to be filled with your ice cream mixture. Make sure to follow the recipe instructions and prepare your ice cream mix accordingly.
It’s important to note that some hand crank ice cream makers have additional components, such as a handle or a clamp to hold the machine steady while churning. If your ice cream maker has these features, make sure to assemble them according to the manufacturer’s instructions.
Now that you have your hand crank ice cream maker assembled and ready to go, let’s move on to the next section to learn how to prepare the ice cream mix.
Preparing the Ice Cream Mix
Now that your hand crank ice cream maker is assembled, it’s time to prepare the ice cream mixture. This step is crucial, as it will determine the flavor and consistency of your homemade ice cream. You can either follow a recipe or get creative and experiment with your own flavor combinations.
Here are the general steps to prepare the ice cream mix:
- Gather all the necessary ingredients for your ice cream recipe. This typically includes dairy (such as heavy cream, milk, or a combination), sugar, flavorings (such as vanilla extract or cocoa powder), and any additional mix-ins you desire (such as chocolate chips, fruits, or nuts).
- In a mixing bowl, combine the dairy and sugar. Whisk them together until the sugar is dissolved and the mixture is well blended.
- Add your desired flavorings, such as vanilla extract or cocoa powder, to the dairy-sugar mixture. Stir well to incorporate the flavors.
- If using any mix-ins like chocolate chips or fruits, fold them into the mixture at this stage.
- Once your ice cream mix is well combined, transfer it into the assembled canister of your hand crank ice cream maker. Make sure not to overfill the canister, as the mixture will expand during churning.
It’s important to note that the exact measurements and proportions of the ingredients will depend on your specific recipe. Follow the instructions provided in your chosen recipe to ensure optimal results.
Once you have prepared your ice cream mix, it’s time to move on to the exciting part: churning the ice cream with your hand crank ice cream maker. We’ll cover this process in the next section.
Churning the Ice Cream
Now comes the exciting part: churning the ice cream with your hand crank ice cream maker! This step is where the magic happens and your delicious ice cream begins to take shape. Churning helps aerate the mixture and breaks up any ice crystals, resulting in a smooth and creamy texture.
Here’s how to churn ice cream with a hand crank ice cream maker:
- Ensure that the lid of the canister is tightly sealed, securing the paddle inside.
- Place the assembled canister into the outer chamber of the ice cream maker.
- Add a layer of ice cubes into the outer chamber, surrounding the canister. Then sprinkle a generous amount of rock salt or ice cream salt over the ice cubes.
- Continue layering ice cubes and salt until the gap between the canister and outer chamber is filled. Make sure to leave some space at the top for the ice cream to expand during churning.
- Attach the hand crank to the paddle inside the canister, ensuring that it fits securely.
- Start cranking the handle in a steady and consistent motion. The continuous turning of the paddle will agitate the ice cream mixture, preventing ice crystals from forming.
- Continue cranking for about 15-20 minutes or until the ice cream reaches your desired consistency. You may need to adjust the speed and force of your cranks based on the resistance you feel.
During the churning process, you may notice that the ice and salt mixture in the outer chamber begins to melt and shrink. This is normal and indicates that the ice cream mixture is absorbing heat and freezing. If needed, add more ice and salt to maintain a consistent freezing temperature.
Once your ice cream has reached the desired consistency, it’s time to enjoy the fruits of your labor! Remove the canister from the ice cream maker and carefully remove the lid. Scrape the freshly churned ice cream from the paddle and into a storage container.
At this stage, your ice cream will likely be soft-serve consistency. If you prefer a firmer texture, transfer the ice cream to a lidded container and place it in the freezer for a few hours to harden.
Now that you have successfully churned your ice cream, you may be wondering if you can add any mix-ins like chocolate chips or cookie crumbles. We’ll cover that in the next section.
Add rock salt to the ice to lower its freezing point, allowing the ice cream to freeze faster. This will result in a smoother and creamier texture.
Read more: How To Use Ninja Ice Cream Maker
Adding Mix-ins (Optional)
Adding mix-ins to your homemade ice cream can take it to the next level, providing delightful bursts of flavor and texture. Whether you prefer chocolate chips, crushed cookies, or swirls of caramel, mix-ins are a fun and customizable addition to your hand crank ice cream creation.
Here are some tips for adding mix-ins to your ice cream:
- Prepare your mix-ins ahead of time. If you’re using ingredients like chocolate chips or nuts, chop them into smaller pieces to ensure even distribution throughout the ice cream.
- Once the ice cream has reached the desired consistency during churning, pause the cranking and carefully remove the lid from the canister.
- Quickly fold in your chosen mix-ins. Using a spatula or spoon, gently incorporate the mix-ins into the partially churned ice cream.
- Be careful not to overmix the ice cream during this process, as it may affect the texture. Aim for a uniform distribution of the mix-ins while still maintaining the airiness of the ice cream.
- After adding the mix-ins, securely place the lid back onto the canister and resume churning. Continue cranking for a few more minutes to ensure that the mix-ins are well blended into the ice cream.
Adding mix-ins is a fantastic way to experiment and personalize your ice cream flavors. You can get creative and try various combinations such as cookie dough chunks with caramel swirls or fresh fruit with a hint of mint. The possibilities are endless, so don’t be afraid to let your imagination run wild!
Once you are satisfied with the incorporation of mix-ins, you can proceed to remove the canister from the ice cream maker and transfer the finished ice cream to a storage container. Be sure to cover it tightly and place it in the freezer to allow the ice cream to fully set and firm up.
Now that you have mastered the art of adding mix-ins, let’s move on to some tips for using a hand crank ice cream maker to ensure the best possible experience.
Tips for Using a Hand Crank Ice Cream Maker
Using a hand crank ice cream maker can be a delightful and rewarding experience. To help you make the most out of your homemade ice cream adventures, here are some valuable tips to keep in mind:
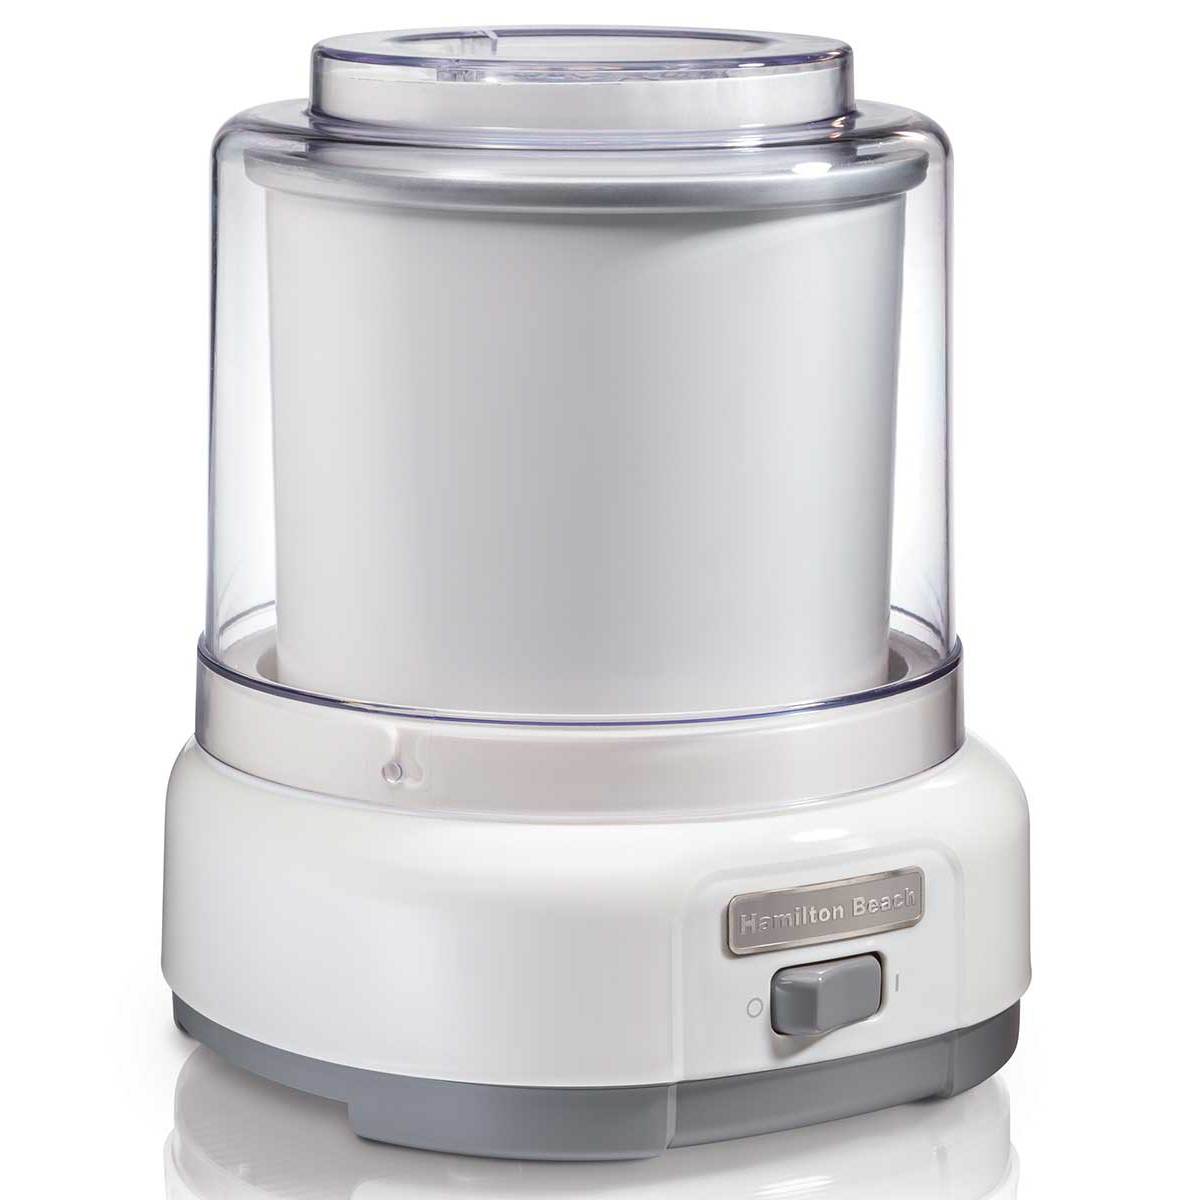
- Allow the freeze bowl to fully freeze: If your hand crank ice cream maker requires a freeze bowl, make sure to place it in the freezer for a sufficient amount of time, as specified by the manufacturer. This ensures that the bowl is properly frozen, allowing the ice cream mixture to freeze and churn effectively.
- Pre-chill your ice cream mixture: Before pouring the mixture into the canister, it is recommended to chill it in the refrigerator for a few hours or overnight. This helps to reduce the initial freezing time and promotes smoother churning.
- Use high-quality ingredients: The quality of your ingredients, especially dairy products like cream and milk, greatly affects the taste and texture of your ice cream. Opt for fresh and high-fat content ingredients for a creamier and richer result.
- Experiment with different flavors and mix-ins: Don’t be afraid to get creative and explore different flavor combinations. Add fruits, nuts, candies, or even spices to infuse unique flavors into your ice cream. Let your taste buds guide you in creating delicious and innovative recipes.
- Rotate the canister during churning: To ensure even freezing and consistency, occasionally rotate the canister while cranking. This helps prevent ice crystals from forming or freezing on the sides of the canister.
- Avoid overfilling the canister: To prevent spills or overflow, avoid filling the canister to its maximum capacity. The ice cream will expand during churning, so leave some room for it to grow inside the canister.
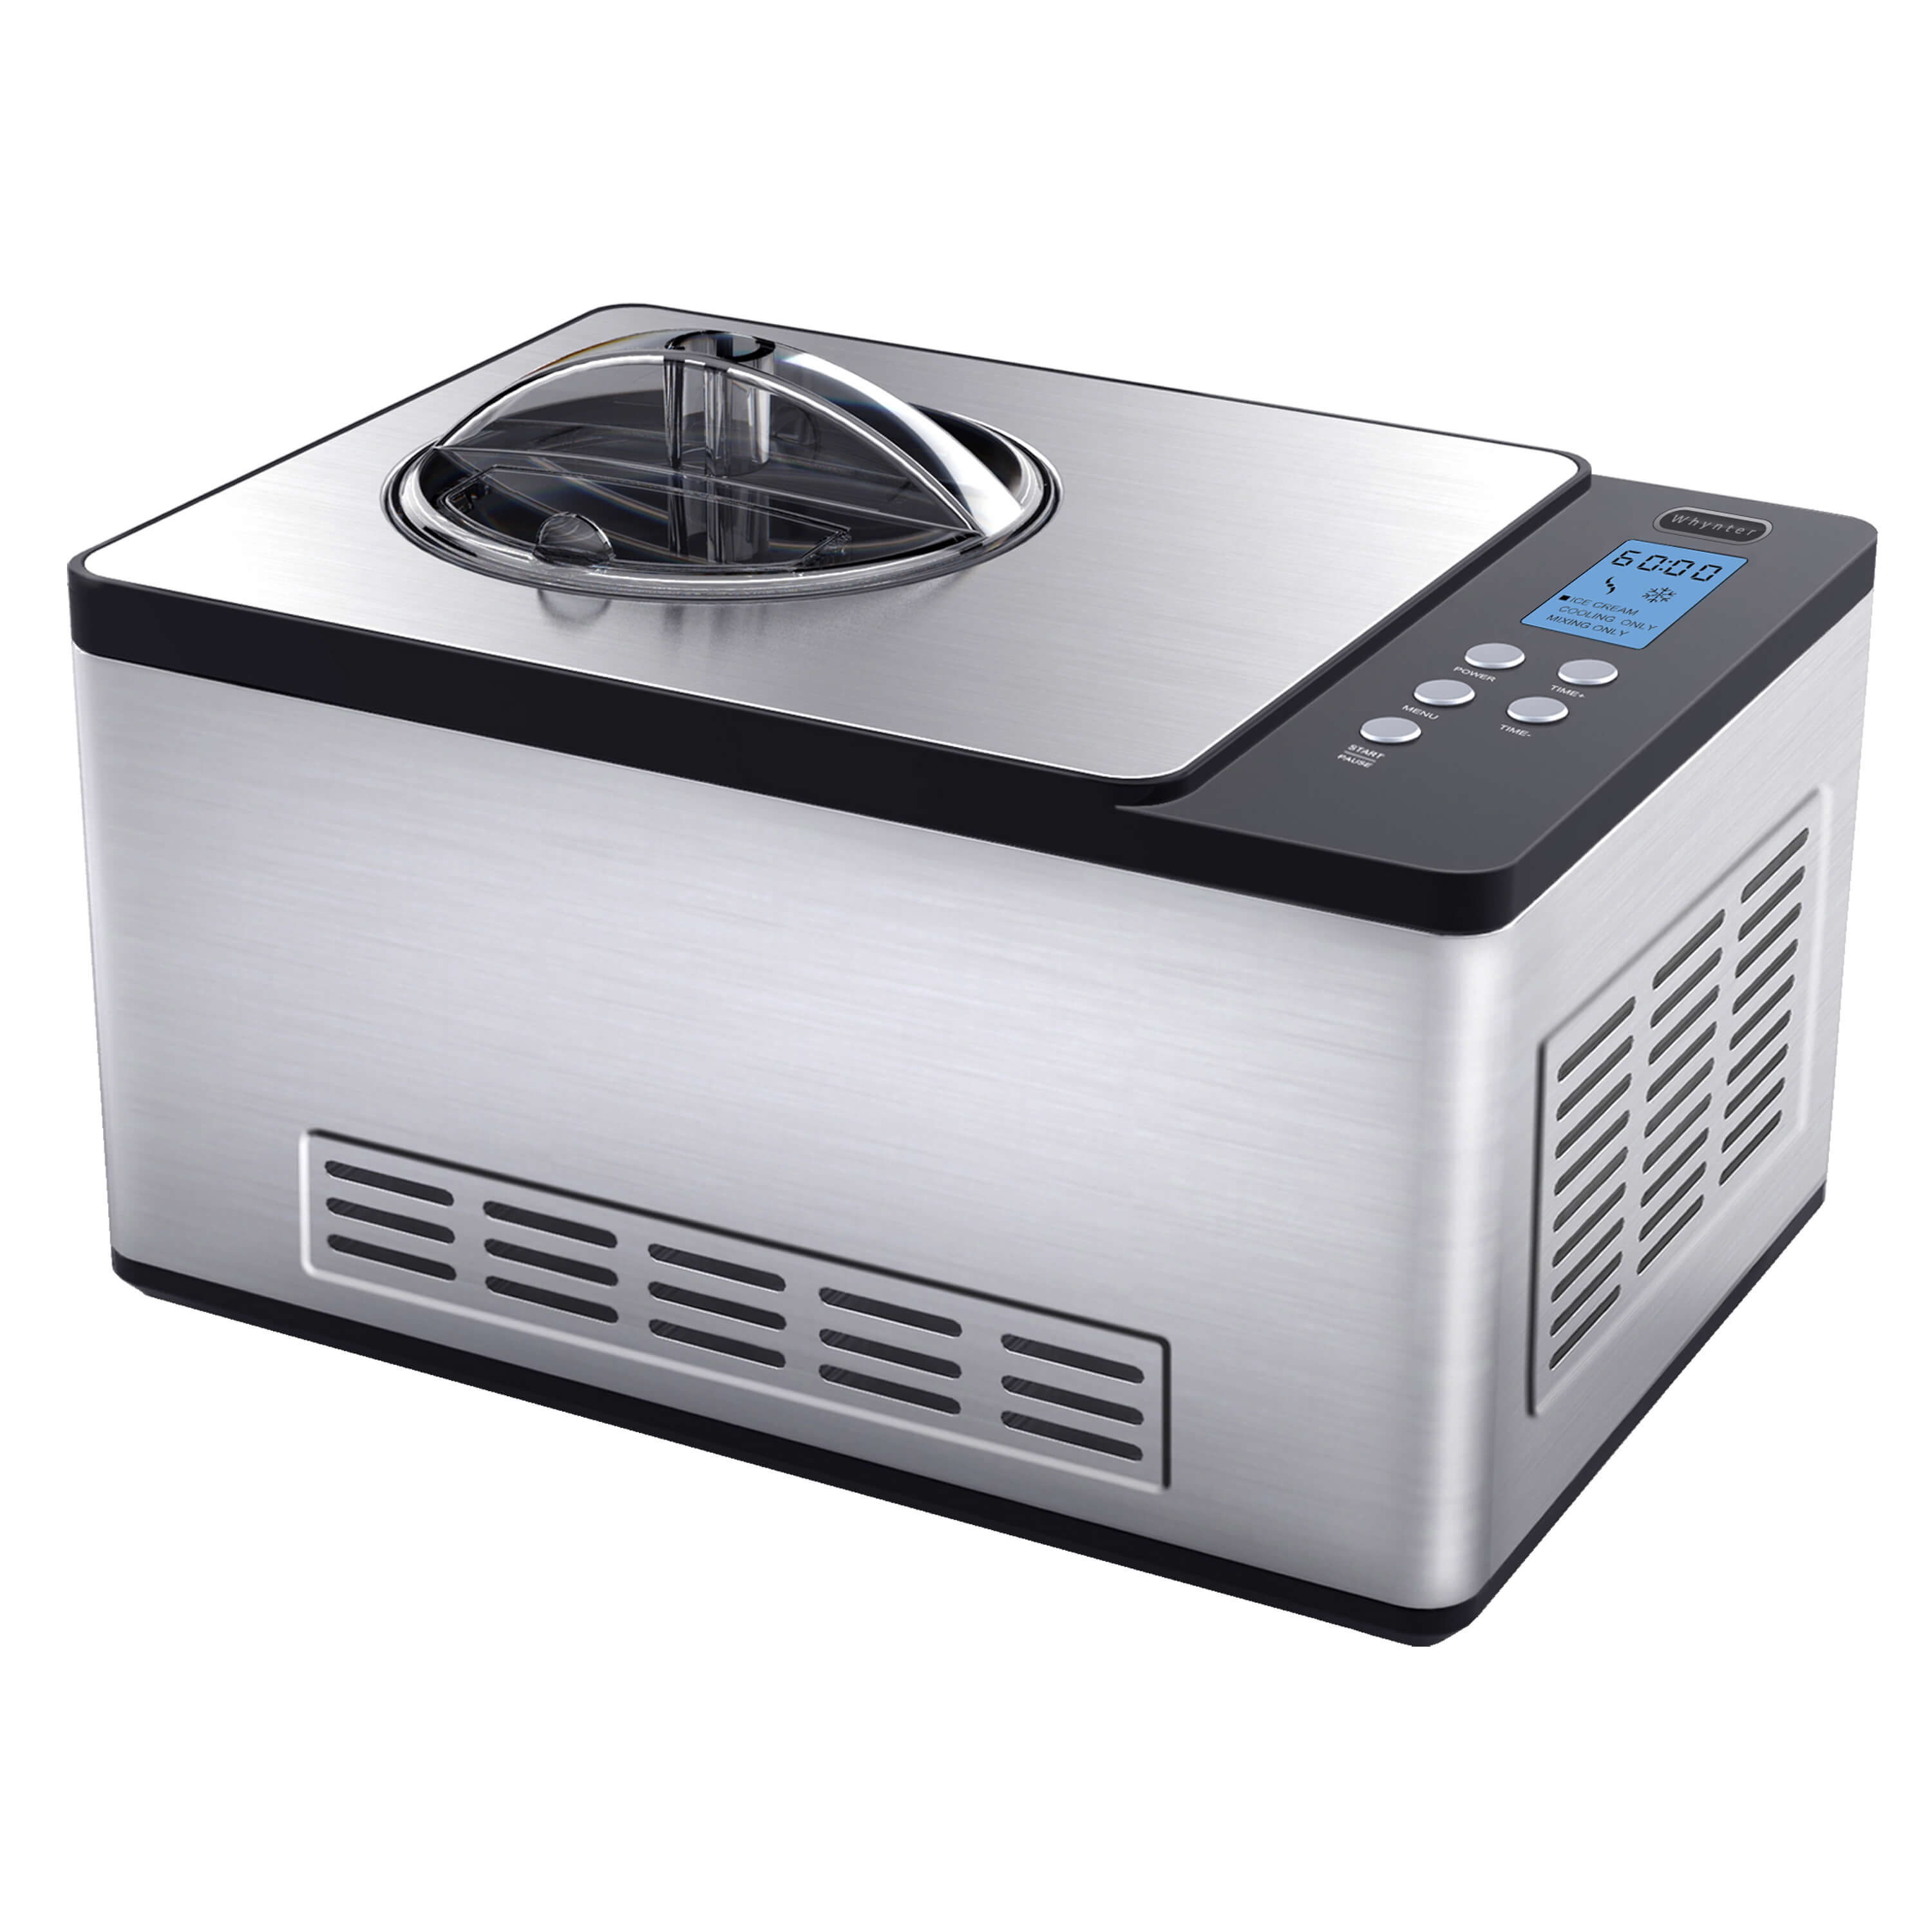
- Plan ahead for longer freezing time: Hand crank ice cream makers typically require more time to freeze and churn the ice cream compared to electric models. Keep this in mind and plan accordingly, especially if you’re making ice cream for a specific occasion or event.
- Take breaks while cranking: Churning ice cream can be a physically demanding task. If you feel fatigued, take short breaks during the churning process to rest and regain your energy. This will ensure that you can continue cranking smoothly and consistently.
- Clean your ice cream maker immediately after use: Once you have enjoyed your homemade ice cream, make sure to clean the hand crank ice cream maker promptly. Follow the manufacturer’s instructions for disassembly and cleaning, or refer to our next section for more details on cleaning and storage.
With these tips in mind, you’re equipped to create delectable frozen treats with your hand crank ice cream maker. Now, let’s learn how to properly clean and store the machine for its longevity.
Cleaning and Storing the Hand Crank Ice Cream Maker
Properly cleaning and storing your hand crank ice cream maker after each use is essential for maintaining its performance and longevity. Here’s a step-by-step guide to help you keep your ice cream maker in pristine condition:
- Disconnect and disassemble the ice cream maker: Before cleaning, make sure to disconnect the hand crank and remove any attachments or additional components according to the manufacturer’s instructions.
- Rinse the canister and paddle: Start by rinsing the canister and paddle under warm water to remove any remaining ice cream residue. Use a gentle brush or sponge to scrub away any stubborn bits if needed.
- Wash with mild soap and warm water: Fill a sink or basin with warm water and add a small amount of mild dish soap. Submerge the canister and paddle, then scrub them carefully using a soft sponge or cloth.
- Rinse thoroughly: Once the canister and paddle are clean, rinse them thoroughly under running water to remove any soap residue. Ensure that all soap is completely washed away.
- Dry all parts: Before reassembling or storing the ice cream maker, make sure that all parts, including the canister and paddle, are completely dry. You can air-dry them or use a soft towel to gently remove any remaining moisture.
- Store in a cool and dry place: Once the parts are dry, reassemble the ice cream maker and store it in a cool and dry location. Avoid exposing it to excessive heat or moisture, as this can damage the components.
- Keep the manual safe: Store the instruction manual in a convenient and easily accessible place. It will come in handy for future reference, troubleshooting, or if you want to try new recipes.
Regularly cleaning and properly storing your hand crank ice cream maker will not only help in maintaining its functionality but also eliminate any lingering odors or flavors from previous batches of ice cream. By following these cleaning and storage practices, you’ll be ready to churn out delicious homemade ice cream whenever the craving strikes.
Now that you know how to clean and store your ice cream maker, it’s time to wrap up our comprehensive guide. With the knowledge and tips shared in this article, you can confidently embark on your hand crank ice cream making journey and enjoy the delightful rewards of homemade frozen treats.
Happy churning!
Conclusion
Congratulations! You’ve reached the end of our comprehensive guide on using a hand crank ice cream maker. By now, you should have a solid understanding of how these nostalgic machines work and how to make delicious homemade ice cream with them.
Using a hand crank ice cream maker not only allows you to indulge in creamy and flavorful frozen treats, but it also brings a sense of joy and nostalgia to the process. The rhythmic cranking and anticipation of your creation coming to life will surely bring smiles to your face and create lasting memories with your loved ones.
We explored the step-by-step process of assembling the ice cream maker, preparing the ice cream mix, churning the ice cream, adding mix-ins, and even shared some handy tips along the way. With each batch, don’t be afraid to get creative, experiment with flavors, and customize your ice cream to your taste buds’ delight.
Remember, practice makes perfect when it comes to hand crank ice cream makers. As you gain experience, you’ll refine your techniques, understand your preferences better, and become a master of homemade ice cream creations.
Lastly, don’t forget to clean and store your ice cream maker properly after each use. By maintaining your machine’s cleanliness and storing it in a suitable environment, you’ll ensure its longevity and continue enjoying the delightful experience of making homemade ice cream for years to come.
So, what are you waiting for? Dust off that hand crank ice cream maker, gather your ingredients, and embark on a delicious and exciting ice cream adventure. Whether it’s a hot summer day, a festive celebration, or just a craving for a sweet treat, the joy of homemade ice cream awaits you!
Happy churning and enjoy your homemade ice cream!
Frequently Asked Questions about How To Use A Hand Crank Ice Cream Maker
Was this page helpful?
At Storables.com, we guarantee accurate and reliable information. Our content, validated by Expert Board Contributors, is crafted following stringent Editorial Policies. We're committed to providing you with well-researched, expert-backed insights for all your informational needs.


0 thoughts on “How To Use A Hand Crank Ice Cream Maker”