Home>Articles>How To Make Banana Ice Cream In Food Processor

Articles
How To Make Banana Ice Cream In Food Processor
Modified: February 27, 2024
Learn how to make delicious banana ice cream in just minutes using your food processor with this easy-to-follow article. Enjoy a refreshing frozen treat perfect for any occasion!
(Many of the links in this article redirect to a specific reviewed product. Your purchase of these products through affiliate links helps to generate commission for Storables.com, at no extra cost. Learn more)
Introduction
Welcome to the delicious world of homemade banana ice cream! If you’re a fan of creamy and refreshing desserts, banana ice cream is a must-try treat. Not only is it incredibly easy to make, but it also requires only a few ingredients. Plus, it’s a healthier alternative to traditional ice cream, as it doesn’t contain any dairy or added sugar.
In this article, we will guide you through the process of making banana ice cream using a food processor. Whether you’re looking for a guilt-free dessert option or simply want to experiment with new flavors, this recipe will not disappoint. So, let’s dive in and discover how you can whip up this delightful frozen delight in the comfort of your own kitchen!
Note: Before starting the recipe, make sure you have a food processor on hand. This powerful tool will help break down the frozen bananas into a smooth and creamy consistency.
Key Takeaways:
- Indulge in guilt-free, creamy banana ice cream made with just 4 ingredients. Experiment with toppings for a personalized treat that’s refreshing, satisfying, and naturally sweet.
- Transform frozen bananas into a smooth, dreamy dessert using a food processor. Customize with chocolate, nuts, or fruit for a delightful homemade indulgence.
Read more: How To Make Ice Cream In Food Processor
Ingredients
Before getting started, gather the following ingredients:
– 4 ripe bananas
– 1 tablespoon of lemon juice (optional, to prevent browning)
– Any additional toppings or mix-ins you desire, such as chocolate chips, nuts, or berries (optional)
The beauty of making banana ice cream is that it requires minimal ingredients. The star of the show is, of course, the bananas themselves. It’s important to use ripe bananas as they will provide the perfect sweetness and creaminess to the ice cream. Additionally, ripe bananas are easier to blend, resulting in a smoother texture.
The lemon juice is optional but recommended as it helps prevent the bananas from browning during the freezing process. If you prefer a slight tanginess, squeeze the juice of half a lemon over the sliced bananas before freezing.
Feel free to get creative with your toppings and mix-ins. Whether you’re a fan of chocolate, nuts, or fresh fruits, these can add an extra layer of flavor and texture to your banana ice cream. Experiment with different combinations to find your perfect mix!
Step 1: Prepare the bananas
Start by peeling the bananas and slicing them into small pieces. The smaller the pieces, the easier it will be for the food processor to blend them smoothly.
If you’re concerned about the bananas browning, you can squeeze the juice of half a lemon over the sliced bananas. The lemon juice acts as a natural preservative and will help prevent browning. It also adds a subtle tanginess to the ice cream.
Once the bananas are sliced, place them in a single layer on a baking sheet lined with parchment paper. Make sure the slices don’t touch each other to prevent them from freezing together.
Pop the baking sheet into the freezer and let the bananas freeze solid. This usually takes around 2-3 hours, but you can also leave them overnight if you prefer.
Note: If you’re short on time and can’t wait for the bananas to freeze, you can place the sliced bananas in a resealable bag and freeze them for at least 30 minutes. This will chill them enough for the blending process, but the ice cream may not be as firm.
Once the bananas are completely frozen, they’re ready to be transformed into creamy and delicious banana ice cream!
Step 2: Freeze the bananas
Now that you have prepared the bananas, it’s time to freeze them. Freezing the bananas is crucial as it helps create a creamy and smooth texture for the ice cream.
First, ensure that your freezer is set to its coldest temperature. This will allow the bananas to freeze quickly and efficiently.
Next, take the sliced bananas that you prepared in the previous step and transfer them into a resealable plastic bag or an airtight container. Make sure to remove any excess air from the bag or container before sealing it. This will help prevent freezer burn and extend the shelf life of the bananas.
Place the bag or container in the freezer, making sure it lays flat. This will prevent the bananas from freezing together in clumps, making it easier to blend them later on. It’s recommended to freeze the bananas for at least 2-3 hours, but leaving them overnight will yield the best results.
Note: If you’re short on time and can’t wait for the bananas to freeze completely, you can partially freeze them for at least 30 minutes. However, keep in mind that the ice cream may be slightly softer and may not have the same creamy consistency.
Once the bananas are fully frozen, you’re one step closer to enjoying your homemade banana ice cream!
Add a splash of milk or cream to the frozen banana chunks in the food processor to help achieve a creamier texture for your banana ice cream.Step 3: Blend the frozen bananas
Now that your bananas are frozen and prepared, it’s time to turn them into creamy and dreamy banana ice cream using a food processor.
Remove the frozen bananas from the freezer and let them sit at room temperature for a few minutes to slightly soften. This will make the blending process easier and prevent straining the motor of your food processor.
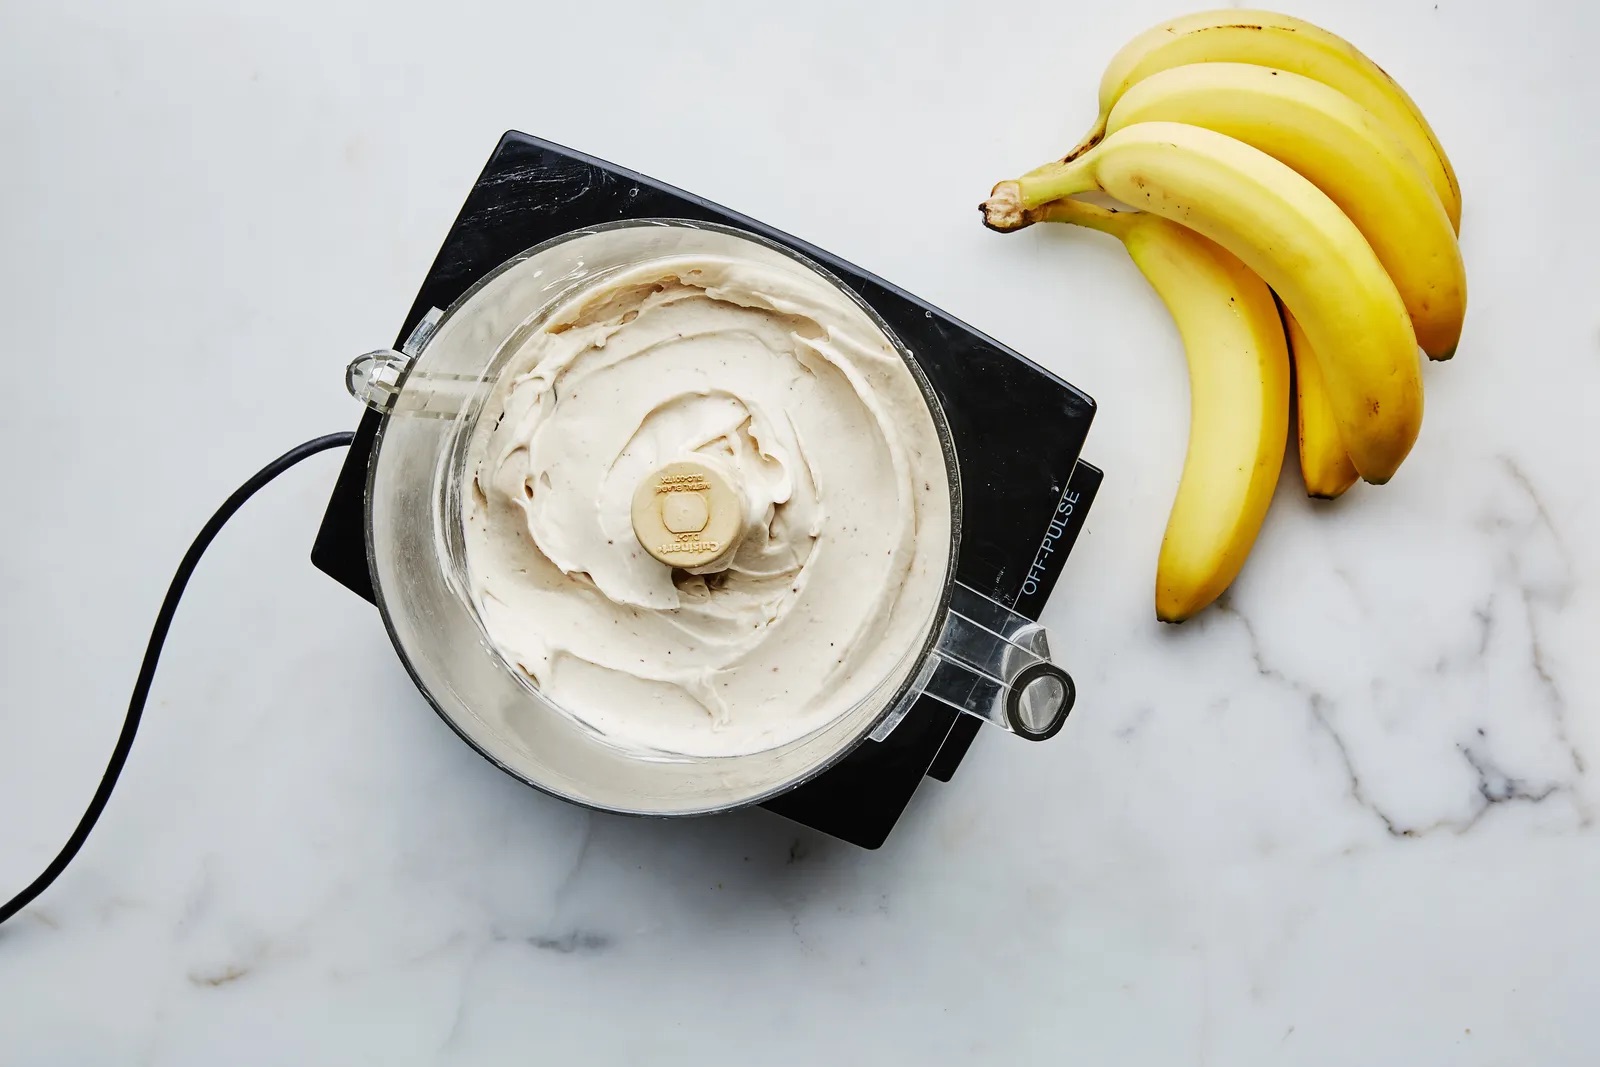
Once the bananas have softened slightly, transfer them to the bowl of your food processor. Secure the lid tightly and turn the processor on. It’s best to start with a low speed and gradually increase it as the bananas begin to break down. This will prevent the bananas from getting stuck or the motor from overheating.
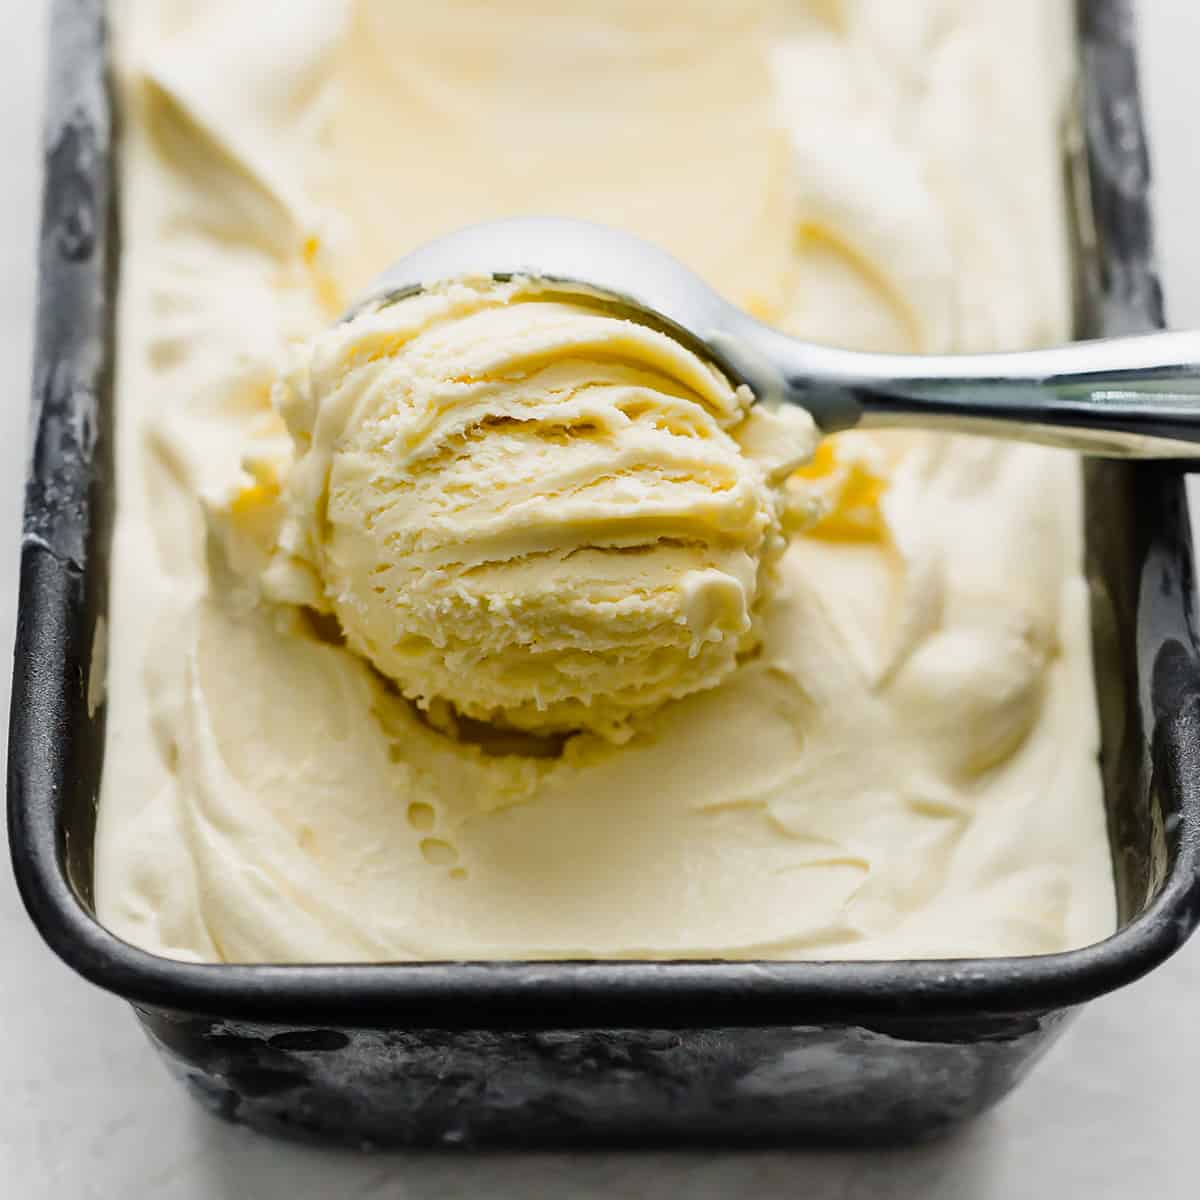
Blend the bananas until they start to resemble a creamy and smooth consistency, similar to soft-serve ice cream. It may take a few minutes, and you might need to stop and scrape down the sides of the bowl occasionally to ensure even blending.
If the mixture is too thick and not blending well, you can add a tablespoon or two of non-dairy milk, such as almond or coconut milk, to help loosen it up. However, be cautious not to add too much liquid, as it can result in a runny ice cream texture.
Note: Avoid over-blending the mixture, as it can result in a melted and runny consistency. Aim for a smooth and thick texture that resembles traditional ice cream.
Once the bananas have reached the desired consistency, your banana ice cream is ready to be customized with additional toppings or enjoyed as is!
Read more: How To Make Banana Ice Cream In A Blender
Step 4: Optional additions
While banana ice cream is delicious on its own, you can take it to the next level by adding your favorite mix-ins and toppings. Here are a few ideas to get you started:
– Chocolate chips: Sprinkle some chocolate chips over the banana ice cream for a delightful flavor combination. Whether you prefer dark, milk, or white chocolate, the creamy sweetness will complement the banana base perfectly.
– Nuts: Add a crunchy texture to your ice cream by incorporating chopped nuts such as walnuts, almonds, or peanuts. They not only add a satisfying crunch but also bring a nutty flavor to the mix.
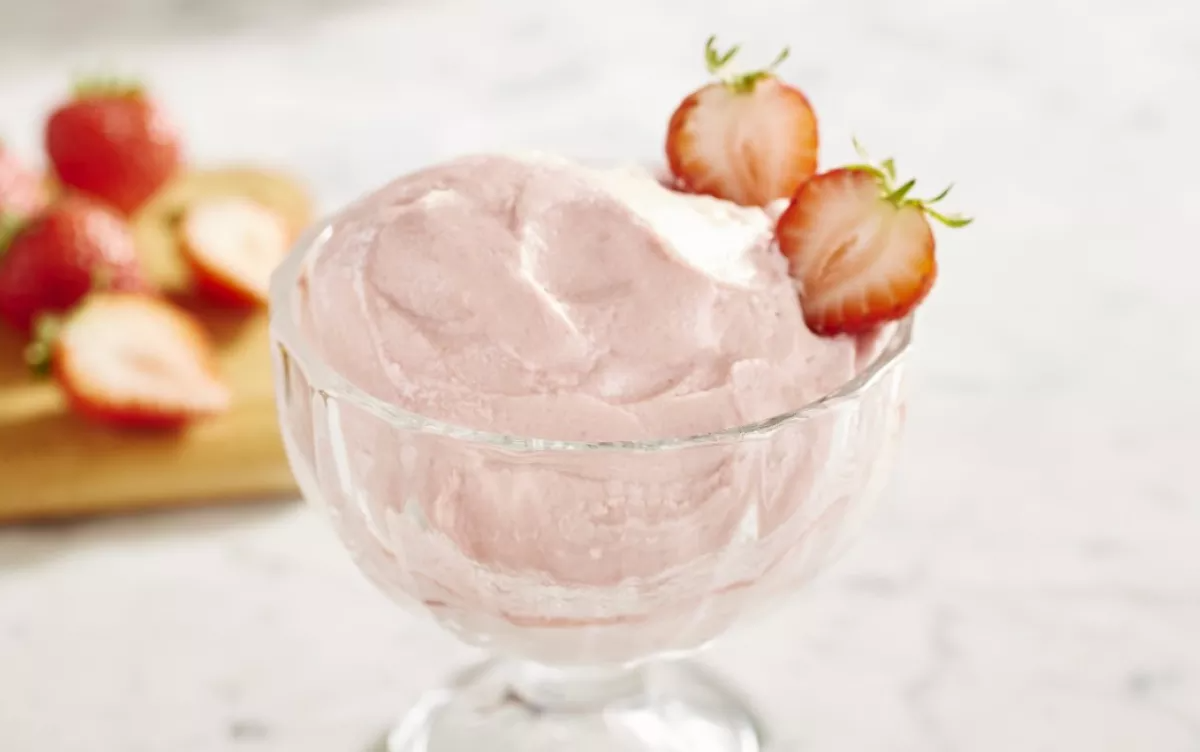
– Fresh fruits: Amp up the freshness and add a burst of color to your banana ice cream by tossing in some fresh fruits. Berries like strawberries, blueberries, and raspberries work particularly well. They add a tangy and refreshing twist to the creamy base.
– Nut butter: For a rich and indulgent touch, swirl in some nut butter like peanut butter, almond butter, or cashew butter. It creates a luscious and nutty flavor profile that pairs perfectly with the sweetness of the bananas.
– Caramel or chocolate sauce: Drizzle a decadent caramel or chocolate sauce over the ice cream for an extra indulgent treat. The gooey and sweet sauce elevates the flavors and adds a luxurious touch.
Feel free to mix and match these additions or get creative with your own combinations. The options are endless, and you can customize your banana ice cream to suit your taste preferences!
Note: Remember to add the additional toppings or mix-ins after blending the bananas to ensure a smooth and creamy texture.
Step 5: Serve and enjoy
Congratulations! You’ve successfully made your own creamy and delicious banana ice cream. Now it’s time to savor the fruits of your labor.
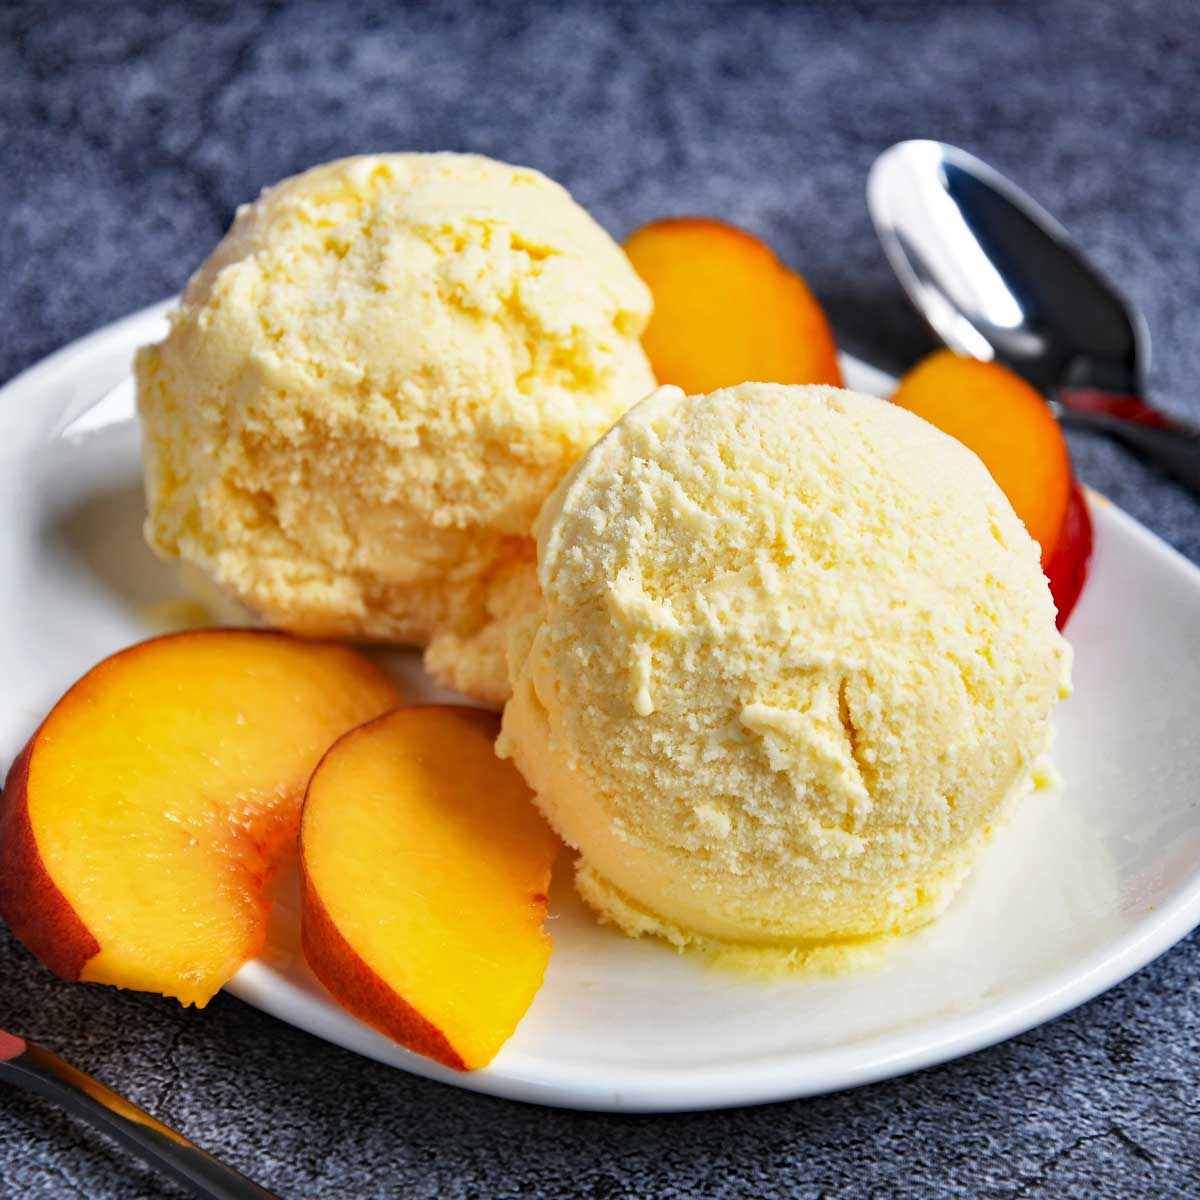
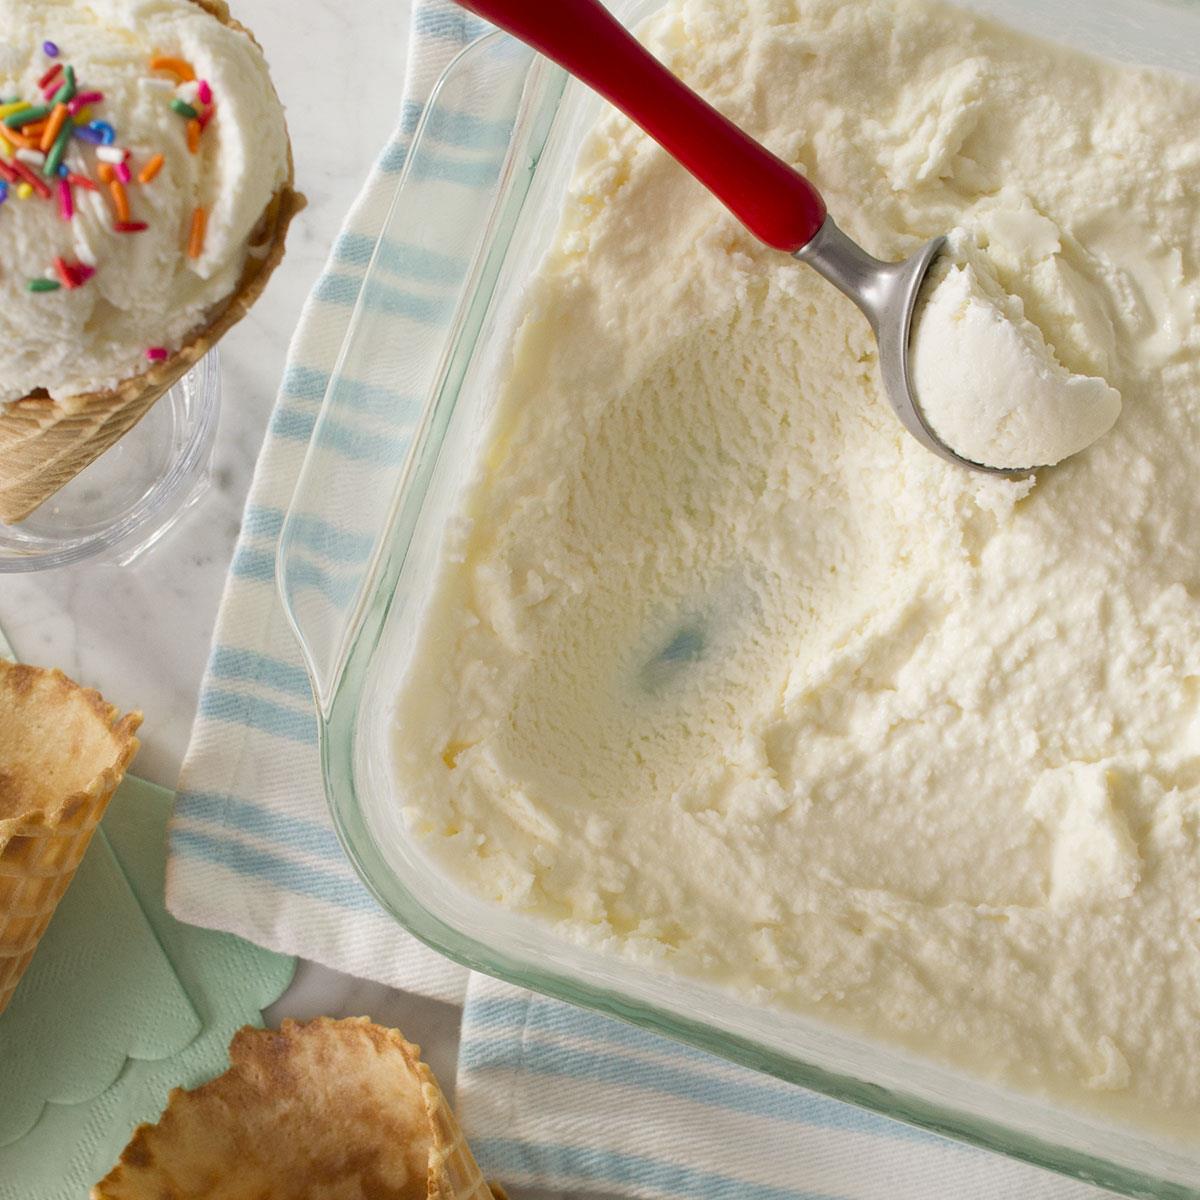
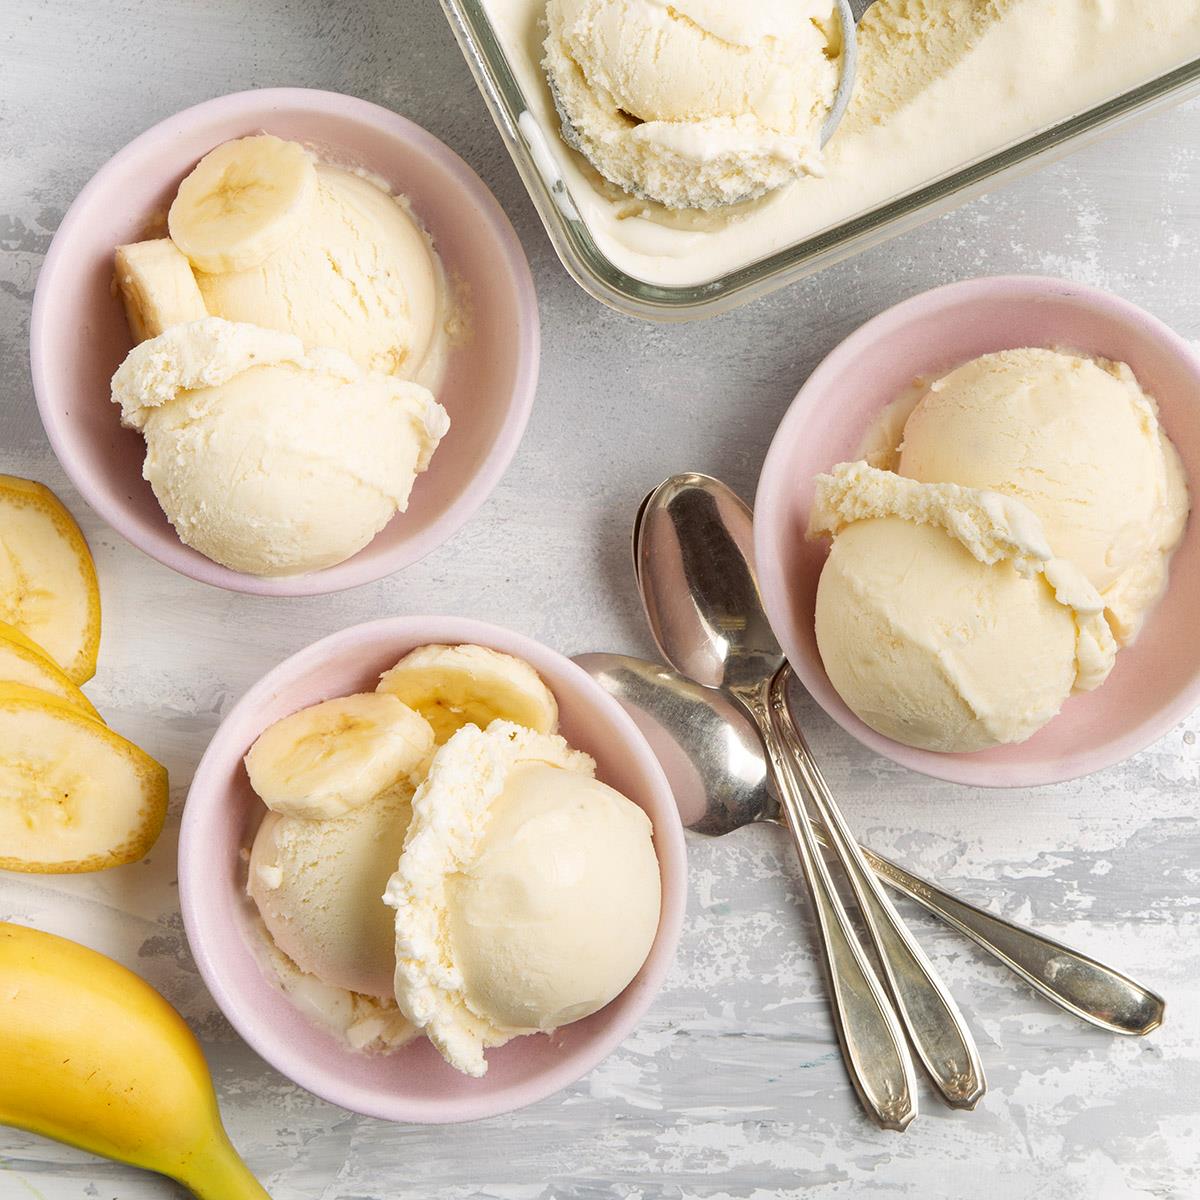
Scoop the freshly blended banana ice cream into bowls or cones, and if desired, top it off with any additional toppings you prepared. Remember, presentation is key, so feel free to get creative with your garnishes.
Once your ice cream is ready, dig in and enjoy the creamy, refreshing, and naturally sweet flavors. The great thing about homemade banana ice cream is that it’s a guilt-free indulgence, with no added sugars or artificial ingredients.
Whether you’re enjoying it as a dessert on a hot summer day, serving it to guests at a gathering, or simply treating yourself to a sweet, satisfying snack, this homemade alternative is sure to please your taste buds.
For any leftovers, you can transfer them to an airtight container and store them in the freezer for later enjoyment. Keep in mind that homemade banana ice cream is best eaten fresh, as it may become harder and lose its creamy texture over time.
So, grab a spoon, sit back, and relish in the delightful flavors of your homemade banana ice cream. Indulge in this guilt-free treat that’s not only delicious but also nourishing for your body.
Enjoy every creamy bite and be proud of your culinary achievement!
Frequently Asked Questions about How To Make Banana Ice Cream In Food Processor
Was this page helpful?
At Storables.com, we guarantee accurate and reliable information. Our content, validated by Expert Board Contributors, is crafted following stringent Editorial Policies. We're committed to providing you with well-researched, expert-backed insights for all your informational needs.

0 thoughts on “How To Make Banana Ice Cream In Food Processor”