Home>Storage Ideas>Storage Cabinets>How To Make Tool Storage Cabinets?

Storage Cabinets
How To Make Tool Storage Cabinets?
Modified: August 28, 2024
Make your own tool storage cabinets without going broke! With our tips & tricks we guarantee you a DECENT & GOOD LOOKING cabinet to keep your tools safe!
(Many of the links in this article redirect to a specific reviewed product. Your purchase of these products through affiliate links helps to generate commission for Storables.com, at no extra cost. Learn more)
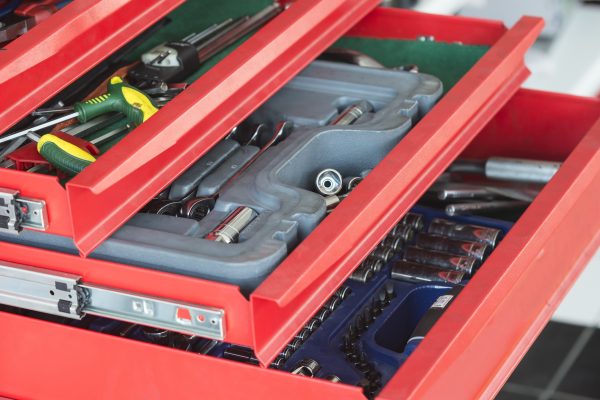
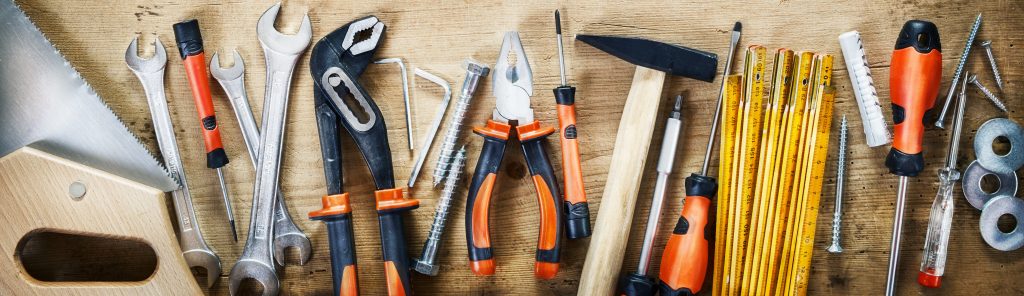
Keep your high-quality tools in a secure, organized space using tool storage cabinets. Sometimes buying a tool storage cabinet can be very expensive, in such scenarios why not make a decent, good looking tool storage cabinet all on your own?
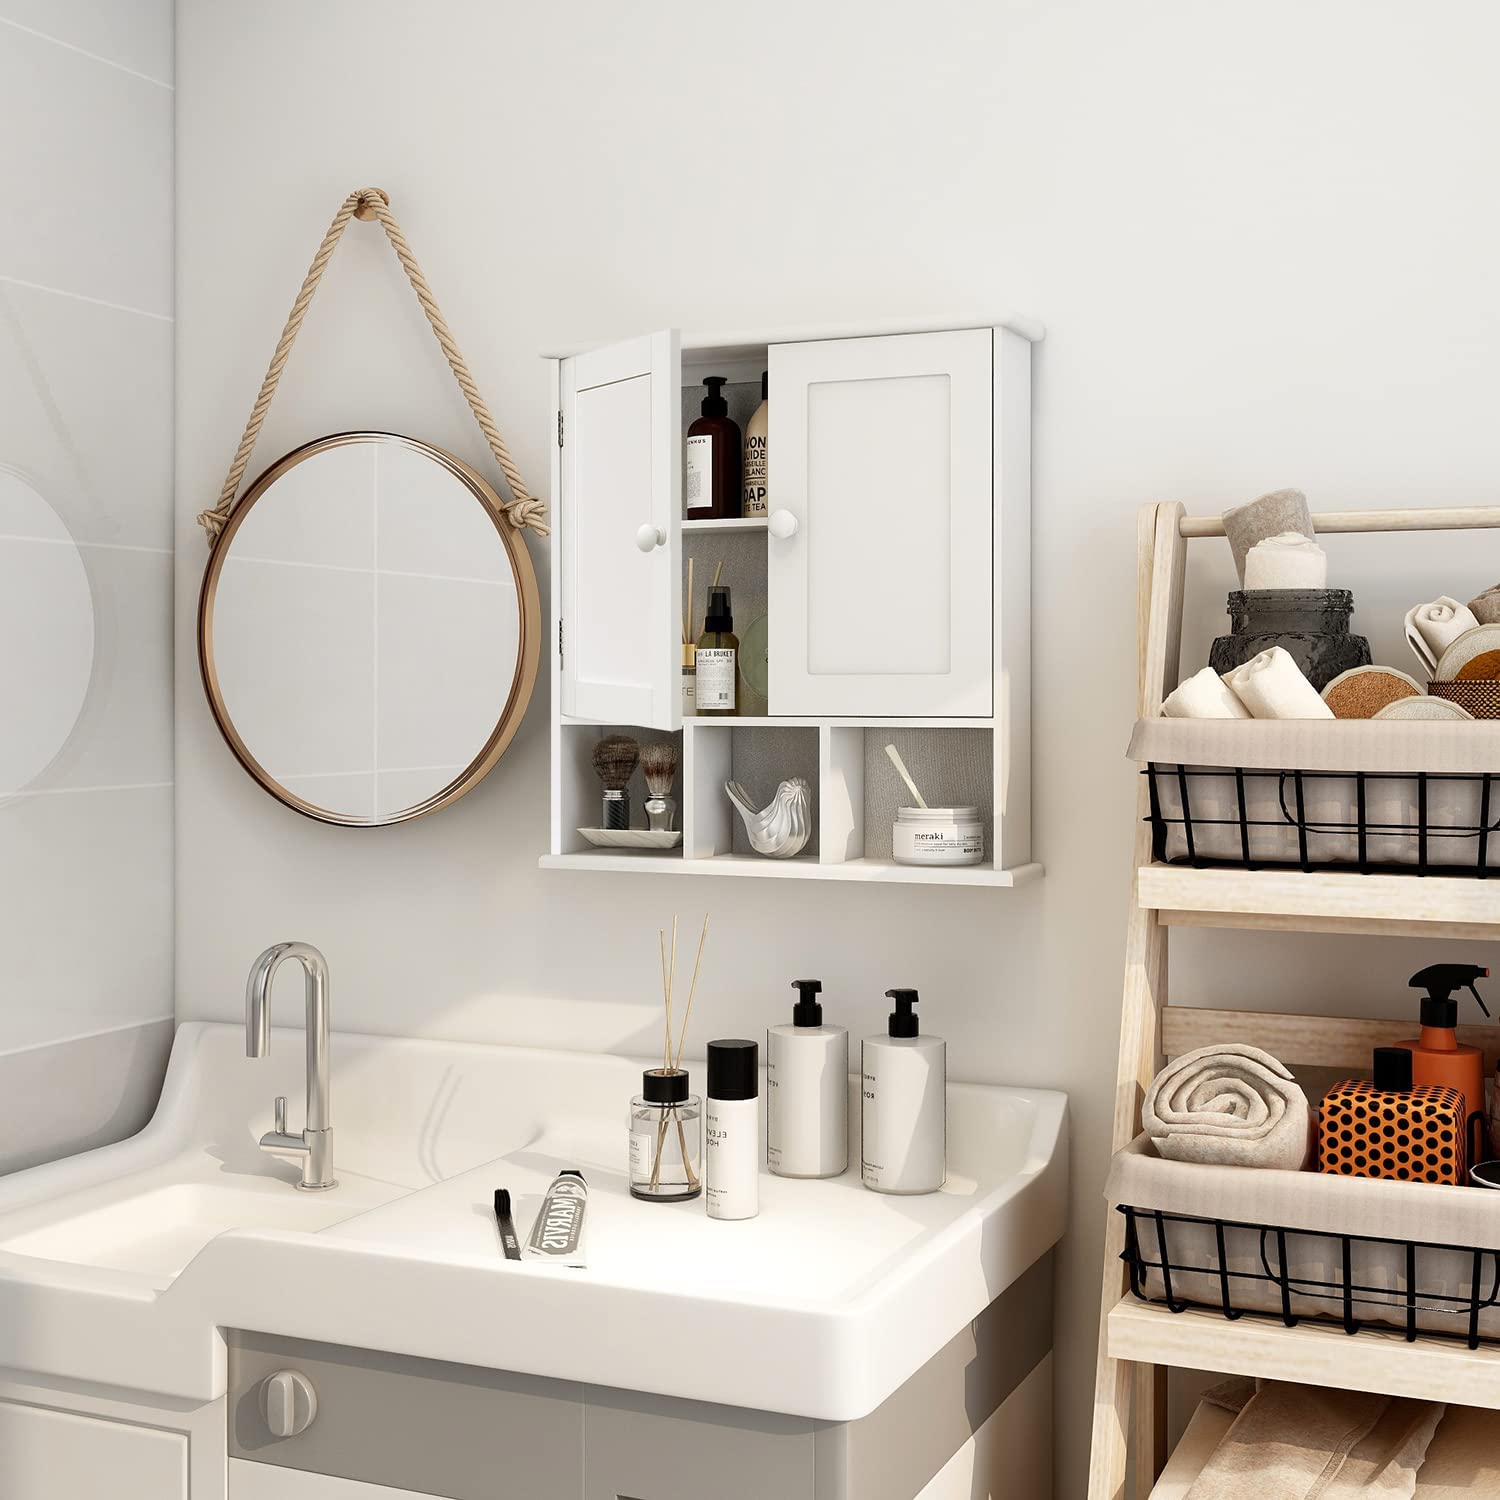
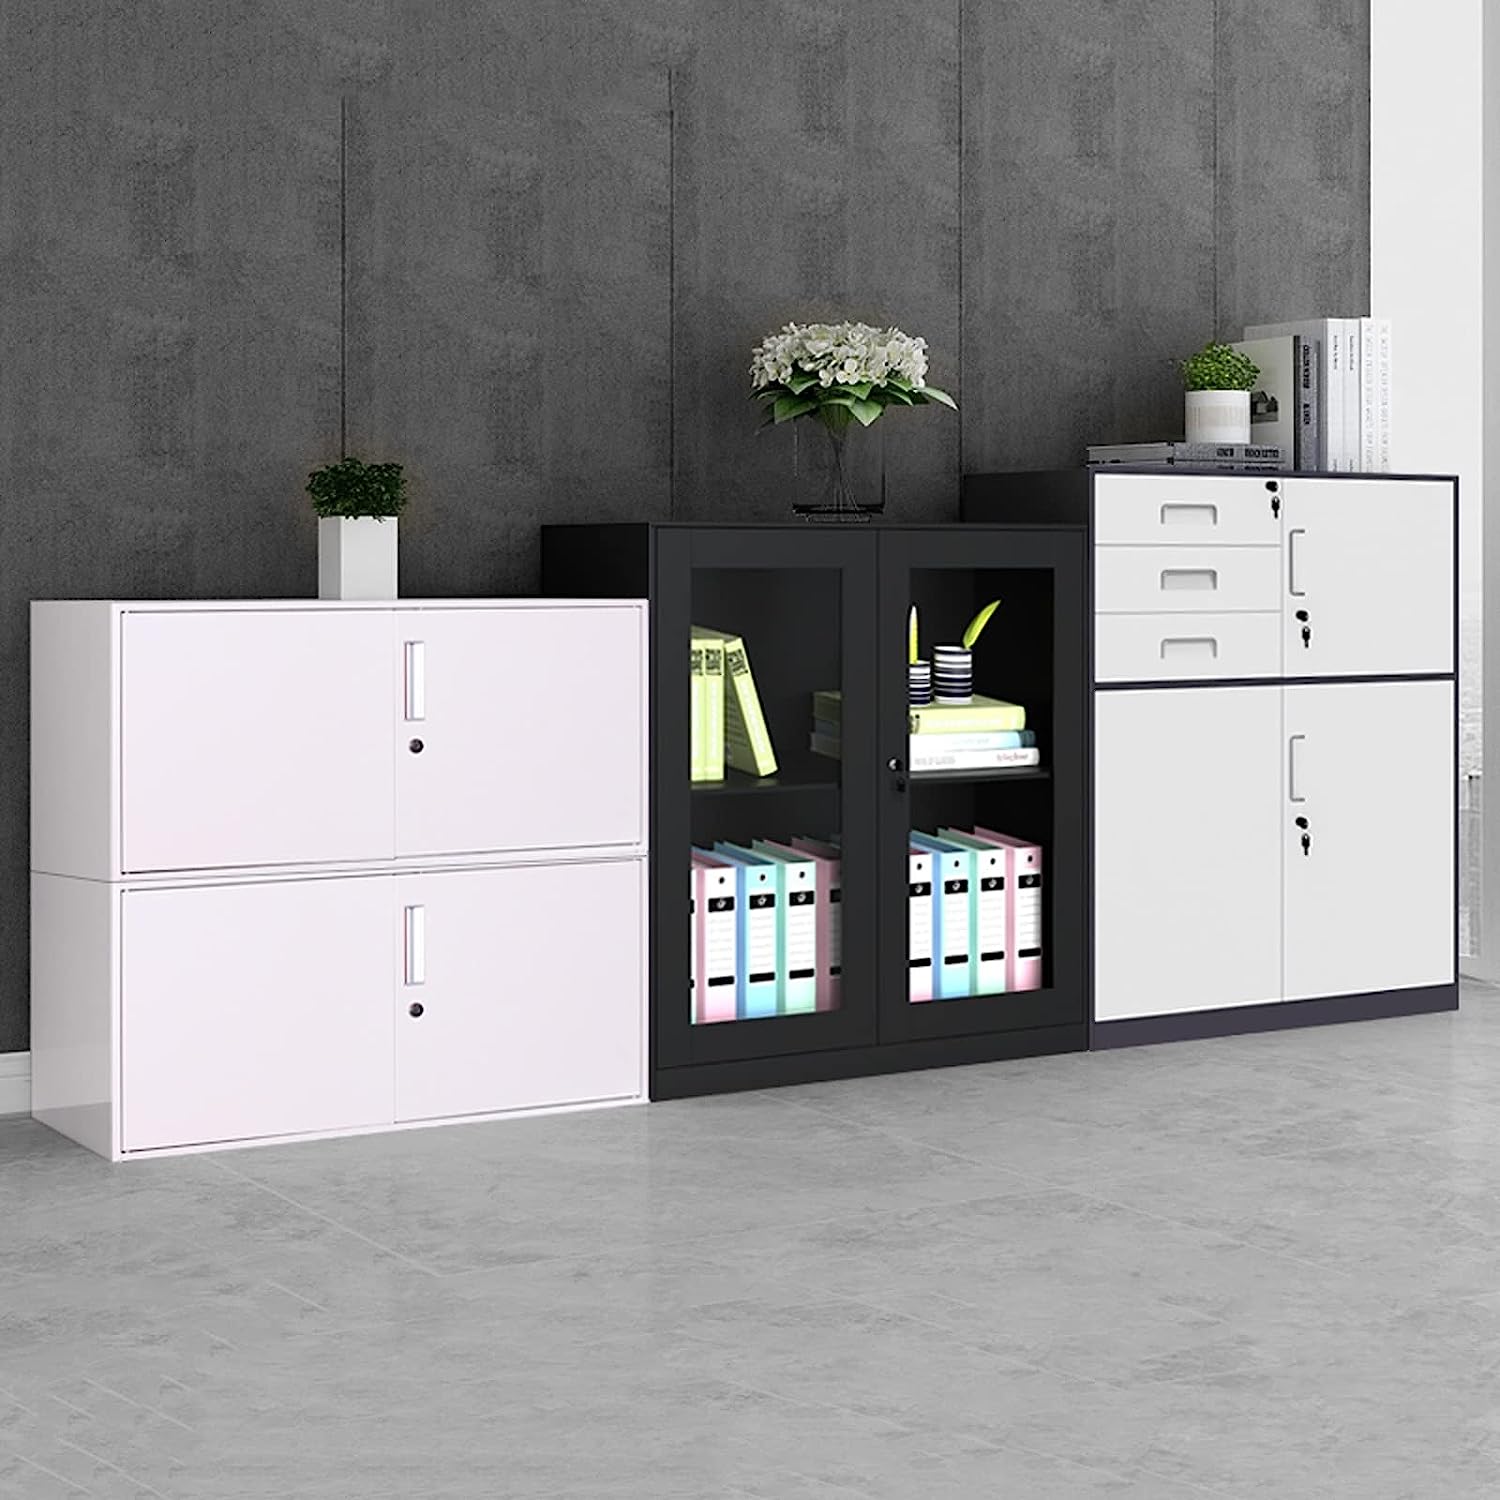
People Who Search For Tool Storage Cabinets Also Search For

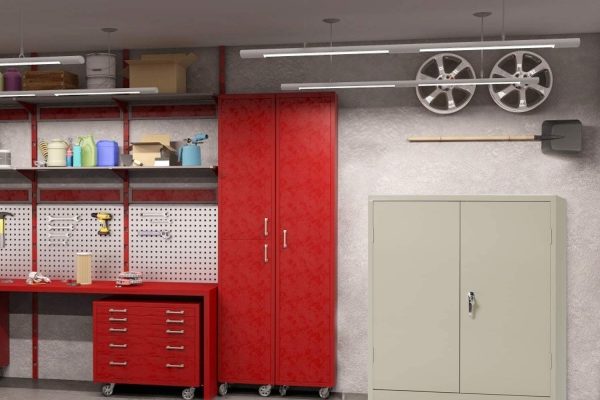


This article is a complete guide on how to make tool storage cabinets. You can build tool chests and tool storage cabinets to ensure your gear stays tidy in top condition.
Regardless of how much tool storage you require, you can find the right supplies to suit your needs if you know what you need out of your storage. Use these tips to help you determine which type of storage solution is best for you:
- Storage Capacity: While shopping, consider any tools you may purchase in the future. Tool chests and cabinets can last a lifetime, so it’s important to ensure there’s enough space for all the essentials you’ll acquire.
- Safety Features: For extra security, buy a tool storage cabinet that includes safety latches or cabinet locks.
- Protective Accessories: Many of our storage cabinets include drawer guards, top mats, and protective covers to help you complete tasks on-site without damaging your tools or your cabinet.
- Ease of Access: Look for tool cabinets on wheels to conveniently move your tools around your workstation without strain. Many of our storage cabinets even include roll-out trays and work surfaces to make your tasks easier.
Read also: 10 Best Tool Storage Cabinet For 2025
Required Tools In Making Tool Storage Cabinets
These are the tools needed for this DIY project. Prepare these tools before starting to help you save time and frustration.
- Air compressor
- Air hose
- Brad nail gun
- Clamps
- Cordless drill
- Countersink drill bit
- Dust mask
- Hammer
- Miter saw
- Orbital sander
- Router
- Safety glasses
- Table saw
- Wood glue
Materials Needed In Making Tool Storage Cabinets
- 6 sheets of 3/4″ plywood
- 2 – 1 x 2 x 8′ boards
- 1 1/4″ pocket hole screws
- 8 sets of 22″ drawer slides
- 6 sets of 16″ drawer slides
- 6 pieces of 16″ x 32″ Wall Control metal pegboard
- 10 hinges
- wood glue
- sandpaper
- bar pulls/finger pulls
- wood finish or paint
Step 1: Drill Pocket Holes For Main Cabinet
Once the pieces for the main cabinet body are cut, drill pocket holes for 3/4″ material in the following pieces.
- All 4 sides of back
- 3 sides of peg board dividers
- 2 ends of top and bottom pieces
- 1 long edge of upper and lower shelves
Step 2: Assemble the Tool Storage Cabinet
Assembling the cabinet goes pretty quickly, although it is a cumbersome task. Ridgid drill/impact combo keeps the drill bit in the drill and drives the screws with the impact. The most useful feature of the impact is the torque settings 1-2-3. Setting 2 is perfect for driving pocket hole screws, but 3 is the best option when torque is really needed when working with Treks on the back deck.
Step 3: Assembly with pocket holes
To start off the assembly, place the back piece up on a flat surface and clamp the top and bottom piece to the back. Make all used pocket holes face the outside of the cabinet. Use wood glue and 1 ¼’ pocket hole screws to attach the bottom and top pieces to the back. Try to keep the edges flush.
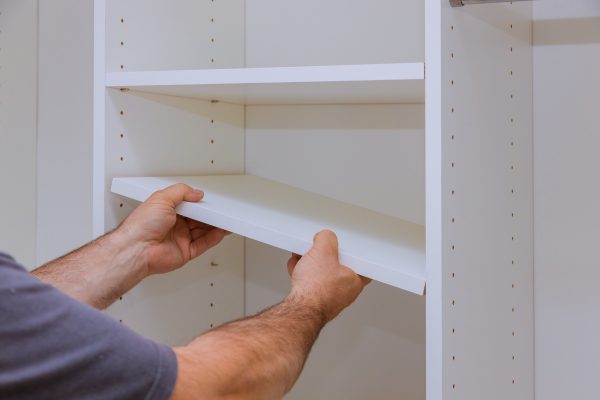
Step 4: Add all of the shelves and dividers
- For the drawer divider, measure and mark the centerline of the cabinet and divider. Leave reference marks to line up and attach with wood glue and 1 1/4″ pocket hole screws.
- Attach the lower shelf support at 42″ up from the bottom by using wood glue and 1 1/4″ brad nails or screws.
- Mark the center and secure the drawer divider to the lower shelf with wood glue and pocket hole screws.
- Mark over 15″ from each cabinet side and secure the pegboard dividers with wood glue and 1 1/4″ pocket hole screws.
- Attach upper shelf support at 76 3/4″ up from the bottom, use wood glue and 1 1/4″ brad nails or screws.
- Attach the upper shelf 76 3/4″ up from the bottom. use wood glue and 1 1/4″ pocket holes screws to secure it in place.
Finally, attach the other side to the top and bottom pieces with wood glue and 1 1/4″ pocket hole screws. Attach lower shelf support at 42″ up from the bottom and upper shelf support at 76 3/4″ up from the bottom.
Step 5: Building the Tool Storage Cabinets
The drawer construction is the same, whether it is 3 ¾ or shorter 2 ¼ drawer. Start out by drilling pocket holes for ¾ material. Drill the pocket holes all around the drawer. On 2 ends of the drawer back and 1 end of each drawer side.
Next, attach the back to the bottom. Make sure the back pocket holes are facing to the back. Then use wood glue and 1 1/4″ pocket hole screws to attach the back to the bottom. Make the bottoms and sides flush. Then attach the two sides to the bottom and back pieces. Make sure the side pocket holes are facing out and are facing front. Use wood glue and 1 1/4″ pocket hole screws to attach the sides to the bottom and back.
Step 6: Attaching the Metal Pegboard Sliders
The metal pegboards are folded metal. We need to create a 5/8″ pocket, so add some scrap wood as a filler to attach the drawer slides. If you have 5/8″ material, that would be ideal to use for the sliders. Otherwise, you’ll need to cut some rabbets at the end of the filler boards. We used the table saw, but the rabbets could be made with a chisel, recipe saw, scroll saw, and similar instruments. If you use 1×2 material, cut it into 15 1/2″ long and make a rabbet leaving 5/8″ x 3/4″ material on the ends.
Slide the filler pieces at the end of the metal pegboard. One end of the pegboard has holes already drilled in, so attach the filler wood with 2-1 1/4″ pocket hole screws. The other end will need a couple of holes drilled. We used slick Bosch multipurpose tungsten carbide bits that can drill metal, wood, cement, and tile among other materials. Once the holes are drilled, secure the wood filler to the pegboard with a couple of 1 1/4″ pocket hole screws.
Read more: What Is An Rta Cabinet
Step 7: Add spacers/supports
When designing the tool storage cabinet, make sure that there is enough clearance on the sides for the doors to be open and the drawers to be pulled out. If there will be interference, have the drawer runners attach to spacers on the sides and have plenty of clearance. Measure and mark the locations for the spacers/supports. Attach the spacers/supports with wood glue and 1 1/4″ brad nails or screws.
Measure and mark the same placements for the drawer slides on the dividers. The bottoms of the drawer slides will line up with the bottom of the spacers. The drawer slides should be butted up against the back piece. The upper pegboard drawer slides will flush with the top of the divider.
Step 8: Attach the Drawer Slides to the Tool Storage Cabinet
To make installing the drawer slides easy, place the drawer and inner slide piece on a flat surface to install. It will be better to install them straight that way. Align the drawer slide so it has about 1/8″ gap in the back. The inner drawer slide piece doesn’t go all the way to the back of the outer drawer slide piece. Drill pilot holes and install the slide with screws.
Step 9: Attaching the Doors
Since the doors are so tall at 96″, use up to hinges per door to secure them. However, a 35 mm Forstner bit is needed. Mark the center line for the hinges 3 1/2″, 24″, 48″, 72″, and 92 1/2″. Drill the 35mm holes, making sure to not drill through the plywood but just deep enough for the hinge to fit.
On the cabinet, mark the same center-lines down the inside of the side pieces 3 1/2″, 24″, 48″, 72″ and 92 1/2″. For the hinges, use the screws attached about 1 7/16″ in from the edge of the cabinet. Drill pilot holes for the mounting piece of the hinge. Install the door to the cabinet and adjust the hinges as necessary.
Finish the cabinets with natural penetrating oil, then add the drawer stops. You can add dividers or line the bottoms with non-slip mats so your hand tools don’t rattle around. Best of all, you’ll know right where to find your tools that is, if you remember to put them away. This is how you make Tool Storage Cabinets.
Was this page helpful?
At Storables.com, we guarantee accurate and reliable information. Our content, validated by Expert Board Contributors, is crafted following stringent Editorial Policies. We're committed to providing you with well-researched, expert-backed insights for all your informational needs.


0 thoughts on “How To Make Tool Storage Cabinets?”