
Articles
How To Paint Sink
Modified: January 9, 2024
Learn the step-by-step process of painting a sink with our helpful articles. Transform your bathroom with these expert tips and techniques.
(Many of the links in this article redirect to a specific reviewed product. Your purchase of these products through affiliate links helps to generate commission for Storables.com, at no extra cost. Learn more)
Introduction – Importance of Painting a Sink
When it comes to home improvement projects, painting a sink may not be the first thing that comes to mind. However, giving your sink a fresh coat of paint can transform the look and feel of your bathroom or kitchen without breaking the bank. Whether you have an outdated and worn-looking sink or simply want to update the color to match your new decor, painting can provide a cost-effective solution.
By painting your sink, you can instantly breathe new life into your space, creating a focal point that complements the overall aesthetics. With a wide range of paint colors available, you can achieve the look you desire, whether it’s a bold and vibrant hue or a subtle and elegant shade.
Furthermore, a freshly painted sink can add value to your home. If you’re planning to sell or rent out your property, an updated sink can be a selling point for potential buyers or tenants. It shows that you take care of your home and are dedicated to its upkeep.
Not only does painting a sink offer cosmetic benefits, but it can also help prolong its lifespan. Over time, sinks can accumulate scratches, stains, and imperfections that can make them look dull and worn. By painting the surface, you can conceal these blemishes and create a smooth and polished finish. Additionally, the paint acts as a protective barrier, guarding against future damage.
Painting a sink is a budget-friendly alternative to completely replacing it. Ripping out an old sink and installing a new one can be costly and time-consuming. By opting to paint instead, you can save money and still achieve a fresh and updated look.
Overall, painting a sink is a transformative and practical project that can enhance the appearance and functionality of your bathroom or kitchen. So, if you’re looking for an affordable and creative way to revamp your space, grab your paintbrush and get ready to give your sink a stunning makeover.
Key Takeaways:
- Transform your bathroom or kitchen with a budget-friendly sink makeover. Painting your sink not only enhances aesthetics but also adds value to your home, making it an attractive DIY project with long-lasting results.
- Proper preparation, high-quality materials, and attention to detail are key to achieving a professional-looking painted sink. Follow the steps outlined to revitalize your space and enjoy the personalized, refreshed look it brings.
Read more: How To Paint Porcelain Sink
Materials Needed
Before you begin painting your sink, gather the following materials:
- Paint: Choose a paint specifically formulated for use on sinks. Look for a durable and water-resistant option.
- Primer: Use a high-quality primer designed for use on surfaces like porcelain, ceramic, or metal.
- Sandpaper: Select sandpaper with a fine grit, around 220 or higher, to gently roughen the surface of the sink for better paint adhesion.
- Painter’s tape: Use painter’s tape to protect areas of the sink that you don’t want to paint, such as the faucet or handles.
- Brush or roller: Depending on your preference, choose a brush or roller for applying the paint. A brush may work better for smaller sinks with intricate details, while a roller is suitable for larger and more flat surfaces.
- Drop cloth: Lay down a drop cloth or plastic sheeting to protect the surrounding area from any accidental spills or drips.
- Cleaning agents: You’ll need cleaning agents to thoroughly clean the sink before painting. Use a mild detergent, like dish soap, and a non-abrasive sponge or cloth to remove any dirt, grime, or soap residue.
Gathering these materials ensures that you have everything you need to successfully complete the project and achieve professional-looking results.
Preparing the Sink
Before you can start painting your sink, it’s crucial to properly prepare the surface. Follow these steps to ensure a clean and smooth foundation:
Cleaning the Sink
Begin by thoroughly cleaning the sink using a mild detergent and warm water. Remove any dirt, grime, or soap residue, as these can affect the adhesion of the paint. Use a non-abrasive sponge or cloth to gently scrub the surface. Rinse the sink with clean water and allow it to dry completely.
Removing Old Paint or Caulk
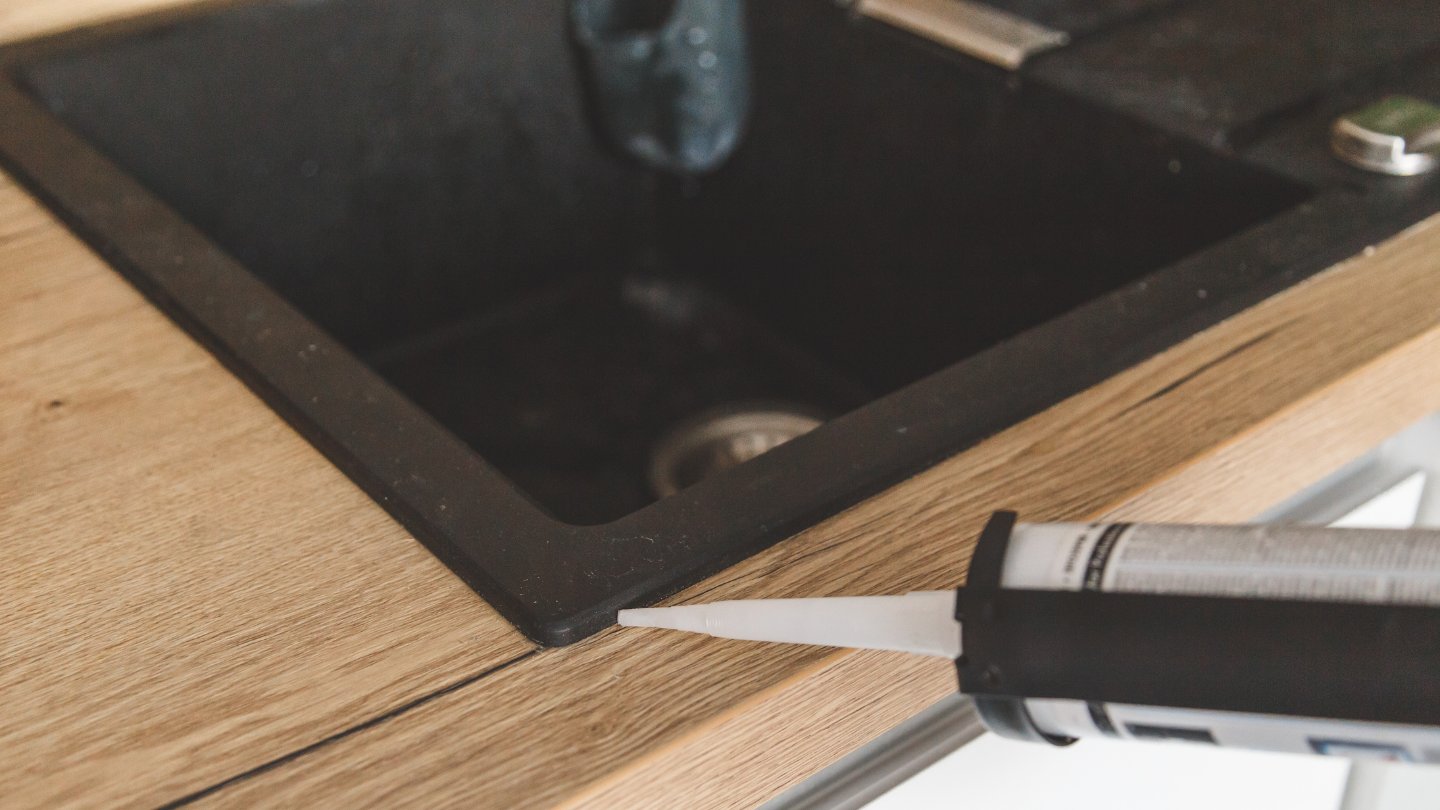
If there is any existing paint or caulk on the sink, it must be removed before you can proceed with painting. Use a paint scraper or a putty knife to carefully scrape off the old paint. Be cautious not to damage the sink’s surface while doing so. If there is caulk present, use a caulk removal tool to soften it and scrape it away. Ensure that the sink is free from any loose or peeling paint and that the surface is smooth and even.
Read more: How To Paint Kitchen Sink
Sanding the Surface
Once the sink is clean and free from old paint or caulk, it’s time to prepare the surface for paint adhesion. Gently sand the entire sink using a fine-grit sandpaper with a grit of around 220 or higher. Sanding helps create a slightly rough texture on the surface, allowing the primer and paint to adhere better. Be careful not to apply too much pressure or sand too vigorously, as this could damage the sink. After sanding, wipe away any dust or debris with a damp cloth.
By following these steps to prepare the sink, you are ensuring optimal adhesion and a smooth painting process. Taking the time to properly clean and sand the surface will help the paint adhere evenly and provide a longer-lasting finish.
Applying Primer
Once you have prepared the sink, it’s time to apply a primer to create a strong foundation for the paint. Follow these steps for proper primer application:
Choosing the Right Primer
Select a high-quality primer that is specifically designed for use on sinks or surfaces like porcelain, ceramic, or metal. Look for a primer that provides excellent adhesion and is resistant to water and stains. Consider using a primer that matches the type of paint you’ll be using for optimal compatibility.
Applying Primer to the Sink Surface
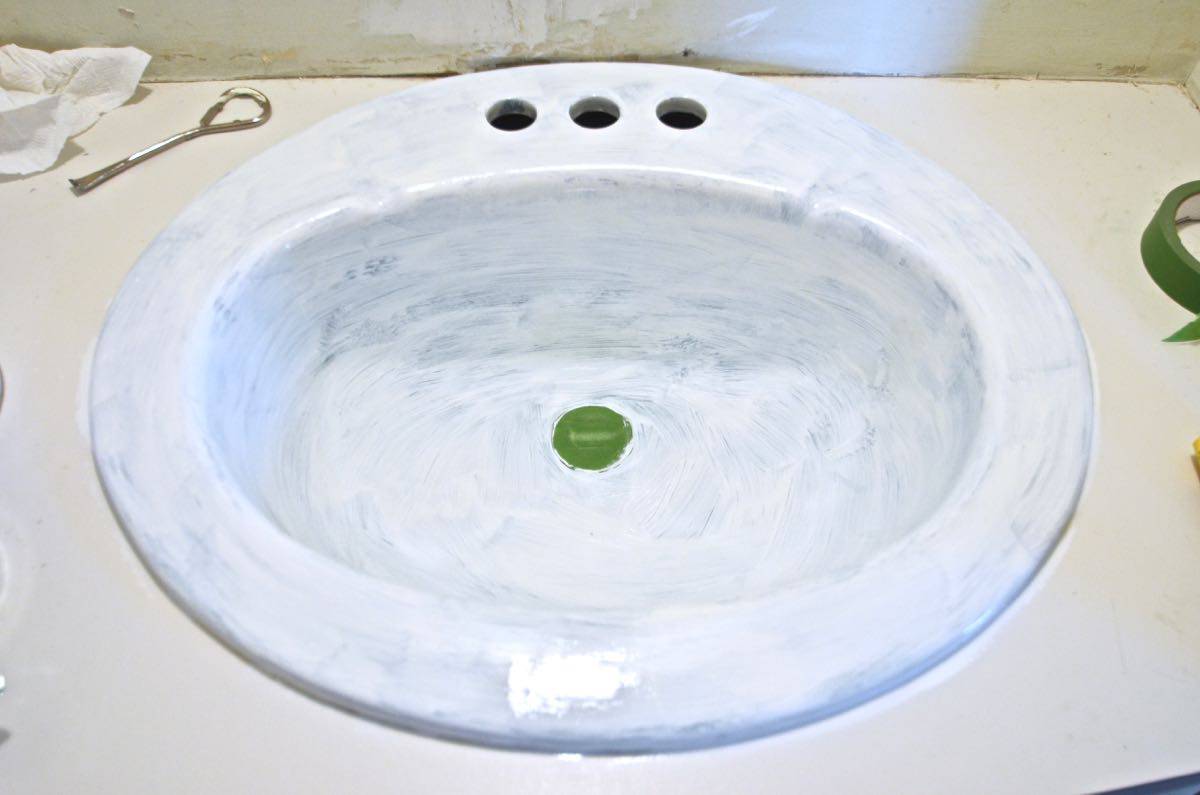
Start by thoroughly mixing the primer according to the manufacturer’s instructions. Use a brush or roller to apply an even coat of primer to the entire sink surface, working in small sections. Apply the primer generously, but avoid creating drips or thick layers of primer. Make sure to cover all areas, including the sides and edges of the sink.
If you’re using a brush, use smooth, even strokes to minimize brush marks. If you’re using a roller, choose one with a shorter nap for better control. Roll the primer in one direction, overlapping slightly, to achieve a consistent coverage. Pay attention to any detailed areas or crevices, ensuring they are fully coated.
Read more: How To Remove Paint From A Sink
Letting the Primer Dry
Allow the primer to dry completely before applying the paint. Refer to the manufacturer’s instructions for the recommended drying time. Typically, it can take a few hours for the primer to dry, but it’s always best to wait for the specified time to avoid any issues with the paint application.
During the drying process, ensure proper ventilation in the room to help expedite the drying time and to keep the area well-ventilated. Avoid touching the primed surfaces to prevent any smudging or smearing. Once the primer is dry to the touch and no longer tacky, it’s ready for the next step: painting the sink.
By properly applying primer, you are creating a strong and durable base for the paint. The primer ensures better paint adhesion, enhances the color, and improves the overall longevity of the painted sink.
Painting the Sink
Now that the primer has dried, it’s time to paint your sink. Follow these steps to achieve a smooth and professional-looking finish:
Choosing the Right Paint for Sinks
When choosing paint for your sink, opt for a high-quality paint that is specifically formulated for use on sinks or surfaces like porcelain, ceramic, or metal. Look for a paint that is water-resistant, durable, and designed to withstand everyday wear and tear.
You can choose from various finishes, such as gloss, satin, or matte, depending on the look you want to achieve. Keep in mind that gloss finishes tend to be more stain-resistant, while matte finishes offer a more subtle and modern appearance.
Applying the Paint in Thin Coats
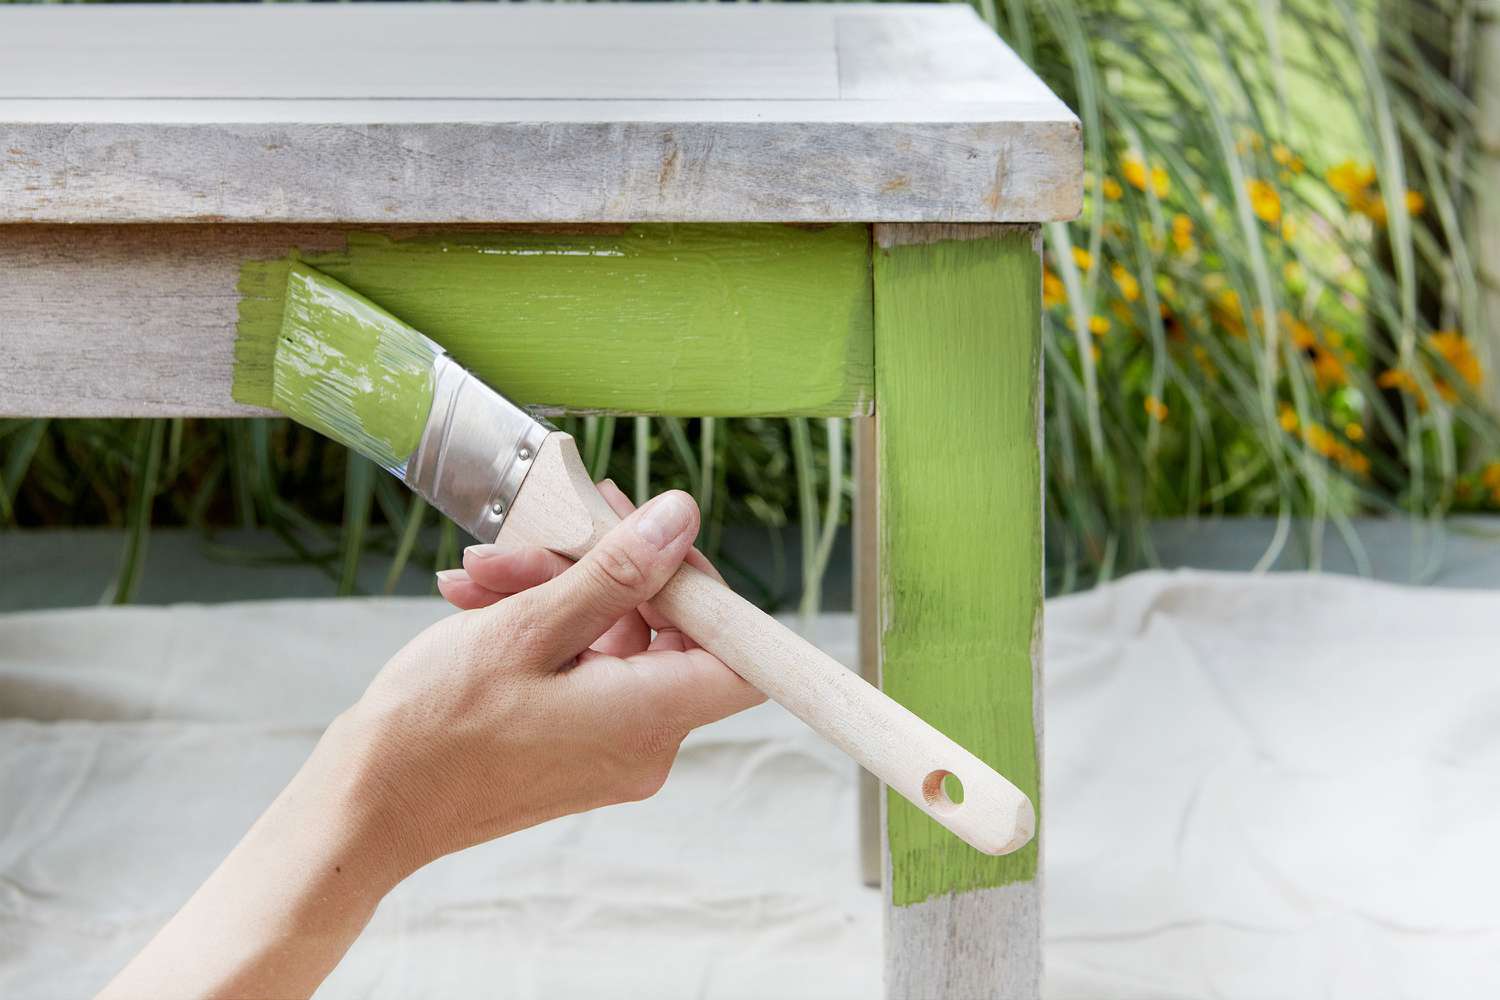
Use a brush or roller to apply the paint to the sink surface, working in small sections. Apply the paint in thin, even coats, rather than a thick layer. This will help prevent drips, runs, and brush marks, resulting in a smoother and more professional finish.
If you’re using a brush, use smooth and even strokes, following the natural contours of the sink. If you’re using a roller, apply the paint in one direction, overlapping slightly to ensure a consistent coverage. Pay attention to any detailed areas or crevices, making sure they are fully coated.
Read more: How To Paint A Stainless Steel Sink
Allowing Each Coat to Dry
After applying each coat of paint, allow it to dry completely before applying the next coat. Follow the manufacturer’s instructions for the recommended drying time. Generally, it can take a few hours for each coat to dry, but it’s important to wait for the specified time to ensure a proper bond and a flawless finish.
During the drying process, maintain good ventilation in the room to aid in the drying time and to keep the air fresh. Avoid touching the painted surfaces until they are completely dry to prevent smudges or other imperfections.
Continue applying thin coats of paint until you achieve the desired color and coverage. Depending on the type of paint and the desired look, two to three coats may be sufficient. However, ensure that each coat is dry before applying the next to avoid any issues with the finish.
By choosing the right paint and applying it in thin, even coats, you can achieve a smooth and flawless finish on your painted sink.
Finishing Touches
After you have completed painting your sink, it’s time to add the finishing touches. Follow these steps to ensure a polished and professional outcome:
Removing Painter’s Tape
Once the paint has dried, carefully remove the painter’s tape that was applied to protect certain areas of the sink. Take your time and peel off the tape slowly to avoid damaging the freshly painted surface. If any paint has seeped under the tape, use a small, angled brush or a cotton swab dipped in paint thinner to touch up those areas.
Cleaning Up Any Drips or Mistakes
Inspect the painted sink for any drips, runs, or mistakes that may have occurred during the painting process. Use a small brush or a cotton swab dipped in the same paint to touch up those imperfections. Be sure to feather and blend the touch-up paint with the surrounding area for a seamless finish. Take your time and pay attention to detail to achieve a flawless look.
Read more: How To Bleach Sink
Properly Disposing of Painting Materials
Dispose of any used painting materials responsibly. If you have leftover paint, seal the can tightly and store it in a cool and dry place for future touch-ups. If there is a significant amount of leftover paint, consider donating it to a local community organization or recycling center, as improper disposal can be harmful to the environment.
Dispose of any used brushes, rollers, and other painting tools according to your local waste disposal guidelines. Clean them thoroughly with water or the appropriate cleaning agent before storing or disposing of them.
By taking care of these finishing touches, you ensure that your painted sink looks seamless and well-maintained. It’s these small details that can make a big difference in the overall appearance of your updated sink.
Maintenance and Care
Keeping your painted sink looking fresh and beautiful requires proper maintenance and care. Follow these tips to ensure the longevity and durability of your painted sink:
Tips for Maintaining the Painted Sink
- Avoid using abrasive cleaners, scouring pads, or harsh chemicals on the painted surface, as they can damage or dull the finish. Stick to gentle, non-abrasive cleaning agents.
- Wipe the sink surface regularly with a soft cloth or sponge to remove any dirt, soap residue, or grime.
- Prevent excessive heat exposure on the painted surface. Avoid placing hot objects directly on the sink, as it can cause the paint to fade or bubble.
- Use a cutting board when working with sharp objects in the sink to prevent scratches or gouges.
- Be mindful of the type of cleaning products you use. Some common household cleaners, such as bleach or ammonia-based products, can be too harsh for painted surfaces.
- Consider applying a clear protective sealer over the painted surface to provide an extra layer of protection against daily wear and tear.
Cleaning Instructions
Regular cleaning is essential to maintain the appearance of your painted sink. Here’s a simple cleaning routine you can follow:
- Fill the sink with warm water and add a small amount of mild detergent or dish soap.
- Using a non-abrasive sponge or cloth, gently scrub the sink, paying attention to any areas that may require a little extra cleaning.
- Rinse the sink thoroughly with clean water to remove any soap residue.
- Dry the sink surface with a soft cloth to prevent water spots or streaks.
- Avoid using abrasive scrubbing brushes or harsh cleaning tools that can damage the painted surface.
Following these cleaning instructions regularly will help maintain the appearance and integrity of your painted sink for years to come.
Remember, proper care and maintenance are key to preserving the beauty and longevity of your painted sink. With a little effort and attention, your painted sink can continue to enhance the aesthetics of your space for years to come.
Read more: How To Unclog The Sink
Conclusion
Painting a sink is a creative and cost-effective way to transform the look of your bathroom or kitchen. By following the steps outlined in this article, you can give your sink a fresh and updated appearance without the expense of replacing it.
Painting your sink offers a range of benefits, including enhancing the overall aesthetics of your space, increasing the value of your home, and extending the lifespan of your sink. With a wide variety of paint colors and finishes available, you can achieve the perfect look to match your personal style and decor.
Remember to properly prepare the sink by cleaning it thoroughly, removing any old paint or caulk, and sanding the surface. Applying a primer creates a strong base for the paint and ensures better adhesion and longevity.
When it comes to painting the sink, choose a high-quality paint specifically formulated for sinks or surfaces like porcelain, ceramic, or metal. Apply the paint in thin, even coats to achieve a smooth and professional finish. Allow each coat to dry completely before applying the next for the best results.
Lastly, don’t forget the finishing touches, such as removing painter’s tape, cleaning up any drips or mistakes, and properly disposing of painting materials. These details contribute to a seamless and polished final outcome.
To maintain your painted sink, follow the provided tips for care and maintenance. Regular cleaning using gentle, non-abrasive cleaning agents will help preserve the appearance and durability of your painted surface.
In conclusion, painting a sink is a rewarding and budget-friendly DIY project that can update and revitalize your space. With proper preparation, the right materials, and attention to detail, you can achieve a stunning and long-lasting result. Get ready to transform your sink and enjoy the refreshed and personalized look it brings to your bathroom or kitchen.
Frequently Asked Questions about How To Paint Sink
Was this page helpful?
At Storables.com, we guarantee accurate and reliable information. Our content, validated by Expert Board Contributors, is crafted following stringent Editorial Policies. We're committed to providing you with well-researched, expert-backed insights for all your informational needs.






0 thoughts on “How To Paint Sink”