Home>Home Appliances>Cleaning Appliances>How To Install Mop Sink
Cleaning Appliances
How To Install Mop Sink
Modified: September 1, 2024
Learn how to properly install a mop sink for your cleaning appliances. Follow our step-by-step guide to ensure a seamless installation process.
(Many of the links in this article redirect to a specific reviewed product. Your purchase of these products through affiliate links helps to generate commission for Storables.com, at no extra cost. Learn more)
**
Introduction
**
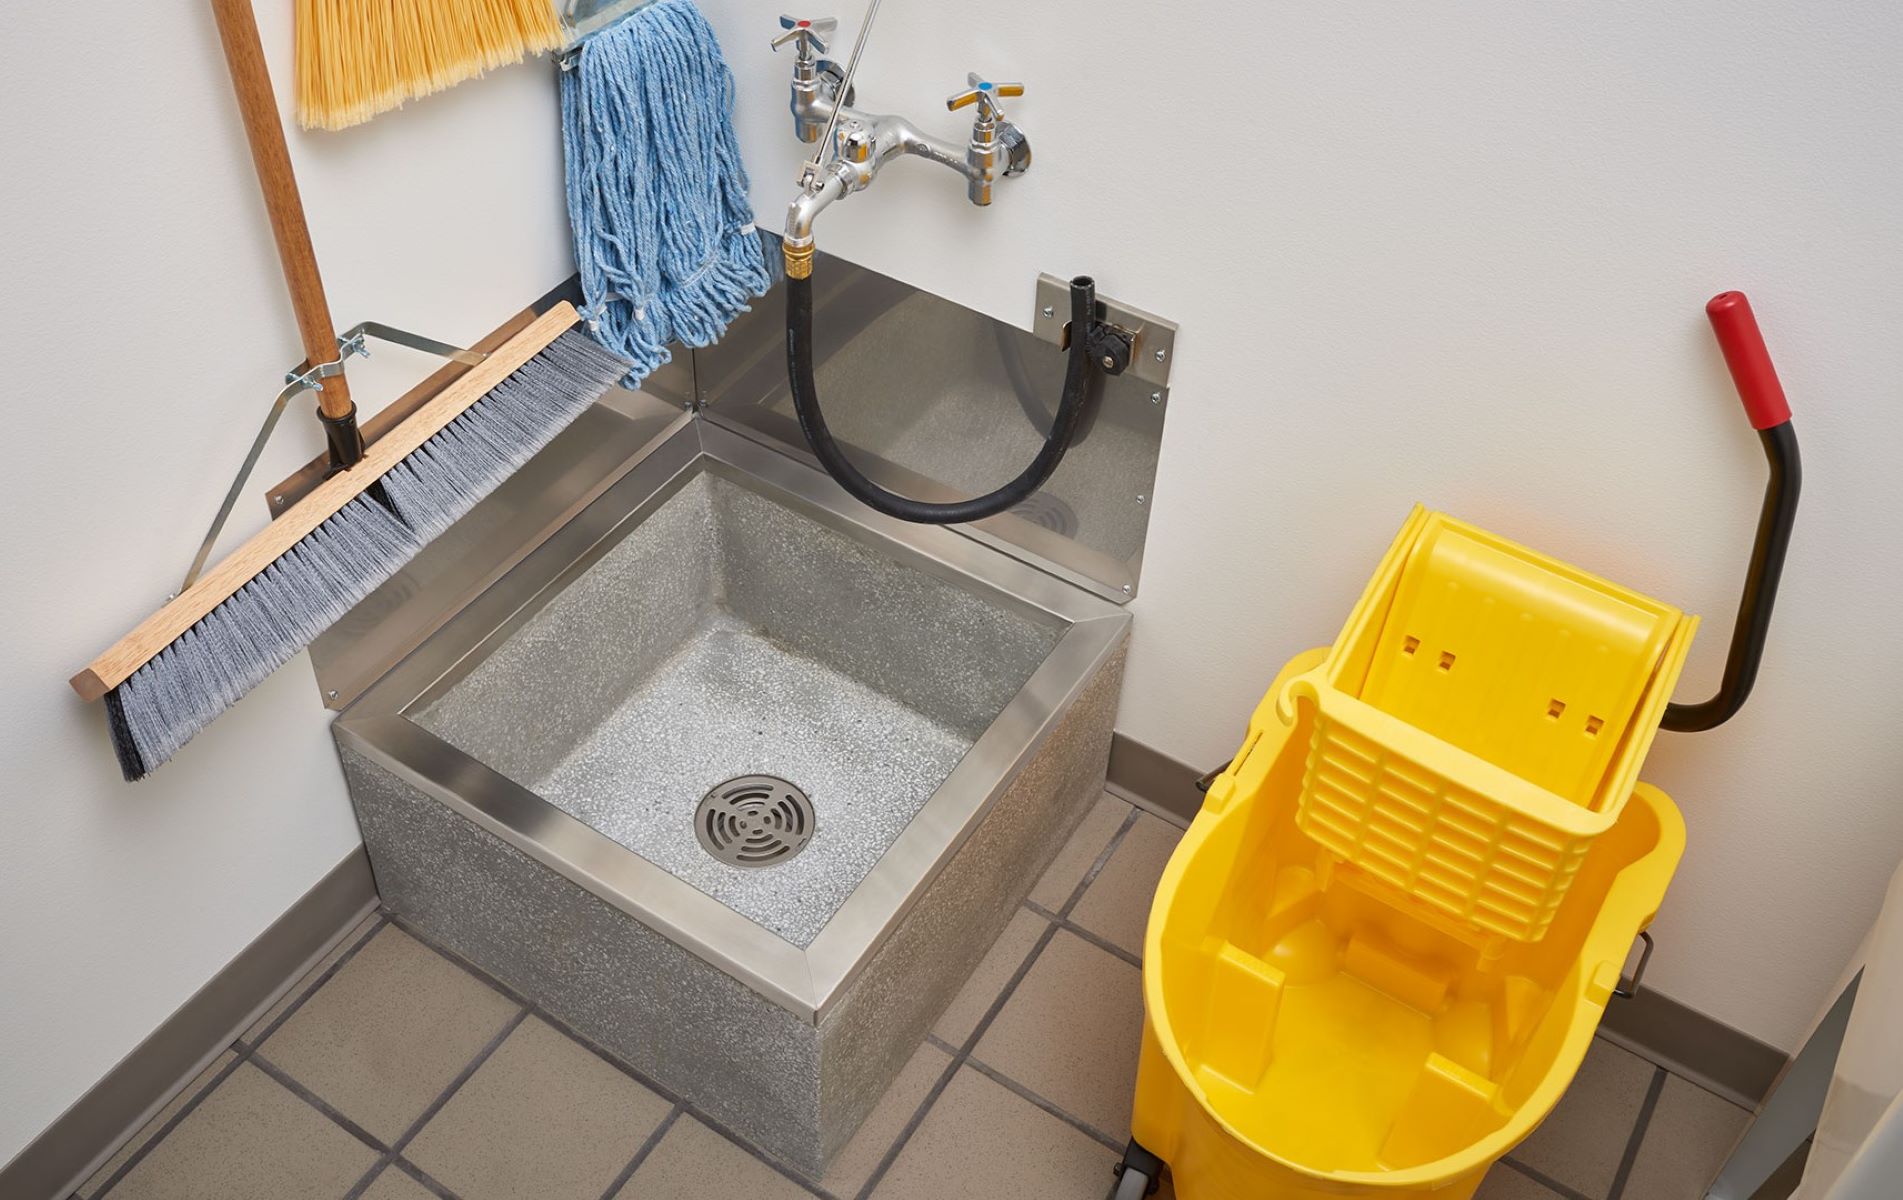
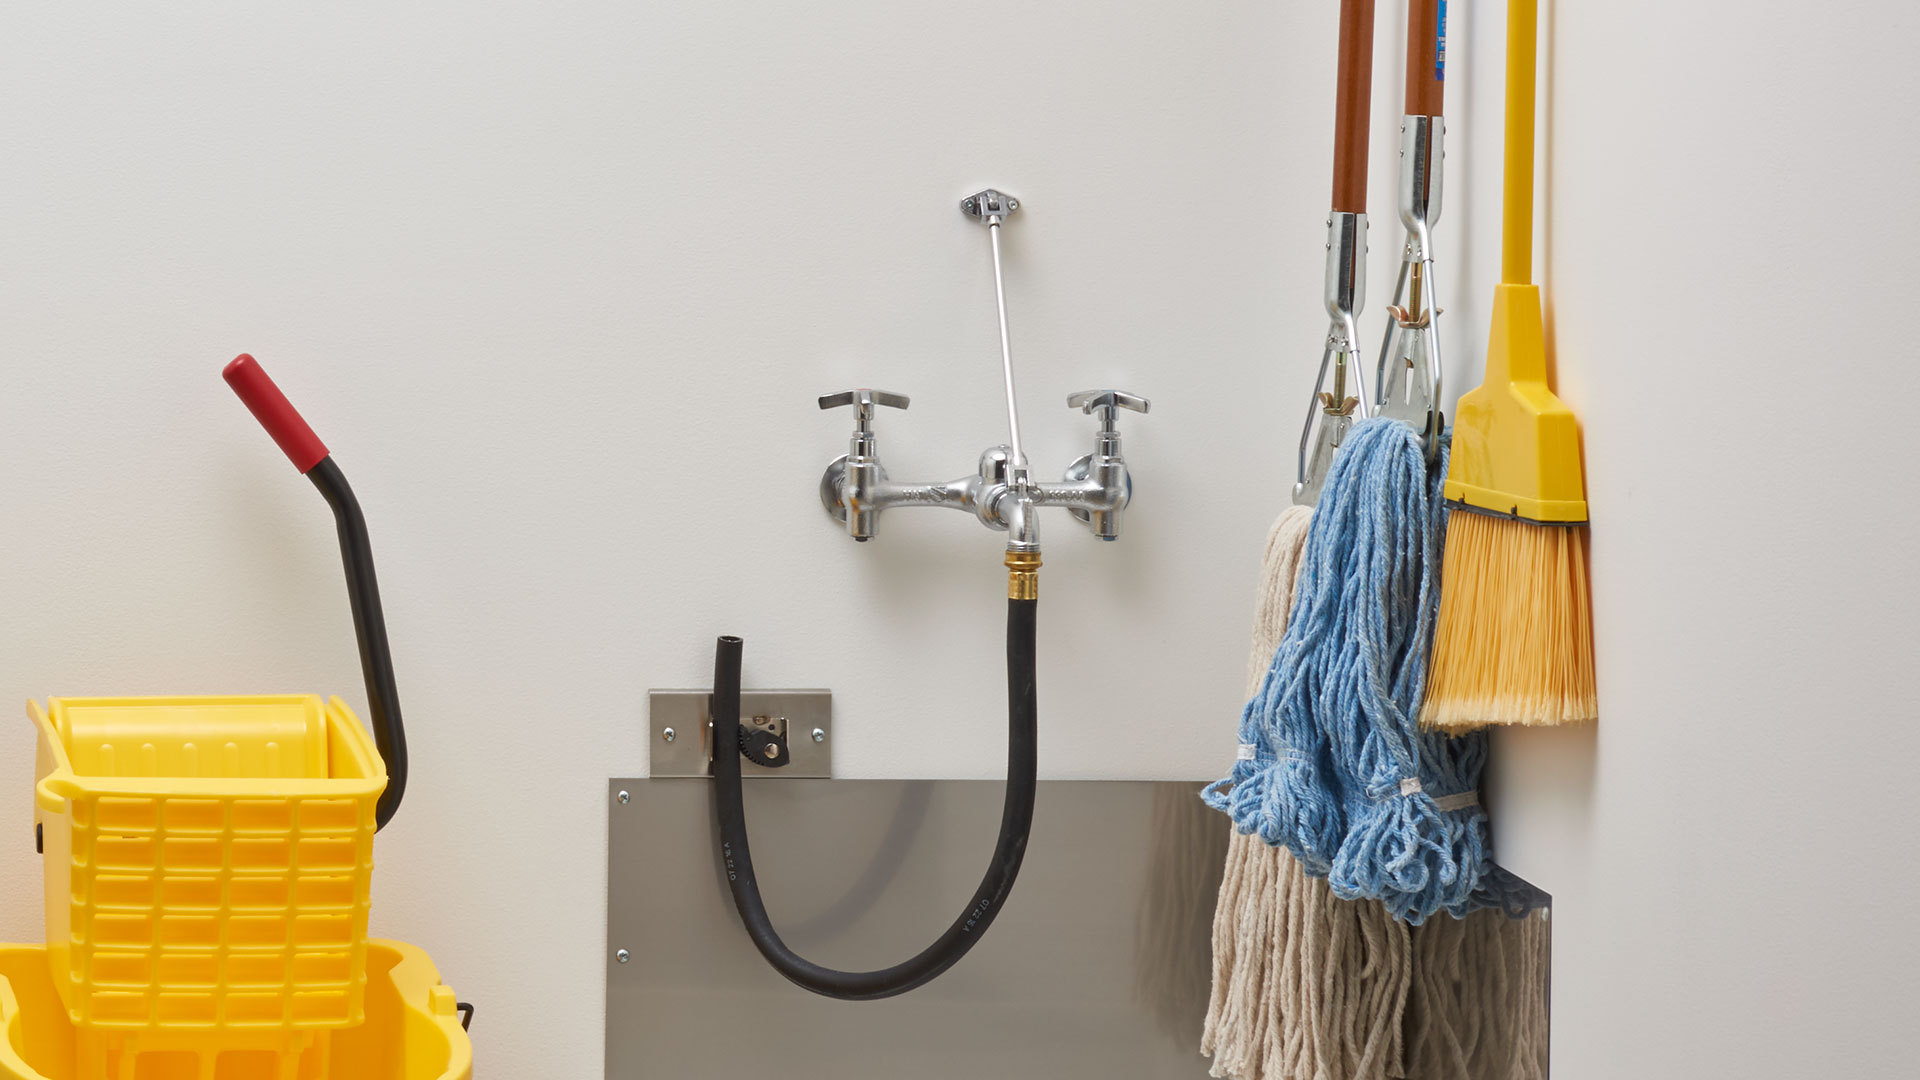
Installing a mop sink is a practical and essential upgrade for any cleaning space. Whether it's a commercial kitchen, laundry room, or janitorial closet, a mop sink provides a dedicated area for cleaning tools and tasks. This comprehensive guide will walk you through the step-by-step process of installing a mop sink, empowering you to tackle this project with confidence.
A mop sink, also known as a utility sink, is designed to handle the rigors of cleaning activities, making it an indispensable asset in any environment where cleanliness is paramount. By following this guide, you will learn how to install a mop sink efficiently and effectively, ensuring that your cleaning area is equipped with the necessary infrastructure for optimal functionality.
From gathering the essential tools and materials to connecting the plumbing and conducting a thorough test, each step in the installation process will be detailed comprehensively. By the end of this guide, you will have the knowledge and expertise to successfully install a mop sink, enhancing the functionality and efficiency of your cleaning space.
Let's dive into the step-by-step process of installing a mop sink, equipping you with the skills to elevate the cleanliness and organization of your designated cleaning area.
**
Key Takeaways:
- Installing a mop sink is a practical upgrade for any cleaning space. By following the comprehensive guide, you’ll gain the knowledge and expertise to successfully install a mop sink with confidence and precision.
- From gathering tools and materials to connecting the plumbing and conducting a thorough test, each step in the installation process contributes to creating a reliable and functional cleaning asset.
Read more: What Is Mop Sink
Step 1: Gather Necessary Tools and Materials
**
Before embarking on the installation of a mop sink, it’s crucial to gather all the essential tools and materials. Having everything at your disposal will streamline the installation process and minimize interruptions. Here’s a comprehensive list of the items you’ll need:
Tools:
- Adjustable wrench
- Hacksaw
- Level
- Drill
- Screwdriver set
- Measuring tape
- Pipe cutter
- Adjustable pliers
- Bucket
- Marker
Materials:
- Mop sink kit (including the sink, faucet, and strainer)
- PVC pipes and fittings
- Pipe joint compound
- Teflon tape
- Silicone caulk
- Concrete mix (if installing on a concrete floor)
- Shutoff valves
- Supply lines
- Bucket of water for testing
By ensuring that you have all the necessary tools and materials on hand, you’ll be well-prepared to proceed with the installation process without unnecessary delays. This proactive approach sets the stage for a smooth and efficient installation, allowing you to focus on the task at hand and achieve professional results.
**
Step 2: Prepare the Area for Installation
**
Preparing the designated area for mop sink installation is a critical preliminary step that sets the foundation for a successful and functional setup. Before diving into the installation process, it’s essential to ensure that the area is conducive to accommodating the mop sink and its associated plumbing components. Here’s a detailed guide on how to prepare the area for installation:
Clear the Space: Begin by clearing the designated area where the mop sink will be installed. Remove any obstructions, debris, or existing fixtures that may impede the installation process. This step sets the stage for a clean and accessible workspace.
Locate the Water Supply: Identify the location of the existing water supply lines to determine the most suitable position for installing the mop sink. This step is crucial for ensuring convenient access to water for the sink’s functionality.
Mark the Sink Placement: Use a marker to outline the precise placement of the mop sink on the floor. Ensure that the positioning aligns with the existing plumbing connections and allows for sufficient clearance around the sink for unhindered usage.
Check for Levelness: Utilize a level to confirm that the floor surface is level and even. If any discrepancies are observed, address them by making the necessary adjustments to ensure a stable and balanced foundation for the mop sink.
Prepare the Drainage Area: If the installation site does not have an existing floor drain, consider creating a suitable drainage area for the mop sink. This may involve cutting into the floor to accommodate the drain pipe, ensuring efficient water disposal.
By meticulously preparing the area for mop sink installation, you set the stage for a seamless and effective setup. This proactive approach minimizes potential obstacles during the installation process, allowing you to proceed with confidence and precision.
**
Step 3: Install the Mop Sink
**
With the area prepared and the necessary tools and materials at your disposal, it’s time to proceed with the installation of the mop sink. This pivotal step involves positioning the sink, securing it in place, and ensuring a stable and functional setup. Follow these detailed instructions to effectively install the mop sink:
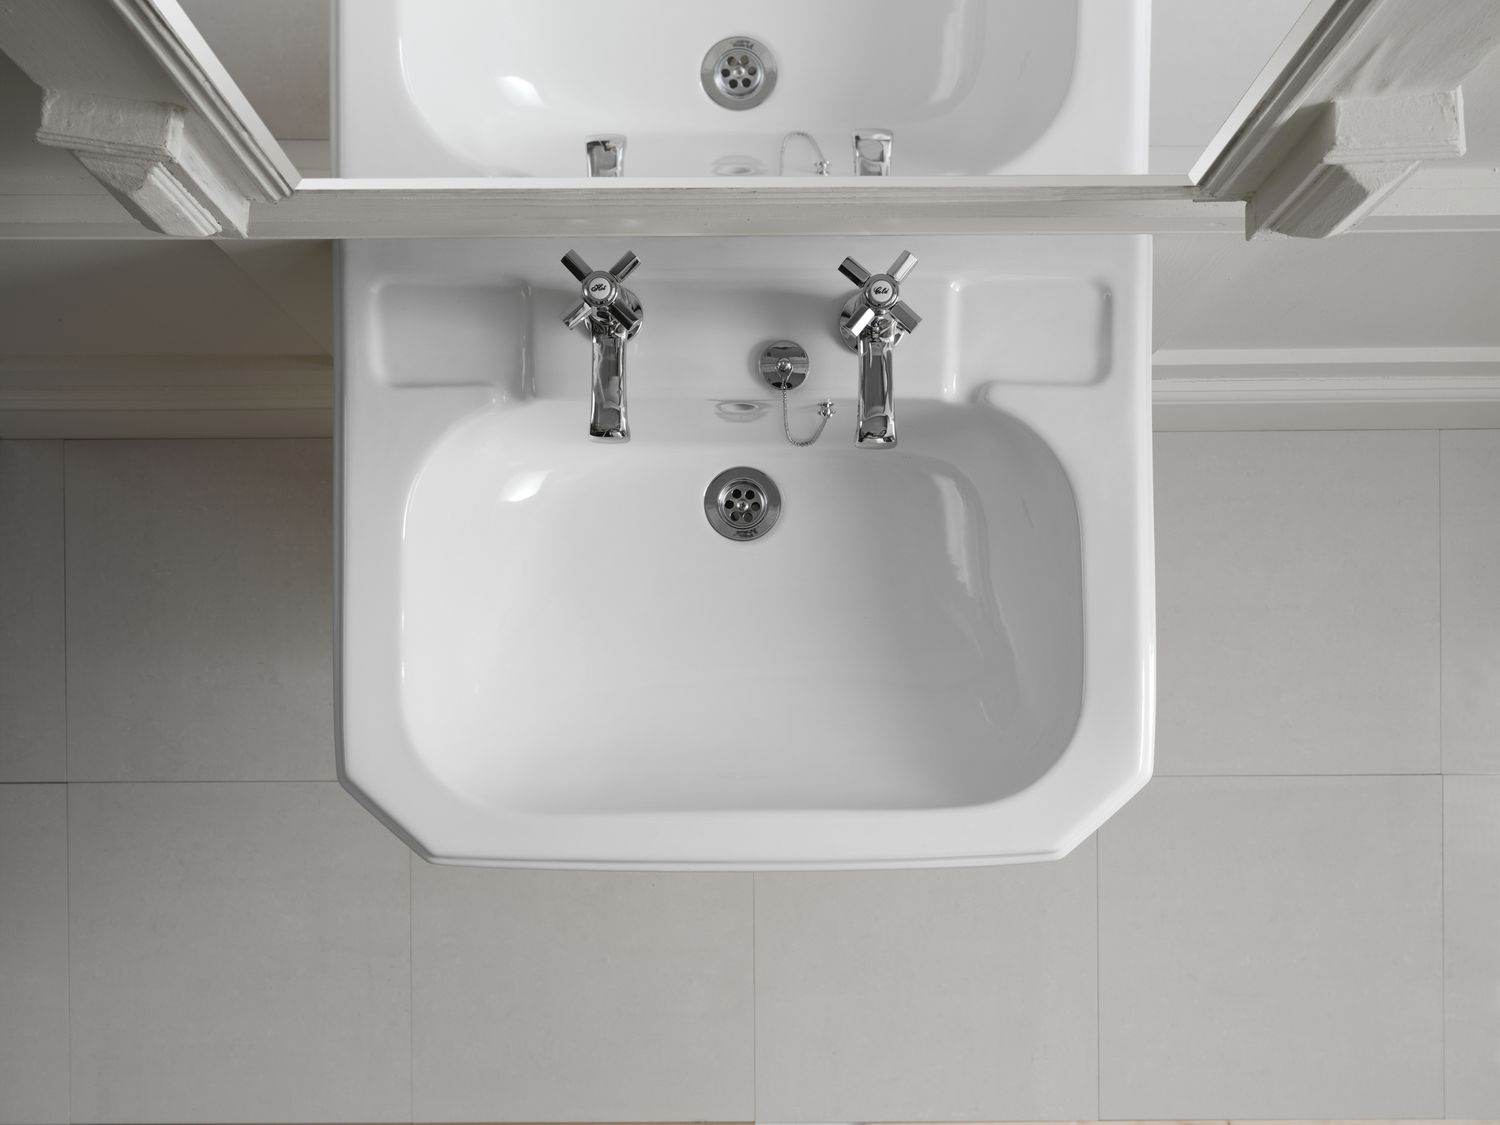
Position the Sink: Carefully place the mop sink in the designated location, aligning it with the previously marked placement. Ensure that the sink is positioned securely and level on the floor, providing a stable foundation for its installation.
Secure the Sink: Once the sink is positioned correctly, secure it in place according to the manufacturer’s instructions. This may involve using mounting brackets or anchors to affix the sink to the floor, ensuring that it remains steadfast during use.
Install the Faucet: Assemble and install the faucet onto the mop sink, following the provided guidelines. Ensure that the faucet is securely attached and properly aligned, allowing for seamless water flow and convenient usage.
Connect the Drain: Connect the drain of the mop sink to the existing drainage system, ensuring a watertight and secure connection. Use appropriate fittings and sealants to prevent leaks and ensure efficient water disposal.
Apply Silicone Caulk: Seal the perimeter of the mop sink with silicone caulk to prevent water seepage and maintain a clean and hygienic installation. This step adds an extra layer of protection and enhances the overall durability of the setup.
By meticulously following these installation steps, you’ll achieve a professionally installed mop sink that enhances the functionality and efficiency of your cleaning space. The secure positioning and proper assembly of the sink and its components are essential for ensuring long-term reliability and performance.
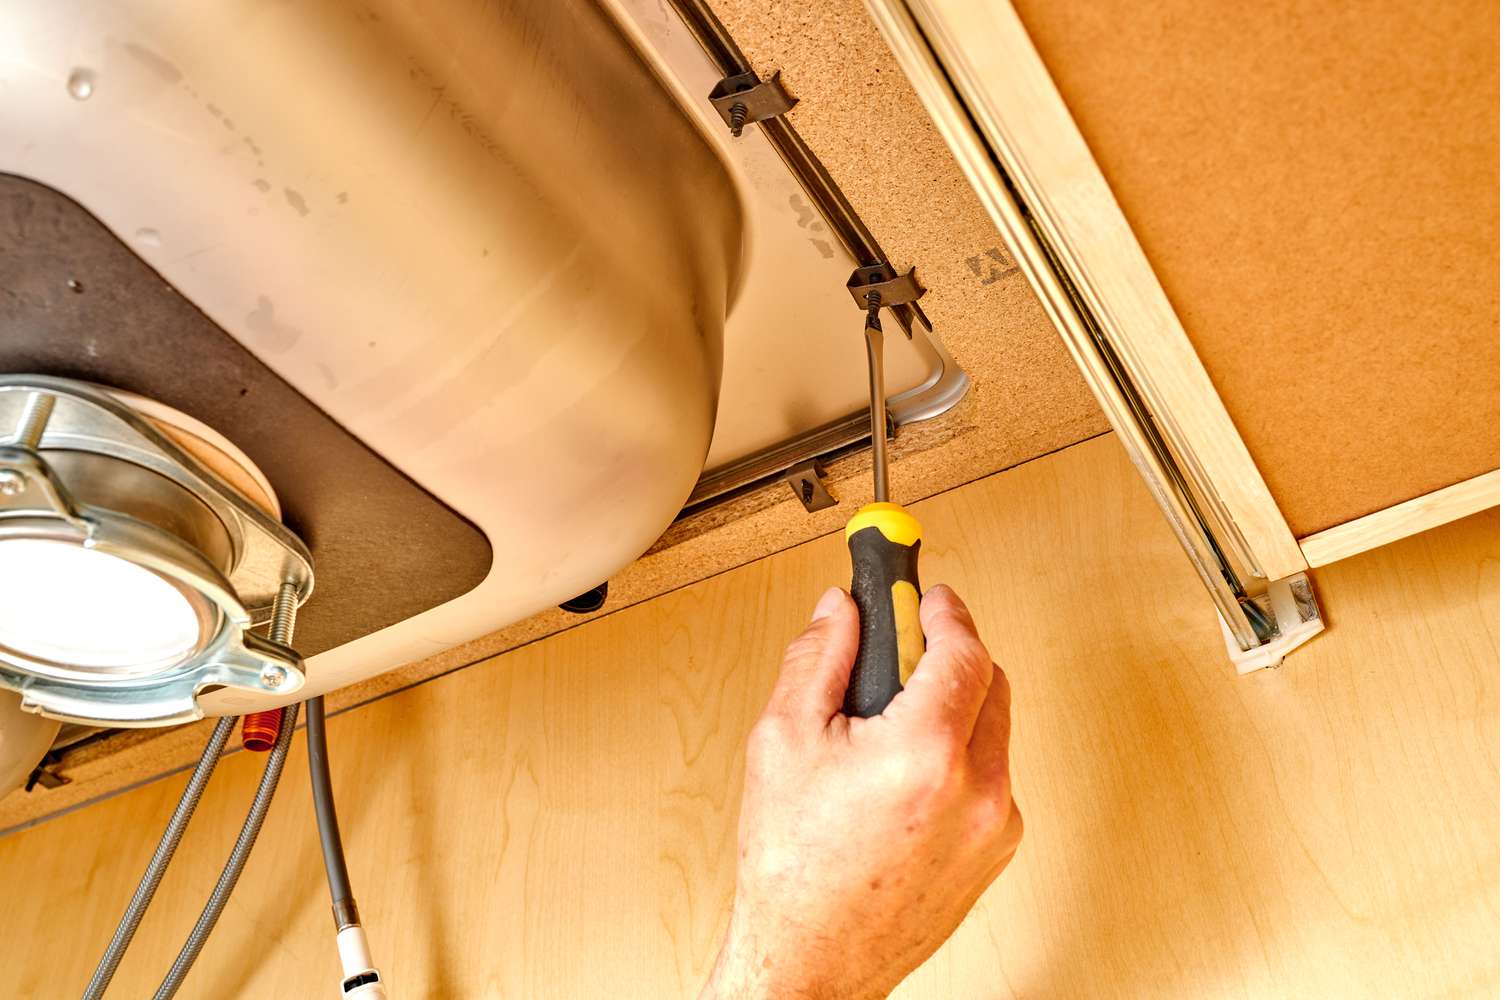
**
When installing a mop sink, make sure to properly measure and level the sink before securing it to the wall. Use a waterproof sealant to prevent leaks and ensure proper drainage.
Step 4: Connect the Plumbing
**
Connecting the plumbing is a crucial phase of installing a mop sink, as it ensures the seamless flow of water to and from the sink while maintaining watertight connections. This step involves integrating the sink into the existing plumbing infrastructure, allowing for efficient water supply and drainage. Follow these detailed instructions to effectively connect the plumbing for the mop sink:
Install Shutoff Valves: Prior to connecting the plumbing, install shutoff valves on the water supply lines to the sink. These valves enable convenient control over the water flow to the sink, facilitating maintenance and repairs in the future.
Connect the Supply Lines: Attach the supply lines from the faucet to the shutoff valves, ensuring a secure and leak-free connection. Use appropriate fittings and Teflon tape to enhance the integrity of the connections.
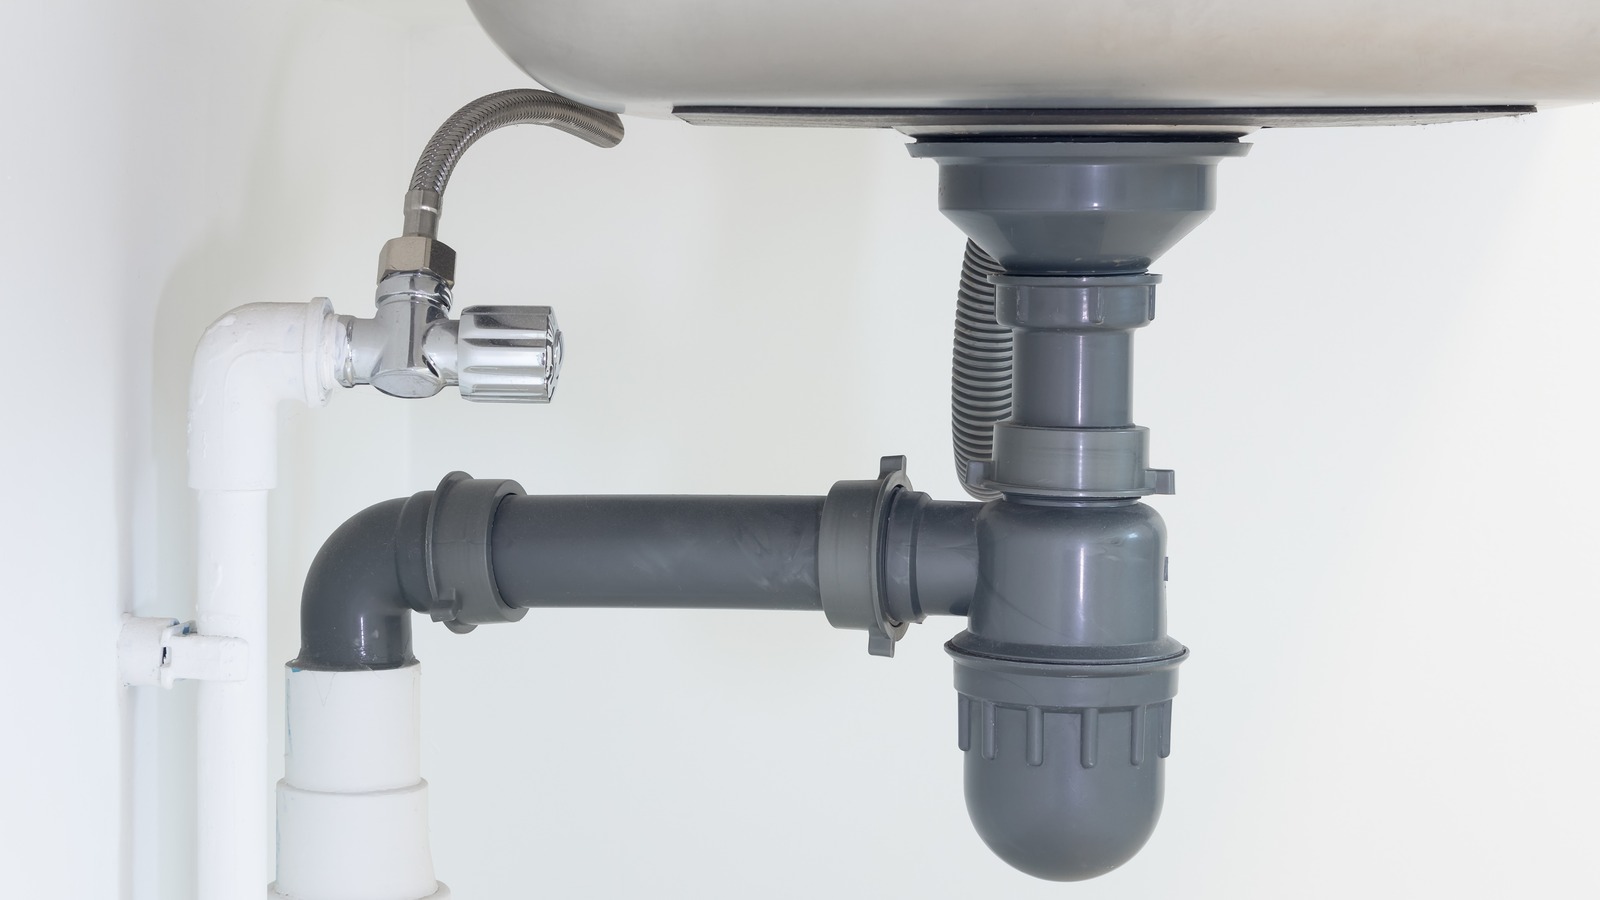
Integrate the Drainage System: Connect the drain of the mop sink to the existing drainage system, ensuring proper alignment and a secure seal. Utilize PVC pipes and fittings to create a reliable and efficient drainage pathway from the sink to the main sewer line or septic system.
Apply Pipe Joint Compound: Before assembling the plumbing components, apply pipe joint compound to the threaded connections to prevent leaks and ensure a durable seal. This step enhances the reliability of the connections and minimizes the risk of water seepage.
Test for Leaks: Once the plumbing connections are in place, conduct a thorough test to check for any leaks or irregularities. Turn on the water supply and inspect all connections, ensuring that they remain dry and secure during the testing process.
By meticulously connecting the plumbing for the mop sink, you establish a reliable water supply and drainage system that facilitates seamless cleaning activities. The proper integration of the sink into the plumbing infrastructure is essential for ensuring long-term functionality and minimizing the risk of water-related issues.
**
Read more: How To Install A Sink Faucet
Step 5: Test the Mop Sink
**
Once the mop sink and its associated plumbing are installed, it’s essential to conduct a comprehensive test to ensure that the setup functions as intended and remains free of leaks or operational issues. This final step allows you to verify the integrity of the installation and address any potential issues before putting the sink into regular use. Follow these detailed instructions to effectively test the mop sink:
Turn on the Water Supply: Gradually turn on the water supply to the mop sink, allowing water to flow through the faucet and into the sink basin. Monitor the connections and faucet for any signs of leaks or irregular water flow, addressing any issues promptly.
Check the Drainage: Fill the sink with water and observe the drainage process to ensure that it functions efficiently. Verify that the drain removes water promptly without any backups or slow drainage, indicating a well-connected and functional drainage system.
Inspect the Faucet: Test the functionality of the faucet by turning it on and off, ensuring that it delivers a steady stream of water without any leaks or irregularities. Confirm that the faucet operates smoothly and that the water flow can be controlled effectively.
Verify Shutoff Valve Functionality: Test the shutoff valves installed on the supply lines to the sink, confirming that they effectively stop the water flow when closed and allow for unrestricted water supply when open. This step ensures that the shutoff valves operate as intended, facilitating maintenance and repairs in the future.
Address Any Issues: If any leaks, drainage issues, or operational irregularities are detected during the testing process, address them promptly by tightening connections, applying sealants, or making necessary adjustments. Conduct additional testing to verify that the issues have been resolved effectively.
By conducting a thorough test of the mop sink, you can confidently confirm its operational readiness and reliability for regular use. This step provides assurance that the installation has been executed with precision and attention to detail, resulting in a fully functional and dependable cleaning asset.
**
Conclusion
**
Installing a mop sink is a valuable investment that enhances the efficiency and functionality of any cleaning space, providing a dedicated area for cleaning tools and tasks. By following the comprehensive steps outlined in this guide, you have gained the knowledge and expertise to successfully install a mop sink with confidence and precision.
From gathering the necessary tools and materials to meticulously connecting the plumbing and conducting a thorough test, each step in the installation process contributes to the creation of a reliable and functional cleaning asset. By adhering to best practices and attention to detail, you have ensured that the mop sink is installed securely and operates seamlessly.
With the mop sink in place, you can now carry out cleaning activities with enhanced convenience and effectiveness, utilizing a dedicated space designed to streamline your tasks. The secure positioning, proper plumbing connections, and thorough testing validate the integrity and reliability of the installation, assuring a long-term asset for your cleaning needs.
By embracing this guide, you have empowered yourself to elevate the cleanliness and organization of your designated cleaning area, setting the stage for efficient and professional cleaning operations. The successful installation of a mop sink reflects your commitment to creating a functional and well-equipped environment for maintaining cleanliness and hygiene.
As you embark on this installation journey, remember that attention to detail and adherence to best practices are essential for achieving a successful outcome. With the mop sink installed and operational, you can proceed with confidence, knowing that your cleaning space is equipped with a valuable asset that enhances your ability to maintain a pristine and organized environment.
Congratulations on successfully installing a mop sink, a pivotal step towards optimizing the functionality and efficiency of your cleaning space.
Now that you've mastered installing a mop sink, why not tackle another handy project? Our guide on sink installation offers practical steps for fitting a new faucet, boosting your DIY skills. Or, if you're curious about larger-scale plumbing systems, delve into our overview of commercial plumbing. Both articles provide valuable insights and instructions to enhance your home improvement repertoire.
Frequently Asked Questions about How To Install Mop Sink
Was this page helpful?
At Storables.com, we guarantee accurate and reliable information. Our content, validated by Expert Board Contributors, is crafted following stringent Editorial Policies. We're committed to providing you with well-researched, expert-backed insights for all your informational needs.


0 thoughts on “How To Install Mop Sink”