Articles
How To Test An Ac Adapter With A Multimeter
Modified: October 18, 2024
Learn how to test an AC adapter with a multimeter in this informative article. Discover step-by-step instructions and troubleshooting tips to ensure your adapter is functioning properly.
(Many of the links in this article redirect to a specific reviewed product. Your purchase of these products through affiliate links helps to generate commission for Storables.com, at no extra cost. Learn more)
Introduction
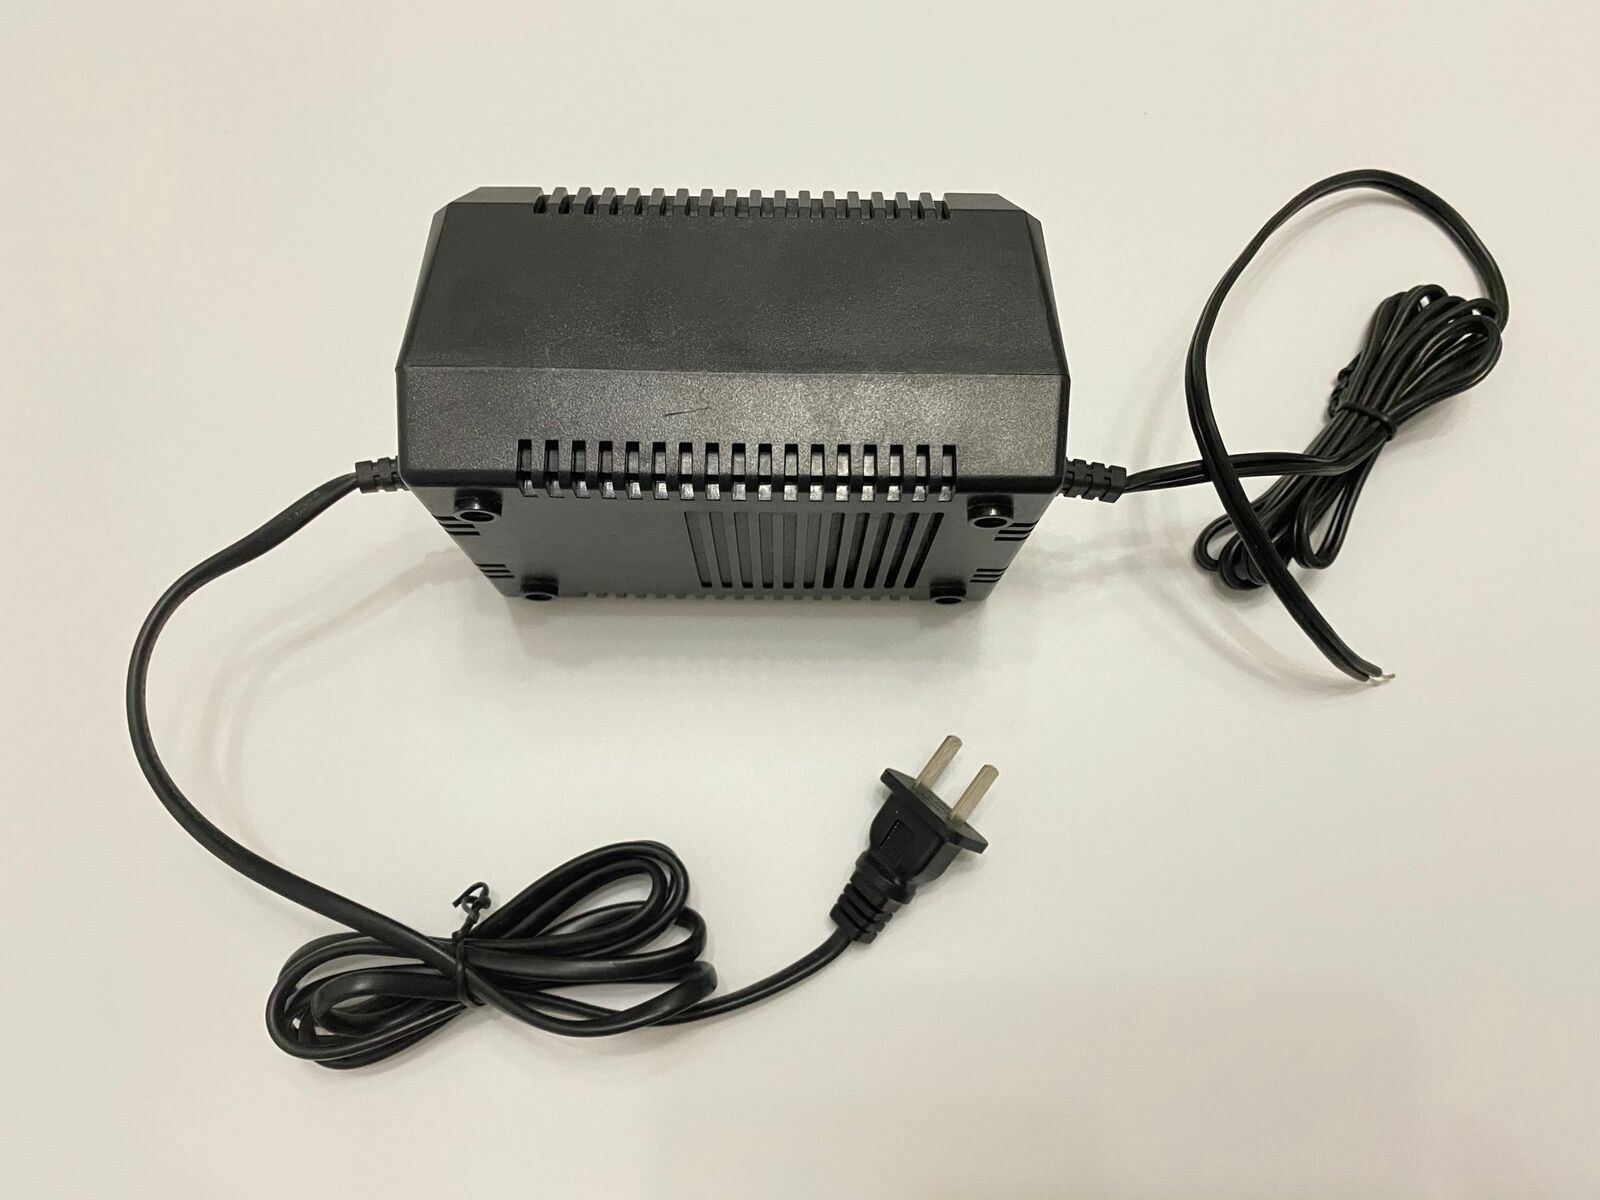
Welcome to this guide on how to test an AC adapter with a multimeter. If you’ve ever encountered issues with your electronic devices not receiving power or charging properly, the cause may lie with the AC adapter. Whether it’s a laptop, smartphone, or other portable device, the AC adapter plays a critical role in supplying the right amount of voltage and current to keep your device running smoothly.
Using a multimeter to test an AC adapter is a simple yet effective way to diagnose any potential issues. In this article, we will walk you through the step-by-step process of using a multimeter to test the voltage output, amperage output, and continuity of an AC adapter. We will also provide some additional tips and troubleshooting steps to help you along the way.
Before we begin, it’s important to note that working with electrical devices can be dangerous if proper precautions are not taken. Always ensure that you are working in a safe environment, away from any water or flammable materials, and wearing appropriate protective gear such as gloves and safety glasses. If you do not feel confident or comfortable performing these tests, it’s always best to consult a professional technician.
Now that we’ve covered the necessary safety precautions, let’s move on to the first step in the process: setting up your multimeter.
Key Takeaways:
- Safely and effectively test your AC adapter with a multimeter by following step-by-step instructions. Prioritize safety, set up your multimeter, and test voltage, amperage, and continuity to diagnose potential issues.
- Additional tips and troubleshooting guidelines provide valuable insights for testing an AC adapter. From checking the power cord to seeking professional help, these tips ensure a thorough and comprehensive testing process.
Read more: How To Test AC CapACitor With Multimeter
Step 1: Ensure Safety Precautions
Before beginning any electrical testing, it’s crucial to prioritize safety. Here are a few key safety precautions to keep in mind:
- Power Off: Make sure that the device you are testing is powered off and unplugged from any power source. This will help prevent any accidental shocks or damage to the multimeter.
- Wear Protective Gear: Always wear protective gear, such as gloves and safety glasses, when working with electrical components. This will protect you from any potential hazards.
- Dry Environment: Perform the testing in a dry environment to avoid any risk of electric shock or short circuits.
- Inspect the Multimeter: Before using the multimeter, check for any visible damage on the device. Ensure that the probes are in good condition and not frayed or damaged in any way.
By following these safety precautions, you can minimize the risk of any accidents or injuries while testing the AC adapter.
Now that we have ensured safety, let’s move on to the next step: setting up your multimeter for testing.
Step 2: Set Up Your Multimeter
Once you’ve taken the necessary safety precautions, it’s time to set up your multimeter for testing. Follow these steps:
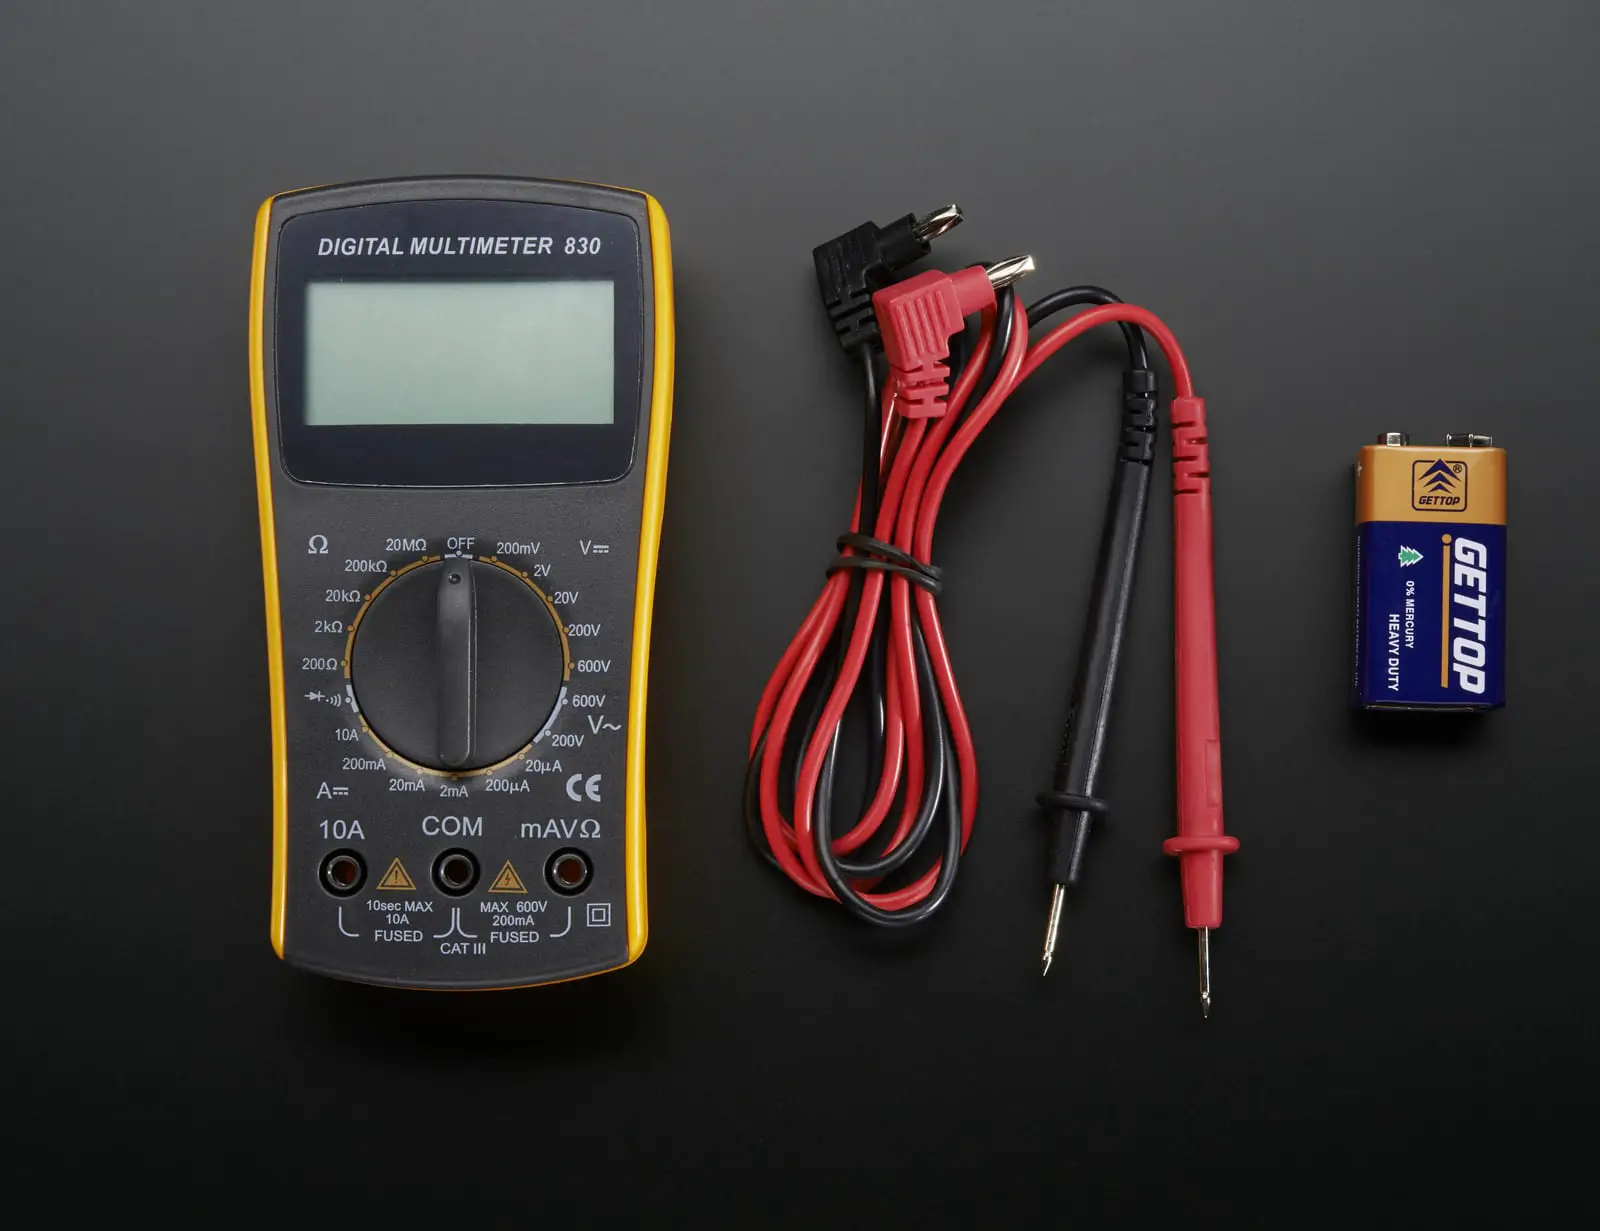
- Select the Proper Settings: Turn on your multimeter and select the appropriate settings for testing voltage and resistance. Most multimeters have a dial or button to switch between different modes. Set the dial to the AC voltage (V~) setting.
- Insert the Probes: Insert the black probe into the COM (common) jack on your multimeter and the red probe into the VΩ (voltage and resistance) jack. Make sure the probes are fully inserted and secure.
- Zero the Multimeter: Before taking any measurements, it’s important to zero or “zero out” the multimeter. This compensates for any residual voltage or resistance in the probes. To do this, touch the black and red probes together and adjust the zero adjustment wheel or button until the display reads 0.
With your multimeter properly set up and zeroed, you’re ready to move on to the next step: testing the voltage output of the AC adapter.
Step 3: Test the Voltage Output
Now that your multimeter is set up, it’s time to test the voltage output of the AC adapter. Here’s how to do it:
- Plug in the Adapter: Connect the AC adapter to a power source and plug it into the device you want to test or simply plug it into a wall socket, depending on your setup.
- Select the Voltage Range: Look at the voltage rating on the AC adapter and set your multimeter to a slightly higher range. For example, if the adapter is rated at 12 volts, set your multimeter to the 20-volt range.
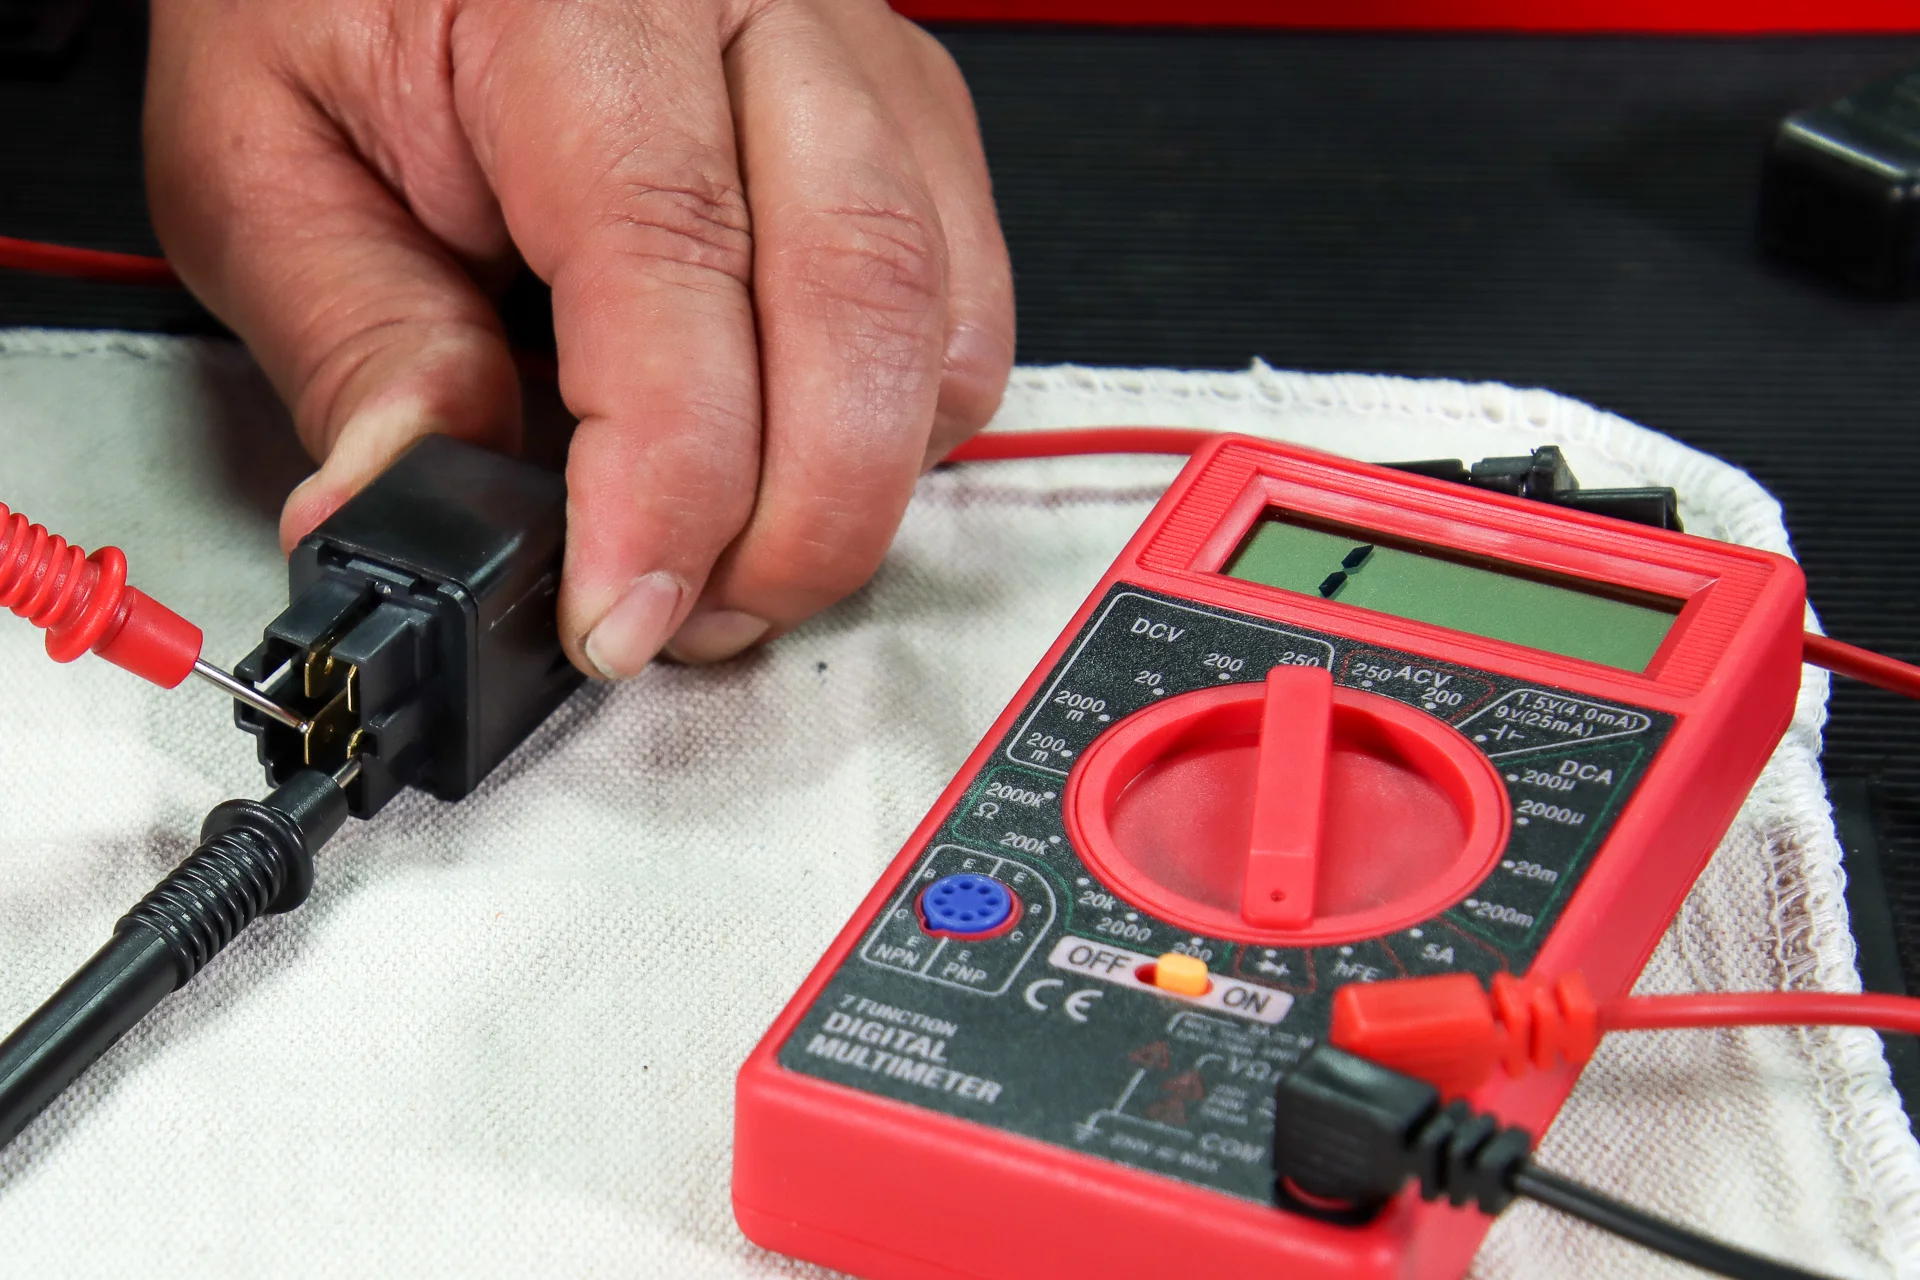
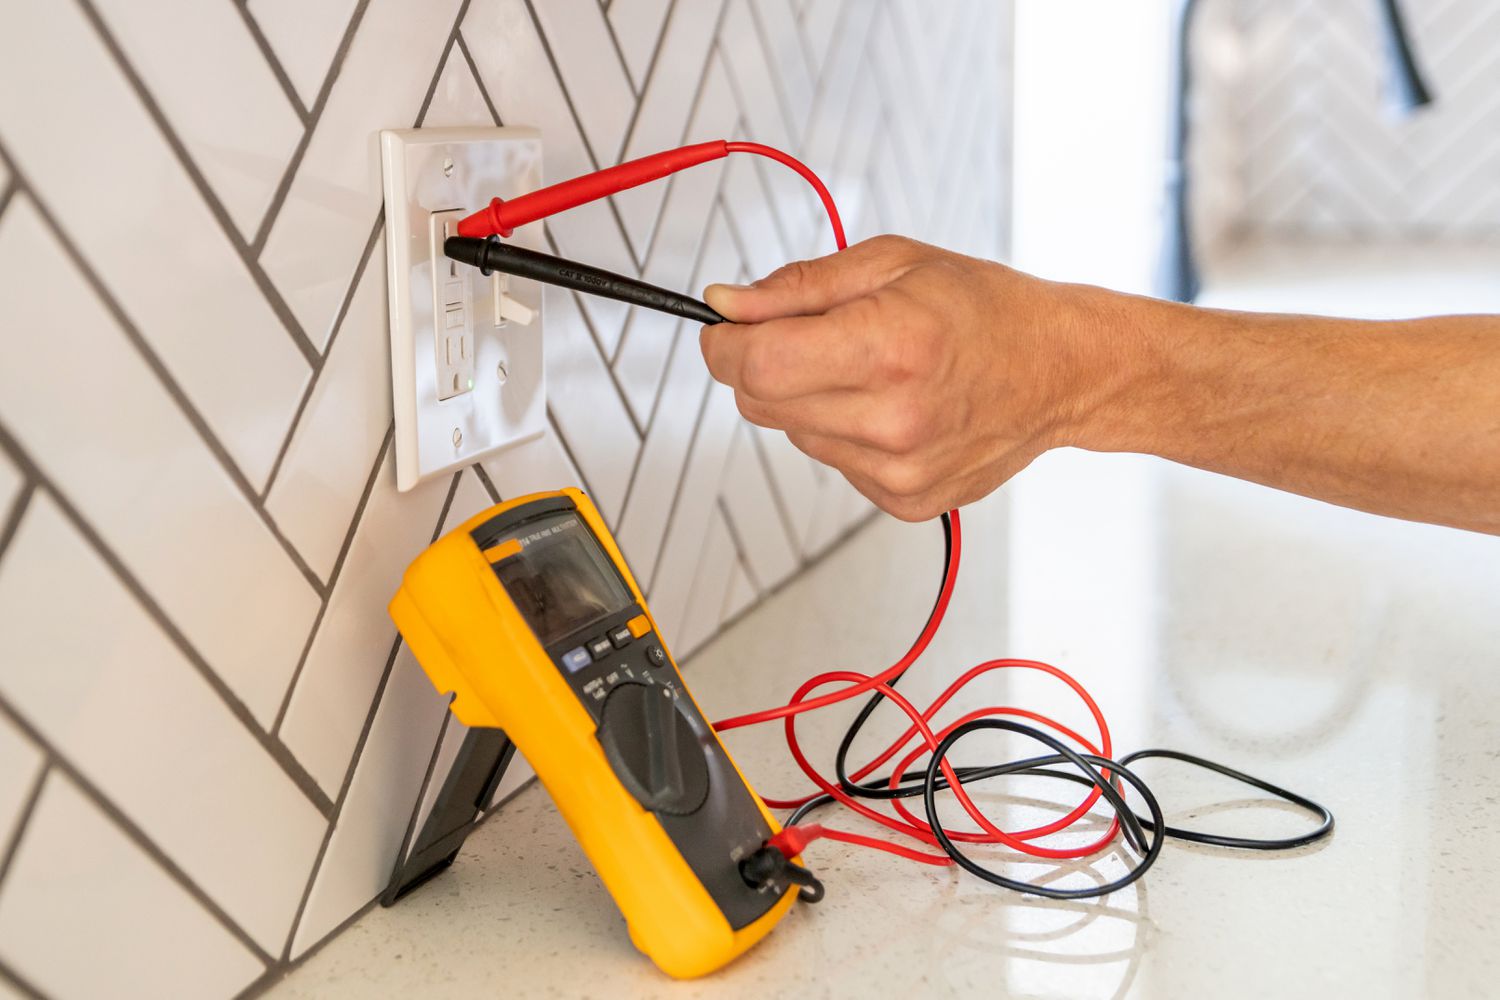
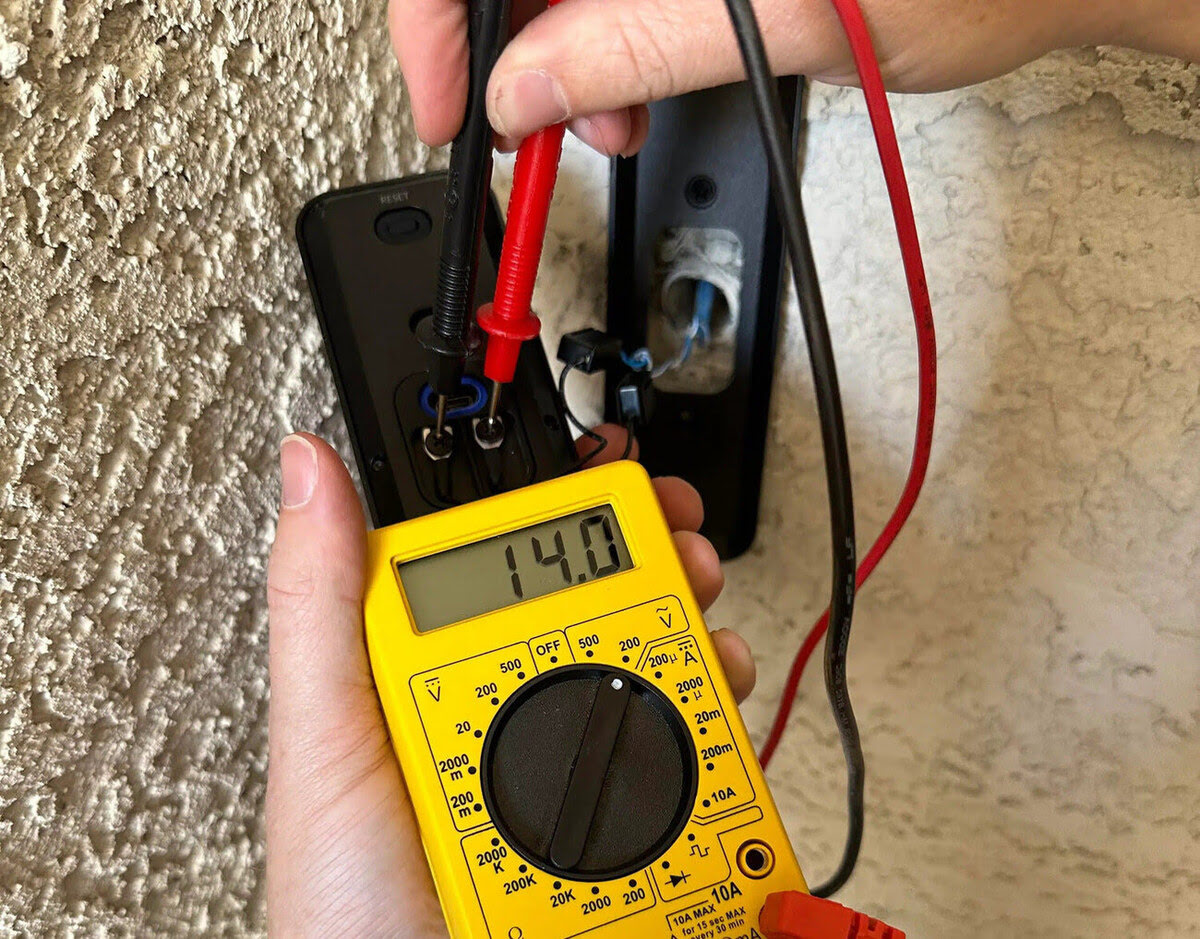
- Connect the Probes: Touch the red probe to the outer metal sleeve of the adapter’s connector plug, and touch the black probe to the inner metal pin that contacts the center of the plug.
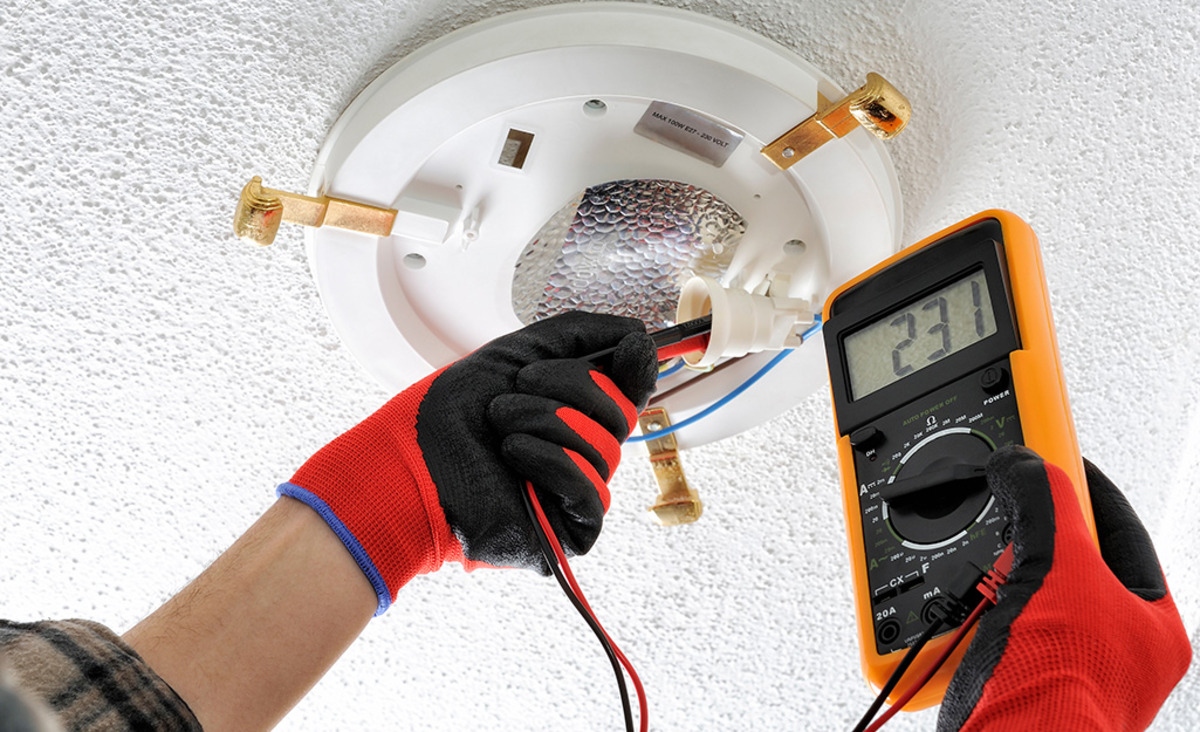
- Read the Display: The multimeter display will show the voltage reading. It should match or be very close to the voltage rating of the AC adapter. If the reading is significantly lower or higher, there may be an issue with the adapter.
Make sure to test the voltage output under different load conditions, if possible. Some adapters may have a higher voltage when not under load, but drop to the rated voltage when connected to a device. This helps you determine if the adapter is providing sufficient power to your device.
Once you have tested the voltage output, it’s time to move on to the next step: testing the amperage output of the AC adapter.
When testing an AC adapter with a multimeter, set the multimeter to the AC voltage setting, plug the adapter into a power source, and then place the multimeter probes on the adapter’s output terminals to measure the voltage.
Step 4: Test the Amperage Output
Now that you have tested the voltage output of the AC adapter, it’s important to also verify the amperage output. This will help determine if the adapter is capable of delivering the required amount of current to power your device. Here’s how to test the amperage output:
- Disconnect the Adapter: Unplug the AC adapter from the device or power source, ensuring it is not connected to any electrical circuits.
- Select the Amperage Range: Set your multimeter to the appropriate amperage range for the expected output. Most multimeters have separate jacks or settings specifically for measuring amperage. Choose a range that is slightly higher than the expected amperage output of the adapter.
- Connect the Probes: Insert the red probe into the designated amperage jack on the multimeter and the black probe into the common (COM) jack.
- Set Up in Line: To measure current, you will need to set up your adapter in series with the multimeter. This means that the current flowing through the adapter must pass through the multimeter as well. Consult the user manual of your multimeter for specific instructions on how to set up in line.
- Take the Measurement: Once the setup is complete, plug the adapter back into the device or power source. The multimeter will now measure the amperage flowing through the circuit and display the reading.
Compare the amperage reading on the multimeter with the expected amperage output of the AC adapter. If the reading is significantly lower or higher, it may indicate a fault or issue with the adapter’s current output.
Now that you have tested the amperage output, let’s move on to the next step: testing the continuity of the AC adapter.
Read more: How To Test An LED Bulb With A Multimeter
Step 5: Test the Continuity
In addition to testing the voltage and amperage output, you can also check the continuity of the AC adapter. Continuity testing helps verify if there is a continuous electrical connection within the adapter. Here’s how to test the continuity:
- Ensure the Adapter is Unplugged: Before performing continuity testing, make sure the AC adapter is not connected to any power source.
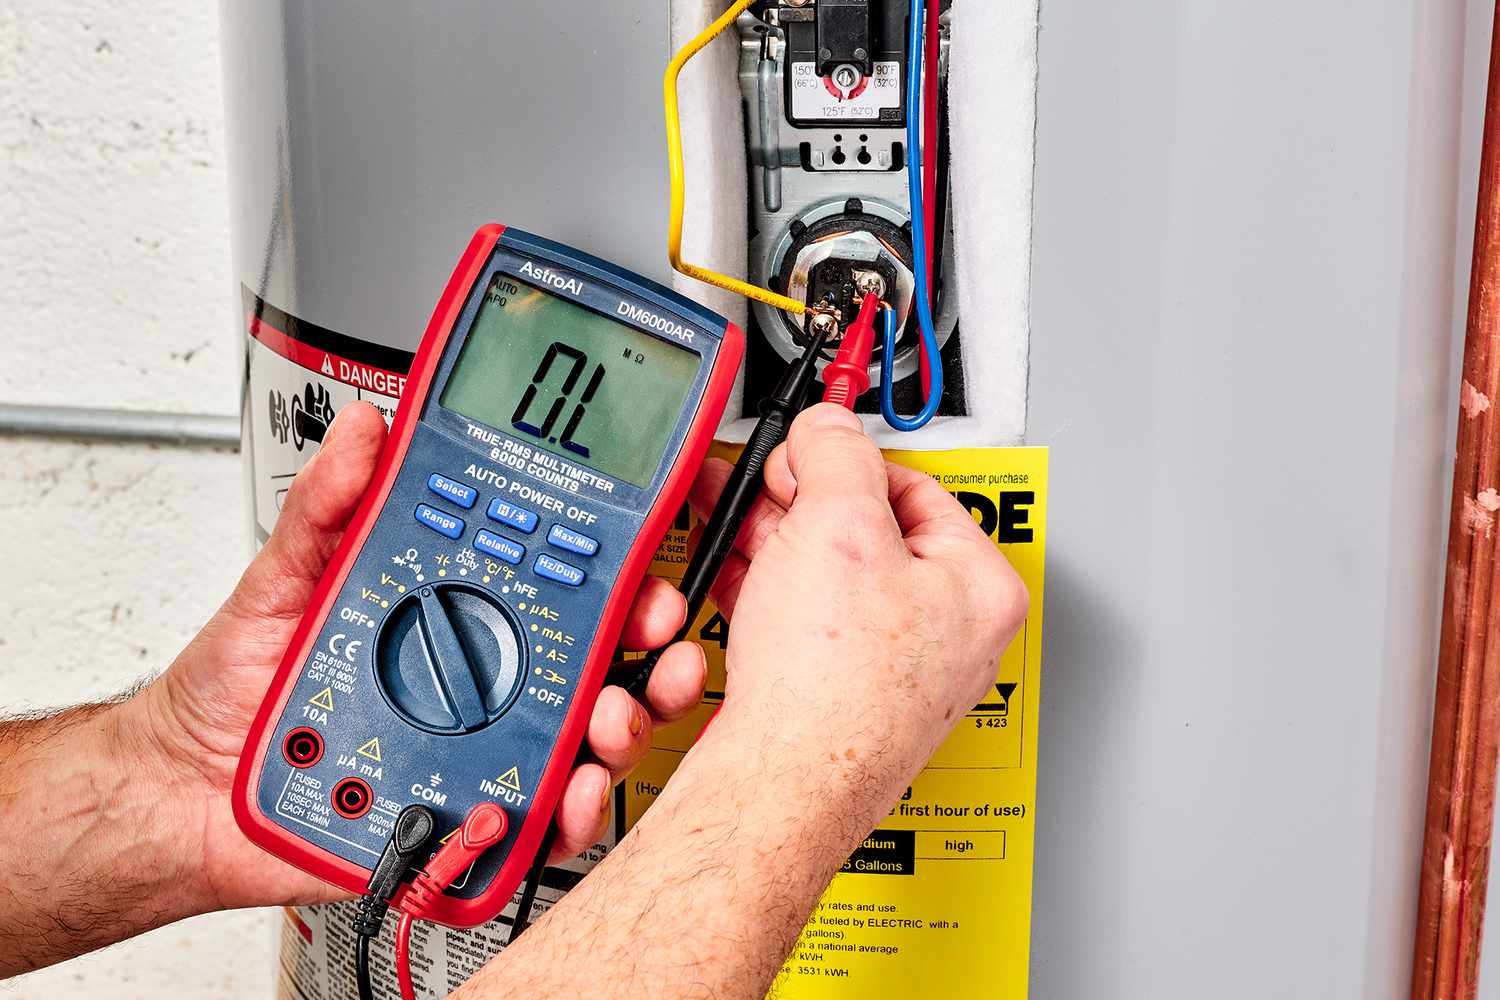
- Select the Continuity Setting: Set your multimeter to the continuity or diode testing mode. Some multimeters have a dedicated setting for continuity testing, indicated by a symbol that looks like a sound wave or a diode symbol (->|). Refer to your multimeter’s user manual for specific instructions.
- Touch the Probes: Touch the ends of the two probes together to establish a reference point. This will allow you to determine if there is a complete circuit when testing the adapter.
- Connect the Probes: Touch one probe to the outer metal sleeve of the adapter’s connector plug and the other probe to the inner metal pin that contacts the center of the plug.
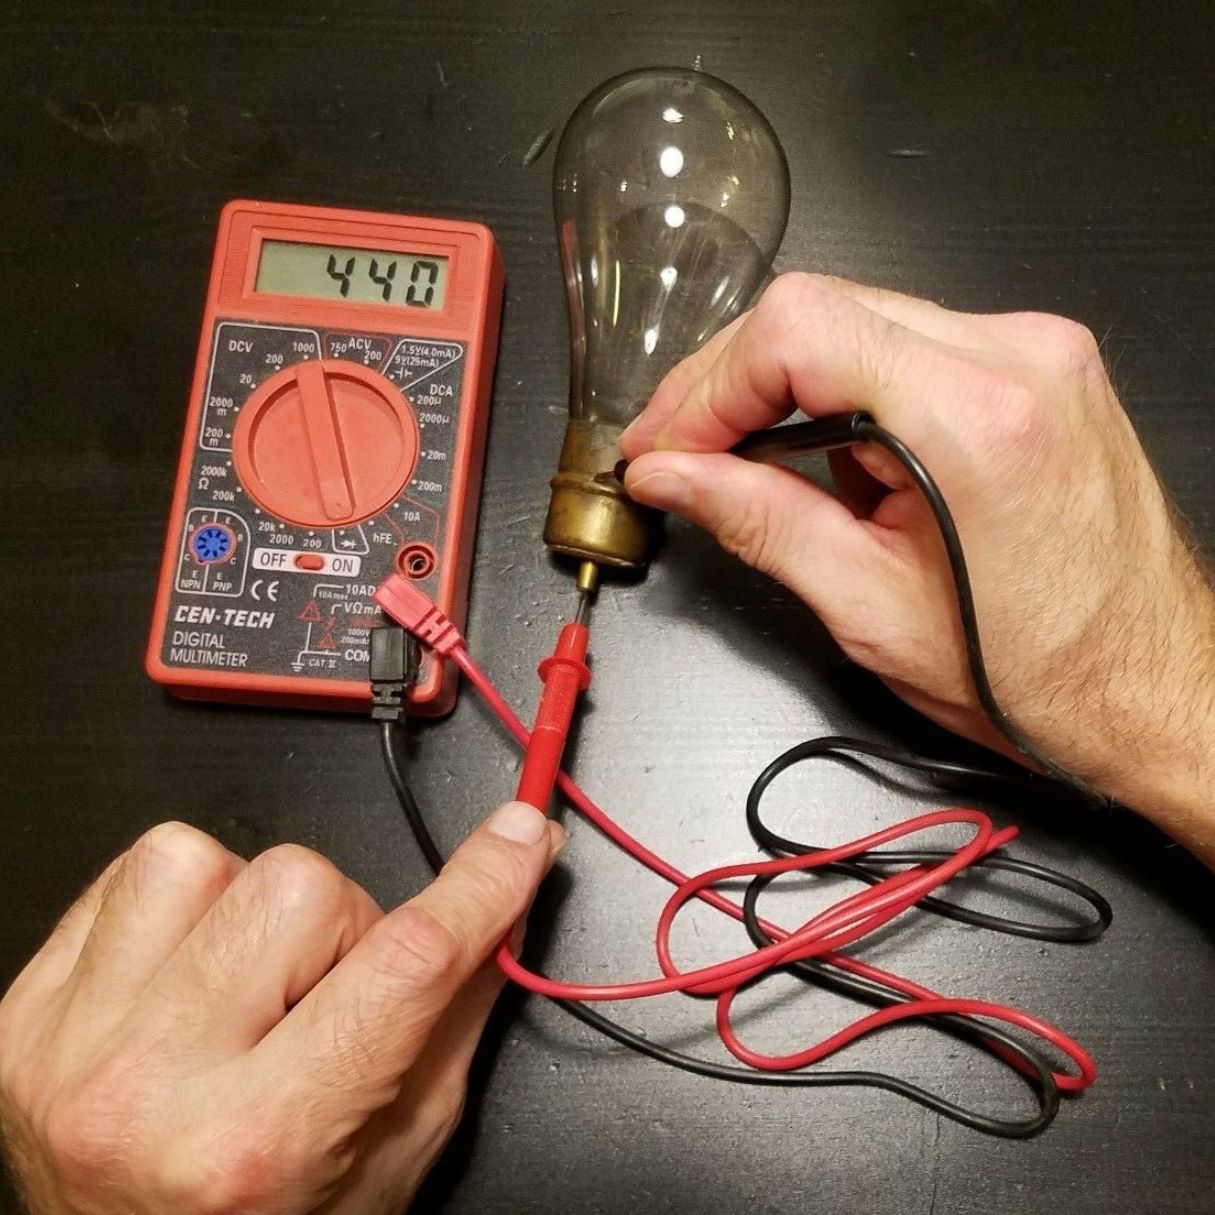
- Observe the Result: If the multimeter emits a continuous beep or displays a reading close to zero, it indicates continuity, meaning there is a complete electrical connection in the adapter. If there is no sound or the display shows an “O.L.” (open loop) or infinite resistance reading, it suggests a break in the circuit and a lack of continuity.
Checking the continuity of the AC adapter can help identify any wiring faults or loose connections that may be affecting its performance.
Congratulations! You have successfully tested the continuity of the AC adapter. Now, let’s move on to the final step: additional tips and troubleshooting.
Step 6: Additional Tips and Troubleshooting
Now that you have completed the main steps of testing an AC adapter with a multimeter, here are some additional tips and troubleshooting guidelines to help you along the way:
- Check the Power Cord: If you notice any frayed wires or damage to the power cord of the AC adapter, it’s recommended to replace it. A damaged power cord can affect the performance and safety of the adapter.
- Test Different Outlets: If you suspect there might be an issue with the power source, try testing the AC adapter in different outlets to see if the readings vary. This can help determine if the issue lies with the adapter or the power source.
- Inspect the Adapter Housing: Examine the adapter housing for any signs of damage, such as cracks or bulges. If you notice any abnormalities, it may indicate a problem with the internal components.
- Refer to the User Manual: If you’re unsure about any specific testing procedures or safety guidelines, always consult the user manual that came with your AC adapter or multimeter. The manufacturer’s instructions will provide valuable information tailored to your specific model.
- Seek Professional Help: If the AC adapter consistently fails the voltage, amperage, or continuity tests, or if you are unable to diagnose the issue, it may be best to consult a professional technician. They will have the expertise and tools to analyze and repair the adapter if necessary.
Remember, troubleshooting electrical devices requires careful attention to detail and a methodical approach. By following these tips and guidelines, you can effectively test an AC adapter using a multimeter and identify any potential issues affecting its performance.
As a final reminder, always prioritize safety when working with electrical components. Take necessary precautions and exercise caution to avoid any accidents or injuries.
With these additional tips and troubleshooting techniques, you are well-equipped to successfully test an AC adapter using a multimeter. Good luck, and happy testing!
Be sure to bookmark this guide for future reference, and feel free to share it with others who may find it useful.
Should you have any further questions or need additional assistance, don’t hesitate to reach out.
Happy testing!
Conclusion
Testing an AC adapter with a multimeter is a valuable skill that can help you diagnose and troubleshoot issues with power supply to your electronic devices. By following the step-by-step process outlined in this guide, you can effectively test the voltage output, amperage output, and continuity of an AC adapter to ensure its proper functioning.
Remember to always prioritize safety when working with electrical components. Take the necessary precautions, such as wearing protective gear and working in a dry environment, to minimize the risk of accidents or injuries.
Throughout the testing process, it’s important to consult the user manuals of both the AC adapter and multimeter for specific instructions and guidelines. These resources will provide detailed information tailored to your specific devices.
If you encounter any issues during the testing process or if the readings indicate a problem with the AC adapter, it’s recommended to seek the assistance of a professional technician. They have the expertise and tools to analyze and repair the adapter, if necessary.
By testing the voltage output, amperage output, and continuity of an AC adapter, you can identify potential problems and ensure that your electronic devices receive the proper power supply. This will help maintain their optimal performance and prolong their lifespan.
Lastly, always remember to practice safe electrical testing procedures and refer to reputable sources for guidance. Reliable information and careful testing will enable you to troubleshoot and resolve issues with your AC adapter effectively.
We hope this guide has been helpful to you in understanding how to test an AC adapter with a multimeter. Feel free to refer back to this guide anytime as a reference for future testing endeavors.
Should you have any further questions or require additional assistance, don’t hesitate to reach out. Happy testing!
Frequently Asked Questions about How To Test An Ac Adapter With A Multimeter
Was this page helpful?
At Storables.com, we guarantee accurate and reliable information. Our content, validated by Expert Board Contributors, is crafted following stringent Editorial Policies. We're committed to providing you with well-researched, expert-backed insights for all your informational needs.


0 thoughts on “How To Test An Ac Adapter With A Multimeter”