Articles
How To Install Toilet Flange
Modified: March 2, 2024
Learn how to install a toilet flange with this step-by-step guide. Expert articles provide detailed instructions and tips for a successful installation.
(Many of the links in this article redirect to a specific reviewed product. Your purchase of these products through affiliate links helps to generate commission for Storables.com, at no extra cost. Learn more)
Introduction
In any bathroom renovation or plumbing project, installing a toilet flange is a crucial step. The toilet flange serves as the connection point between the toilet and the waste pipe, ensuring a secure and leak-free installation. It is essential to install the flange correctly to prevent future issues such as toilet leaks or unstable seating.
In this article, we will guide you through the step-by-step process of installing a toilet flange. We will cover the tools and materials you will need, as well as each stage of the installation process. By following this guide, you can confidently install a toilet flange and ensure a sturdy and reliable connection for your toilet.
Before we begin, it’s important to note that installing a toilet flange may require some basic DIY plumbing skills. If you are uncomfortable with any step of the process or unsure of your abilities, it’s always best to consult a professional plumber. Now, let’s gather the tools and materials needed for the installation.
Key Takeaways:
- Properly installing a toilet flange is crucial for a secure and leak-free connection between the toilet and waste pipe. Thorough preparation, careful insertion, and testing ensure a successful and functional installation.
- By following the step-by-step guide and paying attention to detail, DIY enthusiasts can confidently install a toilet flange. Regular maintenance and prompt issue resolution help prolong the lifespan of the installation.
Tools and Materials Needed
Before you begin the installation process, gather the following tools and materials:
- Adjustable wrench
- Tape measure
- Hacksaw or reciprocating saw
- Screwdriver
- Plumber’s putty or silicone caulk
- Toilet flange kit
- Wax ring
- Level
- Bucket or towels for water cleanup
The adjustable wrench will be used to tighten bolts and connections, while a tape measure is helpful for measuring distances and ensuring accuracy during the installation process. A hacksaw or reciprocating saw is necessary for cutting and modifying the waste pipe if needed.
A screwdriver is needed for loosening and tightening screw connections, while plumber’s putty or silicone caulk will be used to create a watertight seal between the flange and the floor. Purchase a toilet flange kit that includes all the necessary components, including the flange itself, bolts, and spacers.
A wax ring is an essential component for creating a seal between the toilet and the flange, preventing leaks and odors. Finally, a level will help ensure that the flange is properly aligned and flat, providing a sturdy and stable base for the toilet.
With all the tools and materials gathered, you are ready to begin the toilet flange installation process. In the next step, we will guide you through preparing the toilet flange area.
Step 1: Gather the necessary items
Before you begin installing the toilet flange, it is important to gather all the necessary items to ensure a smooth installation process. Here are the items you will need:
- Adjustable wrench
- Tape measure
- Hacksaw or reciprocating saw
- Screwdriver
- Plumber’s putty or silicone caulk
- Toilet flange kit
- Wax ring
- Level
- Bucket or towels for water cleanup
Having these tools on hand will make the installation process much easier and more efficient. The adjustable wrench is essential for tightening bolts and connections, while a tape measure is necessary for measuring distances accurately during the installation.
If the waste pipe needs to be modified or cut to fit the flange, a hacksaw or reciprocating saw will come in handy. Additionally, a screwdriver will be needed for loosening and tightening screw connections.
Plumber’s putty or silicone caulk is crucial for creating a watertight seal between the flange and the floor. It is important to choose a high-quality product that is specifically designed for plumbing applications to ensure a durable seal.
Purchase a toilet flange kit that includes all the necessary components, such as the flange itself, bolts, and spacers. This ensures that you have everything you need in one package and reduces the risk of missing any essential parts.
A wax ring is an important component that creates a seal between the toilet and the flange, preventing leaks and odors. Be sure to choose a wax ring of the appropriate size and thickness for your specific toilet.
Lastly, a level will help you ensure that the flange is properly aligned and flat, providing a sturdy and stable base for the toilet. This step is critical for the overall stability and functionality of the toilet once it is installed.
By gathering all these items beforehand, you will have everything you need to successfully install the toilet flange. In the next step, we will guide you through preparing the toilet flange area for installation.
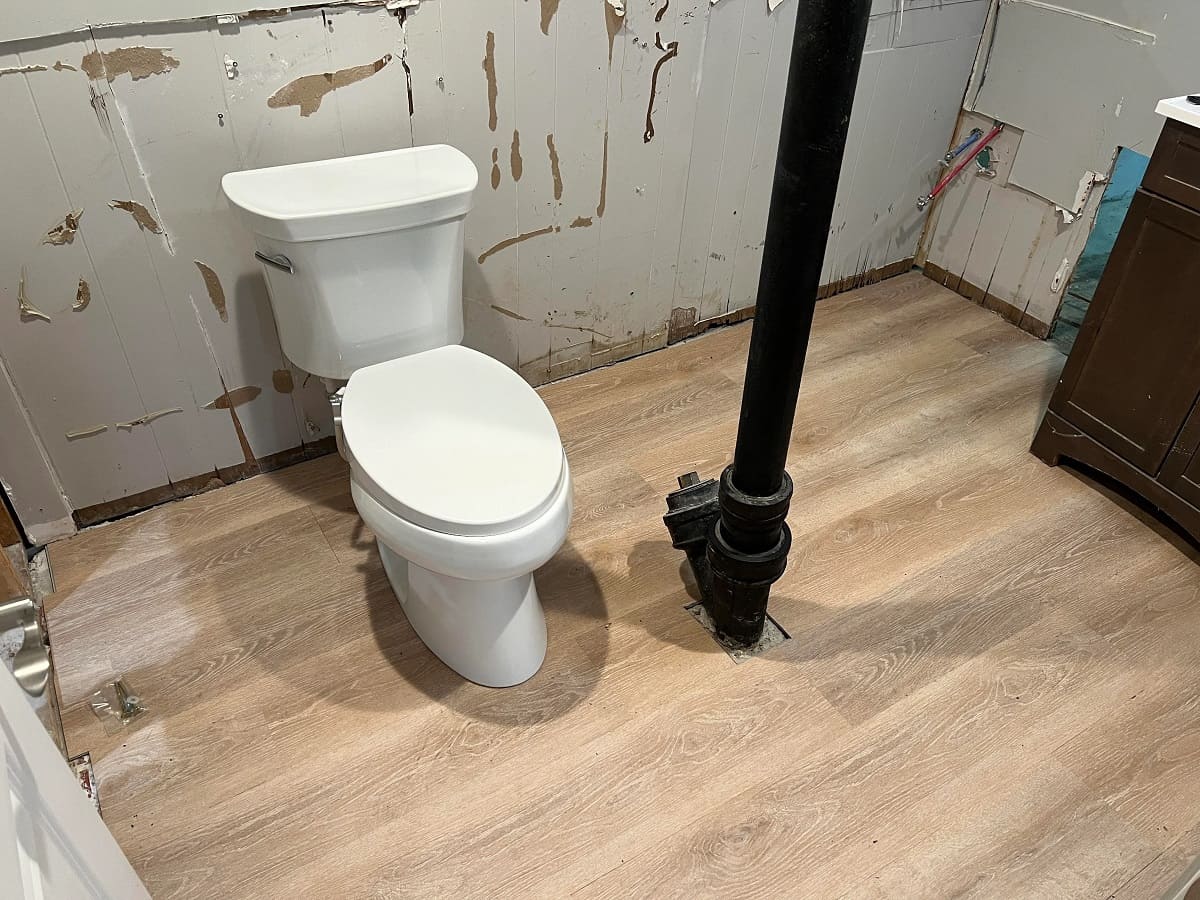
Step 2: Prepare the toilet flange area
Once you have gathered all the necessary tools and materials, it’s time to prepare the toilet flange area for installation. Follow these steps to ensure a smooth and successful installation:
- First, turn off the water supply to the toilet. Locate the valve near the base of the toilet and turn it clockwise to shut off the water. Flush the toilet to drain the tank and remove any remaining water with a bucket or towels.
- Next, remove the existing toilet by unscrewing the nuts on the base of the toilet and lifting it off the flange. Place the toilet on a soft surface, such as a towel or cardboard, to prevent any damage.
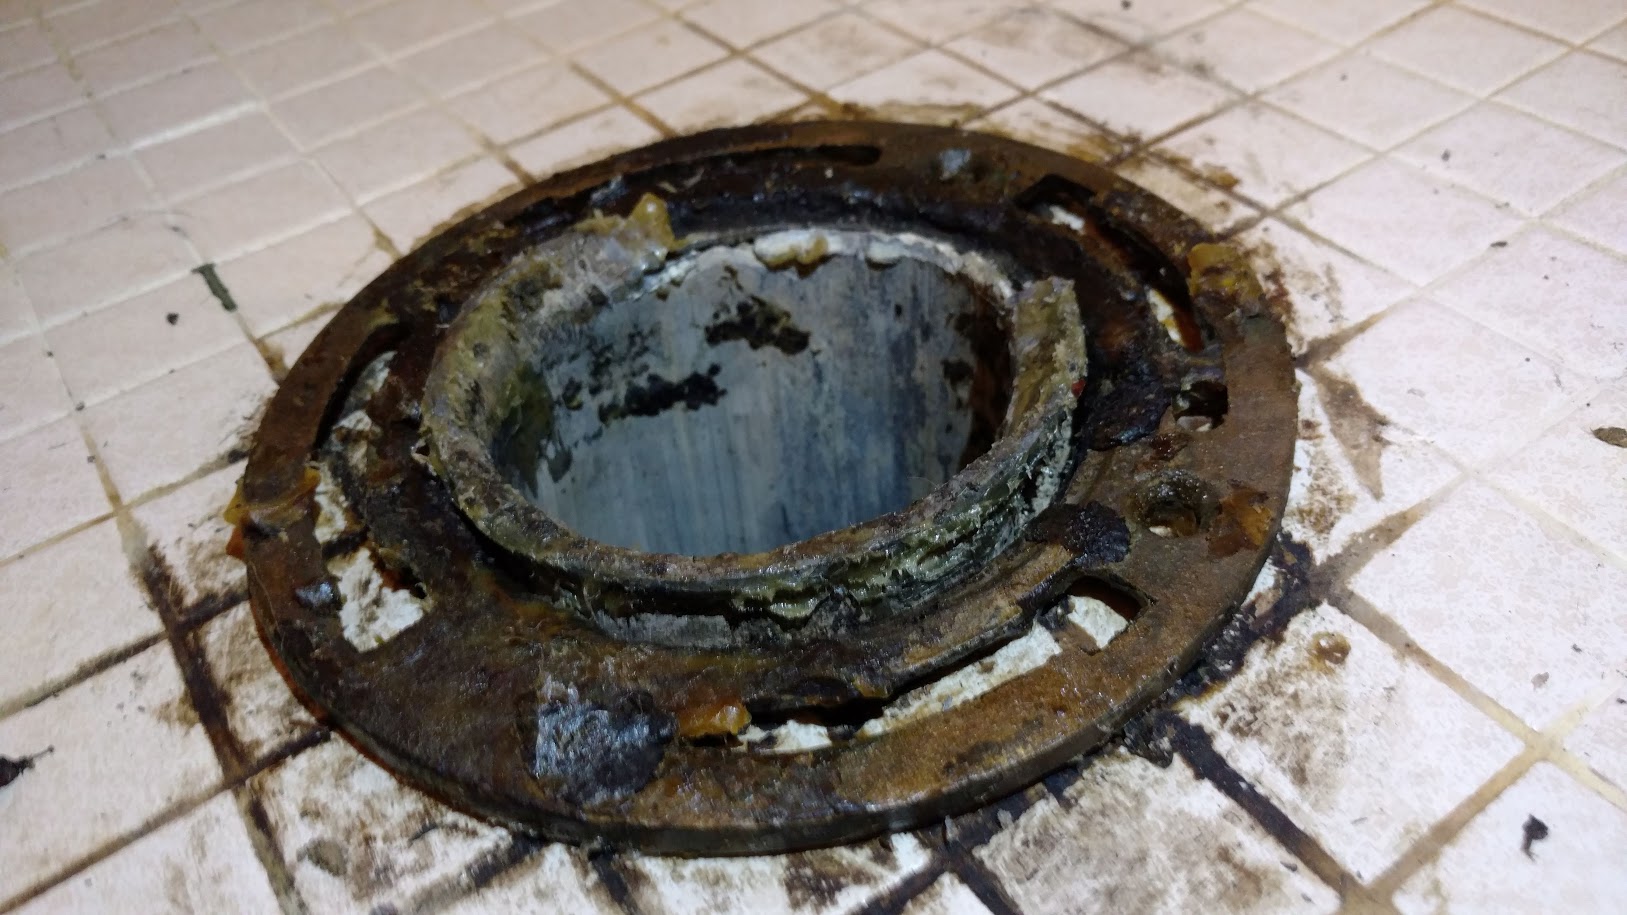
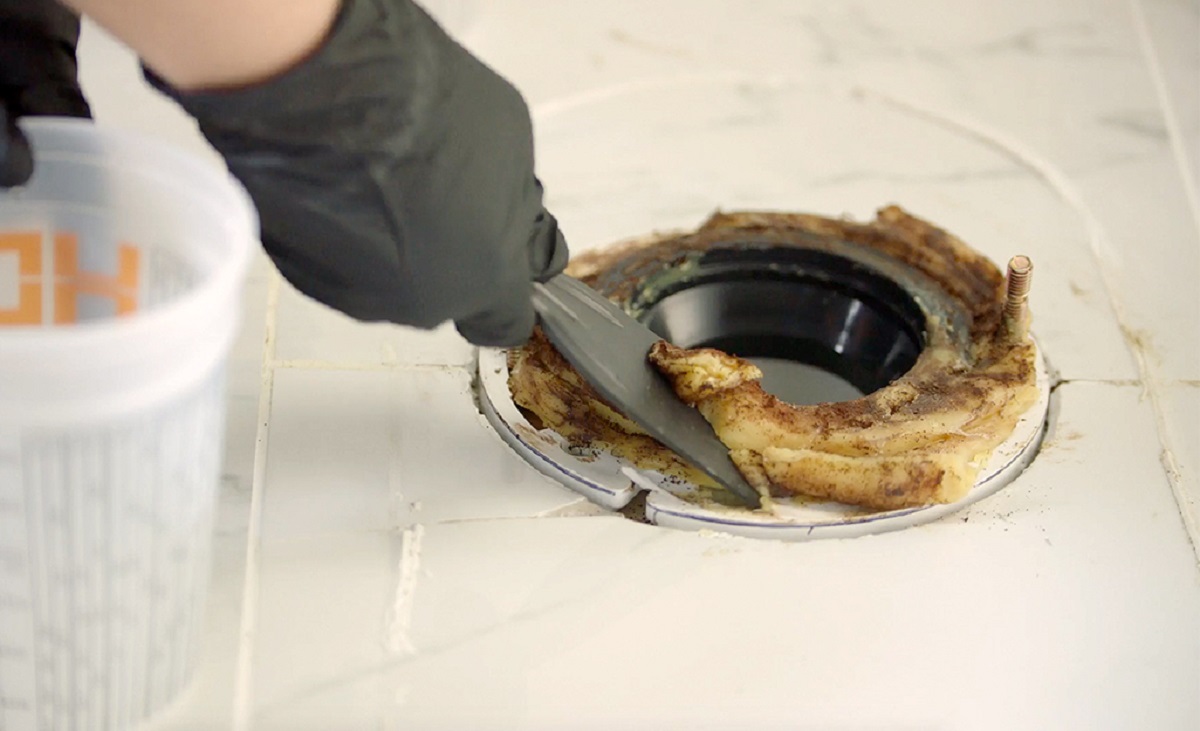
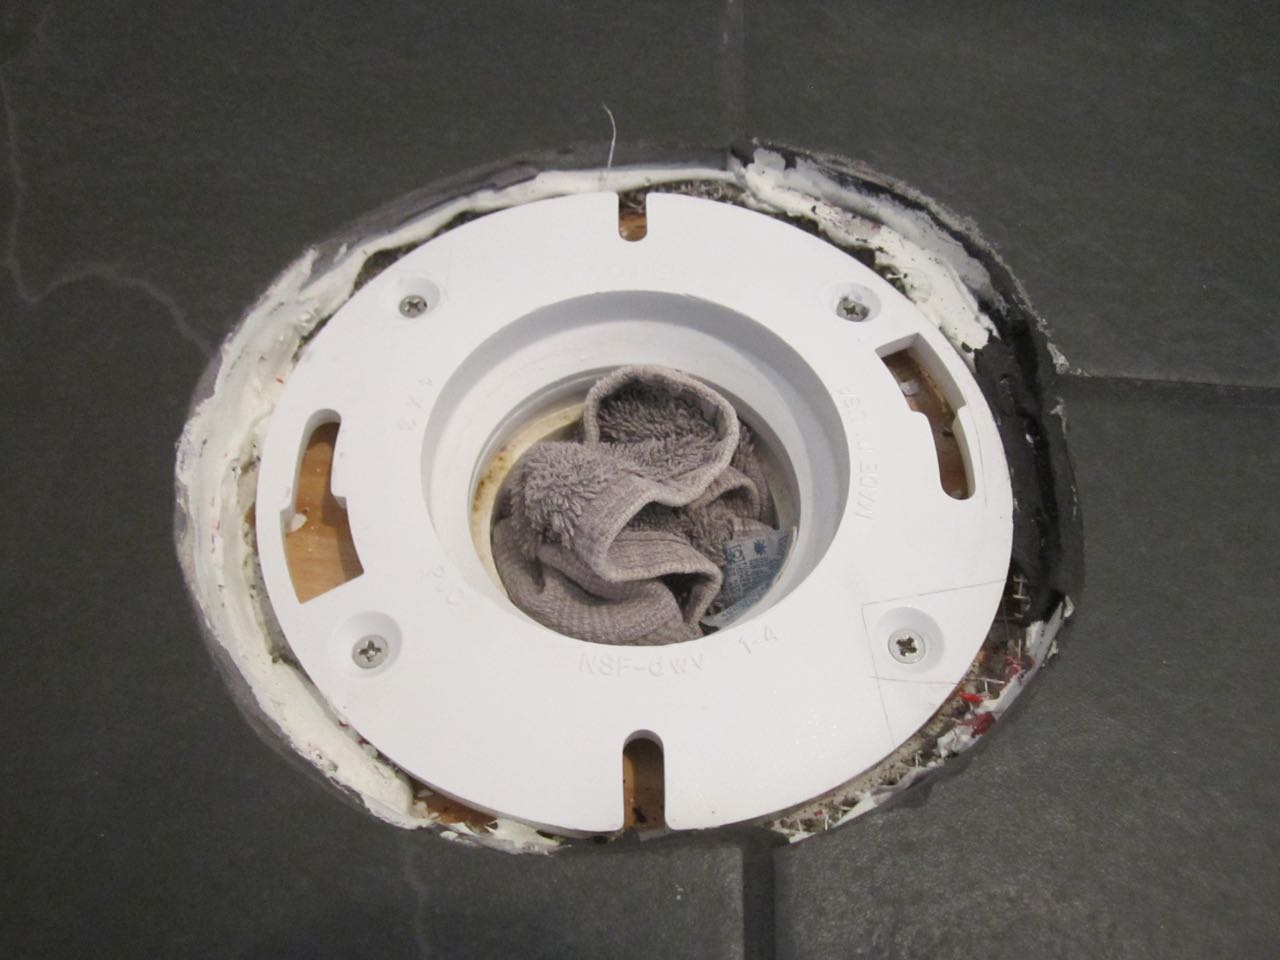
- Inspect the flange area to ensure it is clean and free from any debris or old wax residue. Use a scraper or putty knife to remove any remaining wax or other build-up. Clean the area thoroughly with a mild detergent and water, and allow it to dry completely before proceeding.
- If necessary, assess the height of the flange and determine if it needs to be adjusted to ensure a proper fit with the toilet. Use a tape measure to measure the distance between the floor and the top of the flange. If the flange is too high or too low, it may need to be modified or replaced. Consult the toilet manufacturer’s specifications or a professional plumber for guidance.
- Inspect the condition of the waste pipe. If there are any cracks, leaks, or damage, it is important to repair or replace the pipe before proceeding with the installation. This step is essential to prevent any future plumbing issues.
- Now, check the flange bolts to ensure they are secure and in good condition. If the bolts are corroded or damaged, it is best to replace them with new ones to ensure a secure installation.
- Finally, examine the floor around the flange for any damage or decay. If there is any soft or rotted wood, it should be repaired or replaced to provide a solid and stable base for the toilet flange.
By thoroughly preparing the toilet flange area, you ensure a proper and secure installation. Inspecting and addressing any issues before proceeding will help prevent future problems and prolong the lifespan of your toilet installation. In the next step, we will guide you through inserting the toilet flange.
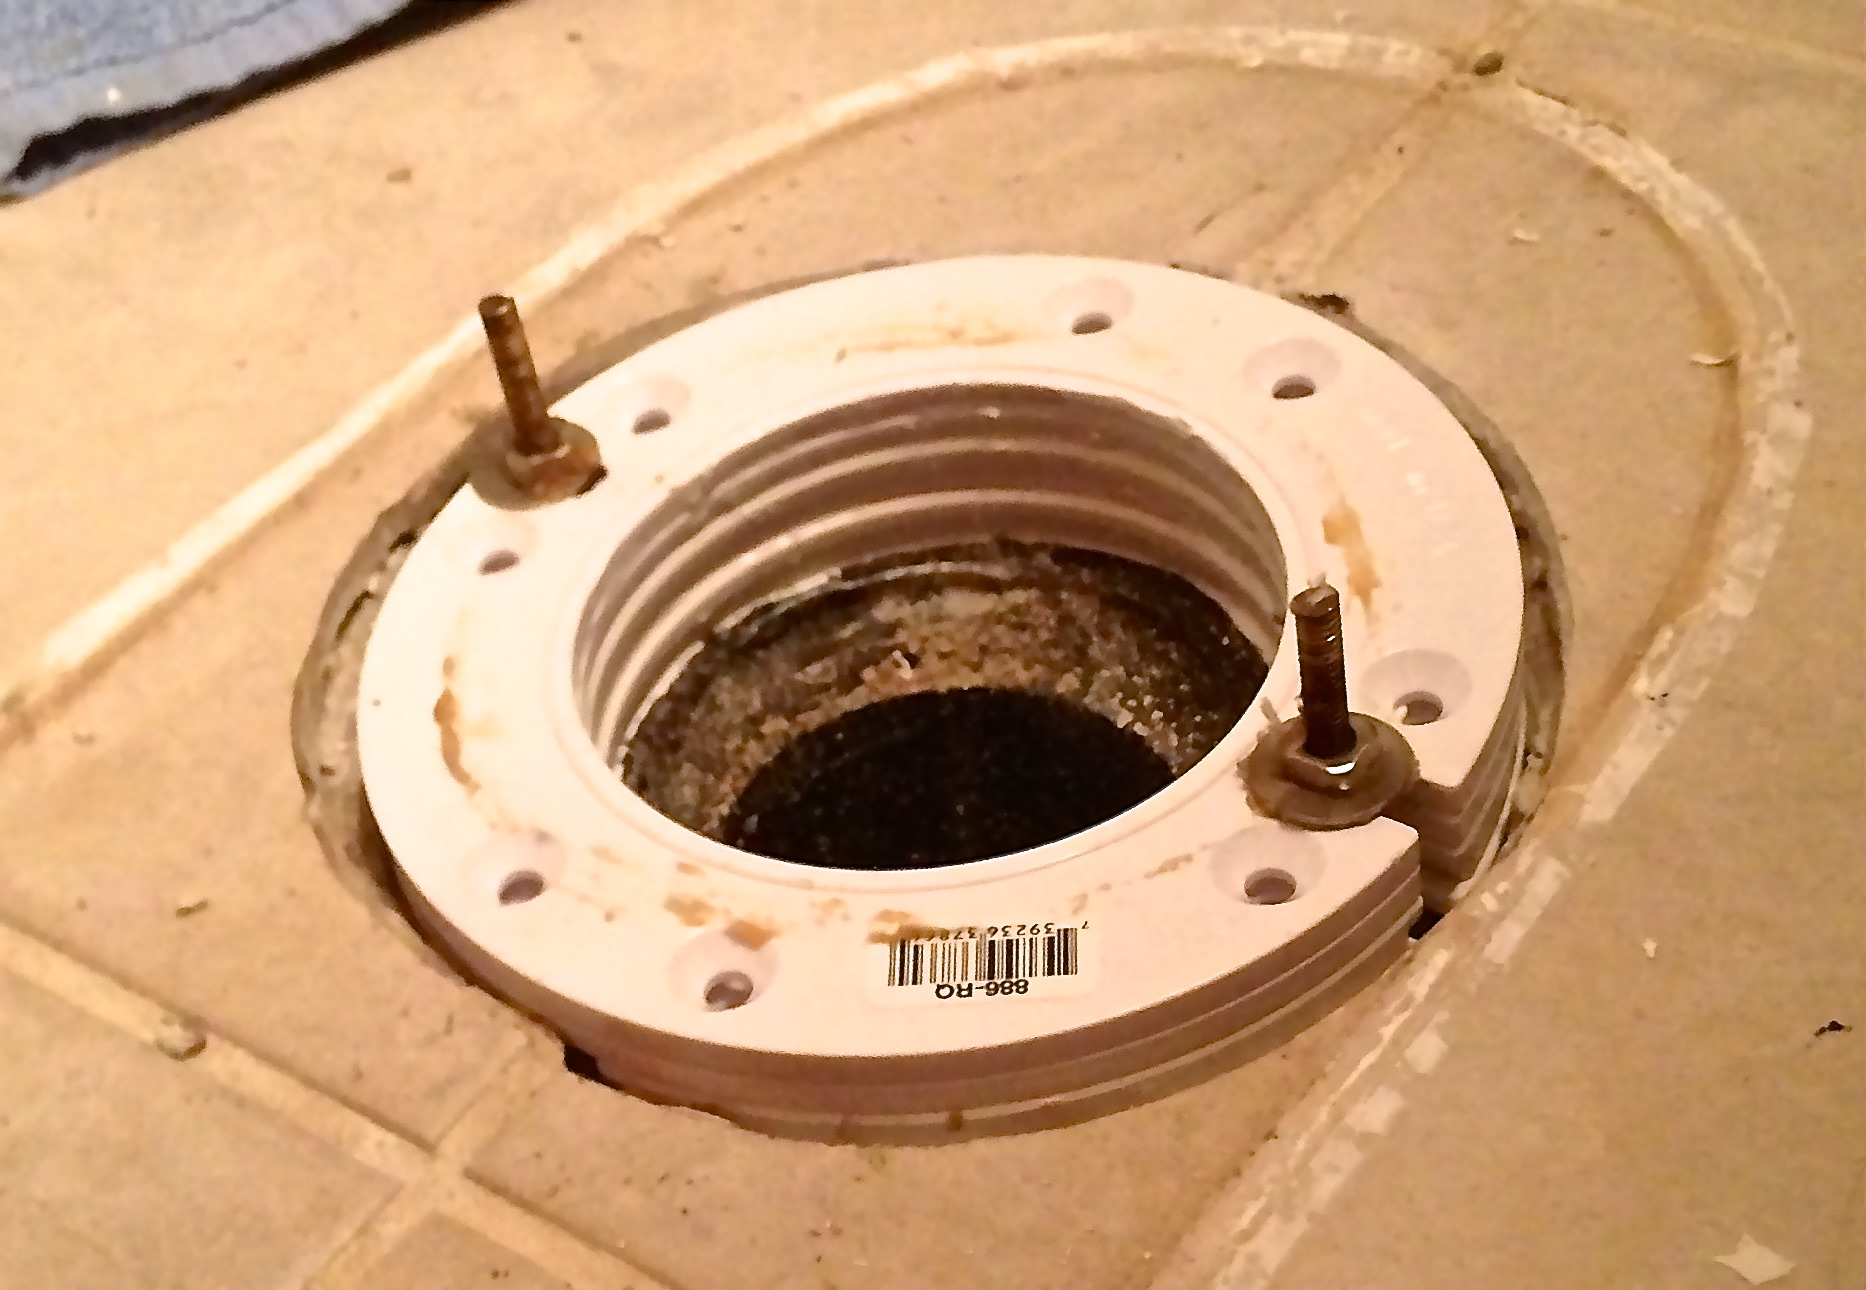
Step 3: Insert the toilet flange
With the toilet flange area properly prepared, you are now ready to insert the toilet flange. This step is crucial as it provides a secure connection between the toilet and the waste pipe. Follow these steps for a successful installation:
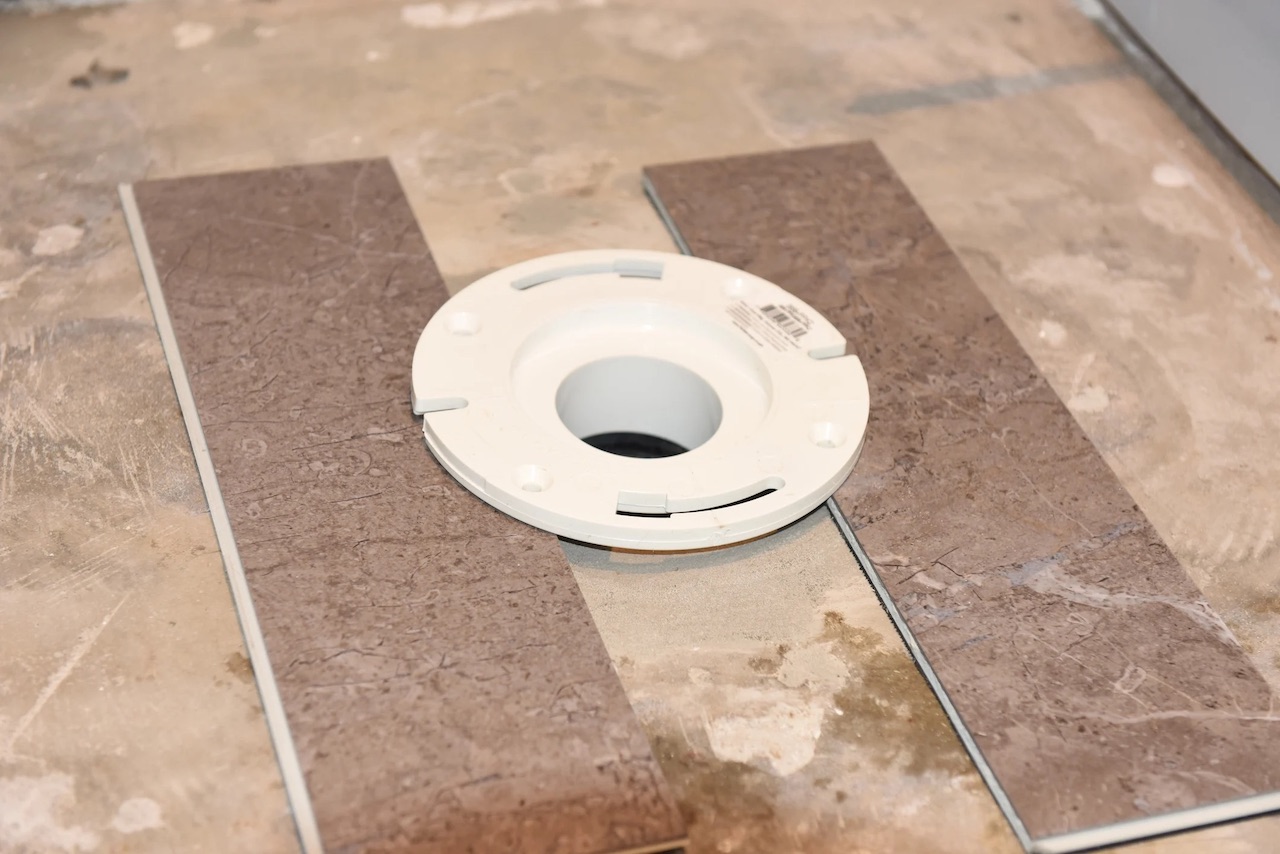
- Begin by examining the toilet flange to ensure it is in good condition and free from any cracks or damage. If necessary, replace the flange with a new one of the appropriate size and type for your toilet and waste pipe.
- Take the wax ring and position it over the flange, ensuring that it is centered and aligned properly. The wax ring creates a watertight seal between the flange and the toilet, preventing leaks.
- Carefully lower the toilet flange onto the wax ring, ensuring that it fits securely and evenly. Apply gentle pressure to compress the wax ring and create a tight seal.
- Use a level to check if the flange is installed correctly and level with the floor. Adjust as necessary to ensure a flat and stable base for the toilet.
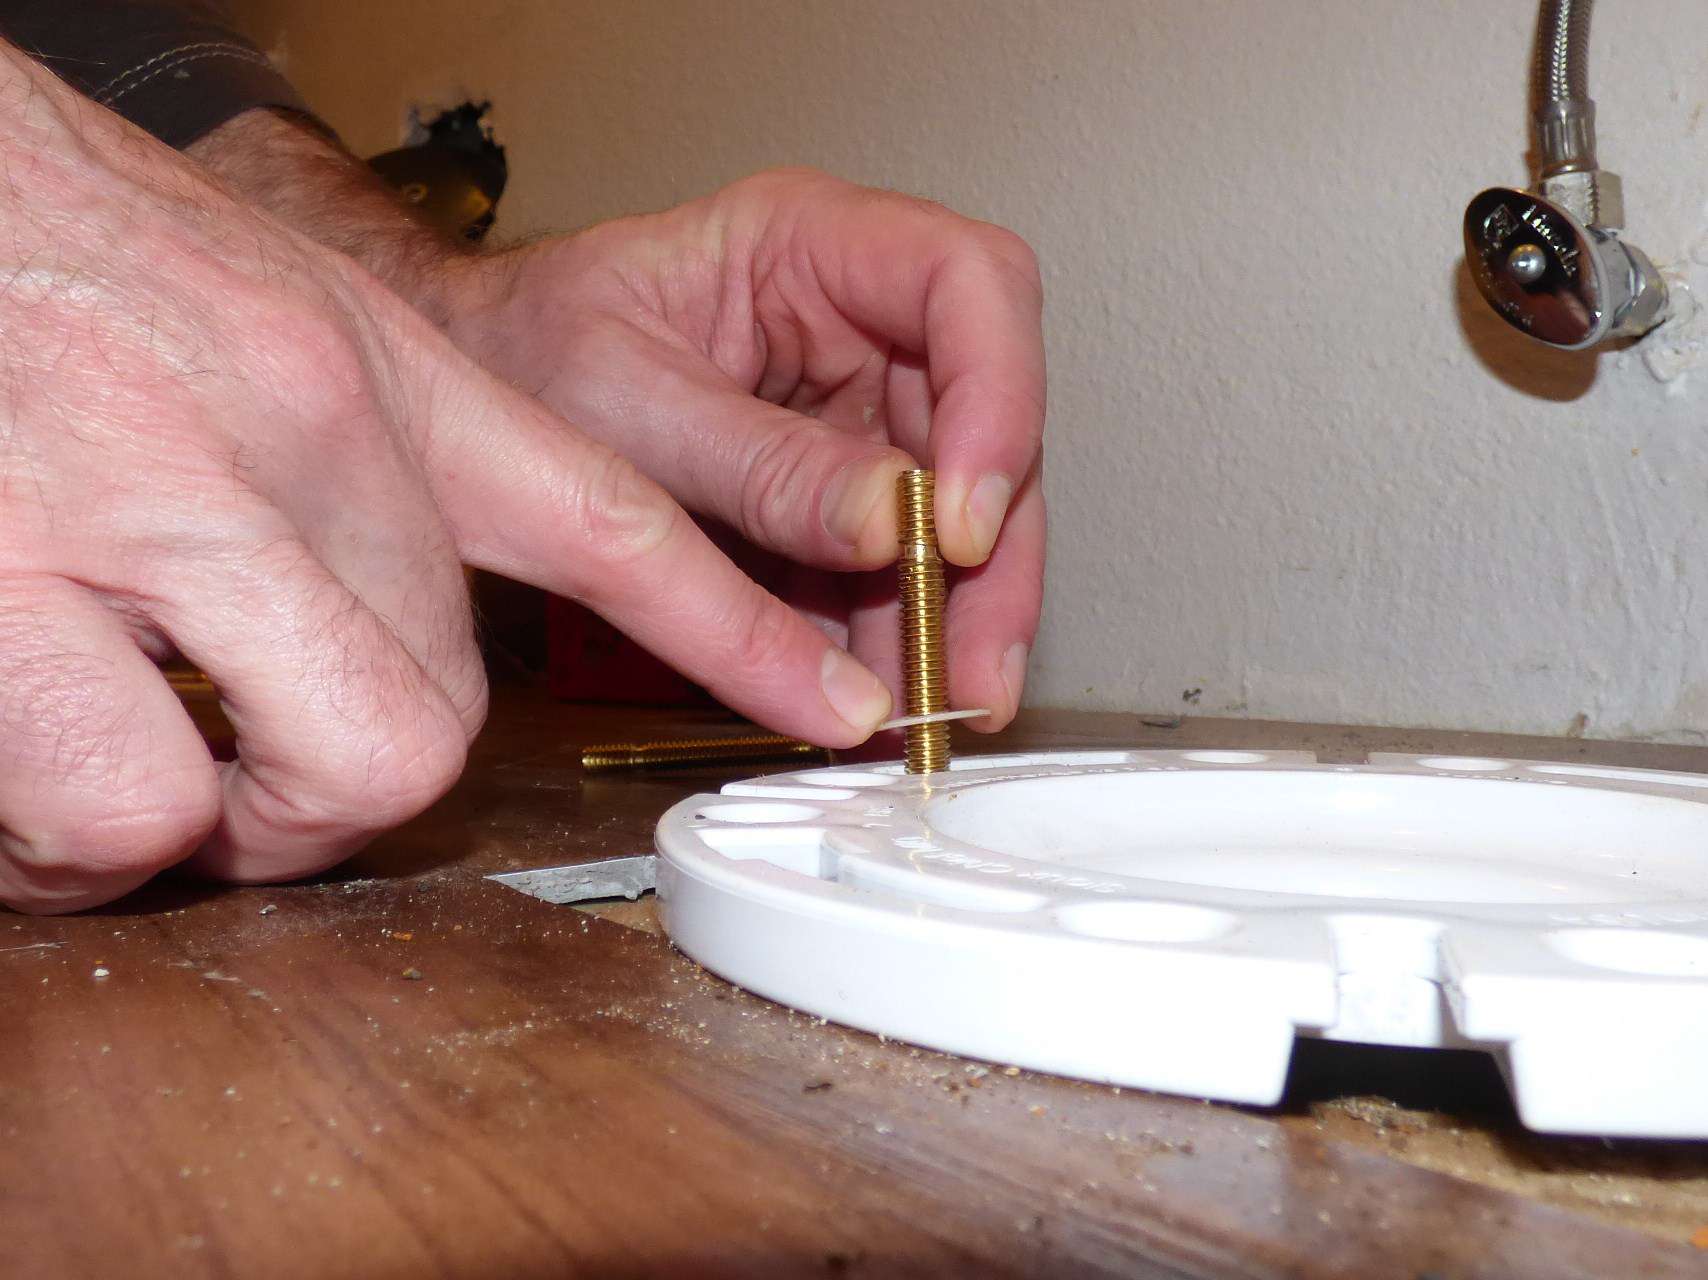
- Once the flange is in position, insert the flange bolts into the slots on the sides of the flange. These bolts will be used to secure the toilet to the flange.
- Tighten the bolts using an adjustable wrench until they are firm, but be cautious not to overtighten and risk damaging the toilet or flange.
- Double-check the alignment and stability of the flange before proceeding to the next step. A properly inserted and secured flange is essential for a stable and leak-free toilet installation.
By following these steps, you can ensure that the toilet flange is properly inserted and securely connected to the waste pipe. This step sets the foundation for a stable and reliable toilet installation. In the next step, we will guide you through securing the toilet flange to the floor.
When installing a toilet flange, make sure it is secured to the floor with screws and that it is level with the finished floor surface to ensure a proper seal with the toilet.
Read more: What Is A Toilet Flange
Step 4: Secure the toilet flange
After inserting the toilet flange, it is important to secure it to the floor to ensure a stable installation. Follow these steps to securely fasten the flange:
- Using a screwdriver, insert screws into the holes provided on the flange. These screws will secure the flange to the subfloor or flooring material.
- Ensure that the screws are driven firmly into the floor, but be cautious not to overtighten and risk damaging the flange or the floor. The screws should be secure enough to hold the flange in place without causing any damage.
- If the floor underneath the flange is uneven or there are gaps, use shims or spacer rings to level the flange. These additional components will help provide a stable base for the toilet and prevent rocking or instability.
- Double-check that the toilet flange is securely fastened to the floor by giving it a gentle tug and testing its stability. It should be firmly in place and not move or shift in any way.
- Inspect the area around the flange for any signs of movement or instability. If there are any concerns, consider adding additional screw or bolt reinforcements to ensure the flange remains securely attached to the floor.
- Before proceeding to the next step, remove any excess plumber’s putty or silicone caulk that might have squeezed out during the installation process. A clean and tidy flange area will make the next steps easier and ensure a neat overall appearance.
By properly securing the toilet flange to the floor, you create a solid foundation for the toilet installation. A securely attached flange prevents the toilet from shifting or rocking, ensuring a stable and leak-free connection. In the next step, we will guide you through connecting the toilet to the flange.
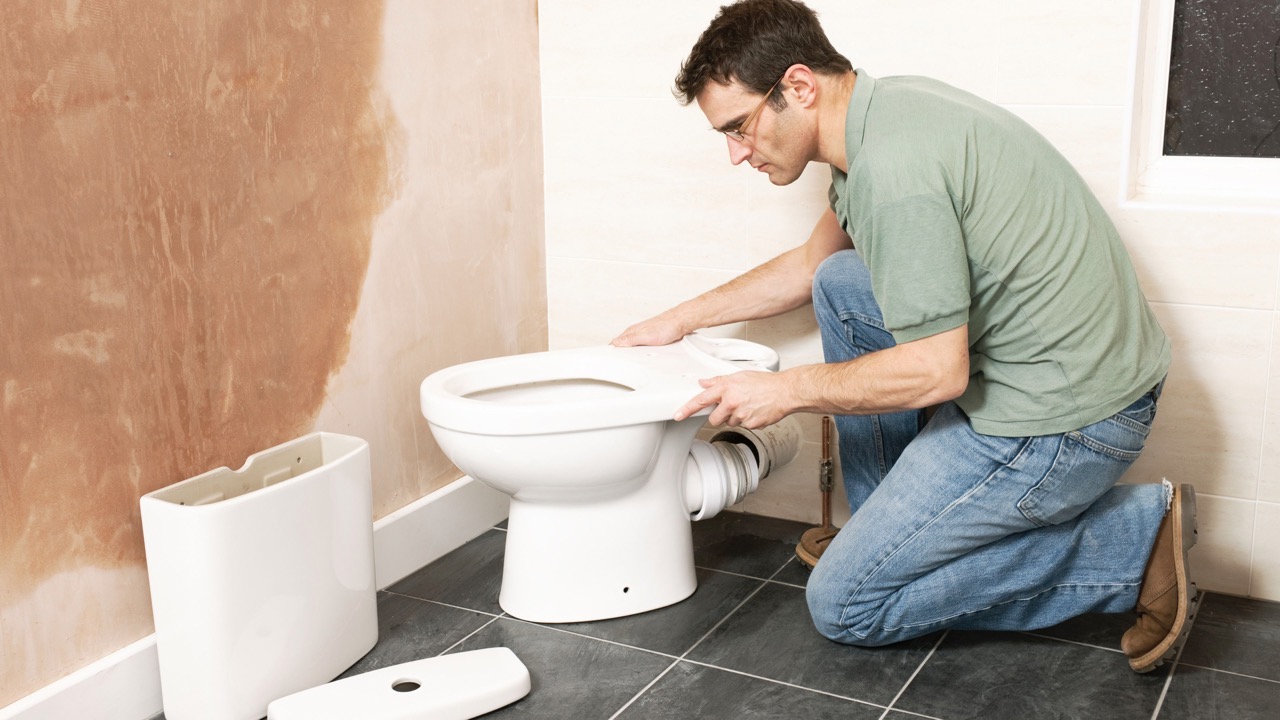
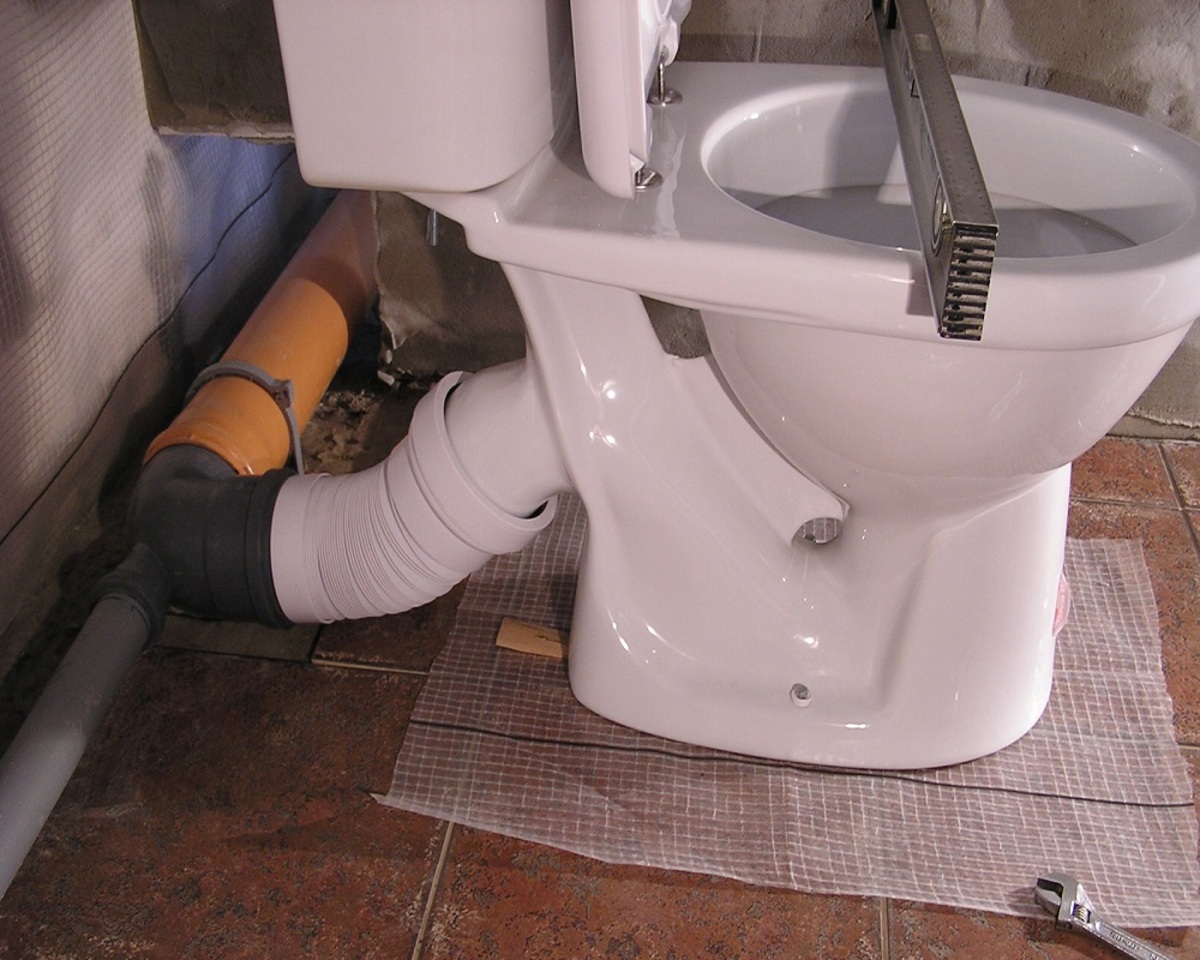
Step 5: Connect the toilet to the flange
With the toilet flange securely fastened to the floor, it’s time to connect the toilet to the flange. Follow these steps to ensure a proper and secure connection:
- Take the toilet bowl and carefully lower it onto the flange, aligning the mounting holes on the base of the toilet with the flange bolts.
- Ensure that the toilet sits evenly on the flange and aligns with the surrounding fixtures and walls. Make any necessary adjustments to ensure proper alignment.
- Place a washer onto each flange bolt, ensuring that the washers sit flush against the base of the toilet.
- Thread a nut onto each flange bolt and tighten them using an adjustable wrench. Be cautious not to overtighten, as this can crack the toilet bowl. The nuts should be firm enough to securely hold the toilet in place without causing any damage.
- Once the toilet is securely fastened to the flange, confirm that it sits flat and level. Use a level to check both side-to-side and front-to-back alignment. Make any necessary adjustments by tightening or loosening the nuts until the toilet is level.
- Inspect the toilet base for any gaps or uneven spaces. If necessary, use shims or spacer rings to fill in any gaps and ensure a stable and even seating for the toilet.
- Finally, remove any excess plumber’s putty or silicone caulk that may have squeezed out during the installation process. Wipe the area clean for a neat and tidy appearance.
By properly connecting the toilet to the flange, you ensure a secure and leak-free toilet installation. The toilet should sit evenly and securely on the flange, providing a stable and comfortable seating for users. In the next step, we will guide you through testing the installation for proper functionality.
Step 6: Test for proper installation
After completing the installation of the toilet and flange, it is crucial to test the functionality and ensure a proper installation. Follow these steps to test the installation:
- Turn on the water supply to the toilet by opening the valve near the base of the toilet. Slowly turn the valve counterclockwise to allow water to flow into the tank.
- Allow the tank to fill with water, and check for any signs of leaks around the base of the toilet or the flange. Look for water pooling on the floor or any moisture around the connections.
- If you notice any leaks, immediately shut off the water supply and make the necessary adjustments. This may involve tightening the nuts and bolts or applying additional plumber’s putty or silicone caulk to create a watertight seal.
- Once you are confident that there are no leaks, flush the toilet and observe the water flow. Ensure that the water drains properly and doesn’t back up or overflow.
- Listen for any unusual sounds or vibrations during the flushing process. These may indicate a misalignment or improper installation that requires further attention.
- Sit on the toilet and carefully shift your weight from side to side. Ensure that the toilet is stable and doesn’t rock or feel loose. A properly installed toilet should feel secure and firmly seated.
- If you detect any issues during the testing process, address them promptly to prevent any future problems. It’s important to have a functional and reliable toilet installation for long-term use.
By testing the installation for leaks, proper water flow, and overall stability, you can ensure that the toilet and flange are functioning as intended. Addressing any issues during the testing phase will help prevent future problems and ensure a long-lasting toilet installation.
With the testing complete, you can now confidently enjoy your newly installed toilet. Remember to maintain regular cleaning and maintenance to keep it in optimal condition. Congratulations on successfully installing a toilet flange!
Disclaimer: This article provides a general guideline for installing a toilet flange. We recommend following manufacturer instructions and consulting a professional plumber if you are unsure or uncomfortable with any aspect of the installation process.
Conclusion
Installing a toilet flange is an essential step in any bathroom renovation or plumbing project. A properly installed flange ensures a secure and leak-free connection between the toilet and the waste pipe, providing stability and functionality to the toilet installation.
In this article, we have provided a step-by-step guide on how to install a toilet flange. We covered topics such as gathering the necessary tools and materials, preparing the flange area, inserting the flange, securing it to the floor, connecting the toilet, and testing the installation for proper functionality.
By following the steps outlined in this guide and paying attention to detail, you can confidently install a toilet flange and enjoy a well-functioning and durable toilet. Remember to consult manufacturer instructions and seek professional help if needed.
Maintaining regular cleaning and maintenance is important to prolong the lifespan of your toilet installation. Regularly inspect the flange for any signs of wear or damage and address any issues promptly to prevent future problems.
With the knowledge and skills gained from this guide, you can tackle the task of installing a toilet flange with confidence and ensure a successful outcome. Enjoy your newly installed toilet and the comfort it brings to your bathroom!
Disclaimer: This article provides general guidance for installing a toilet flange. It is always recommended to follow manufacturer instructions and consult a professional plumber for specific advice and guidance based on your unique situation.
Frequently Asked Questions about How To Install Toilet Flange
Was this page helpful?
At Storables.com, we guarantee accurate and reliable information. Our content, validated by Expert Board Contributors, is crafted following stringent Editorial Policies. We're committed to providing you with well-researched, expert-backed insights for all your informational needs.


0 thoughts on “How To Install Toilet Flange”