Articles
How To Redo A Bathroom Vanity
Modified: March 1, 2024
Looking for articles on how to redo a bathroom vanity? Check out our comprehensive guide for step-by-step instructions and expert tips to transform your bathroom space.
(Many of the links in this article redirect to a specific reviewed product. Your purchase of these products through affiliate links helps to generate commission for Storables.com, at no extra cost. Learn more)
Introduction
When it comes to home renovations, the bathroom is often at the top of the list. Updating your bathroom vanity can completely transform the look and feel of the space. Not only will it enhance the aesthetic appeal, but it can also improve the functionality and storage options.
Tackling a bathroom vanity redo may seem like a daunting task, but with the right tools and some handy tips, you can successfully complete this project. In this article, we will guide you through the steps needed to redo a bathroom vanity, from removing the old one to adding the finishing touches.
Before you begin, make sure you have all the necessary tools and materials. This may include a screwdriver, wrench, measuring tape, level, plumber’s putty, adhesive, silicone caulk, and a new vanity. Also, ensure you follow any safety precautions and guidelines, such as wearing protective goggles and gloves.
Now, let’s dive into the step-by-step process of redoing your bathroom vanity!
Key Takeaways:
- Redoing a bathroom vanity involves crucial steps such as removing the old vanity, preparing the space, and installing the new vanity. Attention to detail and proper measurements are key to a successful transformation.
- Updating the vanity top and adding finishing touches, such as mirrors, lighting, and accessories, can elevate the overall look and functionality of the bathroom space. Attention to detail and personalization are essential for a cohesive and inviting environment.
Read more: How To Organize A Vanity
Step 1: Remove the old vanity
Before installing a new bathroom vanity, you need to remove the old one. Here’s how to do it:
- Clear out the vanity: Empty the vanity of all personal items, such as toiletries, towels, and cleaning supplies. This will make the removal process easier and ensure nothing gets damaged.
- Turn off the water supply: Locate the shut-off valves under the sink and turn them clockwise to shut off the water flow to the vanity. If you cannot find individual shut-off valves, you may need to turn off the main water supply.
- Detach the plumbing connections: Use a wrench to disconnect the plumbing connections, such as the water supply lines and the drain. Place a bucket or towel underneath to catch any water that may spill.
- Unscrew the vanity from the wall: Look for screws or brackets attaching the vanity to the wall. Remove them using a screwdriver or drill. If the vanity is also secured with adhesive, use a putty knife to separate it from the wall gently.
- Remove the vanity top: Depending on the style of your vanity, the top may be attached with screws or adhesive. Carefully remove it using appropriate tools, taking care not to damage it if you plan to reuse it.
- Check for any remaining connections or attachments: Inspect the vanity and the surrounding area to ensure that there are no hidden connections or attachments. These may include additional screws, brackets, or adhesive.
Once you have completed these steps, the old vanity should be fully detached and ready to be removed from the bathroom. Dispose of it responsibly or consider donating it if it is still in good condition and can be used by someone else.
Removing the old vanity is a crucial step in the bathroom vanity redo process. It sets the foundation for installing the new vanity and allows for any necessary repairs or modifications to the plumbing and wall surfaces.
Step 2: Preparing the space
Once you have removed the old vanity, it’s time to prepare the space for the new one. This step includes measuring the area, making any necessary repairs, and ensuring the surface is ready for installation. Here’s what you need to do:
- Measure the area: Use a tape measure to record the width, height, and depth of the space where the new vanity will be installed. This will help you determine the appropriate size and style of the new vanity.
- Inspect the plumbing: Take a close look at the plumbing connections and pipes in the area. Check for any leaks, corrosion, or damage. If you notice any issues, it’s best to fix them before installing the new vanity.
- Repair the walls and flooring: If there are any holes, cracks, or damage on the walls or flooring, now is the time to repair them. Patch up any imperfections and ensure the surface is smooth and even.
- Paint or refinish the walls: If you want to change the color or refresh the look of the bathroom, consider painting the walls. Ensure you use a moisture-resistant paint suitable for bathrooms. If the walls are already in good condition, you can skip this step.
- Install new flooring (if desired): If you are planning to replace the flooring in your bathroom, it’s best to do it before installing the new vanity. This will prevent any damage to the vanity during the flooring installation process.
- Check the levelness: Use a level to ensure that the floor is level and the walls are plumb. If there are any discrepancies, you may need to make adjustments or use shims during the vanity installation.
Properly preparing the space before installing the new vanity is crucial to ensure a smooth and successful installation. Taking the time to measure, inspect, repair, and level the area will help avoid any issues or complications down the line.
Once you have completed these steps, you can move on to the exciting part: installing the new bathroom vanity!
Step 3: Installing the new vanity
Now that you have prepared the space, it’s time to install the new bathroom vanity. Follow these steps to ensure a proper installation:
- Position the new vanity: Carefully position the new vanity in the designated area, making sure it aligns with the plumbing connections. Use a level to ensure that the vanity is plumb and level. Adjust as needed and mark the outline of the vanity on the wall.
- Attach the vanity to the wall: Depending on the vanity style, you may need to use brackets or screws to secure it to the wall. Drill pilot holes and then fasten the vanity in place, ensuring it is secure and level.
- Connect the plumbing: Reconnect the plumbing fixtures to the new vanity. Attach the water supply lines to the appropriate valves under the sink and tighten them using a wrench. Connect the drain pipe and ensure it is properly sealed.
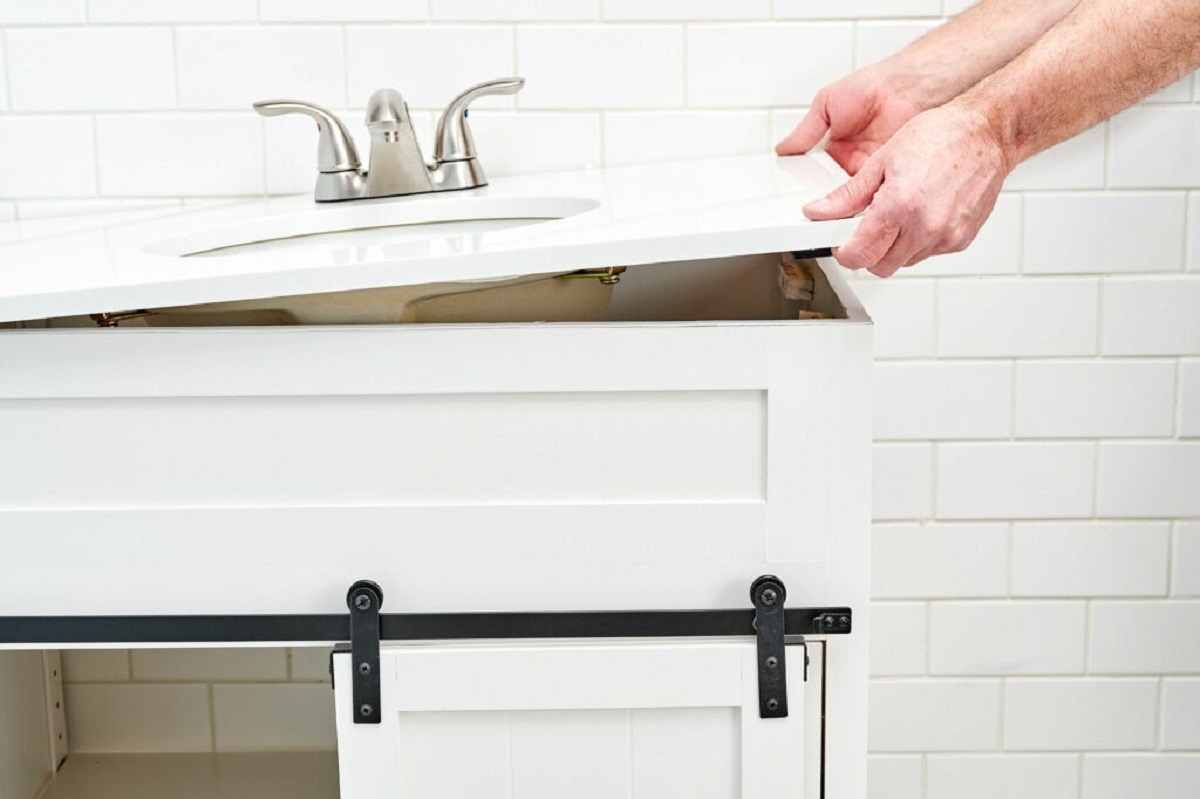
- Install the vanity top: If you are using a new vanity top, carefully place it on the vanity and secure it according to the manufacturer’s instructions. If you plan to reuse the existing vanity top, clean it thoroughly and reinstall it using appropriate adhesives or fasteners.
- Check for proper alignment and functionality: Once the vanity and top are installed, double-check that everything is aligned properly and functions as intended. Test the water flow, drain, and other features to ensure they are working correctly.
During the installation process, it’s essential to take your time and follow the manufacturer’s instructions for your specific vanity model. If you encounter any difficulties or uncertainties, consult a professional or seek assistance from a knowledgeable individual.
By following these steps, you will successfully install your new bathroom vanity, bringing a fresh and updated look to your space.
When redoing a bathroom vanity, consider updating the hardware for a quick and easy way to give it a fresh new look. This can include replacing the handles, knobs, and hinges with modern or stylish options.
Step 4: Connecting plumbing fixtures
Now that the new vanity is installed, it’s time to connect the plumbing fixtures. Here’s how you can ensure proper connections:
- Attach the faucet: Start by attaching the faucet to the sink or vanity top. Follow the manufacturer’s instructions for your specific faucet model. Use a wrench to tighten the connections, ensuring they are secure but not overtightened.
- Connect the water supply lines: Connect the water supply lines to the corresponding valves under the sink. Use a wrench to tighten the connections, but be careful not to overtighten and risk damaging the fittings.
- Check for leaks: Turn on the water supply and check for any leaks. Inspect the connections and joints to ensure they are watertight. If you spot any leaks, tighten the connections as needed or consider using plumber’s tape or thread sealant.
- Install the drain assembly: Install the drain assembly by following the manufacturer’s instructions. This usually involves connecting the drain pipe to the sink and attaching the P-trap. Ensure all connections are tight and in the correct position.
- Test the plumbing: Turn on the water and test the faucets and drain to ensure they are functioning properly. Check for any leaks, drips, or unusual noises. Adjust the connections as needed to eliminate any issues.
Remember, each vanity and faucet may have slightly different installation instructions, so it’s essential to refer to the manufacturer’s guidelines. If you are unsure or uncomfortable with plumbing tasks, consider hiring a professional plumber to ensure everything is connected correctly.
Once you have successfully connected the plumbing fixtures, you can rest assured that your new vanity is fully functional and ready to be used.
Read more: What Is A Vanity?
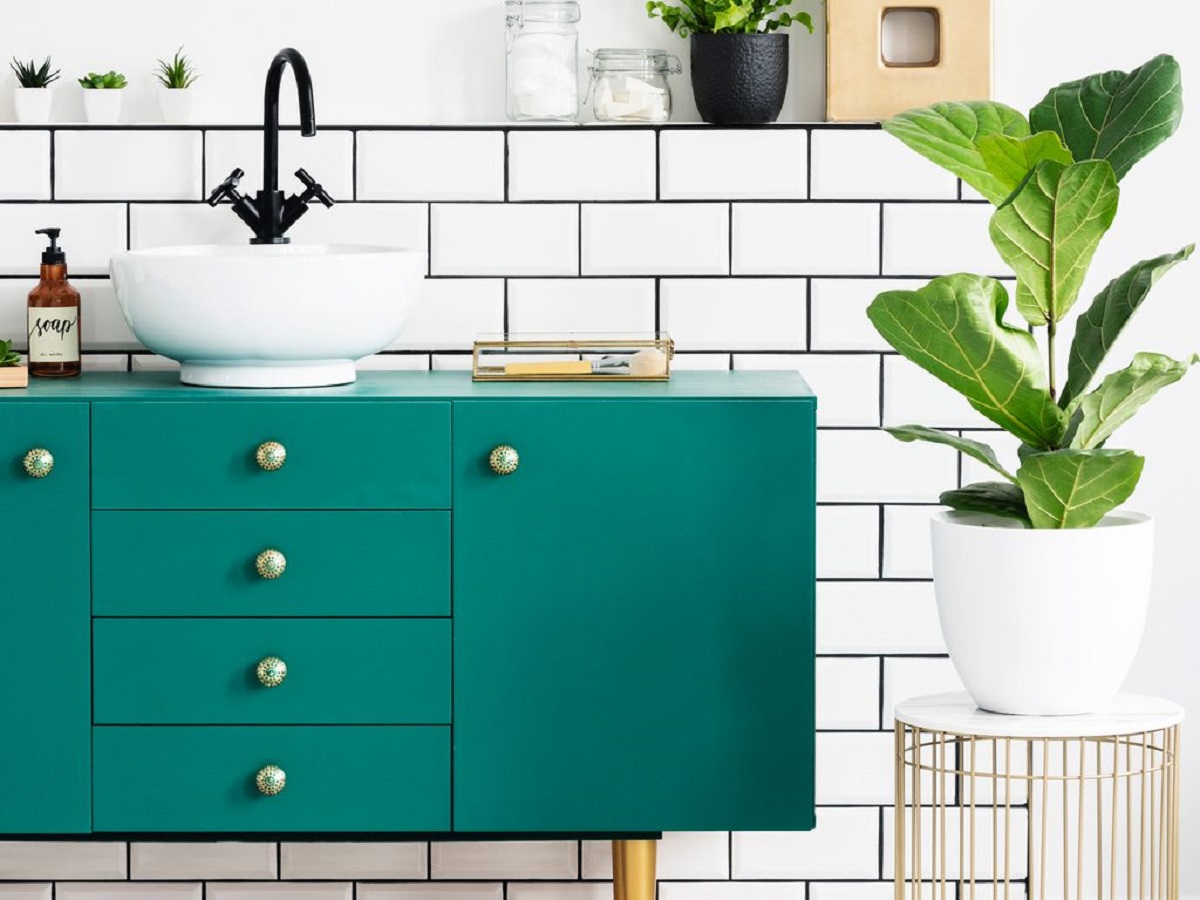
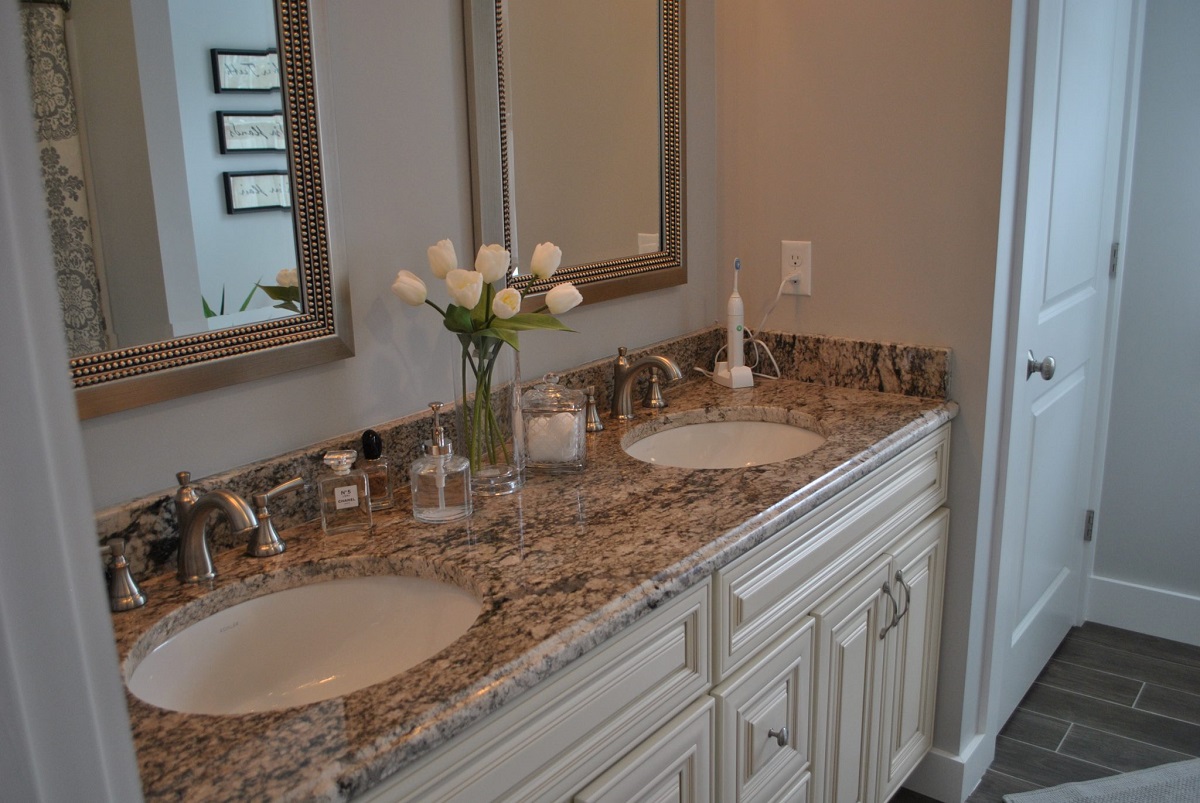
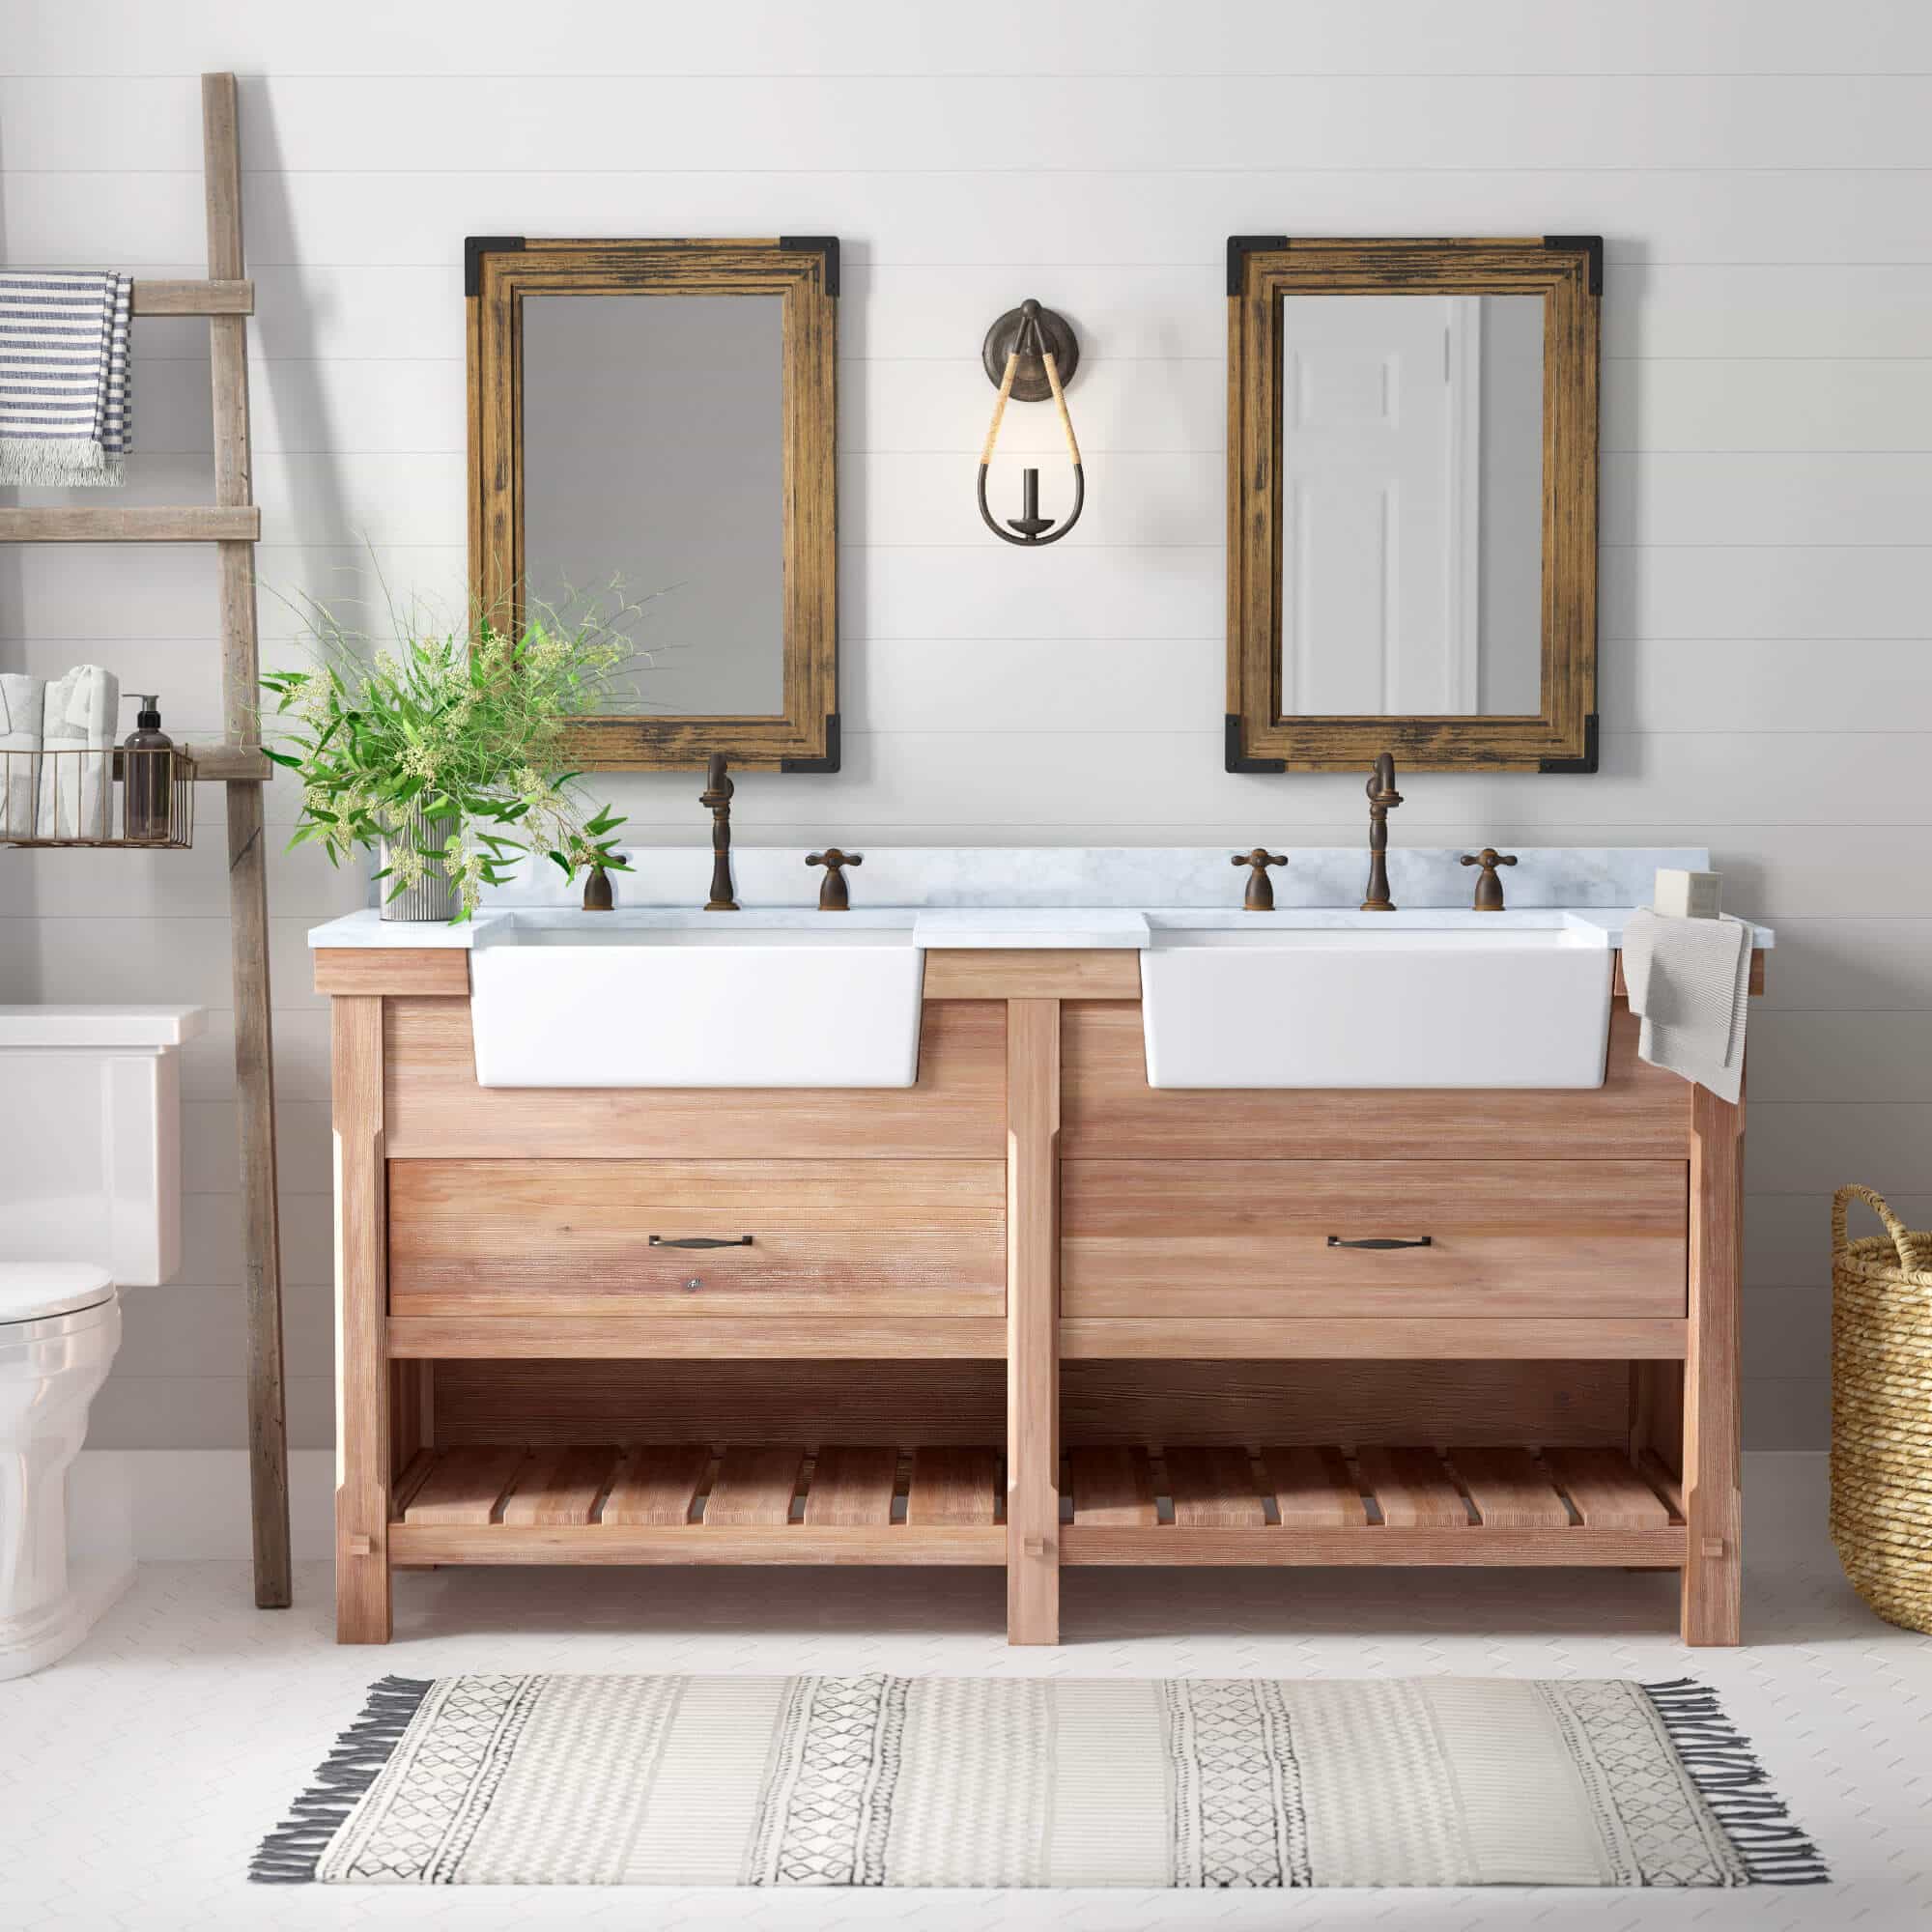
Step 5: Updating the vanity top
The vanity top is an essential component of your bathroom vanity, and updating it can greatly enhance the overall look and functionality of the space. Follow these steps to update your vanity top:
- Measure and select a new vanity top: Measure the dimensions of your vanity cabinet to determine the size of the new vanity top you need. Consider materials such as granite, quartz, marble, or laminate, and choose a style that complements your bathroom decor.
- Remove the old vanity top: If you are replacing the vanity top entirely, carefully remove the old one. Start by removing any caulking or adhesive around the edges. Use a screwdriver or pry bar to gently lift and detach the old vanity top from the vanity cabinet.
- Prepare the surface: Clean the vanity cabinet surface thoroughly and ensure it is free of any debris. If necessary, sand down any rough areas or apply a leveling compound to ensure a smooth surface for the new vanity top.
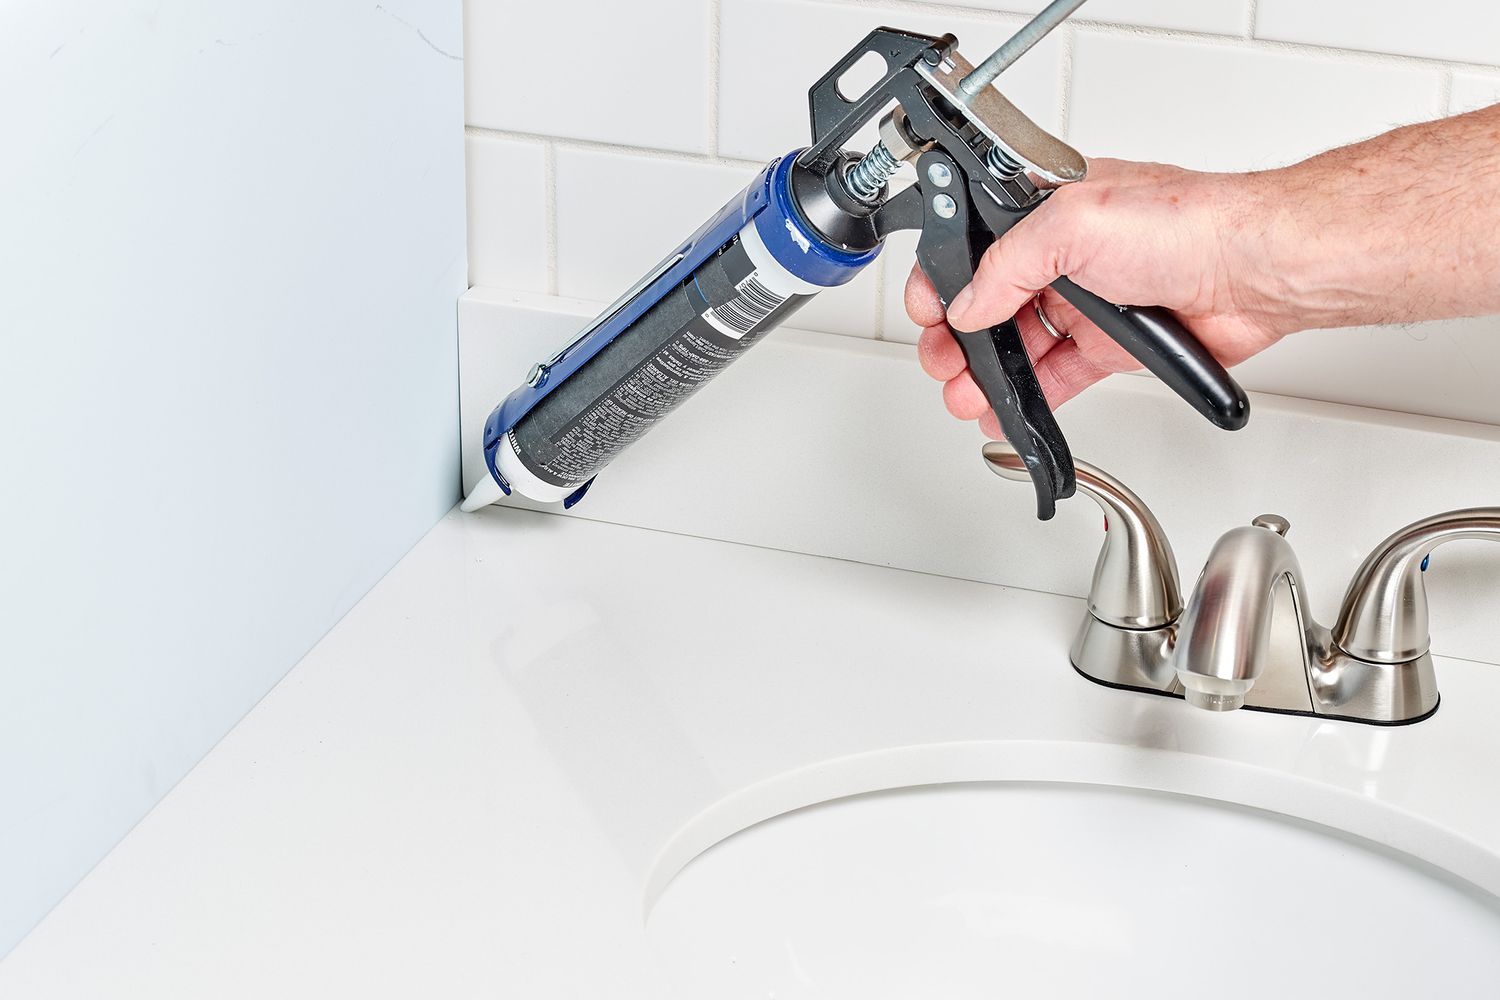
- Install the new vanity top: Carefully place the new vanity top onto the cabinet, ensuring it aligns properly. Apply silicone caulk around the edges to create a watertight seal and prevent moisture damage. Use clamps or weight to hold the vanity top in place as the caulk dries.
- Connect the plumbing fixtures: Reconnect the faucet and drain to the new vanity top according to the manufacturer’s instructions. Double-check all connections to ensure they are tight and leak-free.
- Finish the edges: Depending on the style of your vanity top, you may need to add trim or edge caps to create a polished and finished look. Follow the manufacturer’s instructions for attaching these elements securely.
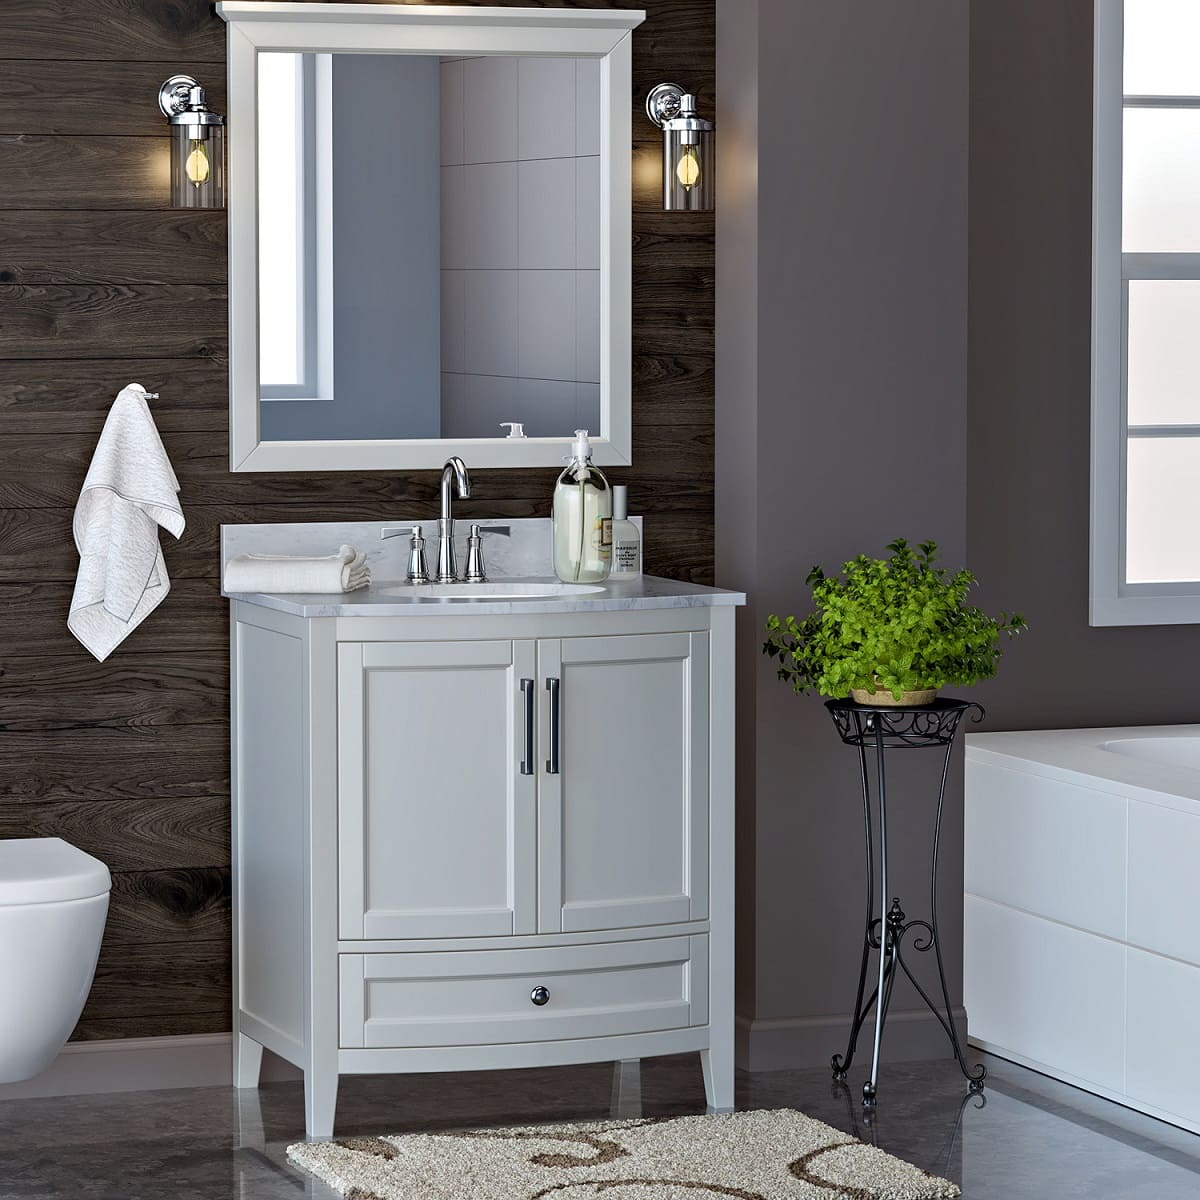
Updating the vanity top can give your bathroom vanity a fresh and stylish appearance. Whether you choose a modern and sleek surface or a traditional and timeless look, the new vanity top will elevate the overall aesthetic of your space.
Remember to follow the manufacturer’s instructions for the specific vanity top you have chosen, as each material may require slightly different installation methods.
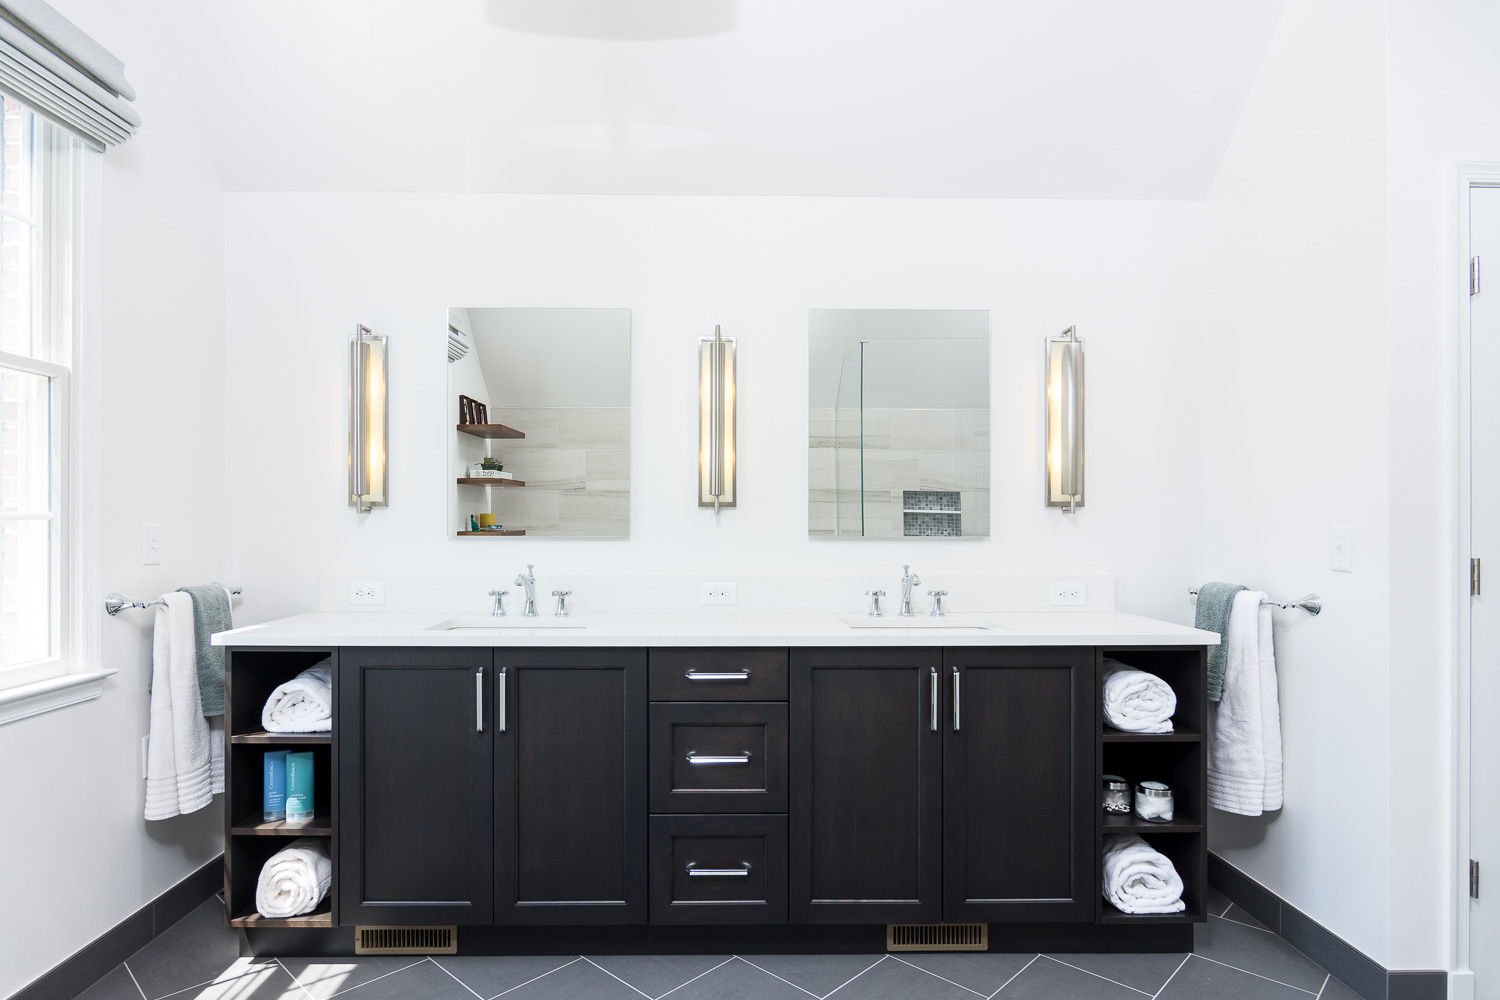
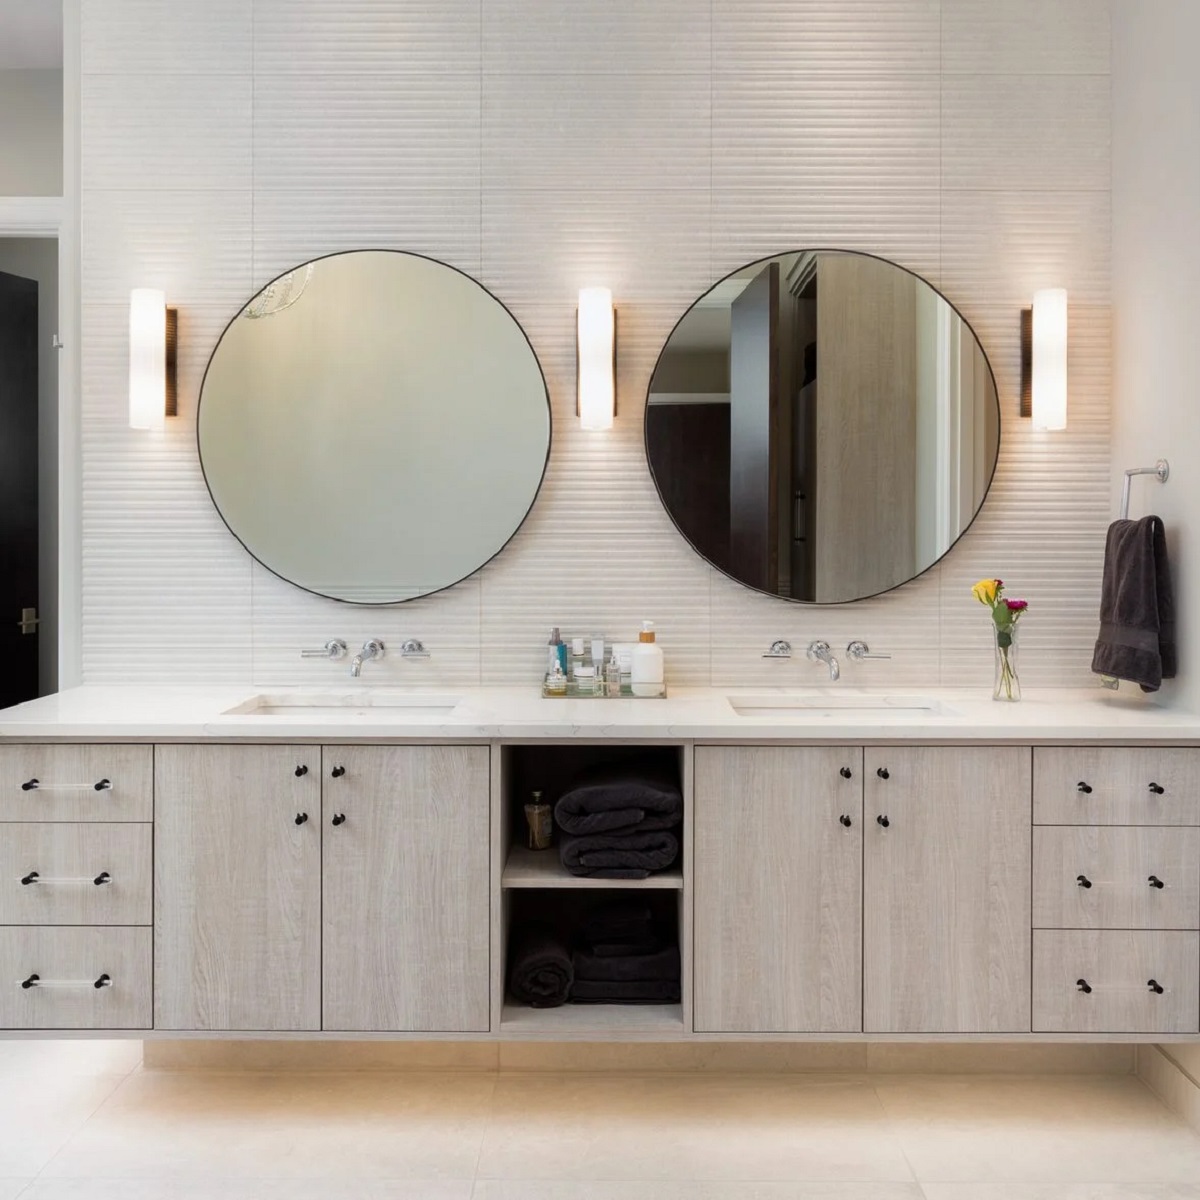
Step 6: Adding finishing touches
Now that your new bathroom vanity is installed and updated, it’s time to add the finishing touches to complete the project. These final touches will enhance the overall look and functionality of your space. Here are a few suggestions:
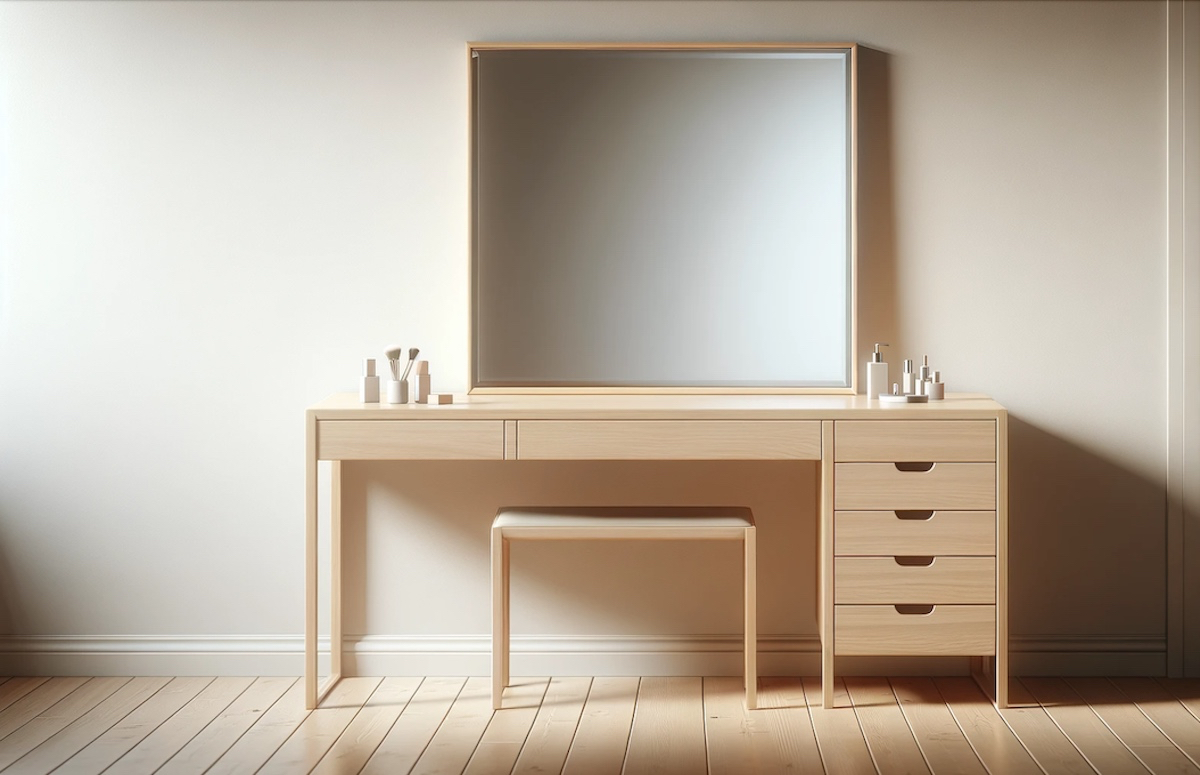
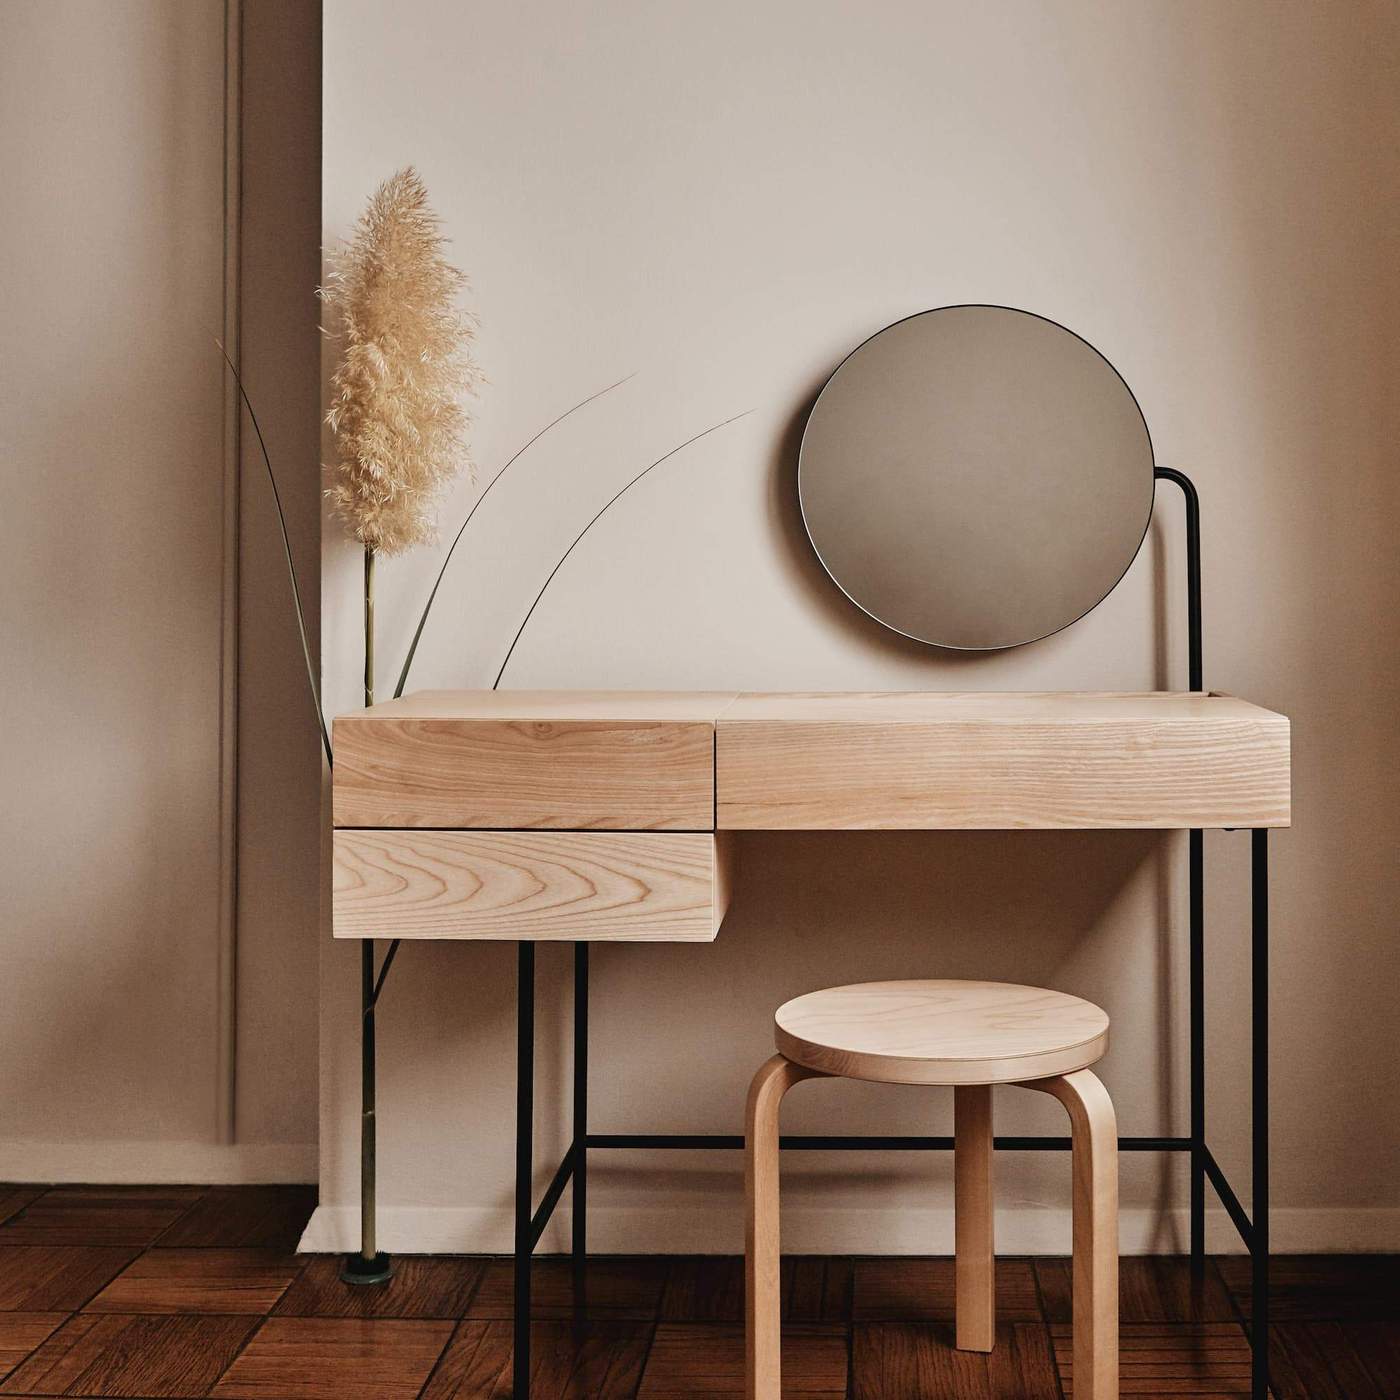
- Mirror installation: Install a mirror above the vanity to provide both functional and decorative elements. Choose a mirror that complements the style of your bathroom and is proportionate to the size of the vanity.
- Add lighting: Install appropriate lighting fixtures beside or above the mirror to ensure proper illumination for grooming tasks. Consider LED lights or sconces to create a warm and inviting ambiance in the bathroom.
- Accessorize: Add accessories and decorative elements to personalize your space. This may include items such as soap dispensers, toothbrush holders, plants, or artwork. Keep it minimal and cohesive, ensuring the accessories do not clutter the vanity space.
- Organize and declutter: Use dividers, trays, or drawer organizers to keep your vanity organized. This will not only create an aesthetically pleasing look but also make it easier to find and access your daily necessities.
- Dress up the walls: Consider adding a fresh coat of paint to the bathroom walls or adding a backsplash behind the vanity to create a focal point. Choose colors or patterns that complement the vanity and overall design scheme.
- Final checks: Double-check all connections, fittings, and fixtures to ensure they are secure and functioning properly. Look for any signs of leaks or loose components and address them immediately.
These finishing touches will help tie together the look of your newly redone bathroom vanity and create a cohesive and inviting space. Take the time to select accessories and decor that reflect your personal style and make your bathroom feel like a relaxing retreat.
With the completion of these final touches, your bathroom vanity redo project is now finished. Sit back, relax, and enjoy your upgraded bathroom space!
Conclusion
Redoing a bathroom vanity can be a rewarding and transformative project that rejuvenates your space. By following the steps outlined in this guide, you can successfully update and install a new bathroom vanity, bringing a fresh and stylish look to your bathroom.
From removing the old vanity to connecting the plumbing fixtures, each step is essential to ensure a proper and functional installation. Take the time to prepare the space, measure accurately, and carefully position and secure the new vanity. Remember to connect the plumbing fixtures correctly, check for any leaks, and make any necessary adjustments.
Updating the vanity top adds another layer of style and sophistication to the overall design. Choose a material and style that complements your bathroom decor and follow the manufacturer’s instructions for installation.
Finally, don’t forget the finishing touches that add the final flourish to your bathroom vanity redo project. Install a mirror, add lighting, organize and accessorize the vanity, and consider wall treatments or backsplashes to complete the look.
Throughout the process, pay attention to detail, ensure proper measurements, and consult professionals when needed. Safety should always be a priority, and if you are unsure about any aspect of the project, it is best to seek expert assistance.
By successfully redoing your bathroom vanity, you can create a space that is not only visually appealing but also functional and enjoyable. Take pride in your accomplishment and enjoy the enhanced beauty and functionality of your renewed bathroom space.
Frequently Asked Questions about How To Redo A Bathroom Vanity
Was this page helpful?
At Storables.com, we guarantee accurate and reliable information. Our content, validated by Expert Board Contributors, is crafted following stringent Editorial Policies. We're committed to providing you with well-researched, expert-backed insights for all your informational needs.


0 thoughts on “How To Redo A Bathroom Vanity”