Furniture
How To Refinish A Veneer Dresser
Modified: February 25, 2024
Learn how to refinish a veneer dresser and transform it into a stunning piece of furniture with our step-by-step guide. Enhance the beauty of your home with this easy DIY project!
(Many of the links in this article redirect to a specific reviewed product. Your purchase of these products through affiliate links helps to generate commission for Storables.com, at no extra cost. Learn more)
Introduction
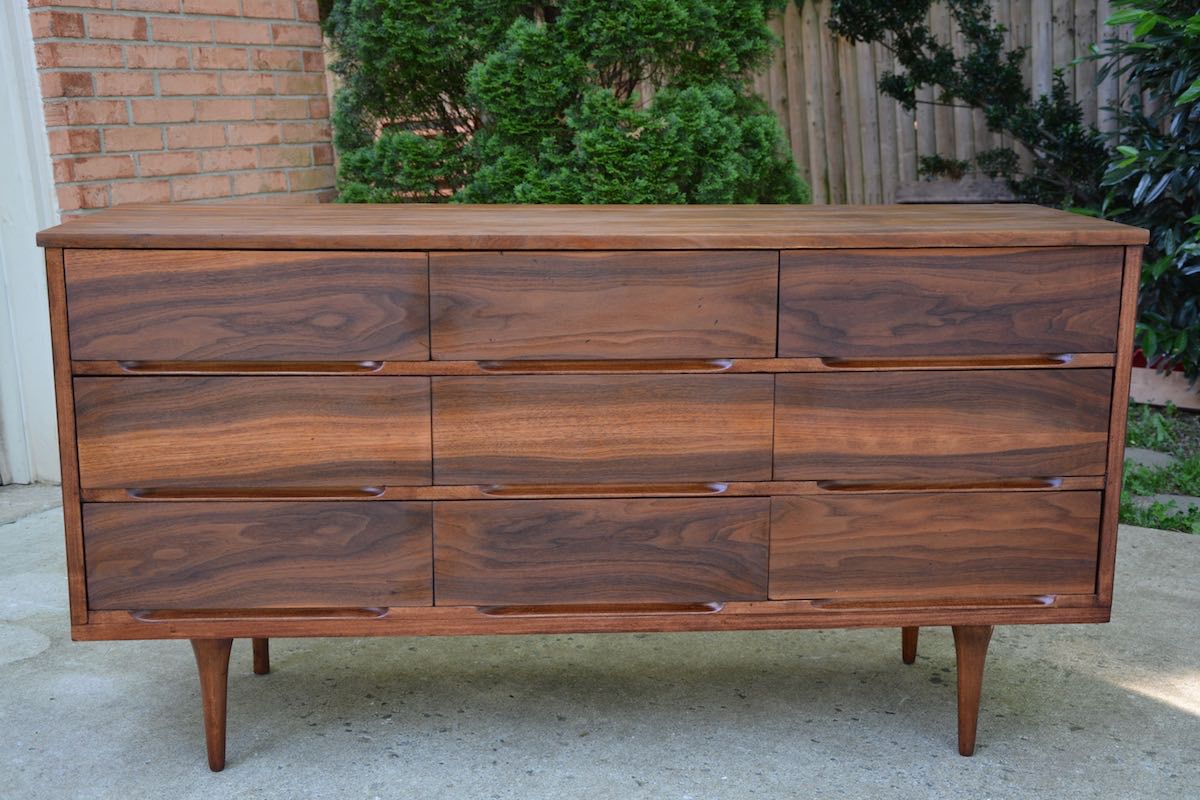
Welcome to the ultimate guide on how to refinish a veneer dresser. Refinishing furniture allows you to breathe new life into old pieces and create a customized look that fits your personal style. If you have a veneer dresser that is showing signs of wear and tear or simply doesn’t match your current décor, refinishing it can be a great solution.
Veneer is a thin layer of real wood that is glued onto a less expensive material, such as plywood or MDF. It is commonly used in furniture manufacturing to achieve the look of solid wood at a more affordable price. While veneer is durable, it can still become scratched, faded, or stained over time. Refinishing the veneer allows you to restore its beauty and protect it for years to come.
Before you get started, it’s important to gather all the necessary materials. Having everything you need readily available will make the process smoother and more efficient. So, let’s take a look at what you’ll need:
Key Takeaways:
- Refinishing a veneer dresser is a rewarding DIY project that allows you to breathe new life into old furniture, showcasing your personal style and creativity.
- Proper preparation, attention to detail, and safety are crucial when refinishing a veneer dresser. Whether enhancing the natural wood or opting for a painted finish, let your personal style shine through.
Read more: How To Refinish A Dresser
Materials Needed
Before you begin the refinishing process, make sure you have the following materials on hand:
- Paint stripper or stripping gel
- Safety goggles and gloves
- Scraper or putty knife
- Sandpaper (various grits: coarse, medium, fine)
- Wood stain or paint
- Brushes or foam applicators
- Sealer or topcoat
- Clean cloth or tack cloth
- Drop cloth or plastic sheeting
- Optional: Wood filler or Bondo for any repairs
These materials will ensure that you have everything you need to successfully refinish your veneer dresser.
It’s important to note that the specific materials you will need may vary depending on the condition of your dresser and the type of finish you desire. For example, if you choose to paint your dresser instead of staining it, you will need paint and a primer instead of wood stain.
Also, keep in mind that safety should always be a top priority. When working with chemicals and tools, make sure to wear safety goggles and gloves to protect your eyes and hands from any potential harm.
Step 1: Preparation
The first step in refinishing a veneer dresser is proper preparation. This involves removing any hardware, such as handles or knobs, and protecting the surrounding area from potential damage.
Here’s what you need to do:
- Start by emptying the dresser and removing any drawers or shelves. This will make it easier to work on the surface without any obstructions.
- Next, remove any hardware from the dresser, including handles, knobs, or decorative elements. Put them in a safe place so they don’t get lost or damaged during the refinishing process.
- Cover the floor or work area with a drop cloth or plastic sheeting to protect it from any drips or spills. Refinishing can sometimes get messy, so it’s important to take precautions.
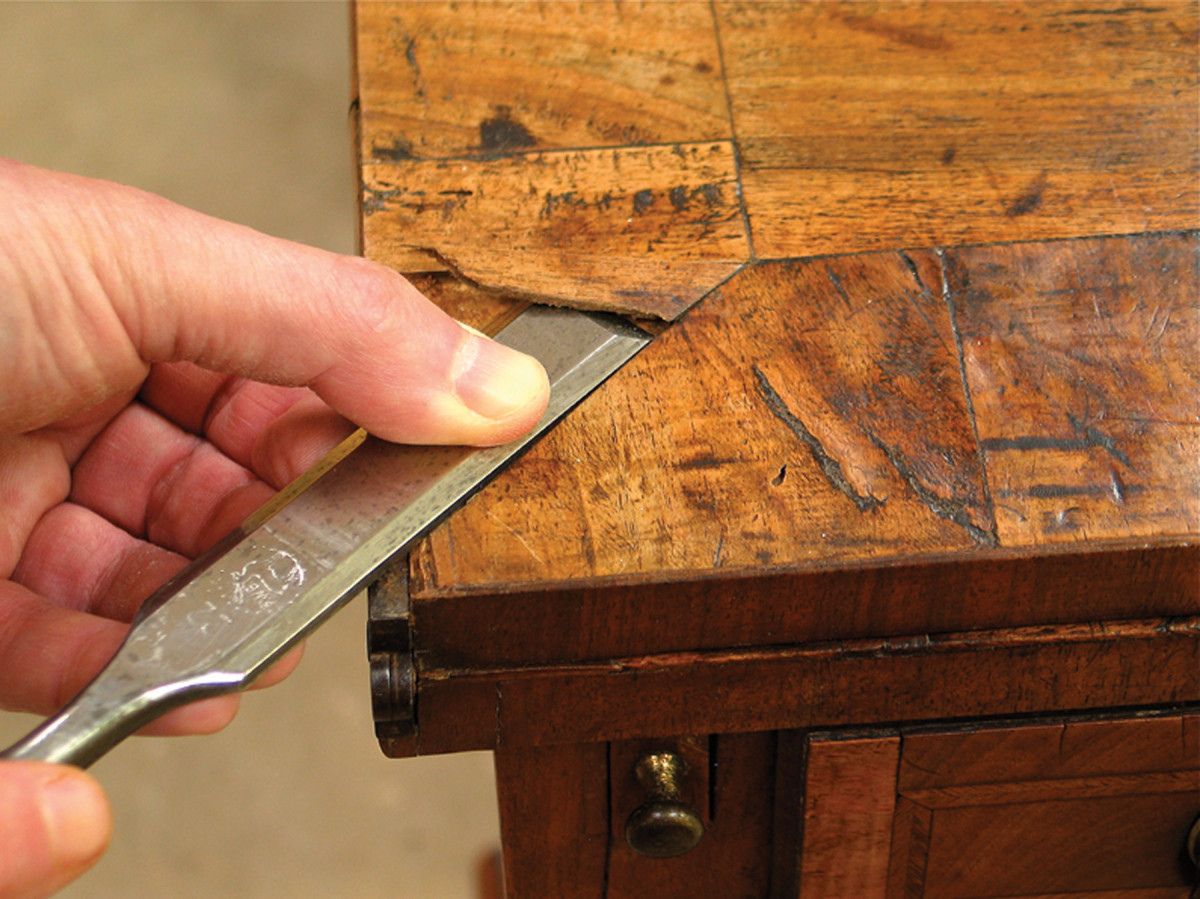
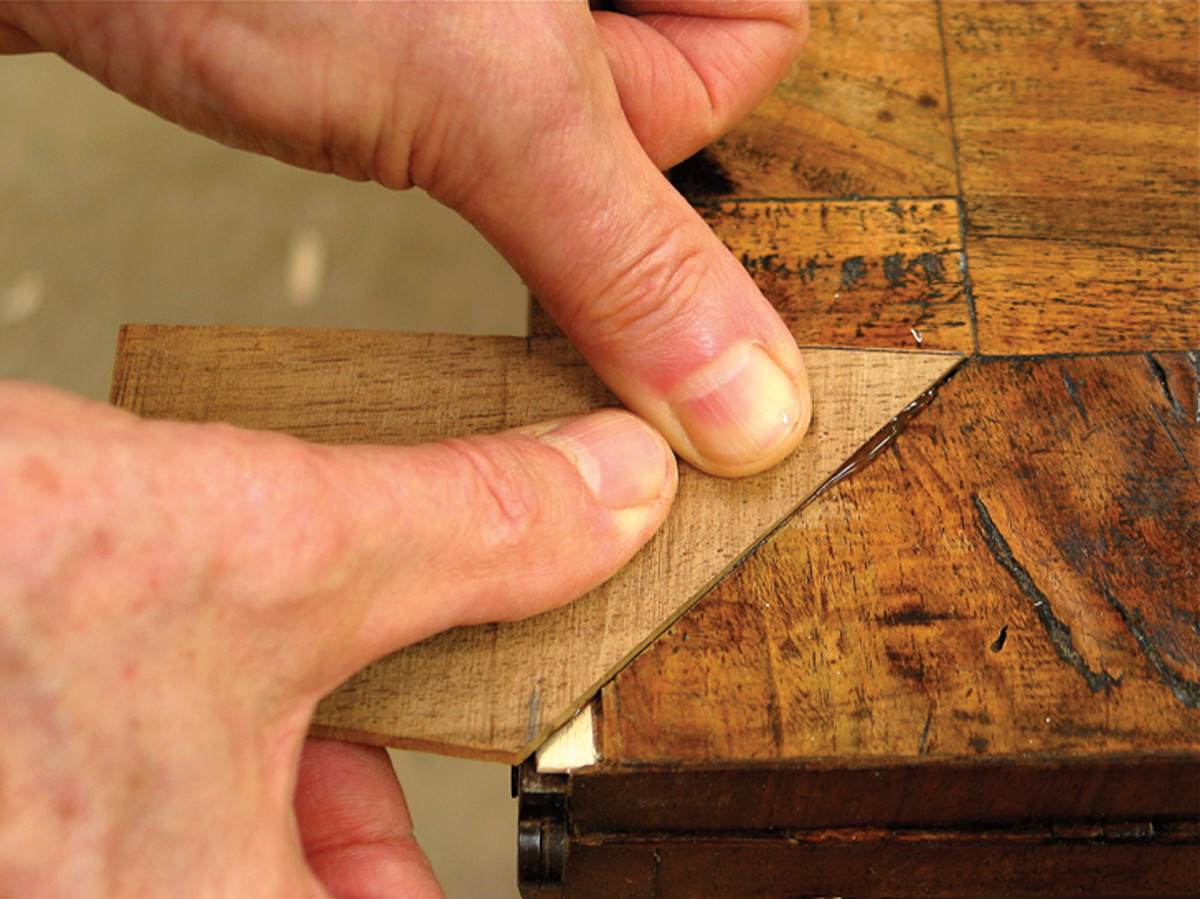
- If there are any deep scratches or dents on the veneer surface, consider using wood filler or Bondo to fill them in. This will ensure a smooth and seamless finish.
- Clean the surface of the dresser with a mild soap and water solution. Remove any dirt, grease, or grime that may have accumulated over time. Dry it thoroughly before moving on to the next step.
By properly preparing the dresser, you create a clean and ready canvas for the refinishing process. This step may seem simple, but it is crucial in achieving professional-looking results.
Step 2: Removing the Old Finish
Once the dresser is properly prepared, it’s time to remove the old finish. This step is essential for creating a smooth surface that is ready for the new finish to adhere to.
Here’s how you can remove the old finish:
- Put on your safety goggles and gloves to protect yourself from any potential chemicals and debris during the process.
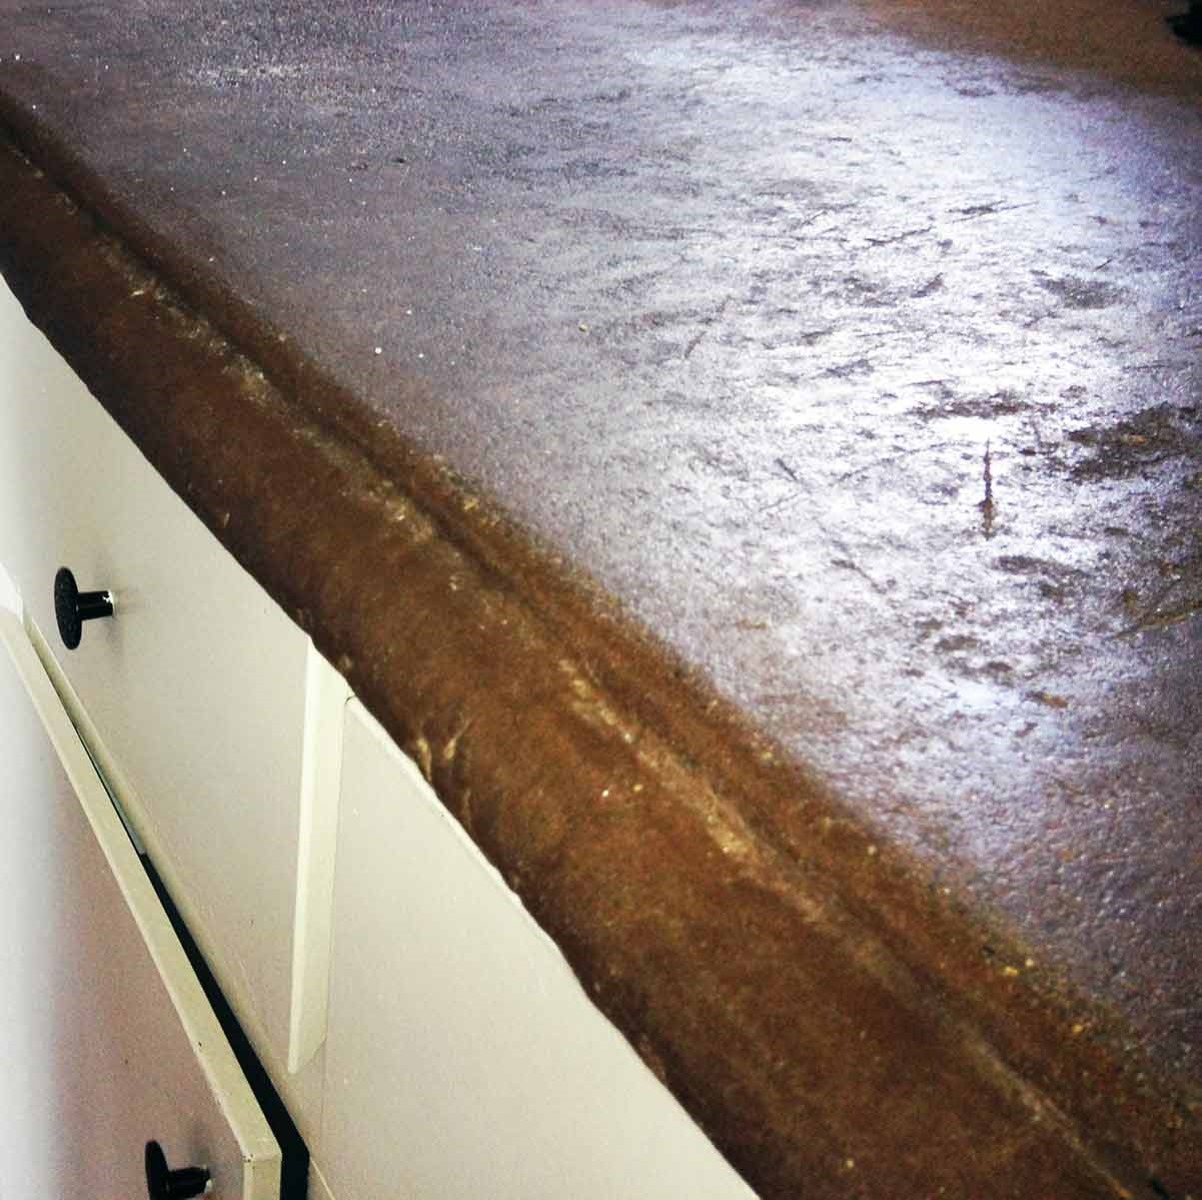
- If you’re dealing with a varnished or lacquered surface, you will need a paint stripper or stripping gel. Apply the stripper or gel to the dresser following the instructions on the product. Allow it to sit for the recommended time to soften the old finish.
- Use a scraper or putty knife to gently scrape off the softened finish. Work in the direction of the wood grain to avoid damaging the veneer. Be patient and take your time to ensure that you remove as much of the old finish as possible.
- If the dresser has a painted finish, you can sand it instead of using a stripper. Start with coarse-grit sandpaper to remove the paint. Then, switch to medium-grit sandpaper to smooth out the surface. Finally, use fine-grit sandpaper for a finer finish.
- After removing the old finish, wipe down the dresser with a clean cloth or tack cloth to remove any dust or residue. This will prepare the surface for the next step.
It’s important to note that the process of removing the old finish can be time-consuming and messy. Take breaks as needed and work in a well-ventilated area to minimize the inhalation of chemicals or dust particles.
By successfully removing the old finish, you are one step closer to achieving a beautifully refinished veneer dresser.
Before refinishing a veneer dresser, make sure to thoroughly clean the surface and sand lightly to remove any existing finish. This will help the new finish adhere better and result in a smoother final look.
Step 3: Sanding the Surface
Now that you have removed the old finish, it’s time to sand the surface of the dresser. Sanding helps to smooth out any rough patches and prepares the wood for the new finish.
Follow these steps to sand the surface of your veneer dresser:
- Start with a coarse-grit sandpaper (around 80-120 grit) and begin sanding the entire surface of the dresser. Sand in the direction of the wood grain to avoid creating scratches. This will help remove any remaining residue and ensure a smooth base.
- Switch to a medium-grit sandpaper (around 150-180 grit) and continue sanding the dresser. This will help further smooth the surface and remove any remaining imperfections.
- Finish with a fine-grit sandpaper (around 220-320 grit) to achieve a smooth and polished surface. Take your time and sand gently, making sure to remove any remaining rough areas or raised grain.
- After sanding, wipe the surface with a clean cloth or tack cloth to remove any dust or debris. This will help prepare the surface for the next step.
Sanding the surface of the dresser is an important step in the refinishing process. It helps create an even and smooth surface, ensuring that the new finish adheres properly.
If there are any deeper scratches or imperfections that couldn’t be sanded out, you may need to consider using wood filler to fill them in before moving on to the next step.
Read more: How To Refinish A Veneer Dining Table
Step 4: Applying a New Finish
With the surface of the dresser properly sanded, it’s time to apply a new finish. This step will bring your veneer dresser back to life and give it a fresh, updated look.
Here’s how you can apply a new finish to your dresser:
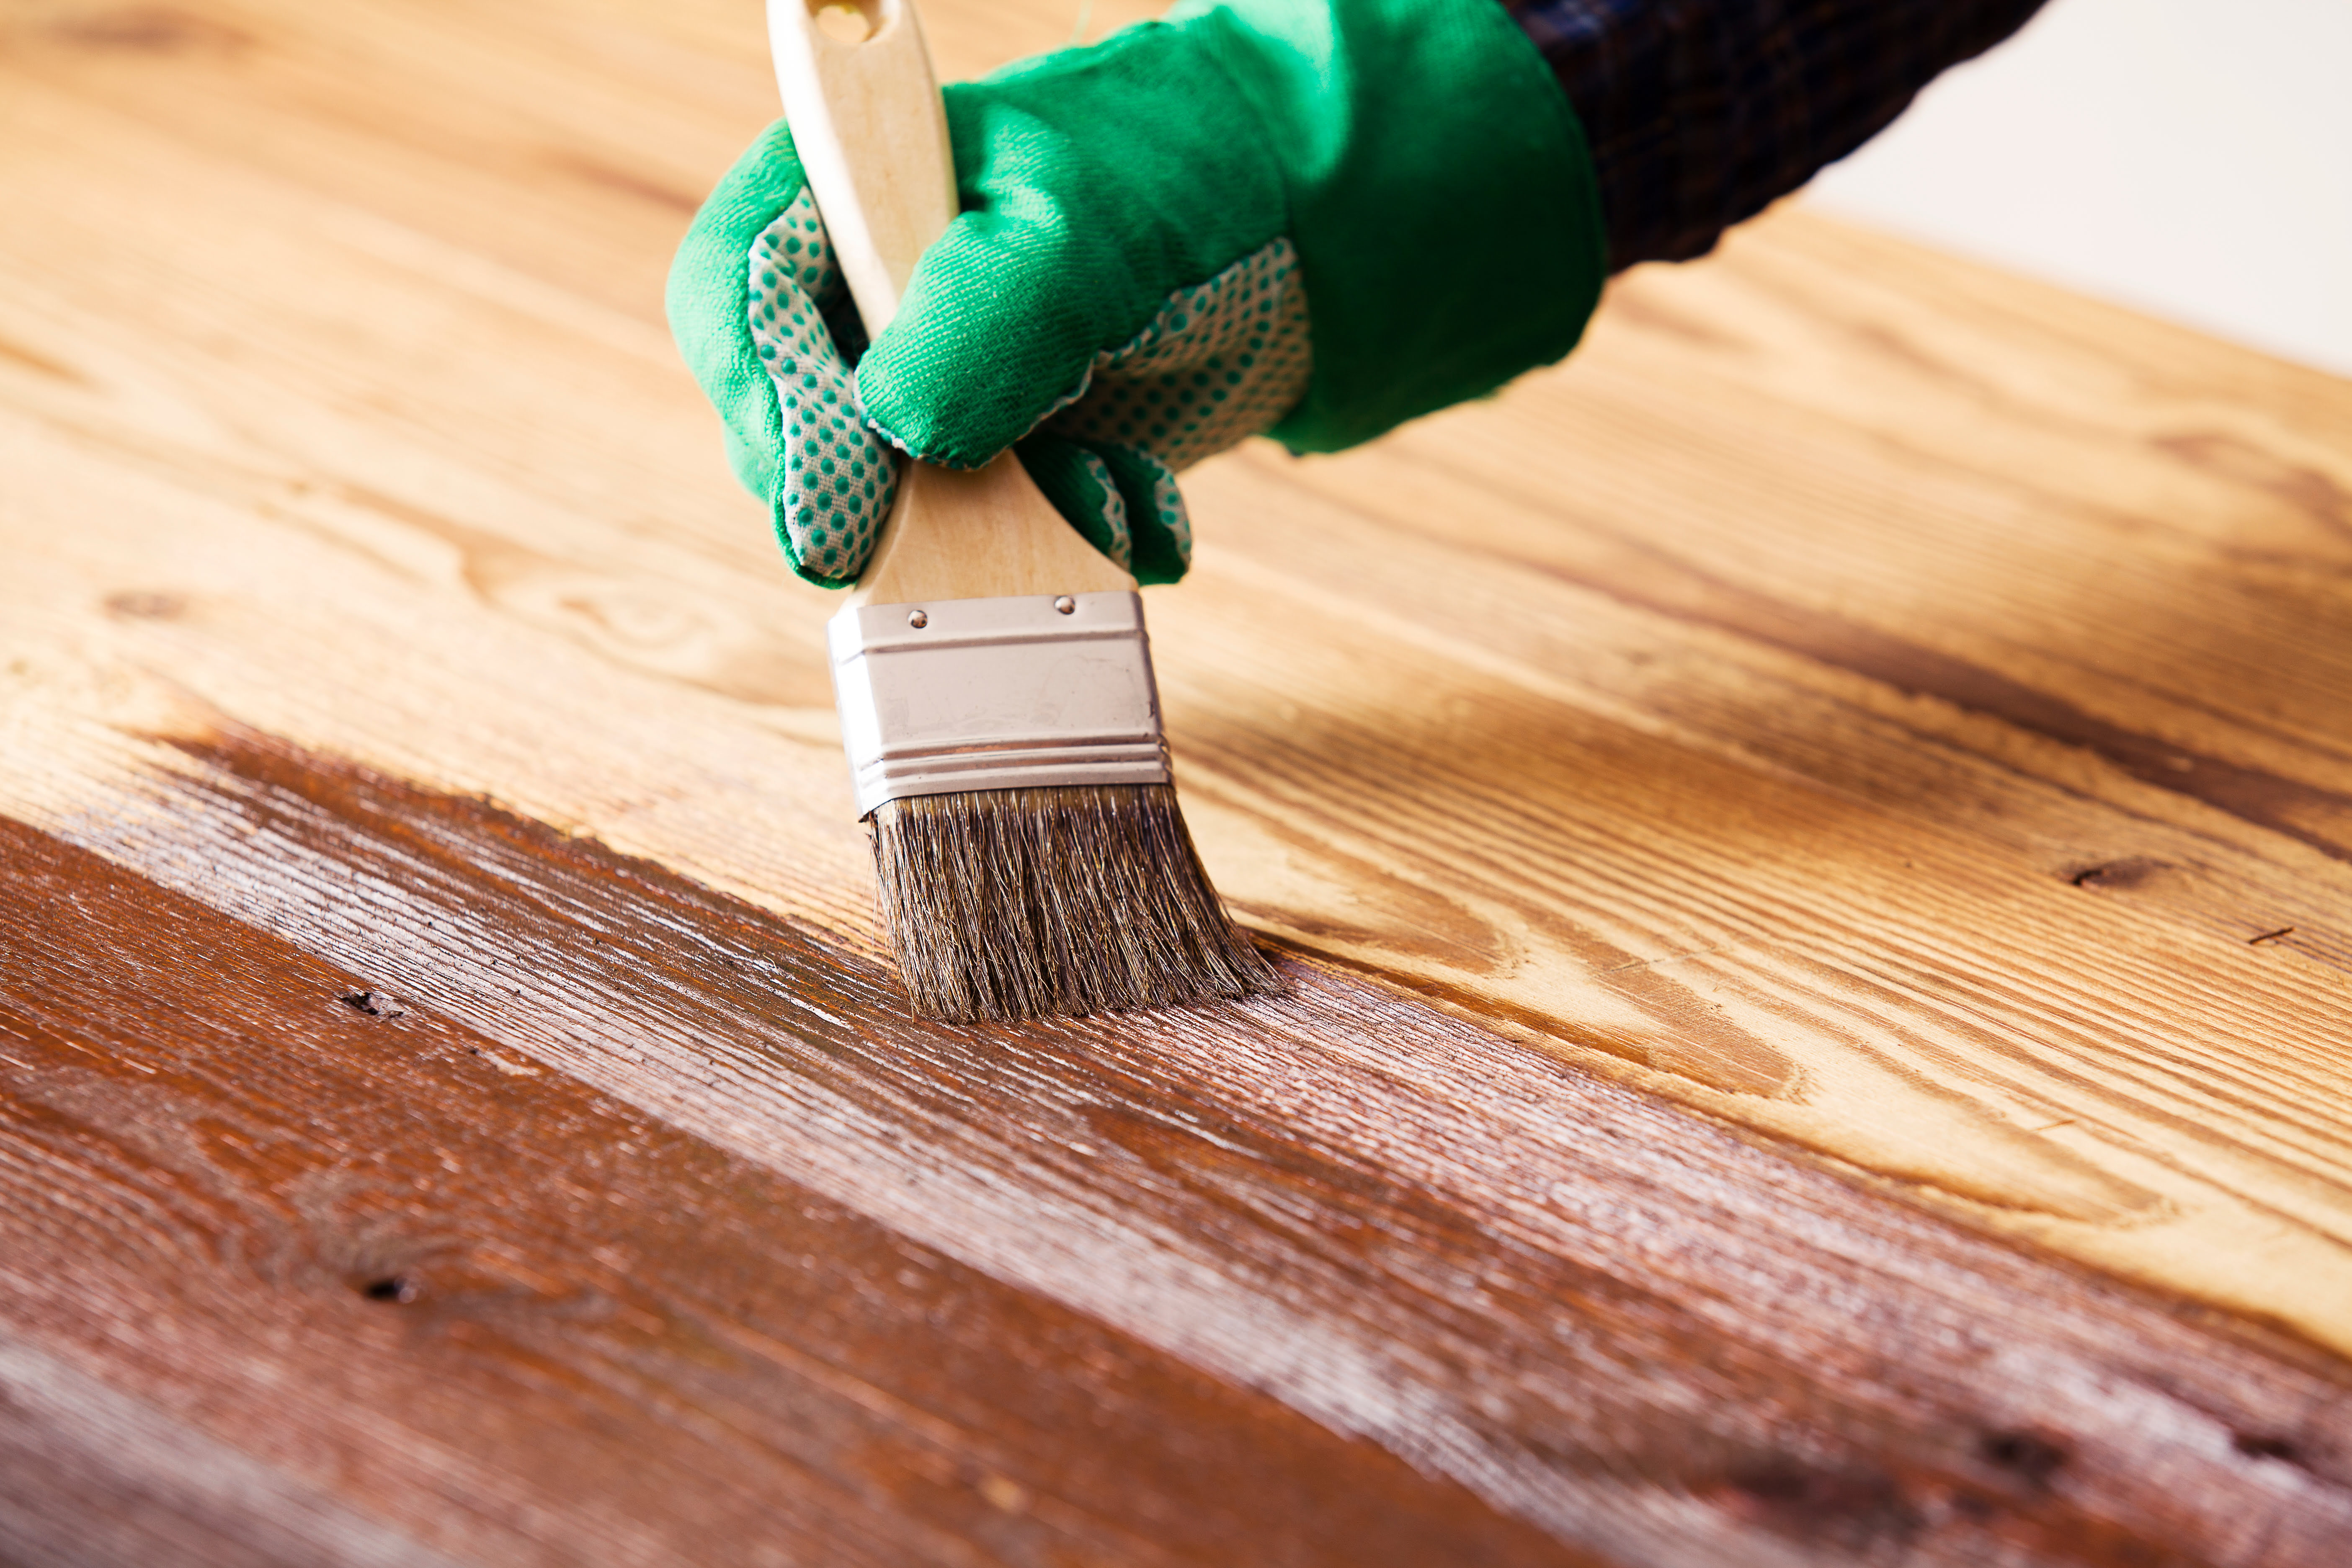
- If you prefer the natural look of the wood, you can apply a wood stain to enhance the color and grain. Choose a stain that matches your desired shade and apply it evenly using a brush or foam applicator. Work in the direction of the wood grain and wipe off any excess stain with a clean cloth. Allow the stain to dry according to the manufacturer’s instructions.
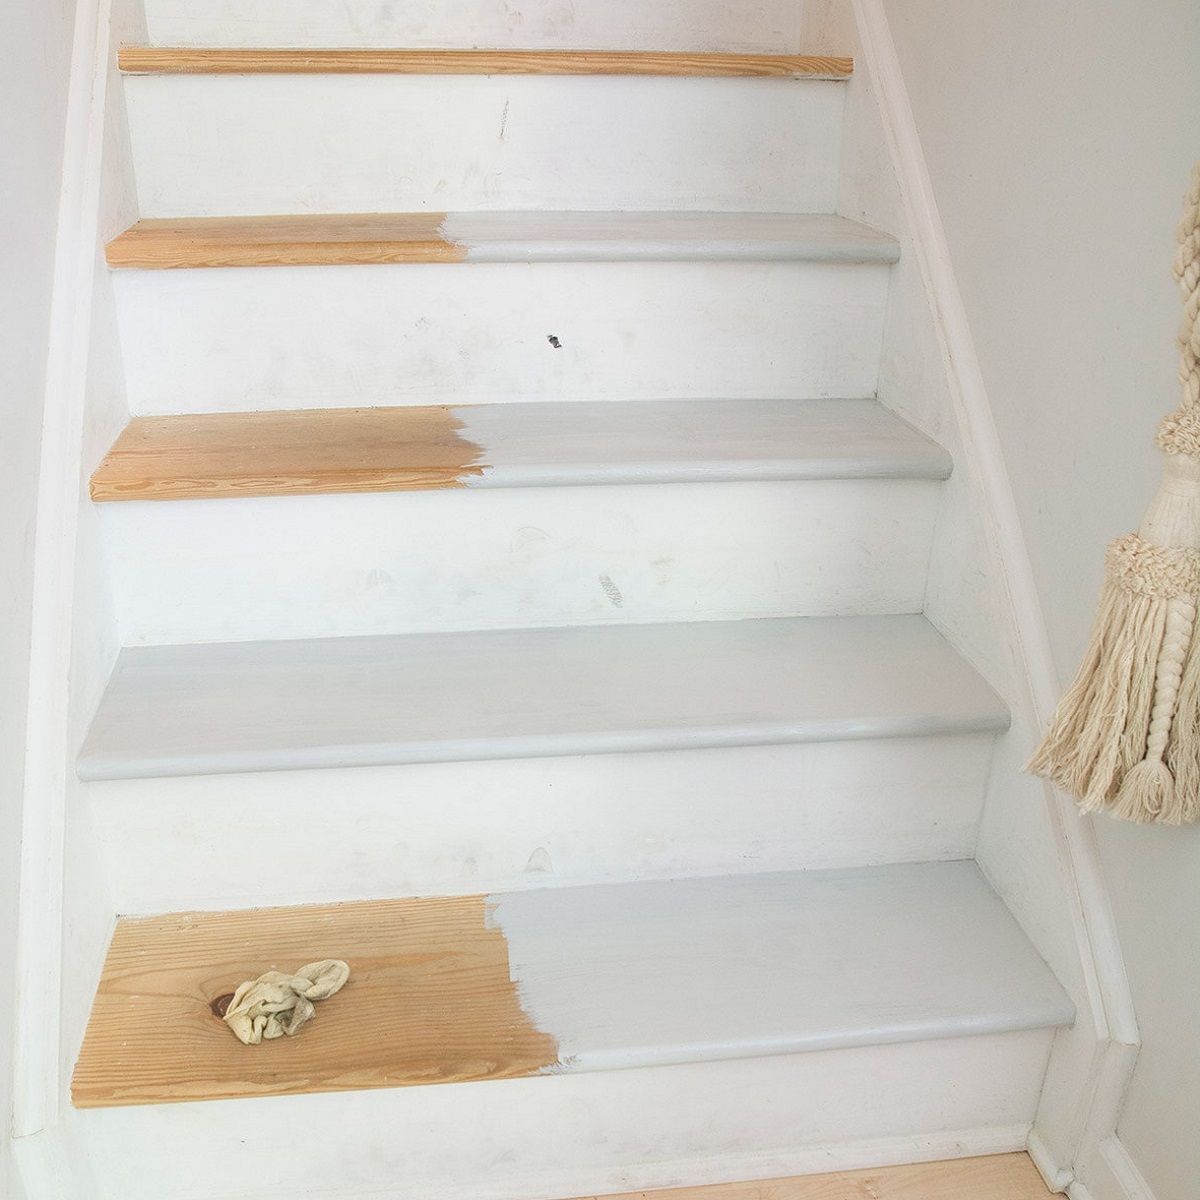
- If you prefer a painted finish, apply a primer to the dresser first to ensure that the paint adheres properly. Once the primer is dry, apply your chosen paint color evenly using a brush or foam applicator. Allow the paint to dry completely between coats, and apply additional coats as needed for full coverage and a smooth finish.
- Once the stain or paint is dry, apply a sealer or topcoat to protect the finish and add durability. Choose a sealer that is compatible with your chosen stain or paint. Apply it evenly using a brush or foam applicator, following the manufacturer’s instructions. Allow the sealer to dry thoroughly before moving on to the next step.
When applying the new finish, it’s important to work in a well-ventilated area and follow the manufacturer’s instructions for each product. Take your time and make sure to apply the finish evenly for a professional-looking result.
Remember that the choice of stain or paint color is completely up to you. Consider your personal style and the overall look you want to achieve for your refinished veneer dresser.
Step 5: Final Touches and Reassembly
You’re almost done with the refinishing process! The final step involves adding the finishing touches to your veneer dresser and reassembling it to its original configuration.
Follow these steps to complete the refinishing process:
- Check the dresser for any touch-ups or areas that need additional attention. If there are any minor imperfections, you can use a fine-grit sandpaper to gently smooth them out.
- Once you’re satisfied with the finish, it’s time to reattach the hardware. Use a screwdriver or the appropriate tool to securely fasten the handles, knobs, or decorative elements back onto the dresser.
- Reassemble any drawers or shelves that were removed earlier. Make sure they fit properly and glide smoothly in their designated spots.
- Take a moment to admire your beautifully refinished veneer dresser. The new finish has brought it back to life and given it a fresh, updated look.
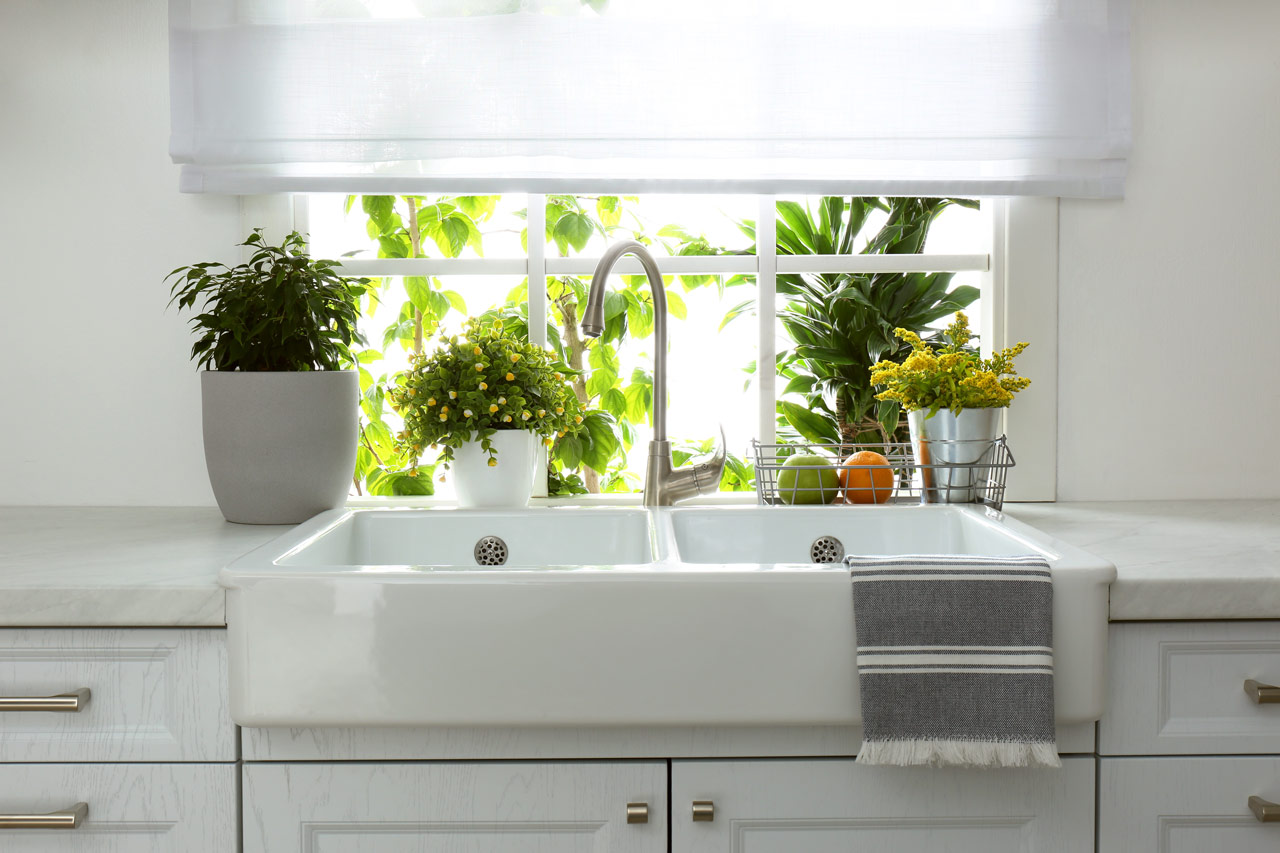
- Place your dresser in its desired location and start arranging your belongings. Enjoy the renewed functionality and aesthetic appeal of your refinished furniture piece!
Don’t forget to properly care for your newly refinished veneer dresser. Use coasters or placemats to protect the surface from heat, moisture, and scratches. Regularly dust it and clean it with a mild soap and water solution to keep it looking its best.
Congratulations! You have successfully completed the refinishing process and transformed your veneer dresser into a stunning piece of furniture that fits perfectly in your space.
Conclusion
Refinishing a veneer dresser is a rewarding project that allows you to breathe new life into an old piece of furniture. By following the step-by-step process outlined in this guide, you can achieve a beautifully refinished dresser that matches your style and fits seamlessly into your space.
Throughout the refinishing process, proper preparation and attention to detail are key. From removing the old finish to sanding the surface, applying a new finish, and completing the final touches, each step plays a crucial role in achieving professional-looking results.
Remember to take your time, be patient, and work in a well-ventilated area when dealing with chemicals or dust particles. Always prioritize safety by wearing proper protective gear such as safety goggles and gloves.
Whether you choose to enhance the natural beauty of the wood with a stain or give your dresser a fresh, painted finish, the choice is yours. Let your personal style shine through as you select the color and finish that best complements your overall décor.
Once your veneer dresser is refinished, take pride in your accomplishment. Reassemble the dresser, add the hardware, and admire the transformation you’ve made. Your refinished dresser will not only serve as a functional piece of furniture but also a visual centerpiece in your room.
Remember, proper care and maintenance are essential to keep your refinished dresser looking its best. Regular cleaning and protection can help preserve its beauty for years to come.
So don’t let an outdated or worn veneer dresser go to waste. Take the opportunity to unleash your creativity and make it a beautiful focal point in your home. Happy refinishing!
Frequently Asked Questions about How To Refinish A Veneer Dresser
Was this page helpful?
At Storables.com, we guarantee accurate and reliable information. Our content, validated by Expert Board Contributors, is crafted following stringent Editorial Policies. We're committed to providing you with well-researched, expert-backed insights for all your informational needs.


0 thoughts on “How To Refinish A Veneer Dresser”