
Articles
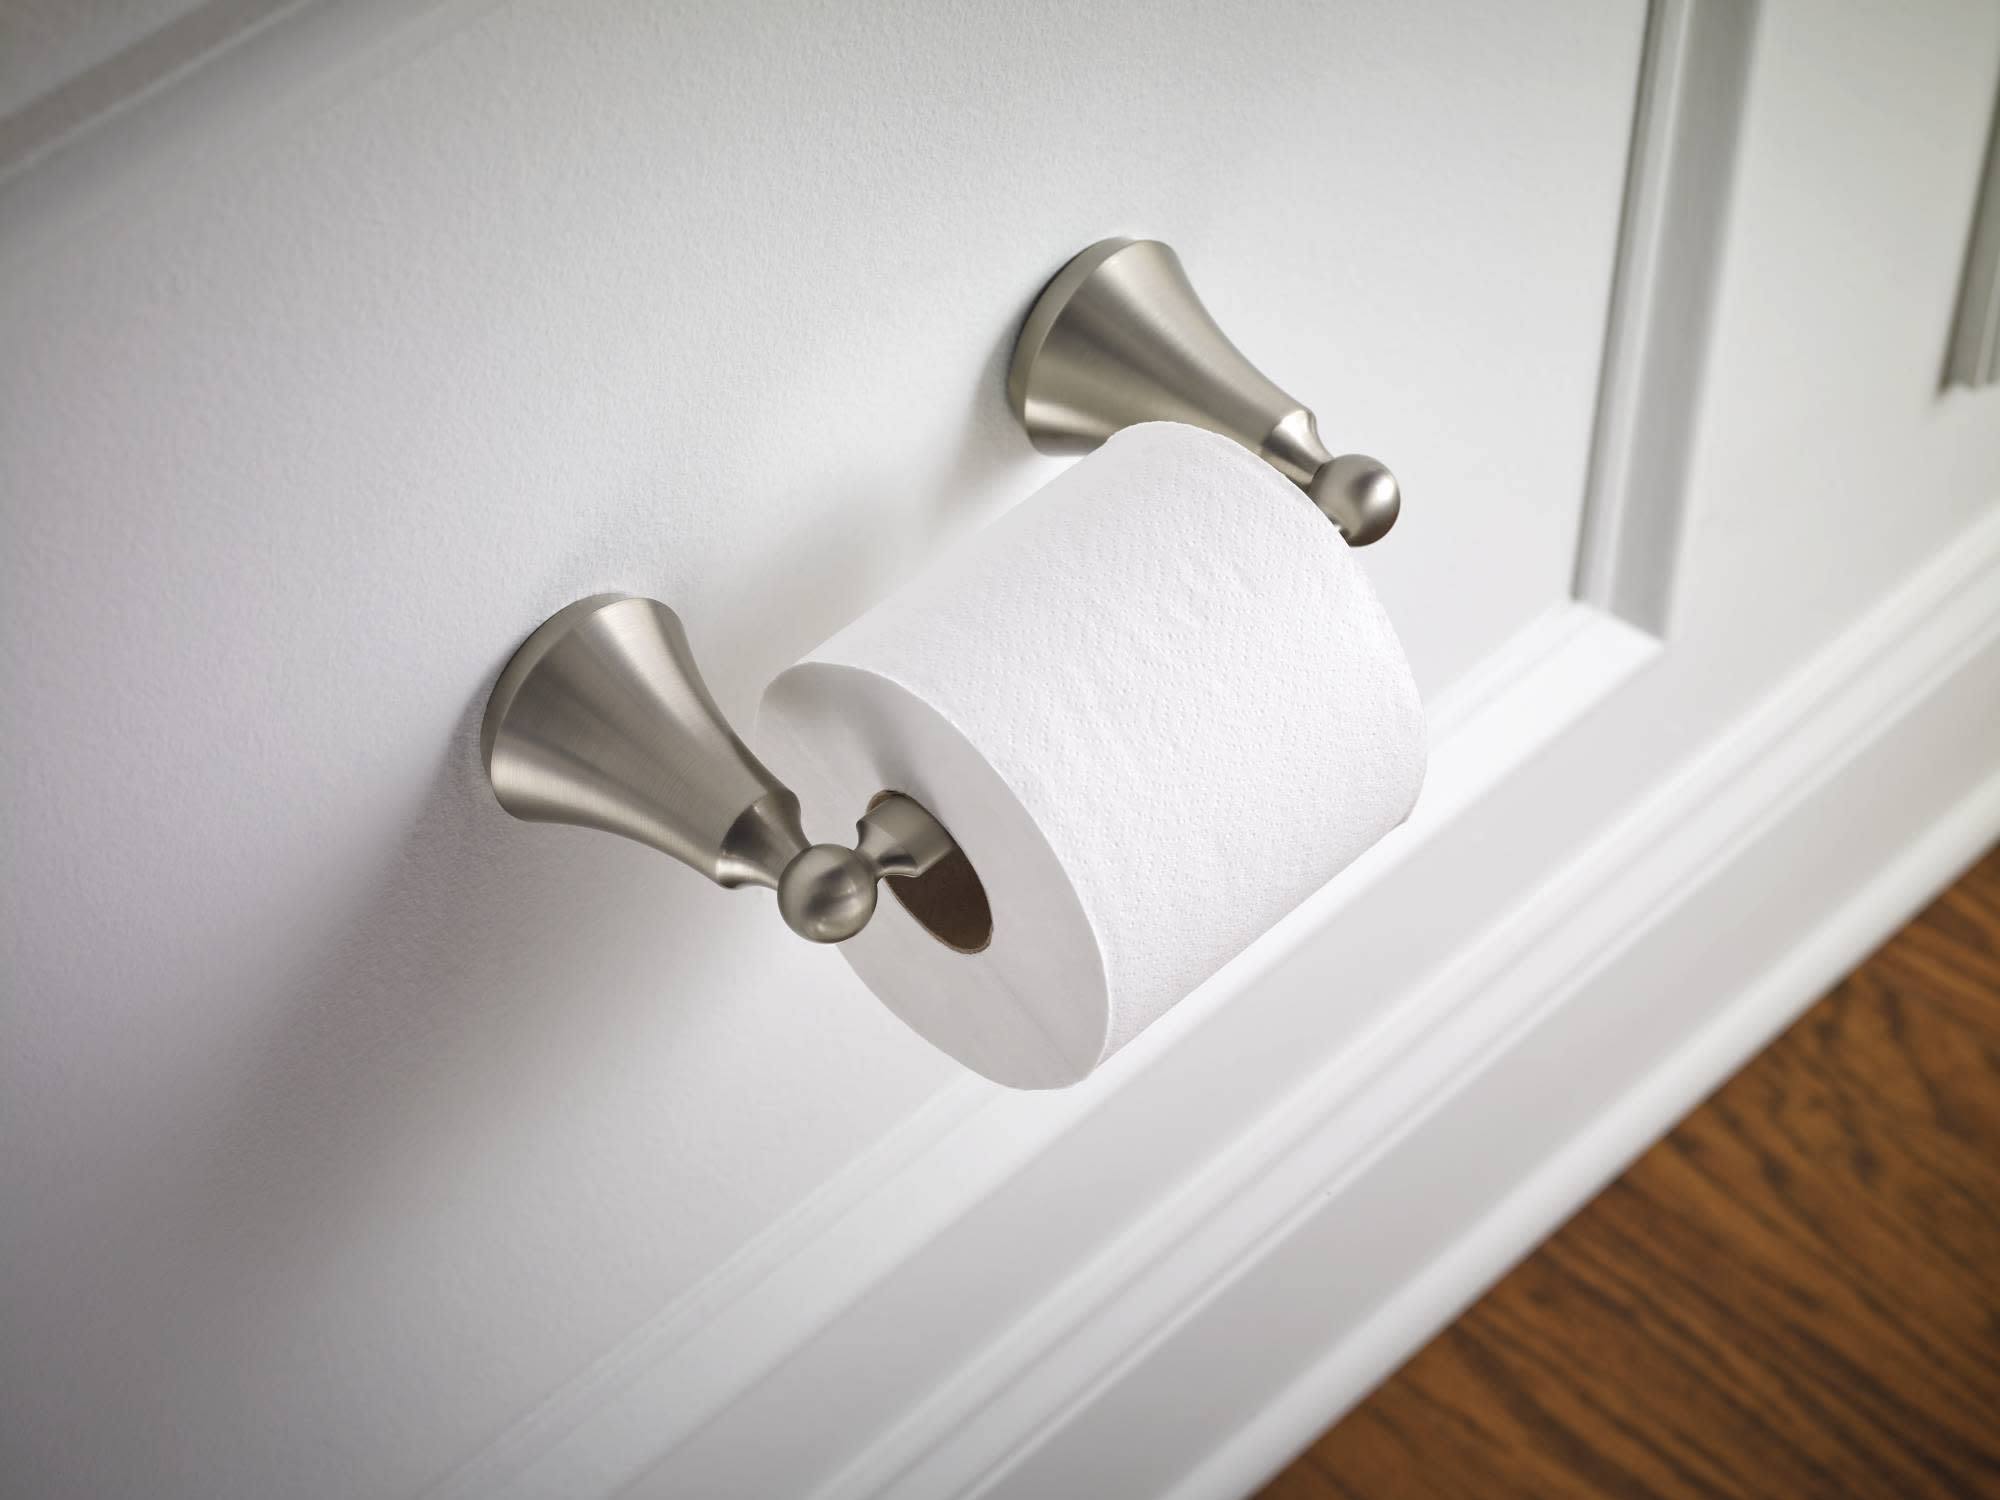
How To Remove Moen Toilet Paper Holder
Modified: October 19, 2024
Learn how to remove a Moen toilet paper holder with our step-by-step guide. Find helpful articles and easy-to-follow instructions to tackle this task effectively.
(Many of the links in this article redirect to a specific reviewed product. Your purchase of these products through affiliate links helps to generate commission for Storables.com, at no extra cost. Learn more)
Introduction
Removing a Moen toilet paper holder may seem like a simple task, but without the right approach, it can quickly turn into a frustrating endeavor. Whether you are looking to replace a worn-out toilet paper holder or want to change the style of your bathroom, knowing how to properly remove the Moen toilet paper holder is essential.
In this article, we will guide you through the step-by-step process of removing a Moen toilet paper holder, ensuring a smooth and hassle-free experience. We will also provide you with tips on patching any holes or damage, as well as discuss the option of installing a new toilet paper holder.
Before you begin, it’s important to gather all the necessary tools and materials. This will help streamline the process and ensure that you have everything you need within reach.
So, let’s dive in and learn how to remove a Moen toilet paper holder with ease!
Key Takeaways:
- Easily remove a Moen toilet paper holder using simple tools and step-by-step instructions, ensuring a smooth process and a polished finish for your bathroom walls.
- Consider installing a new toilet paper holder to refresh your bathroom decor, following precise installation guidance for a convenient and stylish upgrade.
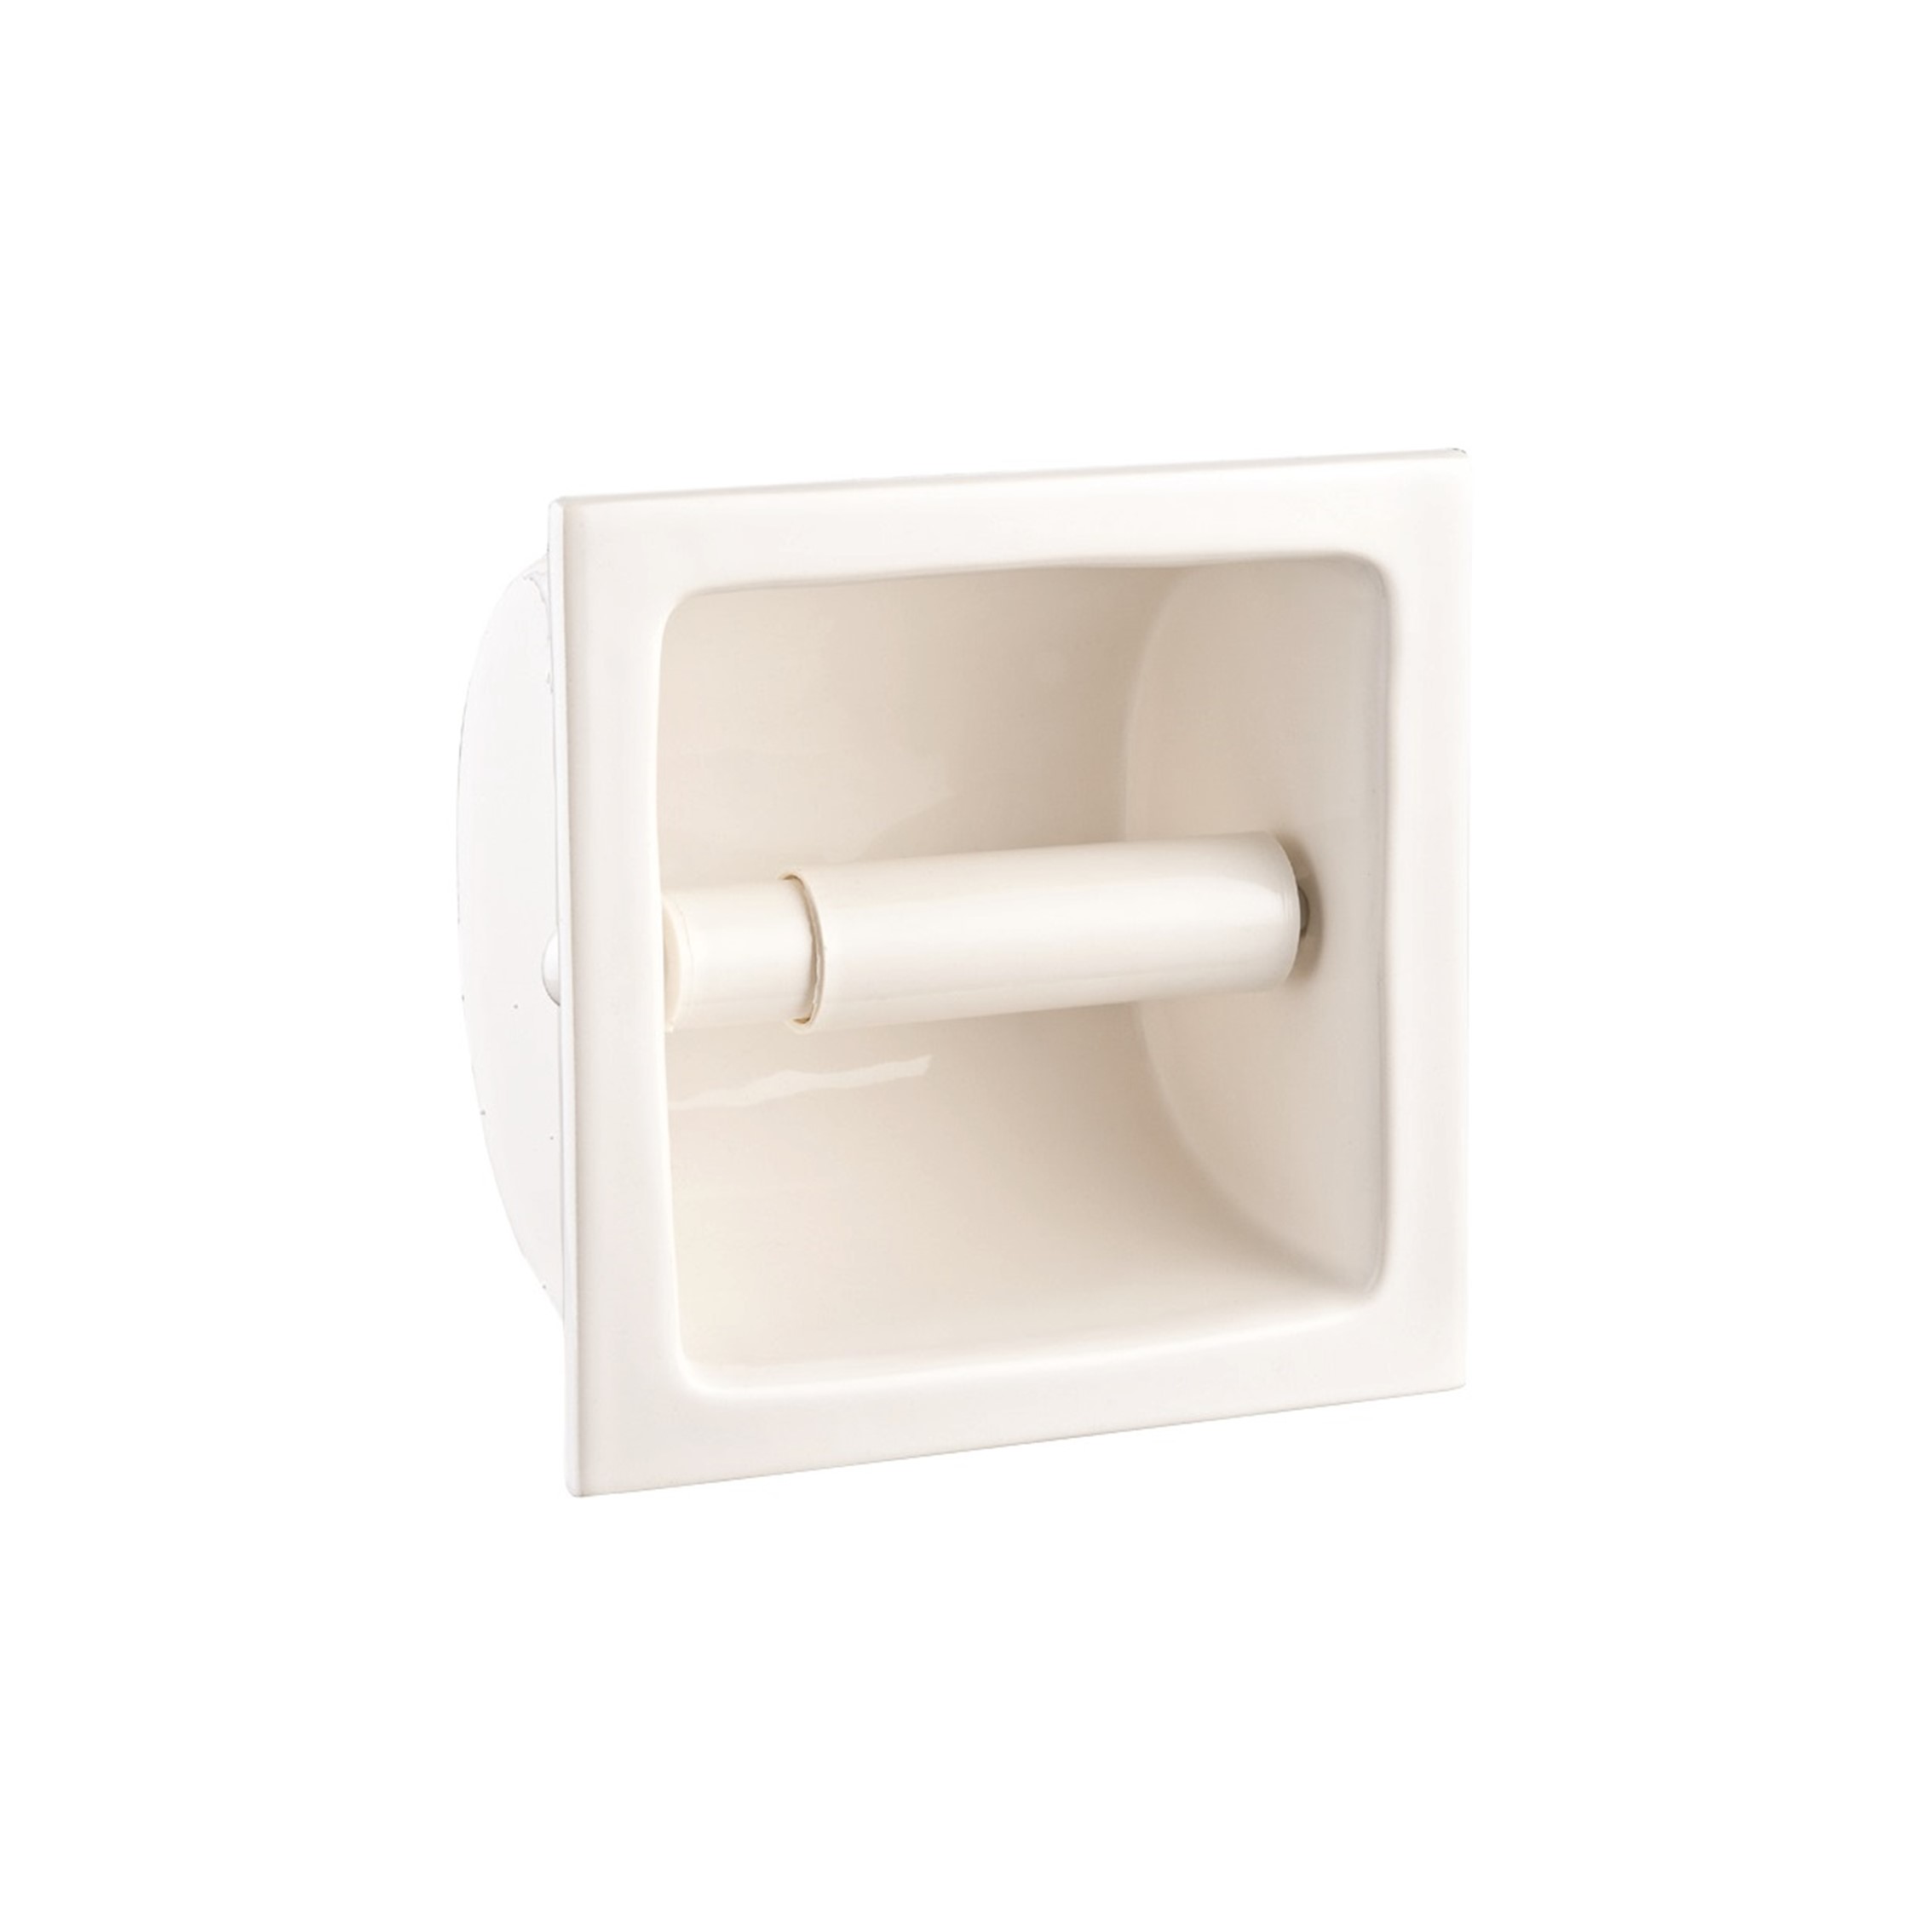
Read more: How To Remove Recessed Toilet Paper Holder
Tools and Materials Needed
Before you start removing the Moen toilet paper holder, gather the following tools and materials:
- Phillips head screwdriver
- Flathead screwdriver
- Adjustable wrench
- Pliers
- Putty knife or scraper
- Spackle or joint compound
- Sanding block or sandpaper
- Paint or wall covering to match your bathroom
These tools and materials will help you complete the task smoothly and efficiently. Having them ready beforehand will save you time and prevent any interruptions during the process.
Once you have gathered all the necessary tools and materials, you can proceed to the next step of removing the Moen toilet paper holder.
Step 1: Gather Necessary Tools and Materials
Before you begin removing the Moen toilet paper holder, it is essential to gather all the necessary tools and materials. This will ensure that you have everything you need within reach, saving you time and frustration during the process.
Here are the tools and materials you will need:
- Phillips head screwdriver: This type of screwdriver has a cross-shaped tip and is commonly used for removing screws.
- Flathead screwdriver: This screwdriver has a flat, single blade tip and is useful for prying off covers or removing screws.
- Adjustable wrench: An adjustable wrench will help you loosen any nuts or bolts that may be securing the toilet paper holder in place.
- Pliers: Pliers can be handy for gripping and holding small parts or pieces during the removal process.
- Putty knife or scraper: You will need a putty knife or scraper to remove any caulk, adhesive, or other substances that may be securing the toilet paper holder to the wall.
- Spackle or joint compound: If there are any holes or damage left behind after removing the toilet paper holder, you will need spackle or joint compound to fill them in and create a smooth surface.
- Sanding block or sandpaper: After applying spackle or joint compound, you will need a sanding block or sandpaper to smooth out the patched areas.
- Paint or wall covering: Depending on your preference and the condition of your bathroom walls, you may need paint or wall covering to touch up any patched areas and blend them seamlessly with the rest of the wall.
Having all these tools and materials ready will ensure that you can complete the removal process efficiently and without any unnecessary setbacks. Once you have gathered everything you need, you can proceed to the next step of locating the mounting bracket.
Step 2: Locate the Mounting Bracket
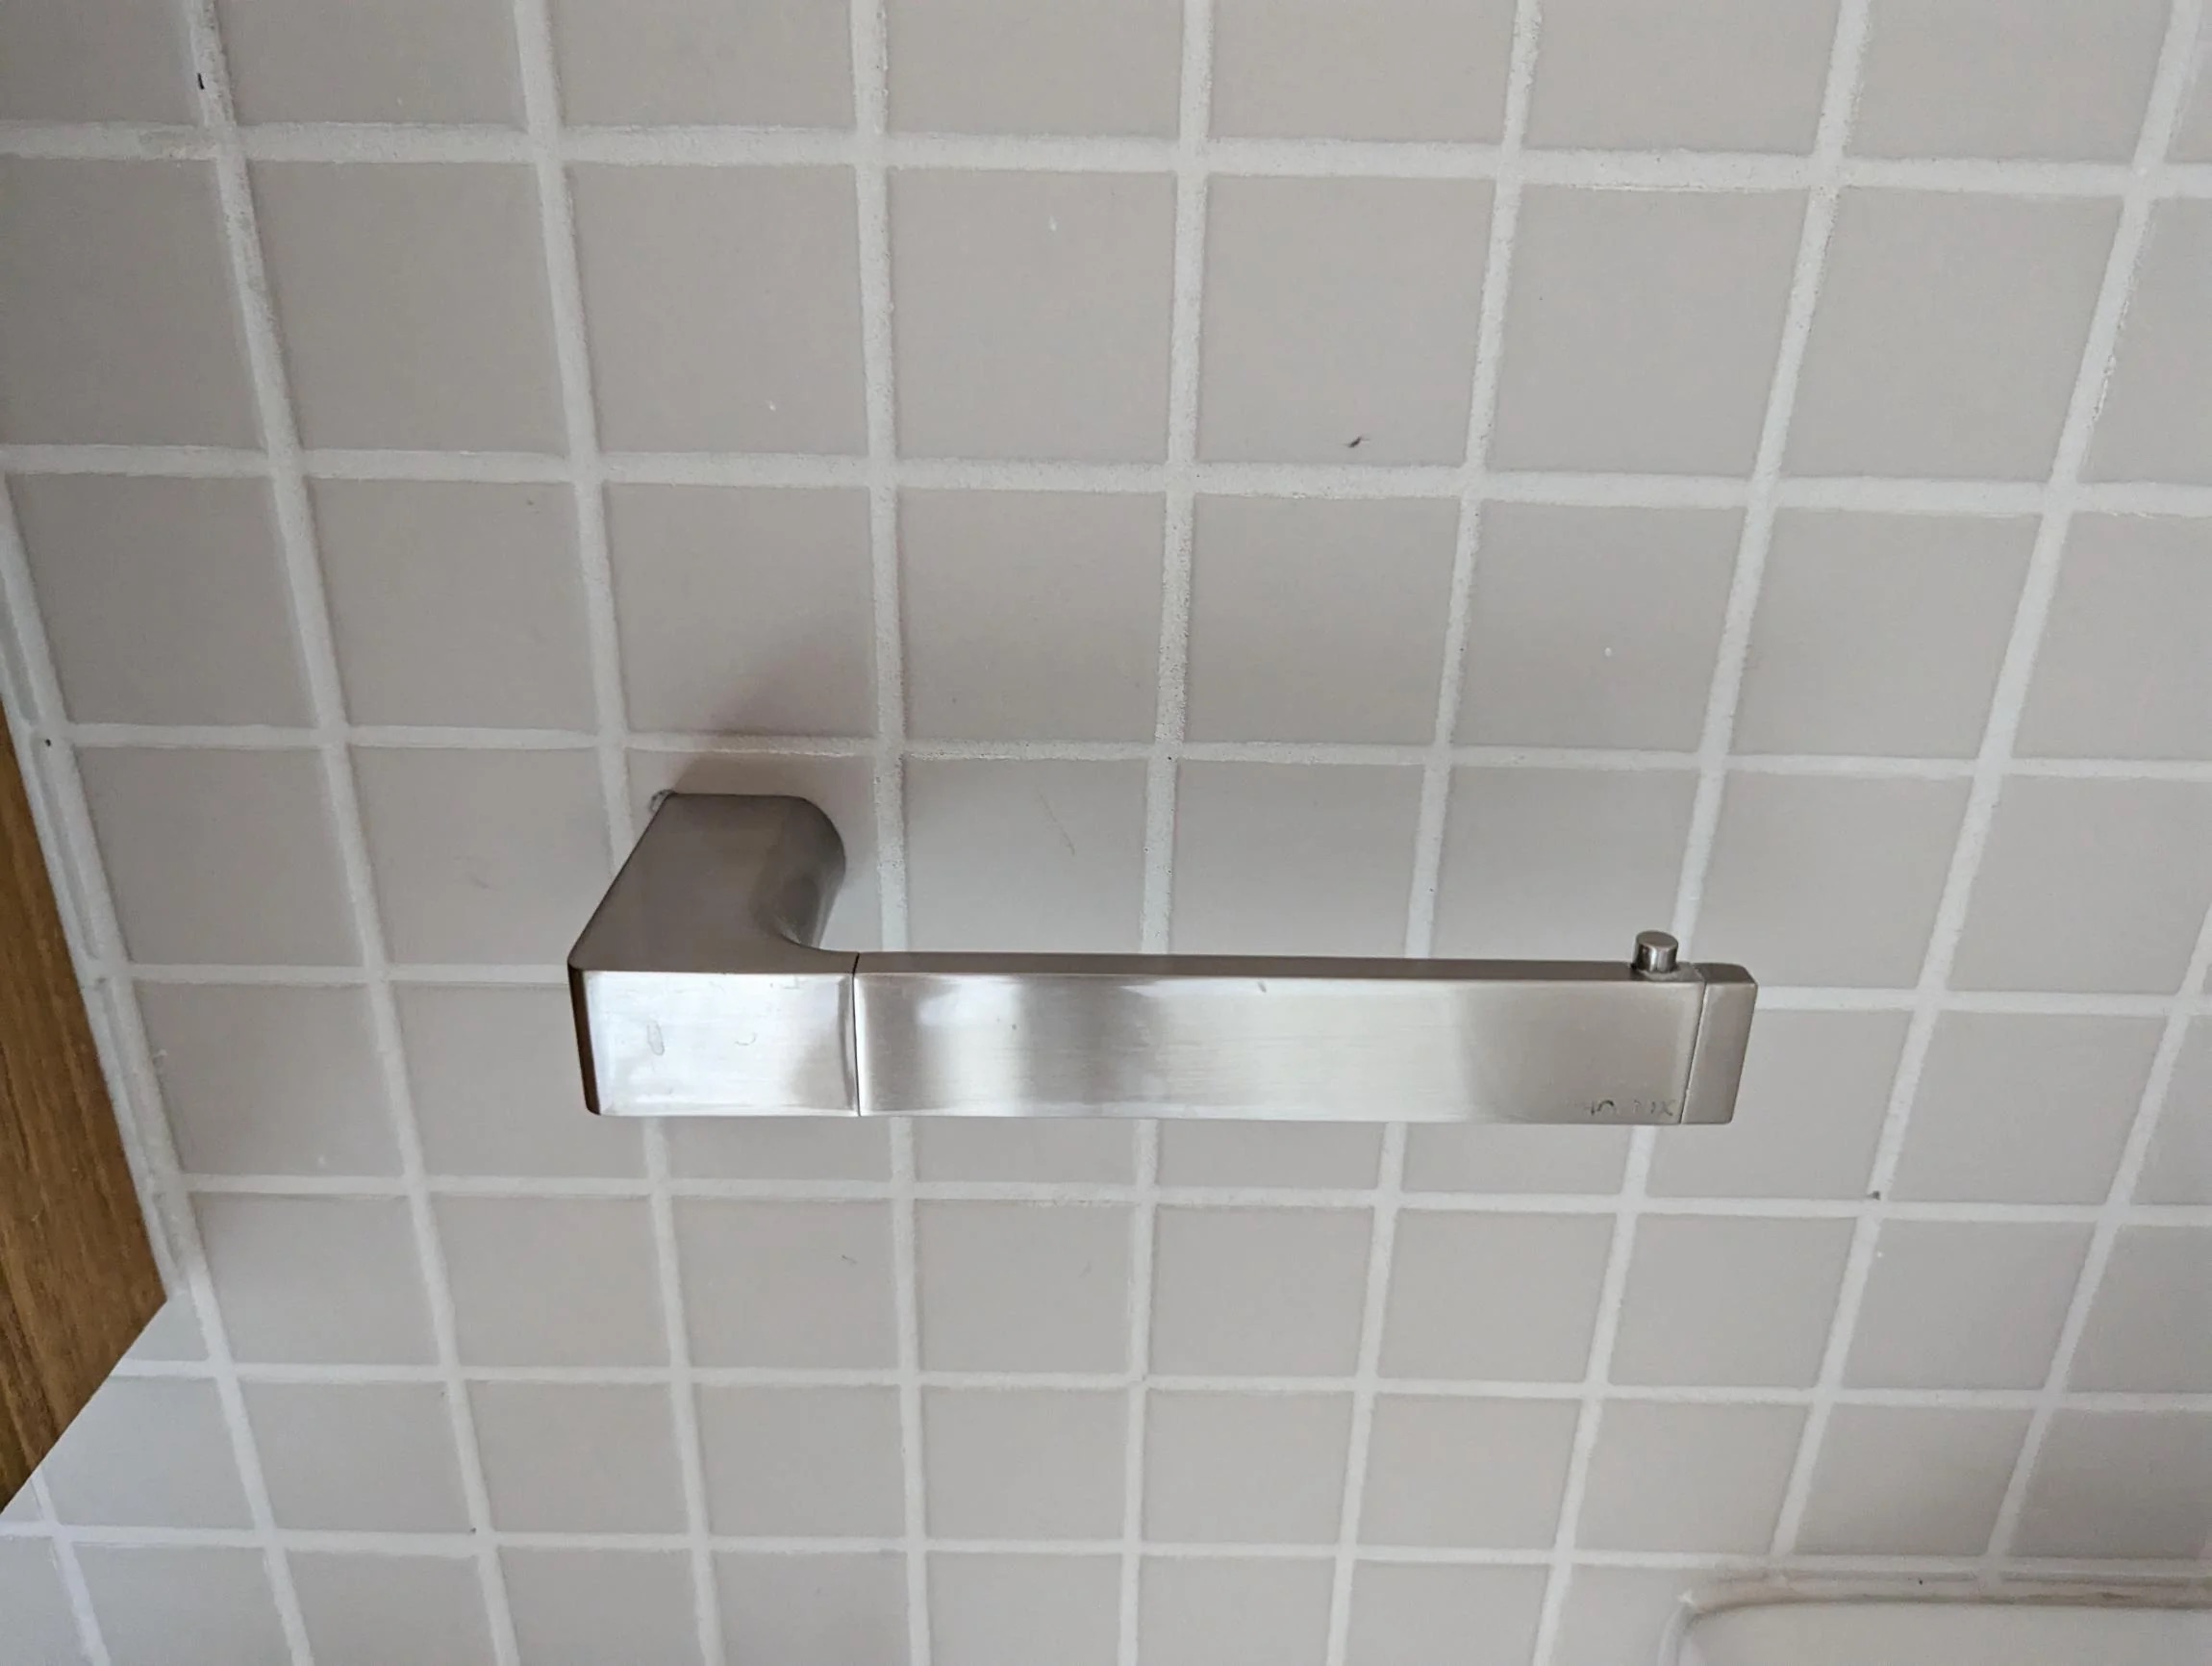
Before you can remove the Moen toilet paper holder, you need to locate the mounting bracket that holds it in place. Most Moen toilet paper holders have a concealed mounting bracket, which means that you may not see any visible screws or fasteners.
To locate the mounting bracket, follow these steps:
- Visually inspect the area around the toilet paper holder. Look for any small holes or indentations on the surface of the wall. These holes are likely to be the mounting points for the bracket.
- Hold the toilet paper holder firmly with one hand and try to slide it to the left or right. If it moves slightly, it indicates that the mounting bracket may be concealed behind a cover or plate.
- If there are no visible holes or movement, check for any decorative caps or covers on the ends of the toilet paper holder. Use a flathead screwdriver or your fingernail to pry off these covers gently. The mounting bracket may be hidden beneath these covers.
- If you are still unable to locate the mounting bracket, refer to the manufacturer’s instructions or documentation that came with the toilet paper holder. It may provide specific guidance on how to find and remove the mounting bracket.
Once you have located the mounting bracket, you are ready to move on to the next step of removing the toilet paper holder from the bracket.
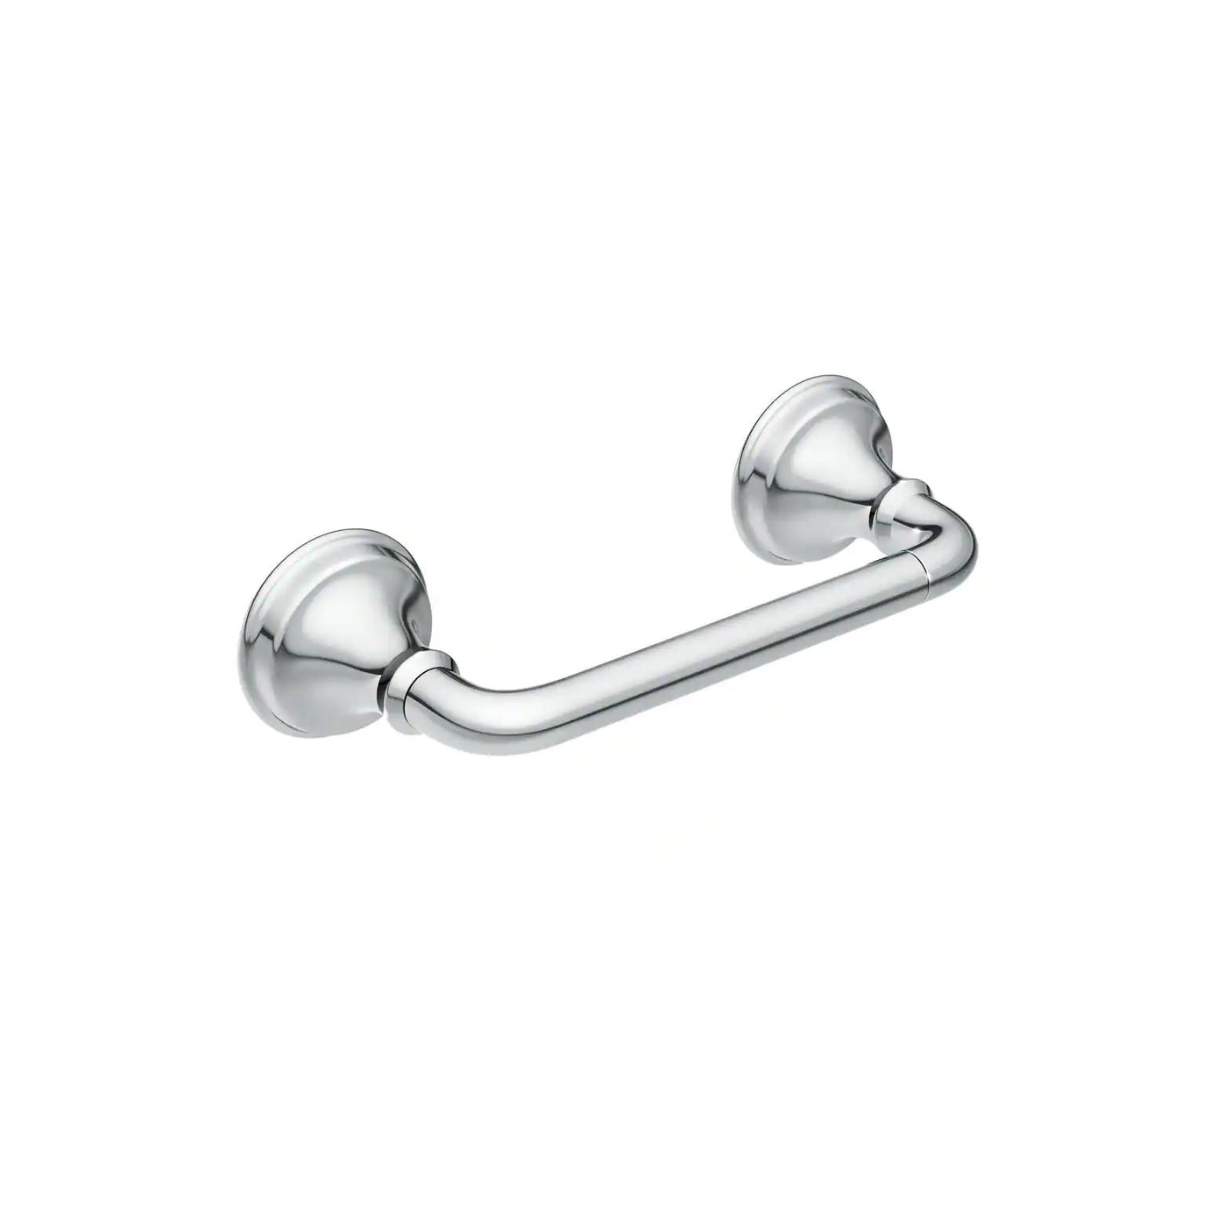
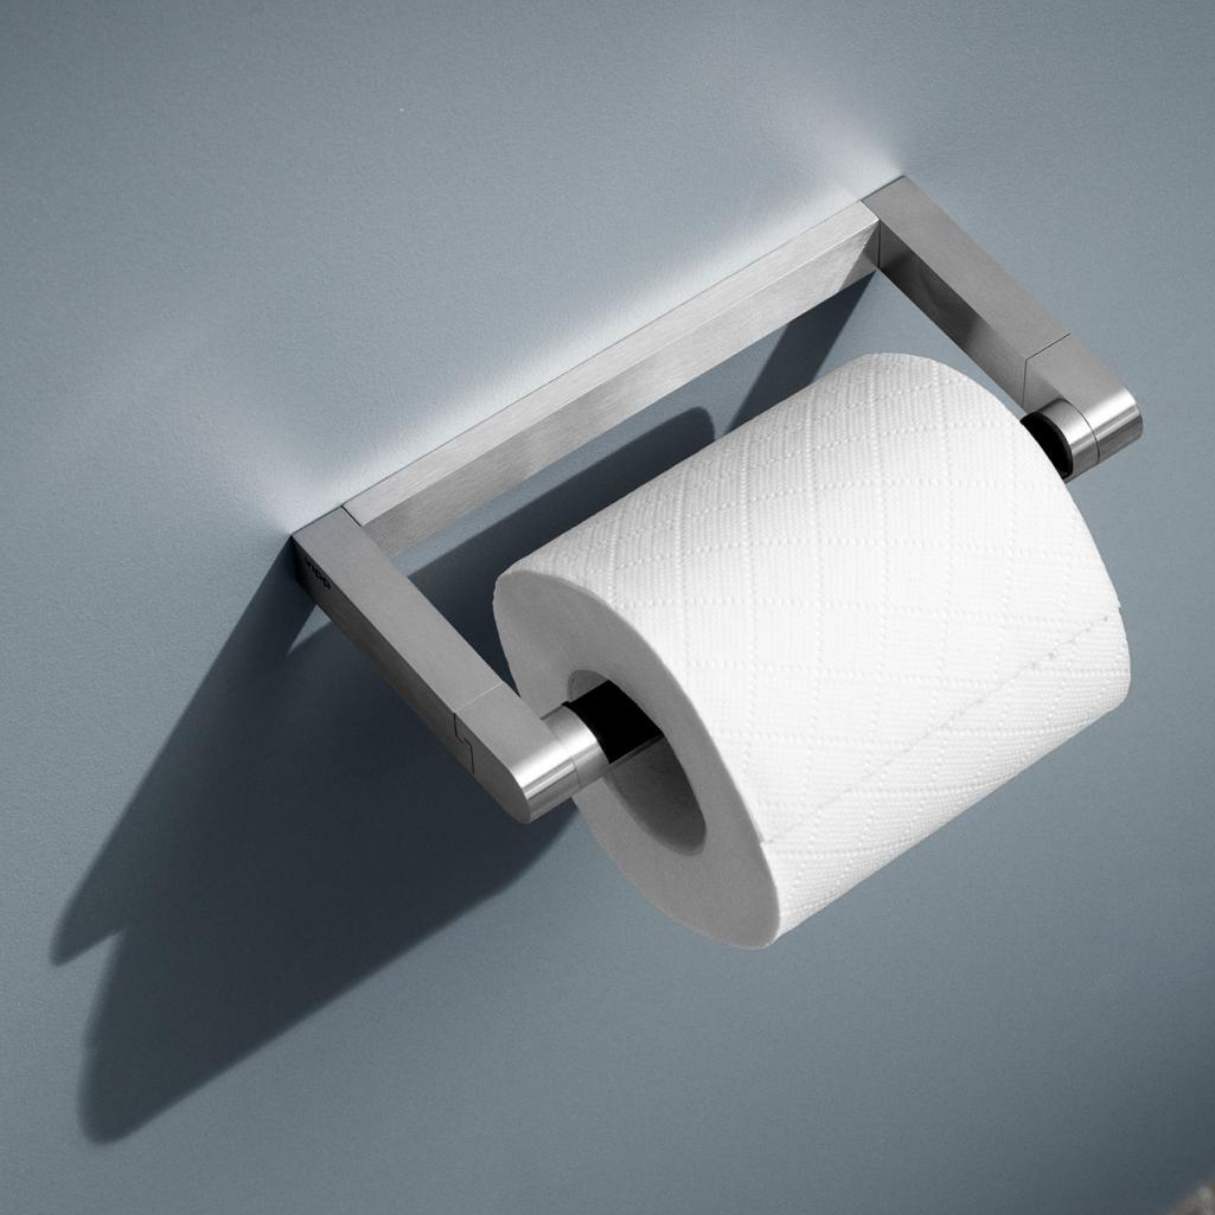
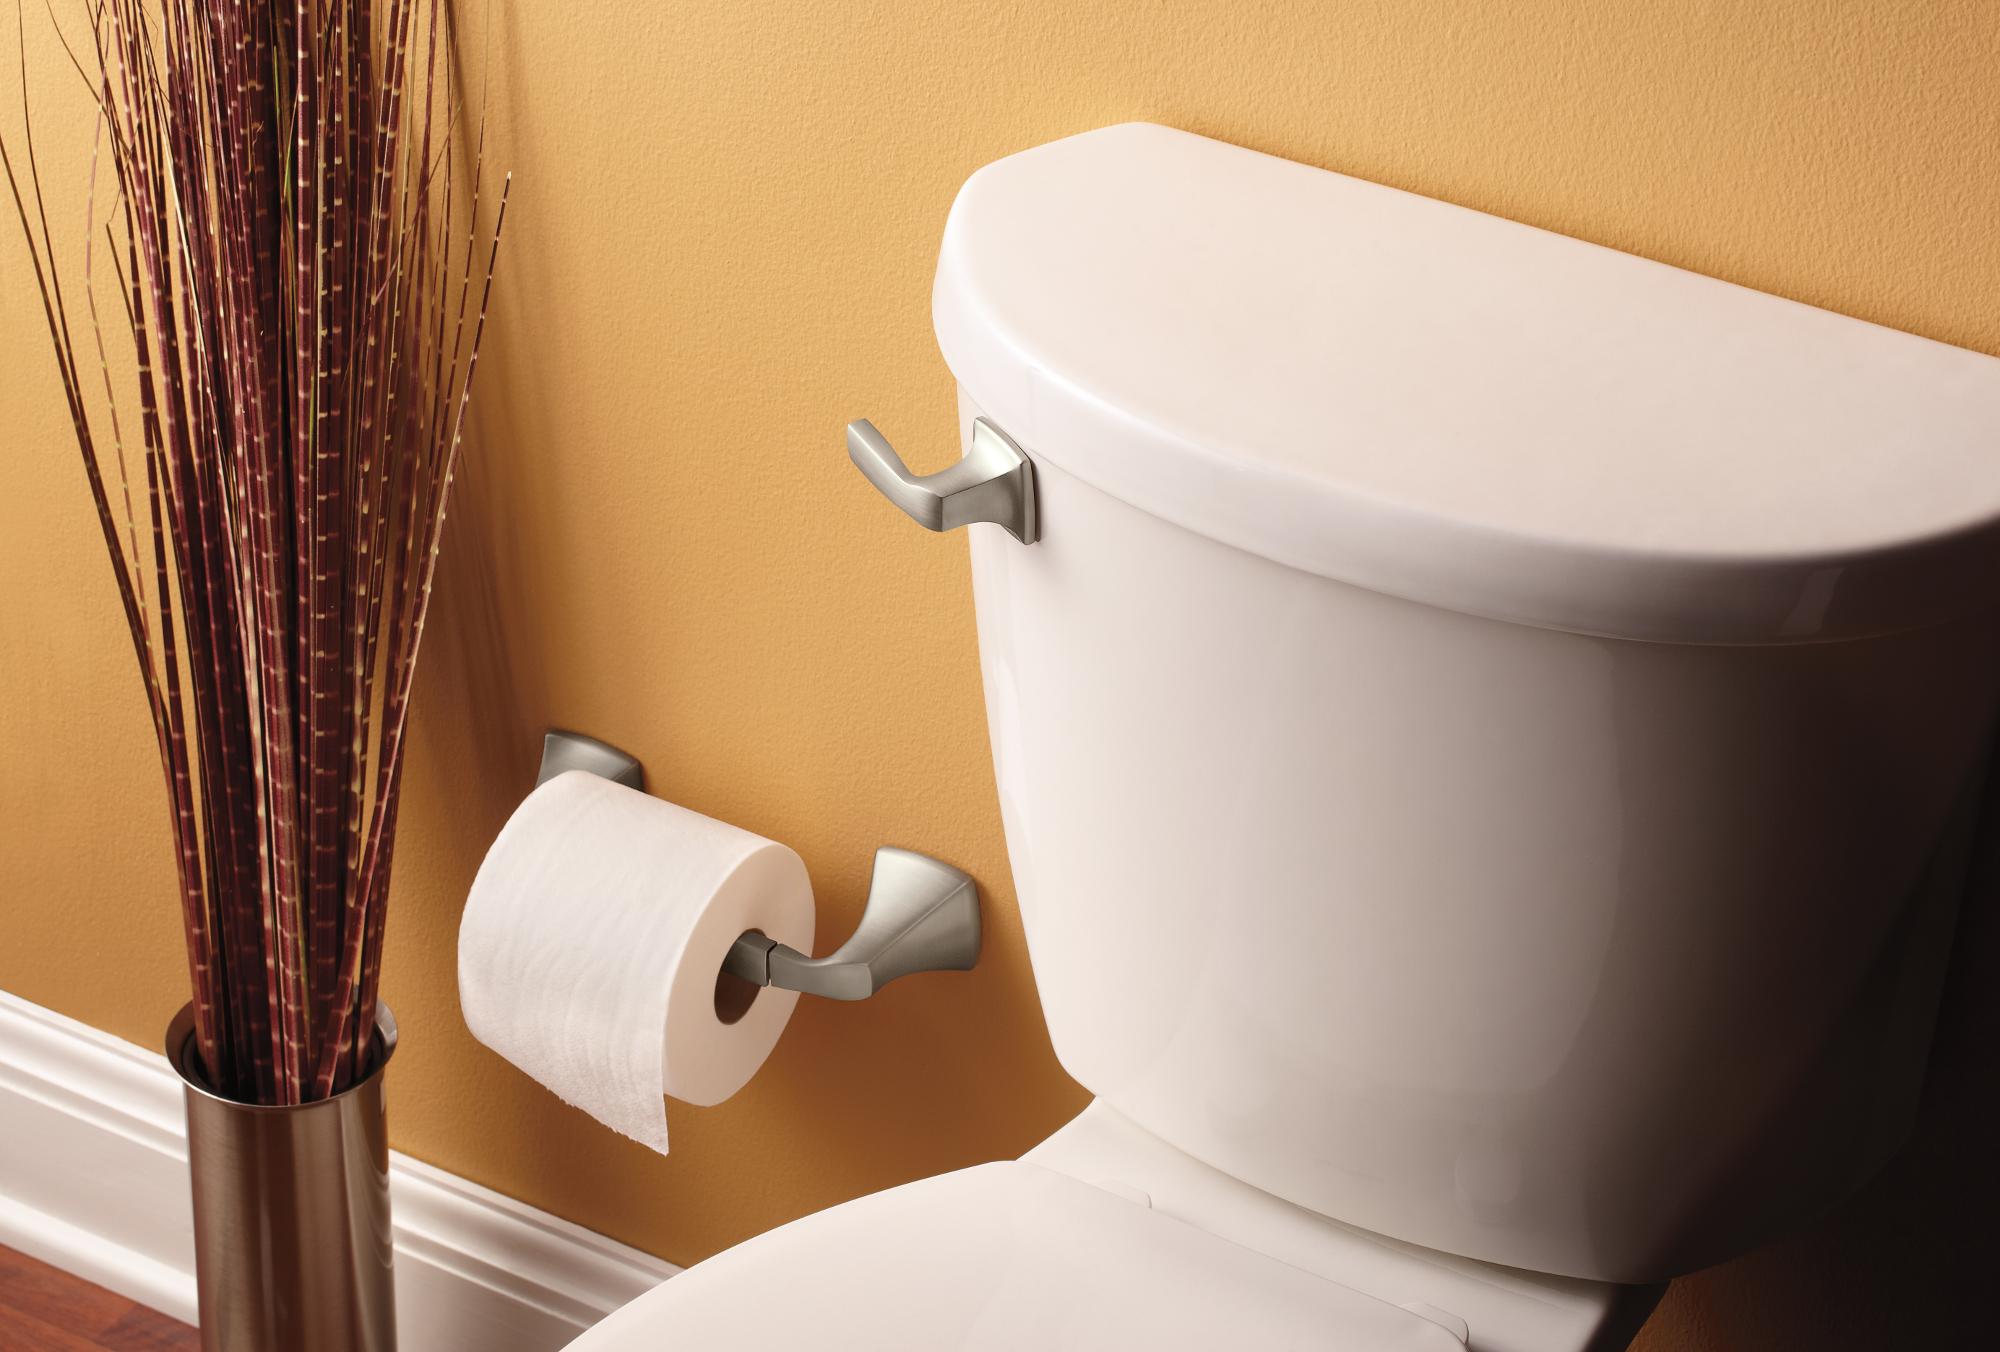
To remove a Moen toilet paper holder, look for a small set screw on the underside of the base. Use an Allen wrench to loosen the screw, then lift the holder off the mounting bracket.
Step 3: Remove the Toilet Paper Holder from the Mounting Bracket
Now that you have located the mounting bracket of the Moen toilet paper holder, it’s time to remove the holder from the bracket. Depending on the type of mounting system used, the removal process may vary slightly. Follow these general steps to safely remove the toilet paper holder:
- Inspect the mounting bracket and identify any screws or fasteners that are securing the holder in place. These may be located on the top, bottom, or sides of the bracket.
- Using a Phillips head screwdriver, unscrew the screws or fasteners to loosen the toilet paper holder. If necessary, hold the mounting bracket steady with one hand while unscrewing with the other.
- Once the screws or fasteners are loose, carefully pull the toilet paper holder away from the mounting bracket. Take note of any connections or hooks that may be holding the holder in place and detach them as needed.
- Inspect the bracket and the back of the toilet paper holder for any additional screws or fasteners that may need to be removed. Unscrew them before fully detaching the holder from the bracket.
- Gently wiggle and lift the toilet paper holder to completely separate it from the mounting bracket. Be cautious not to damage the wall or surrounding areas during this process.
Once you have removed the toilet paper holder from the mounting bracket, set it aside for further inspection or disposal. You can now proceed to the next step of patching any holes or damage that may be left behind.
Step 4: Patch any Holes or Damage
After removing the Moen toilet paper holder, it’s common to find small holes or damage on the wall where the mounting bracket was attached. Don’t worry – patching these imperfections is a straightforward process. Follow these steps to patch any holes or damage:
- Inspect the holes or damage on the wall. If there are any loose or flaking pieces of drywall or paint, use a putty knife or scraper to remove them gently.
- Prepare the spackle or joint compound according to the manufacturer’s instructions. Use a putty knife to scoop a small amount of spackle or joint compound onto the knife.
- Apply the spackle or joint compound into the holes or damaged areas using the putty knife. Ensure that it fills the holes completely and covers any blemishes or uneven surfaces.
- Smooth out the applied spackle or joint compound with the putty knife to create a flat and even surface. Remove any excess compound and ensure that it blends seamlessly with the surrounding wall.
- Allow the spackle or joint compound to dry completely according to the manufacturer’s instructions. This typically takes a few hours or overnight.
- Once the patch is dry, use a sanding block or sandpaper to gently sand the patched area. This will create a smooth finish and ensure that it is flush with the rest of the wall.
- Wipe away any dust or debris from the sanding process using a clean, damp cloth.
- If needed, touch up the patched area with paint or wall covering that matches the rest of the bathroom. Apply the paint or wall covering and allow it to dry completely.
By following these steps, you’ll be able to successfully patch any holes or damage left behind from removing the toilet paper holder. Once the patch is dry and the touch-up is complete, your wall will be ready for the next step: installing a new toilet paper holder or leaving it as a clean and finished wall surface.
Step 5: Install a New Toilet Paper Holder (Optional)
If you have chosen to replace the Moen toilet paper holder with a new one, this step will guide you through the process of installing the new holder. Before you begin, ensure that you have the necessary tools and materials, including the new toilet paper holder, screws, and possibly a mounting template.
Follow these steps to install a new toilet paper holder:
- Hold the new toilet paper holder against the wall in the desired location. Use a pencil to mark the spots where the mounting screws should go.
- If provided, use a mounting template to ensure accurate placement of the mounting holes. Align the template with the desired location and mark the hole positions accordingly.
- Using an electric drill or screwdriver, create pilot holes at the marked spots. Make sure the holes are slightly smaller than the screws that will be used to secure the holder.
- Position the mounting bracket over the pilot holes and align it properly. Insert the screws through the bracket and into the pilot holes.
- Tighten the screws until the toilet paper holder is securely attached to the wall, but be careful not to overtighten and damage the holder or the wall.
- Attach the toilet paper holder to the mounting bracket according to the manufacturer’s instructions. This may involve sliding it onto the bracket, securing it with a set screw, or other methods.
- Test the functionality of the new toilet paper holder by inserting a roll of toilet paper and ensuring it can spin freely.
Once the new toilet paper holder is properly installed and functioning, you can enjoy its convenience and functionality in your bathroom.
If you have chosen not to install a new toilet paper holder, you can take this opportunity to appreciate the clean and finished appearance of the patched wall, or consider other decorative options to enhance your bathroom.
Remember, the installation process may vary depending on the specific type and model of the toilet paper holder you have chosen. Therefore, always refer to the manufacturer’s instructions provided with the new holder for precise installation guidance.
Congratulations! You have successfully removed the Moen toilet paper holder and either patched any holes or installed a new holder. Your bathroom now has a refreshed look, whether it’s a clean wall or a new accessory to hold your toilet paper.
Conclusion
Removing a Moen toilet paper holder may seem like a daunting task, but with the right tools and knowledge, it can be a straightforward process. By following the step-by-step instructions provided in this article, you can confidently remove the toilet paper holder and achieve the desired outcome.
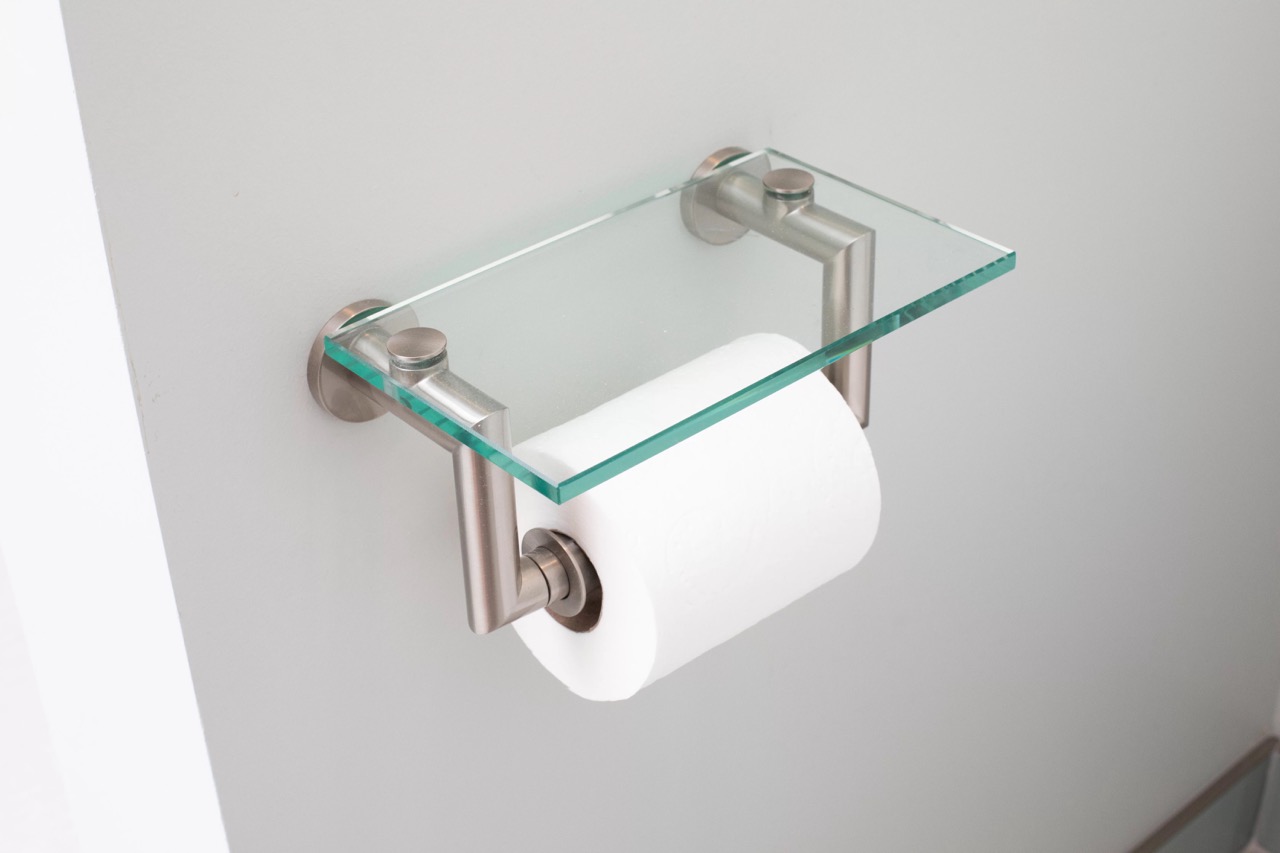
If you choose to install a new toilet paper holder, take the time to select one that matches your bathroom decor and meets your functional needs. Follow the manufacturer’s instructions for proper installation and enjoy the convenience and style of your new accessory.
Patching any holes or damage left behind after removing the toilet paper holder will ensure a polished and finished look for your bathroom walls. Take care in filling and smoothing out the patched areas, and consider touching up the paint or wall covering for a seamless integration with the rest of the wall.
Remember to always prioritize safety during the removal and installation process. Use the appropriate tools and materials, and take caution to avoid damaging the walls or injuring yourself. If you are unsure or uncomfortable with any step, don’t hesitate to seek professional assistance.
We hope that this article has provided you with valuable insights and guidance on how to remove a Moen toilet paper holder. Whether you are simply replacing a worn-out holder or undertaking a bathroom renovation, being equipped with the right knowledge will make the process smoother and more enjoyable.
Thank you for reading, and we wish you success in your toilet paper holder removal project!
Frequently Asked Questions about How To Remove Moen Toilet Paper Holder
Was this page helpful?
At Storables.com, we guarantee accurate and reliable information. Our content, validated by Expert Board Contributors, is crafted following stringent Editorial Policies. We're committed to providing you with well-researched, expert-backed insights for all your informational needs.

0 thoughts on “How To Remove Moen Toilet Paper Holder”