
Articles
How To Repair Laser Level
Modified: August 17, 2024
Learn how to repair laser levels with our informative articles. Get step-by-step instructions and troubleshooting tips to fix common issues.
(Many of the links in this article redirect to a specific reviewed product. Your purchase of these products through affiliate links helps to generate commission for Storables.com, at no extra cost. Learn more)
Introduction
Welcome to the world of laser levels, a versatile tool that has made construction and home improvement projects much easier to manage. Laser levels are used to project a straight and level beam of light onto surfaces, ensuring precise measurements and alignment. However, like any tool, laser levels can encounter issues over time. Whether it’s a misaligned laser, malfunctioning batteries, or damage to the casing, these problems can hinder the accuracy and functionality of the laser level.
In this article, we will guide you through the process of repairing a laser level. By following the steps outlined here, you can save time and money on professional repairs, and keep your laser level in top shape for all your future projects.
Before we delve into the repair process, let’s first gain a better understanding of how laser levels work and the common problems that can arise.
Key Takeaways:
- Regular maintenance, proper storage, and seeking professional repairs when necessary are essential for extending the lifespan and ensuring the optimal performance of your laser level. Stay updated with firmware updates and engage with online communities for valuable insights.
- By following the step-by-step repair guide and utilizing the necessary tools and materials, you can troubleshoot and fix common issues with your laser level, saving time and money on professional repairs. Remember to prioritize safety and handle your laser level with care.
Read more: How To Level A Laser Level Tripod
Understanding Laser Levels
Laser levels are precision tools used in various fields such as construction, surveying, and interior design. They project a laser beam onto a surface, creating a perfectly straight line or a level plane. This allows for accurate measurements, aligning objects, and ensuring precise installations.
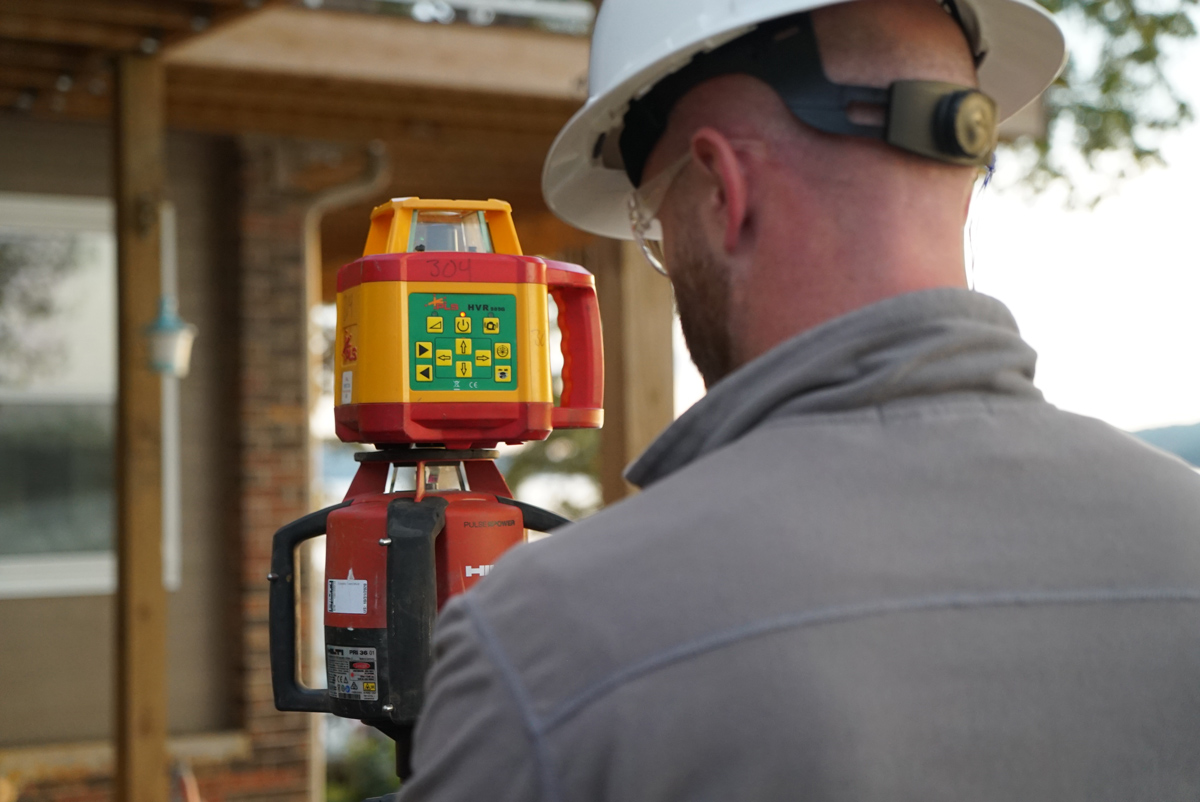
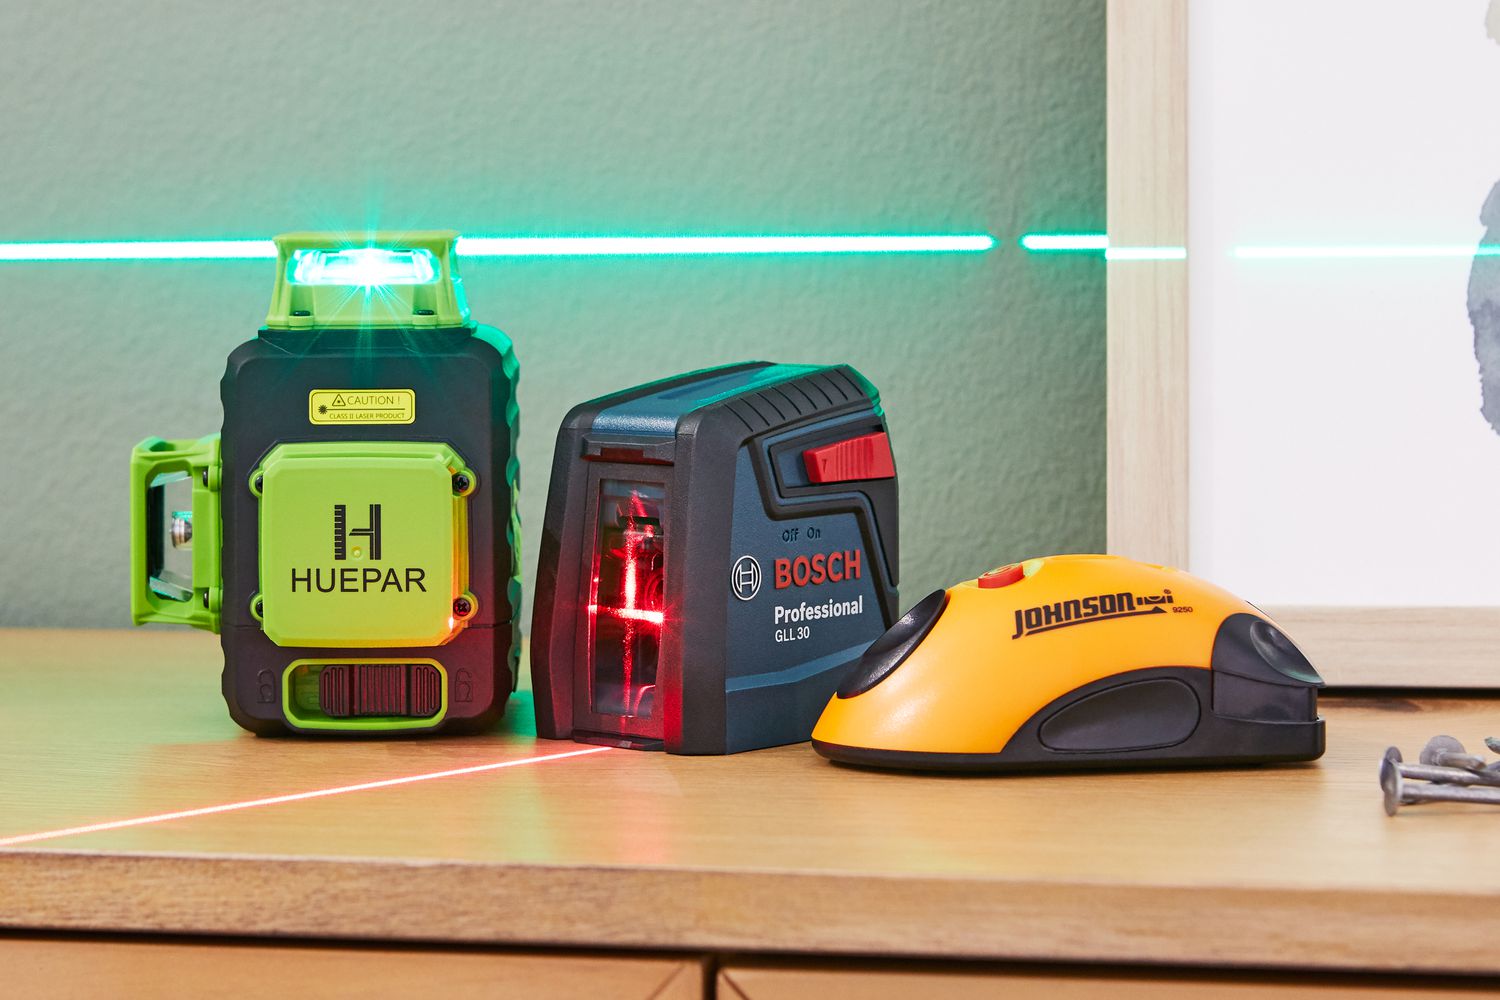
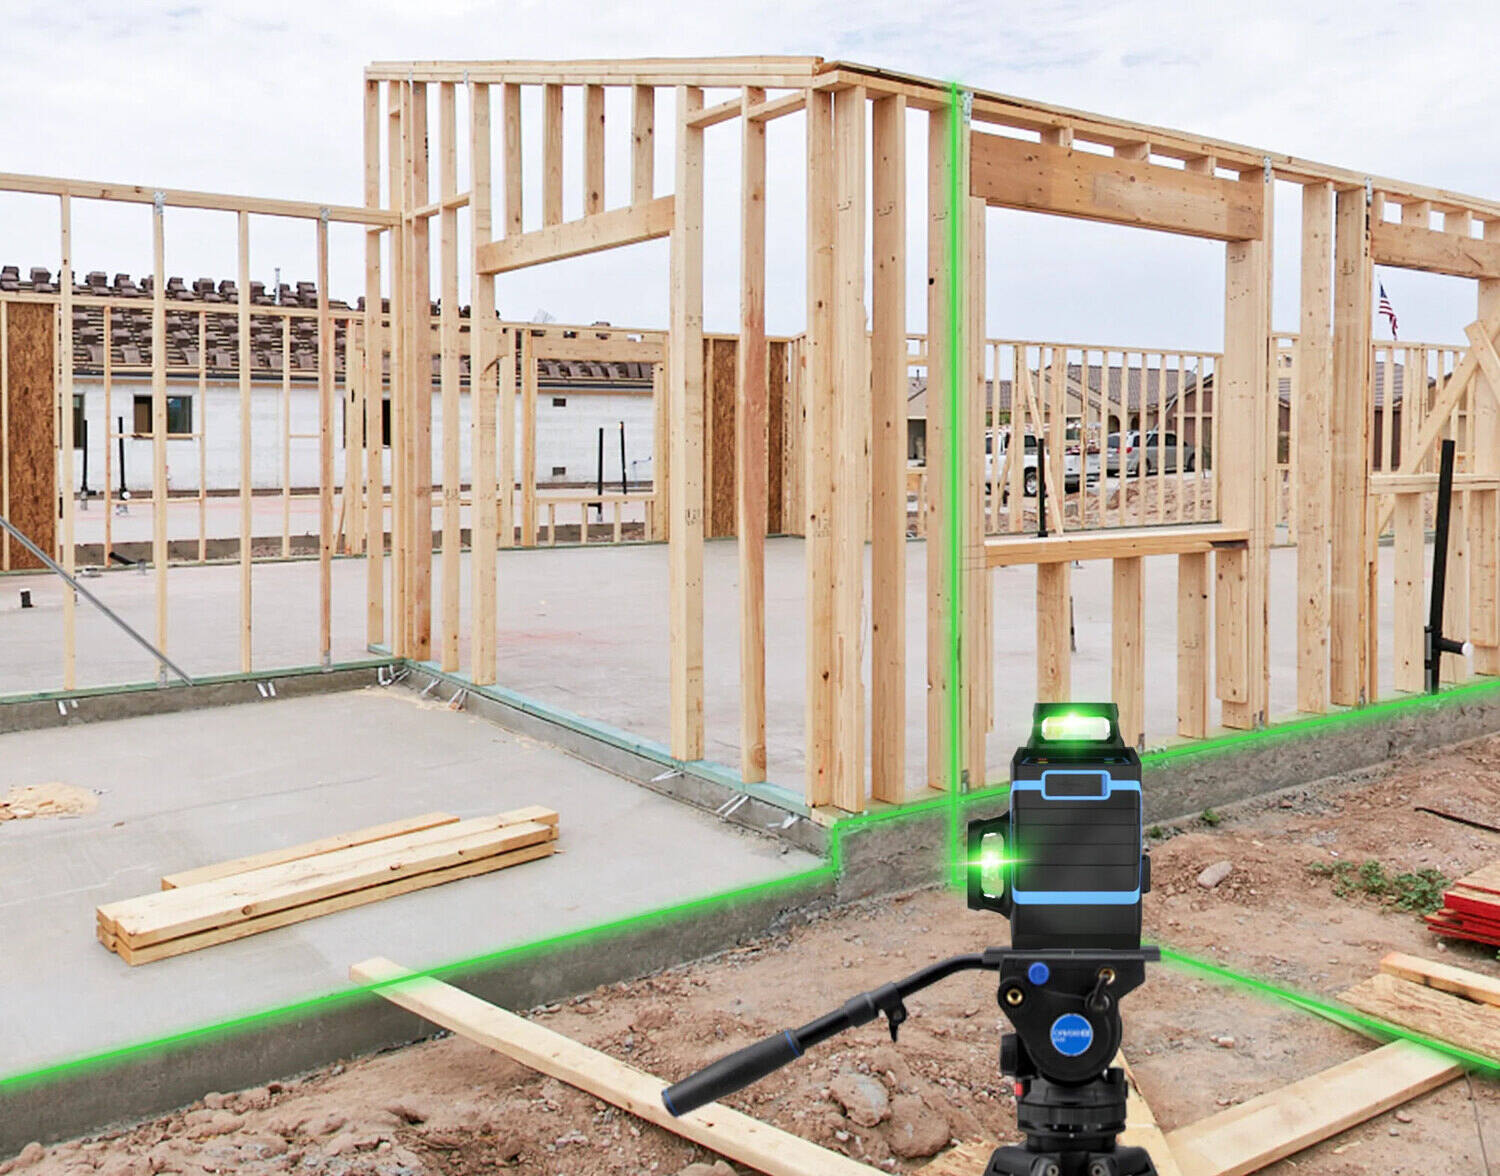
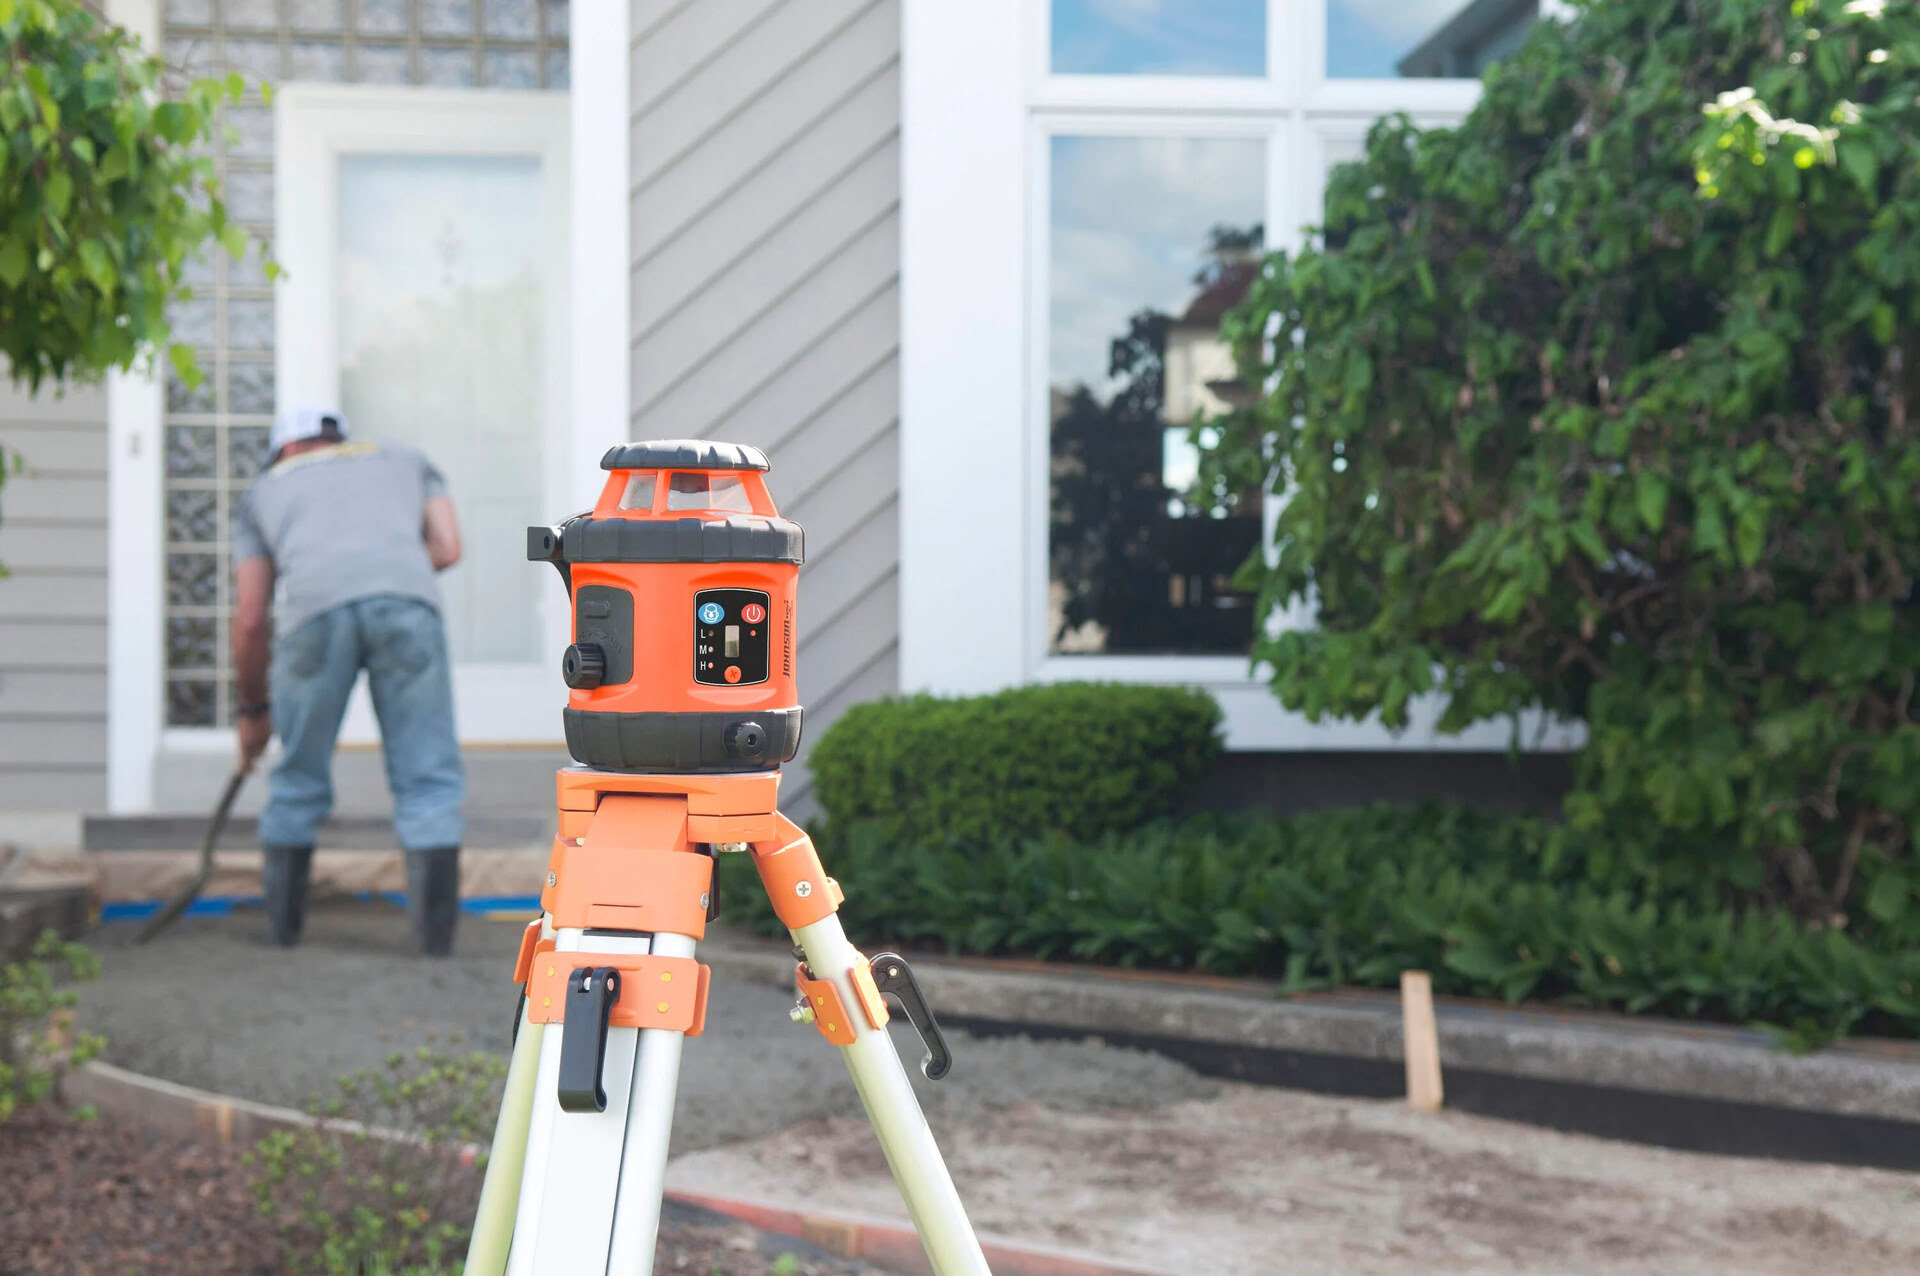
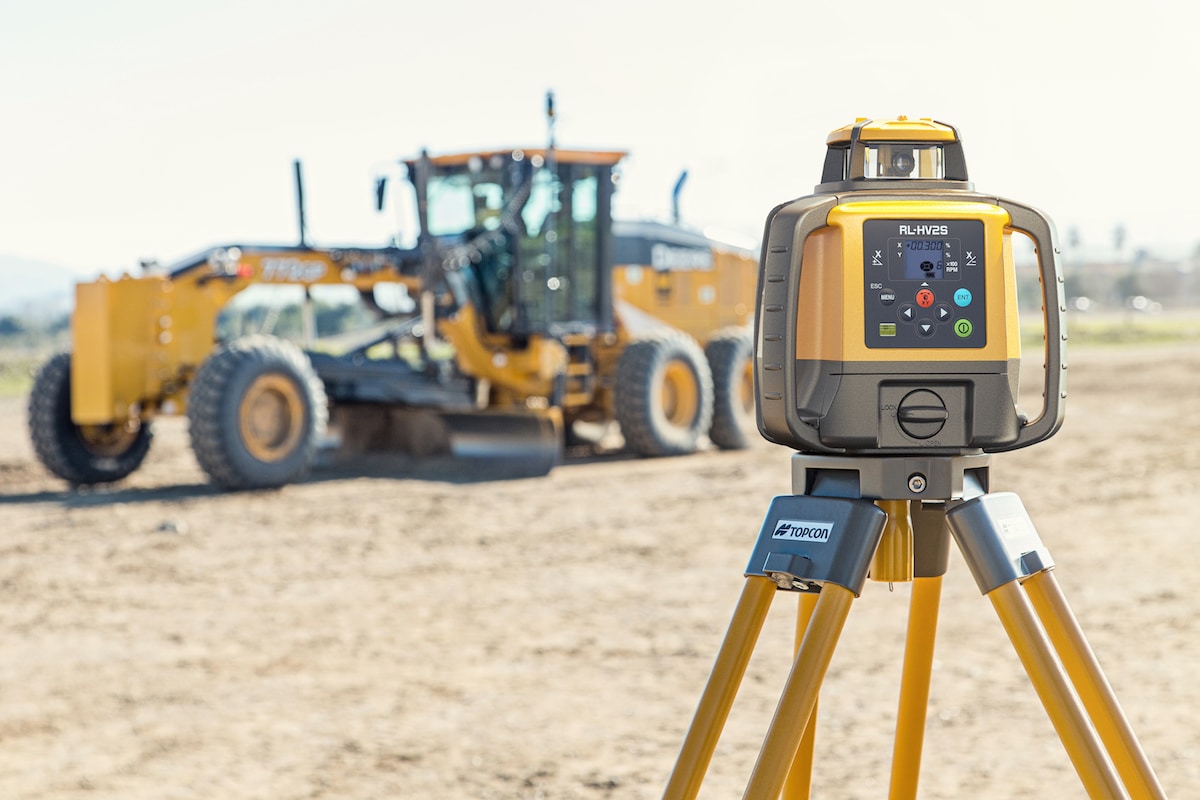
There are different types of laser levels available, including line lasers, rotary lasers, and dot lasers. Line lasers emit a straight line of laser light, ideal for leveling and aligning objects horizontally or vertically. Rotary lasers emit a 360-degree laser beam, used for large-scale projects like grading and excavation. Dot lasers project multiple laser points, great for accurate layout and positioning.
Most laser levels are equipped with self-leveling capabilities, which use an internal pendulum to automatically level the beam. This feature ensures that the laser line remains steady even if the laser level is slightly inclined or disturbed.
Laser levels are powered by batteries or rechargeable battery packs. Some models also have the option to be powered by AC adapters. It’s important to have a reliable power source to ensure consistent performance.
Before attempting to repair a laser level, it’s crucial to identify the specific type and model you have. This information will help you find the appropriate repair guide and troubleshooting tips.
Now that we have a better understanding of laser levels, let’s explore some common problems that you may encounter.
Common Problems with Laser Levels
While laser levels are designed to be durable, they can still experience a range of issues over time. Here are some of the most common problems you may encounter with laser levels:
- Misaligned laser: One of the primary issues is a misaligned laser beam. This can occur due to rough handling, accidental drops, or prolonged use. A misaligned laser can result in inaccurate measurements and difficulty in achieving level lines.
- Weak or dim laser beam: Over time, the laser beam may become weak or dim, making it difficult to see the projected line. This can be caused by depleted batteries or dirt and debris obstructing the laser lens.
- Battery problems: Laser levels rely on batteries for power. If the batteries are not functioning properly, the laser level may not turn on or may have intermittent power issues.
- Inaccurate leveling: If the laser level’s self-leveling mechanism is not functioning correctly, it may not level the beam properly. This can result in skewed or crooked lines.
- Casing damage: Laser levels are often used in rugged environments, and the casing can become damaged due to impacts or moisture exposure. Cracks or breaks in the casing can compromise the functionality of the laser level.
These common problems can be frustrating but fear not, as most of them can be resolved with some basic repairs and maintenance. In the following sections, we will guide you through the step-by-step process of repairing your laser level.
Tools and Materials Needed
Before you begin repairing your laser level, it’s important to gather the necessary tools and materials. Here is a list of items you’ll need to ensure a smooth repair process:
- Screwdrivers: Depending on your laser level’s design, you may need Phillips, flathead, or Torx screwdrivers to remove the casing and access the internal components.
- Cleaning supplies: To clean the laser lens and remove any dirt or debris, you’ll need lint-free microfiber cloths, cotton swabs, and isopropyl alcohol.
- Batteries: Check the power requirements for your laser level and have the appropriate replacement batteries on hand. It’s always a good idea to have a few spare batteries available.
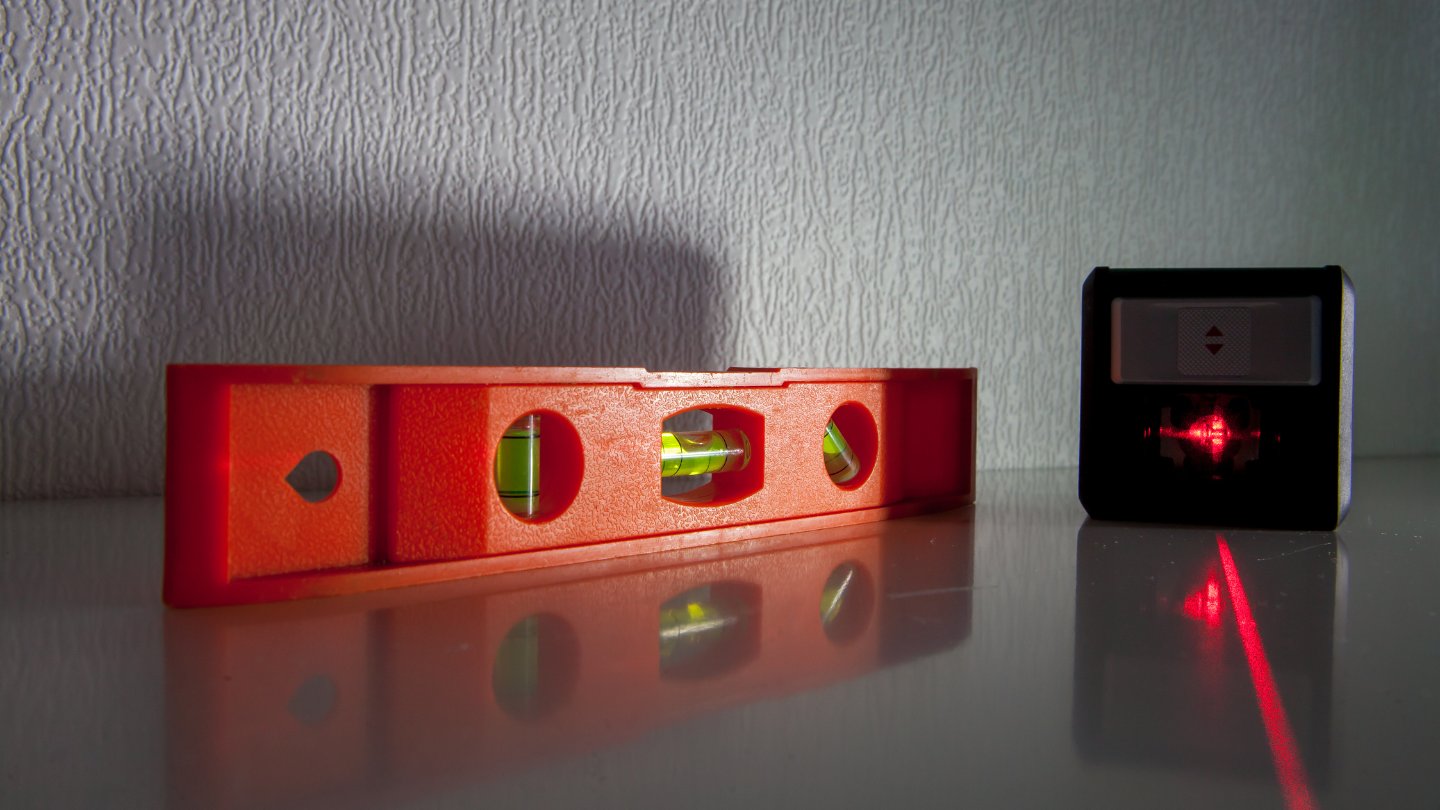
- Leveling tools: A secondary leveling tool, such as a regular spirit level or a digital level, will help you confirm the accuracy of your laser level after the repair.
- Adhesive or epoxy: If you need to repair a cracked or damaged casing, you may require adhesive or epoxy to secure the components back together.
- Calibration targets: Some laser levels may come with calibration targets, which are used to fine-tune the accuracy of the laser beam. If your laser level includes these targets, keep them handy.
Having these tools and materials ready before you start the repair process will save you time and ensure that you have everything you need to address the common problems with your laser level.
Now that you have gathered the necessary tools and materials, let’s dive into the step-by-step guide to repairing your laser level.
Step-by-Step Guide to Repairing a Laser Level
Repairing a laser level may seem daunting, but with the right approach and guidance, you can effectively troubleshoot and fix common issues. Follow these steps to repair your laser level:
- Inspecting the Laser Level: Start by thoroughly inspecting the laser level for any visible damage or loose components. Look for cracks in the casing or signs of moisture exposure. Check the battery compartments and ensure that the battery contacts are clean and in good condition.
- Cleaning the Laser Level: Use a lint-free cloth or a cotton swab dipped in isopropyl alcohol to clean the laser lens. Remove any dirt, smudges, or debris that may be obstructing the laser beam. Be gentle to avoid damaging the lens.
- Replacing Batteries: If the laser level is not turning on or experiencing intermittent power issues, check the batteries. Replace them with fresh batteries of the correct type and ensure they are properly inserted with the correct polarity (+/-).
- Calibrating the Laser Level: Some laser levels require calibration to ensure accurate measurements. Follow the manufacturer’s instructions to calibrate your specific model. This may involve using calibration targets, adjusting screws, or leveling bubble vials.
- Fixing Laser Alignment Issues: If the laser beam is misaligned, there may be an issue with the internal pendulum or leveling mechanism. Refer to the user manual or contact the manufacturer for troubleshooting steps, which may include resetting the pendulum or adjusting leveling screws.
- Repairing Damaged Casing or Components: If the casing is cracked or components are damaged, you may need to repair or replace them. Use adhesive or epoxy to secure any loose parts or consider seeking professional assistance if the damage is extensive.
- Testing the Laser Level: Once you have completed the repairs, it’s important to test the laser level to ensure it’s functioning correctly. Set up the laser level on a stable surface, turn it on, and check that the laser beam is projected accurately and aligns with the intended reference points. Use a secondary leveling tool to confirm the laser level’s accuracy.
By following these step-by-step instructions, you can address common problems with your laser level and restore its functionality. Remember to refer to your laser level’s user manual or contact the manufacturer for specific troubleshooting guidance.
In the next section, we will provide additional tips and resources to help you with your laser level maintenance and repairs.
Read more: How To Work A Water Level Or Laser Level
Inspecting the Laser Level
Before beginning the repair process, the first step is to conduct a thorough inspection of your laser level. This involves examining the device for any visible damage or signs of wear that could affect its performance.
Here are some key points to consider during the inspection:
- Check the casing: Carefully inspect the housing of the laser level for any cracks, dents, or other damage. The casing not only protects the internal components but also ensures the device’s overall integrity. If you notice any cracks or damage, it’s important to address them during the repair process.
- Inspect the battery compartment: Open the battery compartment and examine the battery contacts. Ensure that they are clean and free from dirt or corrosion. Clean them with a soft cloth or a cotton swab if necessary.
- Look for signs of moisture: Moisture can be detrimental to the internal electronics of a laser level. Check for any signs of water damage, such as fogging inside the casing, watermarks, or rust. If you suspect moisture exposure, take additional precautions during the repair process.
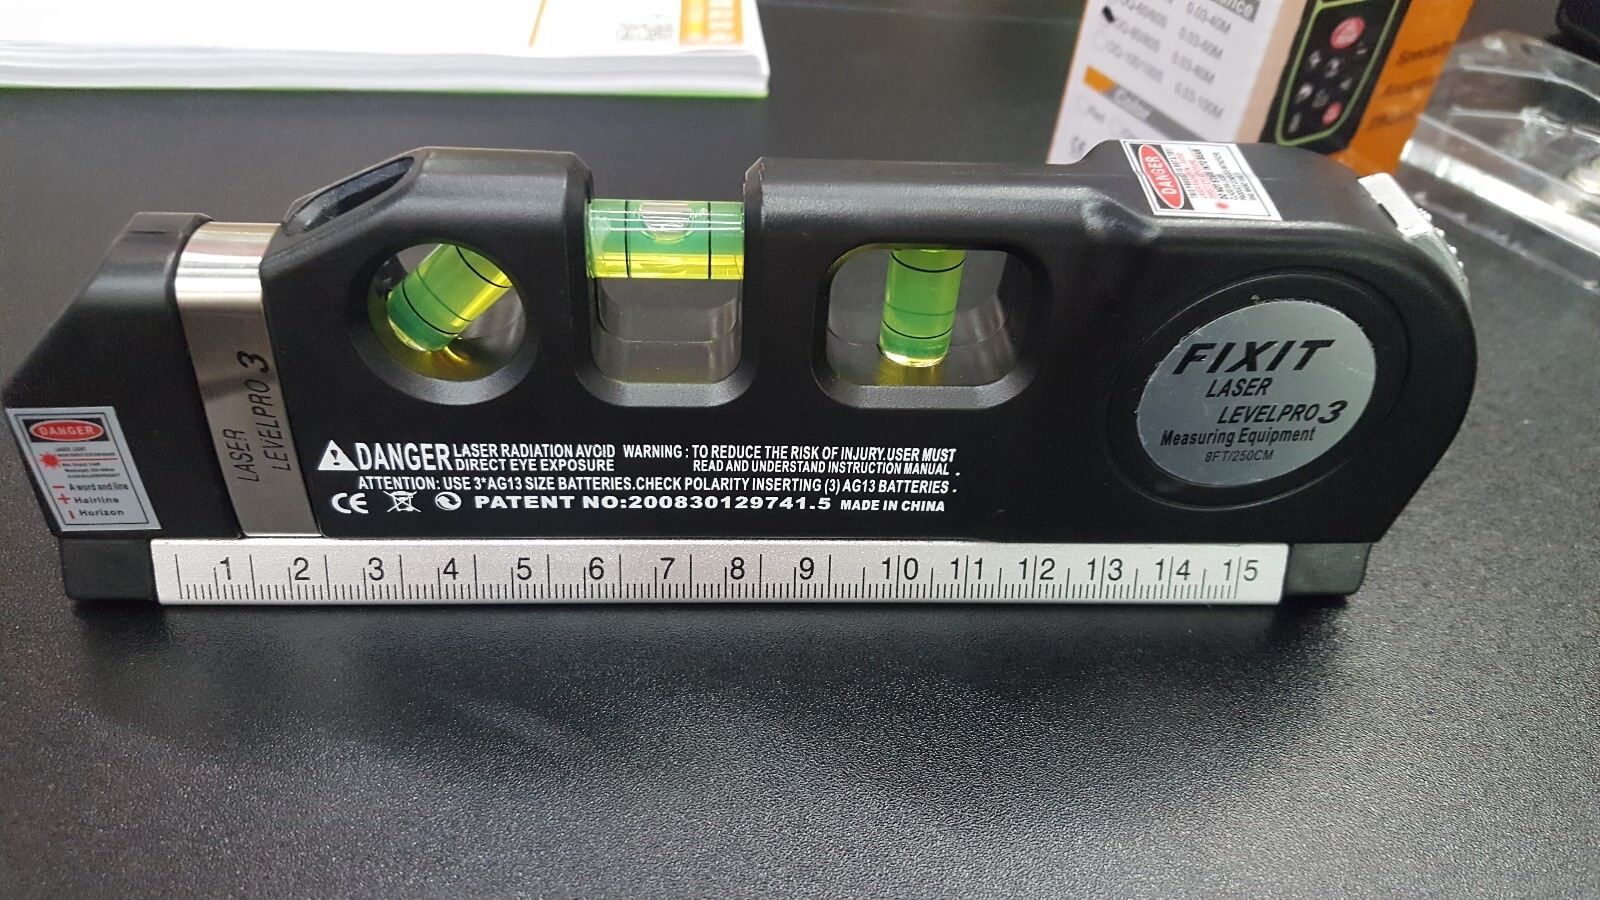
- Examine the leveling indicators: Laser levels often have built-in bubble vials or digital displays to indicate the device’s level. Make sure these indicators are functioning correctly and provide accurate readings. If they appear misaligned or erratic, it may indicate a problem with the leveling mechanism.
- Ensure proper alignment of components: Check that all the components inside the laser level, such as the laser module and the leveling pendulum, are properly aligned. Any misalignment can affect the accuracy of the laser beam projection. If you notice any loose or misaligned parts, take note of them for further inspection.
By thoroughly inspecting your laser level, you can identify any visible issues that may require repair. Keep a record of the problems you find as it will help you during the repair process. Additionally, refer to your laser level’s user manual or contact the manufacturer for further guidance if needed.
Now that you have completed the inspection, it’s time to move on to the next step: cleaning the laser level.
Cleaning the Laser Level
After conducting a thorough inspection of your laser level, the next step in the repair process is to clean the device. Cleaning the laser level ensures that the laser beam remains clear and unobstructed, and it helps to maintain the overall performance of the device.
Here’s how you can effectively clean your laser level:
- Clean the laser lens: The laser lens is a critical component of the laser level as it allows the laser beam to project accurately. Use a lint-free microfiber cloth or a cotton swab dipped in isopropyl alcohol to gently clean the lens. Remove any dirt, smudges, or debris that may have accumulated. Be careful not to scratch or damage the lens while cleaning.
- Clean the casing: Wipe down the exterior casing of the laser level using a soft cloth. Remove any dust, grime, or fingerprints that might have accumulated. Pay special attention to crevices and corners where dirt can accumulate. You can also use a mild household cleaner or glass cleaner for stubborn stains, but avoid getting any liquids inside the device.
- Remove dirt or debris: Carefully inspect the laser level for any dirt or debris that may have entered the internal components. Use a soft brush, such as a clean paintbrush or a compressed air canister, to gently remove any particles. Avoid applying excessive force to prevent damage to delicate components.
- Dry the laser level: After cleaning, ensure that the laser level is completely dry before proceeding with further repairs or use. Allow the device to air dry or use a soft cloth to gently dry any residual moisture.
Regularly cleaning your laser level is essential for maintaining its performance and prolonging its lifespan. It is recommended to clean the device after each use, especially if it has been exposed to dusty or dirty environments.
Now that you have cleaned the laser level, the next step is to check and replace the batteries, which we will cover in the following section.
Replacing Batteries
If your laser level is experiencing power-related issues or not turning on at all, it’s crucial to check and replace the batteries. Faulty or drained batteries can significantly impact the performance of the laser level.
Follow these steps to replace the batteries in your laser level:
- Identify the battery type: Consult your laser level’s user manual or check the markings on the device to determine the correct battery type. Common types include AA, AAA, or lithium-ion batteries. Make sure to use batteries that match the required specifications.
- Remove the battery compartment cover: Locate the battery compartment on your laser level. Depending on the model, you may need to unscrew a cover or slide a latch to open it. Use a screwdriver or your fingers to remove the cover and access the battery compartment.
- Remove the old batteries: Take note of the battery orientation, usually indicated by plus (+) and minus (-) signs, or follow the polarity diagram inside the battery compartment. Gently remove the old batteries, making sure not to damage the contacts or other components in the process.
- Insert new batteries: Insert the fresh batteries into the battery compartment, following the correct polarity as indicated. Push them in firmly but gently to ensure they are properly seated. Double-check that the batteries are securely in place to ensure a good electrical connection.
- Replace the battery compartment cover: Once the new batteries are installed, carefully replace the battery compartment cover. Make sure it is securely fastened to prevent any accidental battery dislodgement during use.
It’s always a good practice to have spare batteries on hand, especially if you frequently use your laser level. This ensures that you can quickly replace the batteries whenever needed, avoiding any interruptions in your work.
Once you have replaced the batteries, test your laser level to see if the power issues have been resolved. If the laser level still does not turn on or if you encounter other issues, it may be necessary to further troubleshoot or seek professional assistance.
In the next section, we will discuss the importance of calibrating your laser level and provide step-by-step instructions on how to do it.
Calibrating the Laser Level
Calibrating your laser level is an essential step to ensure accurate measurements and precise alignment. Over time, environmental factors or rough handling can cause the calibration to drift, resulting in inaccurate readings. Calibrating the laser level will help restore its accuracy and performance.
Follow these steps to calibrate your laser level:
- Consult the user manual: Refer to your laser level’s user manual for specific instructions on how to calibrate your particular model. Different laser levels may have varying calibration methods.
- Find a level surface: Set up your laser level on a flat and stable surface. Verify that the surface is level by using a secondary leveling tool, such as a spirit level or a digital level. Adjust the position of the laser level as necessary to ensure it is perfectly level.
- Activate the self-leveling mode: If your laser level has a self-leveling mode, make sure it is enabled. This mode uses internal mechanisms, such as a pendulum, to automatically level the laser beam. Wait for the self-leveling process to complete before proceeding.
- Position the calibration target: Some laser levels come with calibration targets, which are specifically designed to aid in calibration. Place the calibration target a reasonable distance away from the laser level, ensuring it is within the range of the beam. The target should have clearly marked reference points.
- Aim the laser at the target: Adjust the position and orientation of the laser level until the laser beam is precisely aligned with the reference points on the calibration target. Use the horizontal and vertical adjustment screws or knobs to make fine adjustments as necessary.
- Rotate the laser level: If you have a rotary laser level, rotate it slowly to ensure that the laser beam remains aligned with the reference points on the calibration target. Keep an eye on the alignment throughout the rotation and make adjustments if needed.
- Verify the alignment: Check the alignment of the laser beam with the reference points on the calibration target from different angles and distances. This will help ensure that the calibration is accurate and consistent.
Completing the calibration process will restore the accuracy of your laser level, ensuring reliable measurements and precise alignment. It’s a good practice to perform regular calibration checks to maintain the quality of your laser level’s performance.
If you encounter difficulties during the calibration process or if the laser level does not calibrate properly, refer to the user manual or contact the manufacturer for further assistance.
In the next section, we will address issues related to laser alignment and provide guidance on how to fix them.
Read more: How Dangerous Is Laser Level
Fixing Laser Alignment Issues
If you notice that the laser beam from your laser level is not properly aligned or is projecting at an angle, there may be an issue with the laser alignment. Fortunately, there are steps you can take to fix these alignment issues and ensure accurate measurements and precise leveling.
Follow these steps to fix laser alignment issues:
- Check for obstruction: Inspect the laser lens and housing for any dirt, debris, or obstructions that may be interfering with the laser beam. Clean the lens and remove any particles using a soft cloth or a cotton swab dipped in isopropyl alcohol. Ensure the lens is clear and unobstructed.
- Reset the self-leveling mechanism: If your laser level has a self-leveling mechanism, there may be times when it gets stuck or requires resetting. Refer to the user manual for instructions on how to reset the mechanism, as it can vary depending on the model.
- Adjust the leveling screws: Some laser levels have leveling screws that allow you to manually adjust the laser beam’s alignment. Use a screwdriver or the provided tool to make small adjustments to the screws. Turn the screws clockwise or counterclockwise in small increments to move the beam until it aligns properly.
- Ensure a stable setup: Place your laser level on a stable surface to minimize any vibrations or movement that can affect the alignment. Secure the laser level to a tripod or mounting bracket if possible to ensure a steady setup.
- Perform a tripod adjustment: If you are using a rotary laser level, ensure that the tripod is properly leveled. Use a secondary leveling tool, such as a spirit level, to adjust the tripod legs until they are perfectly level. This will help maintain the accuracy of the laser beam as it rotates.
- Check for magnetic interference: In some cases, nearby magnetic objects can interfere with the laser beam and cause misalignment. Move any magnetic objects away from the laser level and recheck the alignment to see if it improves.
- Verify alignment with a secondary leveling tool: To ensure accurate alignment, use a secondary leveling tool, such as a spirit level or a digital level, to confirm that the laser beam is projecting a perfectly level line or plane. Adjust the laser level as necessary until it aligns with the secondary leveling tool.
By following these steps, you can address laser alignment issues and ensure that your laser level is projecting a straight and level beam. Regularly check the alignment of your laser level to maintain its accuracy and reliability.
In the next section, we will discuss how to repair damaged casing or components of the laser level.
When repairing a laser level, start by checking the batteries and cleaning the laser lens. If the issue persists, consider calibrating the level or seeking professional repair.
Repairing Damaged Casing or Components
If your laser level has suffered from physical damage, such as a cracked casing or damaged components, it’s important to address these issues to ensure proper functionality and protection of the internal mechanisms. Repairing the damaged casing or components will help maintain the integrity of the laser level.
Follow these steps to repair damaged casing or components of your laser level:
- Assess the extent of the damage: Carefully examine the casing and components to determine the severity of the damage. Identify any cracks, dents, or broken parts that need to be repaired or replaced.
- Remove the casing: If necessary, use the appropriate screwdrivers to gently remove the screws securing the casing. Be cautious not to strip the screws or damage the surrounding components.
- Repair the casing: If the casing has cracks or fractures, you can repair them using adhesive or epoxy designed for plastic or metal. Follow the instructions on the adhesive or epoxy packaging for the best results. Apply a small amount of adhesive along the cracked area, align the broken pieces, and apply gentle pressure to ensure a secure bond. Allow the adhesive to dry and set according to the manufacturer’s instructions.
- Replace damaged components: If any internal components are damaged beyond repair, they may need to be replaced. Contact the manufacturer or a professional repair service to source the appropriate replacement parts and follow their instructions for installing the new components.
- Reassemble the laser level: Once the repairs or component replacements are complete, carefully reassemble the laser level by fastening the casing screws securely. Ensure that all parts fit snugly together and that no loose components remain.
- Test the laser level: After the repairs, test the laser level to ensure it is functioning correctly. Turn on the device and check that the laser beam is projected accurately and aligns with the intended reference points. Use a secondary leveling tool to confirm the laser level’s accuracy.
Repairing damaged casing or components of your laser level may require some precision and patience. If you are not confident in your repair skills, it’s advisable to seek professional assistance or contact the manufacturer for further guidance.
Now that you have repaired the damaged casing or components, it’s time to move on to the final step: testing the laser level to ensure its functionality.
Testing the Laser Level
Once you have completed the repairs and adjustments on your laser level, it’s important to test the device to ensure that it is functioning correctly and projecting accurate laser beams. Testing the laser level will help you verify that the repairs have been successful and that the device is ready for use.
Follow these steps to test your laser level:
- Set up a test area: Find a suitable area where you can safely project and observe the laser beam. Ideally, this should be a flat surface with a good amount of distance so that you can clearly see the projected laser line or plane.
- Power on the laser level: Turn on the laser level and ensure that it is properly powered. If you are using batteries, double-check that they are correctly inserted and have enough charge. If there is a power switch, make sure it is in the “On” position.
- Aim and project the laser beam: Position the laser level so that the laser beam is directed at the desired reference point or target area. Use the leveling adjustments or any built-in alignment features to ensure that the laser beam is projected accurately.
- Observe the laser beam: Take a close look at the projected laser line or plane. Ensure that it is straight, level, and aligned with the desired reference points. Use a secondary leveling tool, such as a spirit level or a digital level, to confirm its accuracy.
- Check at different distances and angles: Walk around the test area and observe the laser beam from different distances and angles. This will help you identify any potential issues with misalignment or inconsistencies in the laser projection.
- Verify the accuracy: Use additional measuring tools, such as a ruler or a tape measure, to confirm the accuracy of the laser level’s measurements. Compare the laser-projected lines or planes with the measurements obtained from the secondary tools.
- Make necessary adjustments: If you notice any issues or inaccuracies during the testing process, make the necessary adjustments to the laser level’s positioning or alignment. Follow the specific instructions provided in the user manual for fine-tuning the device.
By thoroughly testing your laser level, you can ensure that it is operating properly and projecting accurate laser beams. This step will give you confidence in the device’s performance and accuracy for your future projects.
If you encounter any persistent issues or if the laser level does not perform as expected, it may be necessary to consult the user manual or seek professional assistance to further troubleshoot the problem.
Congratulations on completing the repair process for your laser level! With regular maintenance and proper care, your laser level should continue to provide accurate and precise measurements for your construction or home improvement projects.
Remember, safety is always a priority when using any tools or equipment. Follow all safety guidelines and precautions outlined in the user manual to ensure a safe working environment.
Additional Tips and Resources will be covered in the next section.
Conclusion
Repairing a laser level may seem like a daunting task, but with the right knowledge and guidance, you can troubleshoot and fix common issues on your own. By following the step-by-step guide outlined in this article, you can address problems such as misaligned lasers, weak beams, battery issues, inaccurate leveling, and damaged casings or components.
Throughout the repair process, it’s important to have the necessary tools and materials on hand. Screwdrivers, cleaning supplies, replacement batteries, leveling tools, adhesive or epoxy, and calibration targets are some of the key items you may need to successfully repair your laser level.
Inspecting the laser level allows you to identify visible damage or loose components that may need attention. Cleaning the laser level ensures that the laser lens is clear and free from dirt or debris. Replacing batteries is a common fix for power-related issues, and calibration helps restore accuracy for precise measurements.
If you encounter laser alignment issues, you can troubleshoot by checking for obstructions, resetting the self-leveling mechanism, adjusting leveling screws, ensuring a stable setup, checking for magnetic interference, and verifying alignment with a secondary leveling tool.
Repairing damaged casing or components involves carefully assessing the damage, removing the casing, repairing or replacing parts as needed, and reassembling the laser level. Finally, testing the laser level allows you to confirm that the repairs have been successful and that the device is functioning properly.
Remember to refer to your laser level’s user manual or contact the manufacturer for specific troubleshooting guidance if needed. If you are unsure or uncomfortable with any step of the repair process, seek professional assistance to ensure correct and safe handling of your laser level.
By taking the time to repair and maintain your laser level, you can extend its lifespan, save on costly repairs, and continue to benefit from its accurate measurements and precise leveling in your construction or home improvement projects.
Thank you for reading this comprehensive guide on how to repair a laser level. We hope that it has provided you with the knowledge and confidence to tackle common issues and keep your laser level in top shape for all your professional or DIY projects.
Remember, safety is paramount while using any tools or equipment. Always exercise caution and follow the instructions and guidelines provided by the manufacturer. Happy repairing!
If you are interested in learning more about laser levels, their features, and best practices for their use, be sure to check out our additional tips and resources in the next section.
Read more: How To Use A Laser Level
Additional Tips and Resources
Congratulations on successfully repairing your laser level! To further enhance your knowledge and ensure the optimal performance of your laser level, here are some additional tips and resources:
1. Regular maintenance:
Maintaining your laser level is crucial for its long-term functionality. Clean the lens regularly to remove dirt or debris that can affect the laser beam’s clarity. Keep the casing protected from excessive moisture, extreme temperatures, and rough handling. Perform routine checks for loose screws or components that may need tightening.
2. Store your laser level properly:
When not in use, store your laser level in its designated case or box to protect it from dust, moisture, and accidental damage. Ensure that batteries are removed or disconnected to prevent corrosion or power drain.
3. Seek professional repairs when necessary:
If you encounter complex or persistent issues with your laser level that you are unable to resolve, it’s always a good idea to consult a professional technician or contact the manufacturer’s customer support for further assistance. They have the expertise and specialized tools to diagnose and repair more intricate problems.
Read more: How To Choose A Laser Level
4. Stay up-to-date with firmware updates:
Check the manufacturer’s website periodically for firmware updates for your laser level. Firmware updates often include improvements, bug fixes, and new features that can enhance the performance and accuracy of your device. Follow the provided instructions to update the firmware properly.
5. Join online communities and forums:
Engaging with online communities and forums related to laser levels can provide valuable insights, tips, and troubleshooting advice from fellow users or professionals. Share your experiences, ask questions, and learn from others’ experiences to maximize your understanding of laser levels.
6. Attend training or certification programs:
If you frequently work with laser levels or use them in professional settings, consider attending training or certification programs. These programs provide in-depth knowledge about laser levels, their applications, safety protocols, and maintenance practices. It can also enhance your professional credibility and skillset.
By implementing these tips and utilizing available resources, you can ensure the longevity and optimal performance of your laser level. Remember to always prioritize safety, read and follow the manufacturer’s instructions, and handle your laser level with care.
We hope that this comprehensive guide and additional tips have been valuable in assisting you with repairing your laser level and improving your overall understanding of these versatile tools. Happy measuring and leveling!
Frequently Asked Questions about How To Repair Laser Level
Was this page helpful?
At Storables.com, we guarantee accurate and reliable information. Our content, validated by Expert Board Contributors, is crafted following stringent Editorial Policies. We're committed to providing you with well-researched, expert-backed insights for all your informational needs.


0 thoughts on “How To Repair Laser Level”