Home>Furniture & Design>Outdoor Furniture>How To Replace Bulb In Outdoor Lamp Post
Outdoor Furniture
How To Replace Bulb In Outdoor Lamp Post
Modified: February 18, 2024
Learn how to easily replace the bulb in your outdoor lamp post with our step-by-step guide. Keep your outdoor furniture well-lit and inviting. Discover the best techniques for maintaining outdoor furniture.
(Many of the links in this article redirect to a specific reviewed product. Your purchase of these products through affiliate links helps to generate commission for Storables.com, at no extra cost. Learn more)
Introduction
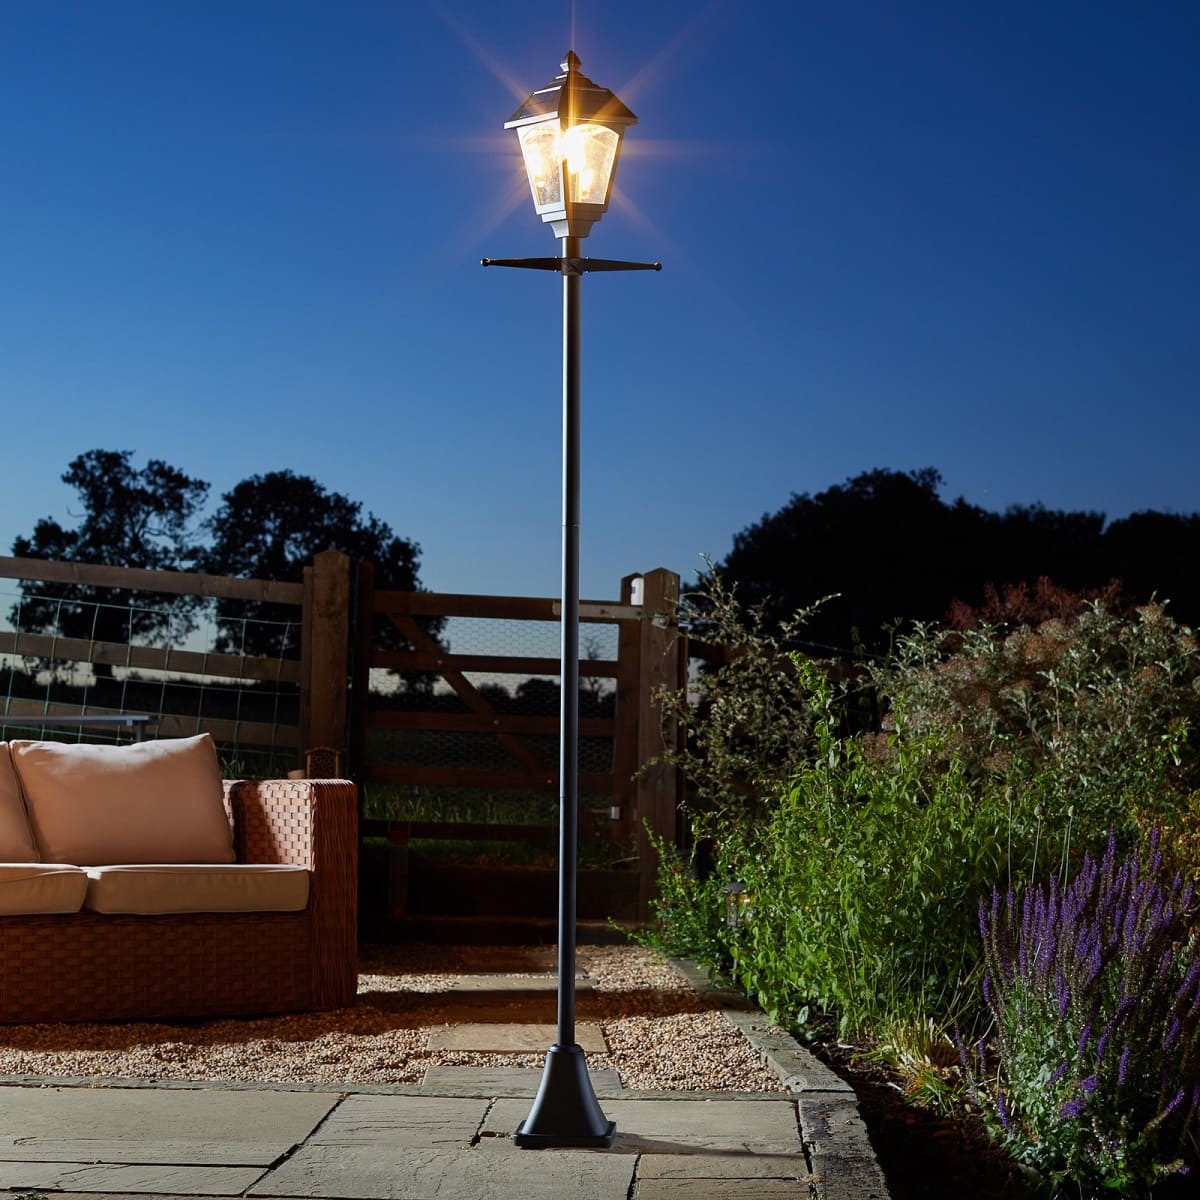
Welcome to our guide on replacing the bulb in an outdoor lamp post. Outdoor lighting not only enhances the aesthetics of your home but also provides safety and security. Over time, the bulbs in outdoor lamp posts may need replacement due to wear and tear or simply reaching the end of their lifespan. Knowing how to replace these bulbs can save you time and money, as well as ensure that your outdoor spaces remain well-lit.
In this comprehensive guide, we will walk you through the step-by-step process of replacing the bulb in your outdoor lamp post. Whether you're a seasoned DIY enthusiast or a novice looking to tackle a new project, this guide will equip you with the knowledge and confidence to complete the task successfully. From gathering the necessary tools to safely installing the new bulb, we've got you covered.
So, let's roll up our sleeves and shed some light on the process of replacing the bulb in your outdoor lamp post. With the right tools and a bit of know-how, you'll have your outdoor space illuminated in no time!
Key Takeaways:
- Stay safe and well-prepared by gathering the right tools and turning off the power before replacing the bulb in your outdoor lamp post. Prioritize safety and ensure a well-lit outdoor space.
- By mastering the art of bulb replacement, you can maintain a well-lit and inviting outdoor environment. Prioritize safety, optimize illumination, and stay proactive in maintaining your outdoor lighting fixtures.
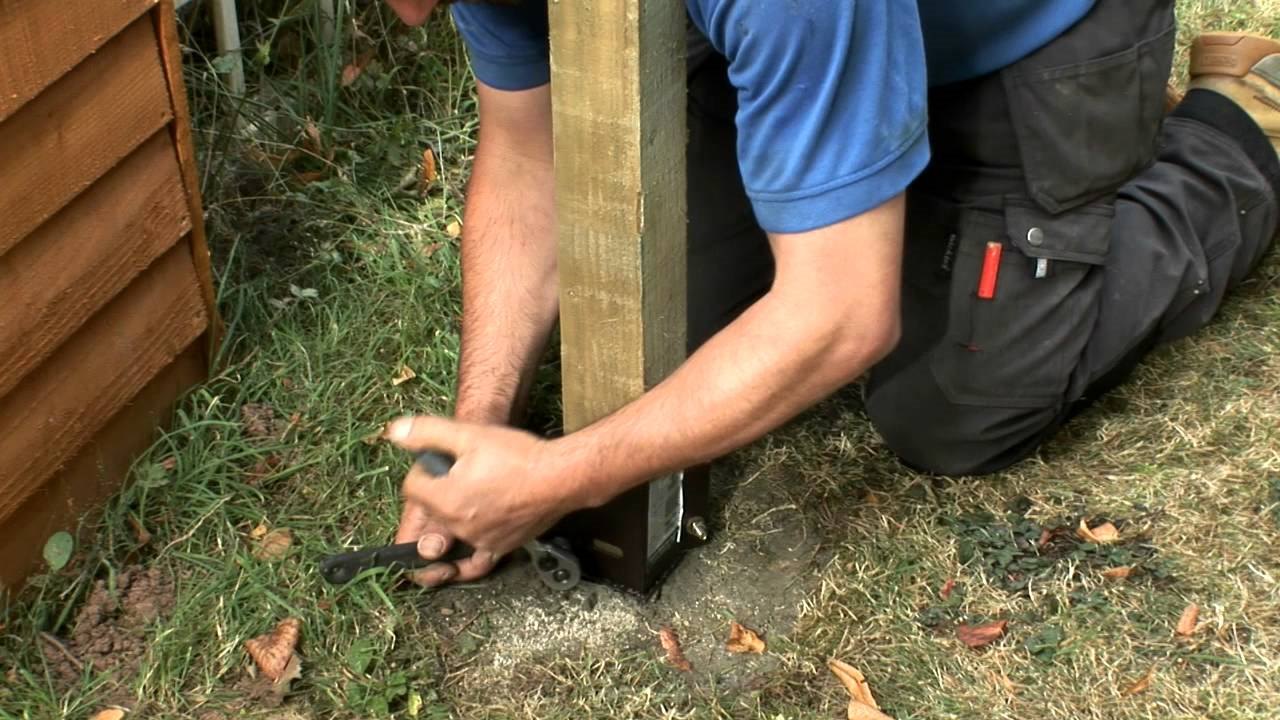
Read more: How To Replace An Outdoor Lamp Post
Step 1: Gather Necessary Tools and Equipment
Before you begin the process of replacing the bulb in your outdoor lamp post, it’s essential to gather the necessary tools and equipment. Having the right items on hand will streamline the task and ensure that you can complete the replacement efficiently. Here’s what you’ll need:
- Gloves: It’s always a good idea to wear gloves to protect your hands, especially if the lamp post has been in use and the bulb may be hot.
- Ladder: Depending on the height of your lamp post, you may need a sturdy ladder to access the bulb. Ensure that the ladder is on a stable surface before climbing.
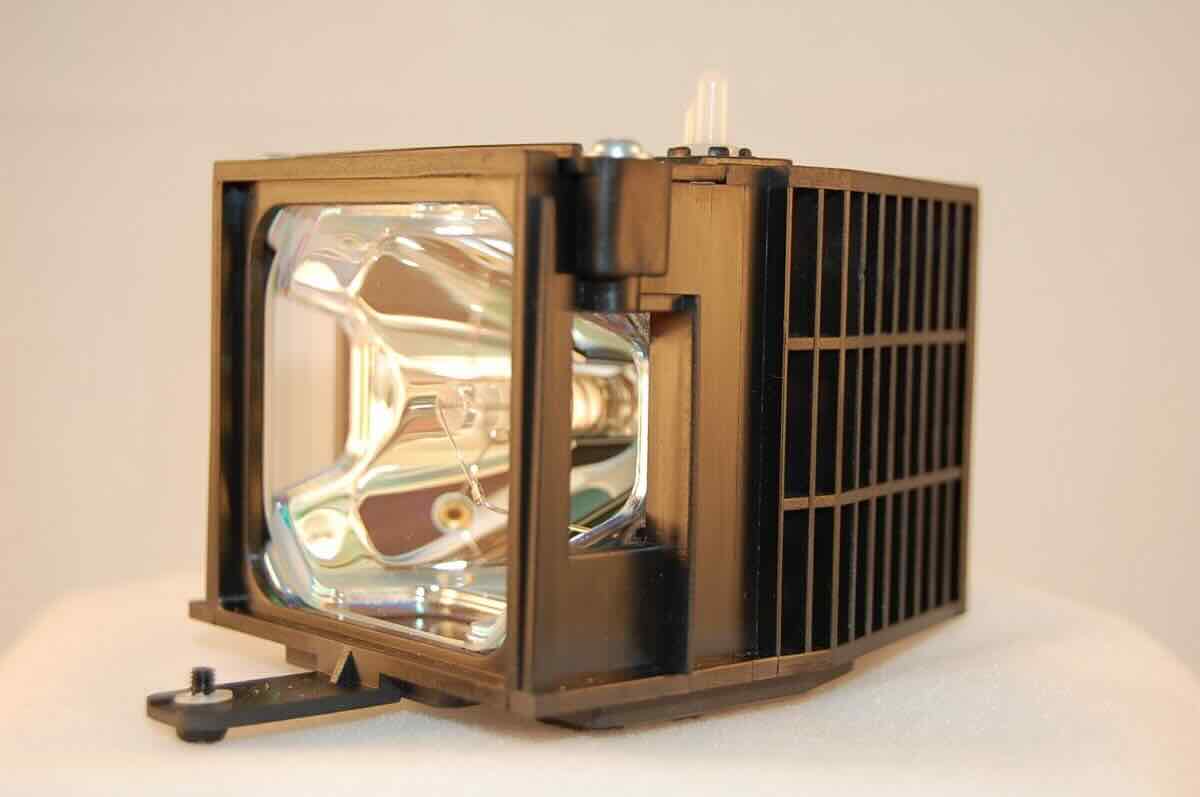
- Replacement Bulb: Identify the type and size of the bulb needed for your lamp post. This information is often found in the lamp’s manual or on the old bulb itself. If in doubt, take the old bulb with you when purchasing a replacement.
- Safety Glasses: Protect your eyes by wearing safety glasses, especially if the bulb is located in a position where debris or dirt may fall during the replacement process.
- Screwdriver or Wrench: Depending on the lamp post’s design, you may need a screwdriver or wrench to remove any covers or access panels to reach the bulb.
- Cleaning Cloth: A soft cleaning cloth can be handy for wiping down the lamp post and removing any accumulated dust or dirt.
- Electrical Tester: For added safety, an electrical tester can be used to ensure that the power to the lamp post has been successfully turned off before starting the replacement.
By gathering these tools and equipment before you begin, you’ll be well-prepared to tackle the task of replacing the bulb in your outdoor lamp post. With safety in mind and the necessary items at your disposal, you can proceed to the next steps with confidence.
Step 2: Turn Off the Power
Before working on the outdoor lamp post, it’s crucial to ensure that the power supply to the fixture is completely turned off. This step is essential for your safety and prevents the risk of electrical shock or injury during the bulb replacement process. Here’s how to safely turn off the power:
- Locate the Power Source: Identify the power source for the outdoor lamp post. This may be a designated switch in your home’s electrical panel or a specific circuit breaker.
- Switch Off the Power: If there is a dedicated switch for the lamp post, turn it off. Alternatively, if the post is connected to a circuit breaker, switch off the corresponding breaker to cut off the power supply.
- Verify the Power Is Off: Once the power source has been switched off, it’s essential to verify that the electricity to the lamp post has been effectively shut down. You can do this by using an electrical tester to check for any remaining electrical current. If you’re unsure about using an electrical tester, it’s best to consult with a qualified electrician.
By taking the time to turn off the power supply to the outdoor lamp post, you’re prioritizing safety and minimizing the risk of accidents while working on the bulb replacement. Always proceed with caution and ensure that the power remains off throughout the entire process until the new bulb is securely installed.
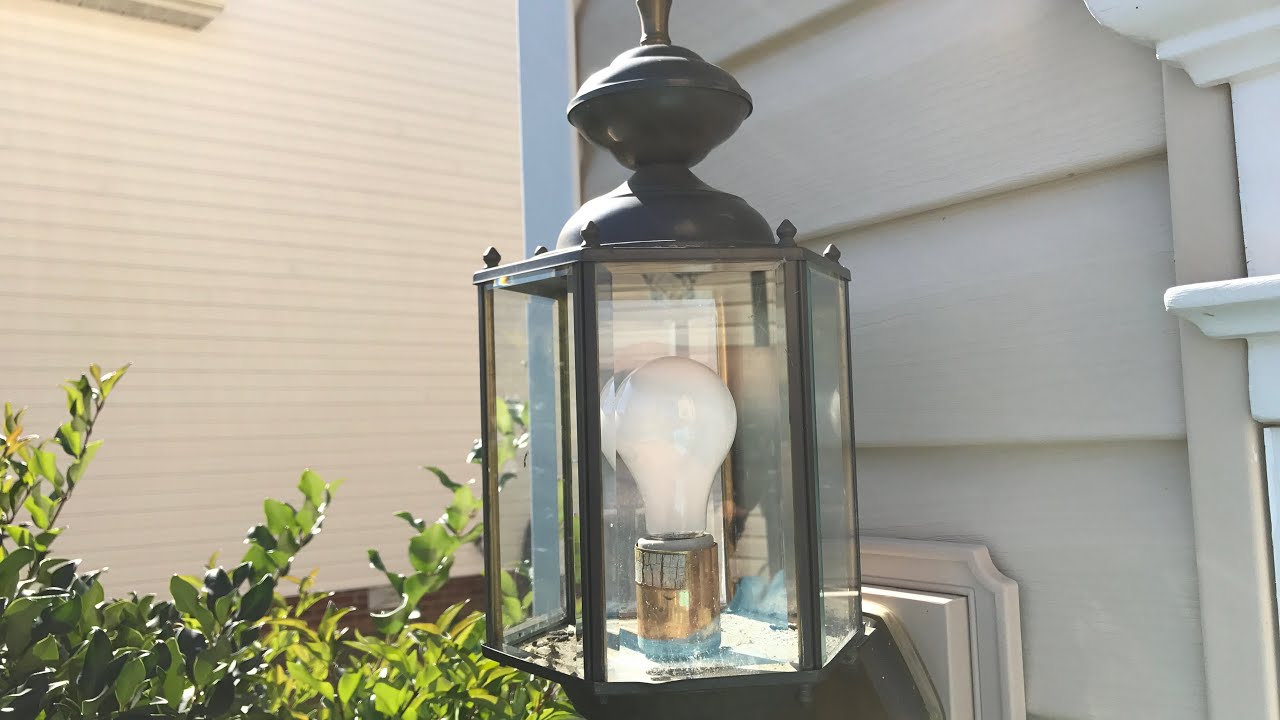
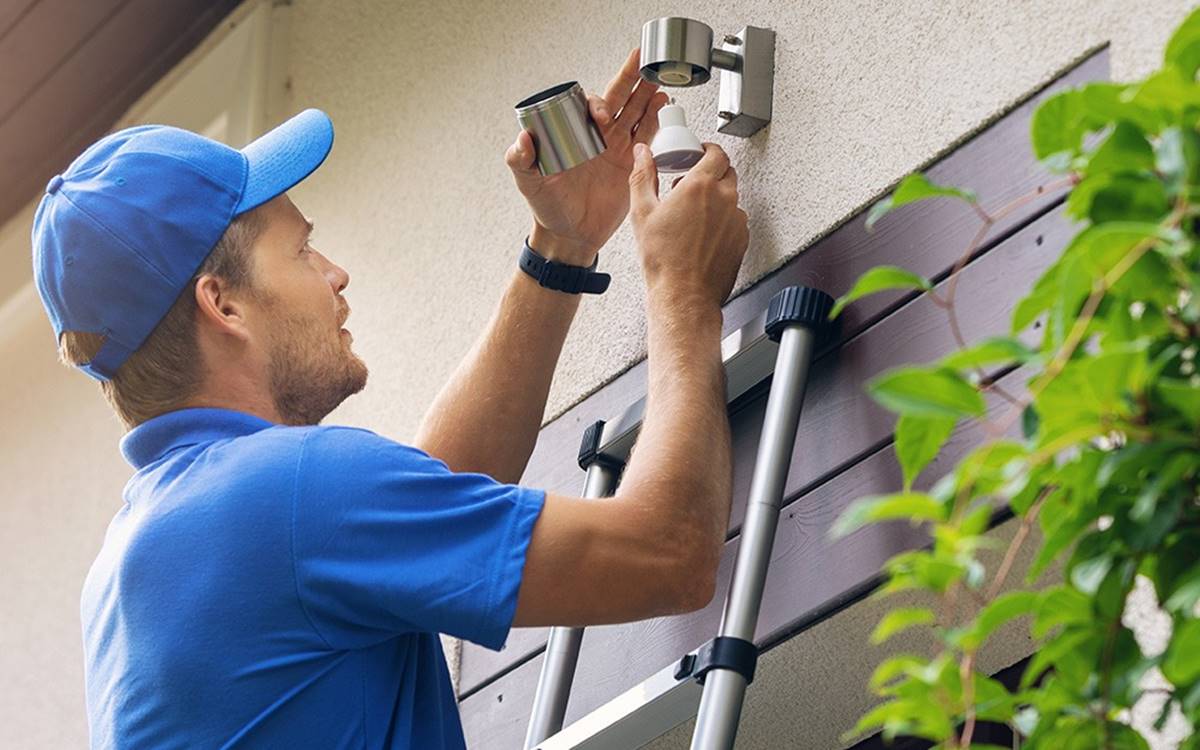
Step 3: Remove the Old Bulb
With the power safely turned off, you can now proceed to remove the old bulb from your outdoor lamp post. Depending on the design of the fixture, the process may vary, but the following general steps can guide you through this phase:
- Access the Bulb Housing: If your lamp post has a cover or housing around the bulb, use a screwdriver or wrench to carefully remove it. Be mindful of any screws or fasteners that may be securing the cover in place.
- Remove the Bulb: Once the bulb housing is accessible, gently unscrew or unclip the old bulb from its socket. If the bulb is a bayonet or twist-and-lock type, follow the specific instructions for your fixture to release and remove the old bulb.
- Dispose of the Old Bulb: Safely dispose of the old bulb according to your local regulations. If the old bulb is still functional, you may consider recycling it if facilities are available in your area. Otherwise, ensure that it is disposed of properly to avoid any environmental impact.
- Clean the Socket: Before installing the new bulb, take a moment to inspect the socket for any dirt or debris. Use a clean, dry cloth to gently wipe the socket and remove any accumulated dust or residue.
By carefully following these steps, you can safely remove the old bulb from your outdoor lamp post, preparing the way for the installation of a new, functional bulb. With the old bulb removed and the socket clean, you’re ready to proceed to the next phase of the replacement process.
Before replacing the bulb in an outdoor lamp post, make sure to turn off the power to the fixture to avoid any electrical accidents. Then, carefully remove the old bulb and replace it with a new one of the same wattage and type.
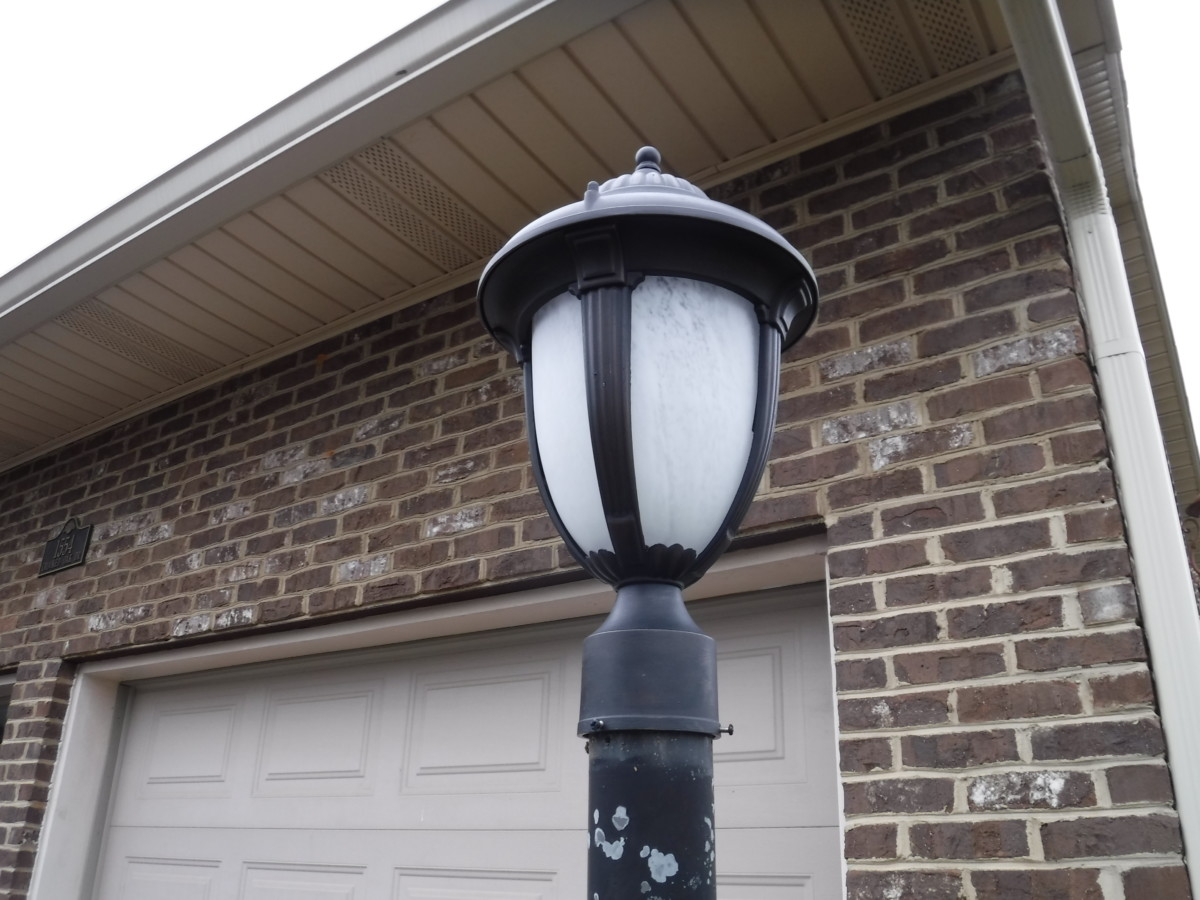
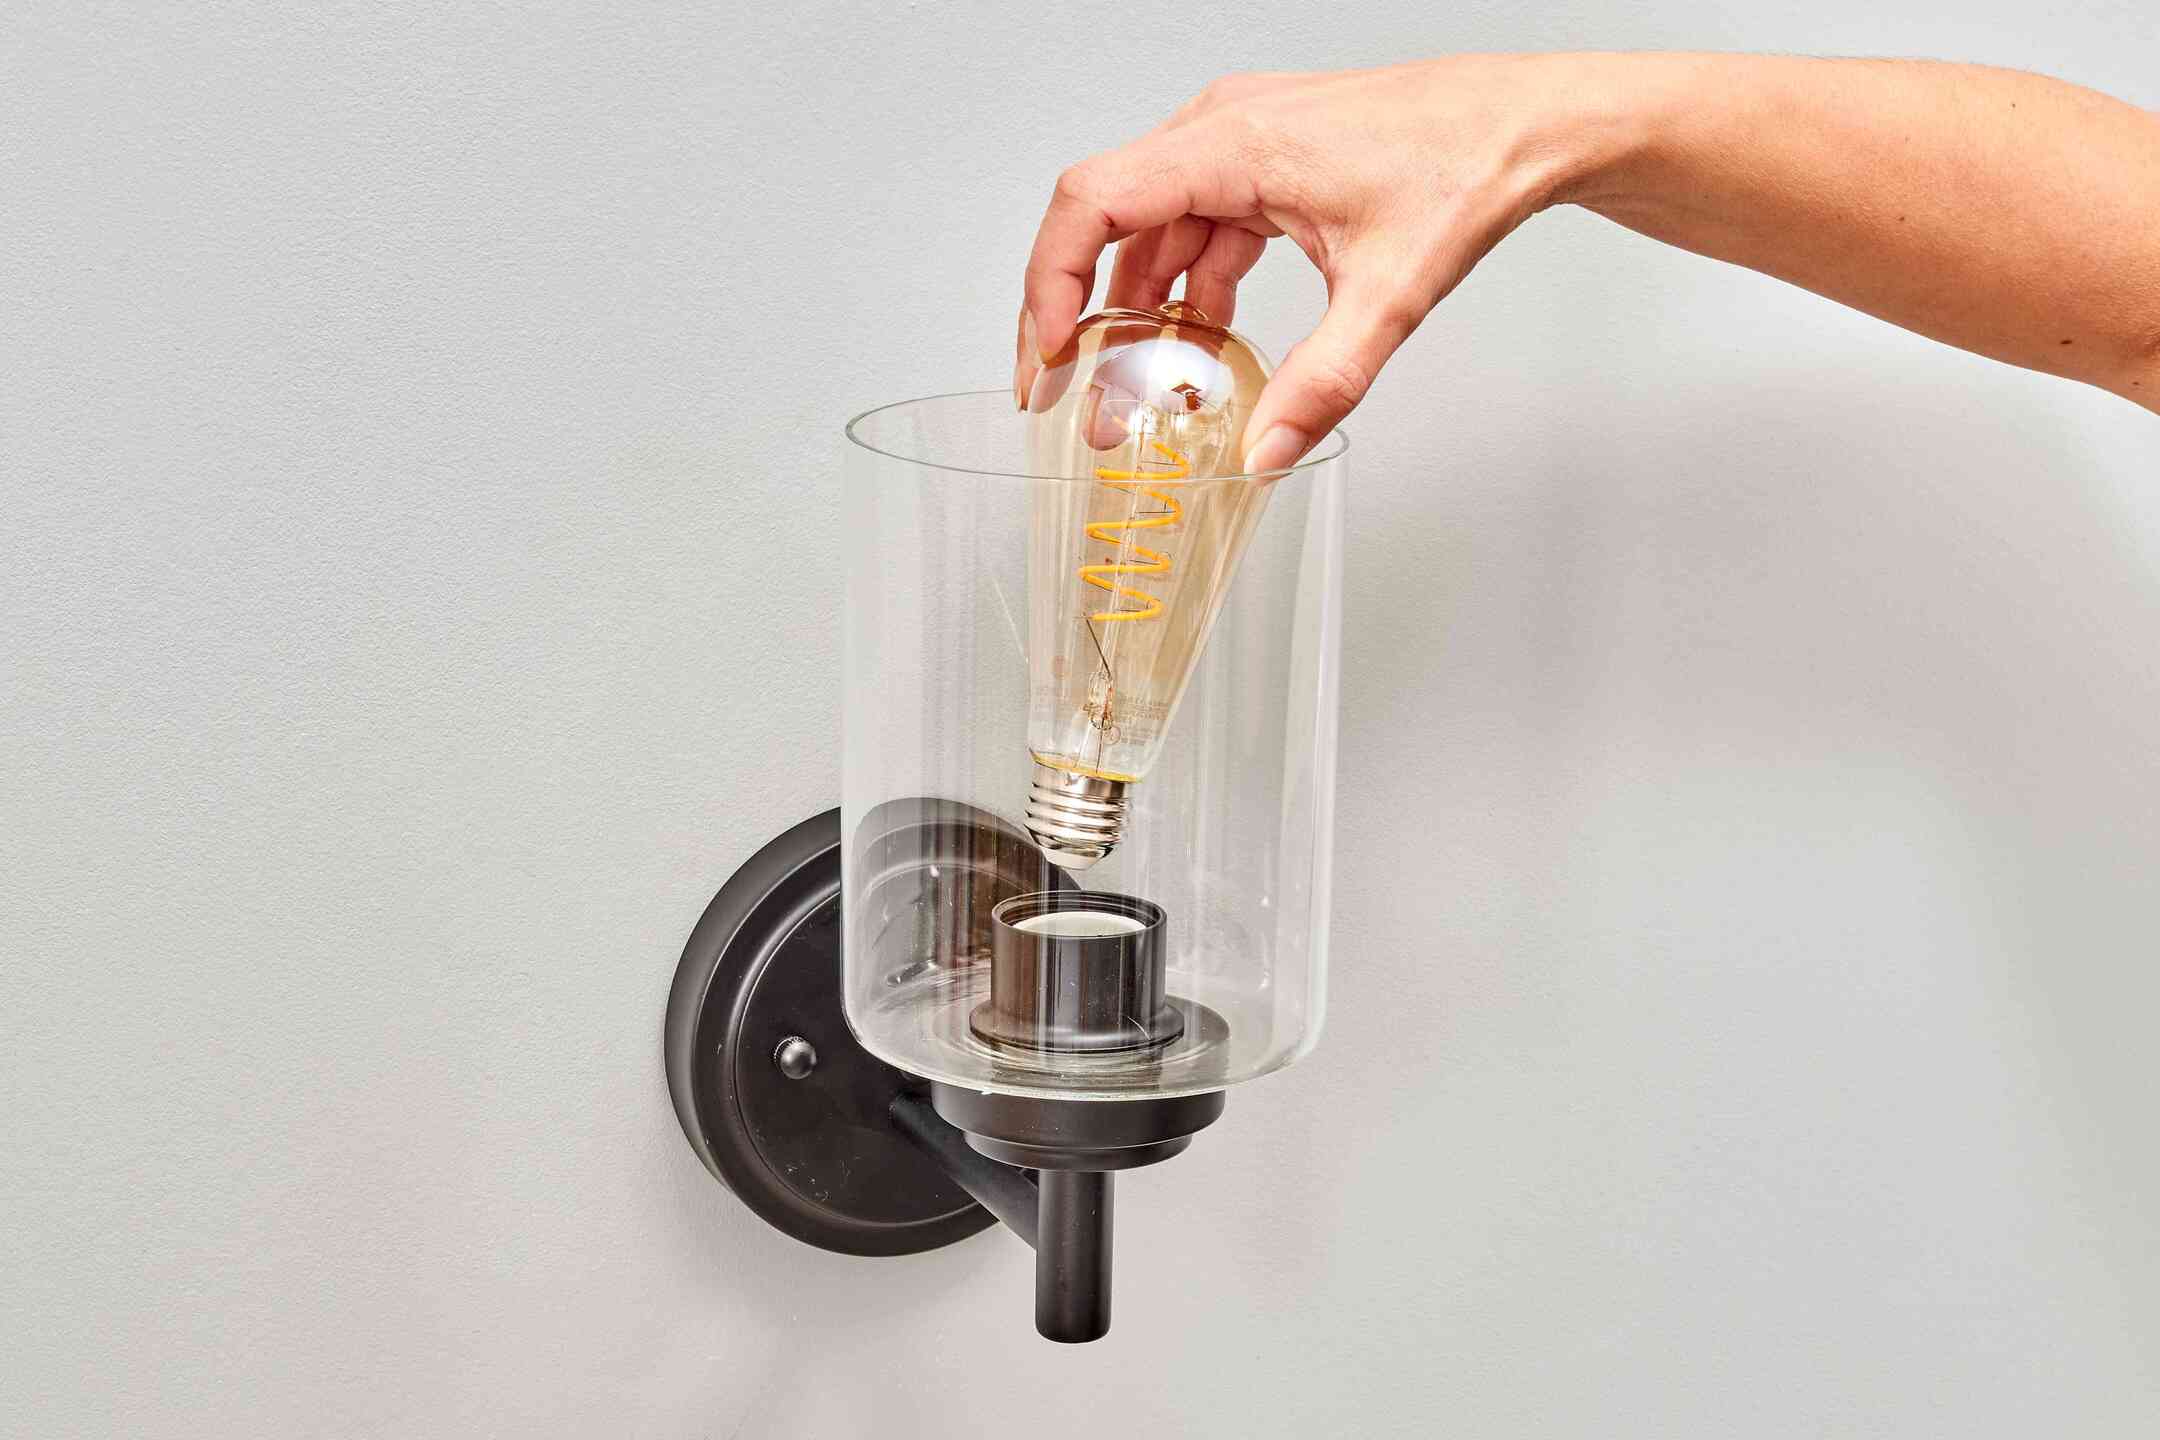
Step 4: Install the New Bulb
Now that the old bulb has been removed, it’s time to install a new bulb in your outdoor lamp post. Proper installation ensures optimal functionality and longevity for the new bulb. Follow these steps to securely install the replacement bulb:
- Select the Correct Bulb: Ensure that the replacement bulb is the correct type and size for your lamp post. Refer to the lamp’s manual or the markings on the old bulb to determine the appropriate replacement. It’s important to match the wattage and base type to avoid compatibility issues.
- Position the New Bulb: Carefully position the new bulb into the socket, aligning the base with the socket’s configuration. For bayonet or twist-and-lock bulbs, follow the specific instructions for your fixture to securely seat the new bulb in place.
- Secure the Bulb: If the new bulb requires twisting or locking into place, ensure that it is firmly secured in the socket. For screw-in bulbs, gently twist the bulb until it is snugly fitted, being careful not to overtighten.
- Replace the Bulb Housing: If your lamp post has a cover or housing for the bulb, reattach it securely using the appropriate screws or fasteners. Ensure that the cover is properly aligned and fitted to protect the new bulb.
By following these steps, you can successfully install the new bulb in your outdoor lamp post, setting the stage for a well-lit outdoor environment. With the new bulb securely in place and any protective covers reattached, you’re ready to proceed to the final phase of the replacement process.
Read more: How To Install An Outdoor Lamp Post
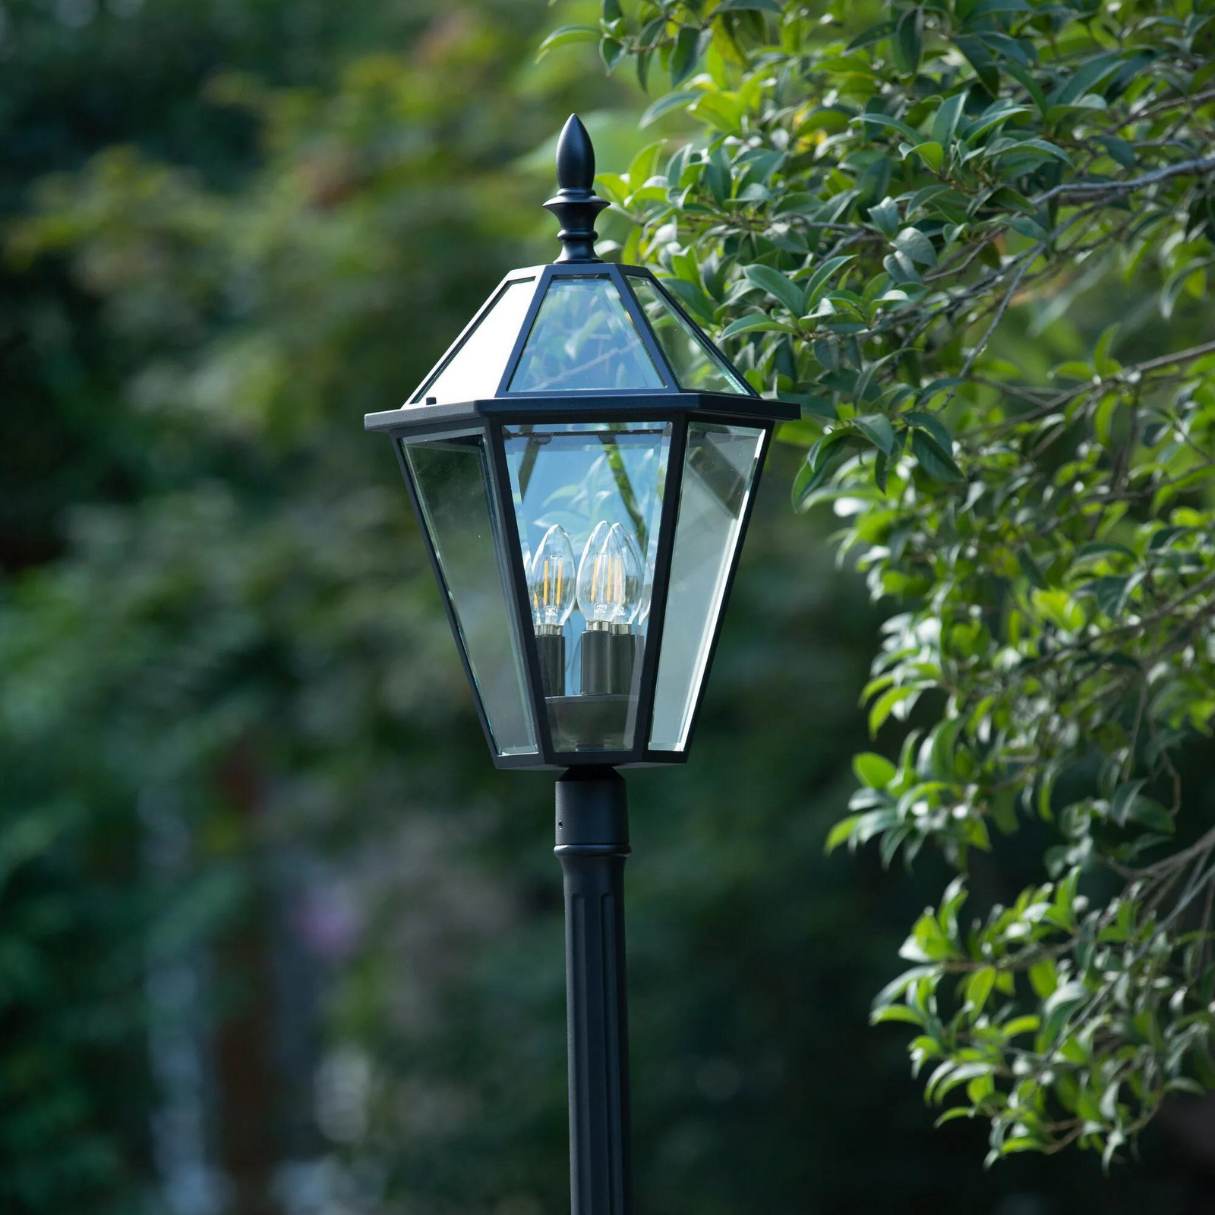
Step 5: Turn the Power Back On
With the new bulb securely installed, it’s time to restore power to your outdoor lamp post. By carefully turning the power back on, you can test the functionality of the new bulb and ensure that your outdoor space is once again illuminated. Follow these steps to safely turn the power back on:
- Verify the Bulb Installation: Before restoring power, double-check that the new bulb is correctly installed and any protective covers or housings are securely in place. This visual inspection ensures that the replacement process has been completed accurately.
- Switch On the Power: If the lamp post has a dedicated switch, turn it on to restore power to the fixture. Alternatively, if the post is connected to a circuit breaker, switch the corresponding breaker back to the “on” position to reestablish the power supply.
- Test the Bulb: Once the power is restored, test the new bulb by turning on the outdoor lamp post. Verify that the bulb illuminates as expected and emits the desired level of light. If the bulb fails to light up, double-check the installation and the power supply before proceeding.
- Adjust the Light Settings: If your outdoor lamp post has adjustable settings for brightness or motion sensors, take this opportunity to ensure that the light functions according to your preferences. Make any necessary adjustments to optimize the lighting in your outdoor space.
By following these steps, you can safely turn the power back on and confirm that the new bulb in your outdoor lamp post is functioning correctly. With the power restored and the light shining brightly, you’ve successfully completed the process of replacing the bulb in your outdoor lamp post.
Conclusion
Congratulations! You’ve successfully navigated the process of replacing the bulb in your outdoor lamp post. By following the step-by-step guide and exercising caution throughout the process, you’ve restored illumination to your outdoor space and enhanced its functionality and safety. As you conclude this task, consider the following key points:
- Maintaining Safety: Prioritizing safety by turning off the power and using appropriate tools and protective gear is essential when working with electrical fixtures. By adhering to safety measures, you’ve ensured a secure environment for the replacement process.
- Optimizing Illumination: With the new bulb in place, your outdoor lamp post is once again contributing to the illumination of your outdoor area. The proper installation of the replacement bulb guarantees optimal functionality and lighting performance.
- Regular Maintenance: As part of your home maintenance routine, periodic checks and bulb replacements for outdoor lighting fixtures are crucial. By staying proactive, you can address any issues promptly and maintain a well-lit and inviting outdoor environment.
- Environmental Responsibility: When disposing of the old bulb, be mindful of environmental considerations. If possible, recycle the old bulb or ensure its proper disposal to minimize its impact on the environment.
As you bask in the renewed glow of your outdoor lamp post, take a moment to appreciate the impact of a well-lit outdoor space. Whether it’s enhancing the curb appeal of your home, providing added security, or setting the stage for outdoor gatherings, proper lighting contributes significantly to the functionality and ambiance of your outdoor area.
By mastering the art of bulb replacement in your outdoor lamp post, you’ve empowered yourself to maintain and optimize this essential feature of your home. With the knowledge and confidence gained from this experience, you’re well-equipped to tackle future maintenance tasks and ensure that your outdoor spaces remain beautifully illuminated.
Thank you for joining us on this enlightening journey. May your outdoor spaces continue to shine brightly, creating a welcoming and secure atmosphere for all who enjoy them.
Frequently Asked Questions about How To Replace Bulb In Outdoor Lamp Post
Was this page helpful?
At Storables.com, we guarantee accurate and reliable information. Our content, validated by Expert Board Contributors, is crafted following stringent Editorial Policies. We're committed to providing you with well-researched, expert-backed insights for all your informational needs.

0 thoughts on “How To Replace Bulb In Outdoor Lamp Post”