Home>Construction & Tools>Building Materials>How To Tile Over Brick Fireplace
Building Materials
How To Tile Over Brick Fireplace
Published: January 23, 2024
Learn how to transform your brick fireplace with tiling. Find the best building materials and step-by-step instructions for a stunning fireplace makeover.
(Many of the links in this article redirect to a specific reviewed product. Your purchase of these products through affiliate links helps to generate commission for Storables.com, at no extra cost. Learn more)
Introduction
So, you have a brick fireplace that's seen better days and you're considering giving it a fresh, modern look. Tiling over a brick fireplace can be a fantastic way to revitalize the focal point of your living space, creating a stunning and updated aesthetic. Whether you're aiming for a sleek, contemporary design or a rustic, cozy feel, tiling can transform the entire ambiance of your room.
In this comprehensive guide, we'll walk you through the step-by-step process of tiling over a brick fireplace. From preparing the surface to selecting the right tiles and applying the finishing touches, we'll cover everything you need to know to tackle this rewarding home improvement project. With a bit of creativity, patience, and the right materials, you can breathe new life into your fireplace and elevate the style of your home.
So, let's roll up our sleeves and delve into the exciting world of fireplace tiling!
Key Takeaways:
- Transform your brick fireplace into a stunning focal point by following these step-by-step tiling instructions. Elevate your home’s style with carefully chosen tiles and thoughtful finishing touches.
- Infuse your living space with creativity and personality as you embark on the rewarding journey of tiling over a brick fireplace. From meticulous preparation to adding the perfect finishing details, create a captivating centerpiece that reflects your unique vision.
Read more: How To Tile A Brick Fireplace
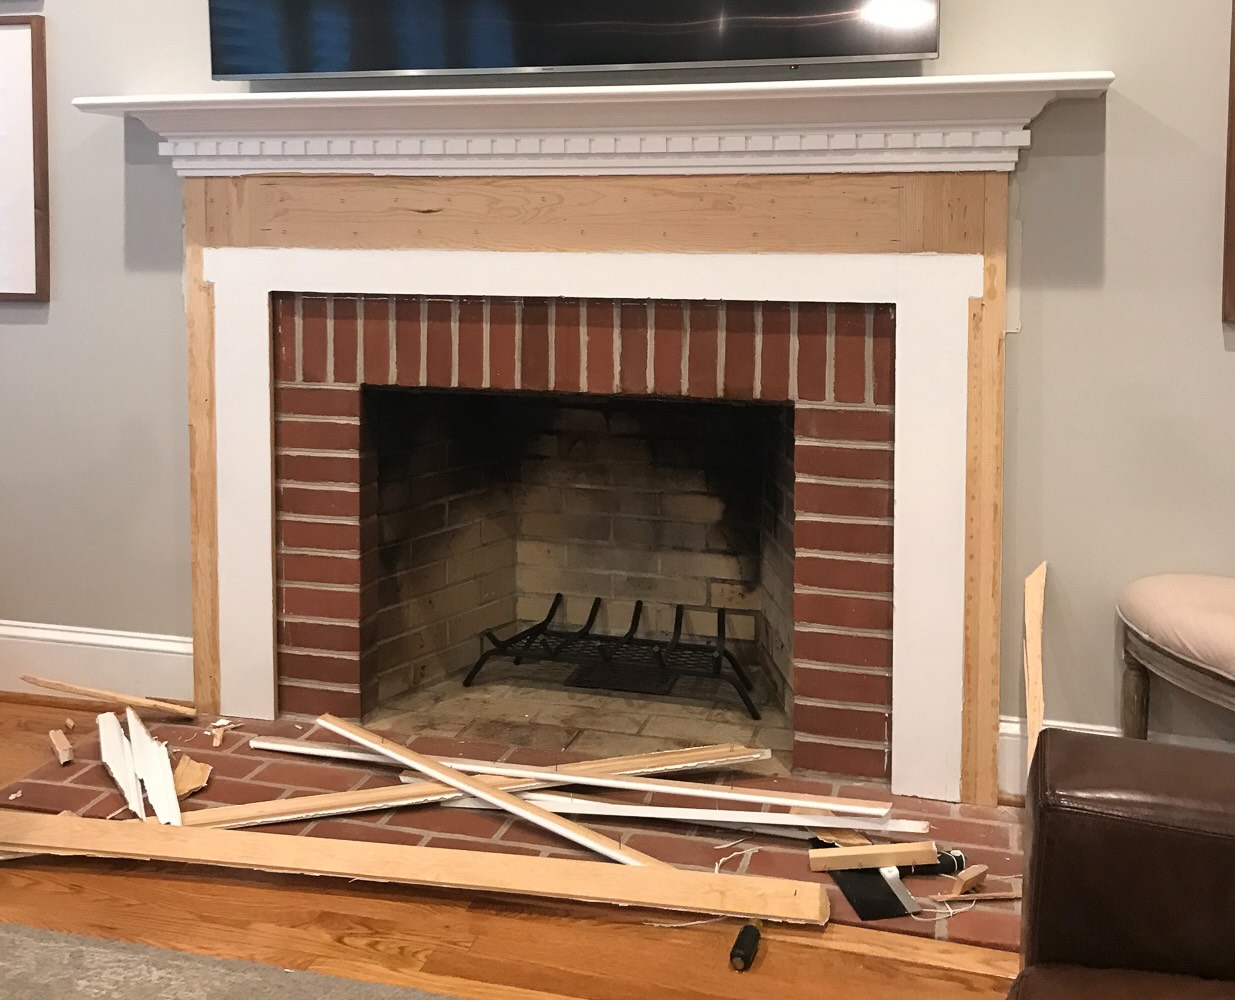
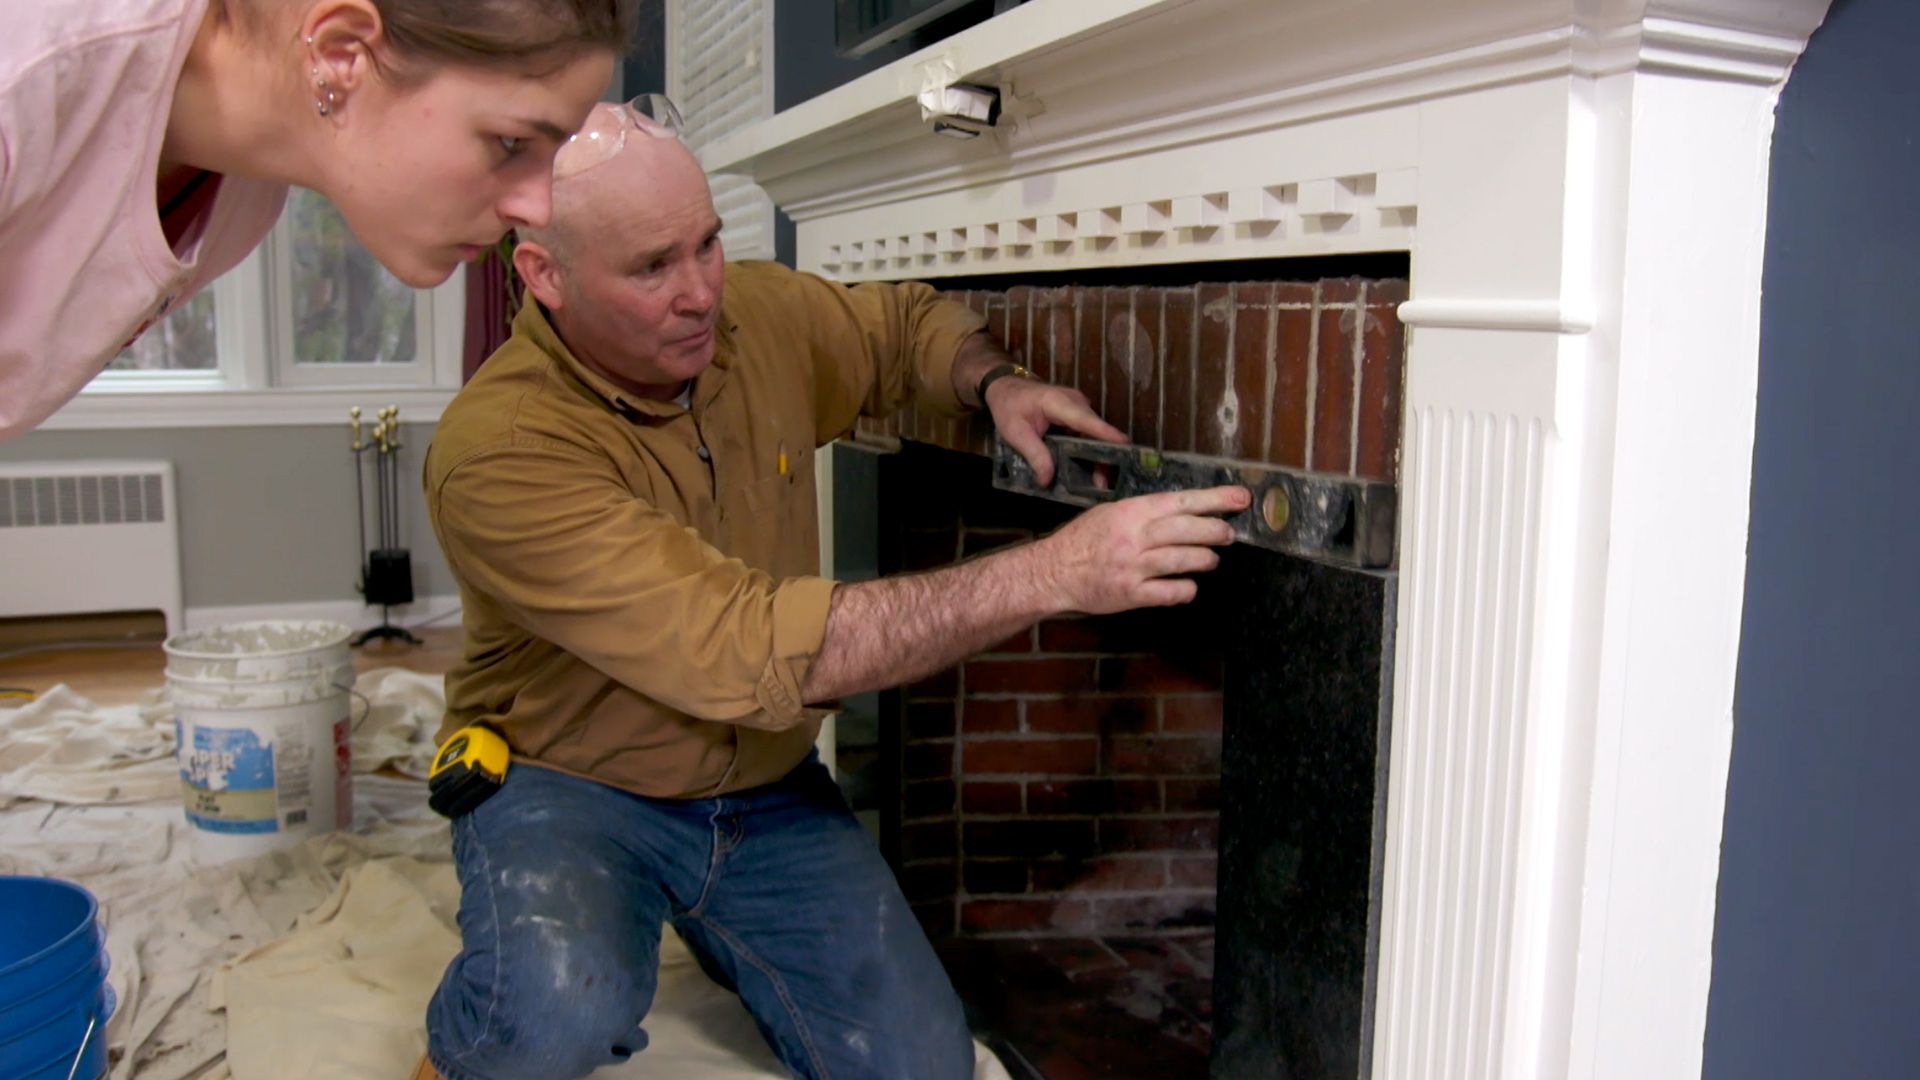
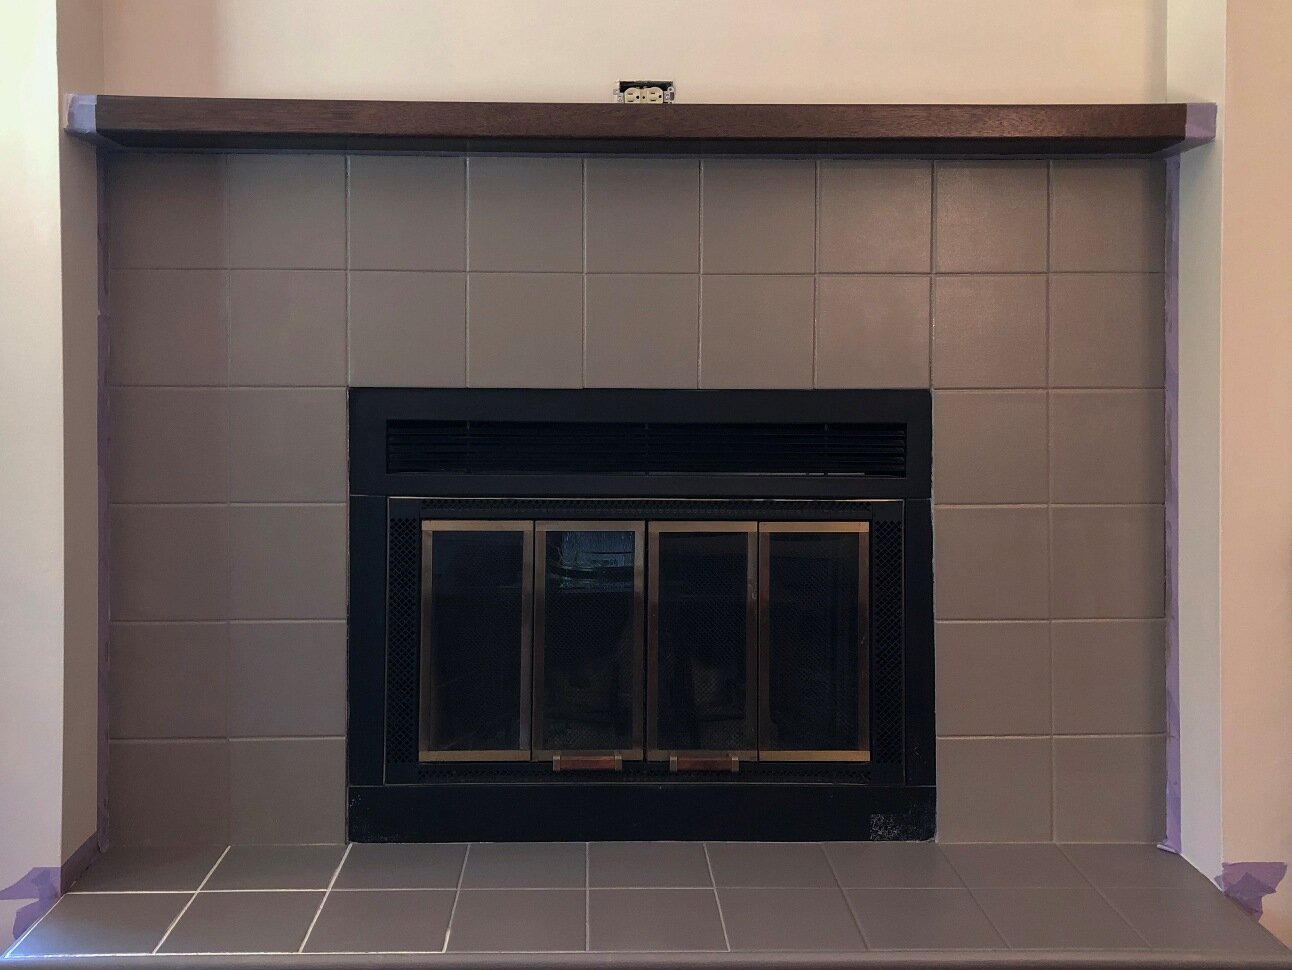
Step 1: Preparing the Fireplace
Before diving into the tiling process, it’s crucial to prepare the brick surface to ensure a smooth and durable foundation for the tiles. Here’s a detailed breakdown of the essential preparatory steps:
- Clean the Brick: Begin by thoroughly cleaning the brick surface to remove any dirt, soot, or residue. A solution of warm water and mild detergent can be used to scrub the bricks, followed by rinsing with clean water. Allow the bricks to dry completely before proceeding.
- Inspect for Damage: Carefully examine the brick and mortar for any signs of damage, such as cracks or loose sections. Repair any issues by filling in cracks with mortar and securing loose bricks to ensure a stable base for the tiles.
- Apply a Bonding Agent: To promote better adhesion between the bricks and the tile adhesive, consider applying a bonding agent to the clean, dry surface. This step can enhance the overall strength and longevity of the tiled fireplace.
- Protect Surrounding Areas: Safeguard the surrounding areas of the fireplace, including the hearth and adjacent walls, from accidental damage during the tiling process. Cover these areas with drop cloths or painter’s tape to prevent any adhesive or grout from marring the surfaces.
By meticulously preparing the brick fireplace, you’ll set the stage for a successful tiling project, ensuring that the tiles adhere firmly and create a stunning visual impact. With the groundwork laid, you’re ready to move on to the next exciting phase: selecting the perfect tiles for your fireplace transformation.
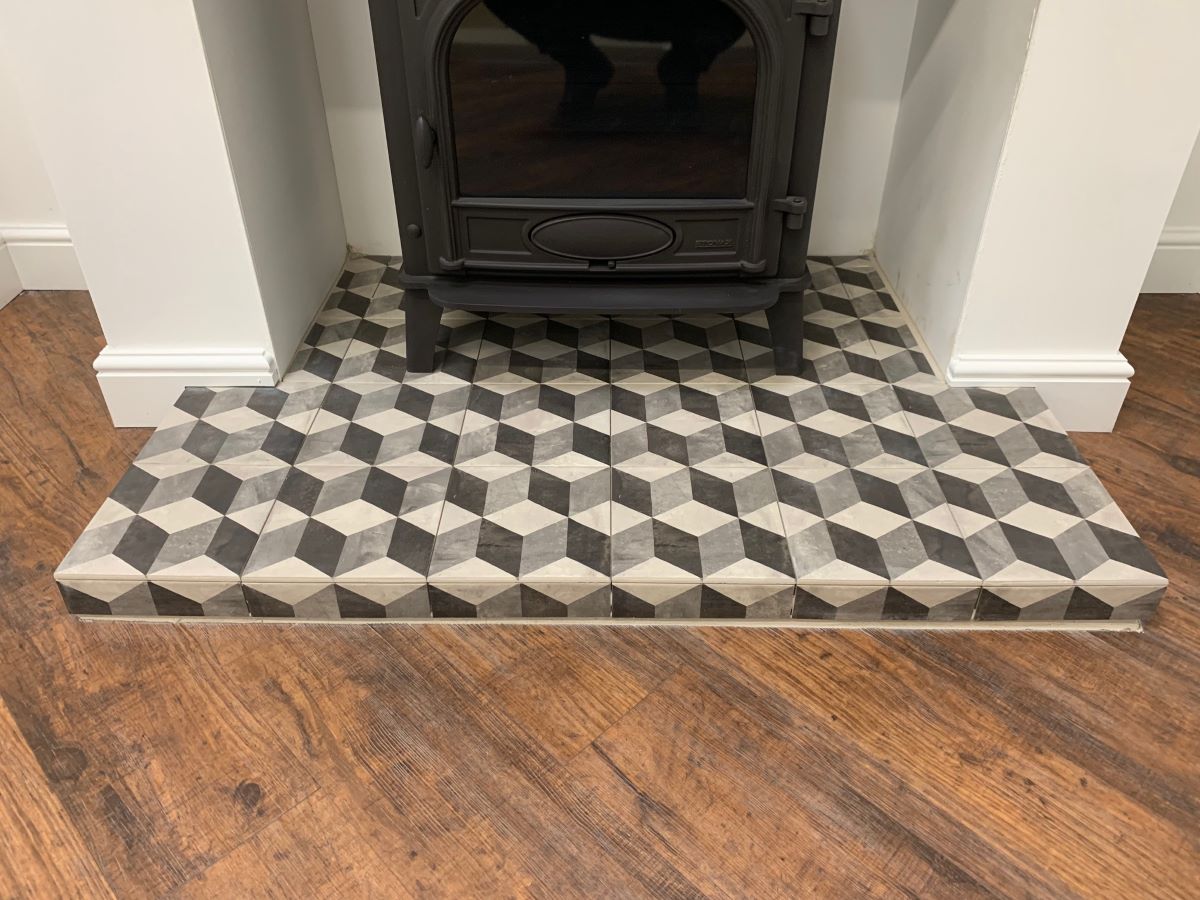
Step 2: Choosing the Right Tiles
When it comes to tiling over a brick fireplace, selecting the perfect tiles is a pivotal decision that will significantly influence the overall look and feel of the space. Here’s a comprehensive guide to help you navigate the process of choosing the ideal tiles:
- Consider the Style: Take into account the existing decor and the ambiance you wish to create. Whether you prefer a modern, minimalist look, a classic and timeless style, or a bold and vibrant statement, the right tiles can bring your vision to life.
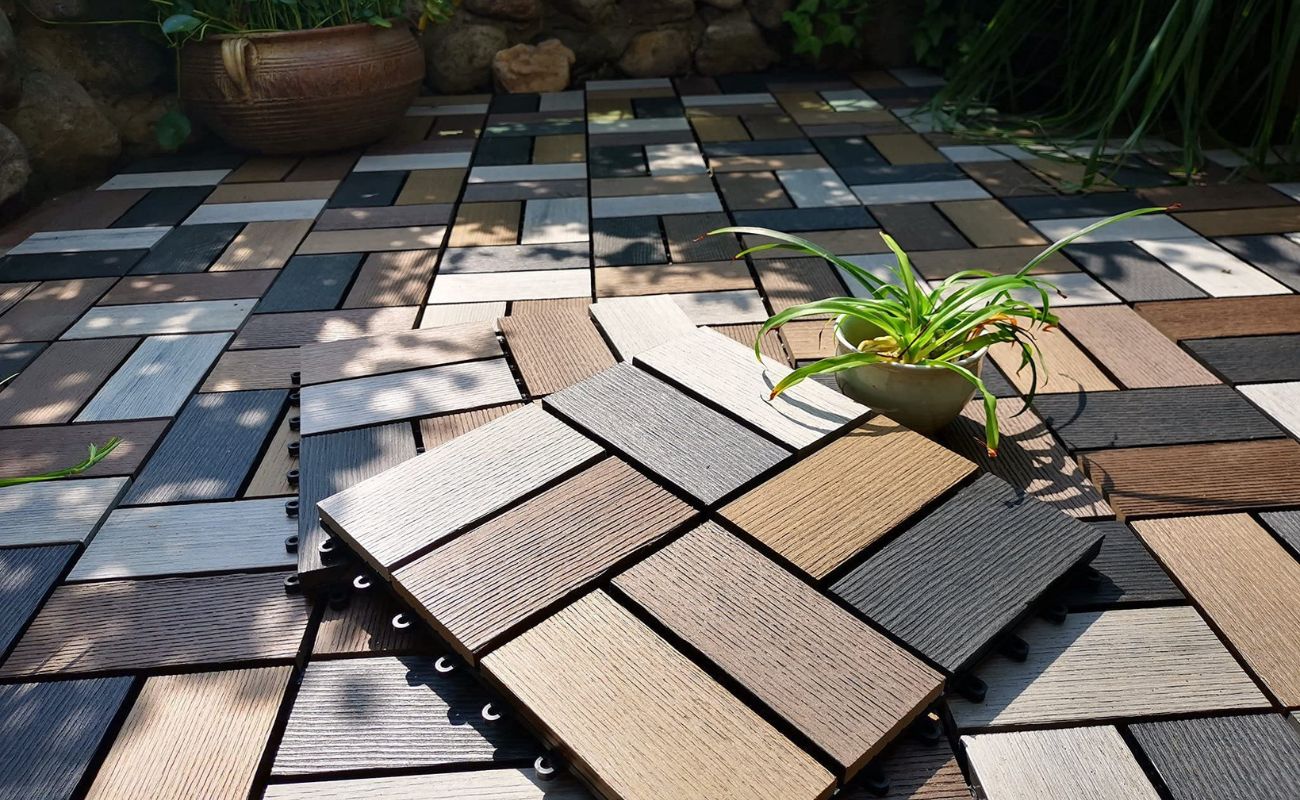
- Material Matters: Tiles are available in various materials, each with its unique characteristics. From sleek porcelain and durable ceramic to natural stone and glass tiles, explore the options that best complement your aesthetic preferences and practical requirements.
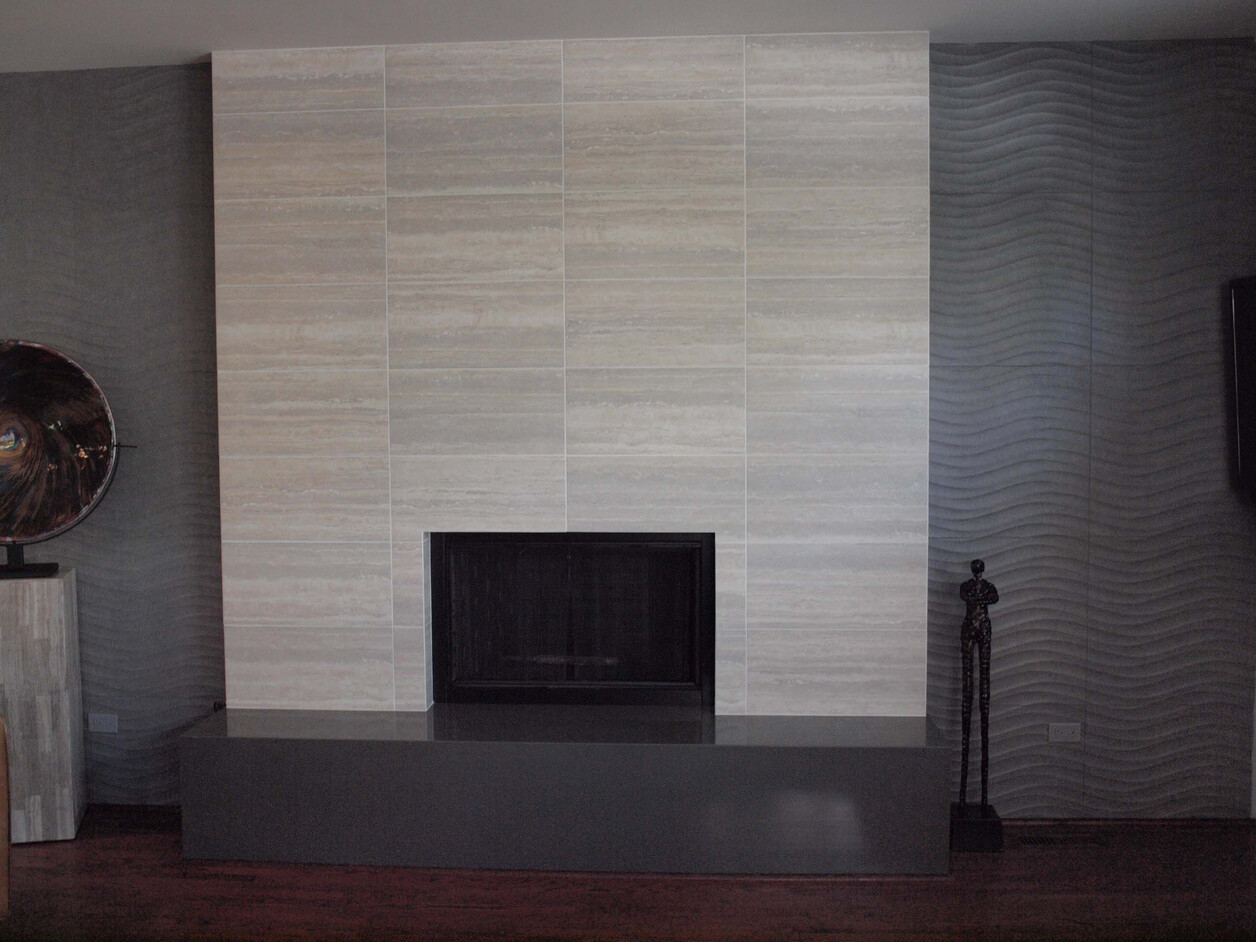
- Size and Shape: The size and shape of the tiles can dramatically impact the visual impact of the fireplace. Larger tiles can create a seamless, expansive look, while smaller mosaic tiles offer intricate detailing and texture. Consider how different sizes and shapes can enhance the focal point of the room.
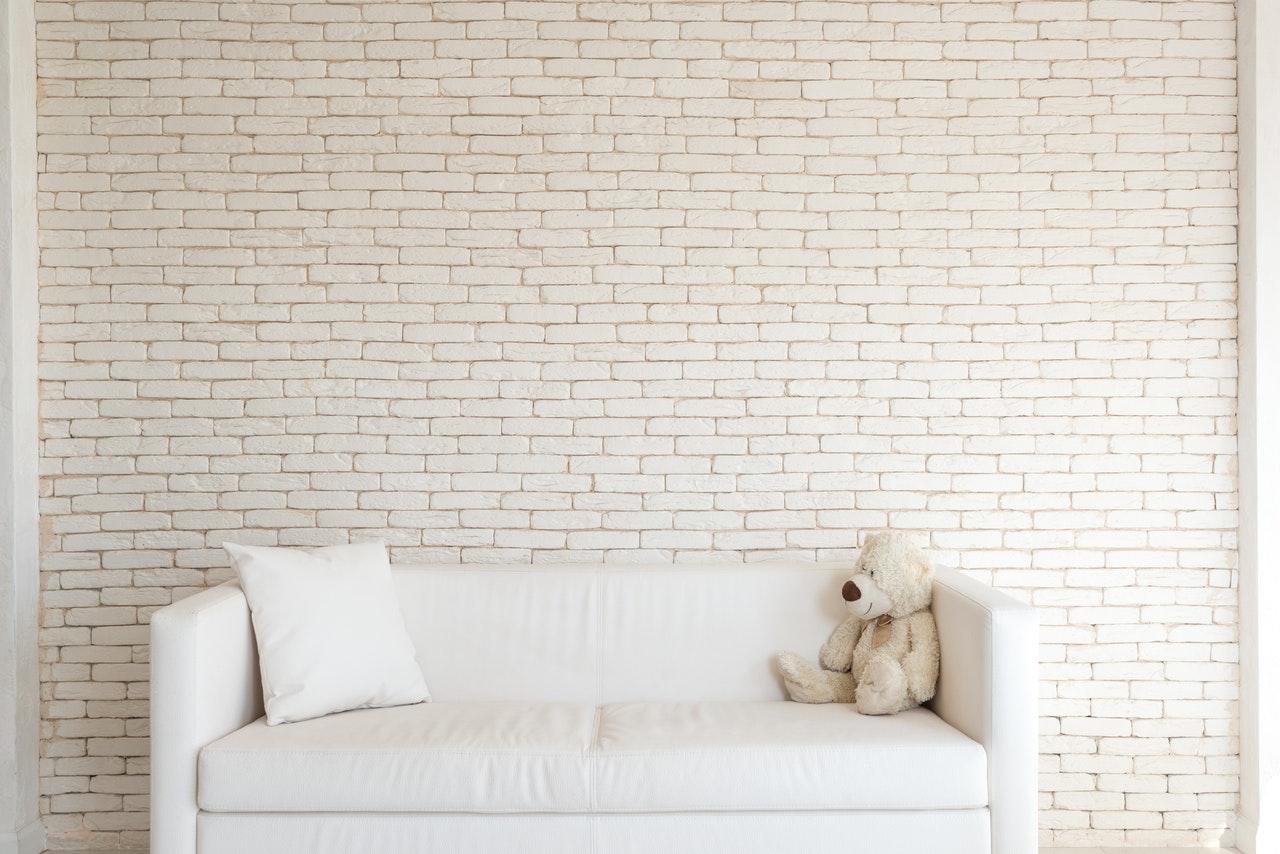
- Color Palette: Delve into the realm of color and explore hues that harmonize with the existing decor. Whether you opt for neutral tones to create a serene backdrop or vibrant colors to make a bold statement, the color palette of the tiles can set the tone for the entire space.
- Texture and Finish: The texture and finish of the tiles can add depth and character to the fireplace. From glossy and reflective surfaces to matte and textured finishes, explore the tactile qualities that can elevate the tactile and visual appeal of the tiled surface.
By carefully considering these factors, you can narrow down the myriad options and pinpoint the perfect tiles that align with your design aspirations. Once you’ve selected the ideal tiles, the next step is to delve into the application process, starting with the proper adhesive for securing the tiles to the prepared brick surface.
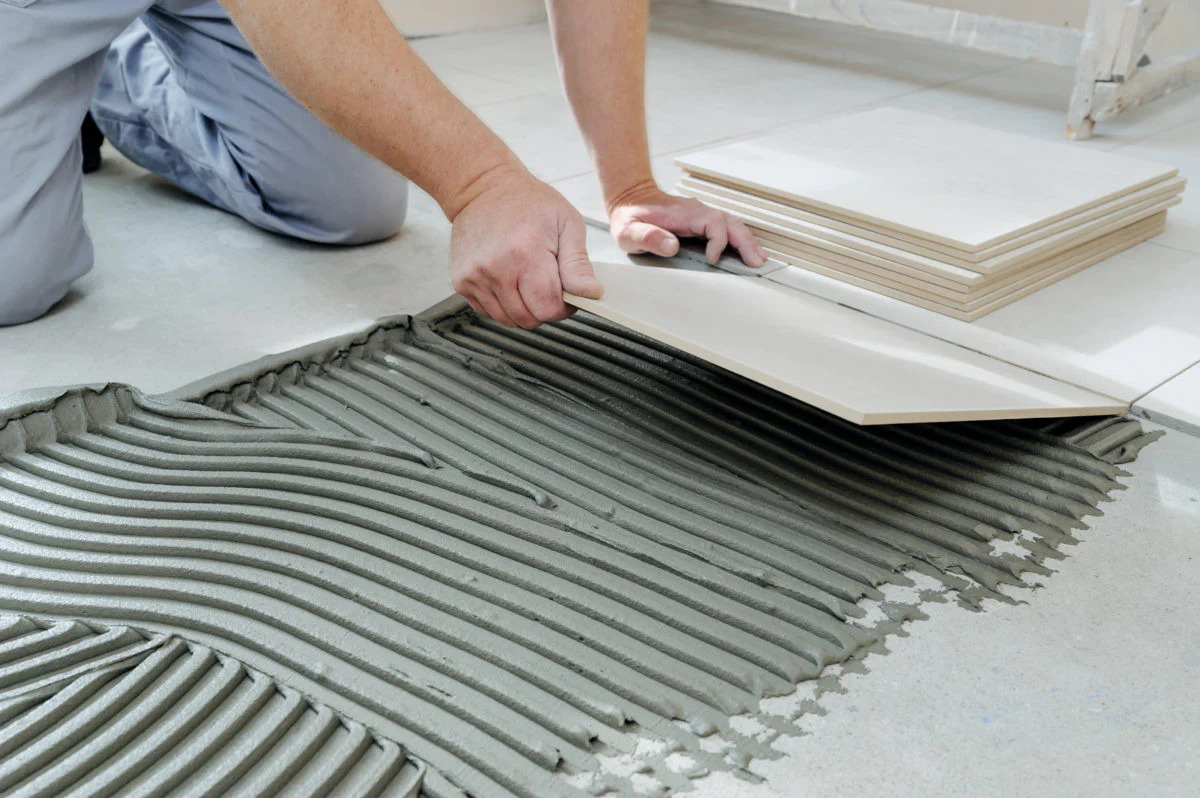
Step 3: Applying the Adhesive
With the fireplace prepared and the perfect tiles in hand, it’s time to delve into the crucial step of applying the adhesive to secure the tiles to the brick surface. Here’s a comprehensive guide to navigating this pivotal phase of the tiling process:
- Choose the Right Adhesive: Select a high-quality adhesive that is suitable for bonding tiles to a brick surface. Depending on the type of tiles and the environmental conditions, such as heat exposure near a fireplace, opt for an adhesive that offers strong adhesion and durability.
- Prepare the Adhesive Mixture: Follow the manufacturer’s instructions to prepare the adhesive mixture to the proper consistency. Use a trowel to mix the adhesive thoroughly and achieve a smooth, lump-free texture that is conducive to optimal adhesion.
- Apply the Adhesive: Using the notched edge of the trowel, evenly spread the adhesive over a small section of the brick surface. Work in manageable areas to prevent the adhesive from drying out before the tiles are placed.
- Mindful Application: Pay close attention to the thickness of the adhesive layer, ensuring that it is consistent to facilitate uniform tile placement. Additionally, strive for a level application to prevent unevenness in the tiled surface.
- Work with Precision: As you apply the adhesive, maintain precision and care to create a stable and reliable foundation for the tiles. The thorough and meticulous application of the adhesive is instrumental in achieving a professional and long-lasting result.
By meticulously applying the adhesive according to best practices, you’ll pave the way for a seamless and secure tiling process. With the adhesive in place, you’re now poised to embark on the exciting phase of placing the carefully chosen tiles onto the prepared fireplace surface, bringing your vision to fruition with each meticulously positioned tile.
Before tiling over a brick fireplace, make sure to clean the surface thoroughly and use a high-quality mortar to ensure the tiles adhere properly. It’s also important to choose heat-resistant tiles to withstand the heat from the fireplace.
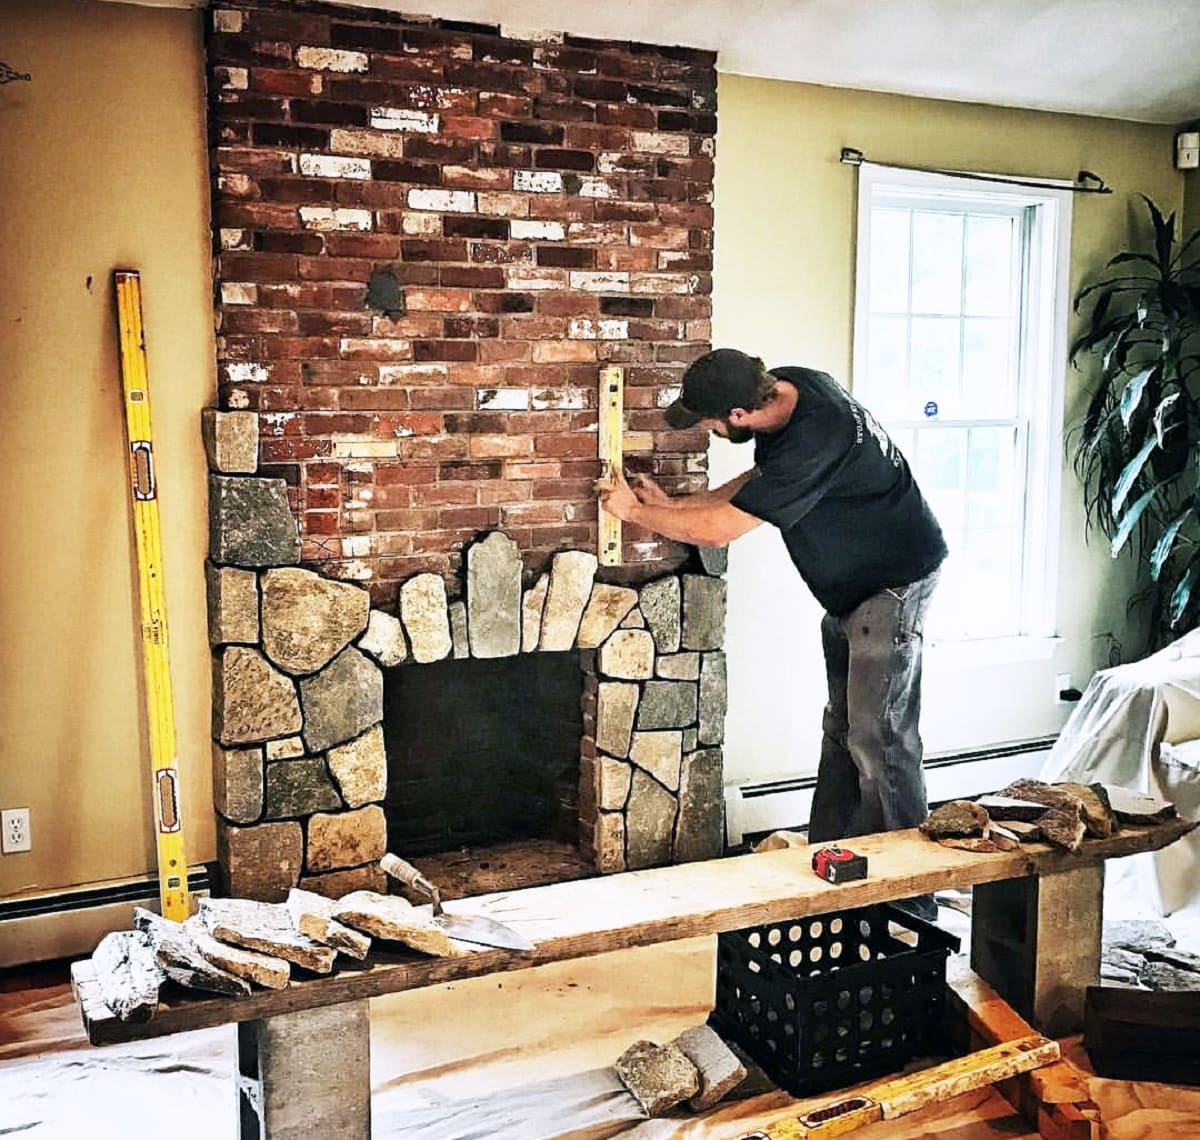
Step 4: Tiling the Fireplace
As you embark on the transformative journey of tiling your fireplace, the process of placing the tiles onto the prepared surface is where your vision begins to materialize. Here’s a detailed guide to help you navigate the art of tiling with precision and finesse:
- Begin with Precision: Start by carefully placing the first tile at the desired location, ensuring that it aligns perfectly with the surrounding elements of the fireplace. This initial tile sets the foundation for the entire tiling endeavor.
- Employ Spacers: Utilize tile spacers to maintain consistent spacing between the tiles, fostering a uniform and professional-looking result. These spacers help create even grout lines and ensure a visually appealing outcome.
- Mindful Arrangement: Approach the tiling process with a deliberate and mindful arrangement of the tiles, paying attention to the overall pattern and layout. Whether you opt for a classic brick pattern, herringbone design, or a contemporary staggered layout, the placement of each tile contributes to the cohesive aesthetic.
- Adhere with Care: Press each tile firmly into the adhesive, ensuring a secure bond with the prepared brick surface. The meticulous adherence of the tiles is essential for a durable and long-lasting installation.
- Trimming and Cutting: When encountering edges, corners, or areas that require custom fitting, employ precision tools to trim and cut the tiles with accuracy. This attention to detail ensures that the tiles seamlessly conform to the unique contours of the fireplace.
As you navigate the tiling process with precision and artistry, each tile contributes to the stunning transformation of your fireplace. With patience and a keen eye for detail, you’ll witness the captivating evolution of the brick surface into a captivating tiled masterpiece, setting the stage for the final phase of the tiling endeavor: grouting the tiles.
Read more: How To Tile Over A Brick Wall
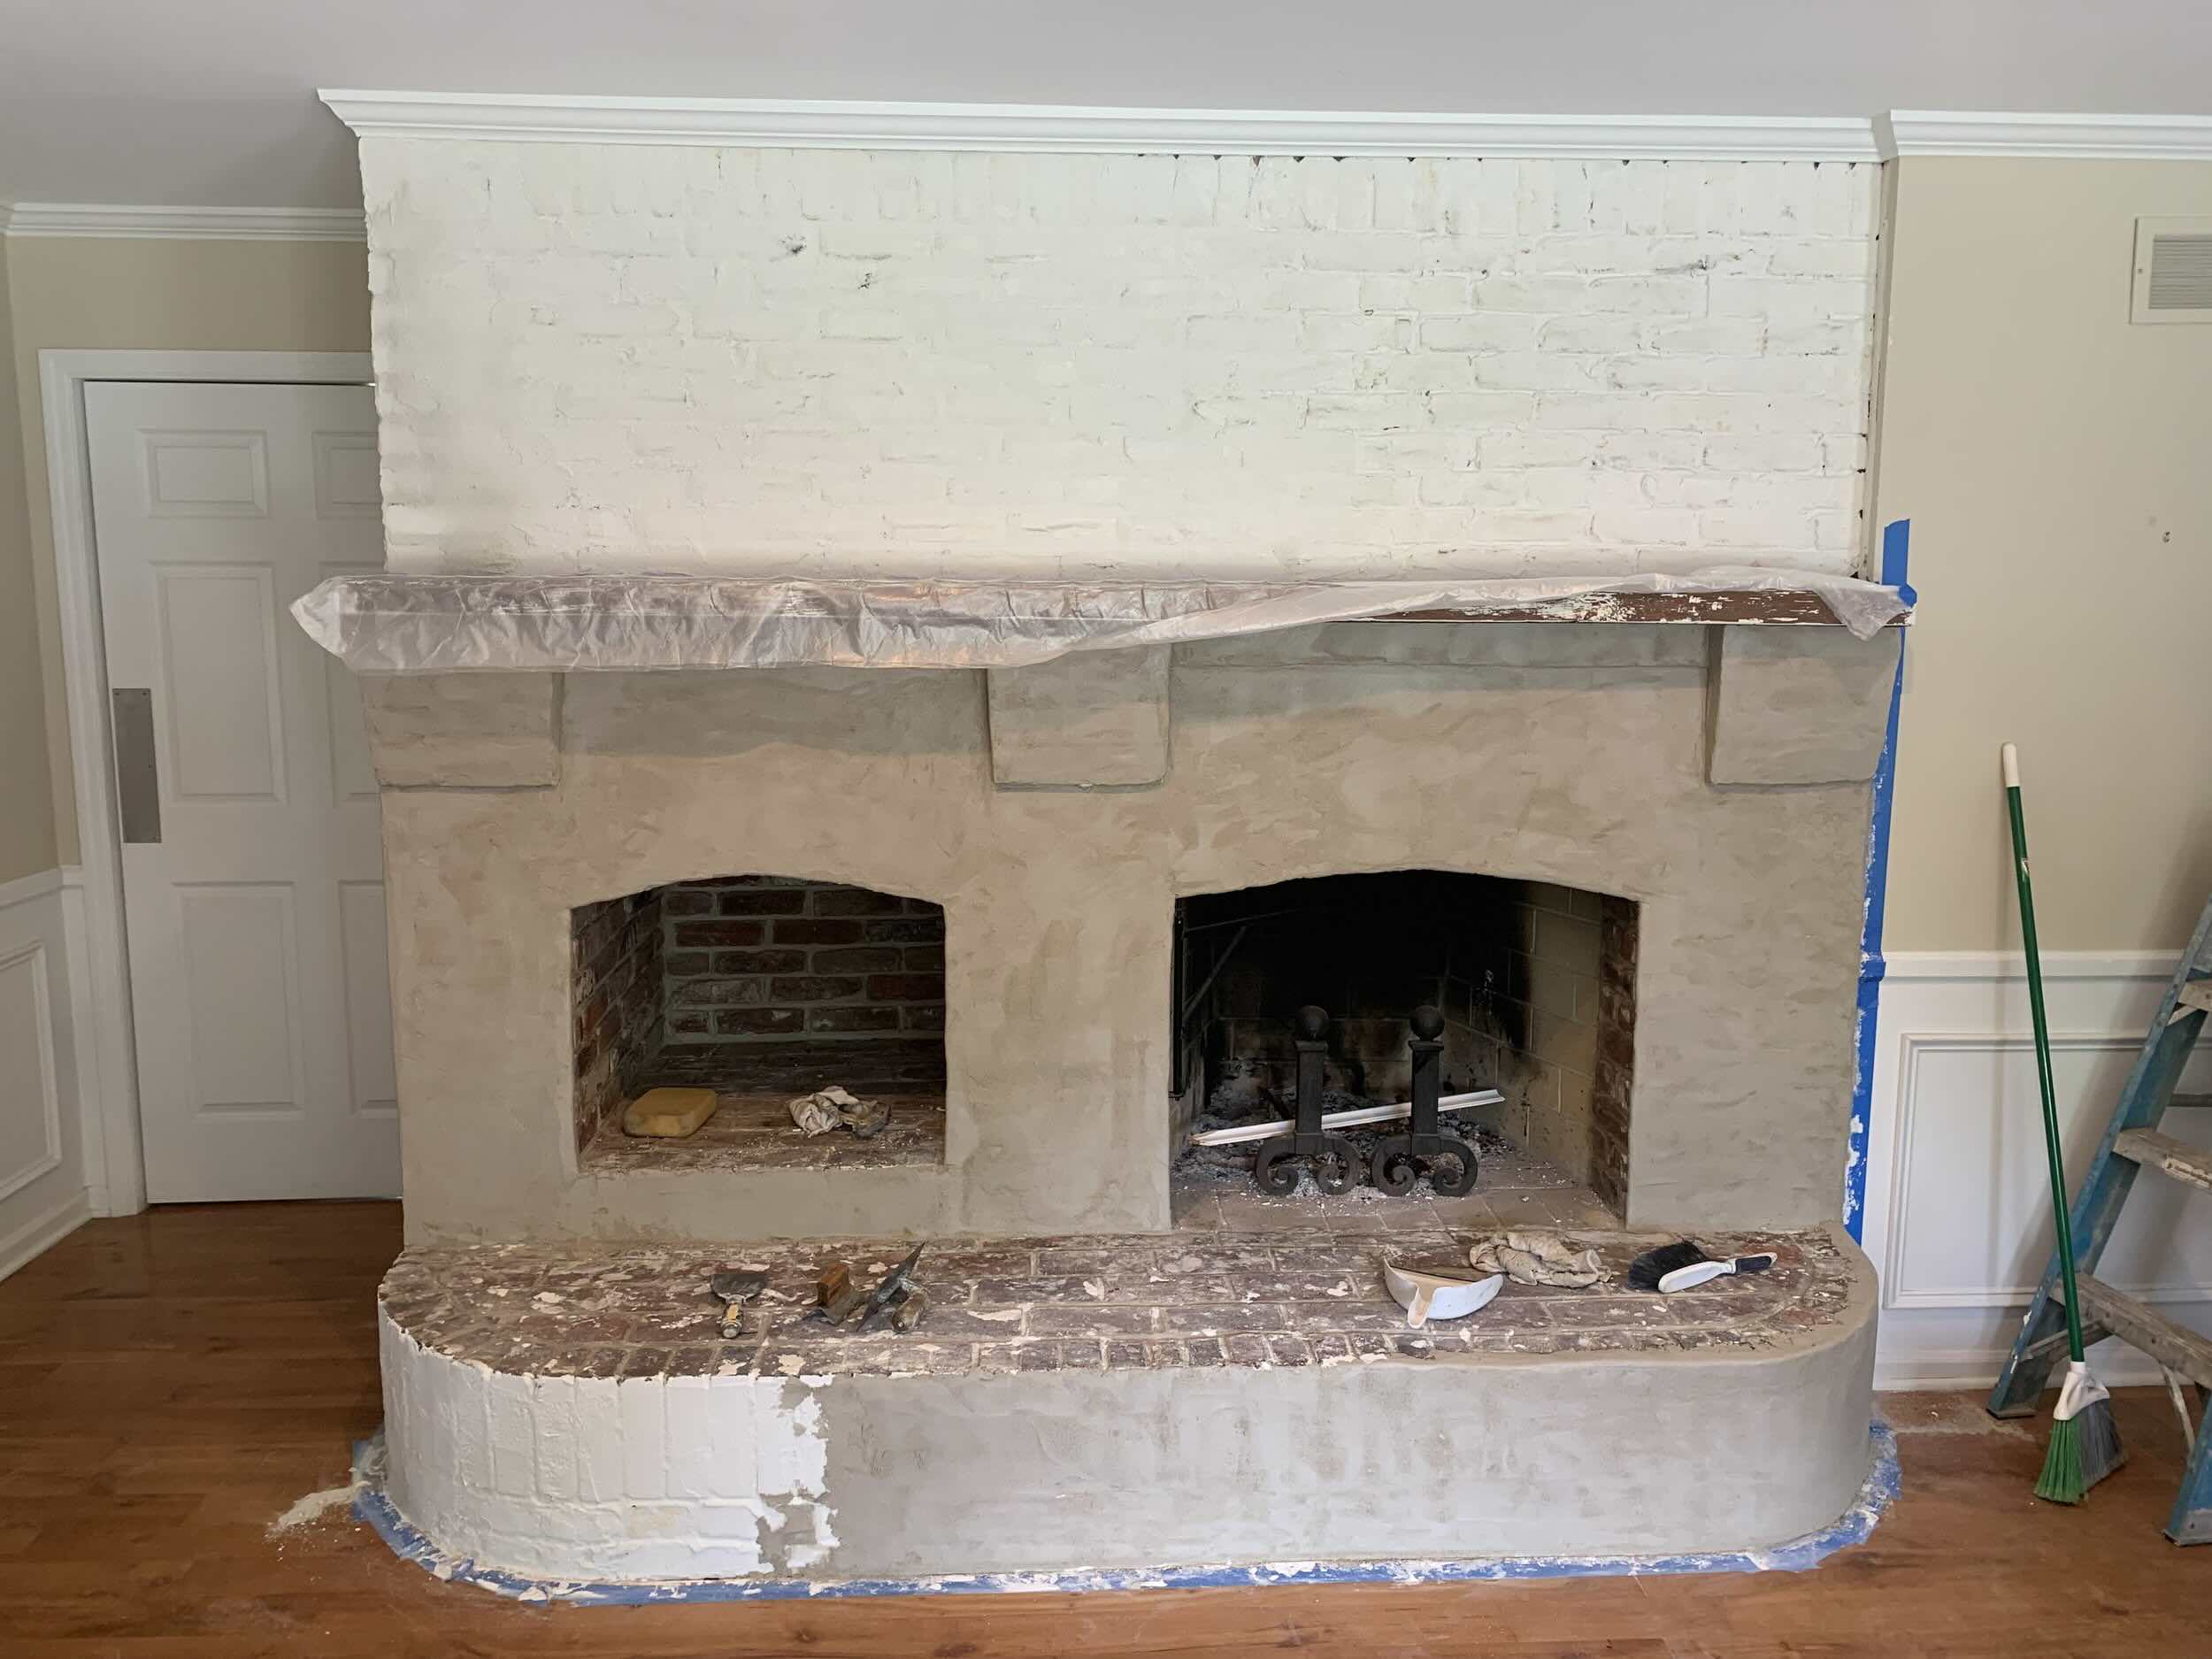
Step 5: Grouting the Tiles
As the meticulously placed tiles adorn your fireplace, the next pivotal step in the tiling process involves grouting, which not only enhances the visual appeal but also ensures the durability and stability of the tiled surface. Here’s a comprehensive guide to navigating the art of grouting with finesse:
- Choose the Right Grout: Select a high-quality grout that aligns with your aesthetic vision and practical requirements. From sanded and unsanded grout to various color options, explore the possibilities that best complement the overall design of your fireplace.
- Prepare the Grout Mixture: Follow the manufacturer’s instructions to prepare the grout mixture to the desired consistency. Thoroughly mix the grout to achieve a smooth and uniform texture, ensuring its suitability for the grouting process.
- Apply the Grout: Using a grout float, carefully apply the grout to the spaces between the tiles, ensuring complete coverage and a level finish. Work in sections to prevent the grout from drying out before it can be smoothed and cleaned.
- Smooth and Clean: After applying the grout, use a grout sponge and clean water to carefully remove excess grout from the tile surfaces while smoothing the grout lines. This meticulous process contributes to a polished and professional appearance.
- Final Touches: Once the grout has set for the recommended time, use a dry cloth to buff away any remaining haze on the tiles, revealing the stunning and cohesive result of the grouting process.
By embracing the art of grouting with precision and care, you’ll witness the seamless integration of the tiles, elevating the visual impact of your fireplace. With the grouting process completed, the transformative journey of tiling over a brick fireplace nears its culmination, leading to the final phase of adding the finishing touches that will bring your vision to fruition.
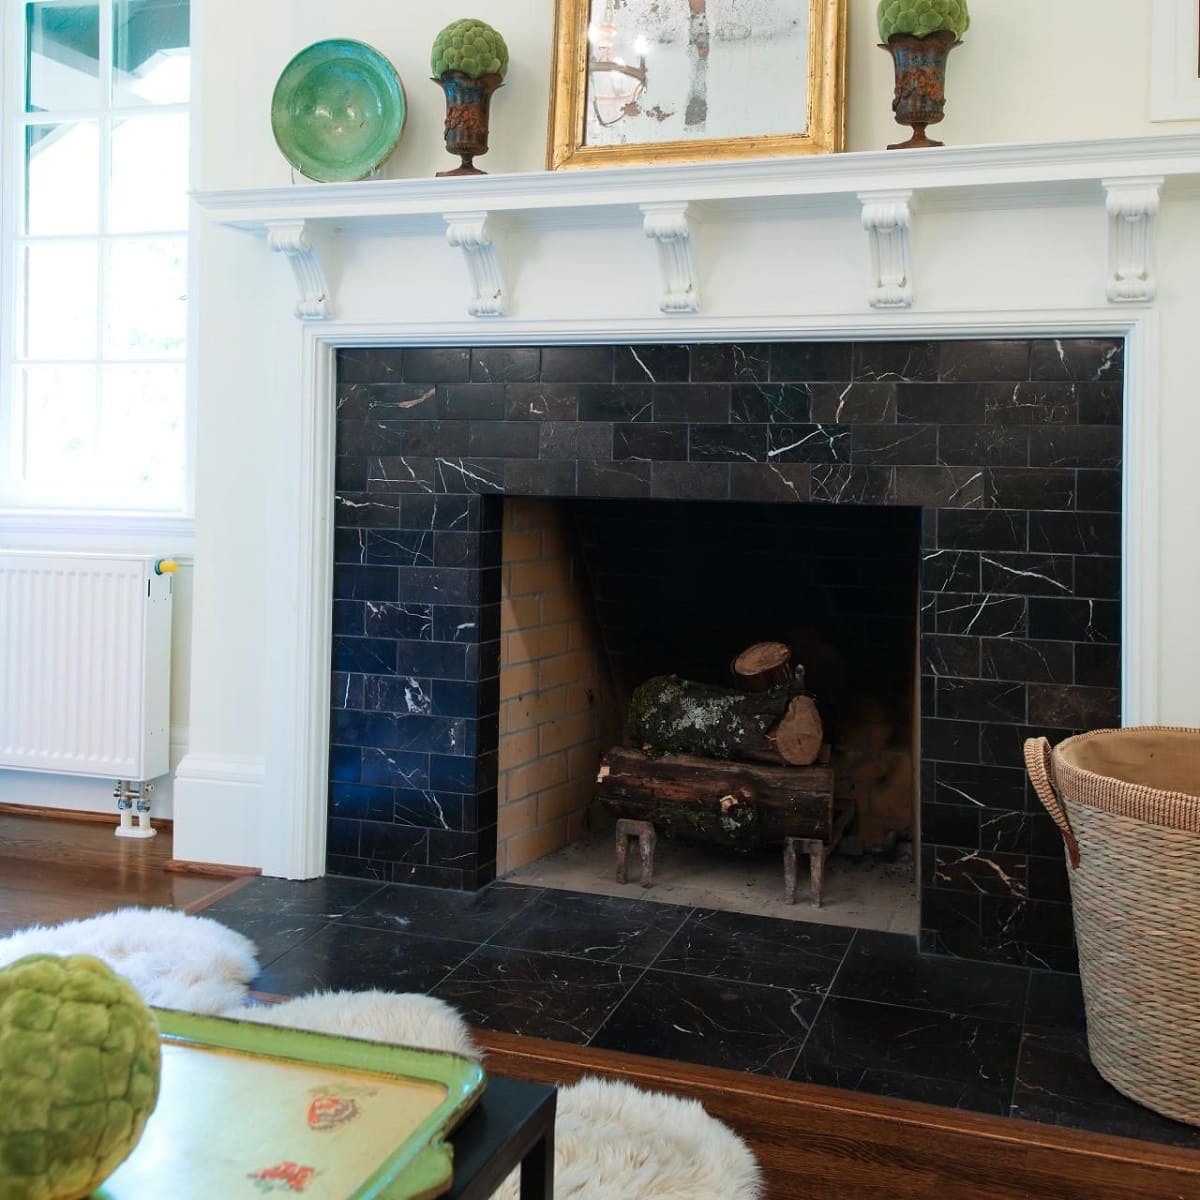
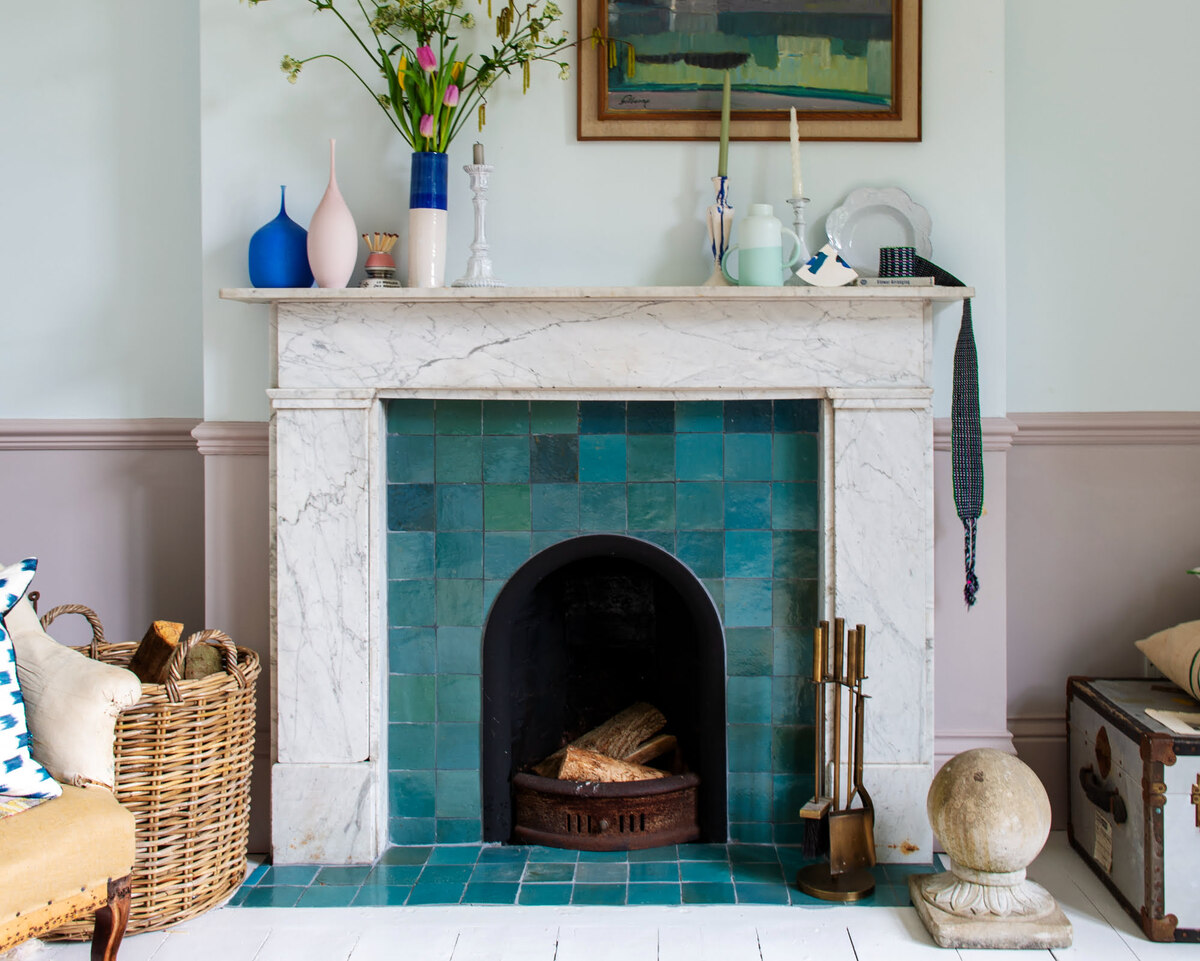
Step 6: Finishing Touches
As the tiling and grouting process nears completion, the addition of finishing touches serves as the crowning moment, elevating the visual impact of your newly tiled fireplace. Here’s a comprehensive guide to adding the final details that will complete the transformation:
- Seal the Grout: Enhance the durability and longevity of the grout by applying a high-quality grout sealer. This protective layer helps safeguard the grout from moisture and staining, ensuring a pristine appearance for years to come.
- Clean and Polish: Carefully clean the tiled surface to remove any lingering grout residue or smudges. A gentle cleaning solution and a soft cloth can be used to restore the tiles to their full luster, unveiling the captivating beauty of the finished fireplace.
- Consider a Mantel: Explore the possibility of adding a stylish mantel to complement the tiled fireplace, creating a focal point that exudes charm and character. Whether opting for a sleek, contemporary design or a rustic, reclaimed wood mantel, this addition can further enhance the aesthetic appeal of the space.
- Personalize with Decor: Infuse your personal style into the space by adorning the mantel or hearth with carefully curated decor items. From striking artwork and decorative mirrors to potted plants and candles, these thoughtful accents add a touch of warmth and personality to the newly transformed fireplace.
- Illuminate the Ambiance: Consider incorporating lighting elements near the fireplace to enhance its allure during both day and night. Whether through strategically placed sconces, elegant candles, or accent lighting, illuminating the fireplace creates a captivating ambiance that beckons relaxation and comfort.
With the finishing touches in place, your once humble brick fireplace has evolved into a stunning focal point that exudes style, sophistication, and personality. Each carefully selected detail contributes to the cohesive and captivating ambiance of the space, inviting admiration and appreciation from all who encounter the transformed fireplace.
By following these meticulous steps and infusing your creativity and personal touch, you’ve successfully embarked on a rewarding journey of tiling over a brick fireplace, elevating the aesthetic allure of your home while creating a captivating focal point that embodies your unique style and vision.
Conclusion
Congratulations on successfully embarking on the transformative journey of tiling over a brick fireplace. By following the comprehensive steps outlined in this guide, you’ve ventured into the realm of home improvement, infusing your living space with style, character, and a touch of your unique personality. As you stand back and admire the stunning results of your labor, it’s evident that the once humble fireplace has blossomed into a captivating focal point that exudes charm and sophistication.
Throughout this process, you’ve not only revitalized the visual allure of your home but also honed your creativity and craftsmanship, embracing the art of tiling with precision and finesse. The meticulous preparation of the fireplace, the thoughtful selection of tiles, the artful application of adhesive, and the seamless integration of grout have all converged to bring your vision to fruition, resulting in a space that beckons admiration and delight.
As you bask in the warmth of the newly transformed fireplace, adorned with carefully placed tiles and thoughtful finishing touches, you’ve not only elevated the aesthetic appeal of your home but also created a gathering place that radiates comfort and style. Whether you chose a modern and sleek design, a rustic and cozy ambiance, or a vibrant and eclectic statement, your fireplace now stands as a testament to your creativity and dedication to enhancing your living space.
May this journey inspire you to continue exploring the realm of home improvement, infusing each corner of your abode with your unique vision and style. As you revel in the beauty of your newly tiled fireplace, may it serve as a reminder of the transformative power of creativity and craftsmanship, igniting a passion for further enhancements and personal expressions within your home.
With the completion of this project, you’ve not only tiled over a brick fireplace but also woven a narrative of creativity, dedication, and the art of transformation. Your home now boasts a captivating centerpiece that embodies the essence of your style and vision, inviting admiration and appreciation from all who encounter its captivating allure.
Frequently Asked Questions about How To Tile Over Brick Fireplace
Was this page helpful?
At Storables.com, we guarantee accurate and reliable information. Our content, validated by Expert Board Contributors, is crafted following stringent Editorial Policies. We're committed to providing you with well-researched, expert-backed insights for all your informational needs.

0 thoughts on “How To Tile Over Brick Fireplace”