Home>Storage Ideas>Storage Cabinets>How to DIY Storage Cabinets?

Storage Cabinets
How to DIY Storage Cabinets?
Modified: October 18, 2024
Get your DIY storage cabinets done in NO TIME! Follow these fool proof tips that are guaranteed to give stunning & goodlooking cabinets like never before!
(Many of the links in this article redirect to a specific reviewed product. Your purchase of these products through affiliate links helps to generate commission for Storables.com, at no extra cost. Learn more)
Making ultimate DIY storage cabinets can be a cumbersome task. The hustle and bustle of woodwork and painting can really be discouraging. But with the right directions, it can be easy and interesting as well. How do you do that? We’ll help you build your dream storage cabinet.
People Who Search For DIY Storage Cabinets Also Search For

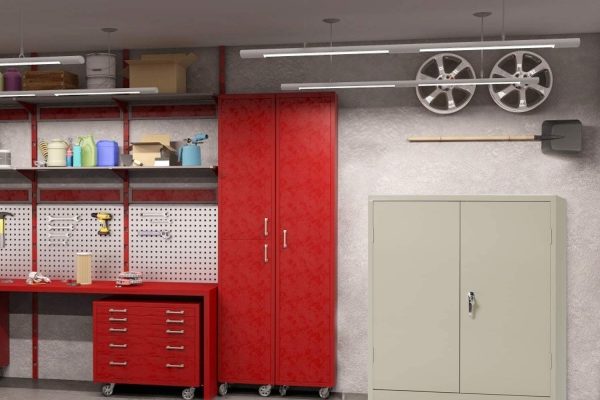


Learn how to build DIY Storage Cabinets with our simple guide that will get you the storage cabinets of your dream in NO TIME!
The first thing you need to do is determine how large you want your cabinet to be? You can use any material as a basis for the dimensions of your project cabinet. Height, width, and depth should be measured. Make sure the measurements of the sides are equal or correlative to the other sides.
Read more: How To Build A Shelf In A Cabinet
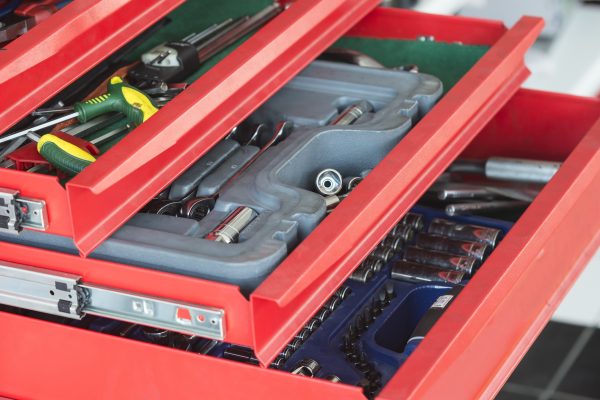
Materials Needed In Building DIY Storage Cabinets
- 2×4 x 8’ whitewood studs
- ½” plywood
- 4×8 – ¼” plywood
- 4×8 – 5mm plywood
- 1x4x8 boards
- ¼ x 2 ¾” concrete anchors
- stud finder
- washi tape
- level
- drill
- ¼” masonry bit
- self-centering bit
- box of 3” wood screws with matching star bit
- interior paint
- paint tray and roller
- paintbrush
- (12) flush cabinet hinges
- (3) cabinet pulls
Step 1: Use a stud finder for location
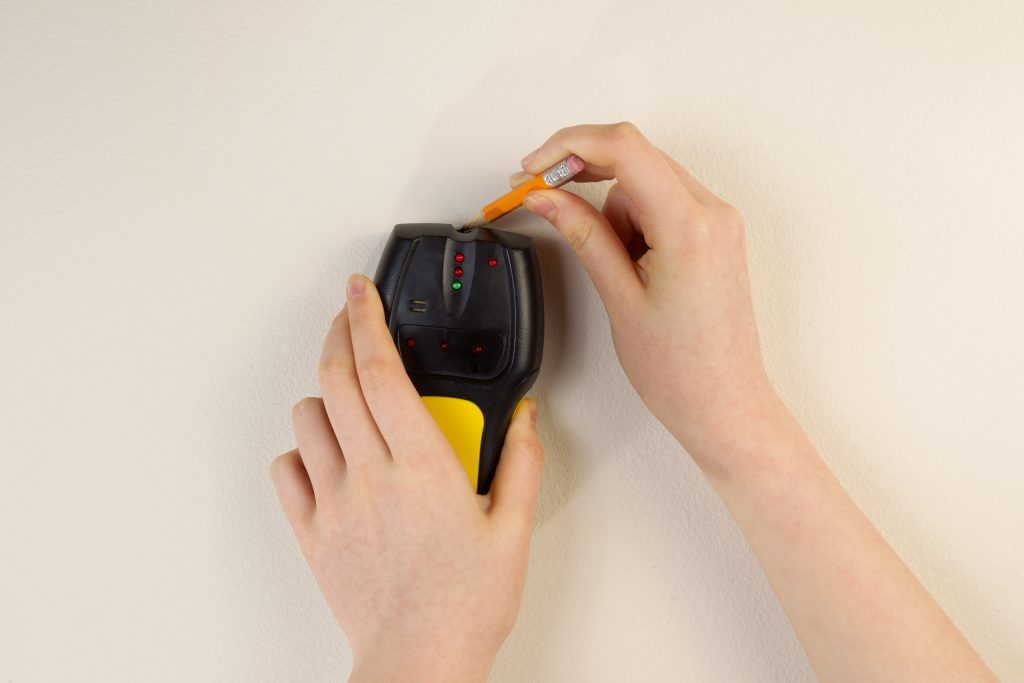
Use a stud finder to locate studs on the wall where the back of the cabinet will go. Fix a level and use a pencil to mark the stud. Run a piece of tape vertically to easily locate the stud while attaching the frame. Roughly measure the size of your cabinet to ensure everything will line up correctly and will secure to a stud on the wall.
Step 2: Build Base
Begin building the base of the cabinets on the ground by laying out two 8-foot 2×4 boards on the floor parallel to the wall. Cut four 32-inch 2×4 boards and place them perpendicular between the 8-foot pieces on each end and two in the middle.
Use a ¼ masonry bit to pre-drill holes in the concrete at the corners of where the base will sit. Secure the boards to the ground with concrete anchors. Then, cut one ½ plywood sheet to 3×8. Paint the plywood to match the rest of the unit. Use screws to secure the sheet to the 2x4s. This will serve as the floor of the cabinet.
Step 3: Build a frame for DIY Storage Cabinets
Construct the back and sides of the frame as if you are framing in walls. The back of the frame can be made from six 8-foot 2×4 boards. Use the same pattern as the base to construct the frame of your DIY Storage Cabinets, lay two boards parallelly and place two boards perpendicular on each end with the remaining two boards in the middle.
Secure the boards together with wood screws. Screw-in pieces of 2×4 to the top of the frame under the top board. This will allow the structure to be better secured to the studs. Have a friend help you raise the frame to the wall.
Secure it to the marked studs using wood screws. For the sides of the frame, construct 3’x8’ rectangles and screw them into the base as well as the back of the frame.
Read more: How To Build Cabinet Box
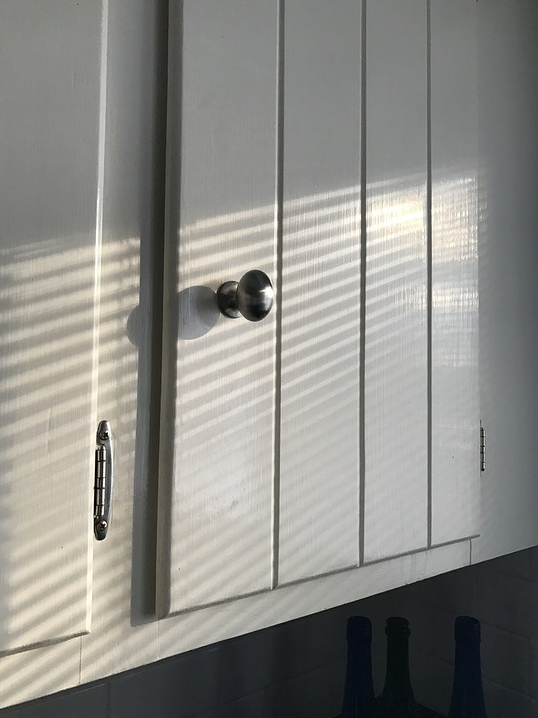
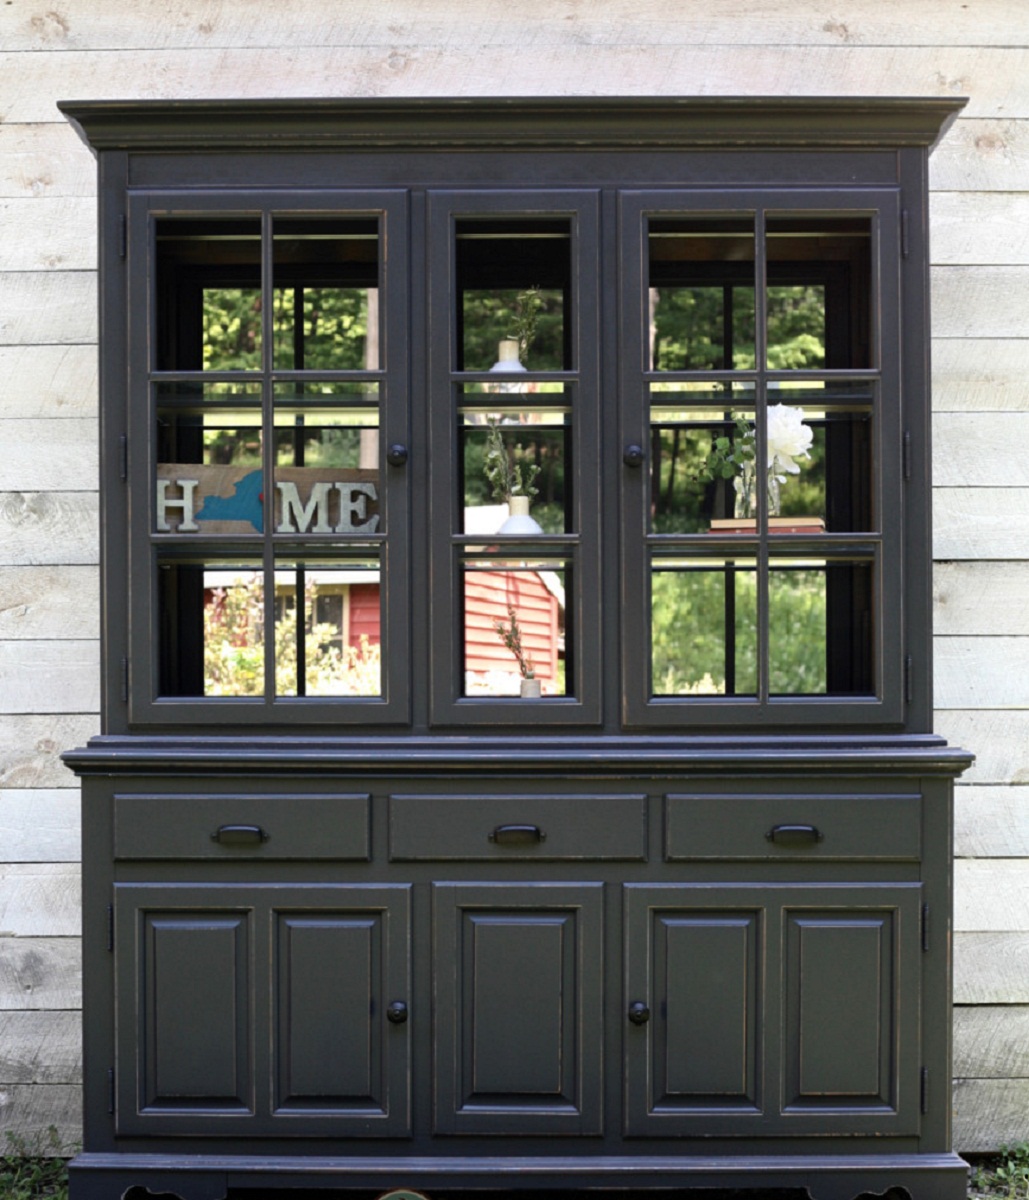
Step 4: Construct Doors
Build the front of the frame in the same pattern as the back. 8 feet wide and 8 feet tall. To frame out the cabinets, secure 8 foot 2x4s perpendicular at 36” across and 60” across.
This will give you two 3-feet-wide cabinets on the ends and a 2-foot-wide cabinet in the middle. Cut ¼” plywood to make the doors to fit these openings. While still on the ground, attach the doors with four hinges each using a self-centring bit.
Constructing this on the ground will make attaching and levelling the doors much easier. Add a magnet to keep doors closed once upright. Once all three doors are on, have a friend help you raise it up to rest on the base. Secure the frame to the base and sides with wood screws.
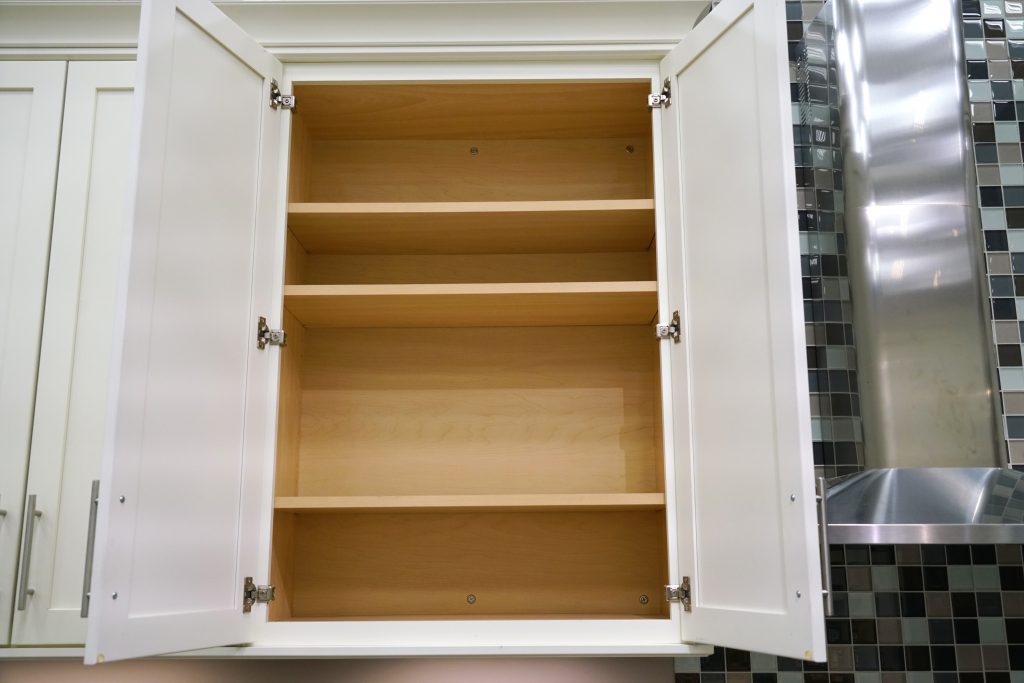
Step 5: Add Finishing Details
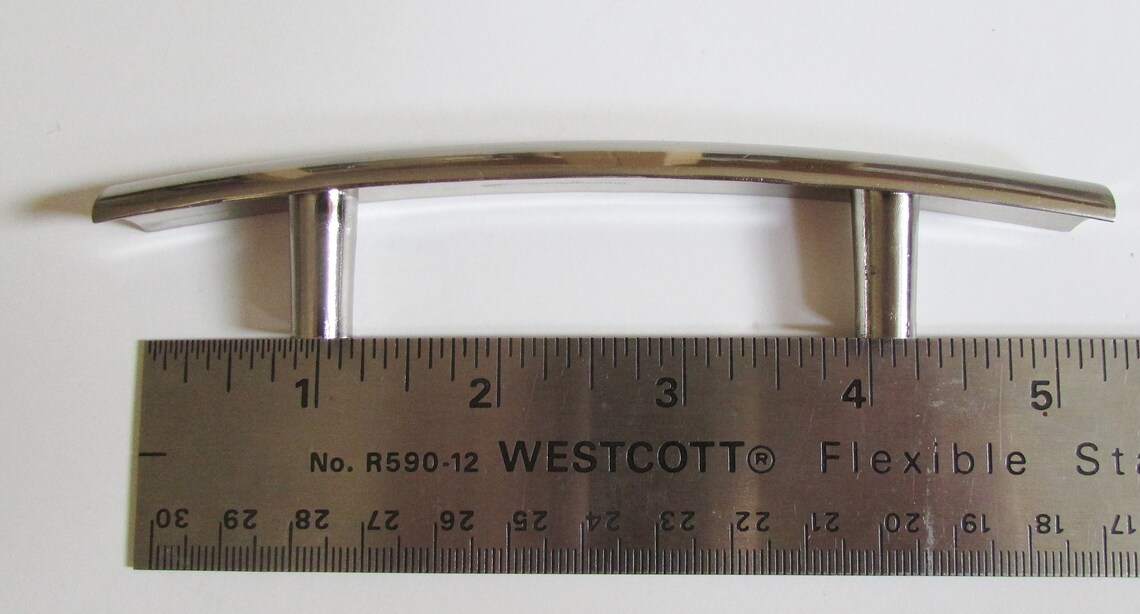
Cut 5mm-thin plywood to 3’x8’ and attach to the sides of the frame using a nail gun. Trim out the front of the cabinet with 1x4s. Attach your cabinet pulls to the doors by marking guide holes with a pencil then screwing the pulls into place.
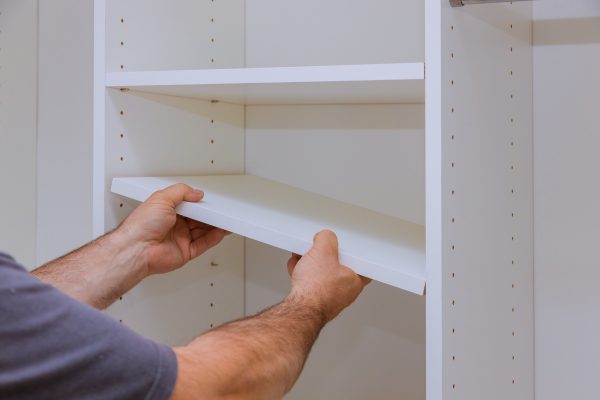
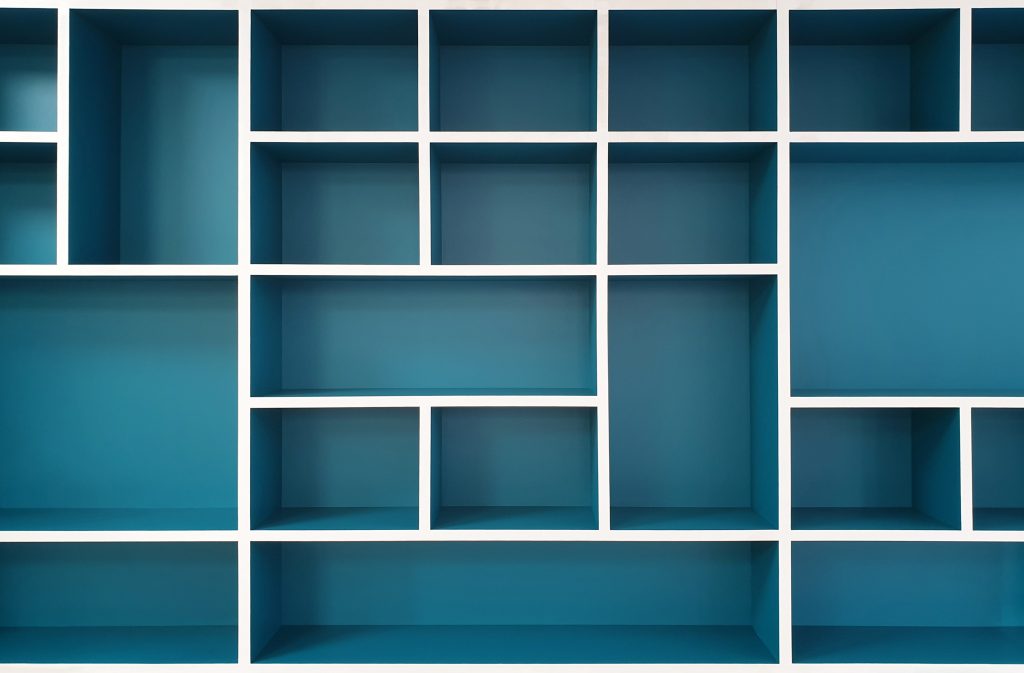
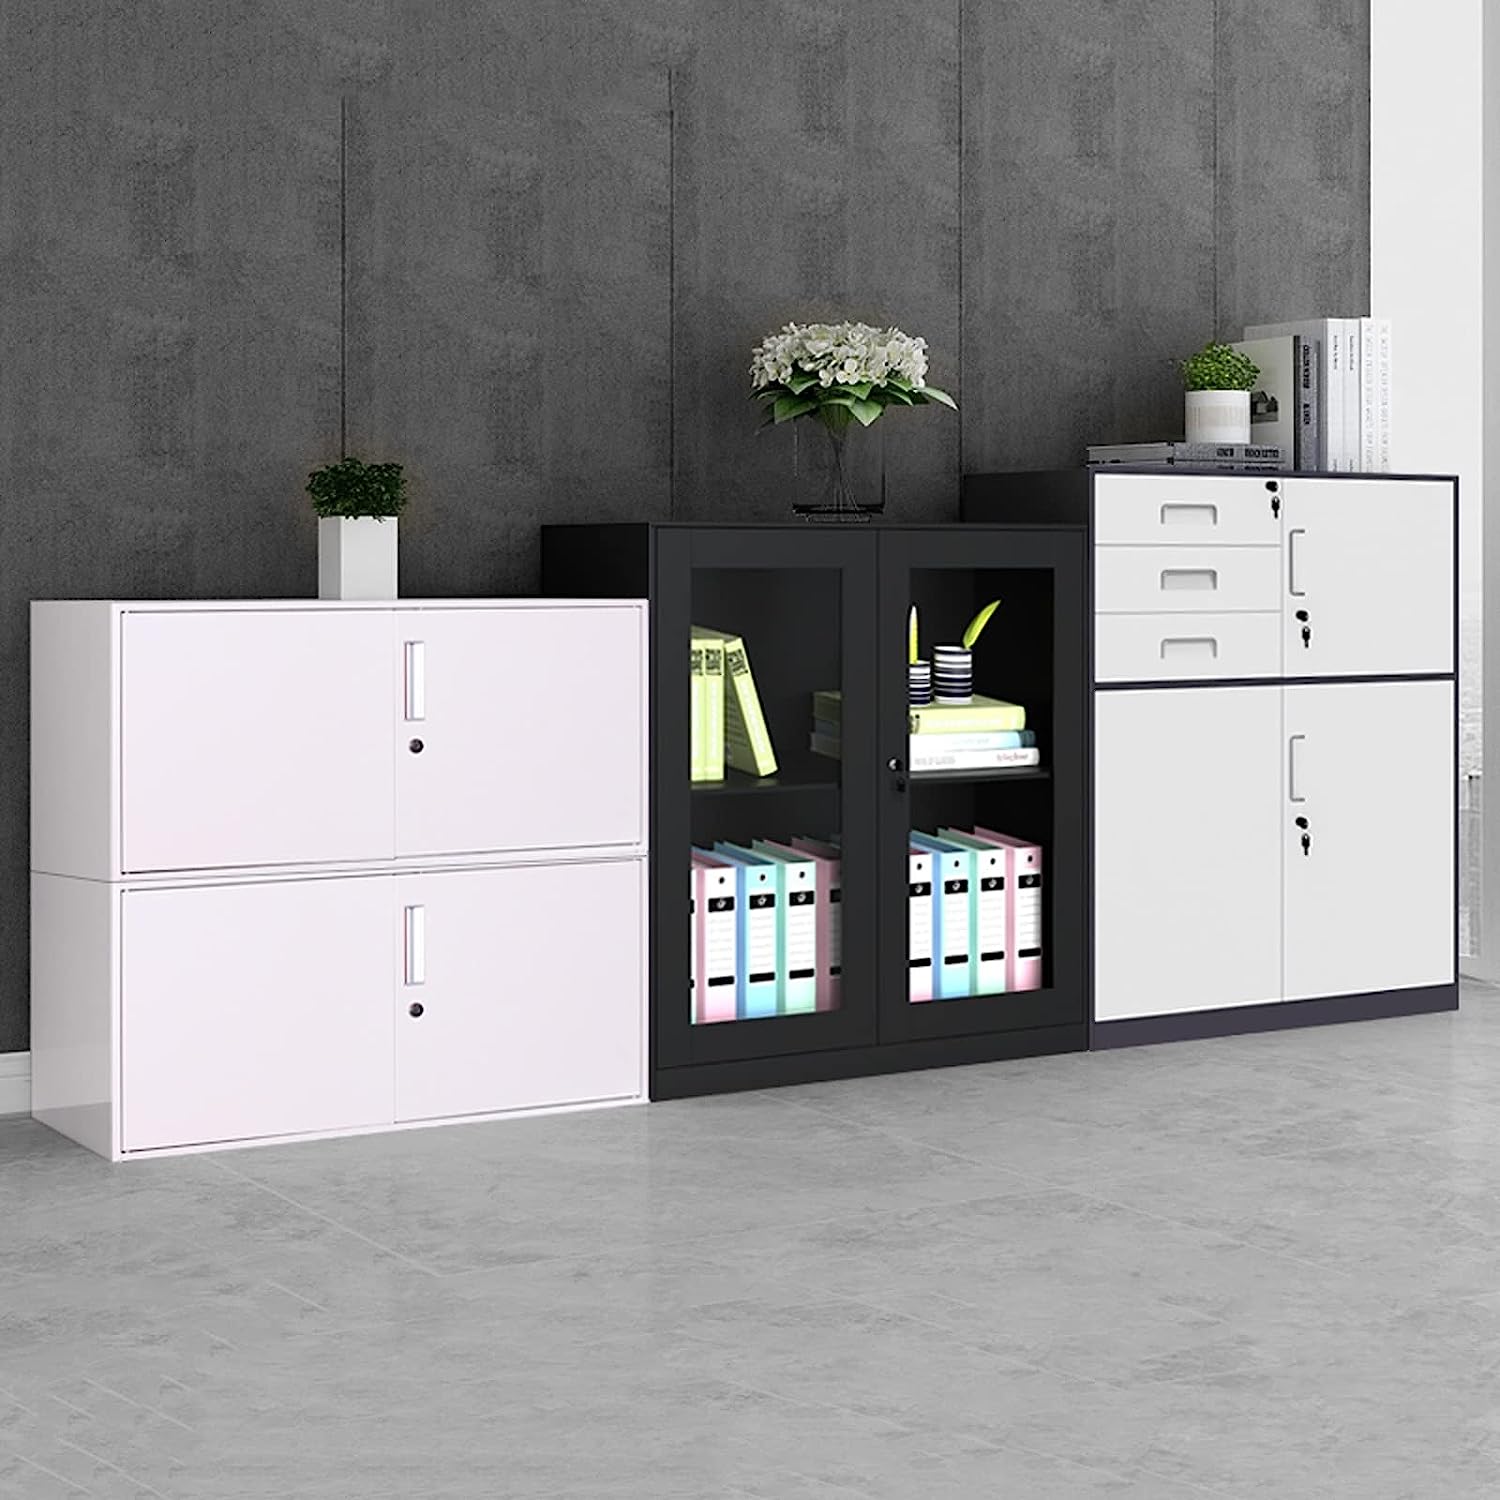
Step 6: Add Shelves

Start by adding 3 foot, 2×4 support boards where the interior cabinet shelves will go, one on each side. Using a level, attach the boards to the sides with wood screws. Cut down ½” plywood to 34”x34”. Next, place it on the 2×4 supports and attach with screws to create the shelf.
Once the shelf is levelled and clamped, screw in 2.5″ pocket hole screws in the holes of the 2×2 and level the back of the shelf. Once the back is level, screw in 2.5″ pocket hole screws in the holes of the 2×2 and 1.25″ pocket hole screws into the remaining holes. Create as many shelves with this process to accommodate your needs.
Now you can build your own DIY Storage Cabinets by following these easy steps.
Was this page helpful?
At Storables.com, we guarantee accurate and reliable information. Our content, validated by Expert Board Contributors, is crafted following stringent Editorial Policies. We're committed to providing you with well-researched, expert-backed insights for all your informational needs.
0 thoughts on “How to DIY Storage Cabinets?”