
Articles
How To Seal Off A Chimney
Modified: August 28, 2024
Learn how to seal off a chimney with our informative articles. Protect your home from drafts and improve energy efficiency.
(Many of the links in this article redirect to a specific reviewed product. Your purchase of these products through affiliate links helps to generate commission for Storables.com, at no extra cost. Learn more)
Introduction
Welcome to this guide on how to seal off a chimney. If you have a chimney in your home that is no longer in use or you want to prevent drafts or pests from entering through the chimney, sealing it off is a wise idea. Chimney sealing not only helps with energy efficiency but also improves the overall safety of your home.
Before you begin sealing off your chimney, it is important to note that this article provides a general overview of the process. The specific steps and materials required may vary depending on the type and condition of your chimney. It is recommended that you consult a professional chimney technician or contractor for a more accurate assessment and guidance tailored to your specific situation.
Sealing off a chimney involves several steps, including cleaning the chimney, measuring and cutting a chimney cap, applying a silicone sealant, and securing the cap. By following the steps outlined in this guide, you can effectively seal off your chimney and prevent any potential issues that may arise from an unused or open chimney.
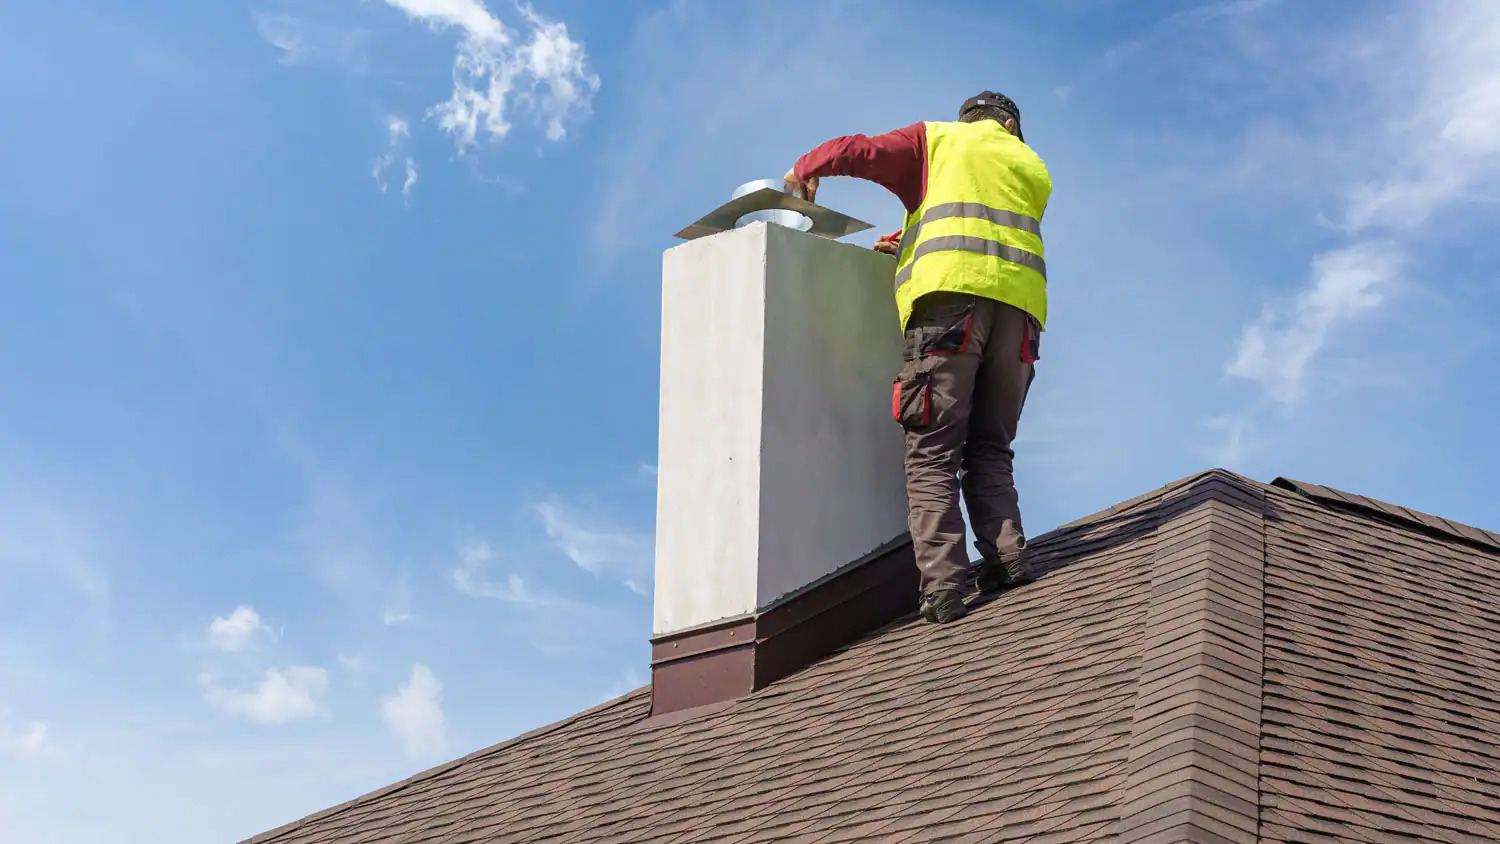
Before we dive into the process, it is crucial to emphasize the importance of safety. Working on a chimney can be hazardous, especially if you are not experienced or comfortable with heights. Make sure to take the necessary precautions and use proper safety equipment to avoid any accidents. If you feel unsure or uncomfortable, it is always best to seek the assistance of a professional.
Now that we have covered the introduction and safety precautions, let’s move on to the materials you will need for sealing off your chimney.
Key Takeaways:
- Safely and effectively seal off your chimney by following key steps, including cleaning, measuring, applying sealant, securing the cap, and inspecting for leaks. Prioritize safety and consider professional assistance if needed.
- Ensure energy efficiency and home safety by properly sealing off your chimney. Gather necessary materials, prioritize safety, and follow step-by-step instructions for a secure and effective chimney seal. Regular maintenance is key to long-term protection.
Read more: How To Seal Chimney Pipe
Safety Precautions
Before you begin sealing off your chimney, it is essential to prioritize safety. Working on a chimney can be potentially dangerous, so taking the necessary precautions is crucial to minimize any risks or accidents. Here are some safety measures to keep in mind:
- Use protective gear: Wear safety glasses, gloves, and a dust mask to protect yourself from debris and harmful particles that may be present in the chimney.
- Secure a stable ladder: Make sure the ladder you use is in good condition and properly secured. Ensure it is placed on a stable and level surface, and always maintain three points of contact while climbing.
- Check for obstructions and hazards: Before starting any work, inspect the chimney for any obstructions, such as bird nests or debris. Remove any potential hazards to create a safer working environment.
- Beware of electrical wires: Take note of any electrical wires that may be running near or through the chimney. Avoid contact with these wires and exercise caution to prevent any electrical accidents.
- Work with a partner: If possible, have a partner assist you during the sealing process. They can help with handing tools, providing support, and ensuring your safety.
- Use appropriate tools: Make sure to use the right tools for the job. This includes a stable ladder, sturdy work gloves, appropriate cutting tools for the chimney cap, and a high-temperature silicone sealant.
- Be cautious of heights: If you are uncomfortable working on heights or feel unsure, it is advisable to hire a professional chimney technician who has the required expertise and experience.
- Follow manufacturer instructions: When using any products or materials, carefully read and follow the manufacturer’s instructions. This ensures that you use them correctly and safely.
- Stay alert and focused: Avoid distractions and stay focused on the task at hand. Being attentive will help prevent accidents and ensure the sealing process is done accurately.
By adhering to these safety precautions, you can protect yourself and others involved in the chimney sealing process. Remember, if you are unsure about any aspect of sealing off your chimney, it is always best to consult a professional chimney technician or contractor for guidance and assistance.
Materials Needed
Before you begin sealing off your chimney, it is important to gather all the necessary materials. Having everything prepared beforehand will make the process smoother and more efficient. Here is a list of materials you will need:
- Chimney Cap: Purchase a chimney cap that is appropriate for the size and type of your chimney. Ensure that it is made of durable materials to withstand weather conditions.
- Silicone Sealant: Invest in a high-temperature silicone sealant that is suitable for chimney applications. Make sure it is specifically designed to resist heat without cracking or deteriorating over time.
- Measuring Tape: A measuring tape will be needed to accurately measure the dimensions of the chimney cap and ensure a proper fit.
- Hacksaw or Tin Snips: Depending on the material of the chimney cap, you may require a hacksaw or tin snips to cut it to the correct size.
- Caulk Gun: A caulk gun is necessary for applying the silicone sealant effectively.
- Gloves and Safety Glasses: Protect your hands and eyes by wearing gloves and safety glasses throughout the process.
- Ladder: Make sure to have a sturdy ladder that can reach the height of your chimney safely.
- Cleaning Tools: Gather chimney cleaning tools such as brushes or a vacuum to remove any debris or obstructions.
- Drop Cloth or Tarp: To protect the surrounding area, place a drop cloth or tarp to catch any debris or spills during the process.
Make sure to double-check this list and ensure that you have all the necessary materials before starting the chimney sealing process. Having everything ready will save you time and make the task more efficient.
With the materials in hand, we are ready to move on to the step-by-step process of sealing off your chimney. Let’s get started!
Step 1: Clean the Chimney
Prior to sealing off your chimney, it is essential to clean it thoroughly. Cleaning the chimney helps remove any debris, creosote buildup, or obstructions that may be present. This step ensures that the chimney is clear and ready for sealing. Follow these steps to clean your chimney:
- Prepare the area: Place a drop cloth or tarp around the base of the chimney to catch any debris that may fall during the cleaning process. It is also advisable to wear protective gloves and safety glasses.
- Inspect the chimney: Look for any signs of bird nests, leaves, or other obstructions that may be blocking the chimney. Use a flashlight to assess the condition of the chimney and identify any areas that need attention.
- Remove debris: Using a chimney brush or vacuum cleaner specifically designed for chimney cleaning, remove any debris or obstructions from the chimney. Start from the top and work your way down, brushing or vacuuming as you go.
- Clean the flue: Pay extra attention to cleaning the flue, which is the inner lining of the chimney. Brush or vacuum it thoroughly to remove any creosote or soot buildup.
- Inspect for damage: While cleaning, inspect the chimney for any signs of damage, such as cracks or loose bricks. If you notice any significant issues, it is important to consult a professional for further assessment and repairs.
- Sweep the area: Once the cleaning is complete, sweep the surrounding area to ensure there is no loose debris left behind.
By thoroughly cleaning your chimney, you are preparing it for the sealing process and ensuring that there are no obstructions or buildup that could interfere with the chimney cap installation. Once the chimney is clean, you can proceed to the next step of measuring and cutting the chimney cap.
Note: If the cleaning process seems overwhelming or you are unsure about how to clean your chimney safely, it is recommended to hire a professional chimney technician who can perform the cleaning for you.
Step 2: Measure and Cut the Chimney Cap
After cleaning the chimney, the next step is to measure and cut the chimney cap. The chimney cap serves as a protective cover that prevents debris, animals, and draft from entering the chimney while allowing for proper ventilation. Follow these steps to measure and cut the chimney cap:
- Measure the chimney: Using a measuring tape, accurately measure the top opening of your chimney. Take note of the width and length measurements.
- Select the appropriate cap: Based on your measurements, choose a chimney cap that fits securely over the top opening of your chimney. It is essential to select a cap that matches the shape and size of your chimney for a proper fit.
- Prepare the chimney cap: If the chimney cap you have selected is adjustable, follow the manufacturer’s instructions to adjust it to the correct size. If it needs to be cut, mark the measurements on the cap using a marker or pencil.
- Cut the chimney cap: Depending on the material of the chimney cap, use a hacksaw or tin snips to carefully cut it to the marked measurements. Take your time to ensure smooth and accurate cuts.
- Smooth the edges: After cutting the chimney cap, use sandpaper or a file to smooth any rough edges or burrs, making sure it is safe to handle and install.
By accurately measuring and cutting the chimney cap, you are ensuring a proper fit and sealing off the top of the chimney effectively. The cap will help to prevent water damage, block drafts, and keep unwanted pests out. Once the chimney cap is ready, it’s time to move on to the next step of applying the silicone sealant.
Note: If you are unsure about how to measure, cut, or select the appropriate chimney cap, it is advisable to seek the assistance of a professional chimney technician or contractor.
Before sealing off a chimney, make sure to clean it thoroughly to remove any debris or soot. Use a chimney cap or sealant to prevent drafts and moisture from entering the home. Always follow safety guidelines and consider consulting a professional for proper sealing.
Read more: How To Close Off A Chimney
Step 3: Apply the Silicone Sealant
Once you have measured and cut the chimney cap, the next step is to apply a silicone sealant to ensure a secure and watertight seal. The silicone sealant helps to prevent water from entering the chimney and eliminates any gaps between the chimney cap and the chimney structure. Follow these steps to apply the silicone sealant:
- Prepare the chimney cap: Lay the chimney cap on a flat surface with the bottom side facing up. Ensure that the cut edges are facing down to prevent any water accumulation on the cap.
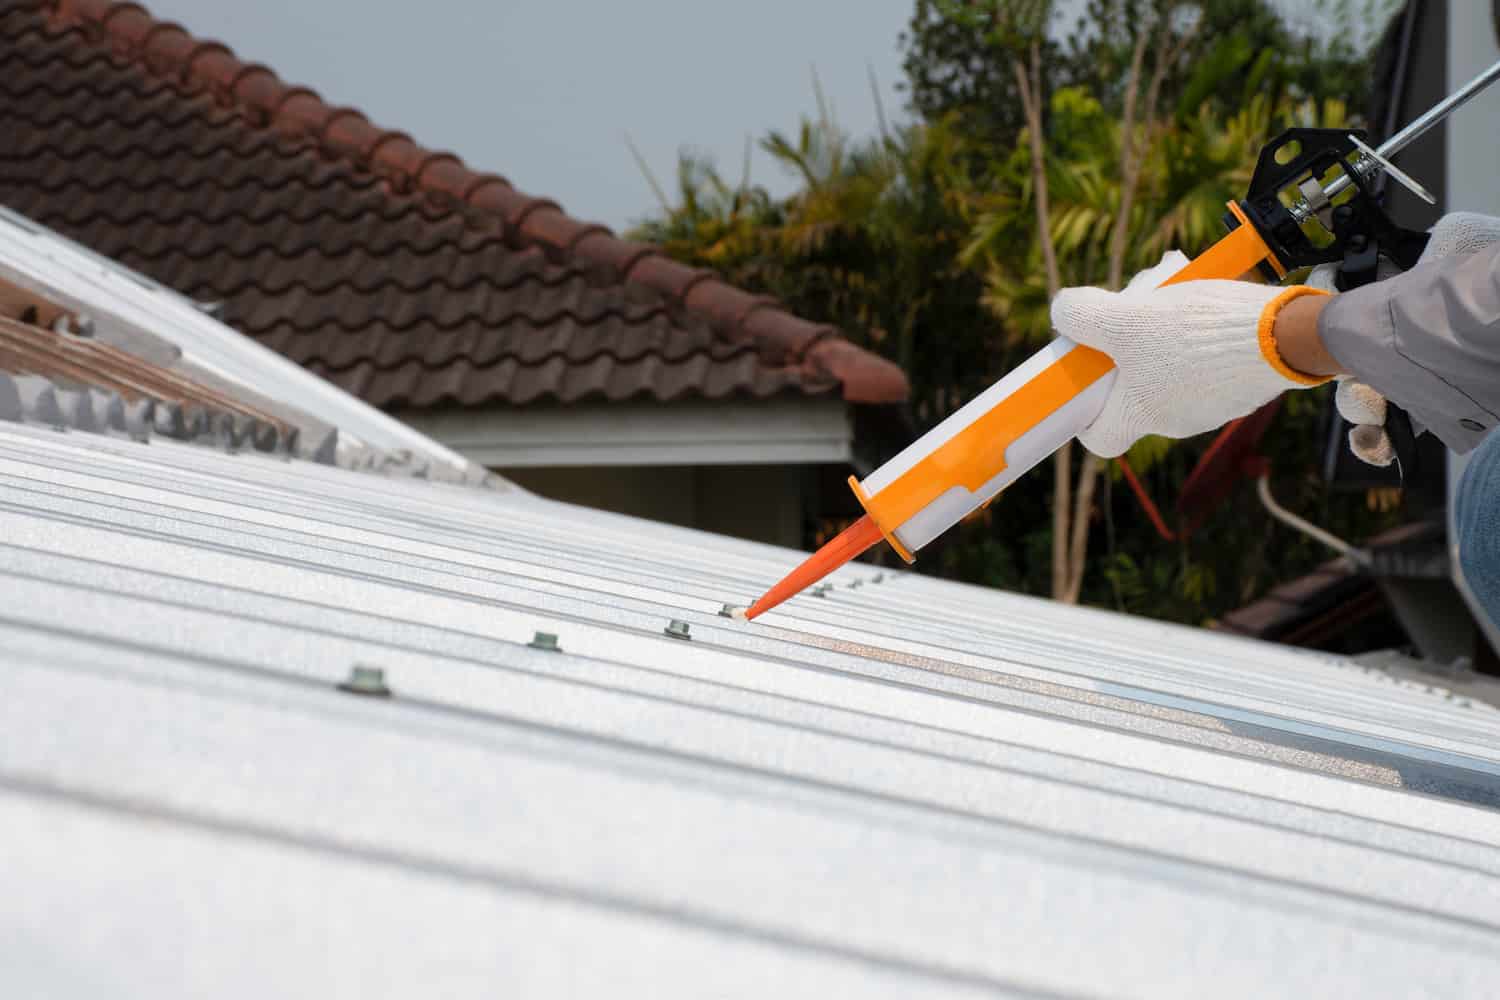
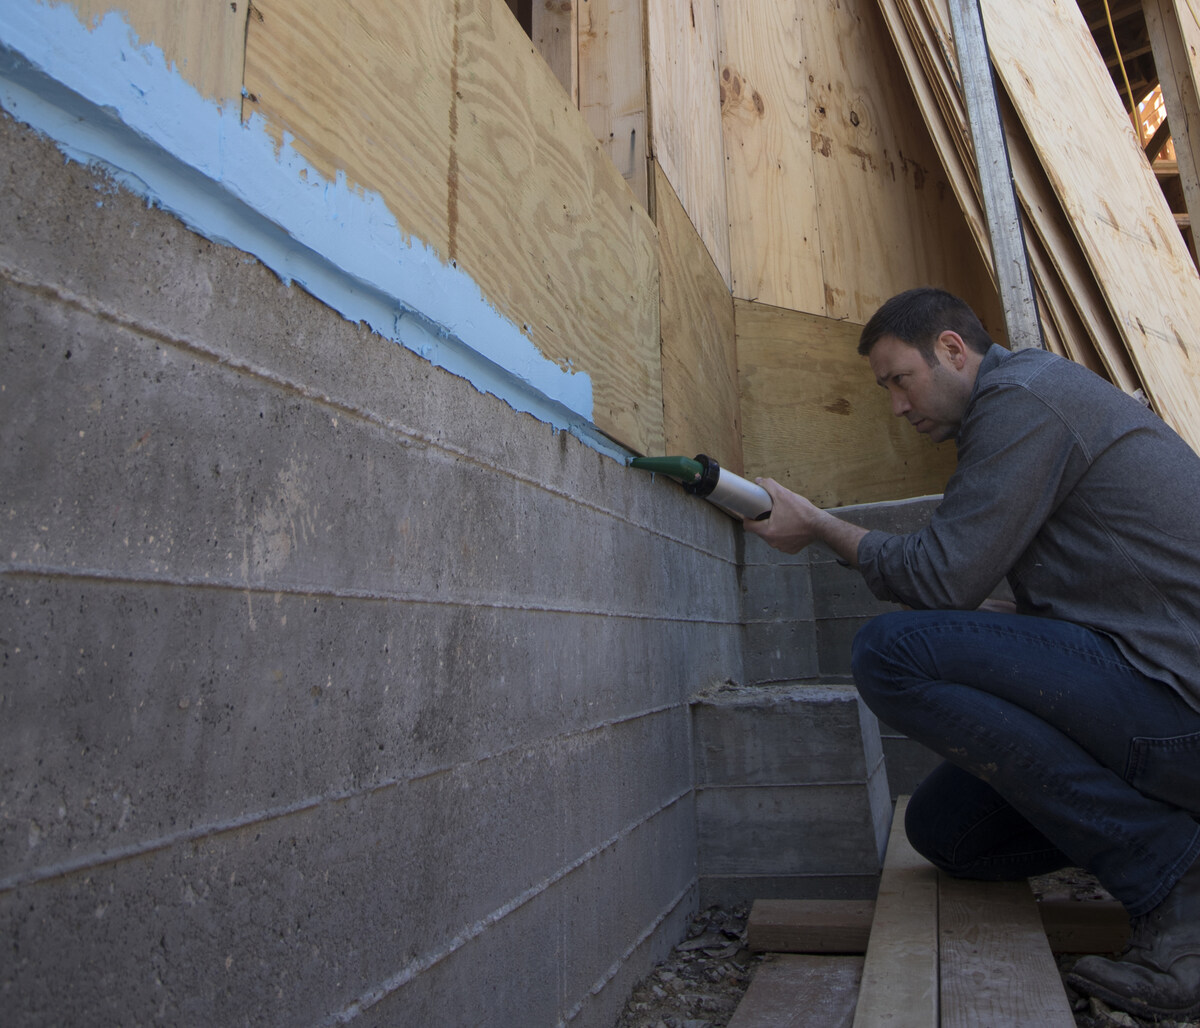
- Load the silicone sealant: Insert a tube of high-temperature silicone sealant into a caulk gun. Trim the nozzle of the tube at a 45-degree angle to allow for a more controlled application.
- Apply the sealant: Starting from one corner of the chimney cap, apply a generous bead of silicone sealant along the edges. Make sure to create a continuous line without any breaks or gaps.
- Smooth the sealant: Use a gloved finger or a caulk smoothing tool to smooth and shape the silicone sealant, ensuring it forms a tight seal between the chimney cap and the chimney structure. Remove any excess sealant for a neat finish.
- Allow the sealant to cure: Follow the manufacturer’s instructions to determine the curing time of the silicone sealant. It is important to allow the sealant sufficient time to cure before moving on to the next step.
By applying the silicone sealant, you are creating a watertight barrier and ensuring that the chimney cap is securely attached to the chimney structure. This step helps to prevent water infiltration and maintains the integrity of the seal. Once the sealant has cured, proceed to the next step of securing the chimney cap.
Note: Be cautious while working with the silicone sealant as it can be sticky and difficult to remove if it comes into contact with unintended surfaces. It is advised to wear gloves and work in a well-ventilated area.
Step 4: Secure the Chimney Cap
Now that you have applied the silicone sealant, it’s time to securely fasten the chimney cap onto the chimney structure. Securing the chimney cap ensures that it remains in place and provides maximum protection against drafts, pests, and weather elements. Follow these steps to secure the chimney cap:
- Position the chimney cap: Carefully lift the chimney cap and position it over the top opening of the chimney. Make sure that it sits evenly and covers the entire opening.
- Align the screw holes: Check if the chimney cap has pre-drilled screw holes. Align these holes with the corresponding holes or anchors on the chimney structure. If the chimney cap doesn’t have pre-drilled screw holes, make sure it is centered on the chimney opening.
- Insert screws or anchors: Depending on the type of chimney cap and the chimney structure, use the appropriate screws or anchors to secure the cap in place. Ensure that the screws or anchors are tightened securely but not overly tight, as excessive force may damage the chimney cap or structure.
- Double-check the fit: Once the chimney cap is secured, visually inspect the installation to ensure that it is level, correctly positioned, and tightly attached.
By properly securing the chimney cap, you are ensuring that it remains in place and provides the intended protection to your chimney. A securely fastened cap will withstand strong winds, preventing it from dislodging or coming loose. Now that the chimney cap is in place, it’s time to move on to the final step of inspecting and testing for any leaks.
Note: If you are unsure about how to secure the chimney cap or encounter any difficulties during the installation process, it is recommended to consult a professional chimney technician or contractor for assistance.
Step 5: Inspect and Test for Leaks
After securing the chimney cap, it is crucial to inspect and test for any potential leaks. This step ensures that the sealing process is effective and that there are no gaps or openings that could compromise the integrity of the chimney seal. Follow these steps to inspect and test for leaks:
- Visually inspect the seal: Carefully examine the area where the chimney cap meets the chimney structure. Look for any visible gaps, cracks, or signs of poor sealant application. If you notice any issues, it may be necessary to remove the cap and reapply the silicone sealant.
- Feel for air drafts: Place your hand near the edges of the chimney cap and feel for any air drafts. If you detect a draft, it indicates that there might be a gap in the sealant. Note the location of the draft for further assessment.
- Perform a smoke test: Light a small piece of smoke-generating material, such as incense or a smoke pen, and hold it near the edges of the chimney cap. Observe the smoke movement. If the smoke is pulled into the chimney, it indicates a potential leak that needs to be addressed.
- Reapply sealant if necessary: If you identify any gaps or leaks during the inspection and testing process, carefully remove the chimney cap and reapply the silicone sealant. Make sure to thoroughly clean the area before reapplying the sealant for better adhesion.
- Repeat the inspection and testing: Once you have reapplied the sealant, repeat the visual inspection and testing to ensure that all gaps and leaks have been addressed. Continue this process until you are satisfied with the seal and there are no visible gaps or drafts.
Inspecting and testing for leaks ensures that your chimney remains properly sealed and protected. By addressing any gaps or leaks promptly, you can prevent potential issues such as water infiltration, drafts, or pests entering through the chimney. Once you have completed the inspection and testing process, you can consider the chimney sealing process complete.
Congratulations! You have successfully sealed off your chimney, improving energy efficiency and enhancing the overall safety of your home. Regularly inspect and maintain the chimney seal to ensure it remains intact and effective in the long run.
Note: If you continue to experience leaks or feel uncertain about the inspection and testing process, it is advisable to seek the assistance of a professional chimney technician or contractor for a thorough assessment and guidance.
Conclusion
Sealing off a chimney is an important step to improve energy efficiency, prevent drafts, and protect your home from potential hazards. By following the steps outlined in this guide, you can successfully seal off your chimney and enjoy the benefits of a properly sealed and protected chimney.
Remember to prioritize safety throughout the process. Take the necessary precautions, wear appropriate protective gear, and exercise caution while working on or near the chimney. If you are unsure or uncomfortable with any step, it is always best to seek the assistance of a professional chimney technician or contractor.
Cleaning the chimney, measuring and cutting the chimney cap, applying the silicone sealant, securing the chimney cap, and inspecting and testing for leaks are the key steps involved in sealing off a chimney. By carefully following these steps, you can ensure a proper seal that will keep your chimney free from debris, pests, and drafts.
Regular maintenance and inspection of the chimney seal is essential to ensure its ongoing effectiveness. Periodically check for any signs of damage, gaps, or leaks, and address them promptly to maintain a tight seal. With proper maintenance, your sealed chimney can provide years of protection and contribute to the overall safety and efficiency of your home.
If you have any doubts or concerns about sealing off your chimney, it is recommended to consult a professional chimney technician or contractor. They have the expertise and experience to assess your specific situation and provide tailored guidance.
Sealing off your chimney is a worthwhile investment that brings numerous benefits, including improved energy efficiency, enhanced home safety, and protection against unwanted pests and drafts. By taking the time to seal off your chimney properly, you can enjoy peace of mind knowing that your home is safeguarded and your chimney is in optimal condition.
Frequently Asked Questions about How To Seal Off A Chimney
Was this page helpful?
At Storables.com, we guarantee accurate and reliable information. Our content, validated by Expert Board Contributors, is crafted following stringent Editorial Policies. We're committed to providing you with well-researched, expert-backed insights for all your informational needs.





0 thoughts on “How To Seal Off A Chimney”