Home>Articles>How To Turn Electrical Cord With Single Bulb Into Lamp?
Articles
How To Turn Electrical Cord With Single Bulb Into Lamp?
Modified: February 24, 2024
Learn how to transform an electrical cord with a single bulb into a functional lamp with our informative articles. Discover step-by-step instructions and expert tips to create your own unique lighting solution.
(Many of the links in this article redirect to a specific reviewed product. Your purchase of these products through affiliate links helps to generate commission for Storables.com, at no extra cost. Learn more)
Introduction
Have you ever found yourself with an electrical cord and a single light bulb, wondering if you could turn it into a functional lamp? Well, the good news is that with a few simple steps and some basic materials, you can transform that ordinary cord and bulb into a stylish and functional lamp.
Creating your own lamp not only adds a personal touch to your living space but also allows you to repurpose materials and reduce waste. Plus, it can be a fun and rewarding DIY project for anyone with a creative spirit.
In this article, we will guide you through the process of turning an electrical cord with a single bulb into a lamp. So, gather your materials and let’s get started!
Key Takeaways:
- Transform an electrical cord and single light bulb into a stylish and functional lamp with basic materials and simple steps. Add a personal touch to your living space while reducing waste through this fun DIY project.
- Prioritize safety and gather necessary materials before assembling your custom lamp. Test its functionality and add personal touches for a warm and inviting atmosphere in your living space.
Read more: How To Replace An Electrical Cord On A Lamp
Materials Needed
Before you begin, make sure you have the following materials ready:
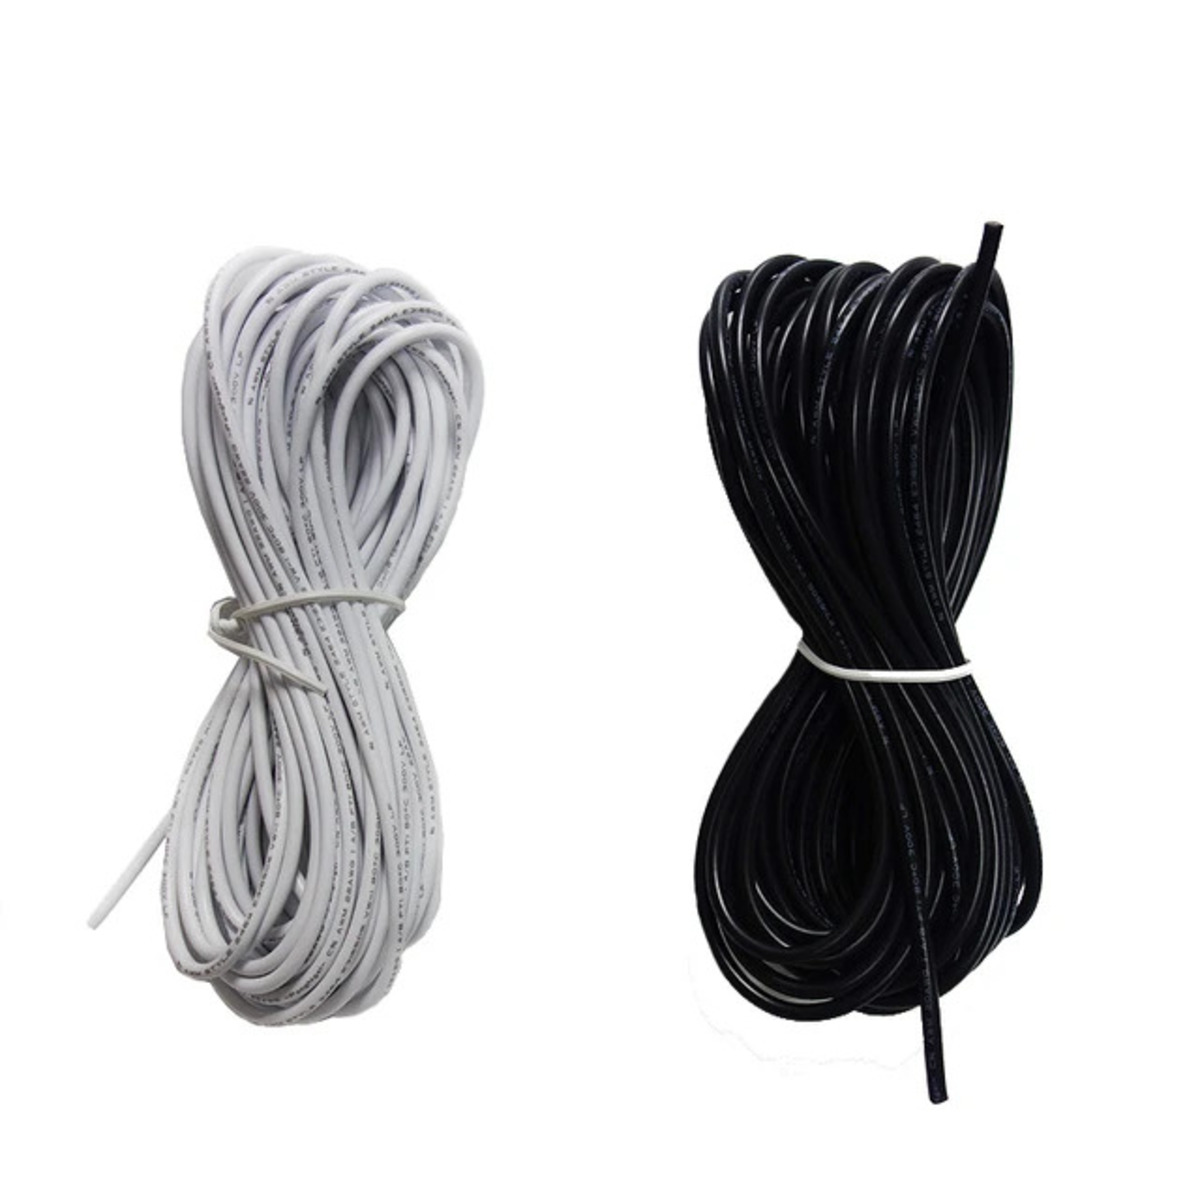
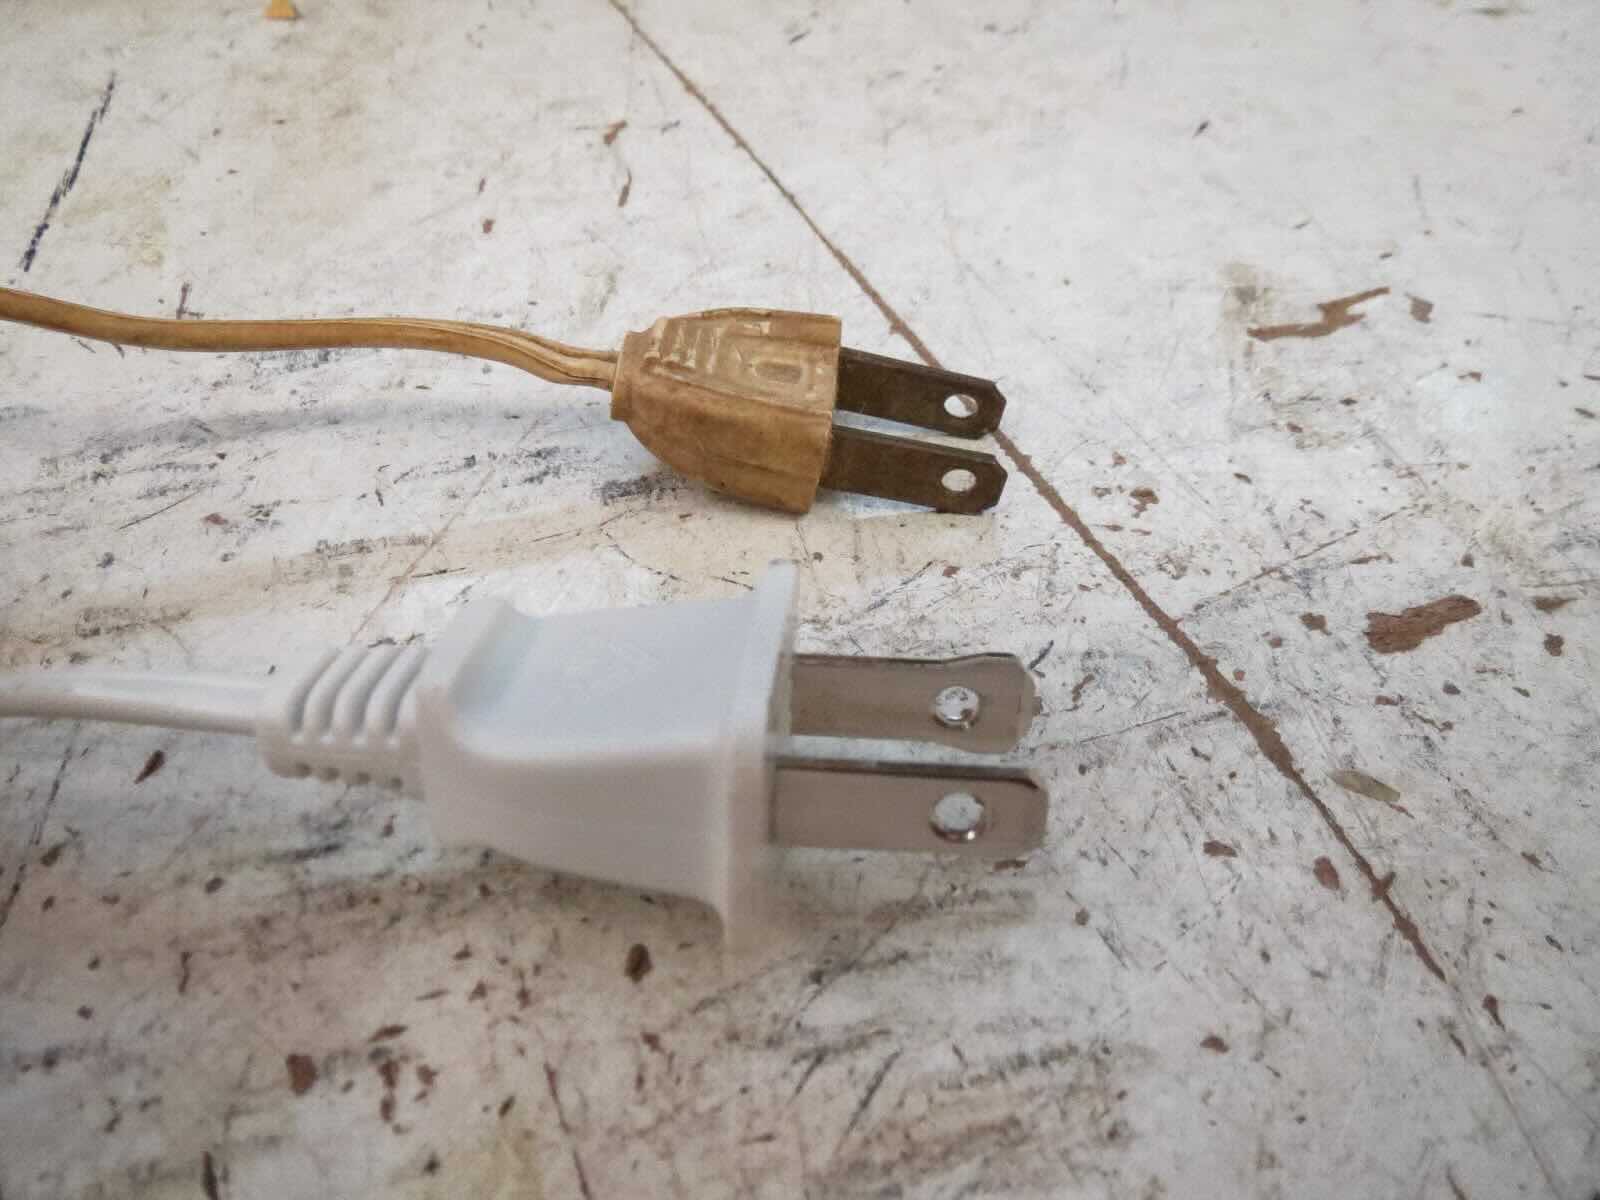
- An electrical cord with a plug
- A socket (preferably one that matches the size of your light bulb)
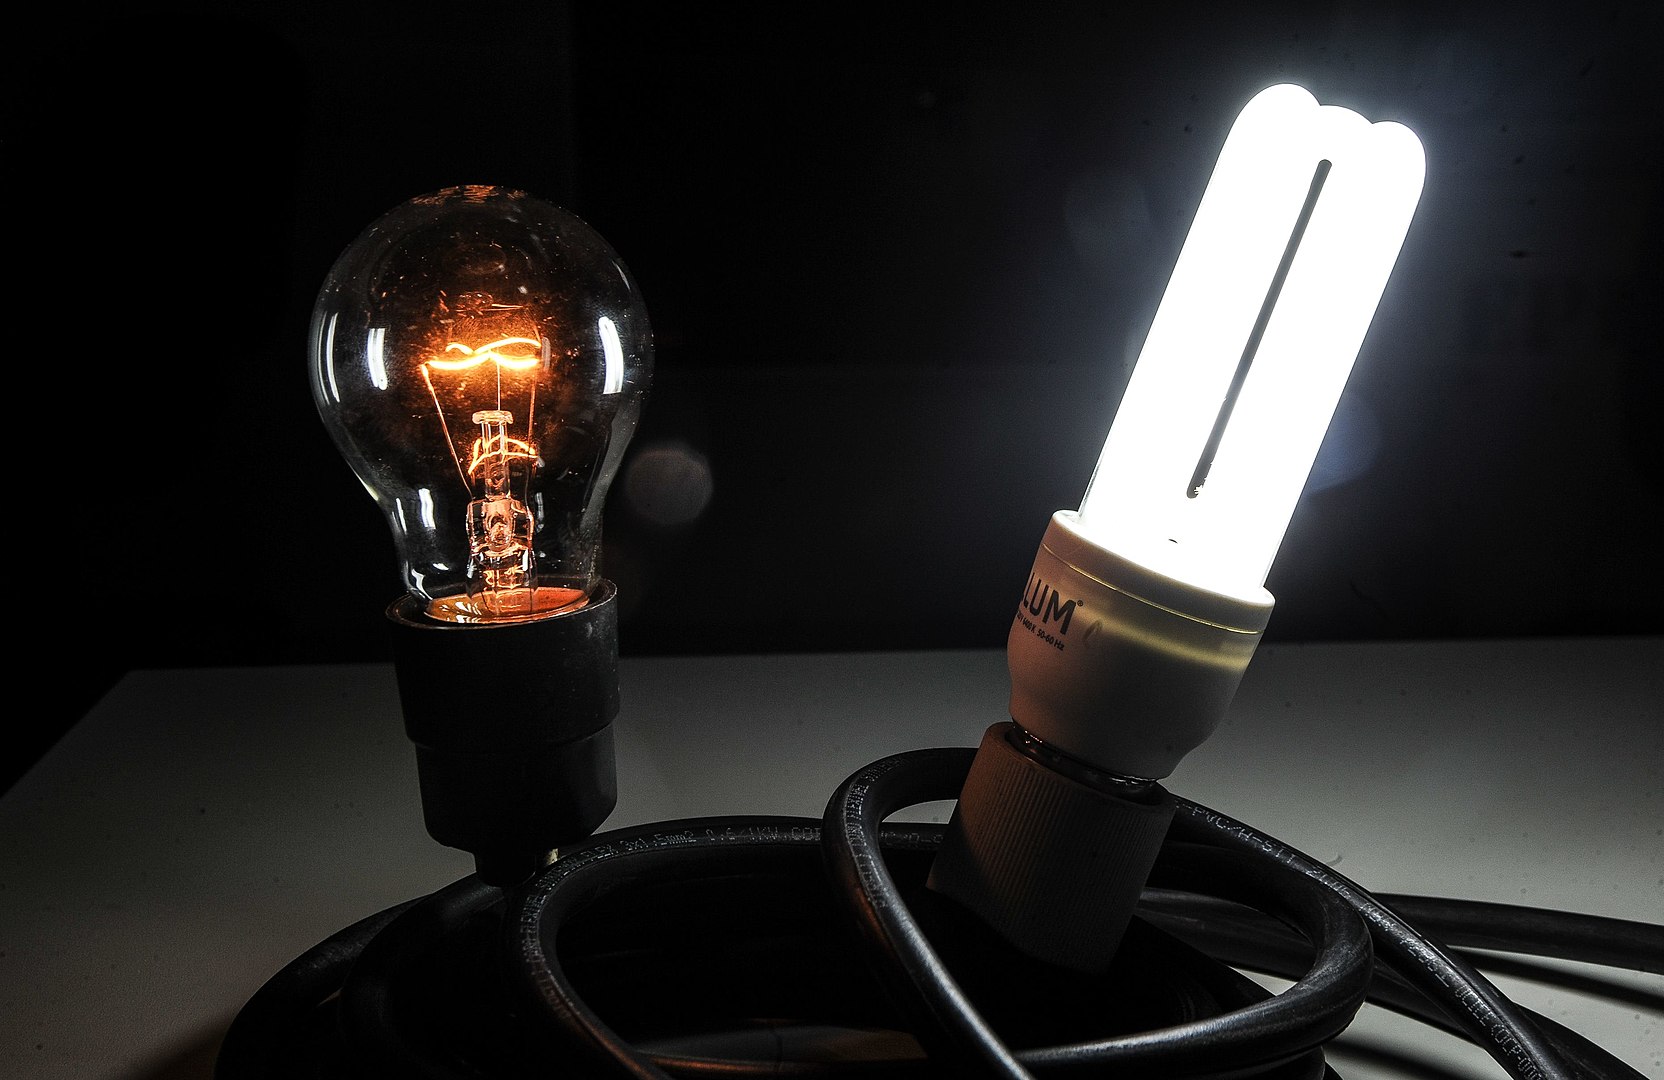
- A light bulb
- A lampshade (optional, but it adds a nice finishing touch)
- A lamp base or any sturdy object to serve as the foundation for your lamp
- A switch (optional, but it allows you to easily turn the lamp on and off)
- A screwdriver
- Wire strippers (for removing the insulation from the cord)
- Electrical tape or wire nuts
- A drill (if you need to create a hole in your lamp base)
These are the basic materials you will need to transform your cord and bulb into a lamp. Depending on your design preferences, you may also want to gather additional materials such as decorative elements, paint, or adhesive tape to customize your lamp.
Step 1: Gather the Supplies
The first step in creating your lamp is to gather all the necessary supplies. This includes the electrical cord, socket, light bulb, lamp base, switch (if desired), screwdriver, wire strippers, electrical tape or wire nuts, and any additional materials for customization.
Inspect the electrical cord to ensure it is in good condition without any fraying or damage. If there are any issues with the cord, it is important to replace it before proceeding.
Next, choose a socket that is suitable for the size of your light bulb. The socket will hold the bulb securely in place and provide the electrical connection. Make sure the socket is compatible with the electrical cord and has a screw cap for easy installation.
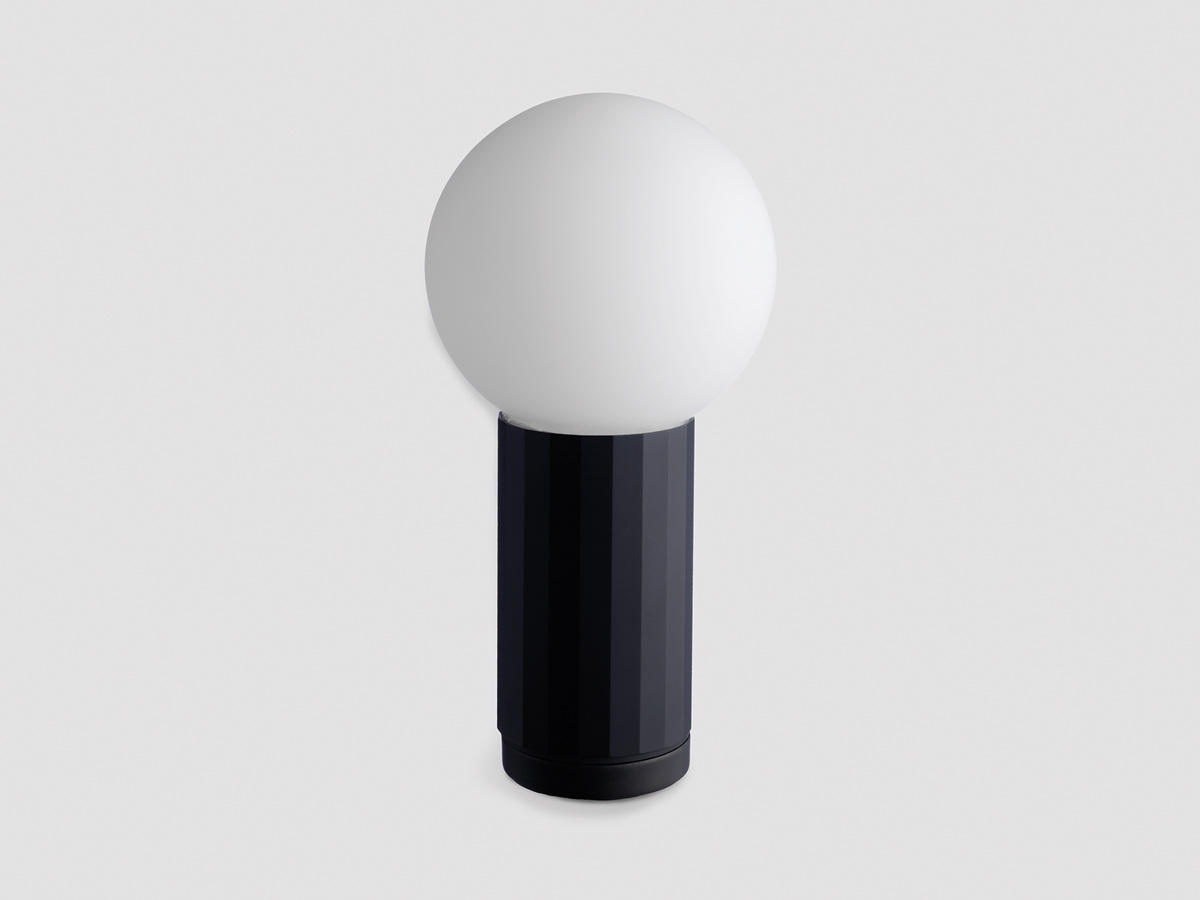
If you are using a lamp base, select one that is sturdy and stable. It can be a traditional lamp base or any object that can serve as a foundation for your lamp. Keep in mind the size and weight of your lampshade if you plan on using one.
Lastly, gather your tools such as a screwdriver, wire strippers, and electrical tape or wire nuts. These will help with the assembly process and ensure a secure electrical connection.
Once you have gathered all the necessary supplies, you are ready to move on to the next step of creating your lamp.
Step 2: Prepare the Cord and Bulb
Now that you have all the supplies ready, it’s time to prepare the electrical cord and bulb for your lamp.
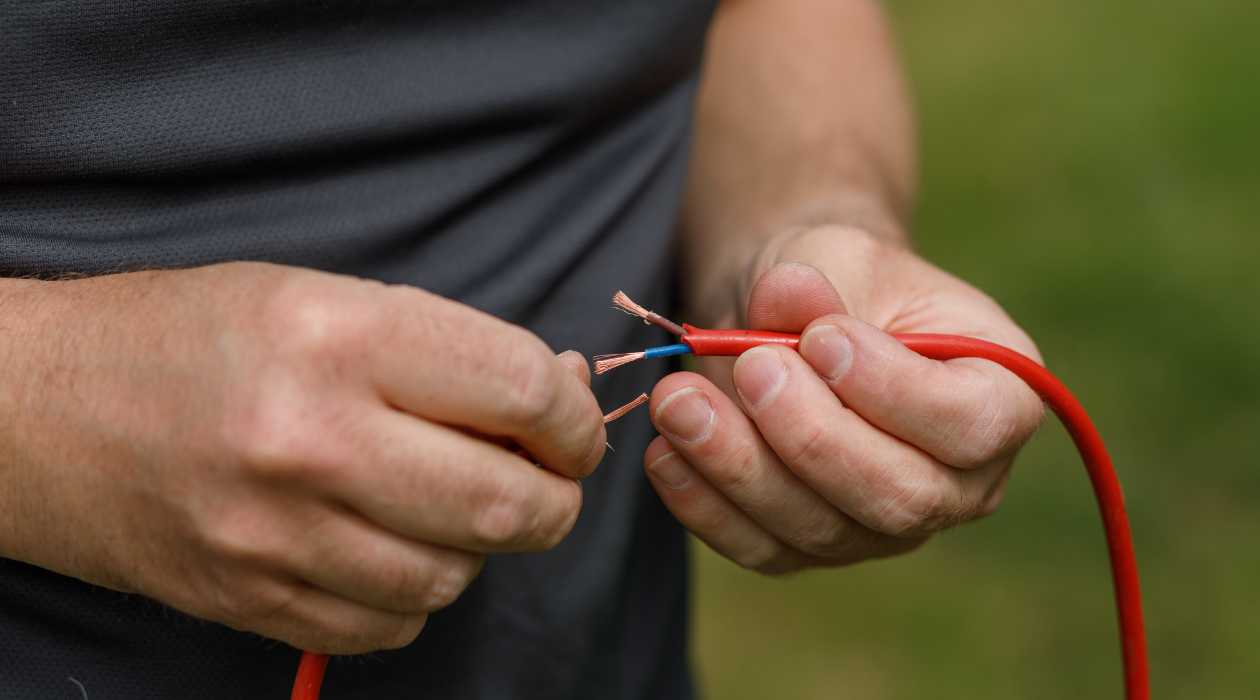
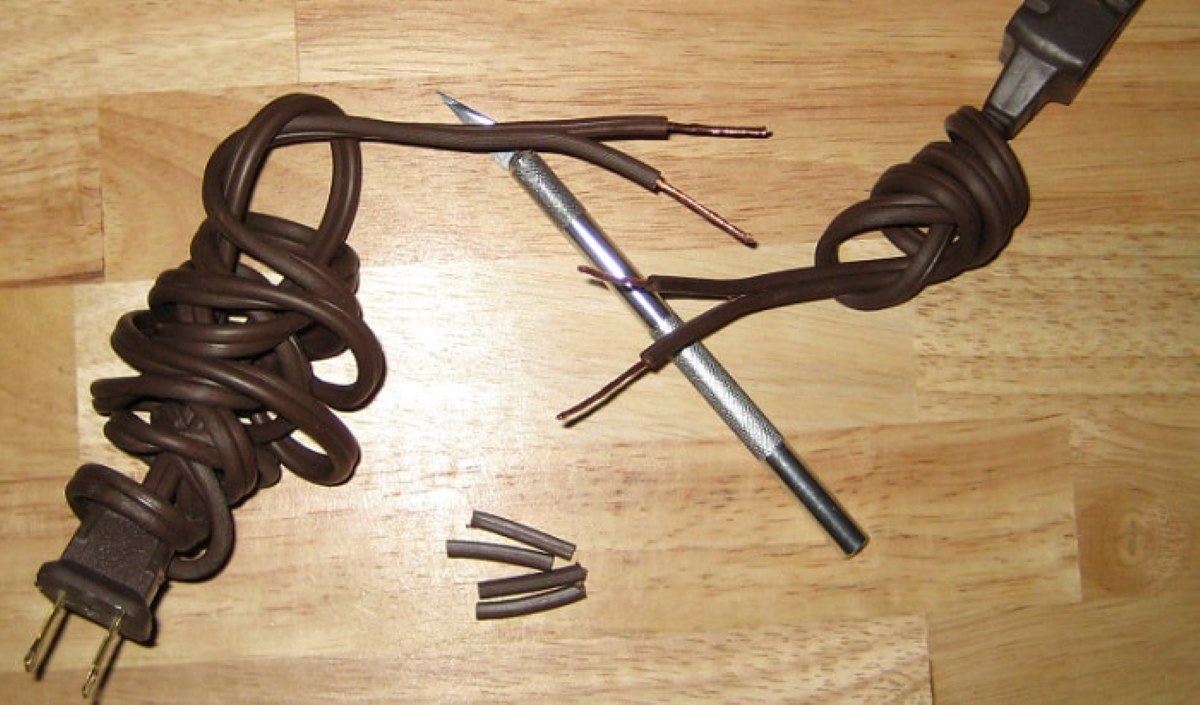
Start by unplugging the cord from the power source to ensure your safety. Then, use the wire strippers to remove about an inch of the insulation from the end of the cord. This will expose the individual wires inside.
Take a closer look at the wires. You will typically find a larger wire and a smaller wire. The larger wire is the neutral wire, usually identified by its smooth insulation or ribbed texture. The smaller wire is the hot wire, often identified by its ridged insulation. It is important to correctly identify these wires to ensure proper electrical connection.
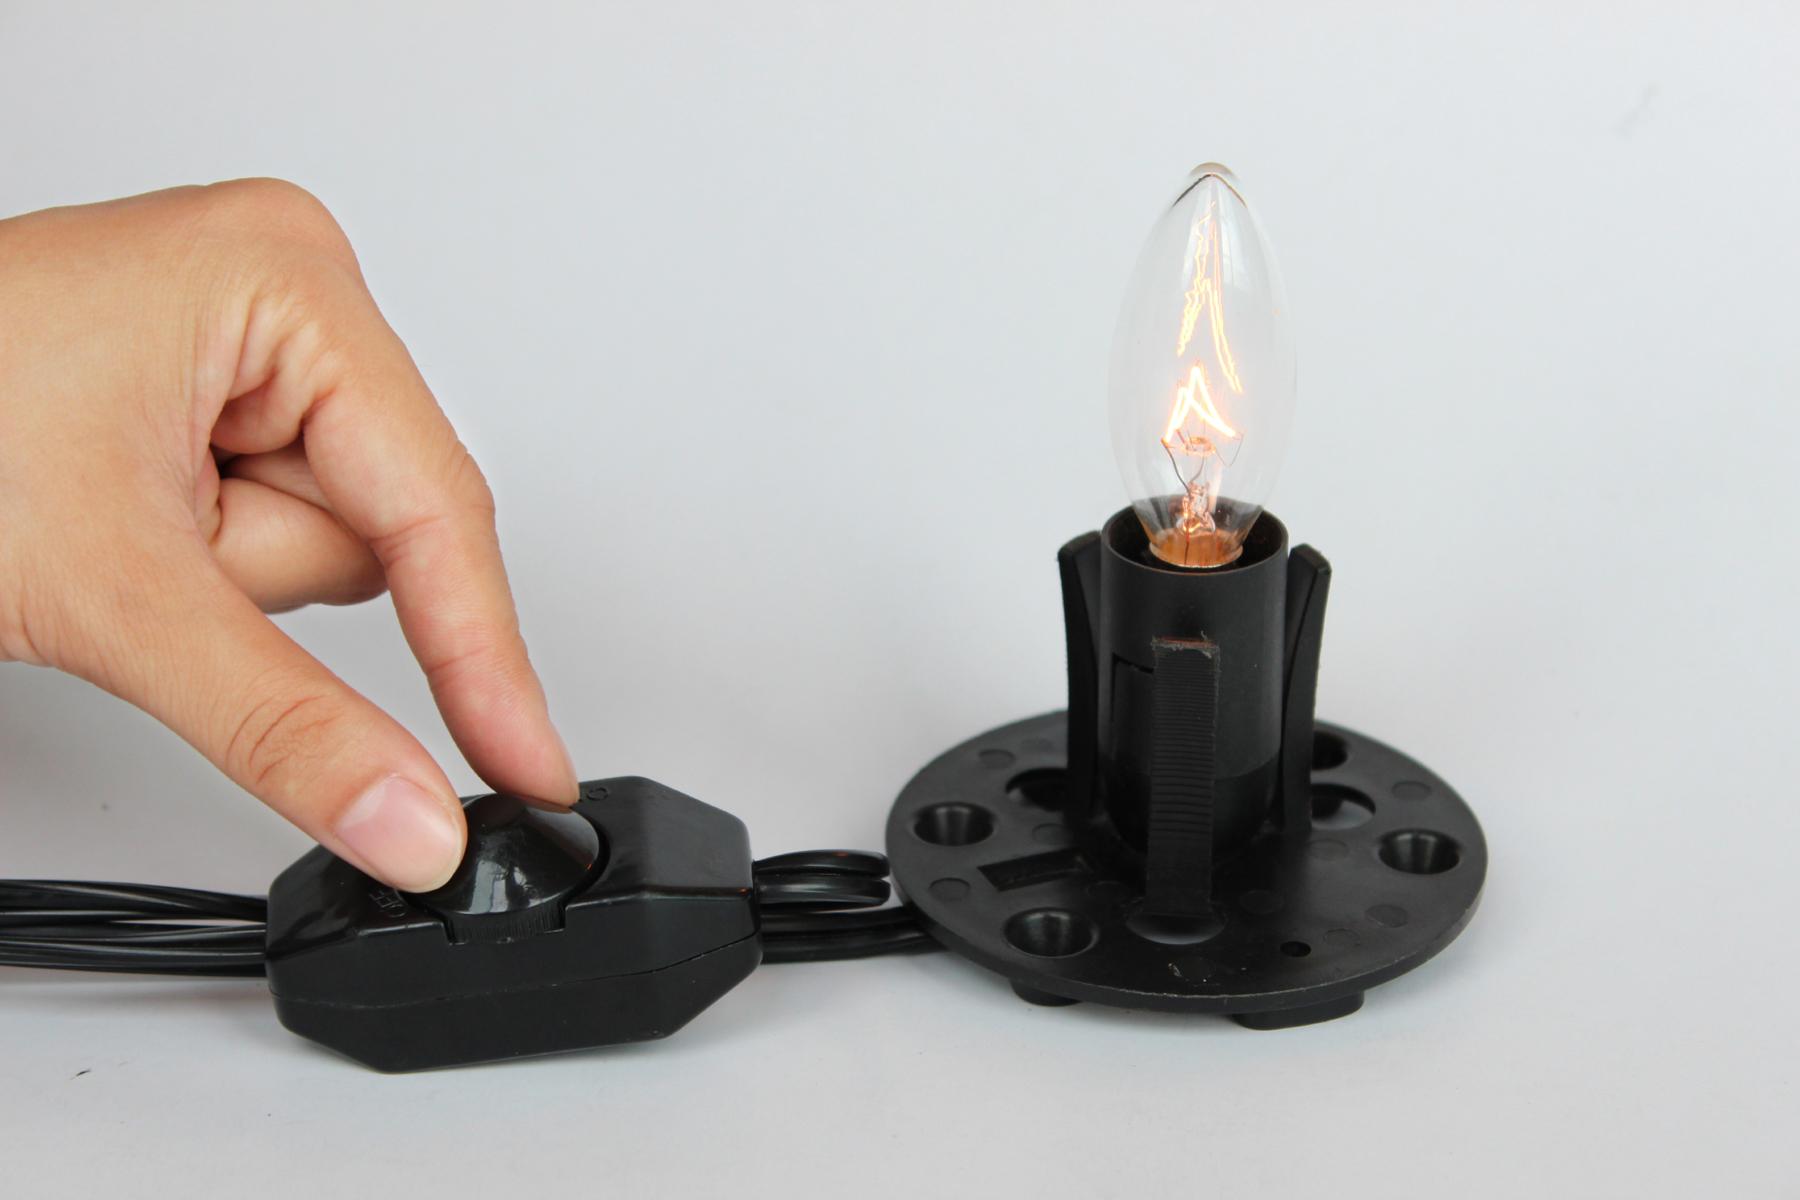
Next, prepare the light bulb by screwing it into the socket. Make sure it is securely attached, but be careful not to overtighten it, as that may damage the bulb or the socket.
Now that both the cord and bulb are prepared, you can move on to the next step of assembling your lamp.
Note: If you are unsure about working with electrical wiring, it is recommended to consult a professional or seek guidance to ensure your safety.
To turn an electrical cord with a single bulb into a lamp, you can attach a socket and a plug to the cord, and then secure the bulb in the socket. Make sure to follow proper safety precautions and consult a professional if needed.
Step 3: Assemble the Lamp
With the cord and bulb prepared, it’s time to assemble the various components to create your lamp.
First, determine the placement of the socket on your lamp base. You may need to drill a hole in the base if there isn’t one already. Make sure the size of the hole matches the size of the socket.
Once you have the hole ready, insert the socket into the hole and secure it in place using the provided screws or any other fastening method indicated by the socket manufacturer. Ensure that the socket is aligned properly and sits securely in the lamp base.
Next, connect the wires from the cord to the corresponding terminals on the socket. The neutral wire (usually smooth or ribbed) should be connected to the silver or white terminal, while the hot wire (usually ridged) should be connected to the brass or black terminal. Use either electrical tape or wire nuts to secure the connections and insulate them.
If you wish to add an on/off switch to your lamp, you can connect it in line with the hot wire. Make sure to follow the instructions provided with the switch and use appropriate connectors to join the wires securely.
Once the connections are made, carefully tuck the wires inside the lamp base. Ensure that they are not pinched or twisted to avoid any damage to the wires or interference with the socket.
Finally, attach the lampshade to the socket if desired. Secure it in place using the provided hardware or any other method specified by the lampshade manufacturer.
Now that your lamp is assembled, it’s time to move on to the final step to test and finalize your creation.
Read more: How To Hang A Lamp With An Electrical Cord
Step 4: Test and Finalize
After assembling your lamp, it is essential to test its functionality and make any final adjustments before enjoying the warm glow of your creation.
First, double-check all the connections and ensure they are secure. Pay attention to the wiring inside the lamp base, making sure there are no exposed wires and everything is properly insulated.
Next, plug in your lamp and turn on the switch (if you installed one). If everything is correctly connected, the light bulb should illuminate and the lamp should be ready for use.
Take a moment to inspect the overall aesthetics of your lamp. Are you satisfied with how it looks? If desired, you can further customize your lamp by painting the lamp base, adding decorative elements, or choosing a different lampshade to suit your style and preferences.
Additionally, make sure that your lamp is stable and sits securely on a flat surface. If needed, add a felt pad or rubber stoppers to the bottom of the lamp base to prevent it from sliding or scratching surfaces.
Lastly, always prioritize safety when using your newly created lamp. Never leave it unattended for long periods, especially if it is incandescent or uses high-wattage bulbs. Make sure the cord is not strained or damaged, and keep it away from flammable materials.
Congratulations! You have successfully turned an electrical cord with a single bulb into a fully functional lamp. Enjoy the warm and inviting atmosphere that your custom lamp brings to your living space.
Conclusion
Creating a lamp out of an electrical cord and a single light bulb is not only a practical way to repurpose materials but also a fun and rewarding DIY project. By following the steps outlined in this article, you can transform these simple components into a stylish and functional lamp that adds a personal touch to your living space.
Throughout the process, it is important to prioritize safety and make sure all electrical connections are secure and properly insulated. If you are unsure about working with electrical wiring, it is always recommended to seek professional guidance to ensure your safety.
Remember to gather all the necessary materials before starting, including the electrical cord, socket, light bulb, lamp base, switch (if desired), and tools such as a screwdriver, wire strippers, and electrical tape or wire nuts.
Once you have prepared the cord and bulb and assembled the lamp, test its functionality and make any final adjustments before enjoying the warm glow of your creation. Feel free to add personal touches to customize your lamp, such as painting the lamp base or choosing a unique lampshade.
With your new lamp in place, you can now bask in the ambiance it creates, adding warmth and style to your living space. So, get creative and bring a touch of uniqueness and functionality to any room with your DIY electrical cord lamp.
Happy crafting!
Frequently Asked Questions about How To Turn Electrical Cord With Single Bulb Into Lamp?
Was this page helpful?
At Storables.com, we guarantee accurate and reliable information. Our content, validated by Expert Board Contributors, is crafted following stringent Editorial Policies. We're committed to providing you with well-researched, expert-backed insights for all your informational needs.


0 thoughts on “How To Turn Electrical Cord With Single Bulb Into Lamp?”