
Articles
How To Use A Laser Level
Modified: October 27, 2024
Learn how to use a laser level with our informative articles. Discover tips and techniques for accurate and precise measurements.
(Many of the links in this article redirect to a specific reviewed product. Your purchase of these products through affiliate links helps to generate commission for Storables.com, at no extra cost. Learn more)
Introduction
Welcome to the world of laser levels! Whether you are a DIY enthusiast, a professional contractor, or simply someone looking to add accuracy to your projects, a laser level can be an invaluable tool. With their ability to project a straight and level reference line, laser levels are widely used in construction, carpentry, plumbing, and various other industries.
In this article, we will provide you with a comprehensive guide on how to use a laser level effectively. We will walk you through the process of selecting the right laser level, setting it up, calibrating it, and using it for different applications such as horizontal leveling, vertical leveling, alignment, and distance measurement. We will also share some tips and tricks to ensure accurate measurements and discuss the proper maintenance of laser levels.
Before we dive into the details, let’s take a moment to understand the basics of laser levels.
Key Takeaways:
- Laser levels provide precise and efficient leveling, alignment, and distance measurements, enhancing project accuracy and professionalism.
- Proper maintenance and calibration of laser levels are crucial for longevity and optimal performance, ensuring reliable measurements and successful project completion.
Read more: How To Use A Self Leveling Laser Level
Understanding Laser Levels
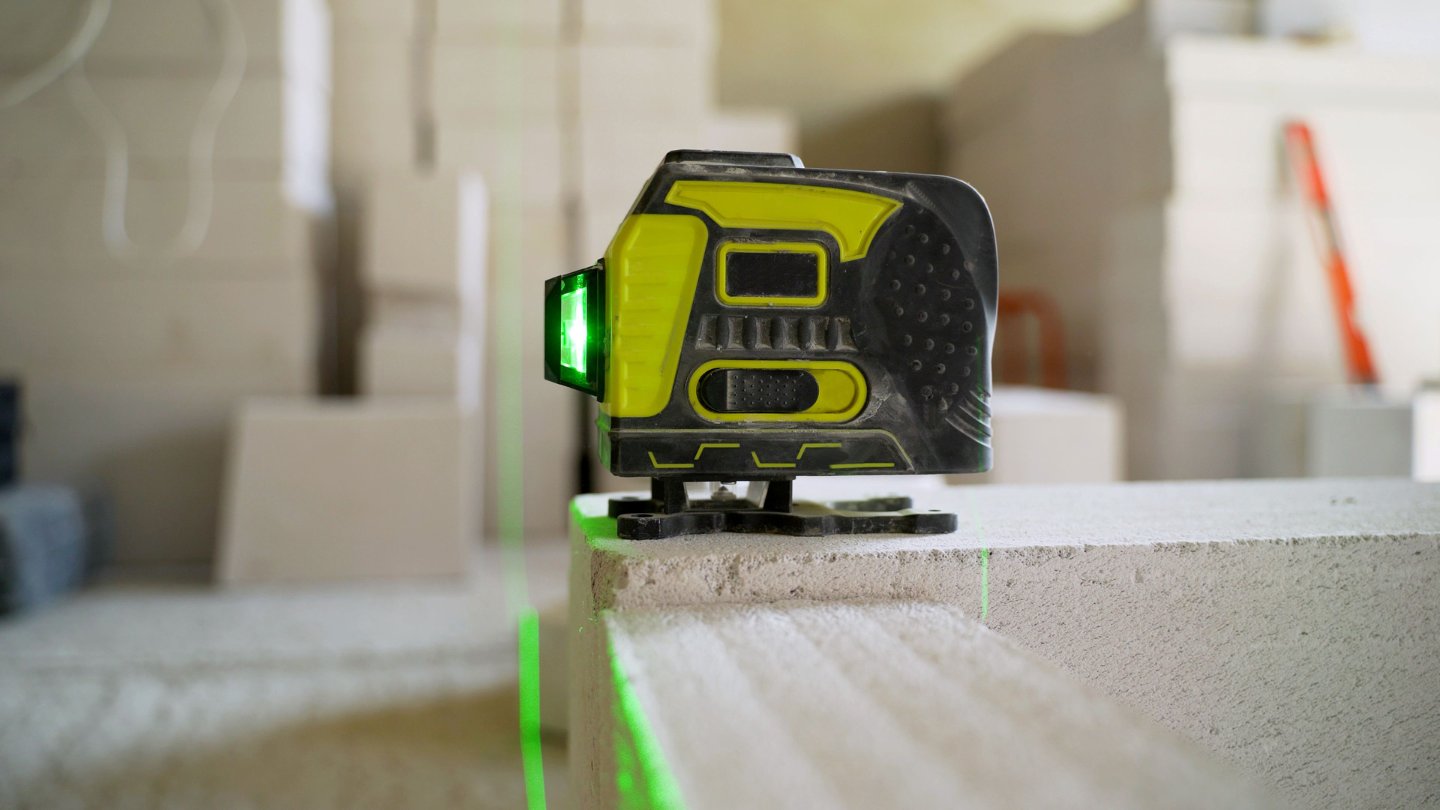
Laser levels are precision tools that use laser beams to project a straight and level reference line or dot onto a surface. They are designed to replace traditional bubble levels and provide a more accurate and efficient way of achieving level and plumb measurements. Laser levels come in different types, including line laser levels, rotary laser levels, and dot laser levels, each suitable for specific applications.
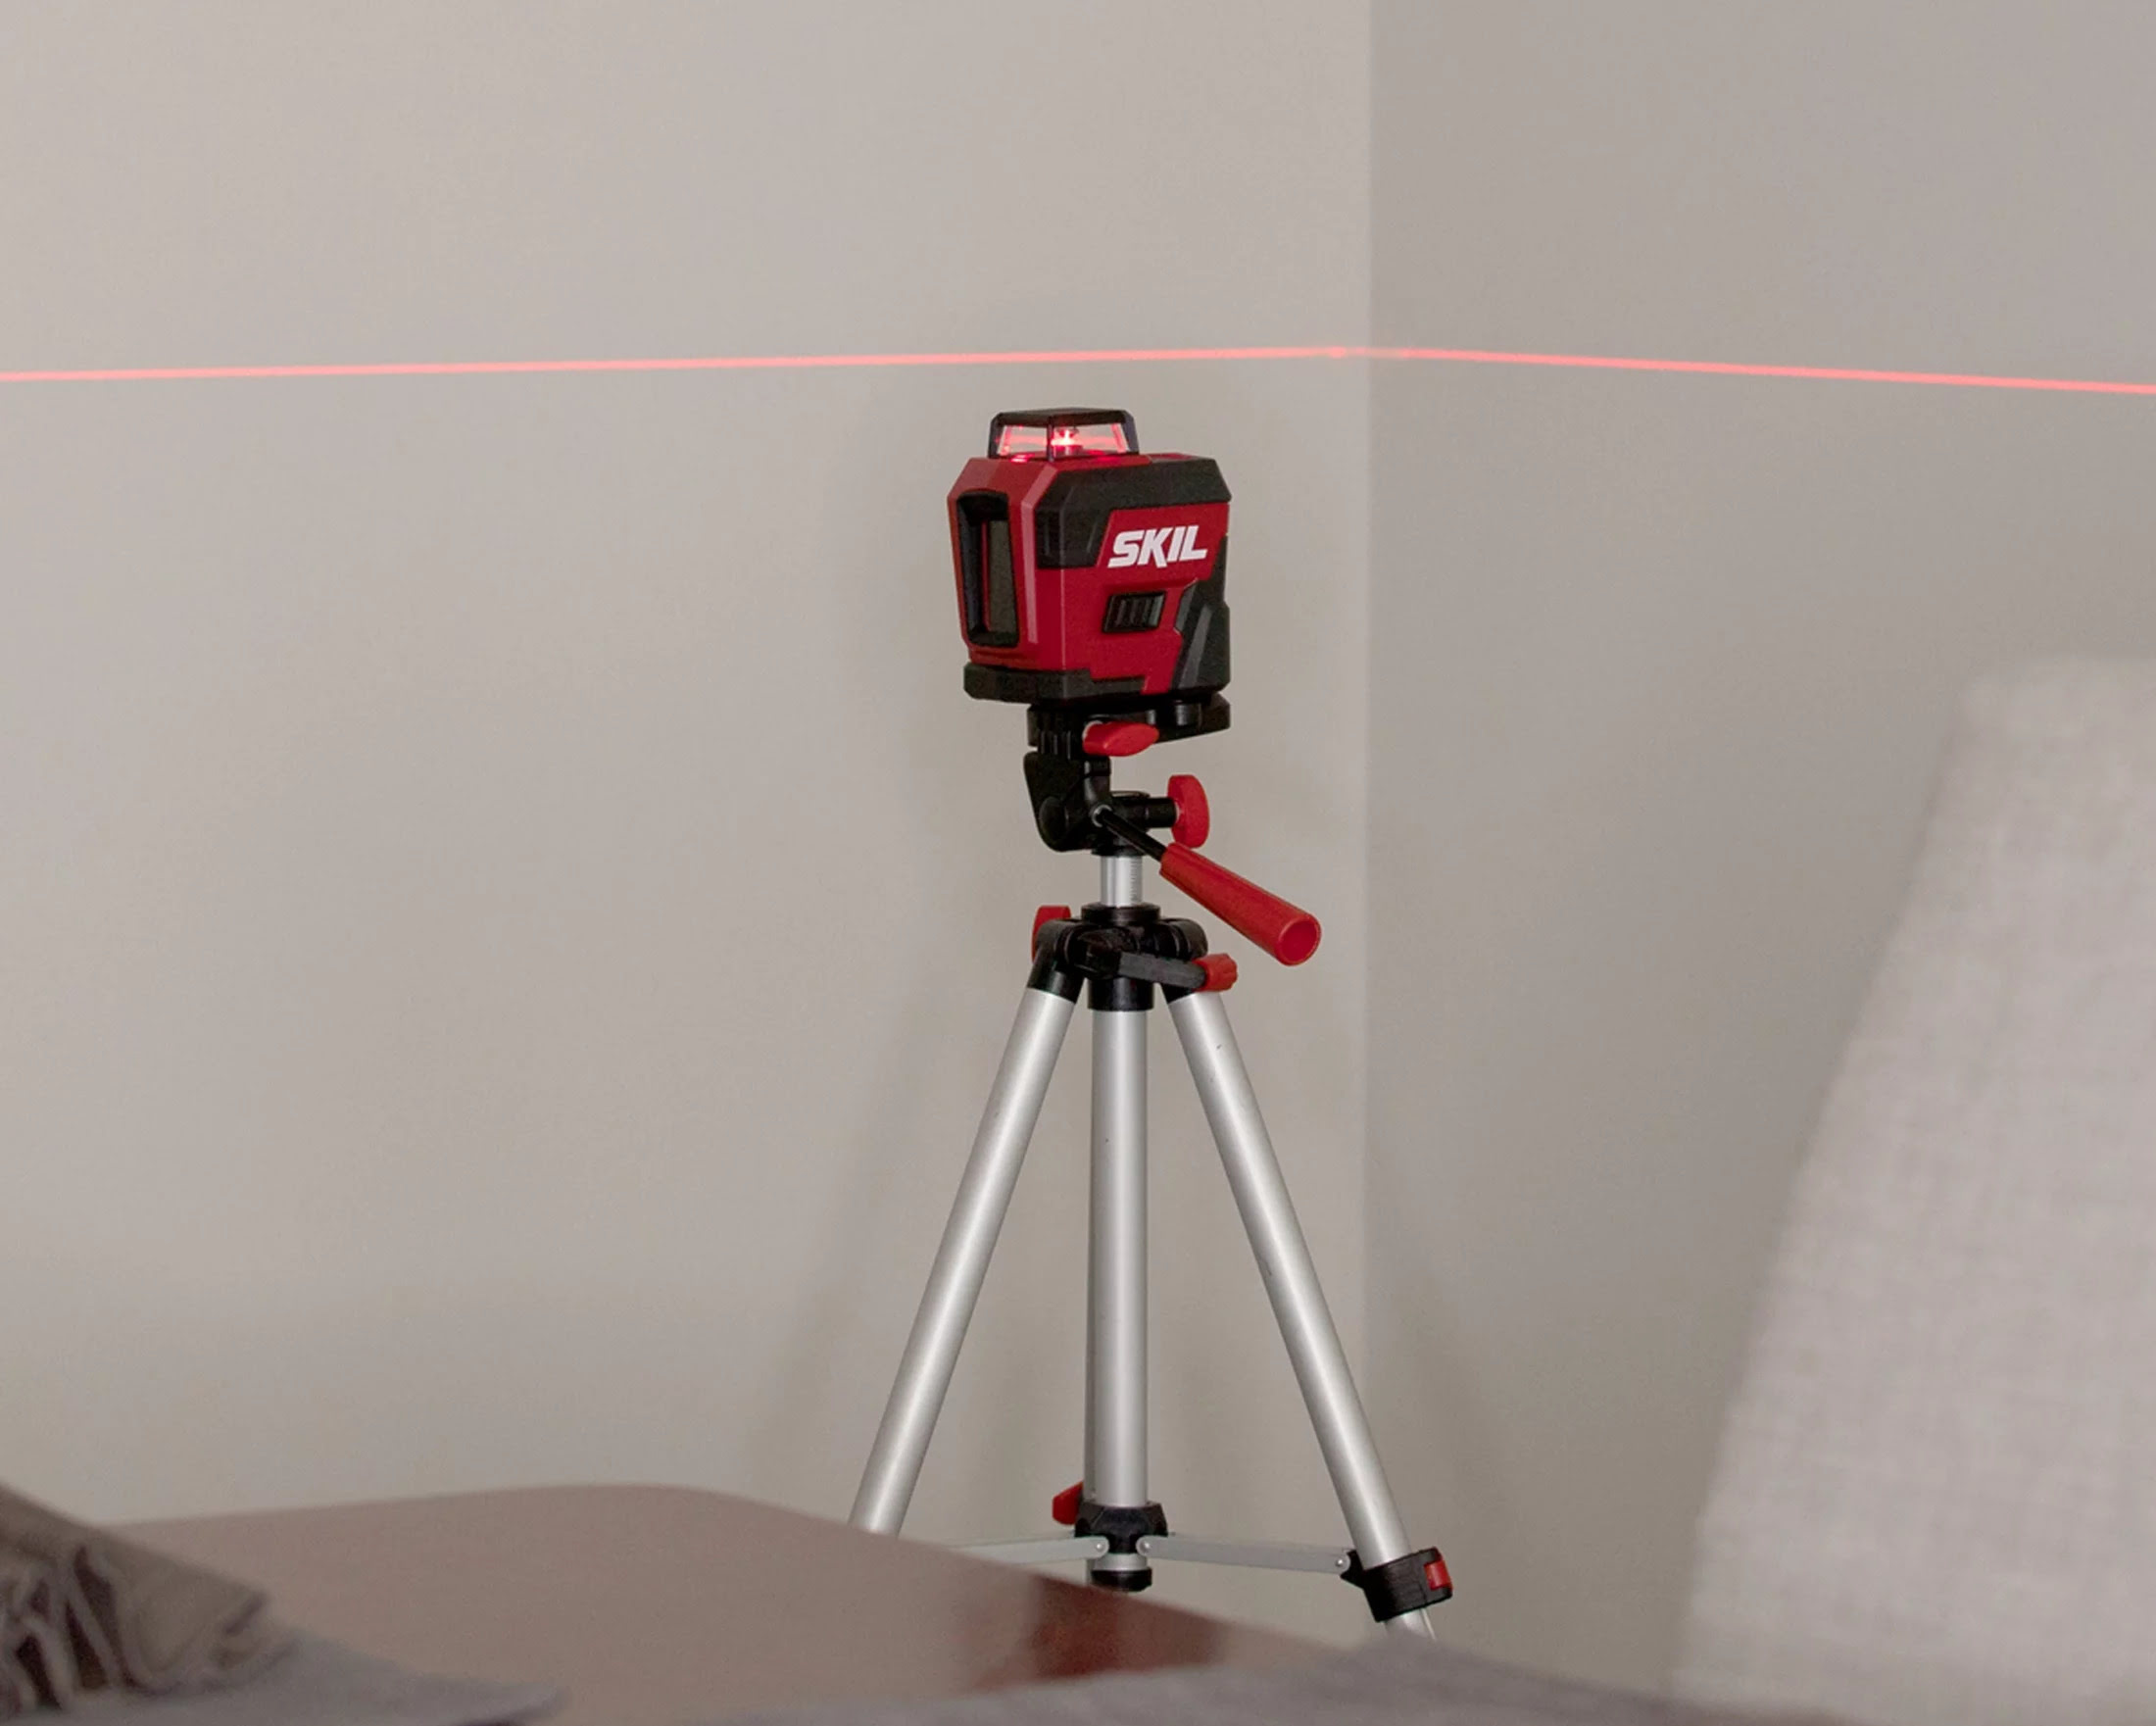
Line laser levels emit a highly visible horizontal or vertical line, or both, across a surface. They are commonly used for tasks such as installing floor tiles, aligning cabinets, or hanging picture frames. Rotary laser levels, on the other hand, project a full 360-degree laser plane and are ideal for tasks that require precise leveling over a large area, like grading a backyard or setting foundations. Dot laser levels emit a single dot and are typically used for pinpoint measurements or for transferring reference points from one surface to another.
Now that we have a basic understanding of laser levels, let’s move on to the first step: selecting the right laser level for your needs.
Key Takeaways:
- Laser levels provide precise and efficient leveling, alignment, and distance measurements, enhancing project accuracy and professionalism.
- Proper maintenance and calibration of laser levels are crucial for longevity and optimal performance, ensuring reliable measurements and successful project completion.
Read more: How To Use A Self Leveling Laser Level
Understanding Laser Levels
Laser levels are precision tools that use laser beams to project a straight and level reference line or dot onto a surface. They are designed to replace traditional bubble levels and provide a more accurate and efficient way of achieving level and plumb measurements. Laser levels come in different types, including line laser levels, rotary laser levels, and dot laser levels, each suitable for specific applications.
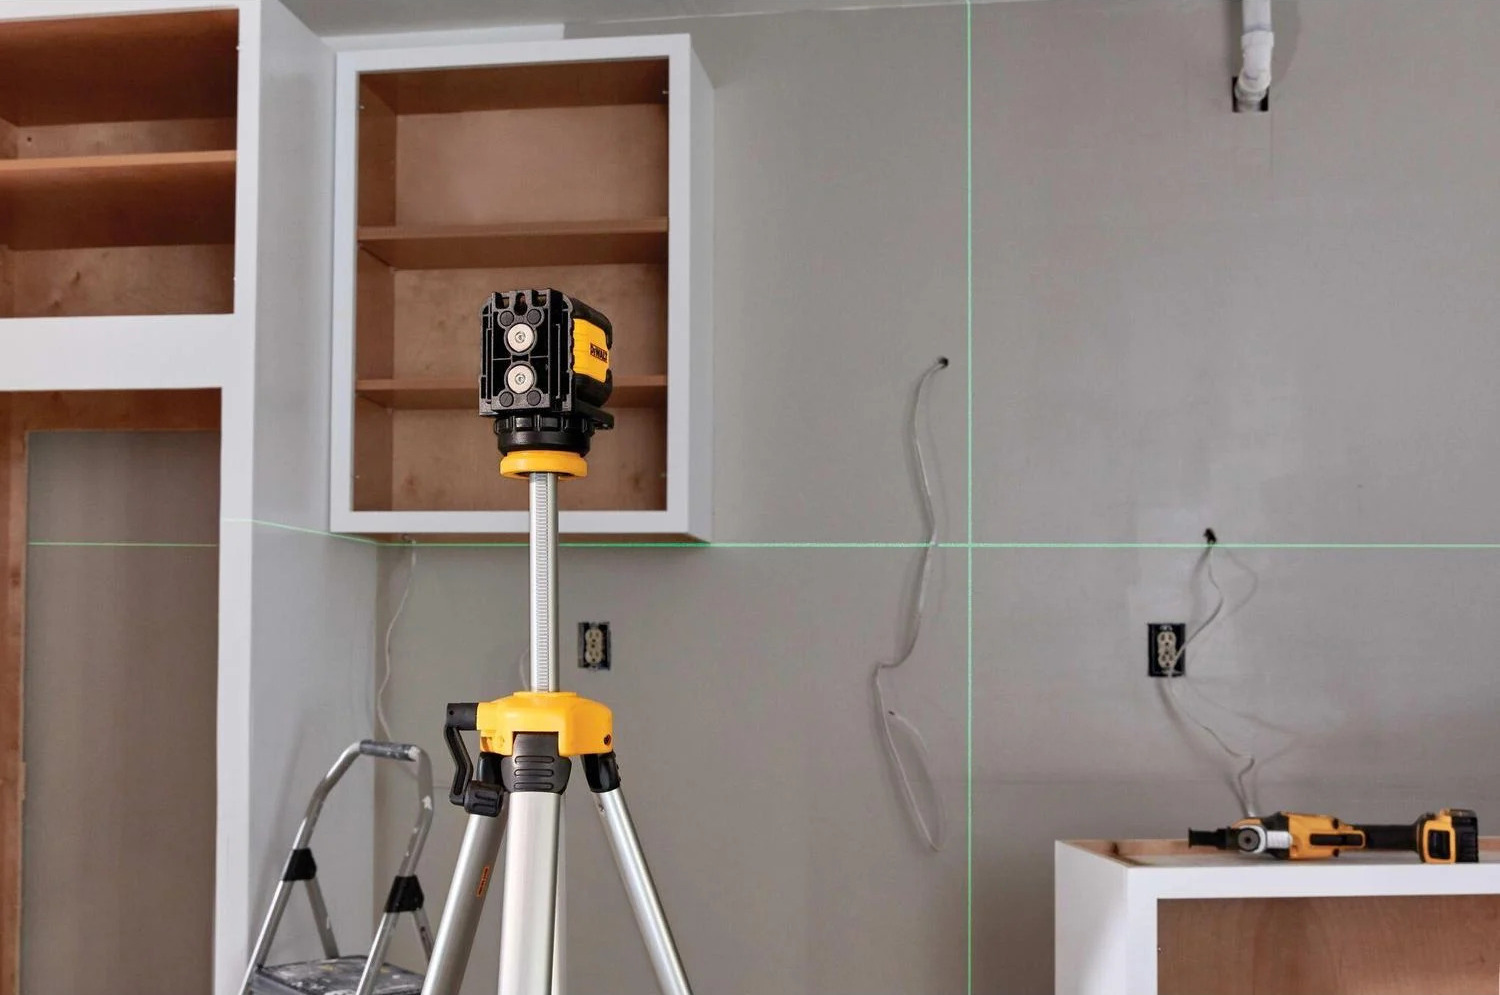
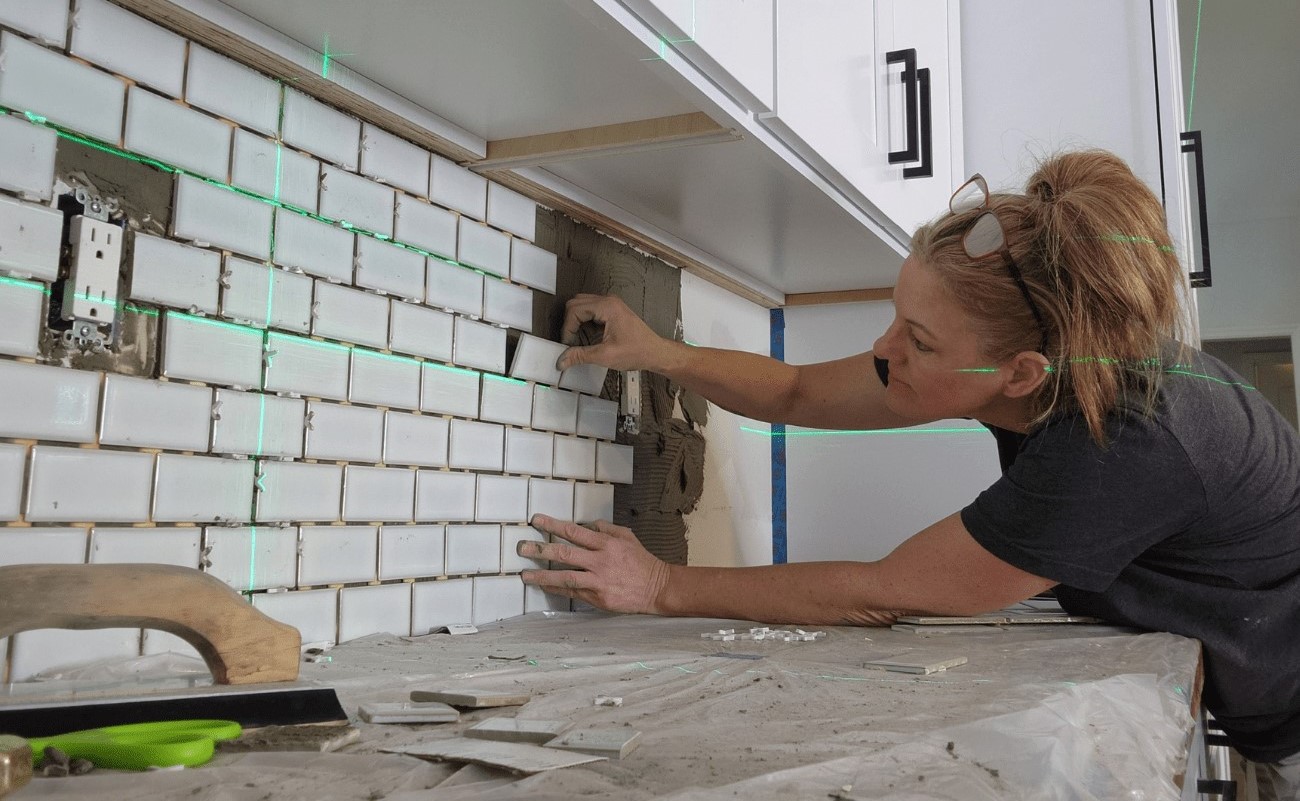
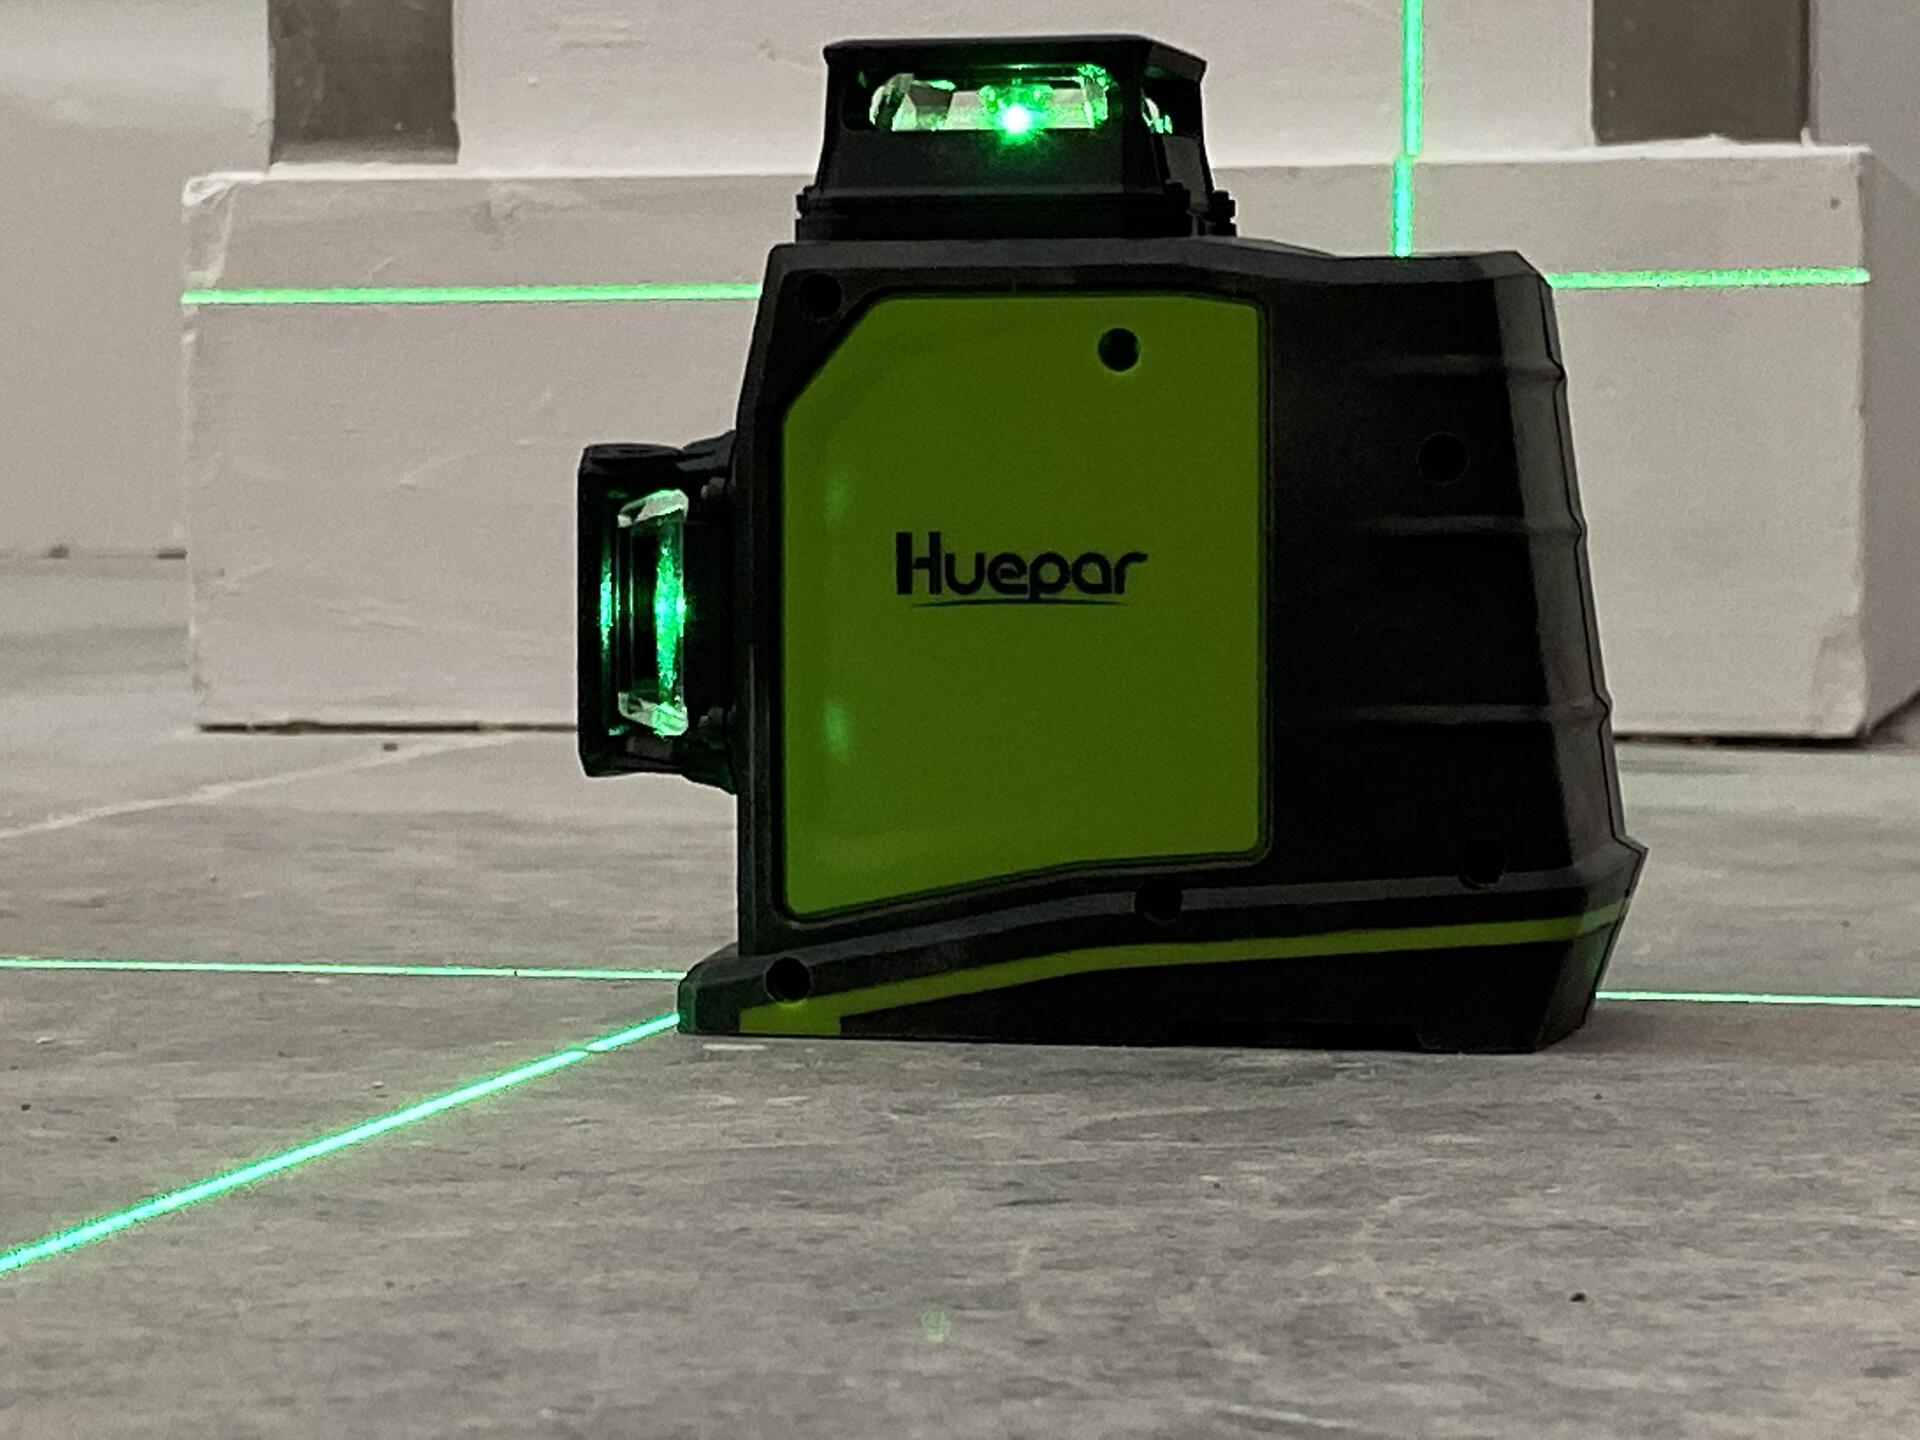
Line laser levels emit a highly visible horizontal, vertical, or both, line across a surface. They are commonly used for tasks such as installing floor tiles, aligning cabinets, or hanging picture frames. With line laser levels, you can easily achieve horizontal leveling by projecting a line across a wall, ensuring that your photos, shelves, or other objects are perfectly aligned.
Vertical leveling is also a breeze with line laser levels. You can project a vertical line onto a wall and use it as a guide for installing drop ceilings, placing electrical outlets, or hanging mirrors. Some advanced line laser levels even have the capability to project multiple lines at different angles, allowing for more complex alignment tasks.
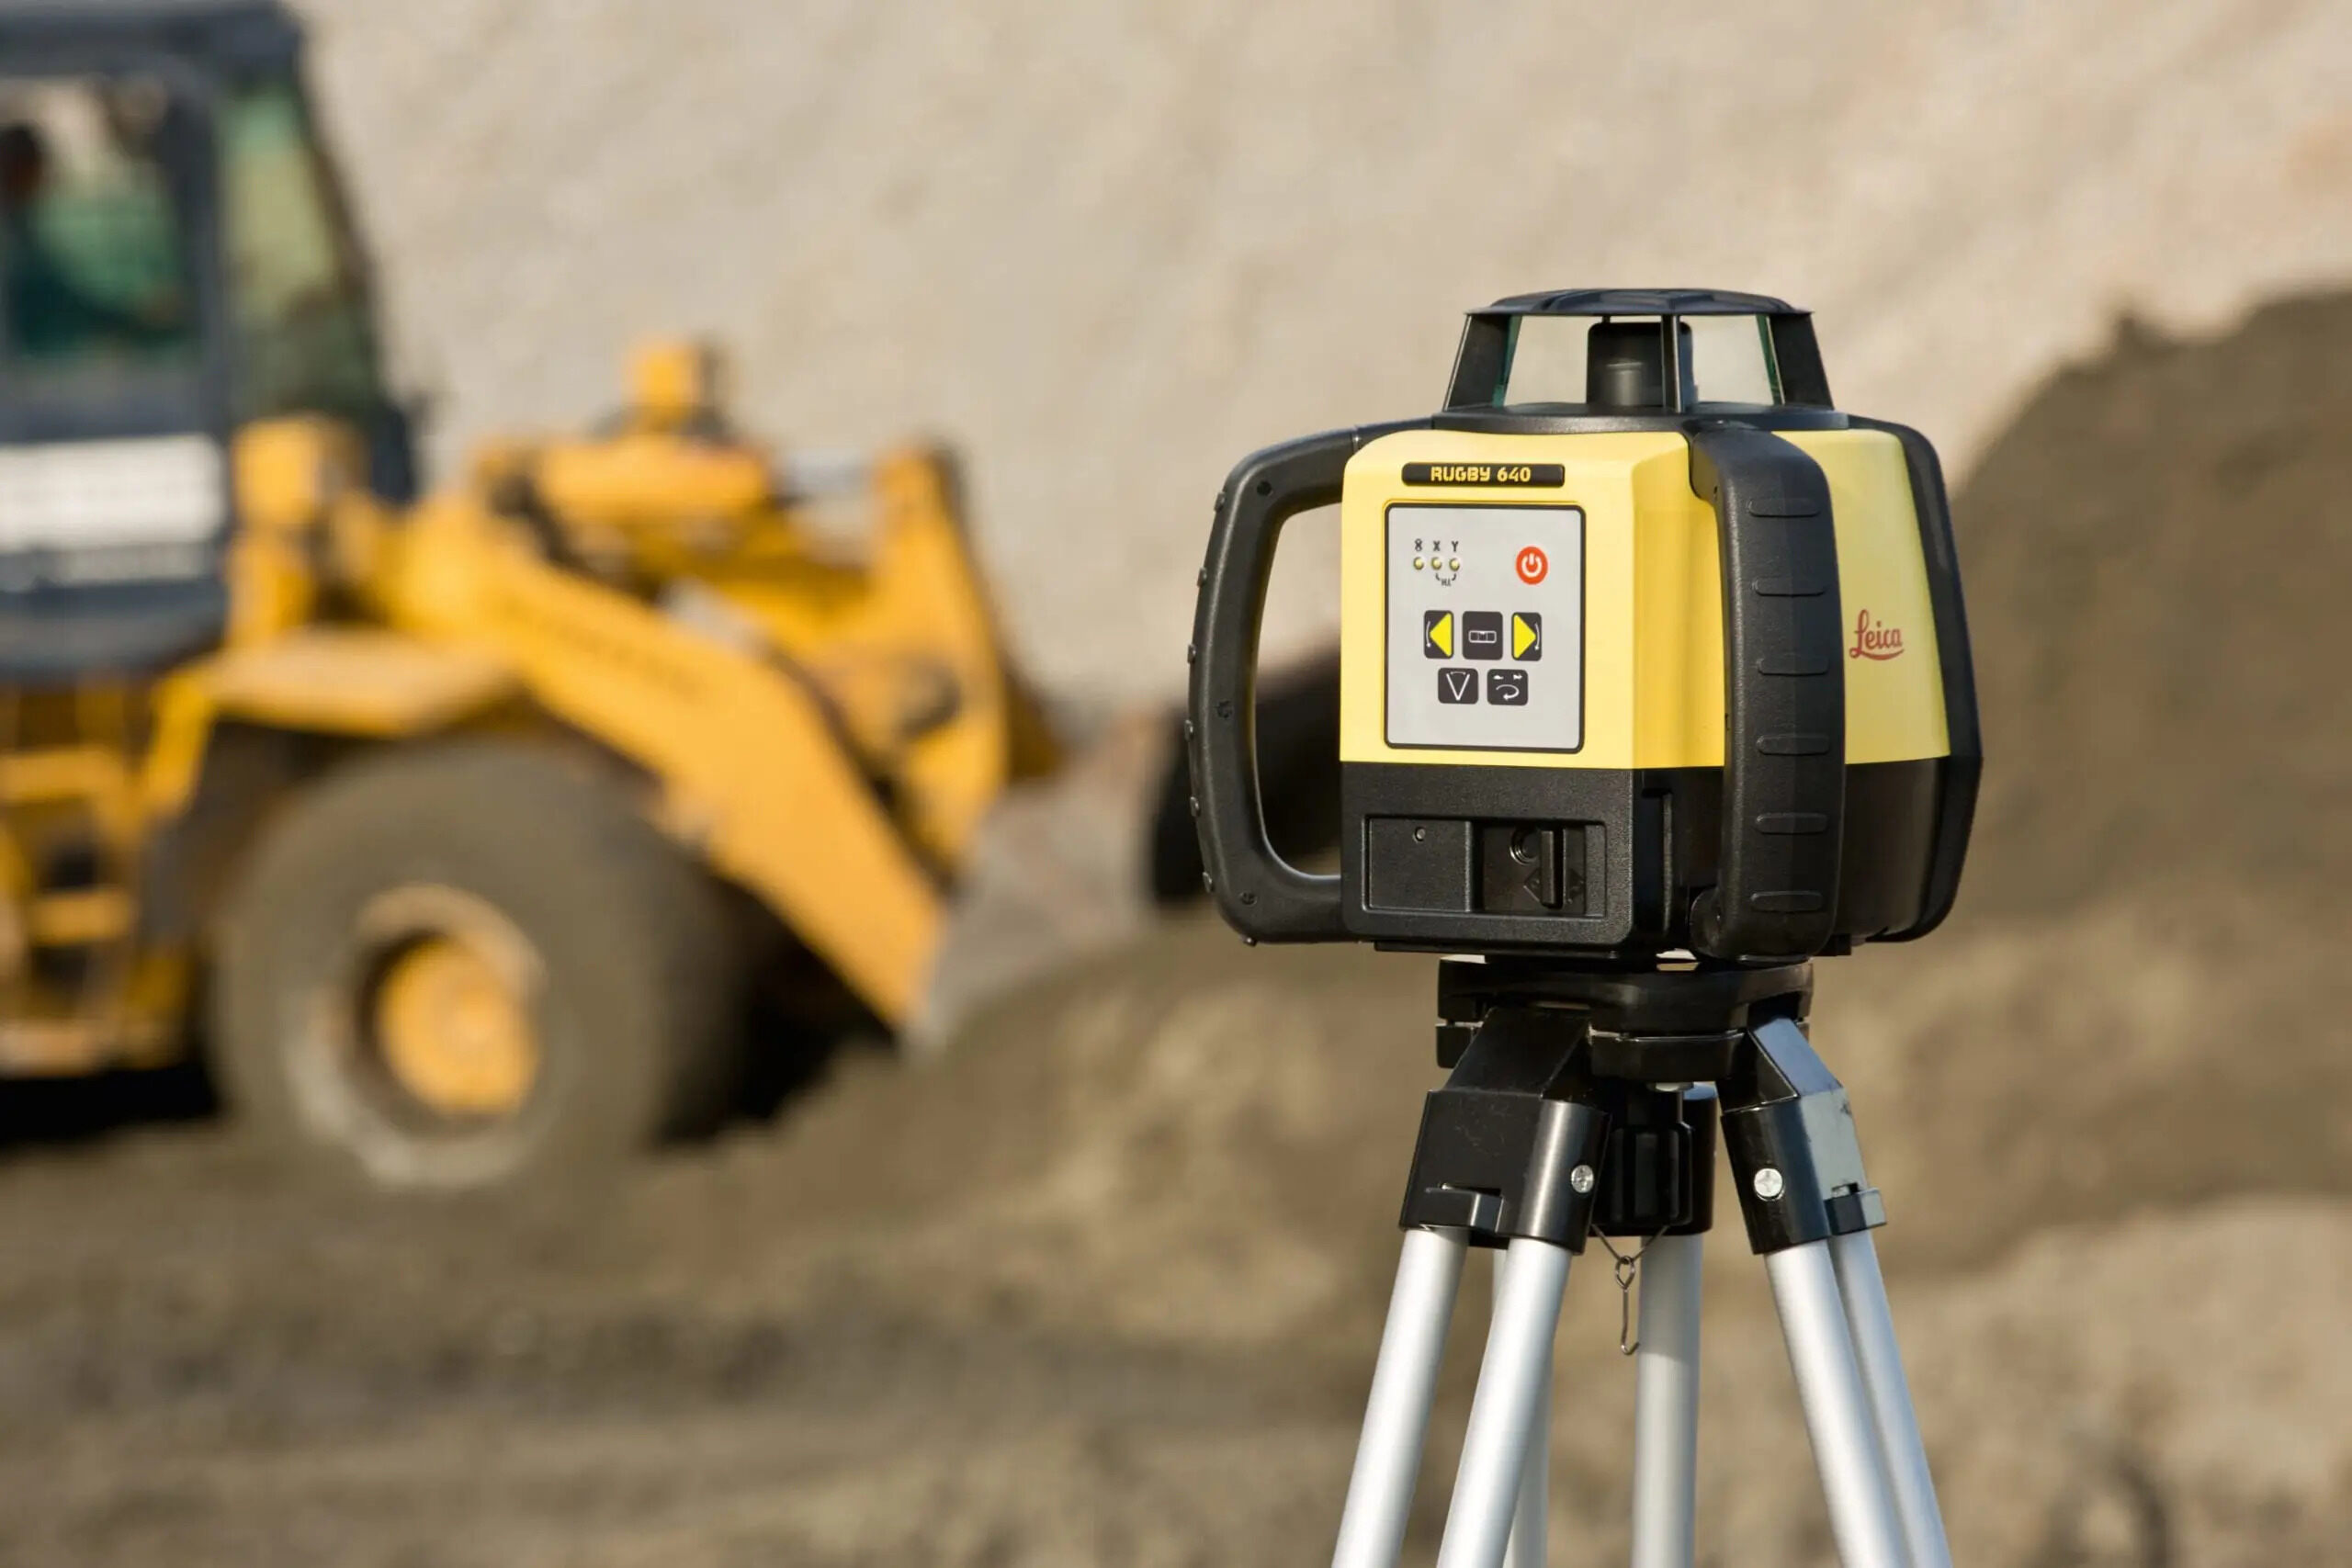
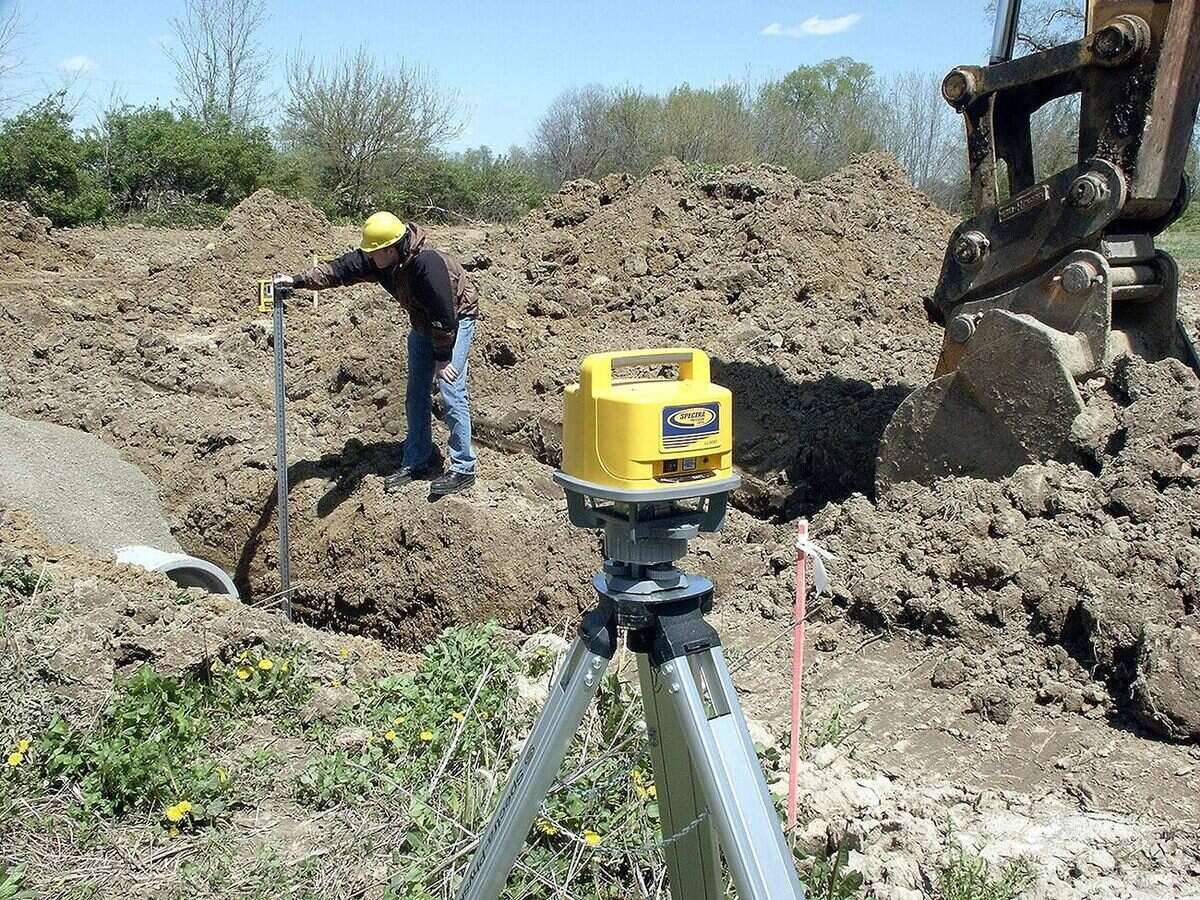
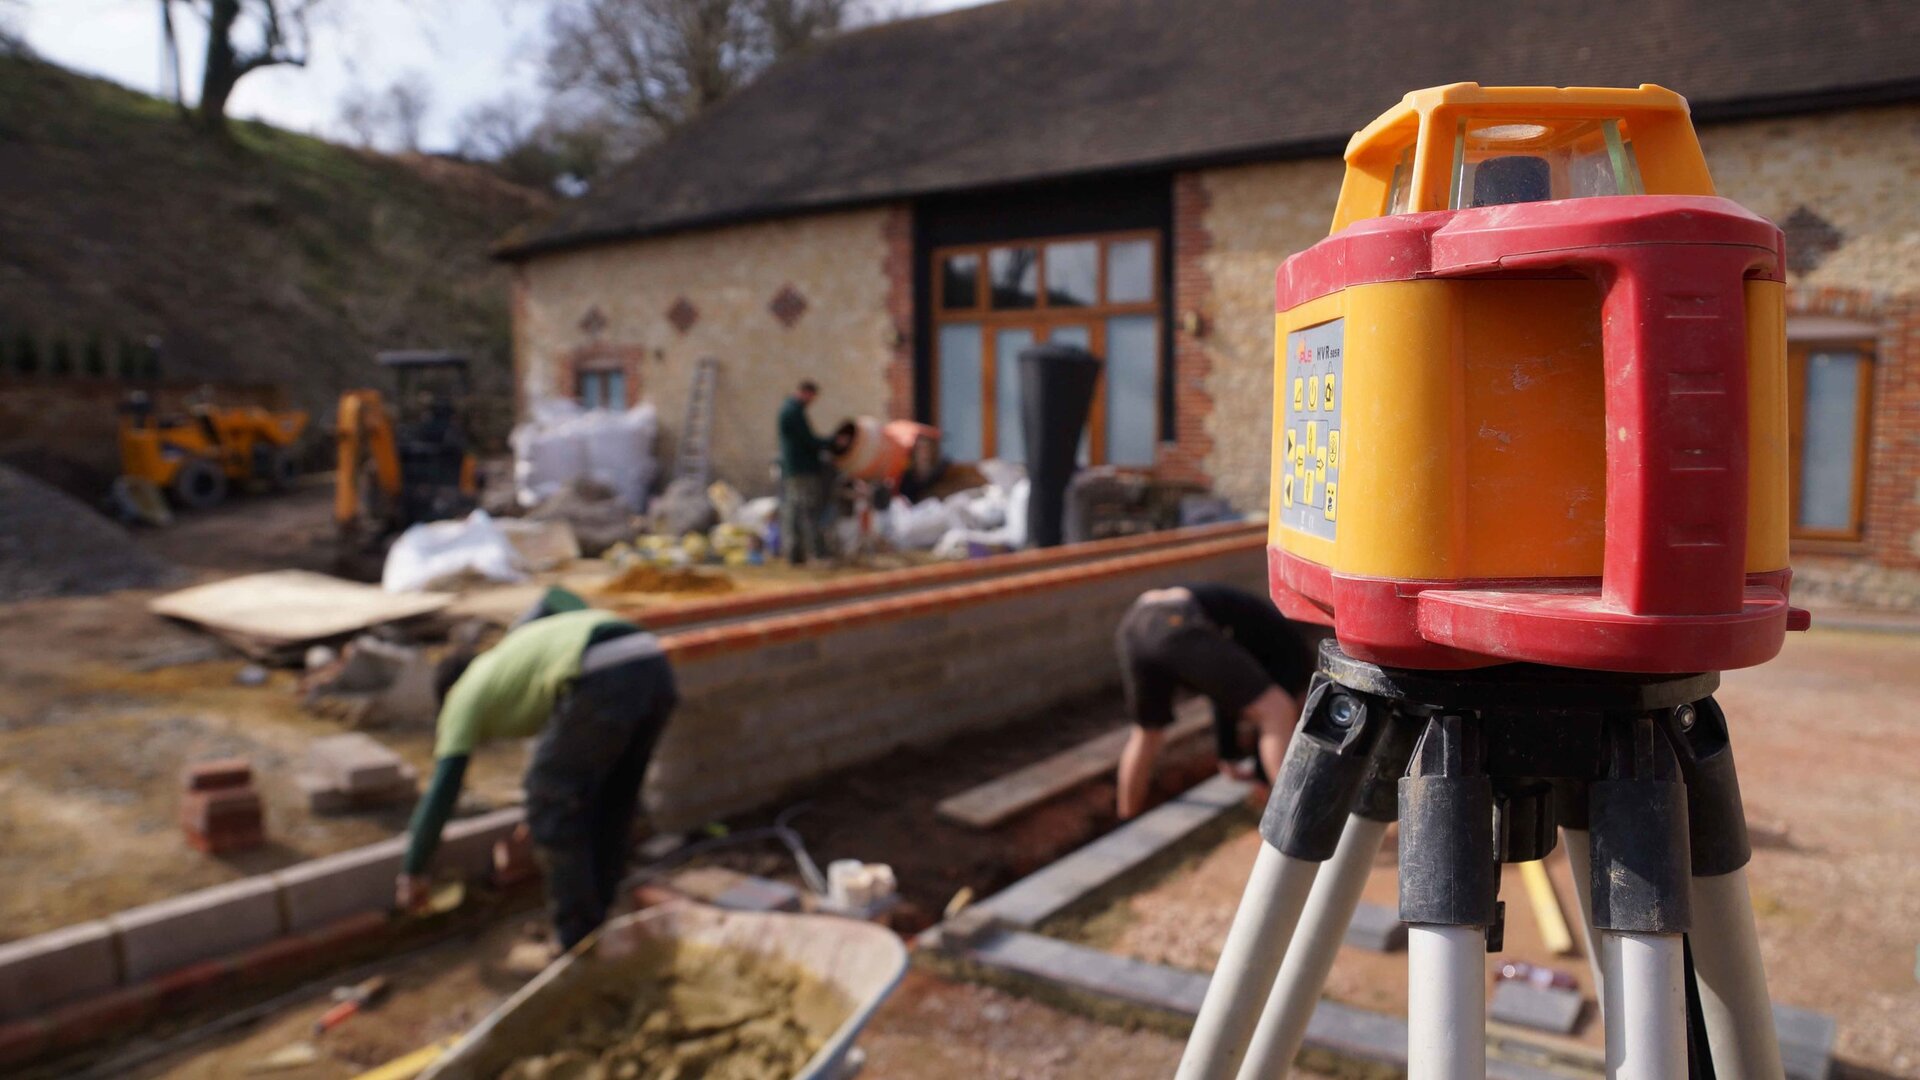
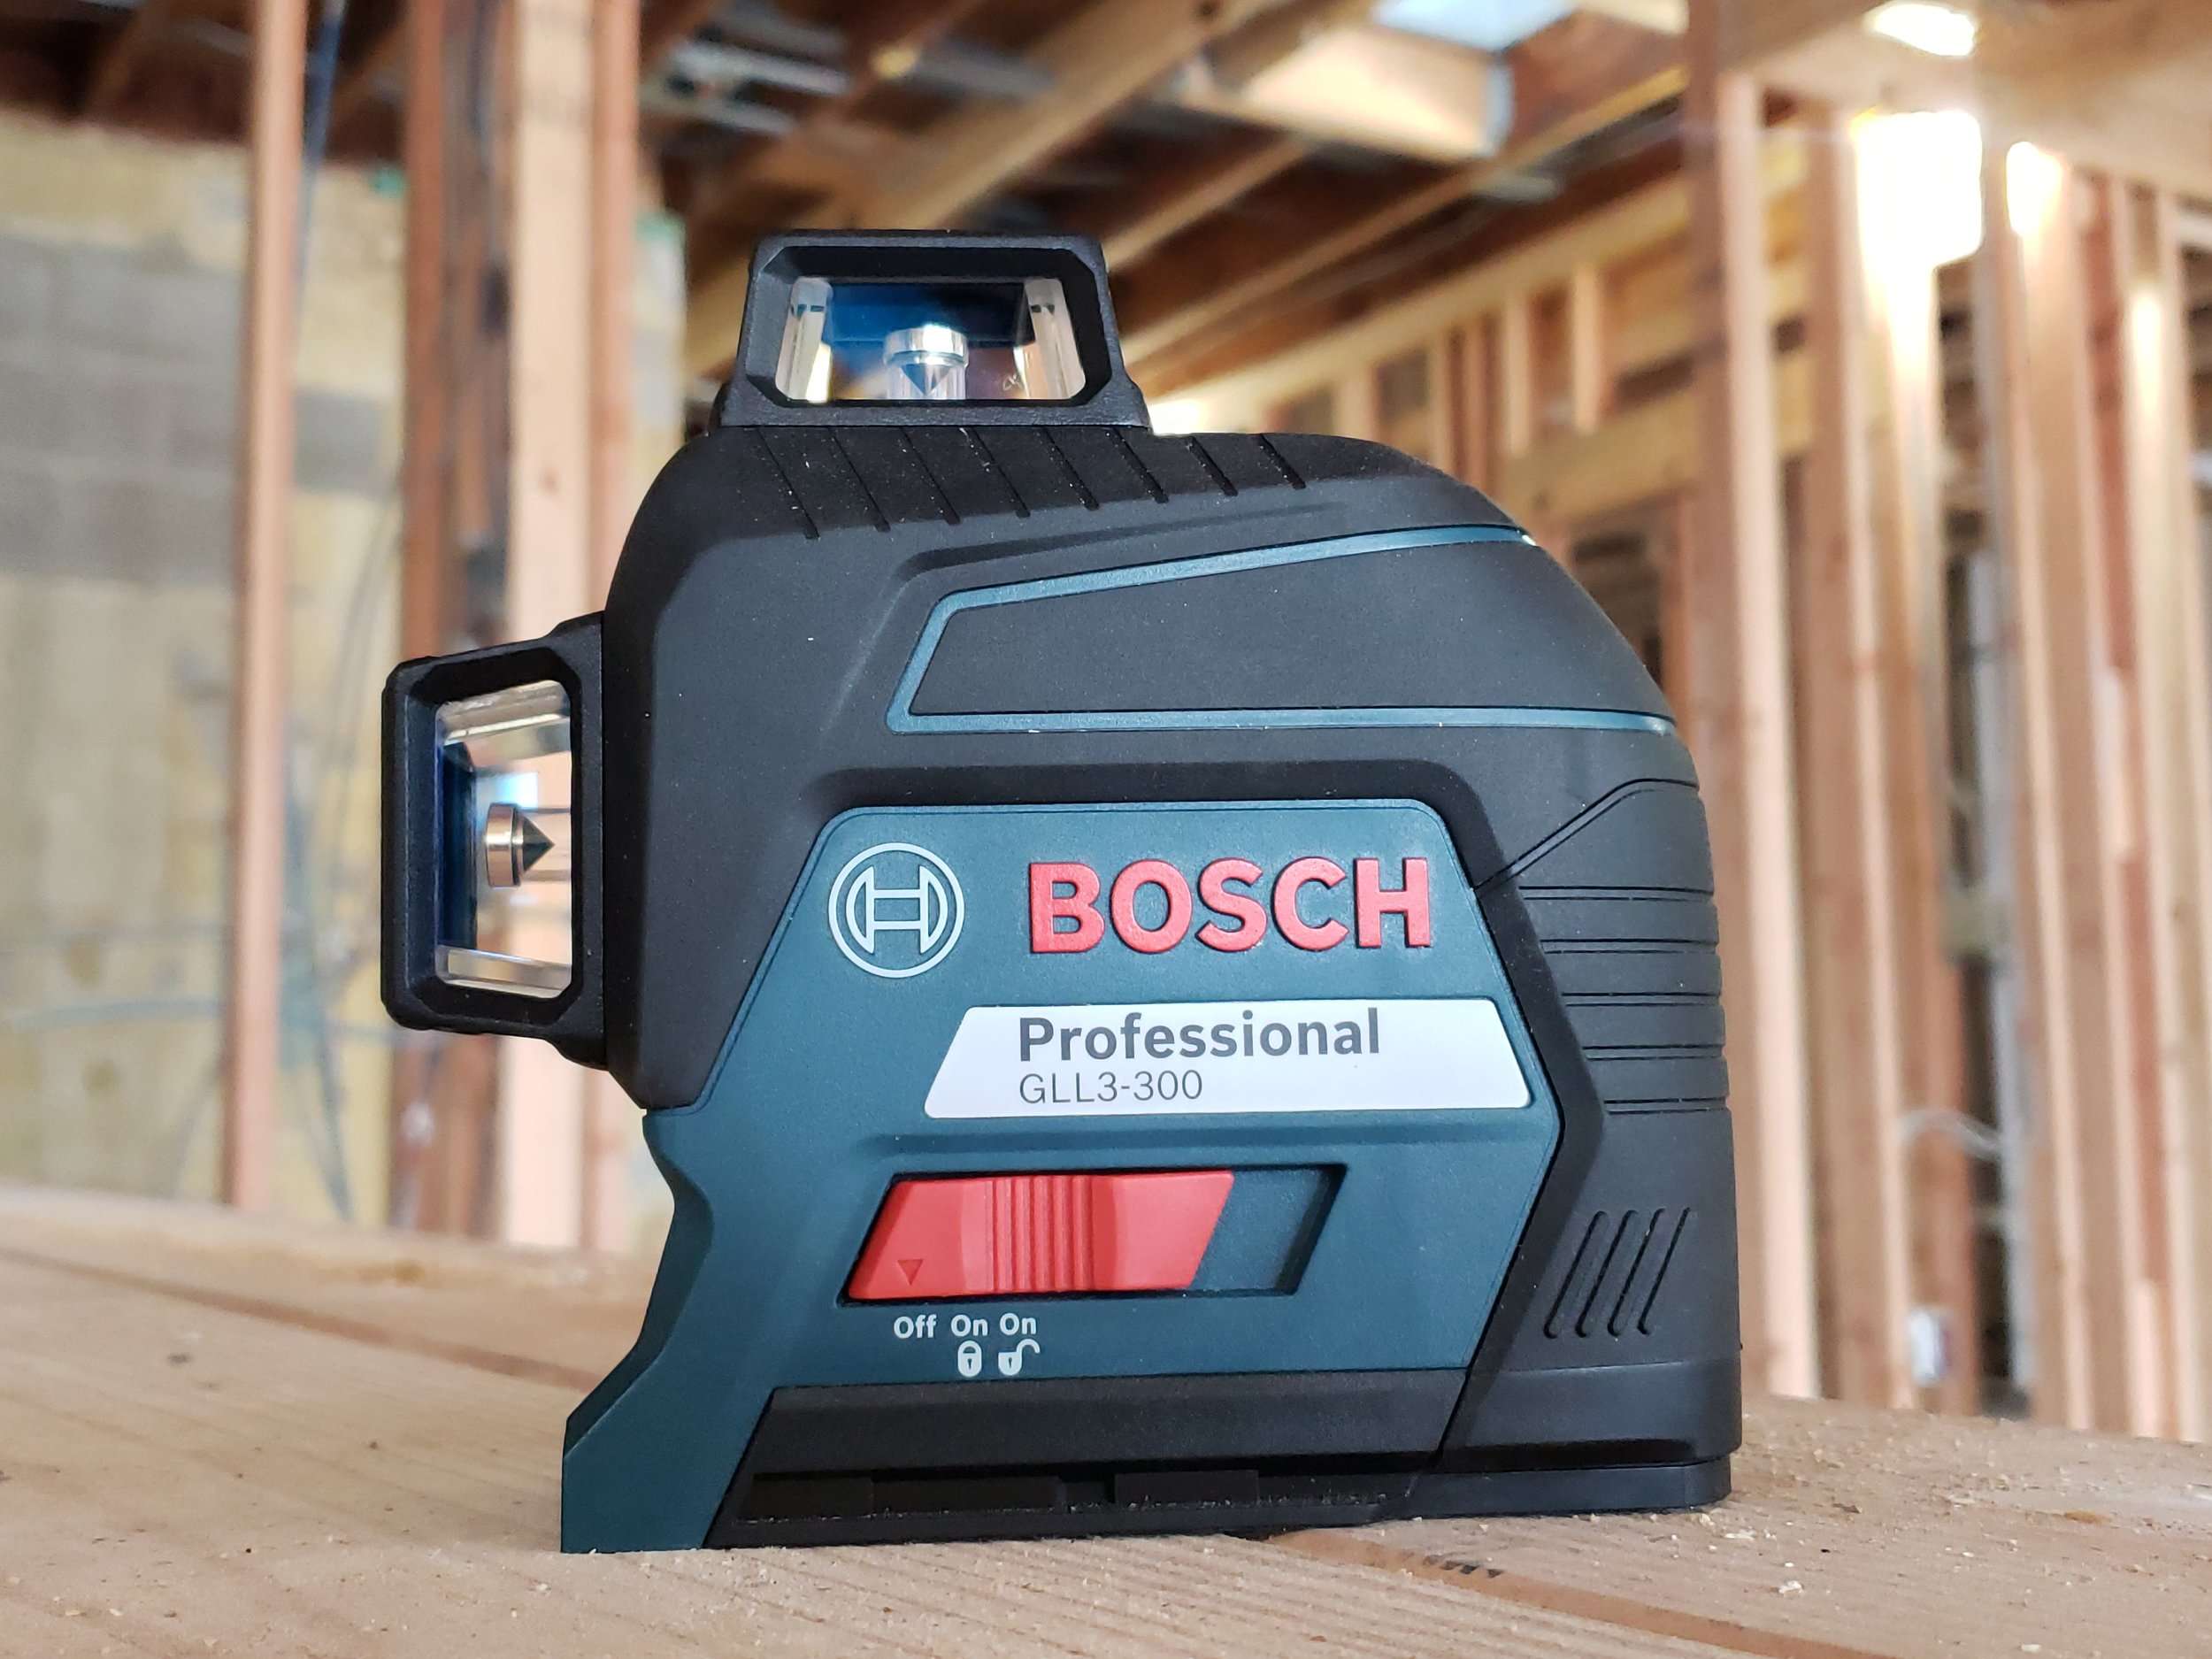
Rotary laser levels are more sophisticated and versatile. They emit a full 360-degree laser plane and are commonly used in large-scale construction projects, such as grading a backyard, setting foundations, or aligning concrete formwork. The rotating beam provides a reference line around the entire area, ensuring accurate leveling and alignment over long distances.
Dot laser levels, as the name suggests, emit a single dot onto a surface. They are mainly used for pinpoint measurements or for transferring reference points from one surface to another. Dot laser levels are useful in tasks like marking drill hole locations, aligning wall fixtures, or ensuring the proper positioning of objects on a tabletop.
When choosing a laser level, consider the specific application and the range of the laser’s projection. Line laser levels are typically sufficient for most household or small-scale projects, while rotary laser levels are better suited for larger areas or outdoor use. Dot laser levels are handy for more precise measurements in confined spaces.
Additionally, it’s important to consider the laser level’s accuracy and visibility. Higher-end models offer greater accuracy, with deviations usually measured in millimeters per meter. The visibility of the laser beam is also a crucial factor, especially when working in bright or outdoor environments. Look for laser levels with higher output power and better beam visibility for optimal performance.
Now that we have a good understanding of the different types of laser levels and their applications, let’s move on to the next step: selecting the right laser level for your specific needs.
Step 1: Selecting the right laser level
Choosing the right laser level is essential to ensure accurate and efficient measurements for your specific project. Here are some factors to consider when selecting a laser level:
- Application: Determine the type of tasks you will be using the laser level for. If you need to align objects vertically or horizontally, a line laser level will suffice. For larger-scale projects or outdoor use, a rotary laser level may be a better choice. If you require precise pinpoint measurements, a dot laser level is ideal.
- Accuracy: Look for a laser level with a high level of accuracy. The accuracy is typically measured in millimeters per meter or degrees and indicates how close the laser line or dot will be to true level or plumb.
- Range and visibility: Consider the working range of the laser level, which determines the maximum distance the laser can project a visible reference line or dot. Additionally, check the beam visibility in different lighting conditions, especially if you’ll be working outdoors or in bright environments.
- Self-leveling feature: Many laser levels have a self-leveling feature, which allows the device to automatically adjust and find true level without manual adjustments. This feature is especially useful when working on uneven surfaces or when setting up the laser level on a tripod.
- Battery life: Check the battery life of the laser level and consider whether it will be sufficient for your project’s duration. Some laser levels come with rechargeable batteries, while others use replaceable batteries.
- Durability: Consider the durability of the laser level, especially if you’ll be using it in rough or demanding conditions. Look for models with sturdy construction and resistance to water, dust, and impact.
- Additional features: Some laser levels offer additional features such as remote control, pulse mode for outdoor use with a detector, or the ability to project multiple lines at different angles. Evaluate these features to determine if they will be beneficial for your specific application.
By considering these factors, you can narrow down your options and choose a laser level that will meet your specific requirements. It’s important to invest in a quality laser level from a reputable brand, as it will not only provide accurate measurements but also ensure durability and reliability for long-term use.
Now that you have selected the right laser level, let’s move on to the next step: setting up the laser level.
Step 2: Setting up the laser level
Now that you have selected the right laser level for your project, it’s time to set it up properly to ensure accurate and reliable measurements. Here are the steps to follow when setting up your laser level:
- Choose a stable surface: Place the laser level on a sturdy and level surface that will not be affected by vibrations. If you’re working on an uneven surface, use a tripod to ensure stability.
- Turn on the laser level: Power on the laser level according to the manufacturer’s instructions. Make sure the batteries are fully charged or replace them if needed.
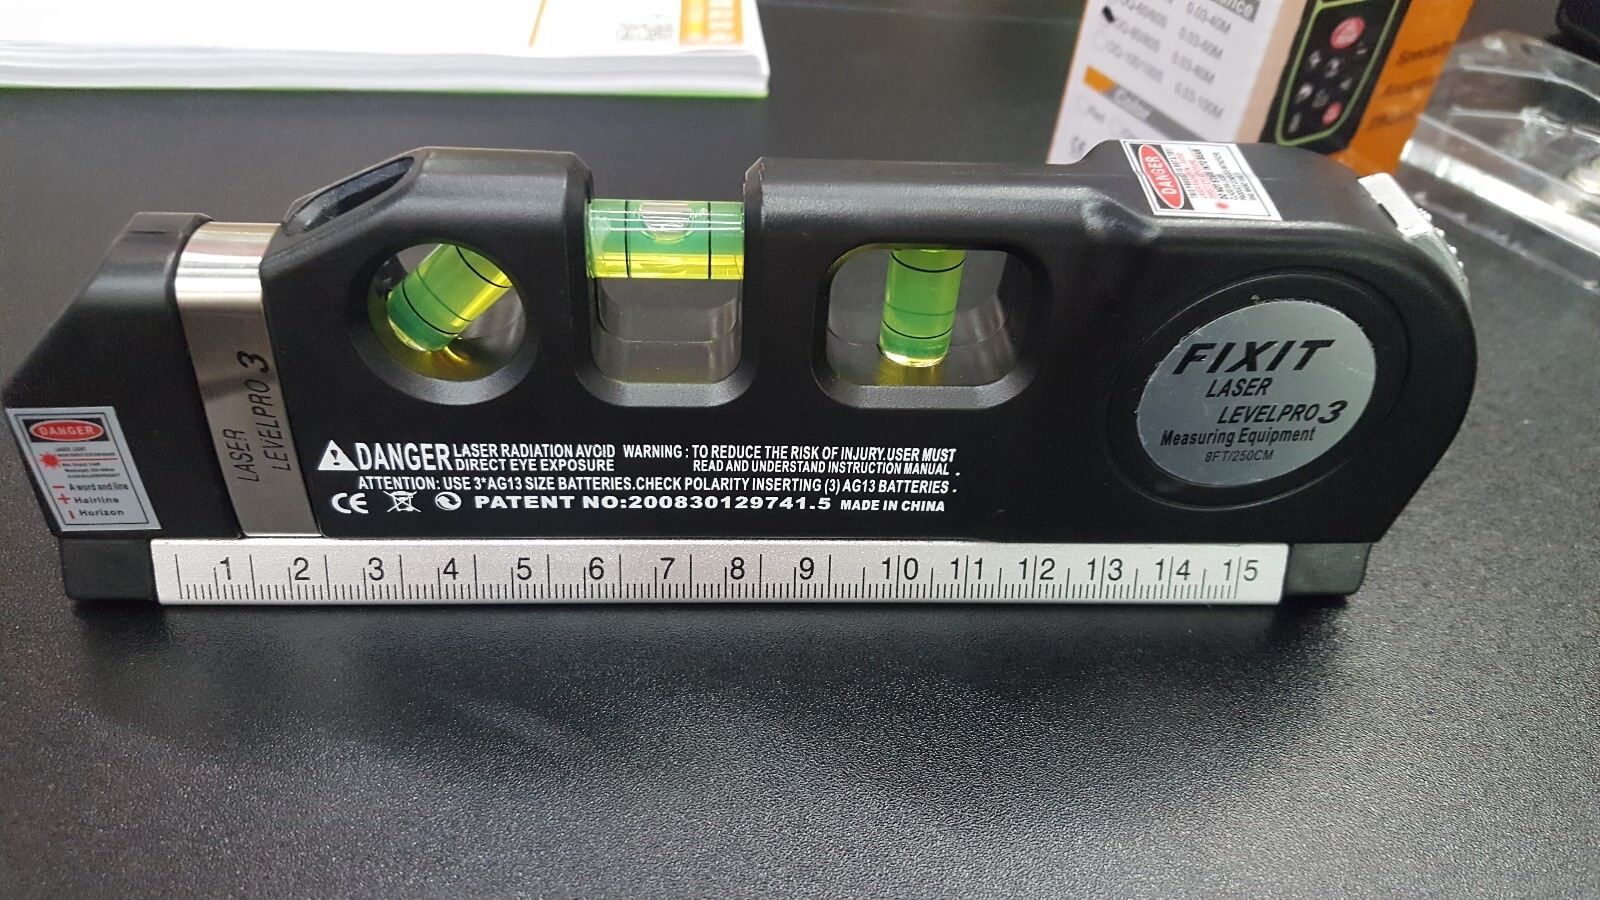
- Leveling the laser: If your laser level has a self-leveling feature, it will automatically level itself. If not, use the built-in leveling bubbles or indicators to manually adjust the laser level until it is perfectly level. Adjust the leveling screws or features until the bubble is centered or the indicator shows a level position.
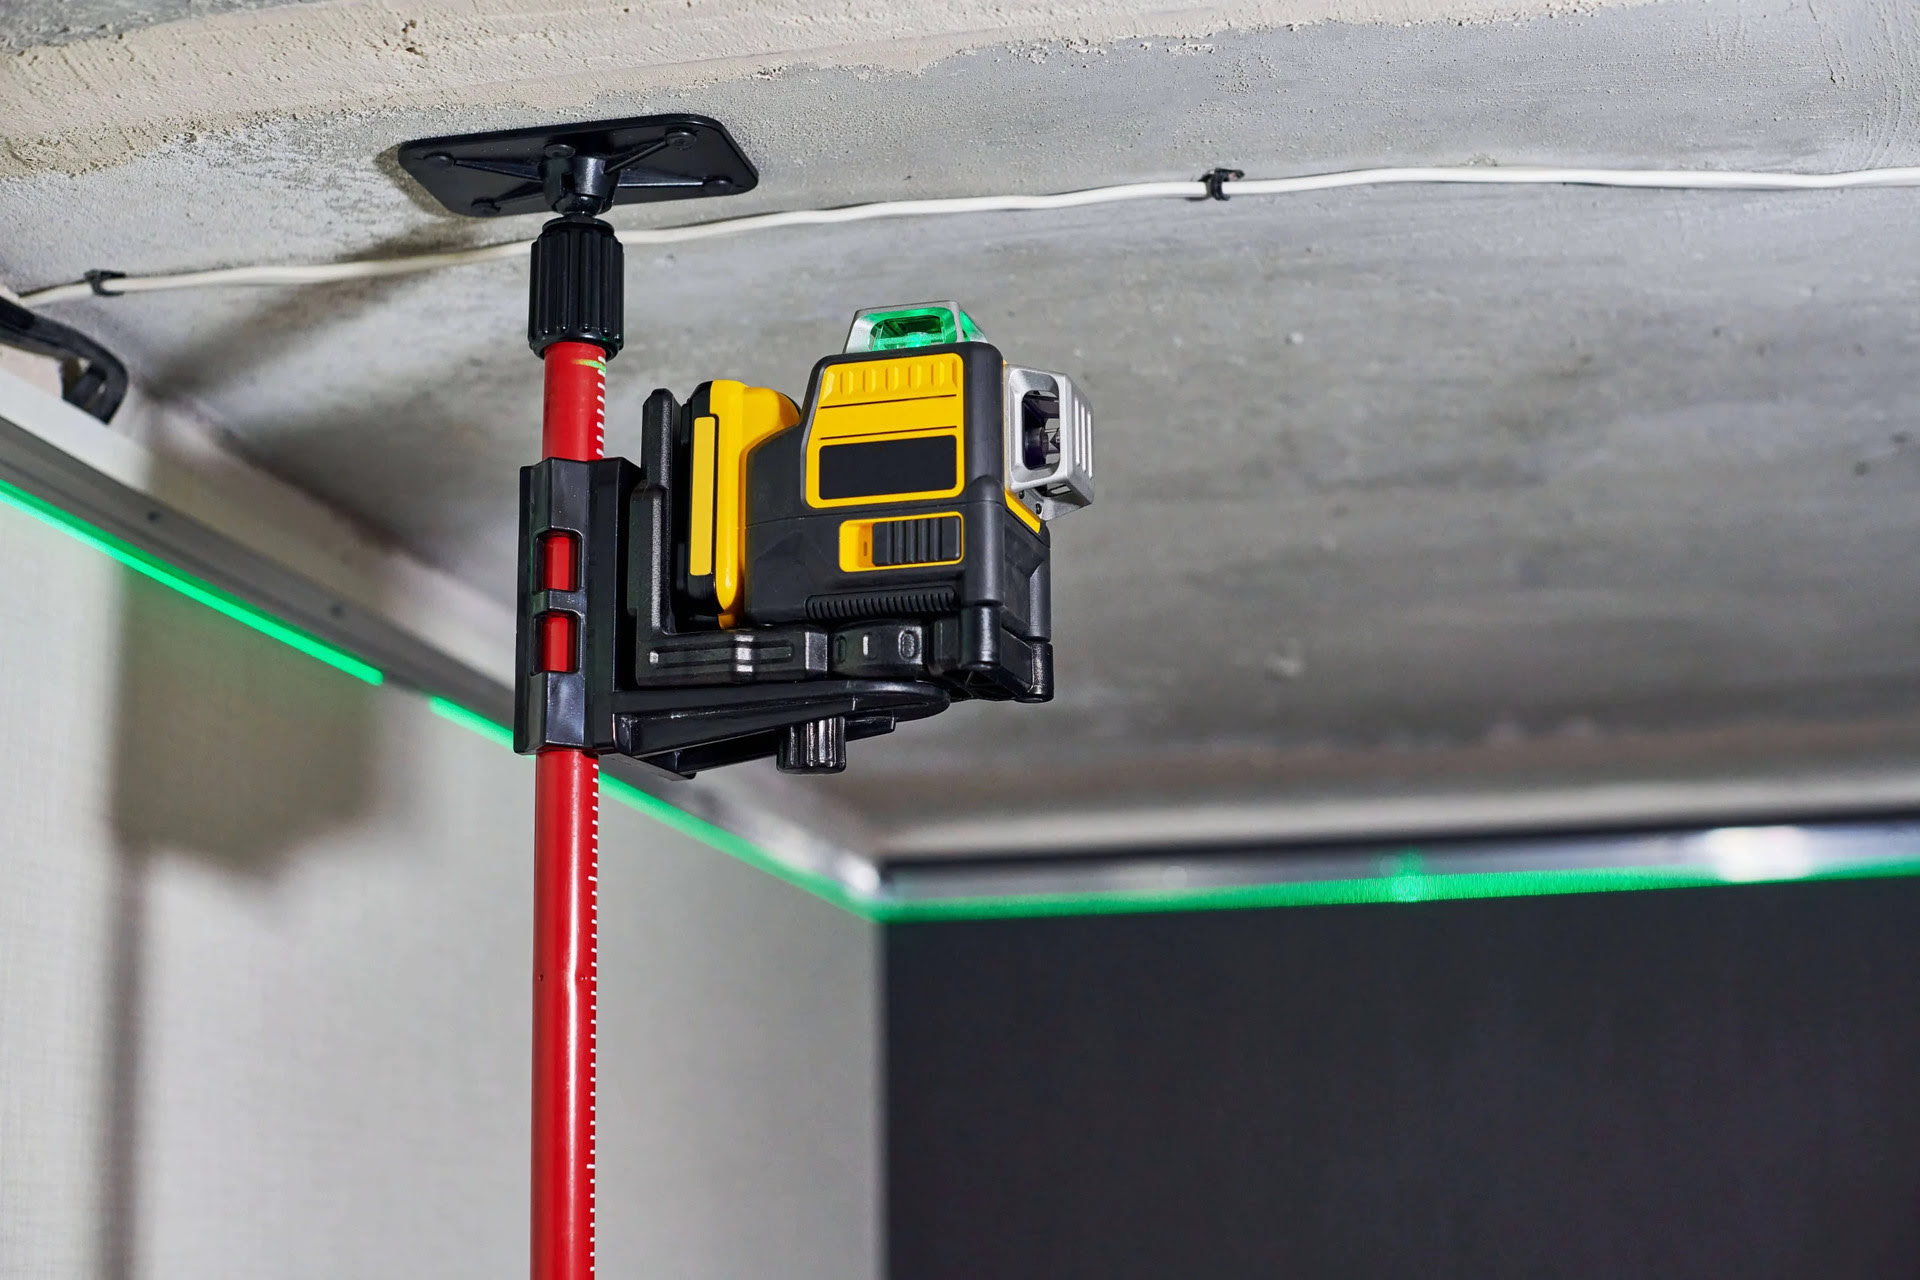
- Secure the laser level: Once the laser level is properly leveled, secure it in place to prevent any movement or displacement during use. Some laser levels have mounting brackets or clamps that can be attached to walls or surfaces, while others can be mounted on tripods.
- Verify the leveling: Double-check the leveling of the laser level by rotating it 90 degrees and checking if the bubble remains centered or the indicator stays level. This ensures that the laser level is accurately set up and will provide reliable measurements.
- Adjust the beam height: If needed, adjust the height of the laser beam to align it with the desired reference point or mark. Some laser levels have adjustable beam heights, while others may require additional accessories or attachments.
- Test the laser: Before starting your measurements, test the laser level by projecting the laser beam onto a nearby surface. Ensure the laser line or dot is clear, visible, and aligned properly. If you notice any issues, recheck the level of the laser or adjust the beam height as necessary.
By following these steps, you will have successfully set up your laser level and it will be ready for use. It’s important to take the time to properly set up the laser level to ensure accurate and reliable measurements throughout your project.
Now that the laser level is set up, let’s move on to the next step: calibrating the laser level.
Read more: How To Use A Laser Level For Framing
Step 3: Calibrating the laser level
Calibrating your laser level is essential to ensure precise and accurate measurements. Calibration ensures that the laser beam is aligned correctly and projects a straight and level reference line or dot. Here’s how you can calibrate your laser level:
- Find a stable reference point: Identify a stable, level reference point in the vicinity of your work area. This could be a wall, a floor, or any other surface that you know is level.
- Position the laser level: Place the laser level on a stable surface or a tripod, ensuring it is level and securely set up.
- Align the laser beam with the reference point: Rotate or adjust the laser level until the laser beam aligns perfectly with the chosen reference point. This means that the laser line or dot should be centered or intersect the reference point precisely.
- Check multiple positions: To ensure accuracy, check the alignment of the laser beam with the reference point from multiple positions around the work area. This will help identify any discrepancies and allow you to make necessary adjustments.
- Make adjustments if needed: If the laser beam is not aligned with the reference point, you may need to adjust the level of the laser or reposition it slightly. Use the built-in leveling indicators or adjust the leveling screws until the laser beam aligns correctly.
- Verify calibration: Once you have made adjustments, recheck the alignment of the laser beam with the reference point. Ensure that the laser line or dot remains precisely aligned and does not deviate from the reference point.
It’s important to recalibrate your laser level periodically, especially if it has been transported or subjected to any rough handling. This will ensure that it continues to provide accurate measurements throughout your project.
Calibrating your laser level may seem tedious, but it is a crucial step to ensure the reliability and accuracy of your measurements. Taking the time to properly calibrate your laser level will save you from potential errors and ensure that your project proceeds smoothly.
Now that you have successfully calibrated your laser level, let’s move on to the next step: using the laser level for horizontal leveling.
Step 4: Using the laser level for horizontal leveling
Horizontal leveling is one of the primary uses of a laser level, allowing you to easily ensure that surfaces, objects, or structures are perfectly level. Here’s how you can use your laser level for horizontal leveling:
- Position the laser level: Place the laser level on a stable surface or tripod, ensuring it is level and securely set up.
- Turn on the laser level: Power on the laser level and allow it to self-level or manually level it using the built-in leveling indicators.
- Project the laser line: If your laser level is a line laser, it will project a horizontal line onto the surface you are working on. Adjust the beam height if needed to align it with the desired reference point or mark.
- Use the laser line as a guide: The laser line will provide a visible reference for horizontal leveling. Align objects, shelves, or other elements with the laser line to ensure they are perfectly level.
- Check for deviations: Use a spirit level or a traditional bubble level to verify that the laser line aligns with true level. This will help identify any discrepancies and allow you to make necessary adjustments.
- Make adjustments if needed: If the laser line deviates from true level, you may need to adjust the level of the laser or reposition it slightly. Use the leveling indicators or adjust the leveling screws until the laser line aligns correctly.
- Confirm accuracy: Once you have made adjustments, recheck the alignment of the laser line with the spirit level or bubble level. Ensure that the laser line remains perfectly level and does not have any noticeable deviations.
- Continue leveling as needed: Use the laser line as a guide to level additional objects or surfaces in your project. Aligning objects with the laser line will result in a visually pleasing and perfectly level outcome.
Horizontal leveling with a laser level saves time and provides accurate results, making it an indispensable tool for various applications such as installing cabinets, aligning countertops, or hanging picture frames. By following these steps, you can easily achieve precise horizontal leveling with your laser level.
Now that you have successfully leveled horizontally with your laser level, let’s move on to the next step: using the laser level for vertical leveling.
When using a laser level, always ensure that it is placed on a stable surface and that the laser beam is not obstructed. This will help to achieve accurate and precise measurements.
Step 5: Using the laser level for vertical leveling
Vertical leveling is another important application of a laser level, allowing you to ensure that surfaces, objects, or structures are perfectly plumb. Here’s how you can use your laser level for vertical leveling:
- Position the laser level: Place the laser level on a stable surface or tripod, ensuring it is level and securely set up.
- Turn on the laser level: Power on the laser level and allow it to self-level or manually level it using the built-in leveling indicators.
- Project the laser line: If your laser level is a line laser, it may have the capability to project a vertical line onto the surface you are working on. Adjust the beam height if needed to align it with the desired reference point or mark.
- Use the laser line as a guide: The laser line will provide a visible reference for vertical leveling. Align objects, cabinets, or other elements with the laser line to ensure they are perfectly plumb.
- Check for deviations: Use a spirit level or a traditional bubble level to verify that the laser line aligns with true plumb. This will help identify any discrepancies and allow you to make necessary adjustments.
- Make adjustments if needed: If the laser line deviates from true plumb, you may need to adjust the level of the laser or reposition it slightly. Use the leveling indicators or adjust the leveling screws until the laser line aligns correctly.
- Confirm accuracy: Once you have made adjustments, recheck the alignment of the laser line with the spirit level or bubble level. Ensure that the laser line remains perfectly plumb and does not have any noticeable deviations.
- Continue leveling as needed: Use the laser line as a guide to level additional objects or surfaces in your project. Aligning objects with the laser line will result in a visually pleasing and perfectly plumb outcome.
Vertical leveling with a laser level is crucial for tasks such as installing wall cabinets, aligning doors, or hanging chandeliers. By following these steps, you can easily achieve accurate vertical leveling with your laser level.
Now that you have successfully leveled vertically with your laser level, let’s move on to the next step: using the laser level for alignment.
Step 6: Using the laser level for alignment
The laser level is not only useful for leveling surfaces but also for aligning various elements in a project. Whether you need to ensure straight lines, parallel edges, or precise angles, your laser level can assist you in achieving accurate alignment. Here are the steps to use the laser level for alignment:
- Position the laser level: Place the laser level on a stable surface or tripod, ensuring it is level and securely set up.
- Turn on the laser level: Power on the laser level and allow it to self-level or manually level it using the built-in leveling indicators.
- Project a reference line or dot: Depending on the type of laser level, project either a straight line or a dot onto the surface or object that requires alignment.
- Use the reference line or dot as a guide: Align the objects or elements you want to align with the projected reference line or dot. This can include aligning tiles, mounting brackets, or positioning items in a straight line.
- Check for deviations: Measure the alignment using a tape measure, ruler, or other measuring tools to verify that the objects are positioned accurately in relation to the reference line or dot.
- Make adjustments if needed: If the objects are not aligned properly, adjust their position until they are perfectly aligned with the reference line or dot. This may involve shifting or rotating the objects to achieve the desired alignment.
- Verify the alignment: Once you have made the adjustments, recheck the alignment using measuring tools to ensure that the aligned objects meet the desired specifications.
- Continue aligning as needed: Use the laser level’s reference line or dot as a guide to align other elements in your project, such as parallel walls, shelves, or trim pieces.
Using your laser level for alignment can help you achieve precise and visually appealing results in your projects. Whether it’s aligning elements horizontally, vertically, or at specific angles, the laser level simplifies the alignment process and ensures accuracy.
Now that you have successfully aligned elements with your laser level, let’s move on to the next step: using the laser level for measuring distances.
Read more: How To Use Topcon Laser Level
Step 7: Using the laser level for measuring distances
In addition to its leveling and alignment capabilities, your laser level can also be used for measuring distances. By utilizing the laser beam’s projected line or dot, you can easily measure distances between points without relying on traditional measuring tools. Here’s how you can use your laser level for measuring distances:
- Position the laser level: Place the laser level on a stable surface or tripod, ensuring it is level and securely set up.
- Turn on the laser level: Power on the laser level and allow it to self-level or manually level it using the built-in leveling indicators.
- Project a line or dot onto the target: Depending on the type of laser level, project either a horizontal, vertical, or dot laser beam onto the surface or object you want to measure.
- Mark the starting and ending points: Place a mark at the starting and ending points of the measurement along the projected line or dot. These marks will determine the distance you want to measure.
- Measure the distance: Using a tape measure or ruler, measure the distance between the starting and ending points marked along the laser’s projected line or dot. Ensure that the measuring tool is aligned accurately with the marks.
- Record or note the measurement: Take note of the measured distance for future reference or use it for further calculations in your project.
Measuring distances with a laser level is quick and convenient, eliminating the need for physically moving a measuring tape and reducing the chances of errors. It is particularly useful for larger distances or areas where access may be limited, such as when measuring the span of a room or determining the distance between two walls.
Remember to keep in mind the accuracy of your laser level when using it for distance measurements. Higher-end laser levels typically offer greater accuracy, ensuring precise measurements for your project needs.
Now that you have successfully measured distances with your laser level, let’s move on to the next step: tips for accurate laser level measurements.
Step 8: Tips for accurate laser level measurements
Accurate measurements are essential for the success of any project. To ensure that your laser level measurements are precise and reliable, here are some helpful tips to keep in mind:
- Read the manufacturer’s instructions: Familiarize yourself with the specific instructions and recommendations provided by the manufacturer for your laser level model. Each laser level may have unique features and requirements.
- Ensure proper calibration: Regularly calibrate your laser level to ensure accurate measurements. Follow the manufacturer’s guidelines for calibration, and recalibrate if the unit has been moved or subjected to any impact.
- Use a stable surface: Place your laser level on a stable surface or use a tripod to minimize vibrations and ensure accurate readings.
- Consider the visibility: Take into account the visibility of the laser beam in different lighting conditions. Adjust the brightness or use a laser detector if necessary, especially when working outdoors or in bright environments.
- Be mindful of obstructions: Be aware of any potential obstructions that can affect the projection of the laser beam, such as furniture, walls, or other objects. Clear the area as much as possible to avoid inaccurate measurements.
- Make multiple measurements: Take multiple measurements from different angles or positions to ensure consistency and accuracy. This can help identify any discrepancies or variations in measurements.
- Check for level and plumb: Use a spirit level or bubble level to verify that the laser level is properly leveled and aligned before taking measurements. This will ensure that the projected lines or dots are true level or plumb.
- Use additional tools for verification: Use traditional measuring tools, such as a tape measure or ruler, to verify the accuracy of your laser level measurements. This can help double-check important dimensions and ensure precision.
- Take note of environmental factors: Be aware of any environmental factors that may affect the accuracy of your measurements, such as temperature changes, humidity, or air movement. These factors can impact the stability of the laser beam.
- Maintain and clean your laser level: Routinely clean the lenses and housing of your laser level to ensure clear visibility of the laser beam. Follow the manufacturer’s guidelines for maintenance and keep the unit in good condition.
By following these tips, you can achieve accurate and reliable measurements with your laser level, ensuring successful completion of your projects. Remember that practice and experience will also contribute to your proficiency in using the laser level effectively.
Now that you have learned some valuable tips for accurate laser level measurements, let’s move on to the final step: proper maintenance of laser levels.
Step 9: Proper maintenance of laser levels
Proper maintenance of your laser level is crucial to ensure its longevity and optimal performance. By following these maintenance practices, you can keep your laser level in top condition:
- Store it properly: When not in use, store your laser level in its protective case or in a clean, dry, and dust-free environment. This will prevent damage and keep it safe from accidental knocks or drops.
- Keep it clean: Regularly clean the lenses and housing of your laser level using a soft cloth or brush. Remove any dirt, dust, or debris that may affect the visibility of the laser beam. Avoid using abrasive materials or solvents that could damage the lens or other components.
- Check the batteries: If your laser level uses batteries, regularly check their condition. Replace them when needed and ensure they are properly inserted. Use high-quality batteries to avoid power supply issues during use.
- Inspect for damage: Regularly inspect your laser level for any signs of damage, such as cracks, dents, or loose parts. If you notice any issues, have it repaired by a qualified technician. Do not attempt to repair the laser level yourself unless you have the proper knowledge and experience.
- Calibrate when needed: As mentioned earlier, regularly calibrate your laser level according to the manufacturer’s instructions. This will ensure that it continues to provide accurate measurements. If you notice any inconsistencies or deviations, consider calibrating it even if it is not due for routine calibration.
- Protect it from extreme conditions: Extreme temperatures, humidity, or exposure to moisture can damage your laser level. Avoid exposing it to harsh environments and always use it within the specified temperature range. If necessary, use protective covers or shields to shield it from adverse conditions.
- Keep it away from direct sunlight: Prolonged exposure to direct sunlight can affect the performance and accuracy of your laser level. Store it away from direct sunlight when not in use and avoid using it in areas with intense sunlight that may interfere with the visibility of the laser beam.
- Follow manufacturer recommendations: Always consult the manufacturer’s guidelines and recommendations for specific maintenance procedures. They will provide valuable information on cleaning, storage, and other maintenance practices tailored to your laser level model.
By implementing these maintenance practices, you can ensure the longevity and reliable performance of your laser level. Regular maintenance will not only keep your tool in optimal condition but also enhance your overall productivity and accuracy in your projects.
Congratulations! You have now learned all the steps to properly use and maintain your laser level. With the knowledge gained from this guide, you can confidently tackle your projects and achieve accurate results while making the most of this powerful tool.
Remember, practice and experience will further refine your skills in using the laser level effectively. Enjoy the precision and convenience it brings to your projects!
Conclusion
Congratulations on completing this comprehensive guide on how to use a laser level effectively! You now have a deeper understanding of laser levels and their various applications in construction, carpentry, and other industries. By following the steps outlined in this article, you can confidently select the right laser level for your needs, set it up correctly, calibrate it accurately, and utilize it for horizontal leveling, vertical leveling, alignment, and distance measurements.
Using a laser level offers numerous advantages over traditional leveling methods. It provides precise and reliable measurements, saves time and effort, and ensures accurate alignment of surfaces, objects, and structures. The visual reference lines or dots projected by the laser level make it easy to achieve straight, level, and plumb results, enhancing the quality and professionalism of your projects.
However, it’s important to remember that practice and experience are key to mastering the use of a laser level. As you gain more familiarity with your laser level and its capabilities, you will become more adept at achieving accurate measurements and aligning elements with ease.
Lastly, proper maintenance of your laser level is essential to ensure its longevity and optimal performance. Regular cleaning, battery checks, calibration, and storage in a safe environment will keep your laser level in top condition and ready for any project that comes your way.
We hope that this guide has been informative and helpful in your journey of using laser levels. Incorporate these techniques into your projects and witness the precision and efficiency that a laser level brings. Happy leveling!
Frequently Asked Questions about How To Use A Laser Level
Was this page helpful?
At Storables.com, we guarantee accurate and reliable information. Our content, validated by Expert Board Contributors, is crafted following stringent Editorial Policies. We're committed to providing you with well-researched, expert-backed insights for all your informational needs.



0 thoughts on “How To Use A Laser Level”