
Articles
How To Use A Laser Level For Landscaping
Modified: August 21, 2024
Discover effective techniques and expert tips for using a laser level in your landscaping projects. Read our informative articles to learn more.
(Many of the links in this article redirect to a specific reviewed product. Your purchase of these products through affiliate links helps to generate commission for Storables.com, at no extra cost. Learn more)
Introduction
Welcome to the world of landscaping! Whether you’re a seasoned professional or a beginner, one tool that can greatly assist you in your landscaping projects is a laser level. A laser level is a versatile tool that provides accurate measurements and helps create a level, sloping, and aligned landscape.
In this article, we will delve into the intricacies of using a laser level for landscaping. We will guide you through the process of understanding how a laser level works, preparing for your landscaping project, setting up the laser level, and using it for various tasks such as leveling, sloping, and alignment.
By the end of this article, you’ll have a comprehensive understanding of how to effectively use a laser level in your landscaping endeavors, enabling you to achieve professional-looking results.
Before we begin, it’s important to note that a laser level should be used in conjunction with other landscaping tools and techniques. It is not meant to replace traditional methods but rather to enhance and streamline your landscaping process.
Now, let’s explore the world of laser levels and discover how they can revolutionize your landscaping experience.
Key Takeaways:
- Laser levels provide accurate measurements and precise leveling, sloping, and alignment for landscaping projects. They enhance efficiency and help achieve professional results when used in conjunction with traditional methods.
- Proper preparation, setup, and calibration of the laser level are crucial for successful landscaping projects. Safety precautions, teamwork, and familiarity with the tool ensure a smooth and effective experience.
Read more: How To Use A Laser Level
Understanding the Laser Level
Before delving into how to use a laser level for landscaping, it’s important to understand what exactly a laser level is and how it functions.
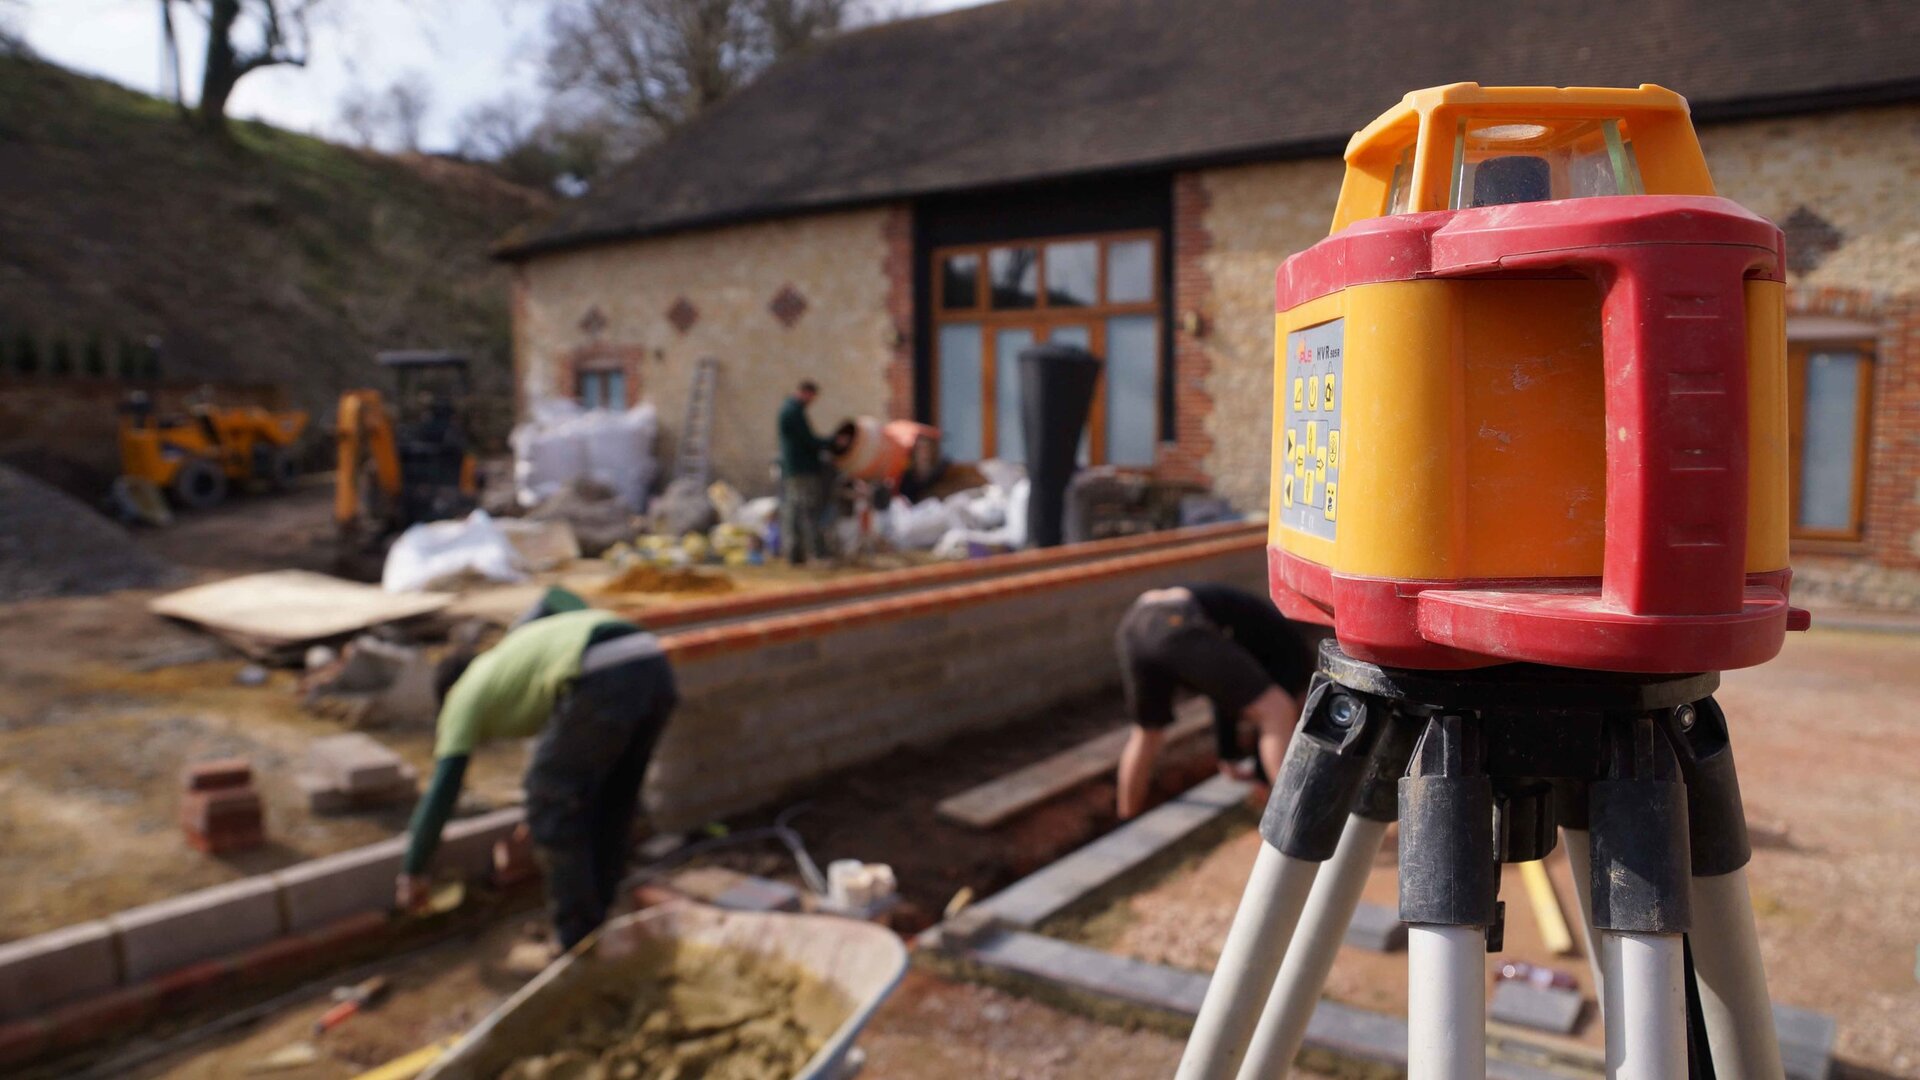
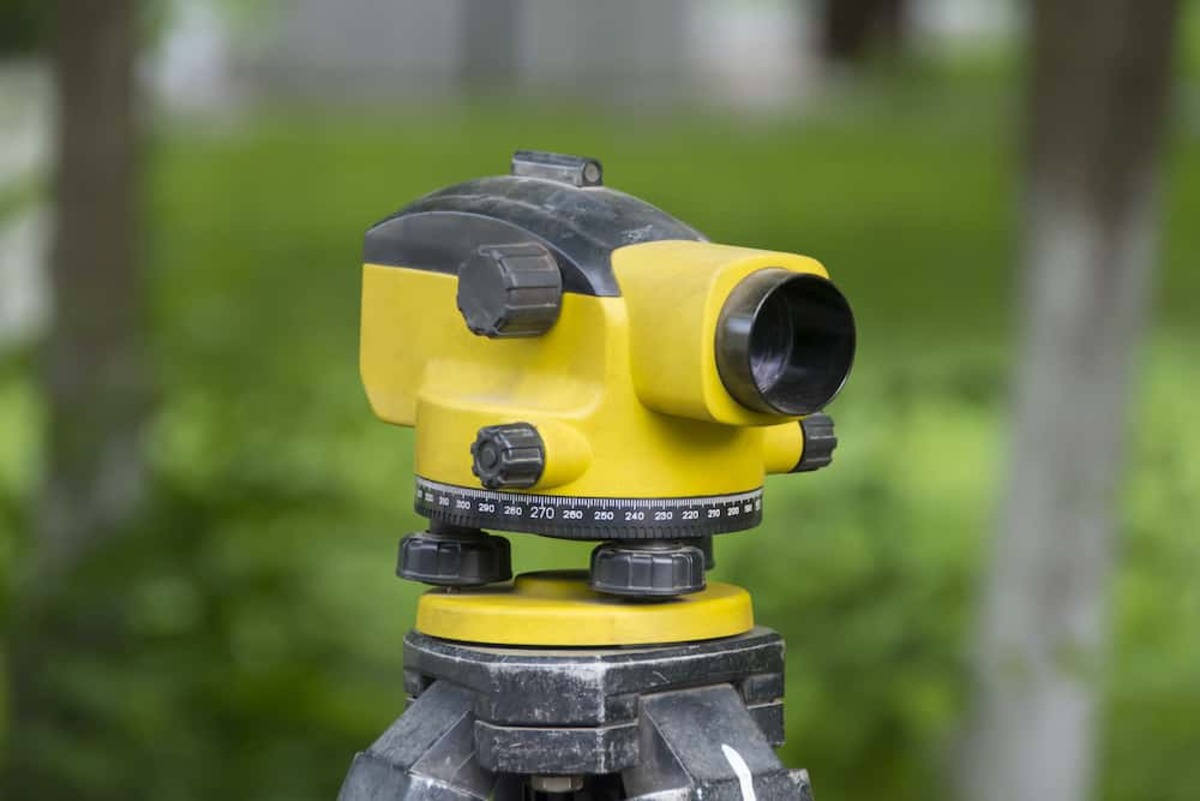
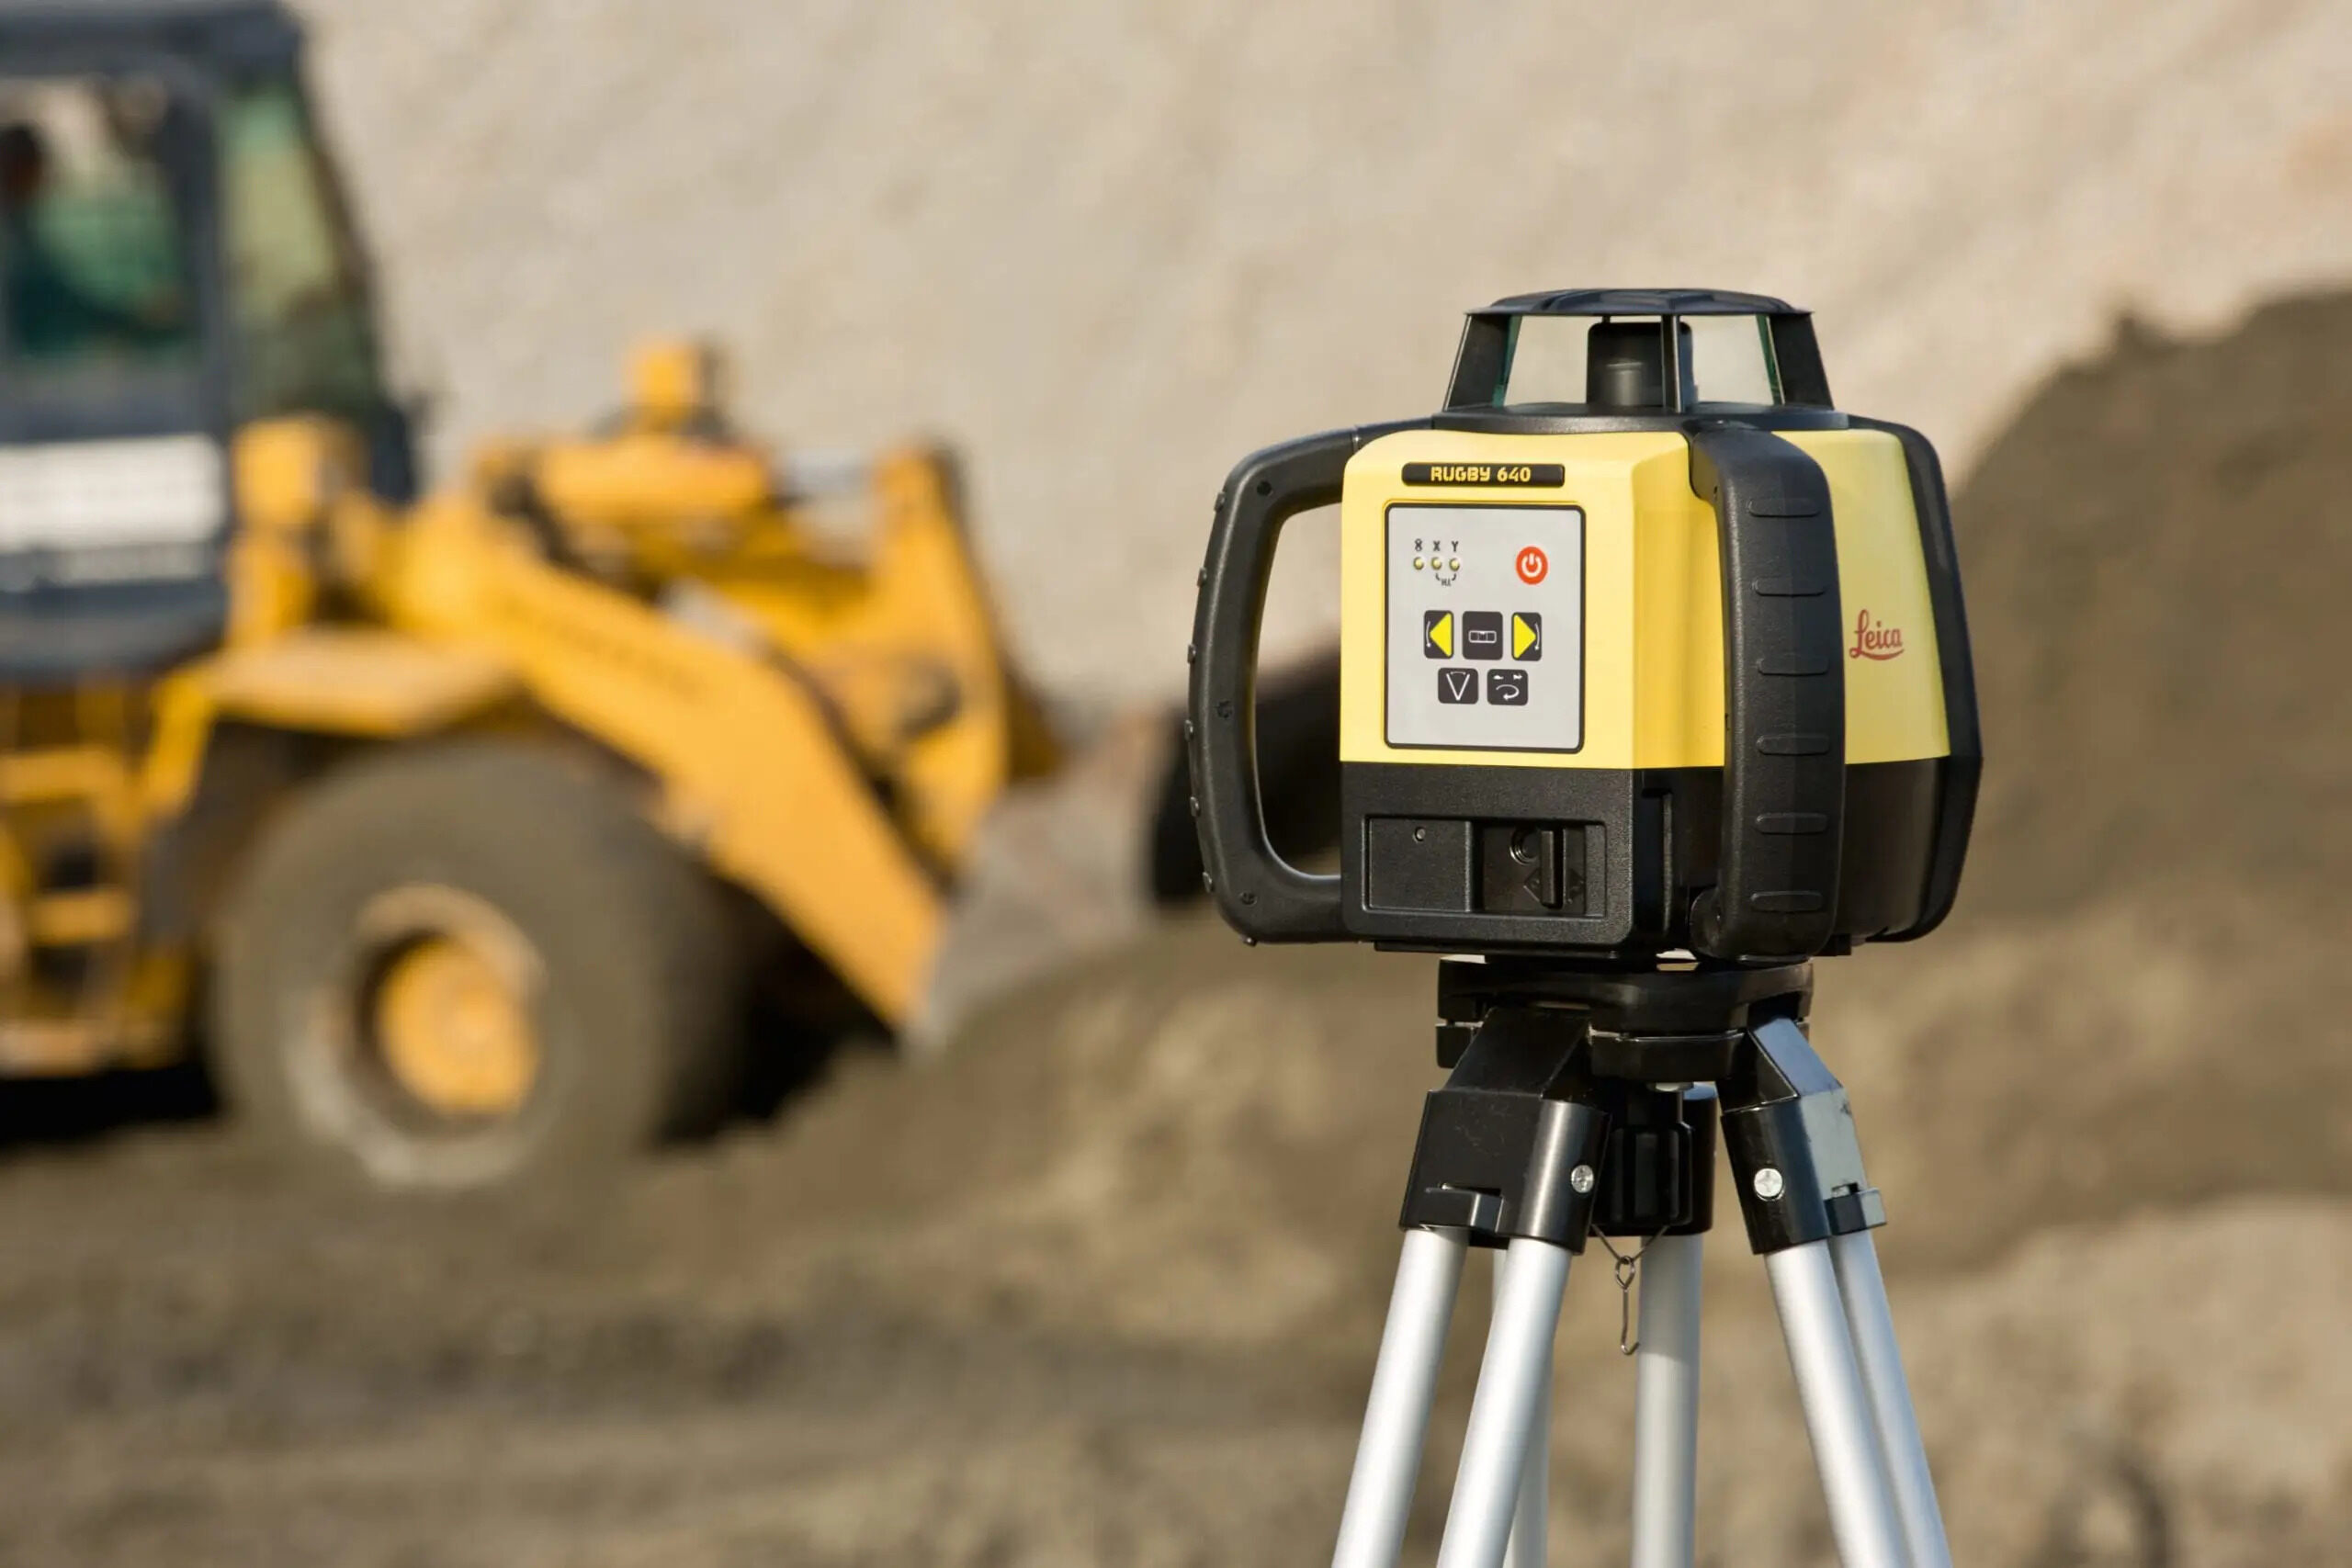
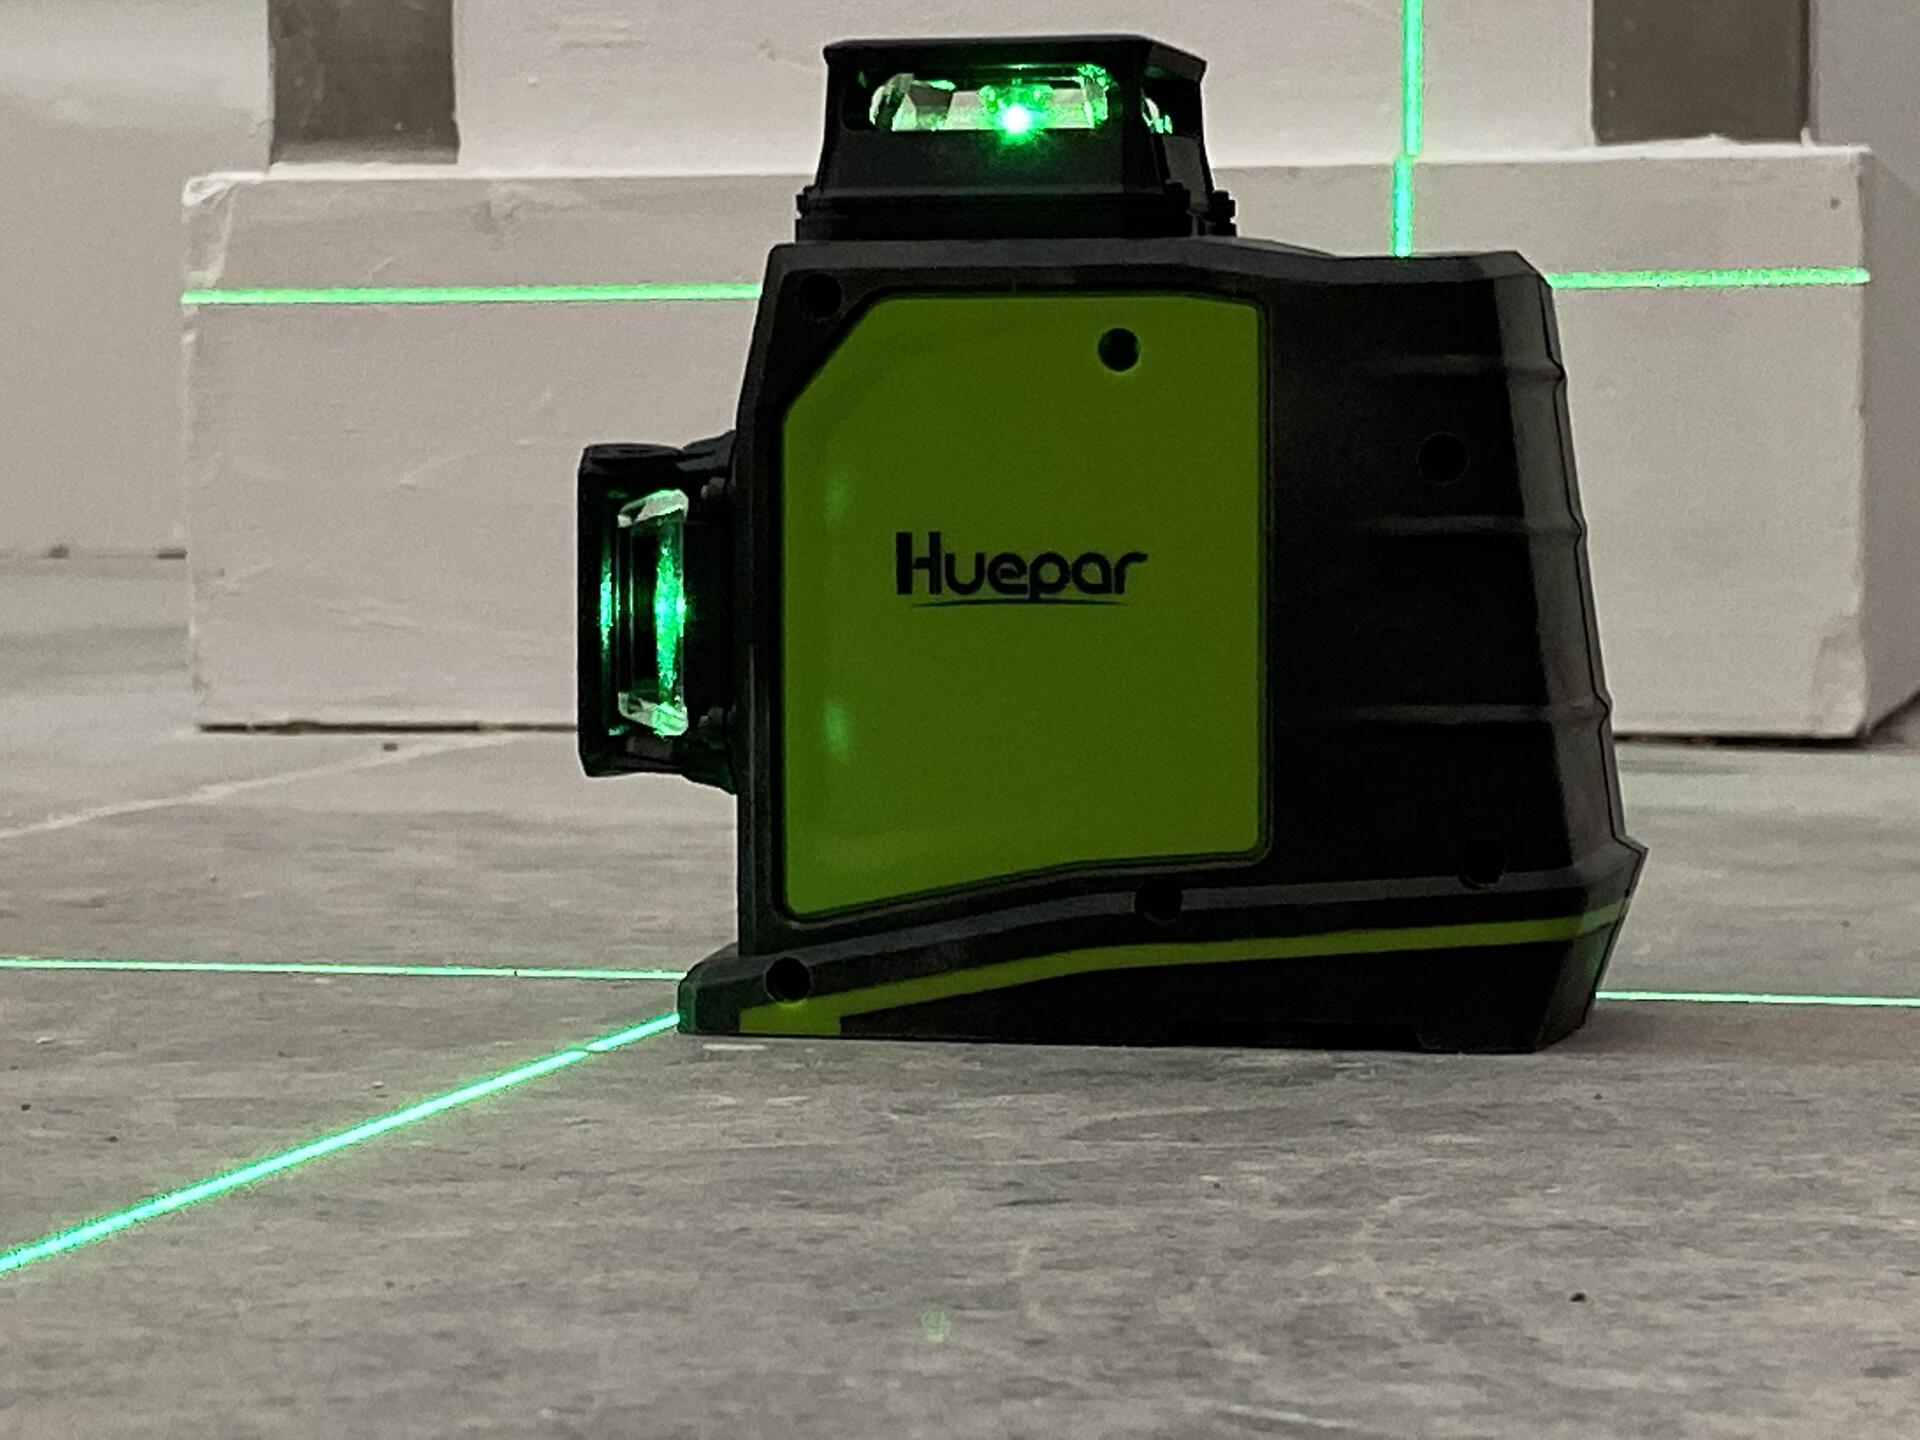
A laser level is a precision instrument that emits a laser beam to establish a level or sloping reference line or plane. It utilizes a combination of optics, electronics, and mechanical components to produce a highly accurate and visible laser beam.
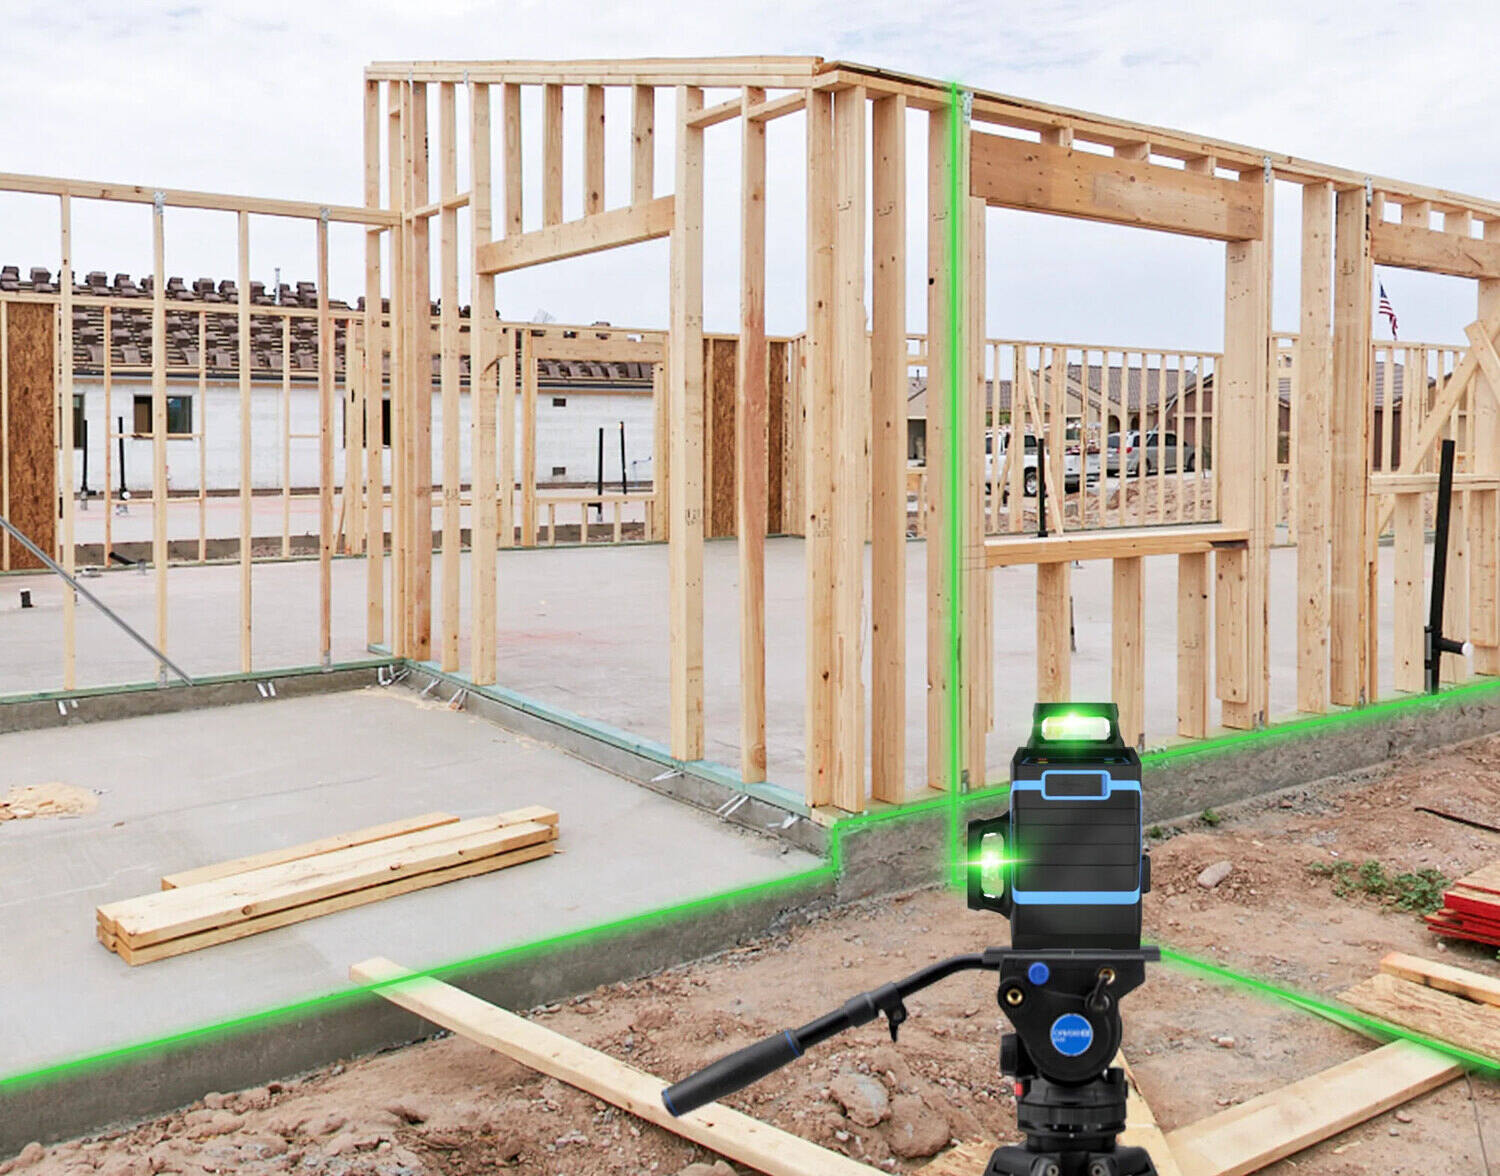
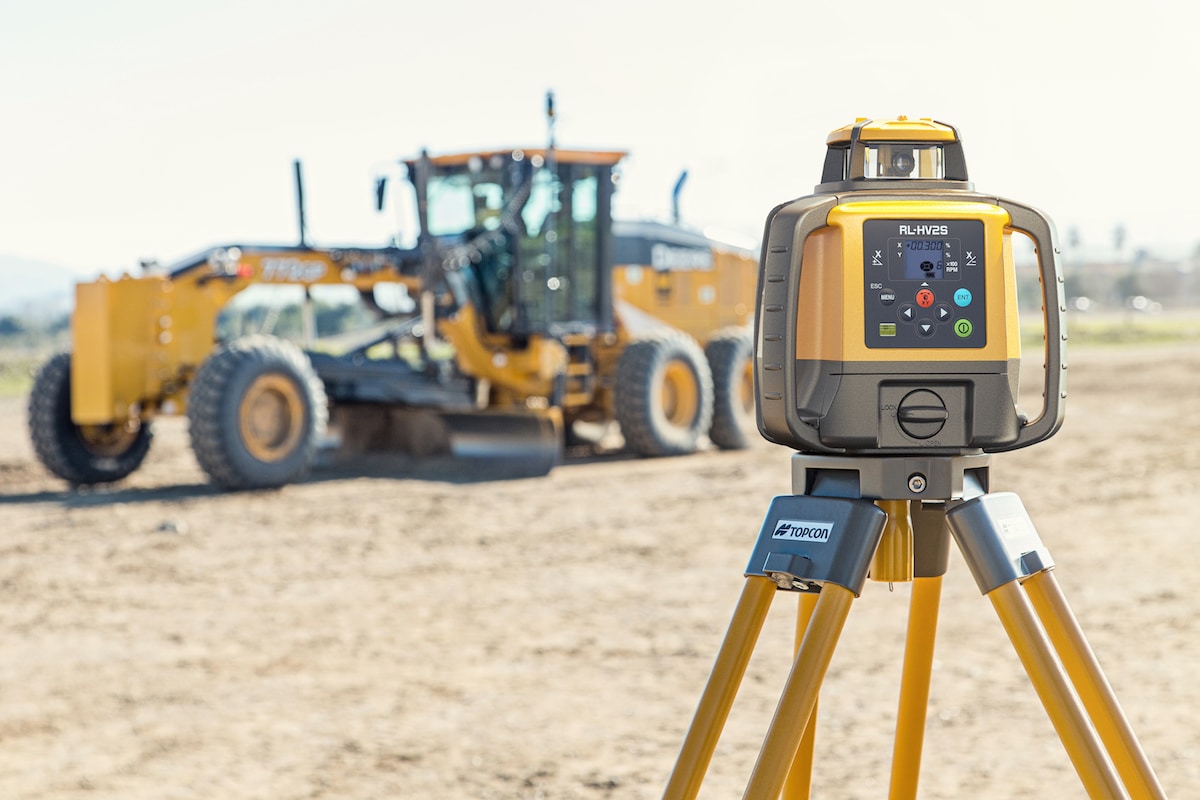
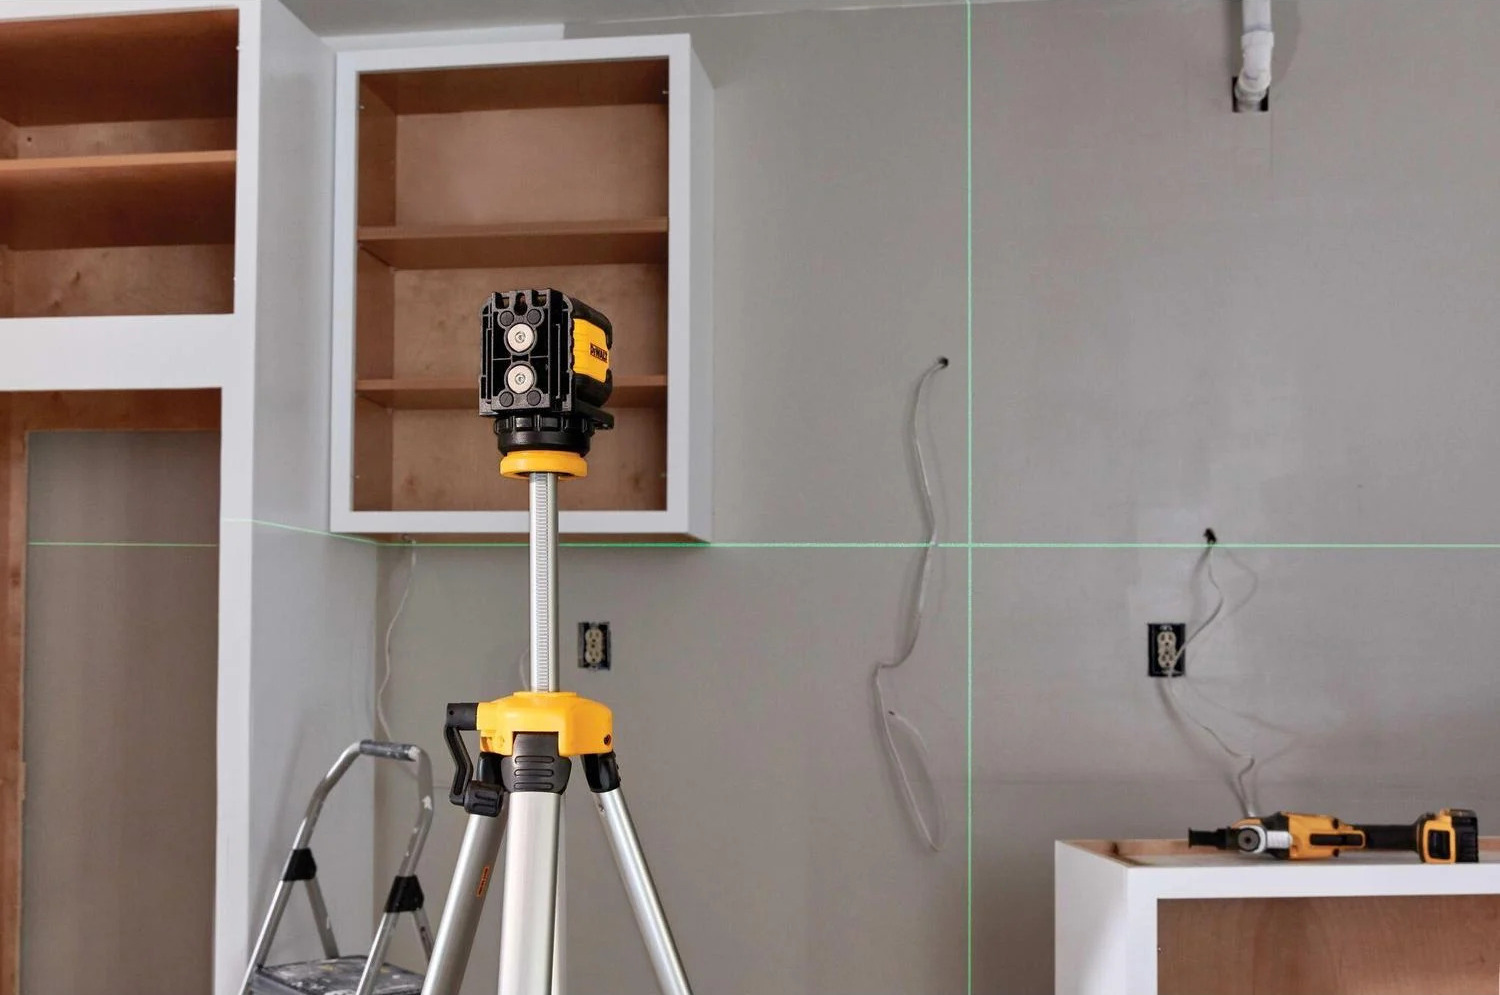
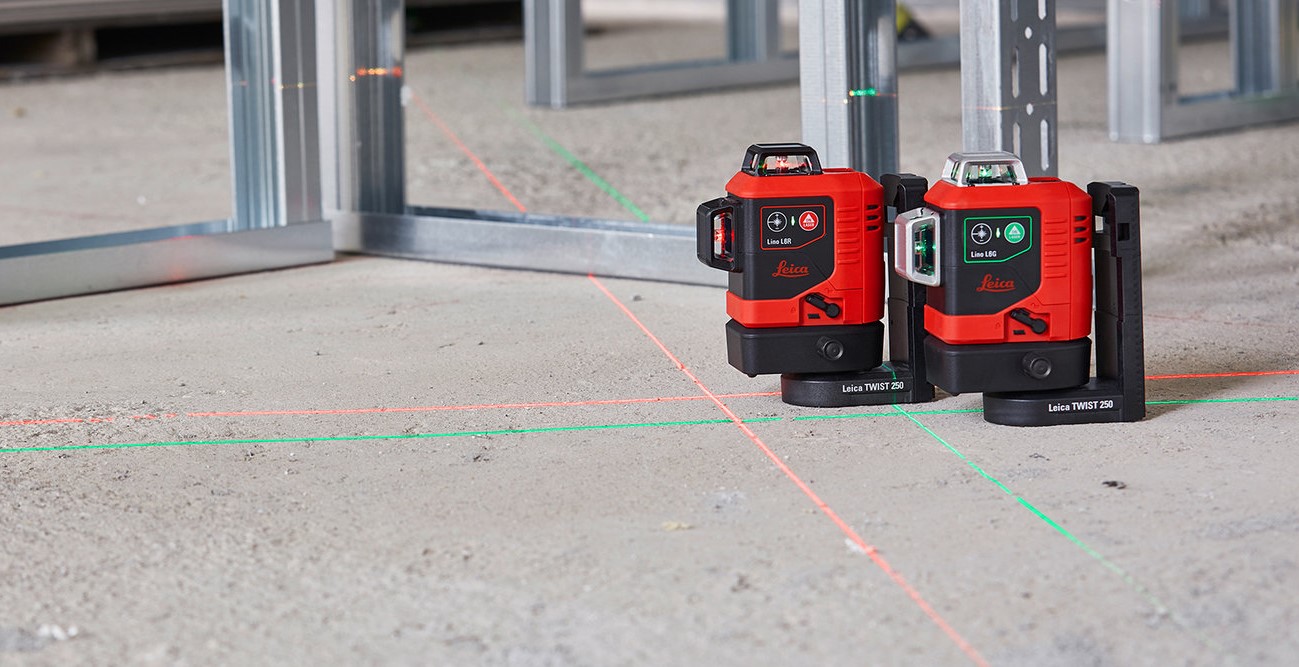
There are two primary types of laser levels: rotary laser levels and line laser levels. Rotary laser levels emit a 360-degree rotating laser beam, while line laser levels emit a straight line or multiple lines. Both types have their advantages and can be used for different purposes.
The laser level typically consists of a housing, a laser diode, a leveling mechanism, and control buttons. The housing protects the internal components and provides a stable base for positioning the laser level. The laser diode is responsible for emitting the laser beam, while the leveling mechanism ensures the accuracy of the beam.
Most laser levels come with self-leveling capabilities, which means they automatically adjust their position to remain level. This feature makes them user-friendly and eliminates the need for manual adjustments. However, it’s important to note that certain laser levels may require manual leveling, especially when working on uneven surfaces or steep slopes.
Additionally, laser levels may have various settings and features, such as slope mode for establishing sloping reference lines and dual-axis leveling for aligning multiple directions simultaneously. Familiarizing yourself with these features will help you maximize the potential of your laser level and tailor it to your specific landscaping needs.
Understanding how the laser level functions and familiarizing yourself with its components is essential to ensure accurate and reliable measurements during your landscaping projects. In the next section, we’ll explore the necessary preparations before using a laser level for landscaping.
Preparing for Landscaping
Before you begin using a laser level for your landscaping projects, there are a few crucial steps you need to take to ensure a successful and efficient process.
1. Plan Your Project: Start by visualizing your landscaping project and determining the specific areas or features you want to work on. Consider factors such as the desired levelness, slope, and alignment. Sketch out a rough plan or create a blueprint to serve as a guide during the project.
2. Gather the Necessary Tools: In addition to a laser level, gather other essential landscaping tools that will complement your work. These may include a measuring tape, stakes, string, a shovel, a rake, and any other tools that are specific to your project requirements.
3. Inspect the Site: Visit the project site and thoroughly inspect the area. Look out for potential obstacles, such as rocks, tree roots, or existing structures that may interfere with your landscaping efforts. Clear any debris or vegetation that might impede your progress.
4. Ensure Safety: Safety should always be a top priority. Check for any potential hazards on the site, such as loose soil, uneven terrain, or overhead power lines. Wear appropriate safety gear, such as gloves, safety goggles, and sturdy footwear, to protect yourself during the landscaping process.
5. Consider Environmental Factors: Take into account the environmental conditions that may affect your landscaping project. Consider factors such as sunlight, wind, and rainfall. These factors can impact the visibility of the laser beam and may require adjustments or additional precautions.
By adequately preparing for your landscaping project, you’ll be better equipped to use a laser level effectively. The proper planning and gathering of tools will streamline your workflow and ensure that you achieve the desired results. In the next section, we’ll explore how to set up your laser level for optimal performance.
Setting Up the Laser Level
Once you have completed the necessary preparations for your landscaping project, it’s time to set up your laser level. Proper setup is crucial for accurate measurements and optimal performance.
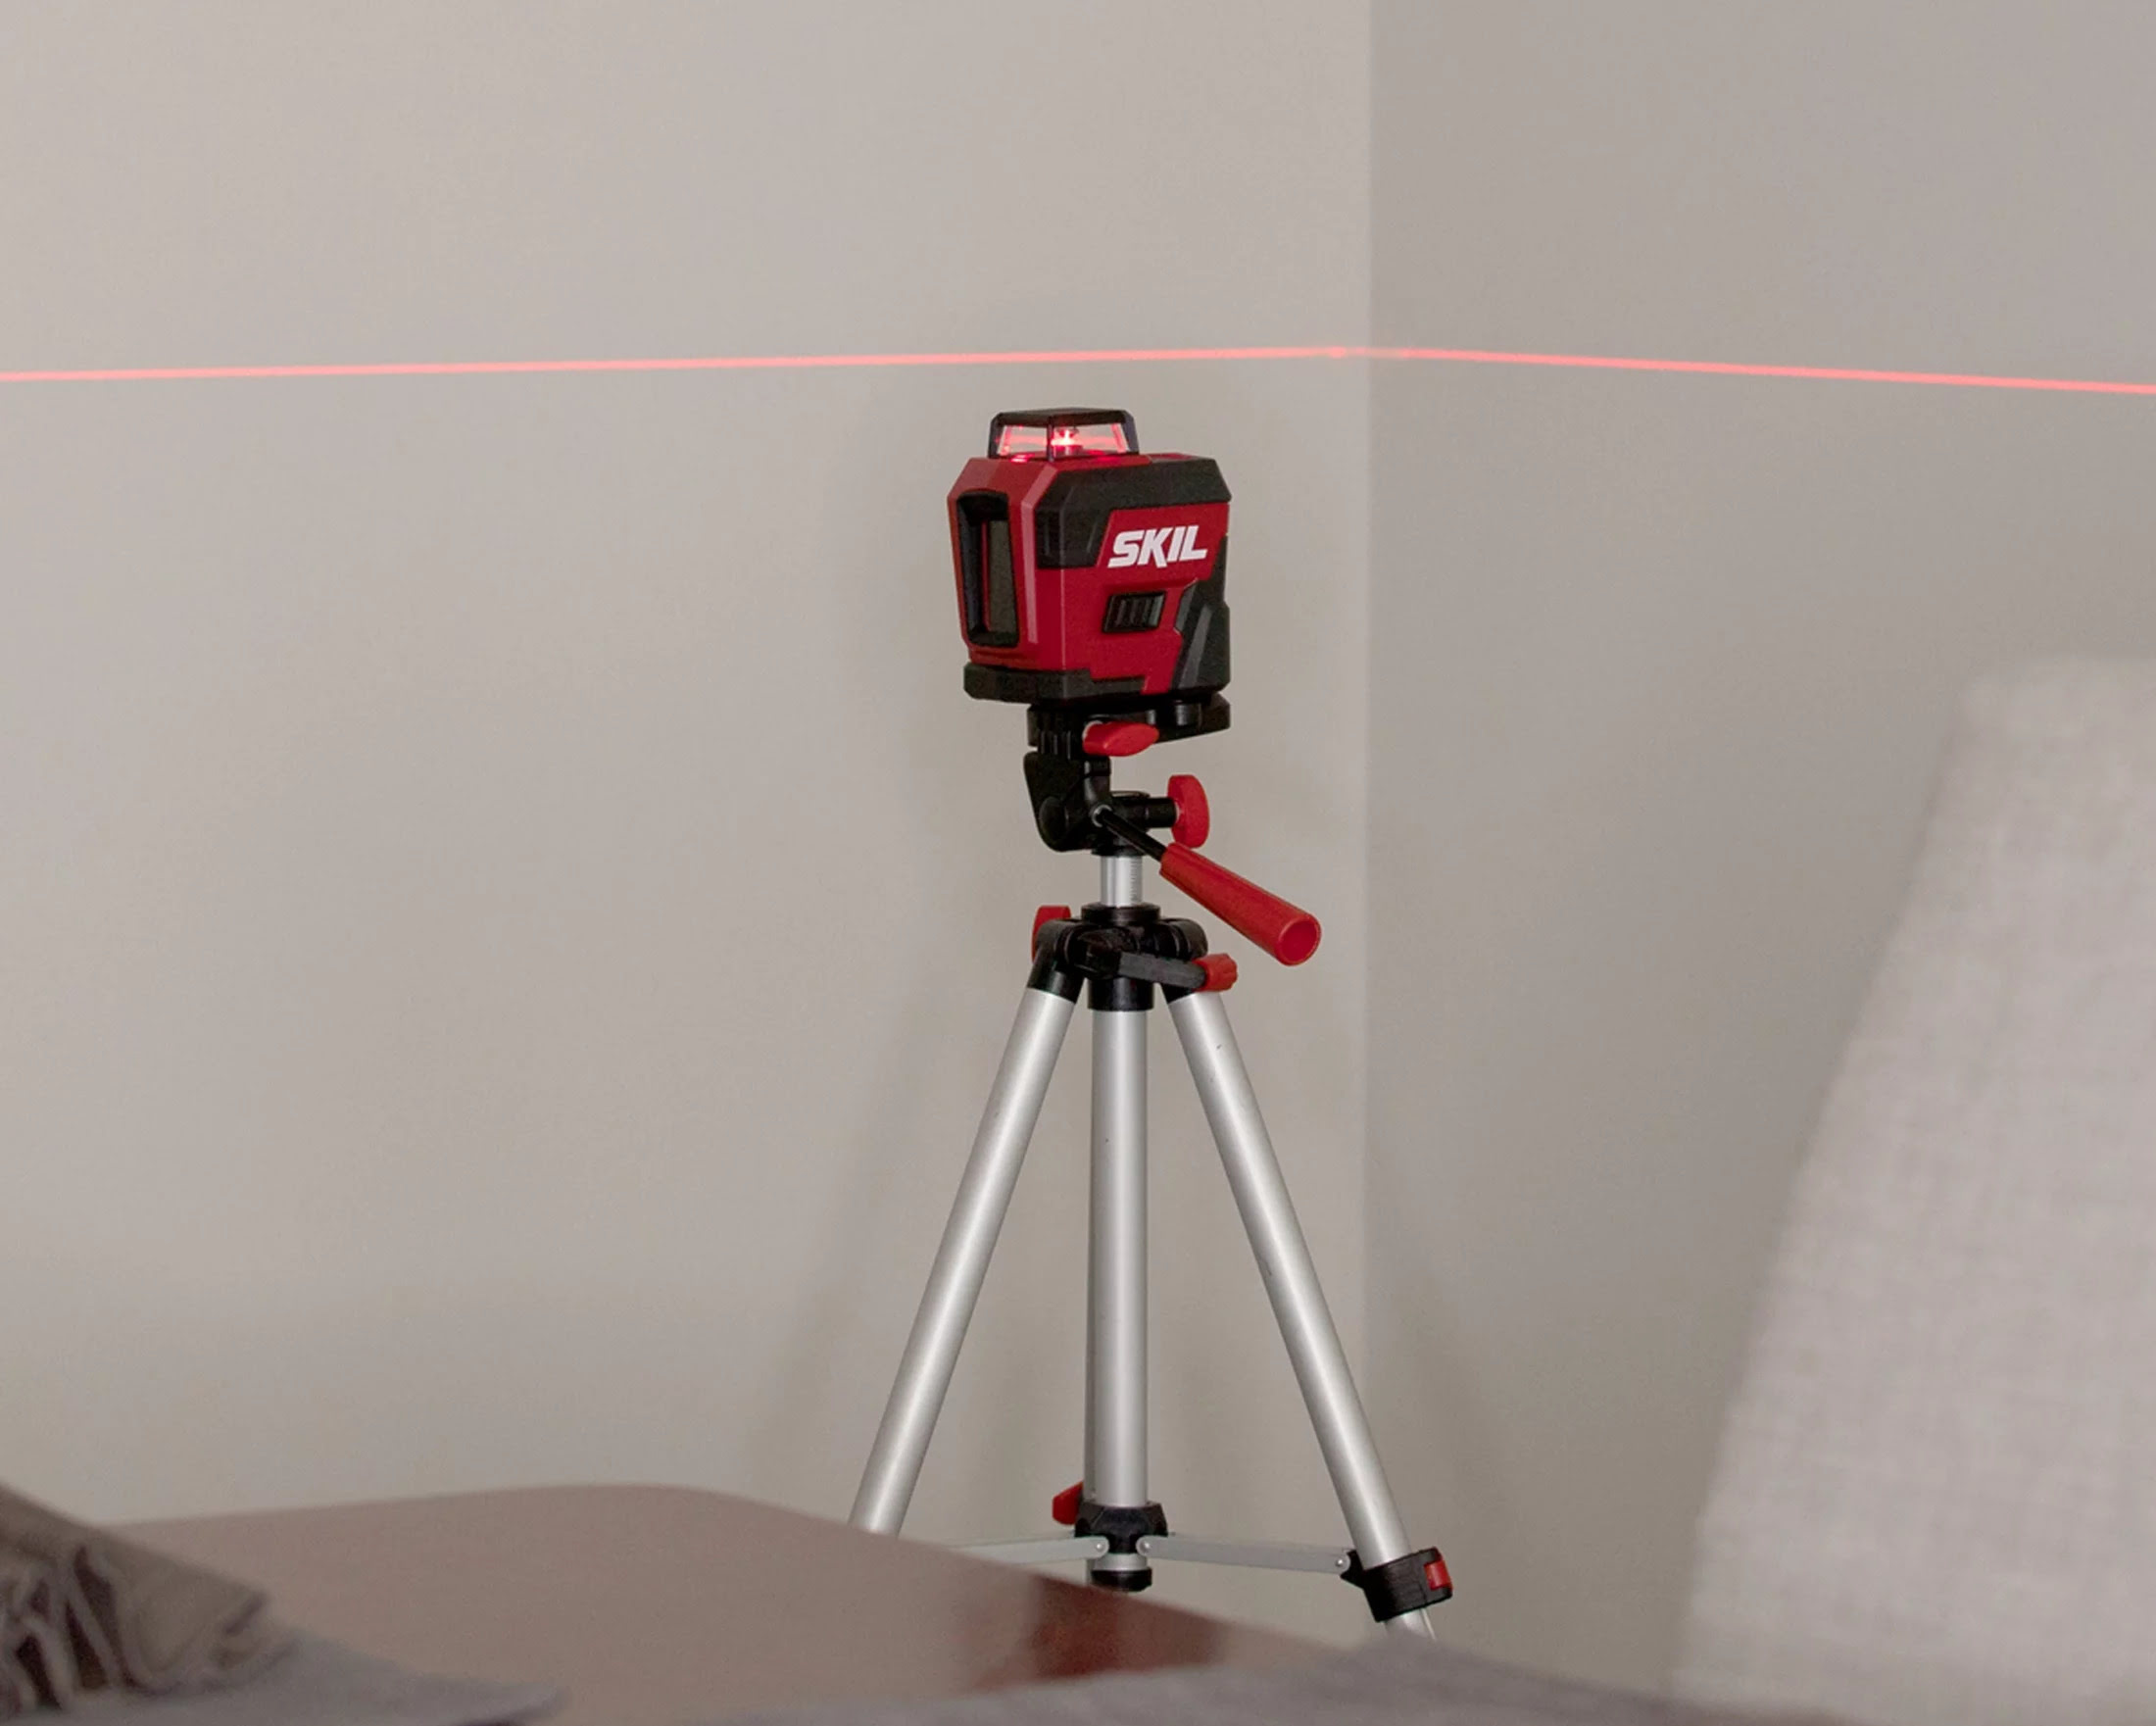
1. Choose the Right Location: Select a stable and level surface to place your laser level. This will ensure that the laser beam remains consistent and accurate throughout the project. If the ground is uneven, use a leveling platform or tripod to create a stable base.
2. Power Source: Depending on the type of laser level you have, it may require batteries or be powered by an external power source. Ensure that you have enough power to last the duration of your project, and keep spare batteries or a power cord at hand.
3. Self-Leveling: If your laser level has the self-leveling feature, activate it. The laser level will automatically adjust its position to become level. Allow it a few moments to self-level and stabilize before proceeding.
4. Setting the Height: Determine the desired height or reference point for your laser beam. This will depend on the specific task you’re working on, such as creating a level base or establishing a sloping line. Follow the instructions provided with your laser level to set the desired height accurately.
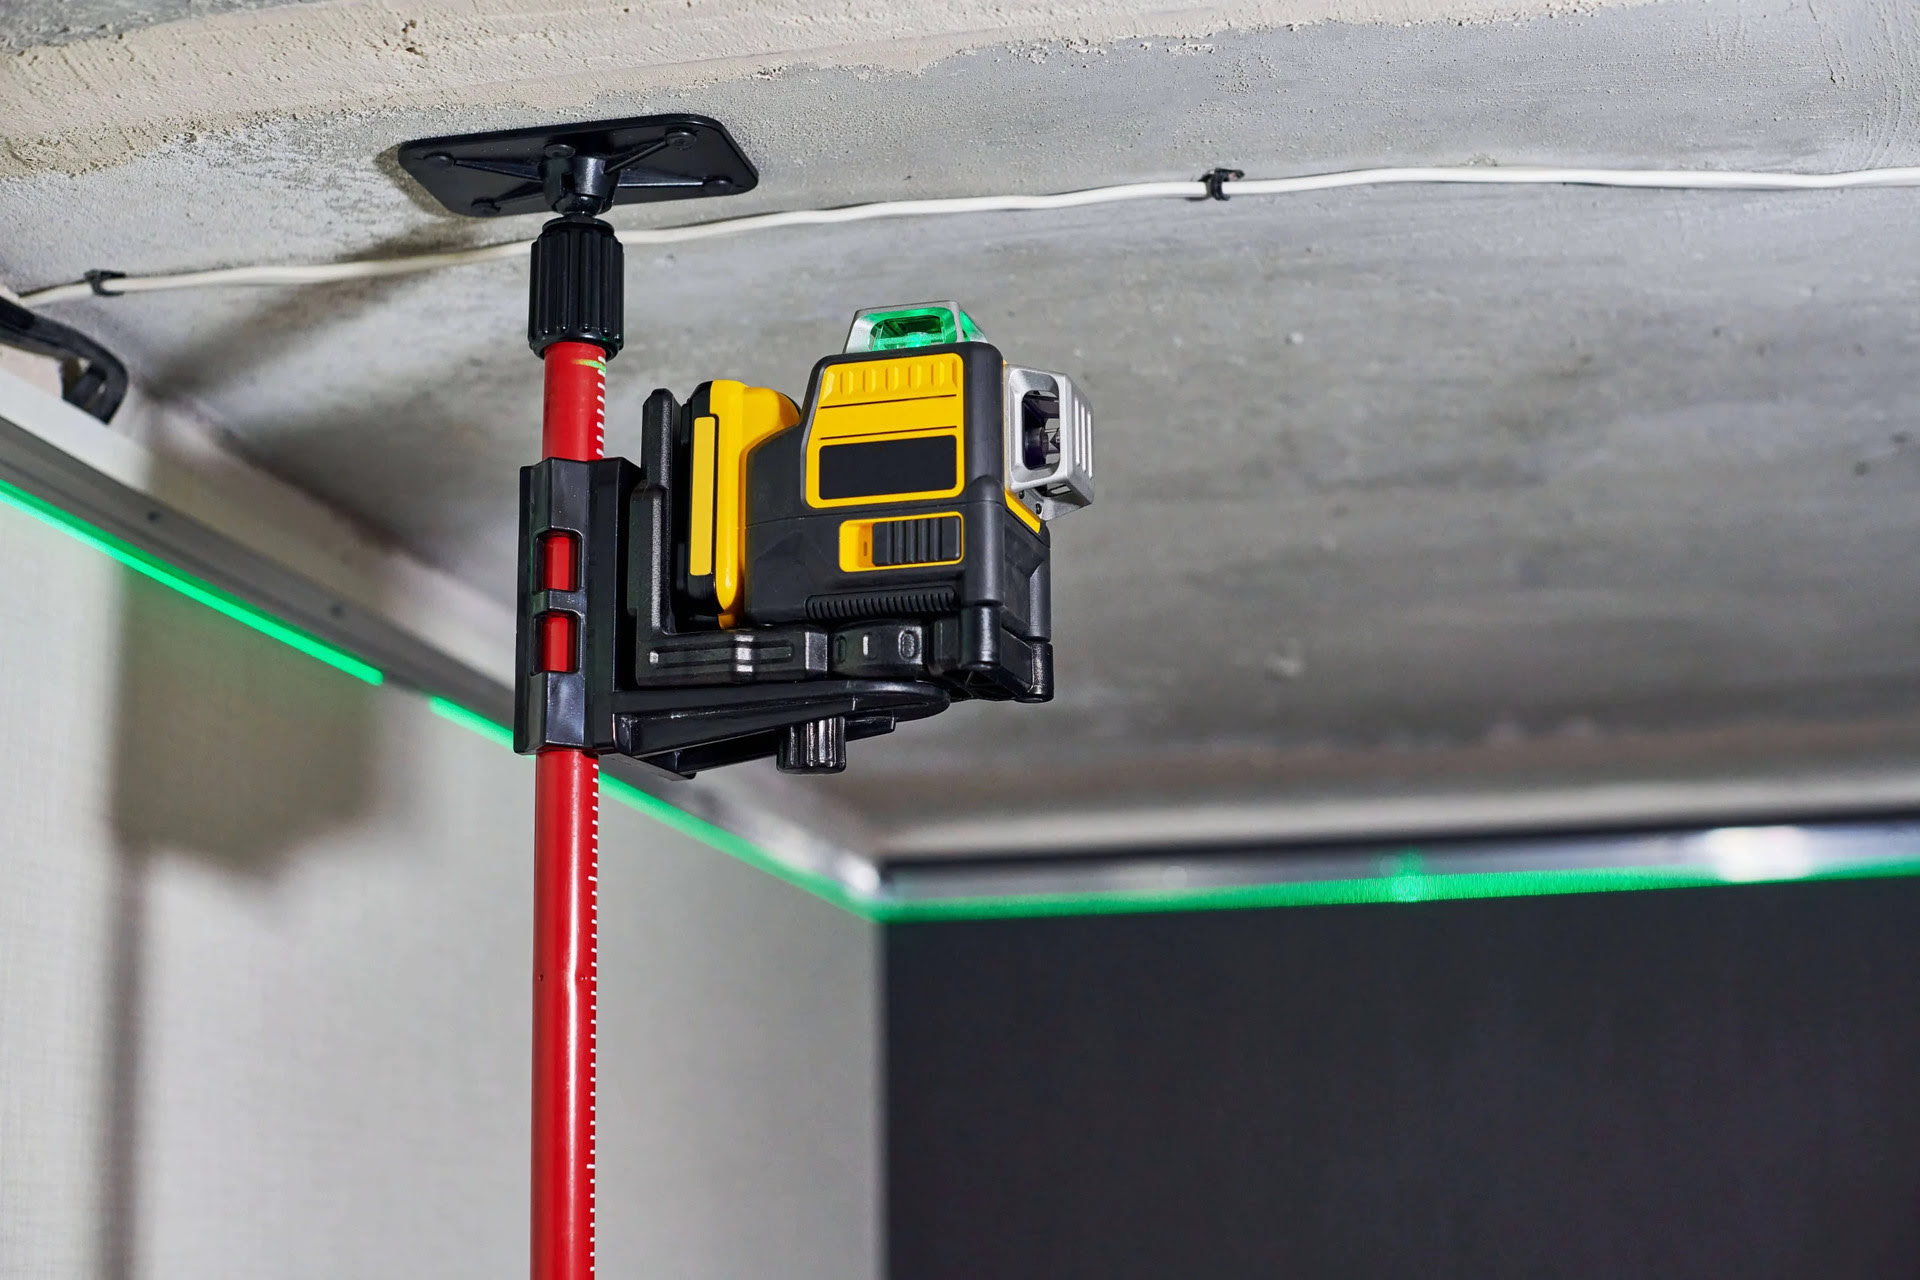
5. Secure the Laser Level: Once the laser level is set up and leveled, secure it in place. Most laser levels have mounting brackets or clamps that allow you to attach them to a tripod, stake, or other stable objects. Ensure that the laser level is securely fastened to prevent any movement during the landscaping process.
6. Calibration: Before starting your project, it’s essential to calibrate your laser level. Follow the manufacturer’s instructions to calibrate the laser level, ensuring that it provides accurate measurements and alignments.
By carefully setting up your laser level, you’ll establish a solid foundation for your landscaping project. The accurate and stable laser beam will enable you to achieve precise measurements and ensure a professional outcome. In the next section, we’ll delve into how to use the laser level for leveling tasks in your landscaping projects.
Using the Laser Level for Leveling
Leveling is an essential task in landscaping, whether you’re creating a patio, a retaining wall, or a smooth lawn surface. A laser level is a valuable tool that can help you achieve precise and accurate leveling results. Here’s how to use a laser level for leveling tasks:
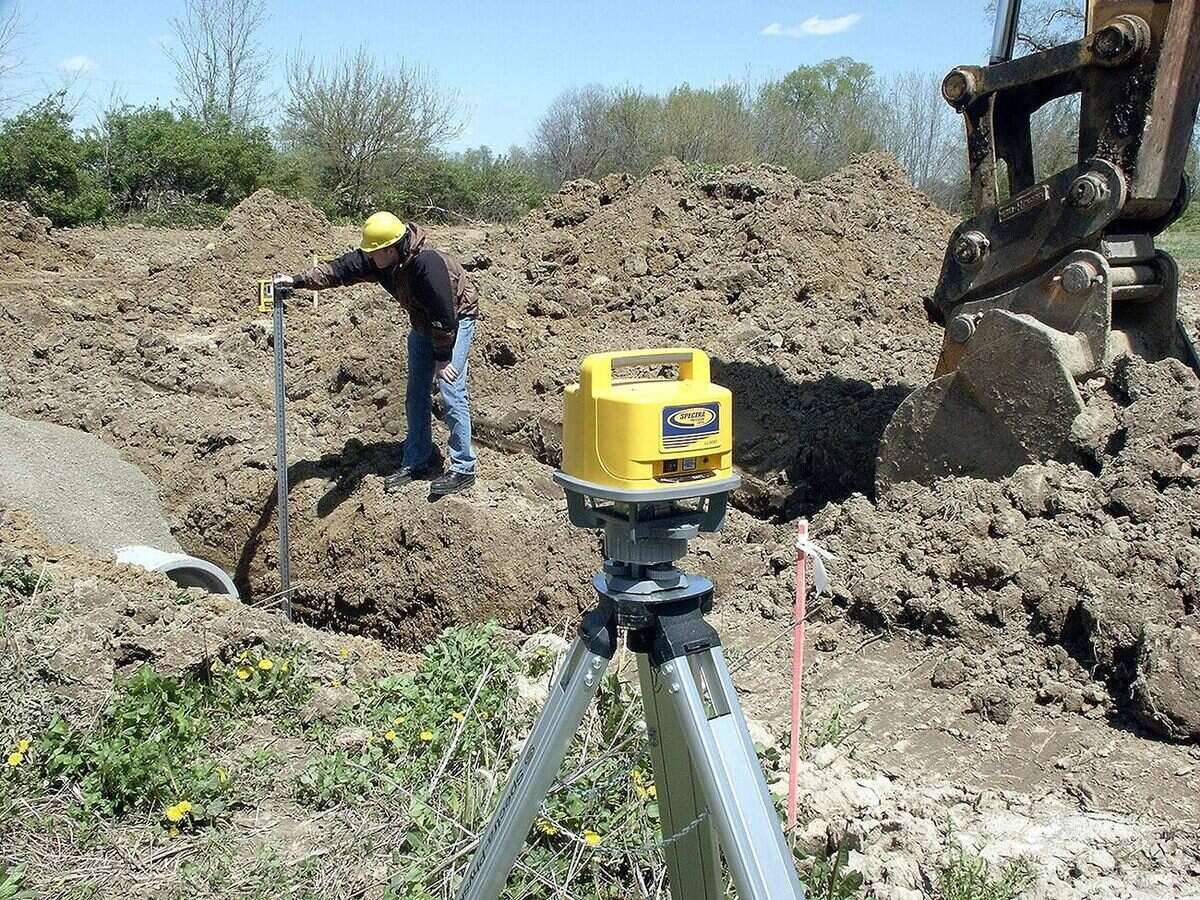
1. Position the Laser Level: Place the laser level in a central location within the area you want to level. Ensure that it’s securely mounted and leveled on a tripod or other stable surface.
2. Activate the Laser Beam: Turn on the laser level and activate the laser beam. The laser beam will project a reference line or plane from the laser level, highlighting any slopes or unevenness in the area.
3. Identify High and Low Points: Use a measuring tape or a ruler to measure the distance between the laser beam and the ground at different points within the area. Identify the highest and lowest points to determine the extent of the leveling required.
4. Add or Remove Material: If there are low points in the area, you’ll need to add material such as soil or compacted gravel to raise the surface. Conversely, if there are high points, you’ll need to remove material by cutting or leveling it to bring it to the desired height.
5. Check the Level: After adding or removing material, recheck the leveling by measuring the distance between the laser beam and the ground at various points. Make adjustments as necessary to achieve a consistent and level surface.
6. Recheck and Fine-tune: Regularly recheck the leveling as you proceed with your landscaping project. Fine-tune any areas that require further adjustment to ensure a smooth and level surface throughout.
Remember to follow any specific instructions provided with your laser level for optimal leveling results. Feeding the laser level with accurate measurements will help you achieve professional-level landscaping outcomes. In the next section, we’ll explore how to use the laser level for sloping tasks in your landscaping projects.
When using a laser level for landscaping, make sure to set it up on a stable surface and adjust the height and angle to match the desired grade or slope. This will help ensure accurate and level landscaping installations.
Read more: How To Use A Self Leveling Laser Level
Using the Laser Level for Sloping
Sloping is an important aspect of landscaping, especially when it comes to creating proper drainage or establishing gradual inclines. A laser level can be a valuable tool in achieving accurate and consistent slopes within your landscaping projects. Here’s how to use a laser level for sloping:
1. Position the Laser Level: Place the laser level at a central location within the area where you want to establish a slope. Ensure that it’s securely mounted and leveled on a tripod or other stable surface.
2. Activate the Laser Beam: Turn on the laser level and activate the laser beam. The laser beam will project a reference line or plane that will determine the slope of the area.
3. Determine the Desired Slope: Determine the slope you want to achieve. This can be done by referencing architectural plans, landscape design guidelines, or by your own preferences and project requirements.
4. Measure and Mark: Use a measuring tape or a ruler to measure and mark specific points along the projected laser beam. These points will indicate the desired height of the slope at different locations within the area.
5. Adjust the Ground: With the help of a shovel or grading equipment, adjust the ground by adding or removing soil to match the desired slope height at each marked point. This will gradually shape the area according to the intended slope.
6. Regularly Check the Slope: As you work on the sloping process, regularly check the slope measurement using the laser level and make adjustments as needed. This will help ensure accuracy and consistency throughout the area.
Using a laser level for sloping tasks allows you to achieve precise and uniform slopes, improving both the functionality and aesthetics of your landscaping project. In the next section, we’ll explore how to use the laser level for alignment tasks.
Using the Laser Level for Alignment
Alignment is crucial in landscaping when it comes to projects such as installing fence posts, constructing walkways, or creating parallel structures. A laser level can greatly assist in achieving accurate alignment, ensuring a visually appealing and well-coordinated landscape. Here’s how to use a laser level for alignment:
1. Position the Laser Level: Place the laser level in a central location where you want to establish alignment. Ensure that it’s securely mounted and leveled on a tripod or other stable surface.
2. Activate the Laser Beam: Turn on the laser level and activate the laser beam. The laser beam will project a reference line or plane that will serve as a guide for alignment.
3. Identify the Alignment Points: Determine the locations where you want your objects or structures to be aligned. This could be the positions for fence posts, the edges of a walkway, or any other relevant reference points.
4. Measure and Mark: Use a measuring tape or a ruler to measure and mark the positions of the alignment points along the projected laser line or plane. These markings will help guide you during the alignment process.
5. Align the Objects or Structures: Place the objects or structures, such as fence posts or walkway edges, according to the marked alignment points. Adjust their positions as necessary to ensure they align with the projected laser line or plane.
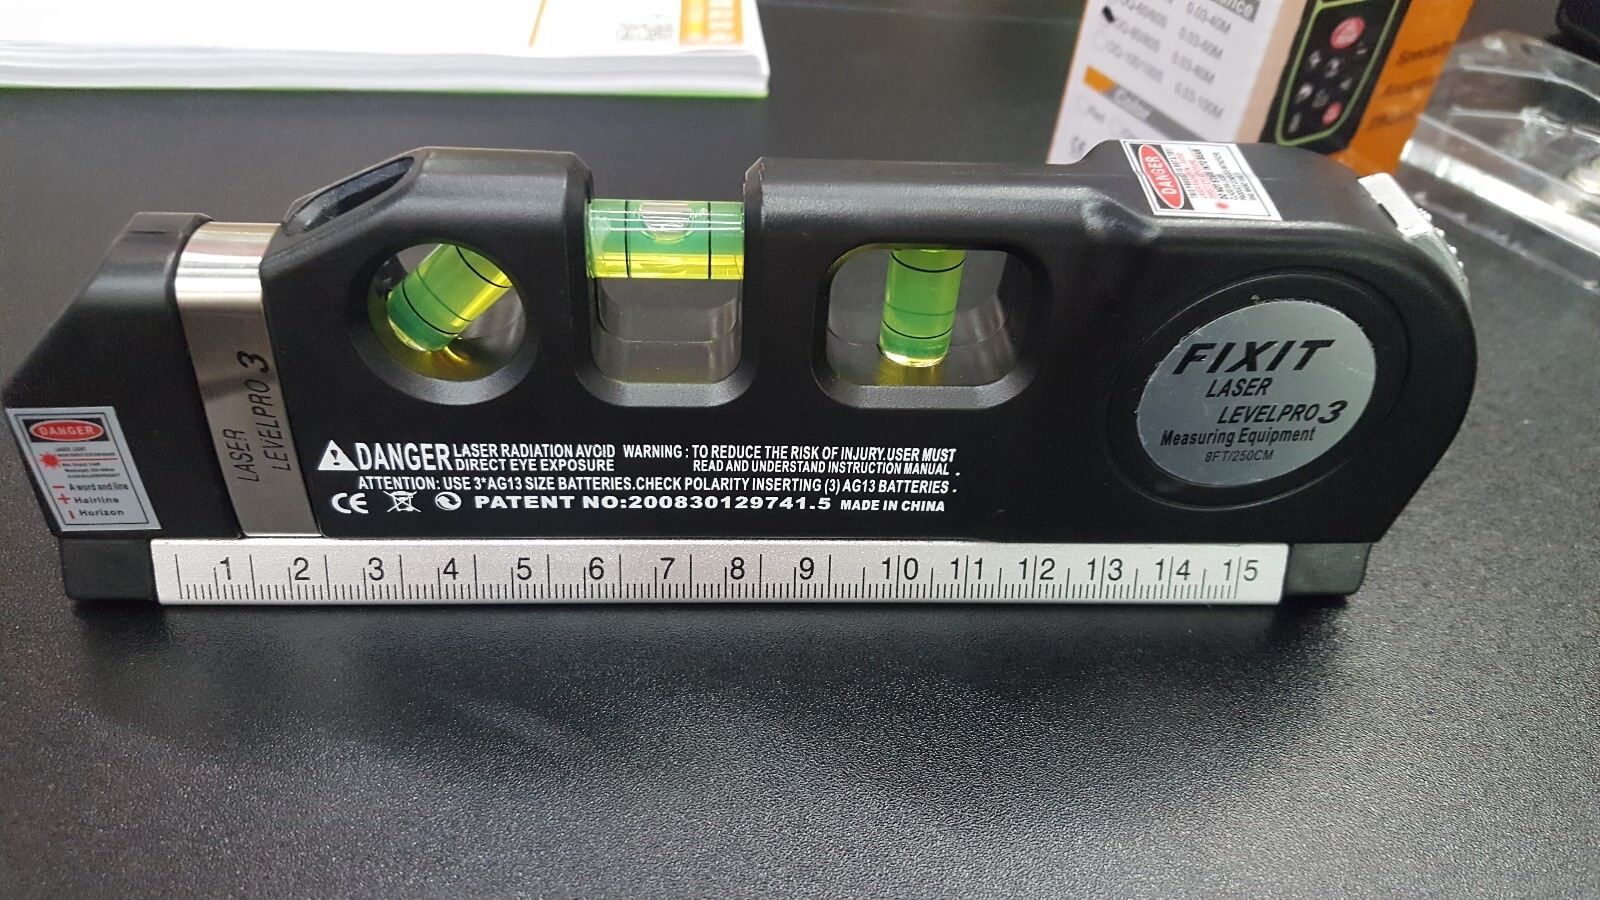
6. Use Additional Tools: In some cases, you may need additional tools to assist in the alignment process. For example, you can use string lines, bubble levels, or plumb bobs to ensure precise alignment with the laser level reference line or plane.
7. Regularly Check Alignment: As you work on aligning the objects or structures, regularly check the alignment using the laser level and make adjustments as needed. This will help maintain consistency and precision throughout the landscaping project.
Using a laser level for alignment tasks will result in straight lines, parallel structures, and a well-coordinated landscape. It saves time and ensures a professional and visually appealing outcome. In the next section, we’ll provide you with some valuable tips and safety precautions to consider when using a laser level for landscaping.
Tips and Safety Precautions
When using a laser level for landscaping, there are several tips and safety precautions that you should keep in mind. These will help you maximize the effectiveness of your laser level while ensuring your safety throughout the landscaping process. Here are some valuable tips and safety precautions:
1. Familiarize Yourself: Take the time to thoroughly read the instruction manual that comes with your laser level. Familiarize yourself with its features, settings, and any specific guidelines or recommendations provided by the manufacturer.
2. Choose the Right Laser Level: Consider the specific requirements of your landscaping project and choose a laser level that best suits those needs. Ensure that it has the appropriate range, accuracy, and functionality for your tasks.
3. Ensure Proper Calibration: Regularly calibrate your laser level according to the manufacturer’s instructions. Calibration is essential for accurate measurements and alignment. If you notice any discrepancies or inconsistencies, recalibrate the laser level immediately.
4. Protect Your Eyes: Laser beams can be harmful to the eyes. Always wear safety goggles or glasses that are specifically designed to protect against laser radiation. This will safeguard your eyes from direct exposure to the laser beam.
5. Be Mindful of Laser Beam Visibility: Depending on the environmental conditions, the visibility of the laser beam may vary. Take into account factors such as bright sunlight or dusty conditions, which can reduce the visibility of the laser beam. Use additional markers or flags to mark the laser beam’s position if needed.
6. Work in Teams: When using a laser level for larger landscaping projects, it’s beneficial to work in teams. This allows for efficient communication and ensures that the laser level is properly positioned and aligned from various perspectives.
7. Be Mindful of Power Sources: If your laser level is powered by electricity, be cautious of exposed wires or damp conditions that can pose electrical hazards. Keep power cords away from wet areas and use properly grounded outlets or extension cords.
8. Secure the Work Area: Before using the laser level, secure the work area to prevent interference or accidental movement of equipment. Clear away any debris, loose objects, or potential tripping hazards that could affect the accuracy or safety of the laser level.
By following these tips and adhering to safety precautions, you can ensure a smooth and safe experience while using a laser level for your landscaping projects. Always prioritize safety and take the necessary measures to protect yourself and those around you.
Conclusion
Using a laser level for landscaping can significantly enhance the accuracy and precision of your projects. Whether you’re leveling surfaces, establishing slopes, or aligning structures, a laser level provides a reliable and efficient method for achieving professional-looking results.
In this article, we explored the fundamentals of using a laser level for landscaping. We discussed how a laser level functions, the importance of proper preparation before starting a project, the essential steps for setting up the laser level, and how to utilize it for leveling, sloping, and alignment tasks.
We also provided valuable tips to help you make the most out of your laser level and ensure your safety throughout the landscaping process. Remember to familiarize yourself with the specific instructions of your laser level, choose the right model for your project, and always wear appropriate eye protection.
By following the guidelines outlined in this article, you’ll be equipped with the knowledge and skills to use a laser level effectively and efficiently. Your landscaping projects will be taken to new levels of accuracy, consistency, and visual appeal.
So, embrace the power of a laser level and elevate your landscaping skills. With practice and experience, you’ll be able to tackle even the most challenging landscaping tasks with confidence and achieve outstanding results.
Now, it’s time to go out there and unleash the potential of your laser level. Happy landscaping!
Frequently Asked Questions about How To Use A Laser Level For Landscaping
Was this page helpful?
At Storables.com, we guarantee accurate and reliable information. Our content, validated by Expert Board Contributors, is crafted following stringent Editorial Policies. We're committed to providing you with well-researched, expert-backed insights for all your informational needs.




0 thoughts on “How To Use A Laser Level For Landscaping”