
Articles
How To Use A Leica Laser Level
Modified: October 27, 2024
Learn how to use a Leica laser level in our informative articles. Find step-by-step guides and expert tips to ensure accurate and efficient leveling.
(Many of the links in this article redirect to a specific reviewed product. Your purchase of these products through affiliate links helps to generate commission for Storables.com, at no extra cost. Learn more)
Introduction
Welcome to the world of precision and accuracy with the Leica Laser Level. Whether you are a professional contractor or a DIY enthusiast, having a reliable laser level can make all the difference in your projects. From aligning and leveling surfaces to measuring distances with ease, the Leica Laser Level is a powerful tool that can enhance your workflow and ensure precise results.
In this article, we will guide you through the various features and functions of the Leica Laser Level, and show you how to use it effectively. From setting up the level to calibrating it and using it for different applications, we will cover everything you need to know to make the most of this versatile device.
So, if you’re ready to take your measurements to the next level, let’s dive in and discover the incredible capabilities of the Leica Laser Level!
Key Takeaways:
- Elevate your construction and measurement projects with the Leica Laser Level’s self-leveling capability, various laser modes, and ease of use. Achieve unparalleled convenience and accuracy for precise and professional results.
- Ensure safe and effective use of the Leica Laser Level by following provided instructions and considering additional tips and precautions. Protect your eyes, use appropriate safety measures, and follow manufacturer’s guidelines for optimal results.
Read more: How To Use A Laser Level
Understanding the Leica Laser Level
Before diving into how to use the Leica Laser Level, it’s important to have a basic understanding of its features and functionality. The Leica Laser Level is a precision instrument that emits a laser beam to create a straight, level line or reference point. This allows for accurate measurements and alignment during construction, renovation, and various other tasks.
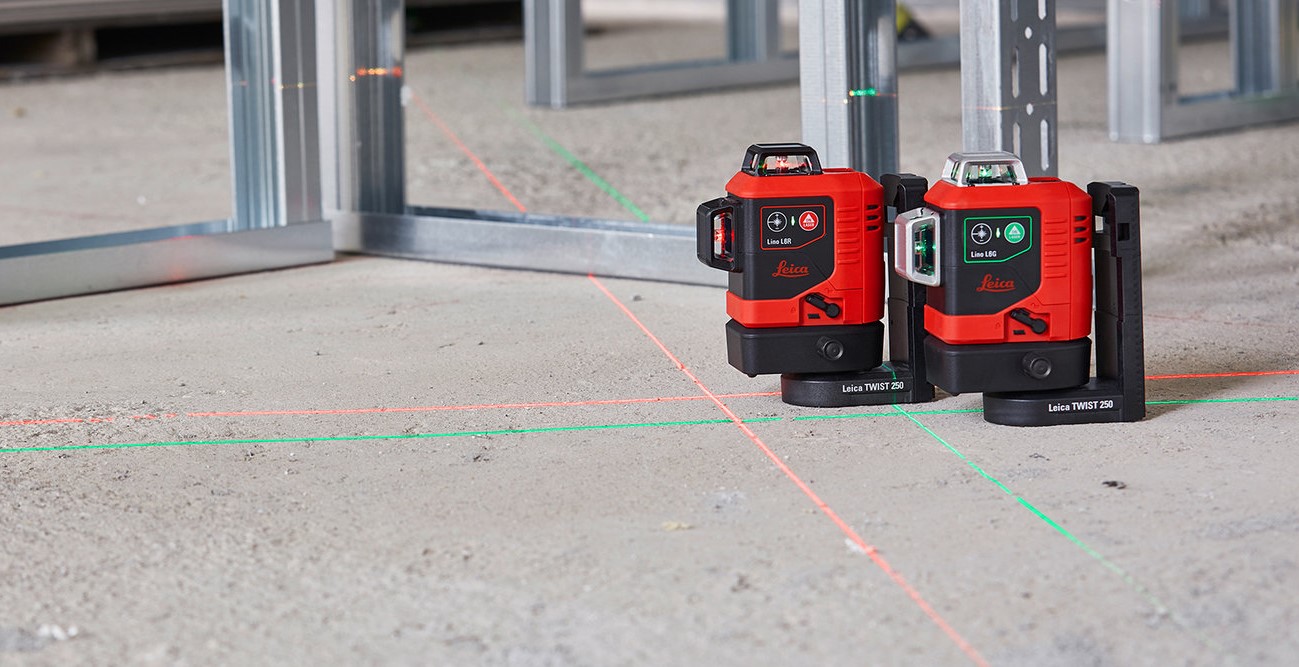
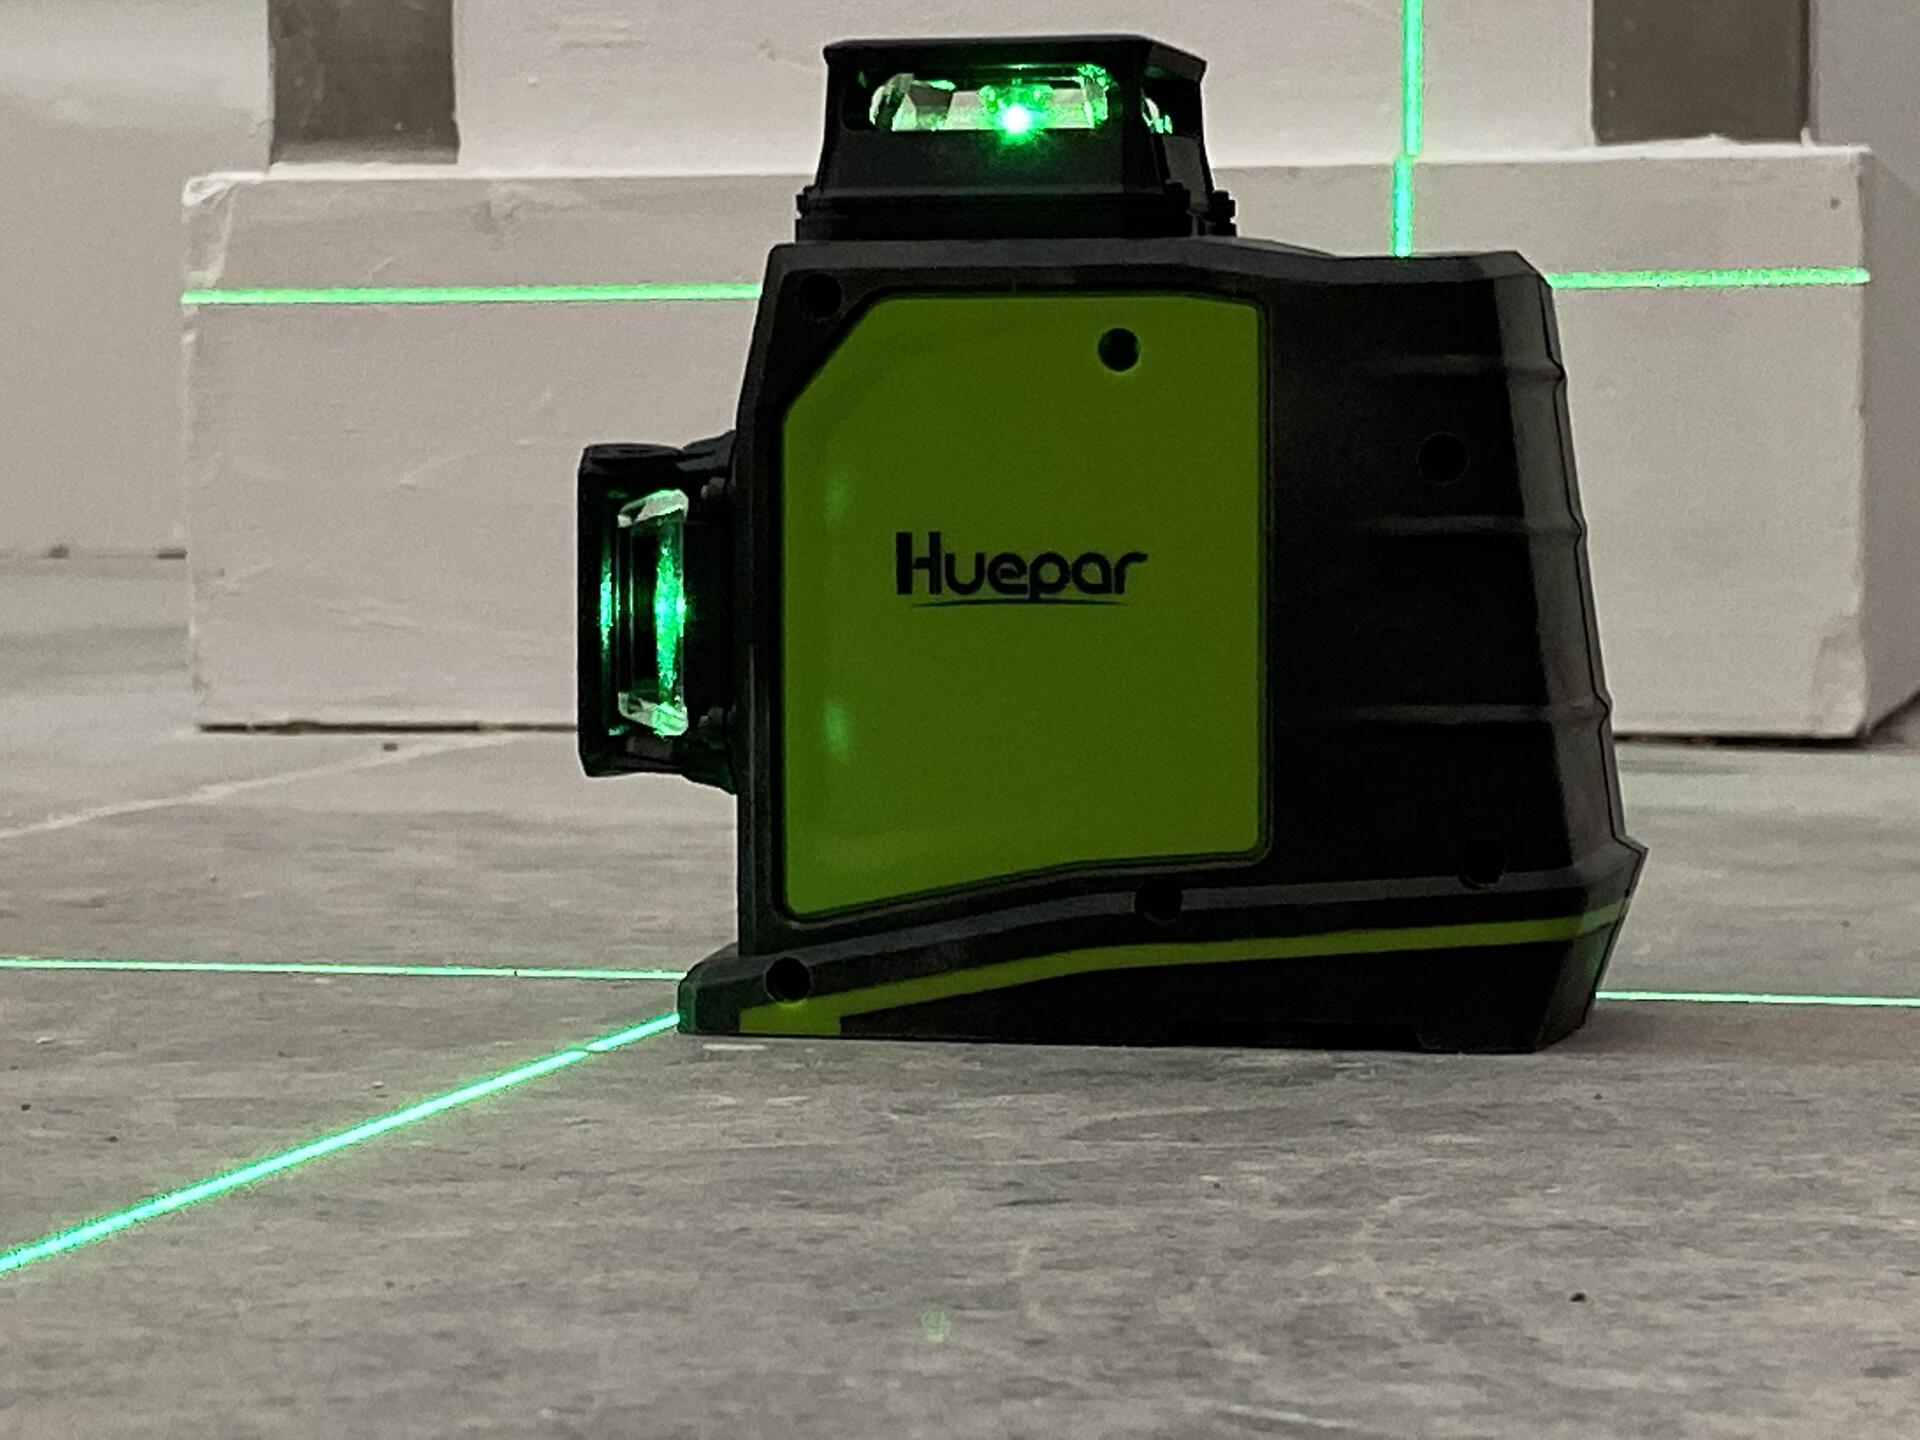
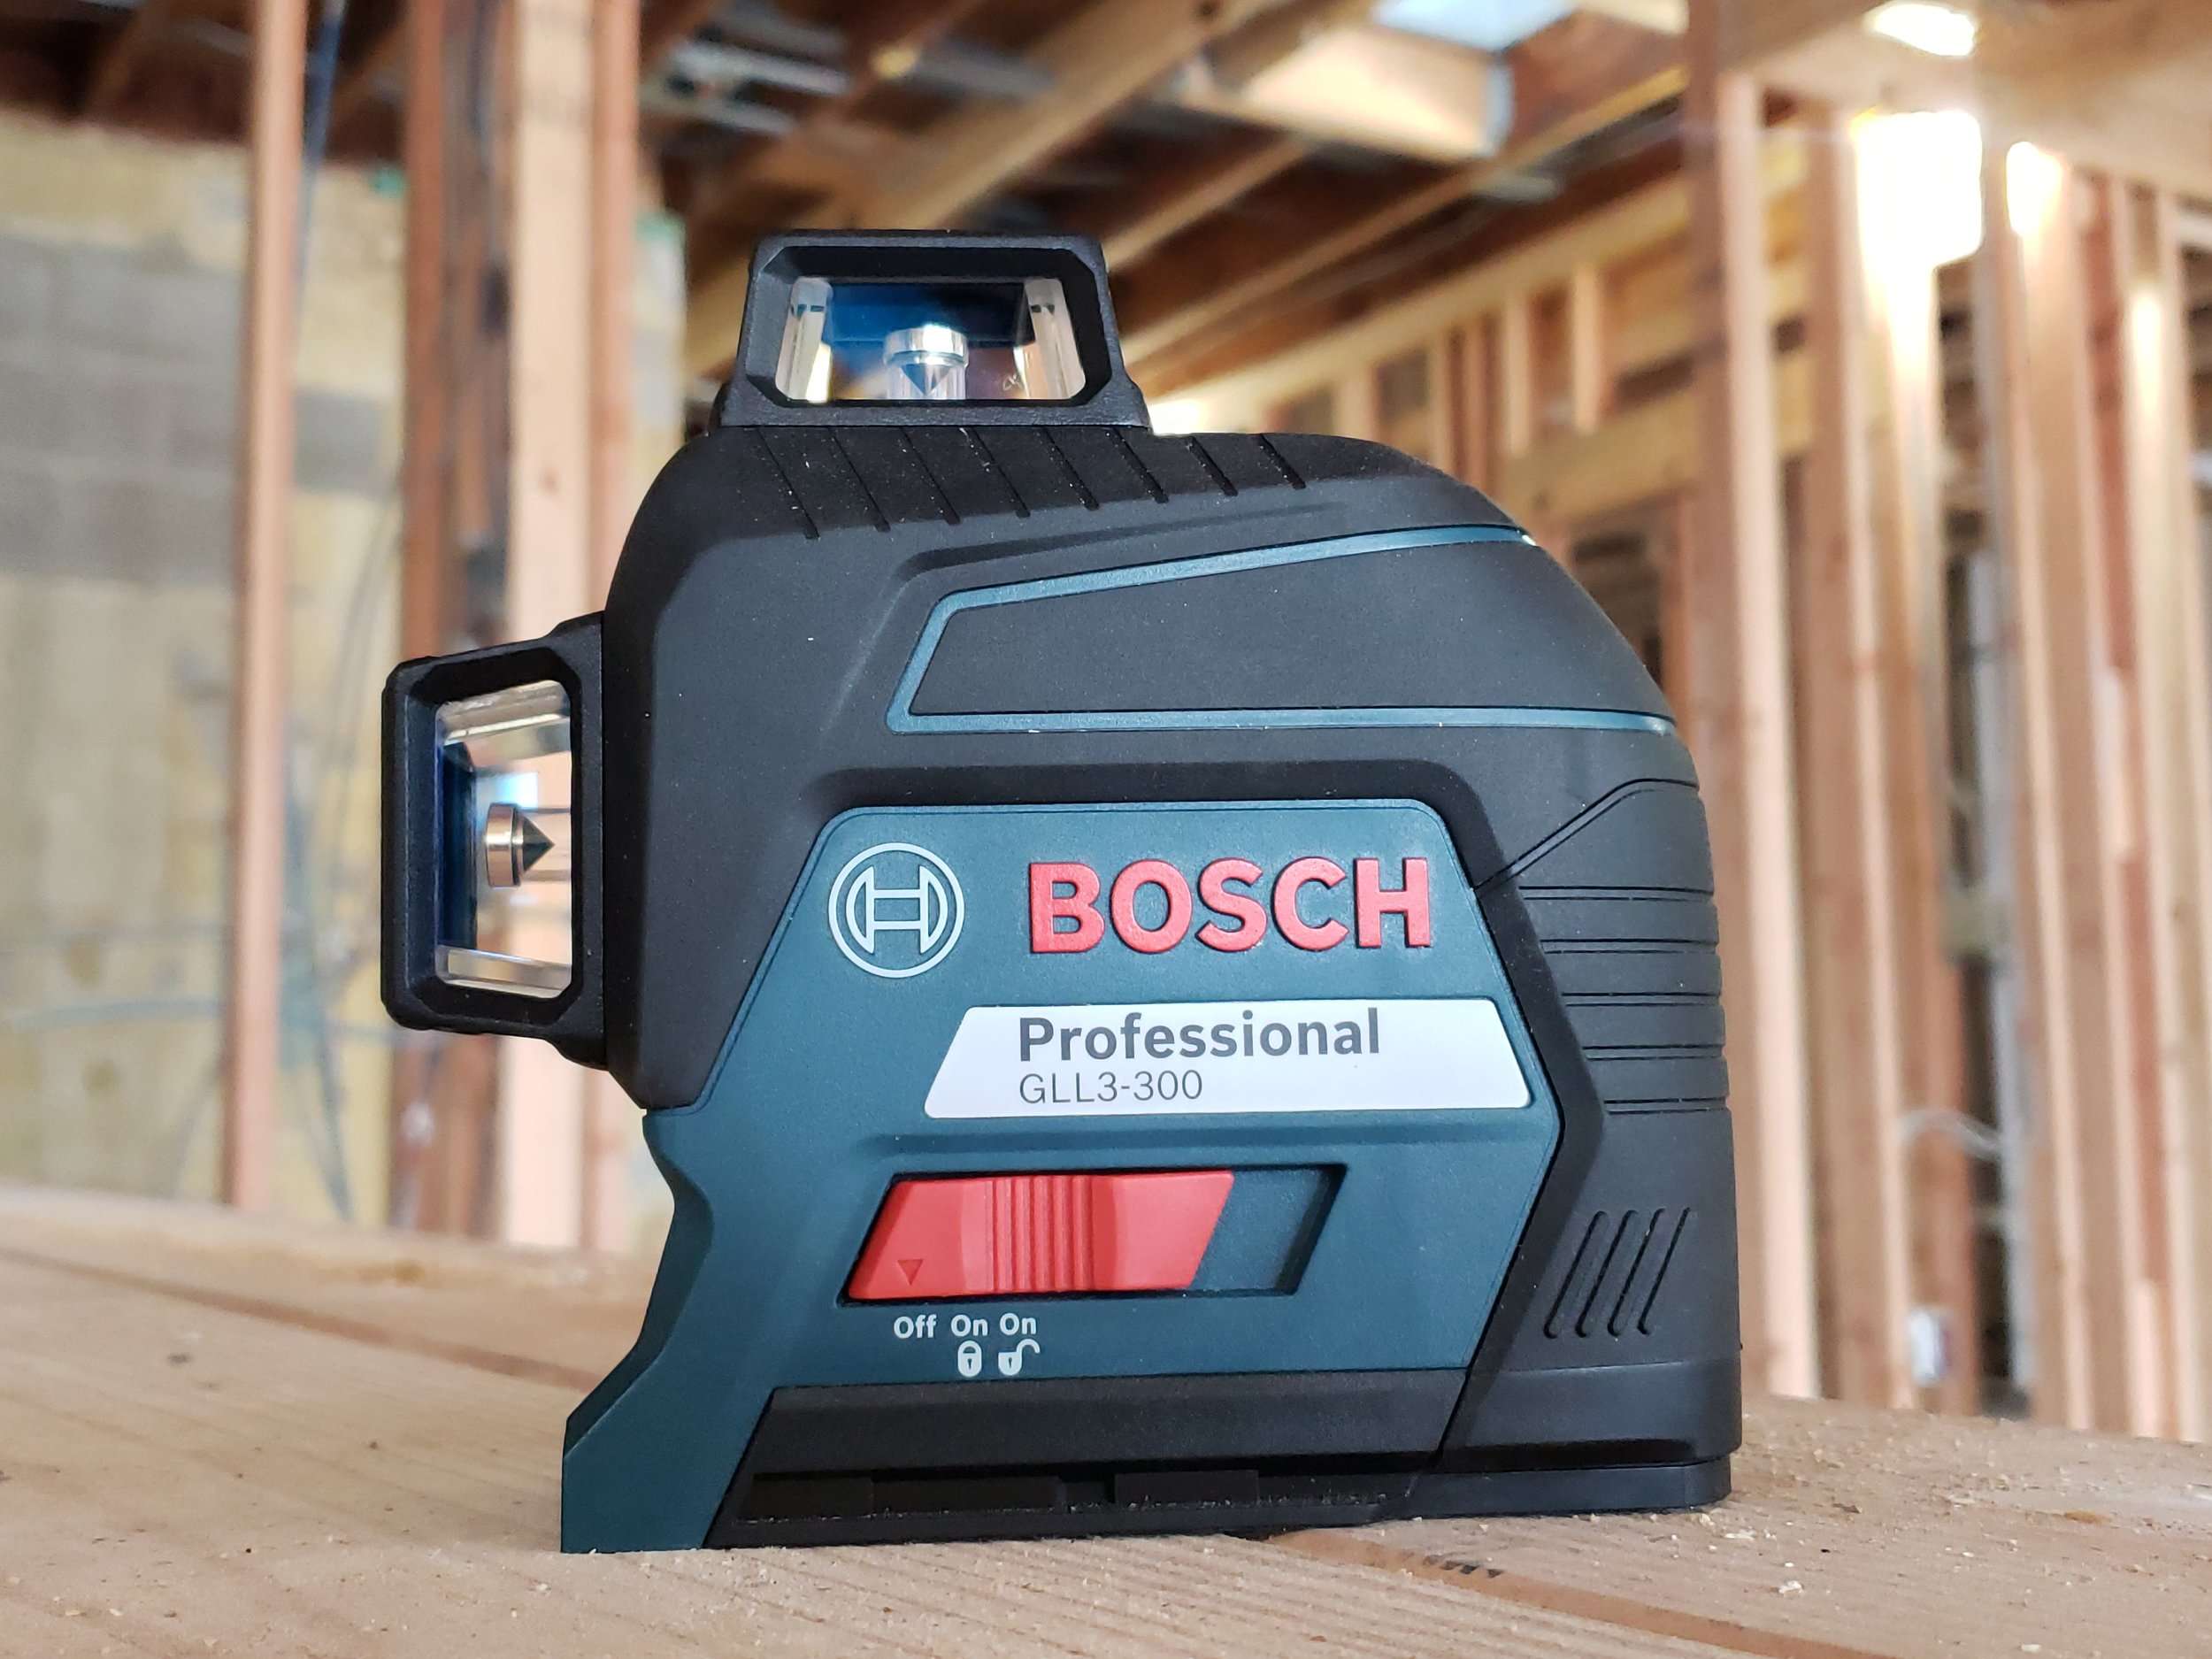
The Leica Laser Level typically consists of a compact and lightweight device with a built-in laser emitter. It offers various modes including horizontal, vertical, and cross-line beams, as well as a plumb dot for precise measurements. Some models also come with additional features such as slope mode for inclined surfaces and pulse mode for outdoor use.
One of the key advantages of the Leica Laser Level is its self-leveling capability. This means that the device automatically adjusts itself to ensure that the laser beam is perfectly level. This feature eliminates the need for manual adjustments and ensures accurate measurements every time.
Furthermore, the Leica Laser Level is designed to be user-friendly, with intuitive controls and clear indicators. Most models feature a simple interface with buttons or a touch screen, allowing for easy navigation and selection of different modes and settings.
Another important aspect to consider is the range and accuracy of the laser level. The Leica Laser Level offers impressive precision, with accuracy measurements typically ranging from ±1/16 inch to ±1/8 inch at 100 feet. The range can vary depending on the model, but it is typically around 100 feet indoors and 300 feet outdoors with a laser detector.
Overall, the Leica Laser Level is a reliable and precise tool that simplifies the process of alignment and measurement. With its self-leveling capability and a range of useful modes, it is an essential device for any construction professional or DIY enthusiast looking to achieve accurate and efficient results.
Setting Up the Leica Laser Level
Before you can start using the Leica Laser Level, it is crucial to properly set it up for optimal performance. Follow these steps to ensure a successful setup:
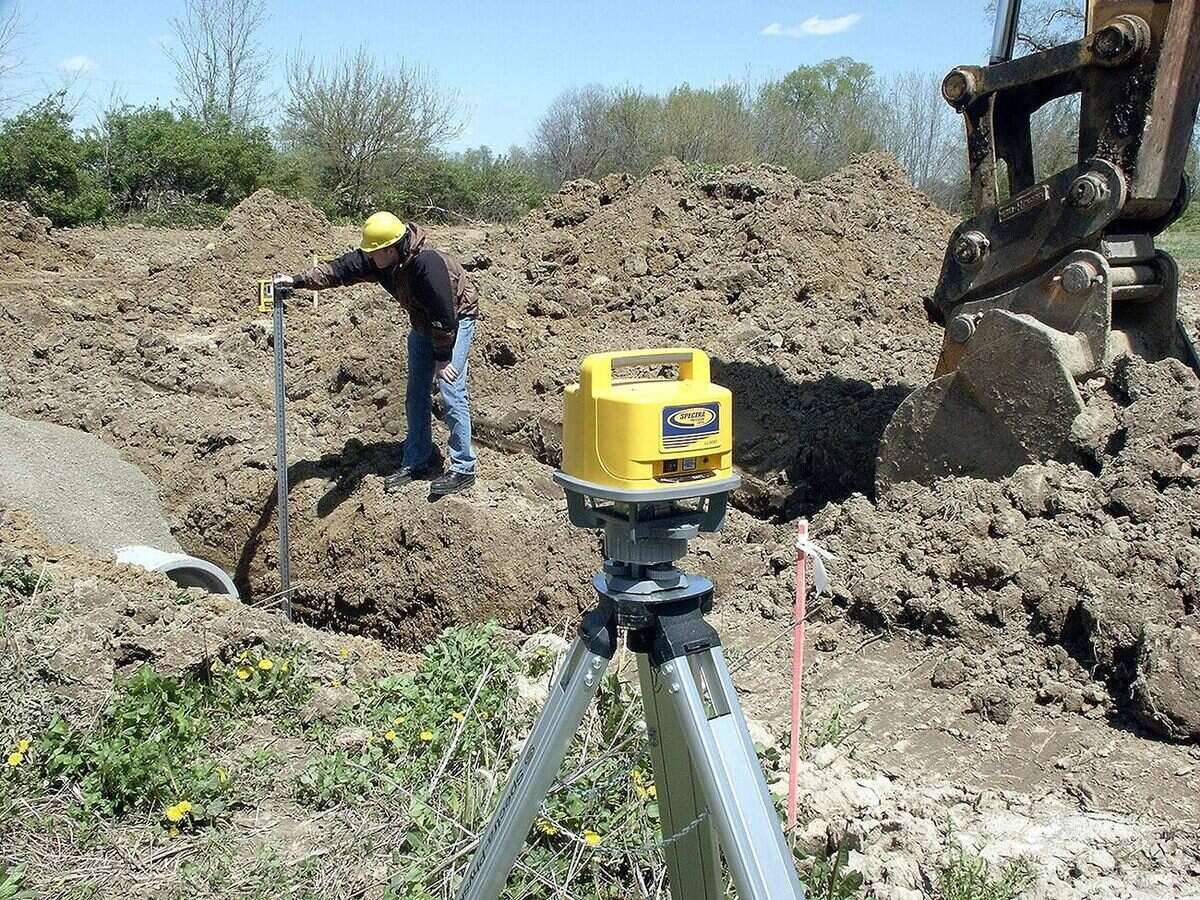
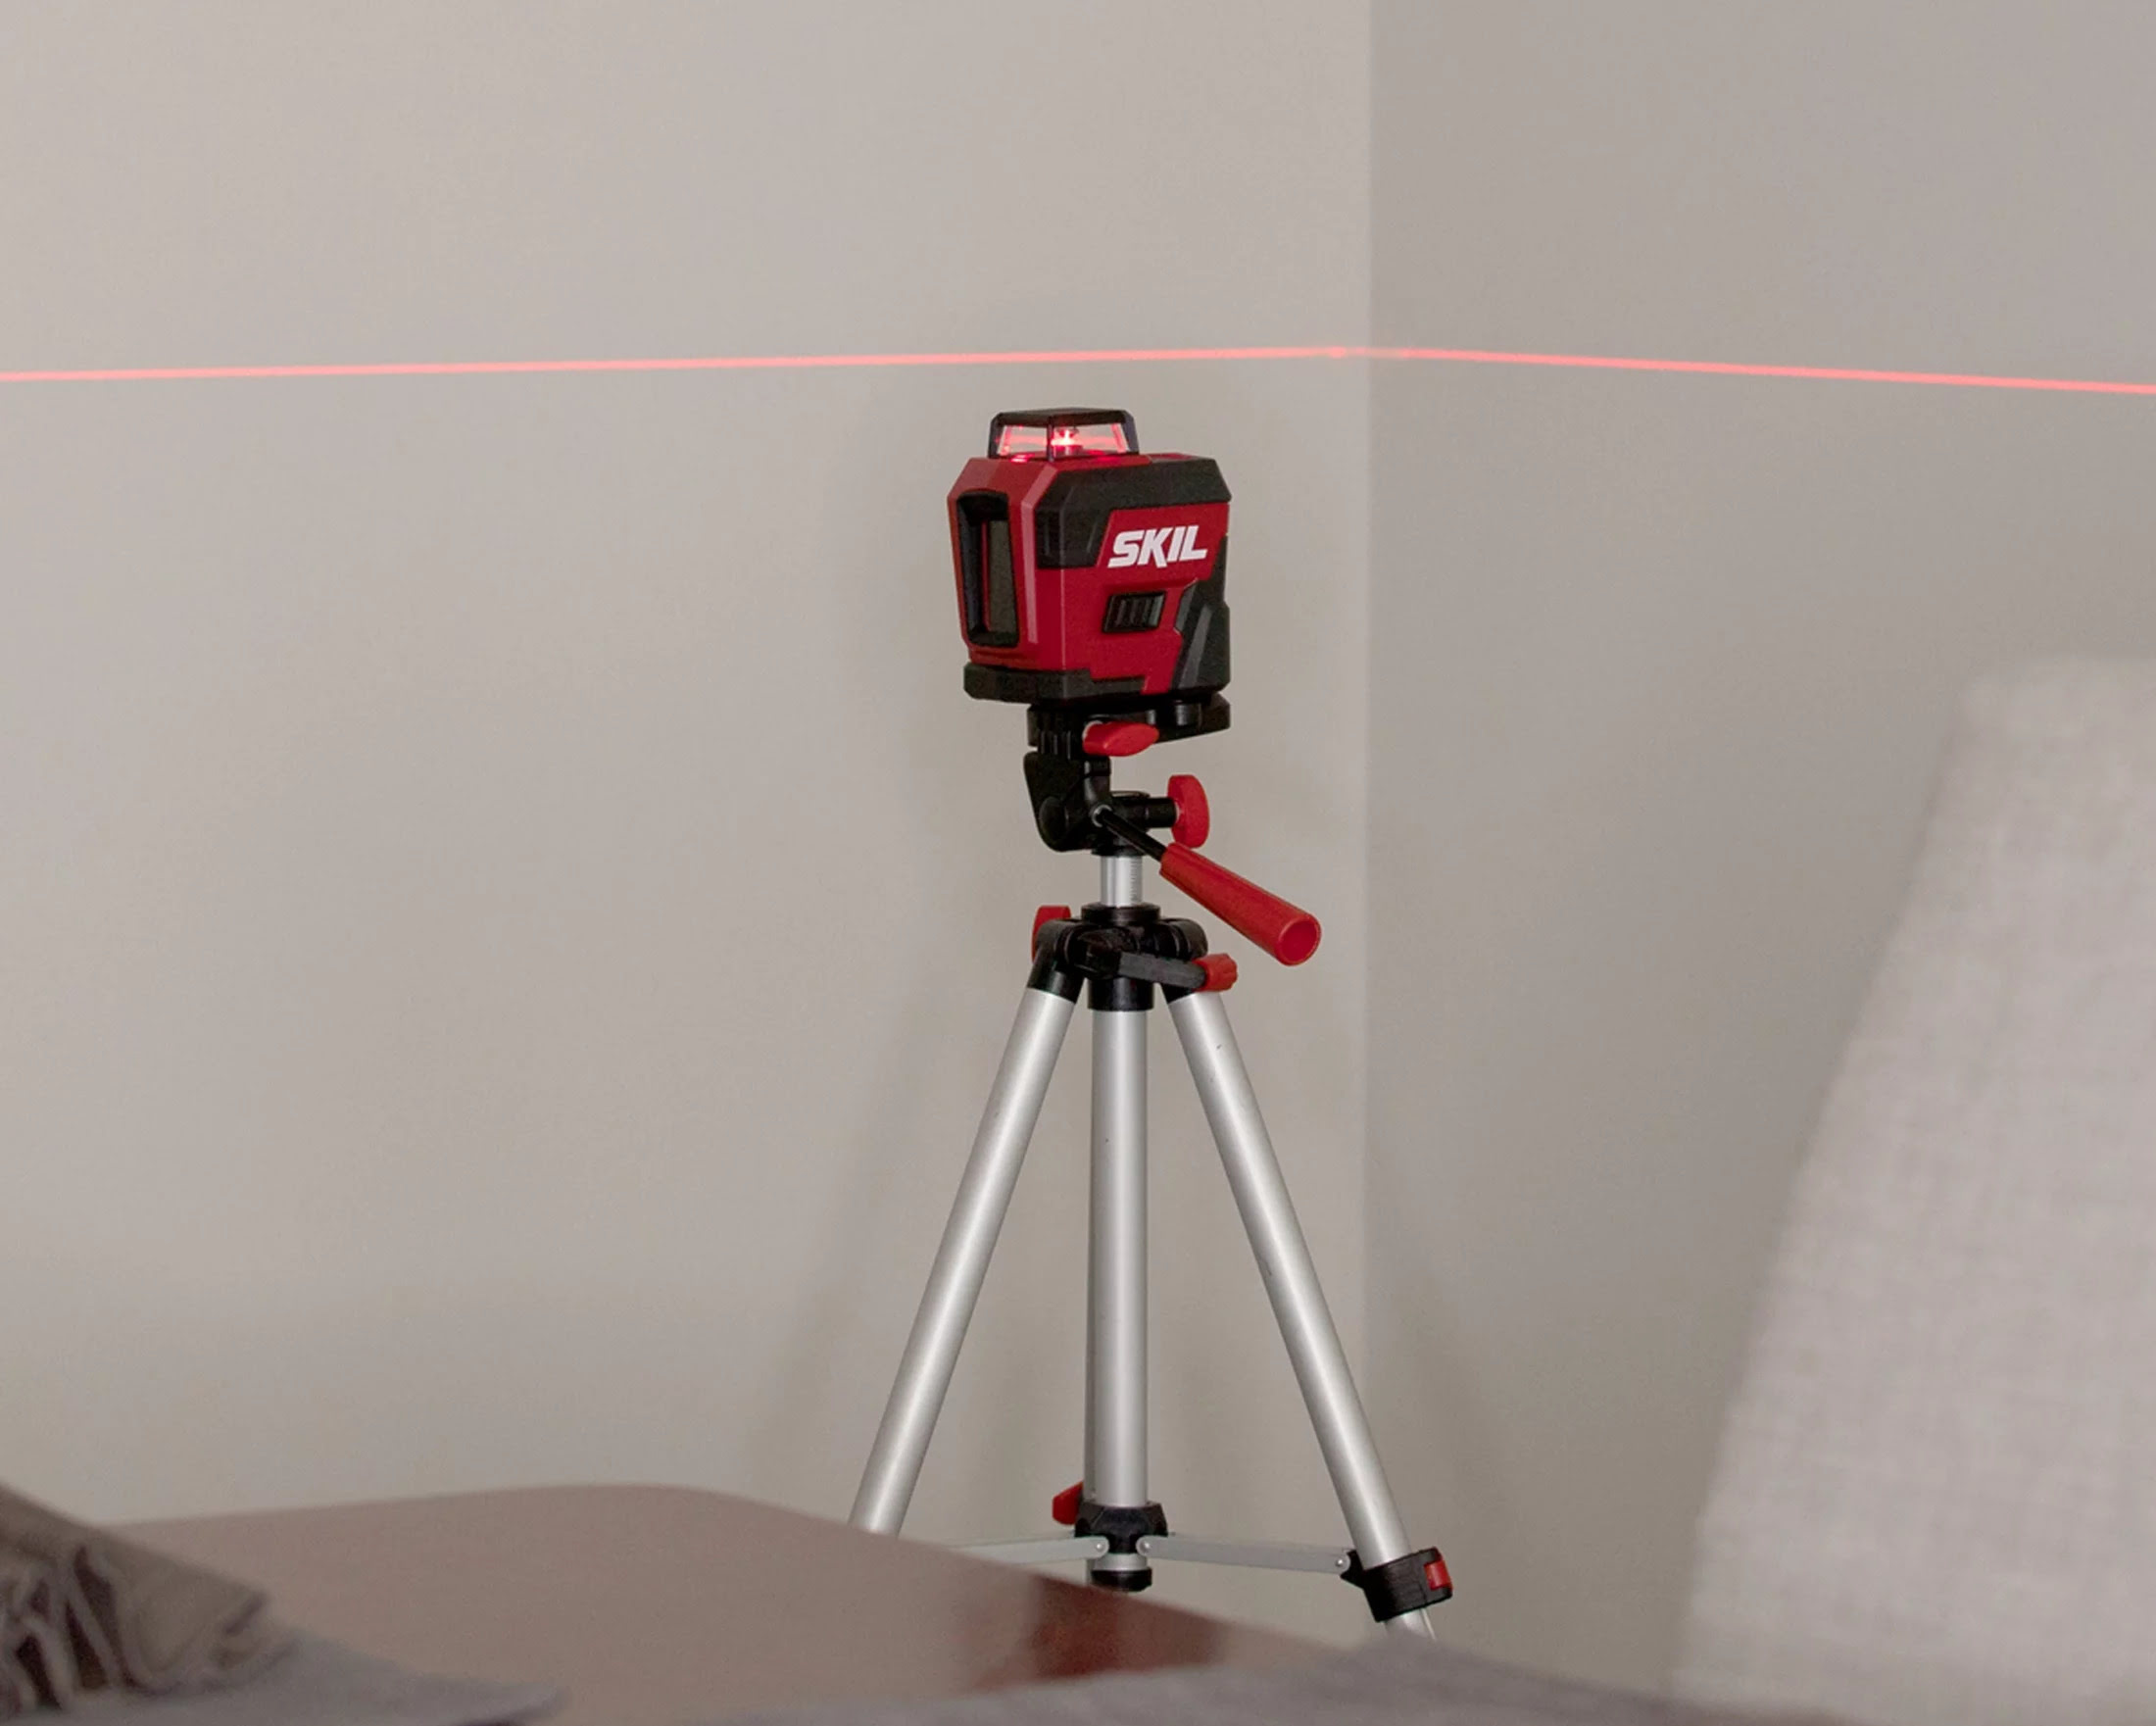
- Choose a stable and level surface: To ensure accurate measurements, it is essential to set up the laser level on a stable and level surface. This could be a tripod, a mounting bracket, or even a flat table.
- Attach the mounting bracket or tripod: If your Leica Laser Level comes with a mounting bracket or tripod, securely attach it to the bottom of the device. Make sure it is firmly fixed to prevent any wobbling or movement during operation.
- Power on the laser level: Depending on the model, you may need to insert batteries or connect the device to a power source. Once powered on, the laser level will initialize and prepare for leveling.
- Enable self-leveling: The Leica Laser Level is equipped with a self-leveling mechanism. Before you start using it, ensure that the self-leveling option is enabled. This will allow the laser level to automatically adjust its position and create a level laser beam.
- Wait for self-leveling: Give the laser level a few seconds to level itself. Some models may have an indicator or LED light that blinks while the device is self-leveling. Avoid making any adjustments or movements during this process.
- Check the leveling indicators: Once the laser level has finished self-leveling, verify the leveling indicators. These are typically located on the side of the device and will display whether the device is level or if adjustments are required. Adjust the leveling feet or tripod accordingly until the indicators show that the device is perfectly level.
By following these steps, you can ensure that your Leica Laser Level is set up correctly and ready to deliver accurate and precise measurements. Taking the time to properly set up the laser level will save you time and frustration by providing reliable and consistent results throughout your project.
Adjusting the Leveling Feet
The leveling feet of the Leica Laser Level play a crucial role in ensuring its accuracy and stability. Here’s how to properly adjust the leveling feet:
- Locate the leveling feet: The leveling feet are typically located at the bottom of the laser level. These adjustable feet allow you to fine-tune the device’s position and ensure it is perfectly level.
- Check the leveling bubble: Many laser levels come equipped with a built-in leveling bubble. This bubble helps to visually determine whether the device is level or if adjustments are required. It is usually located on the side or top of the laser level.
- Make small adjustments: Start by gently adjusting the leveling feet. Use a small tool, such as a screwdriver or the provided lever, to turn the feet clockwise or counterclockwise. Make small adjustments to bring the bubble into the center position.
- Check the leveling bubble again: After making adjustments to the leveling feet, check the leveling bubble again. Repeat the process until the bubble is centered, indicating that the laser level is perfectly level.
- Ensure stability: Once the laser level is level, ensure that it is stable and not wobbling. Check if the mounting bracket or tripod is secure and tightened properly. Stability is essential to achieve accurate and consistent measurements.
It is important to note that the process of adjusting the leveling feet may vary depending on the model of the Leica Laser Level you are using. Always refer to the user manual provided with your specific device for detailed instructions.
By properly adjusting the leveling feet, you can ensure that the laser level is stable and level, resulting in accurate and reliable measurements. Taking the time to make precise adjustments will ensure the success of your project and save you time in the long run.
Calibrating the Laser Level
Calibrating the Leica Laser Level is a crucial step to ensure accurate and reliable measurements. While most modern laser levels come pre-calibrated, it is still important to verify and calibrate the device periodically. Here’s how to calibrate your Laser Level:
- Identify a reference point: Find a stable and reliable reference point in your work area. This could be a known level surface or a benchmark provided by a surveyor.
- Set up the laser level: Set up your laser level on a stable surface or tripod, ensuring it is level and stable.
- Aim the laser level at the reference point: Use the leveling indicators or the laser beam itself to align the laser level with the reference point. This will help you determine whether any adjustments need to be made.
- Measure the distance: Using a measuring tape or a ruler, measure the distance between the laser level and the reference point. Take note of this distance for calibration.
- Adjust the calibration knob: Most laser levels have a calibration knob or mechanism that allows you to make fine adjustments to the laser beam. Use this knob to move the laser beam up or down until it aligns with the reference point.
- Verify the measurement: After making the calibration adjustment, measure the distance between the laser level and the reference point again. The new measurement should match the original distance you noted earlier. If it does not, make further adjustments until the measurements align.
It is important to note that calibration methods may vary depending on the model and brand of the laser level you are using. Always refer to the user manual provided with your specific device for detailed calibration instructions.
Regular calibration of your Leica Laser Level ensures that it maintains accuracy and reliability. By taking the time to calibrate your laser level, you can trust the measurements it provides and achieve precise results in your projects.
Read more: How To Use A Self Leveling Laser Level
Choosing the Right Laser Mode
The Leica Laser Level offers various laser modes that cater to different applications and measurement needs. Understanding and choosing the right laser mode will ensure optimal results. Here are the commonly used laser modes and their purposes:
- Horizontal Mode: This mode emits a level laser beam in a horizontal plane. It is ideal for tasks such as aligning cabinets, installing drop ceilings, or constructing level surfaces like floors and countertops.
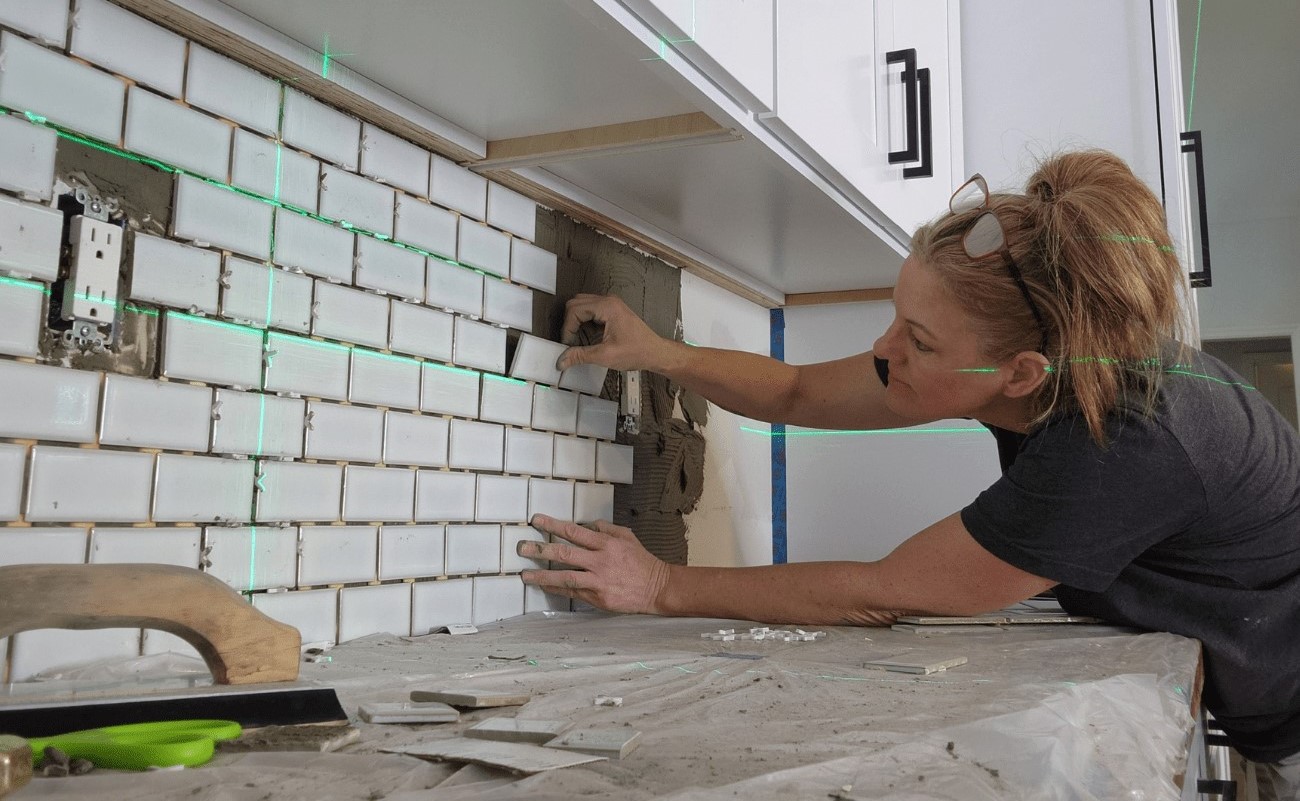
- Vertical Mode: In this mode, the laser level emits a vertical laser beam. It is useful for tasks such as installing doors and windows, aligning shelves, and creating vertical lines for wall fixtures or tiling.
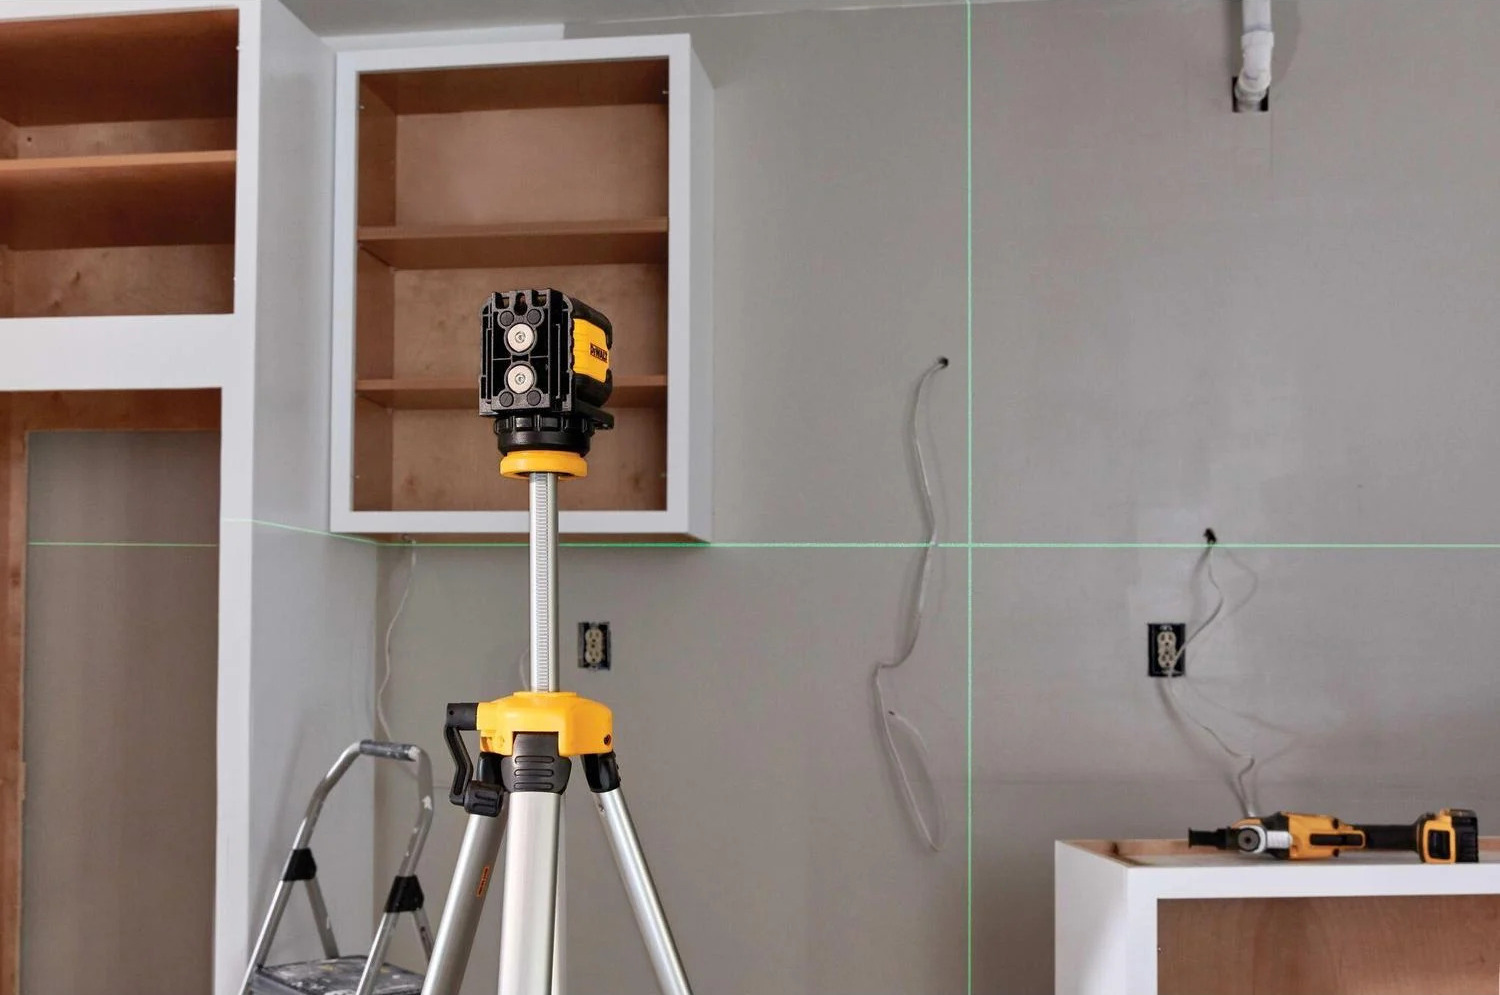
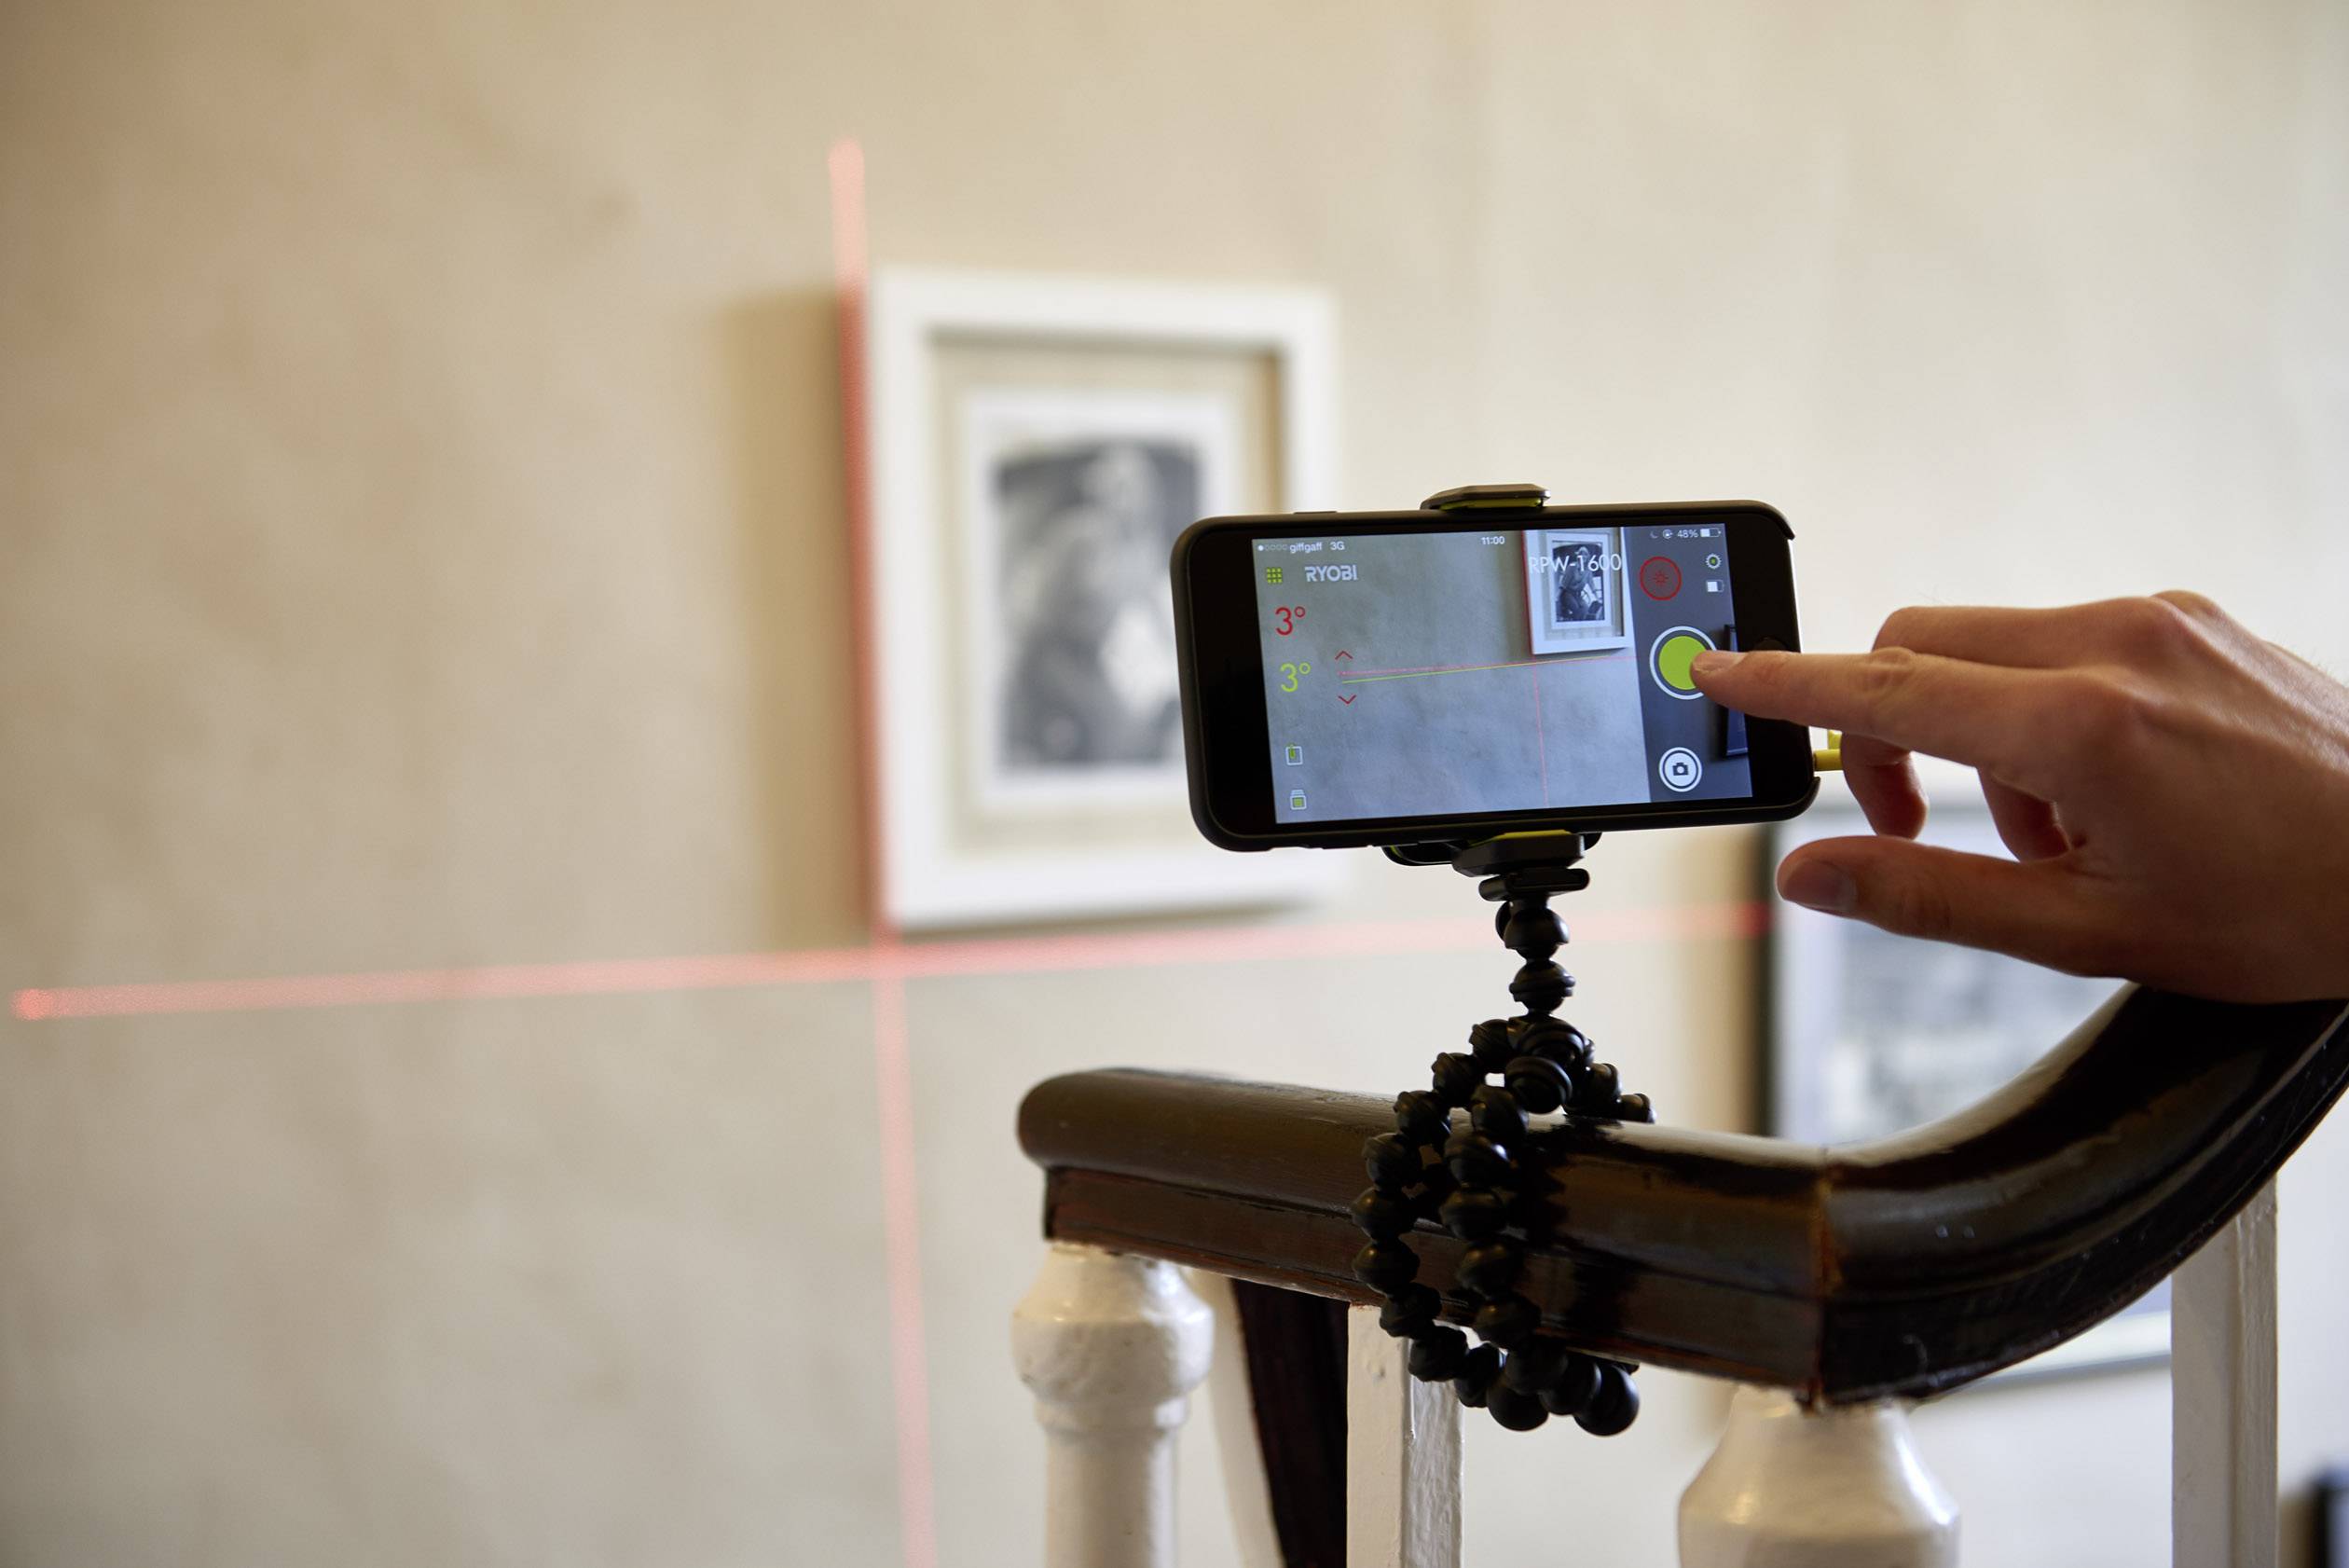
- Cross-Line Mode: The cross-line mode emits both horizontal and vertical laser lines simultaneously, creating a cross pattern. It is commonly used for tasks like aligning tiles, creating 90-degree angles, or hanging picture frames.
- Plumb Dot Mode: This mode emits a dot laser beam directly below the laser level. It is helpful for tasks like aligning pipes, determining the center of a surface, or locating reference points for hanging fixtures.
- Slope Mode: Some advanced models of Leica Laser Level offer a slope mode. This mode allows you to set a specific slope or inclination angle. It is useful for tasks like grading, landscaping, or installing ramps on uneven surfaces.
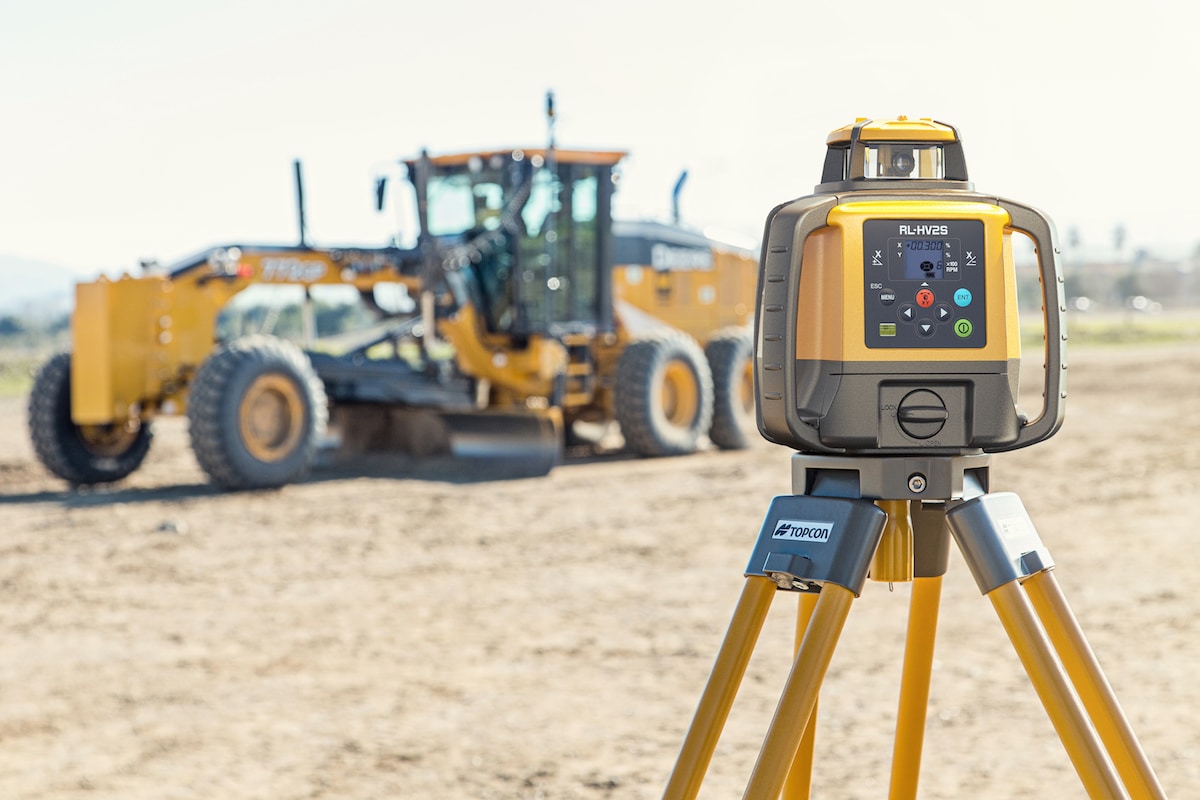
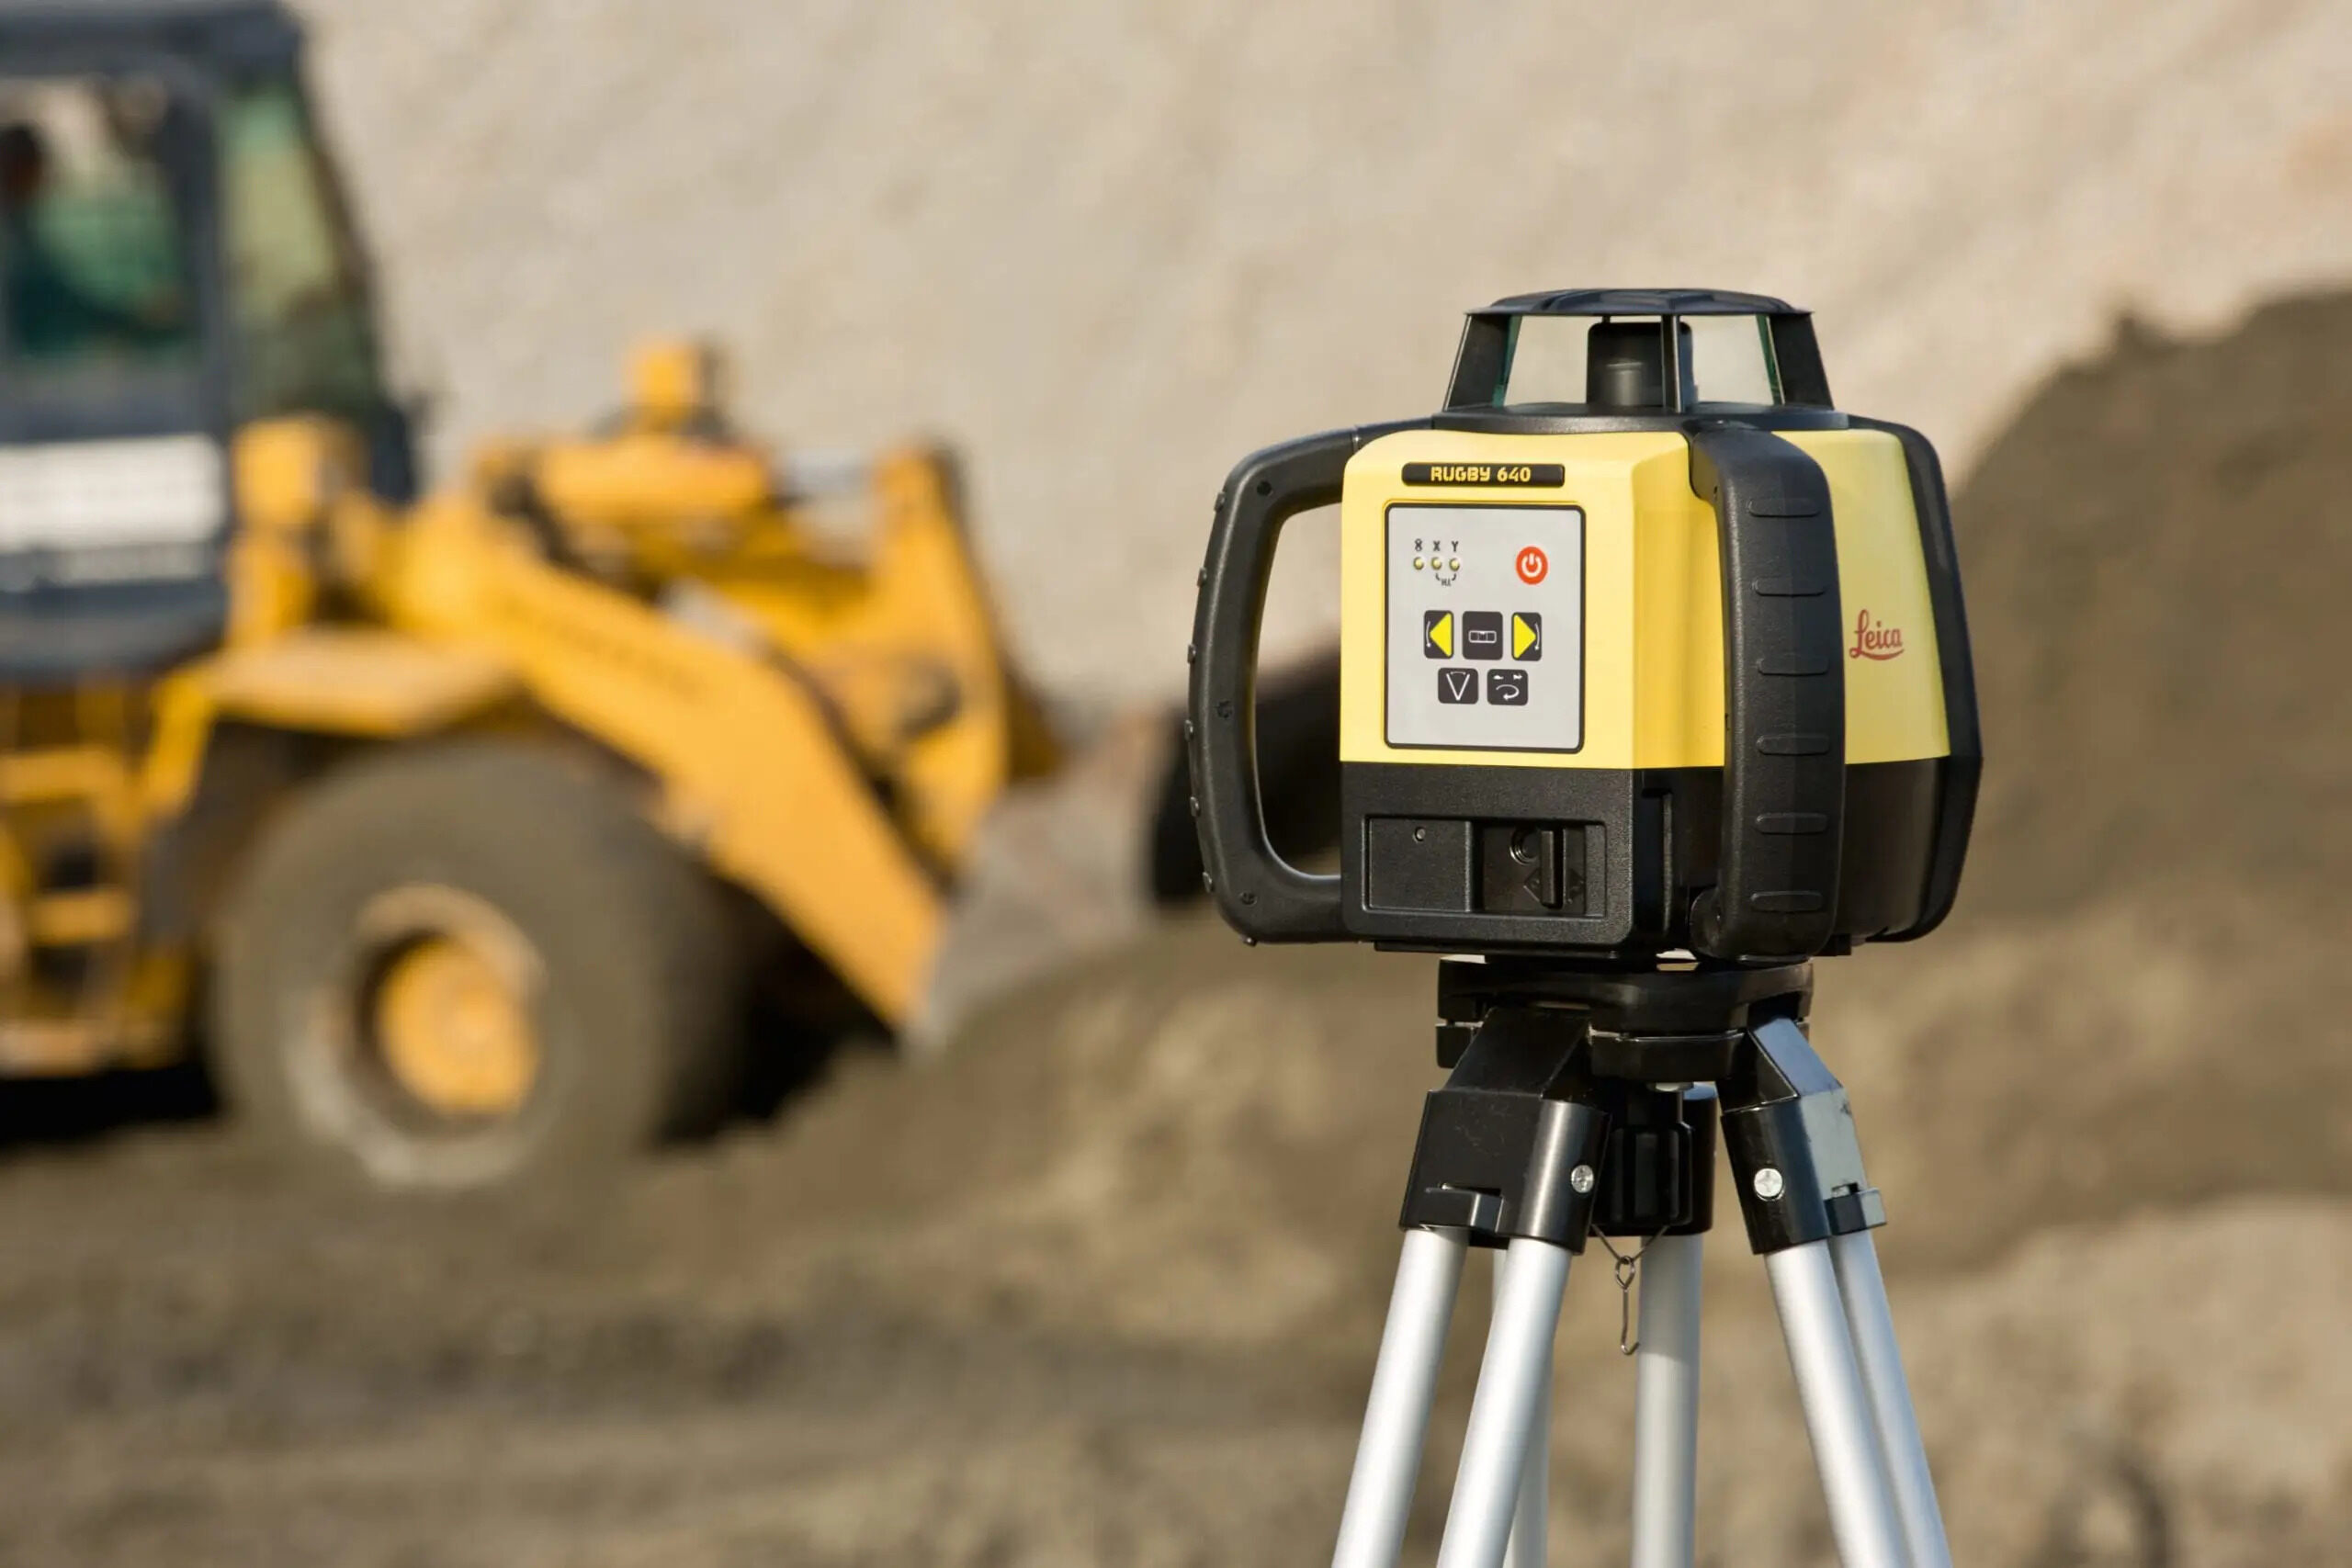
- Pulse Mode: The pulse mode is designed for outdoor use when the laser beam may not be easily visible in bright conditions. It emits a pulsing laser beam that can be detected by a compatible laser detector or receiver.
When selecting the appropriate laser mode, consider the specific requirements of your project. Keep in mind the desired alignment, the surface type, and any specific angles or slopes you need to work with.
Additionally, be aware of the limitations of certain laser modes. For example, the range of a cross-line mode may be shorter compared to a horizontal or vertical mode due to the overlapping lines.
Take the time to familiarize yourself with the different laser modes available on your Leica Laser Level. By using the appropriate mode for each task, you can ensure accurate alignment, precise measurements, and efficient completion of your projects.
When using a Leica laser level, always ensure that the device is placed on a stable surface and that the laser beam is not obstructed. This will ensure accurate and precise leveling for your project.
Mounting the Laser Level
Mounting the Leica Laser Level properly is essential for stability and accurate measurements. Here’s how to mount the laser level securely:
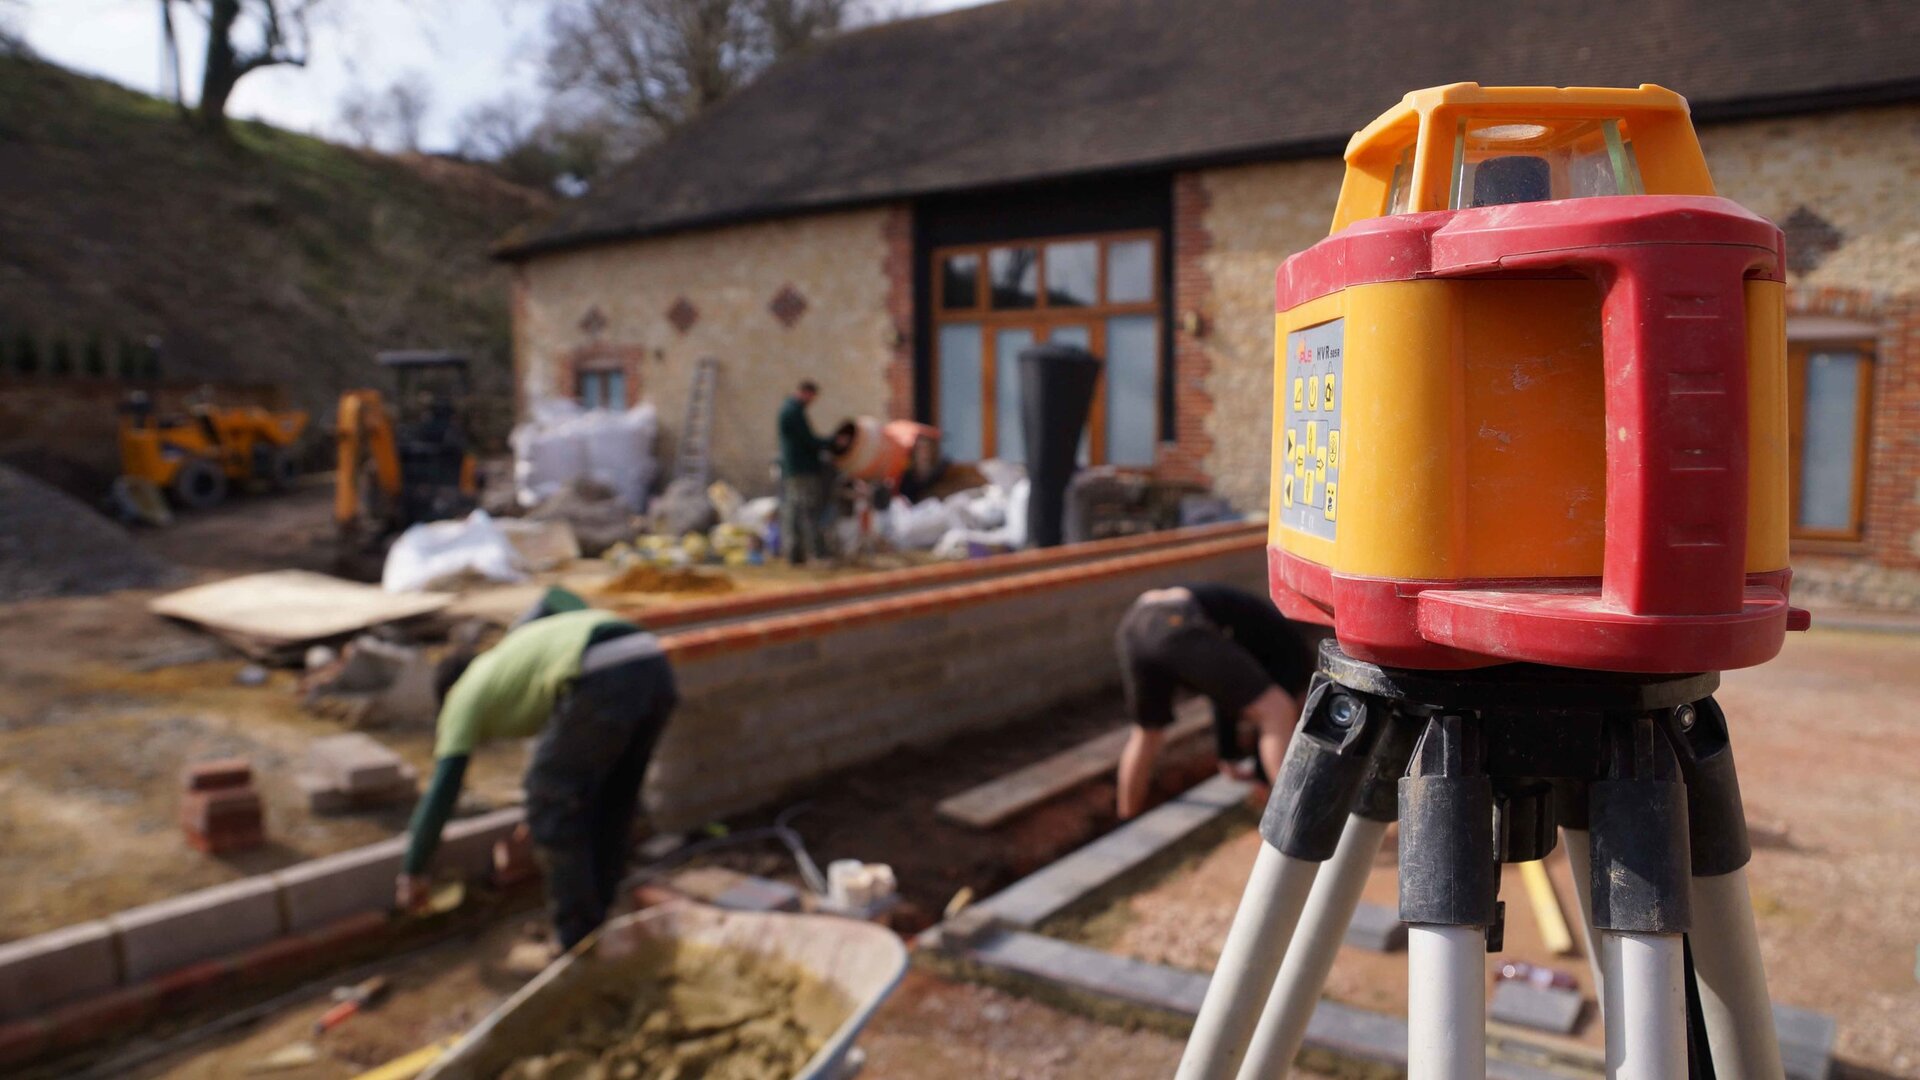
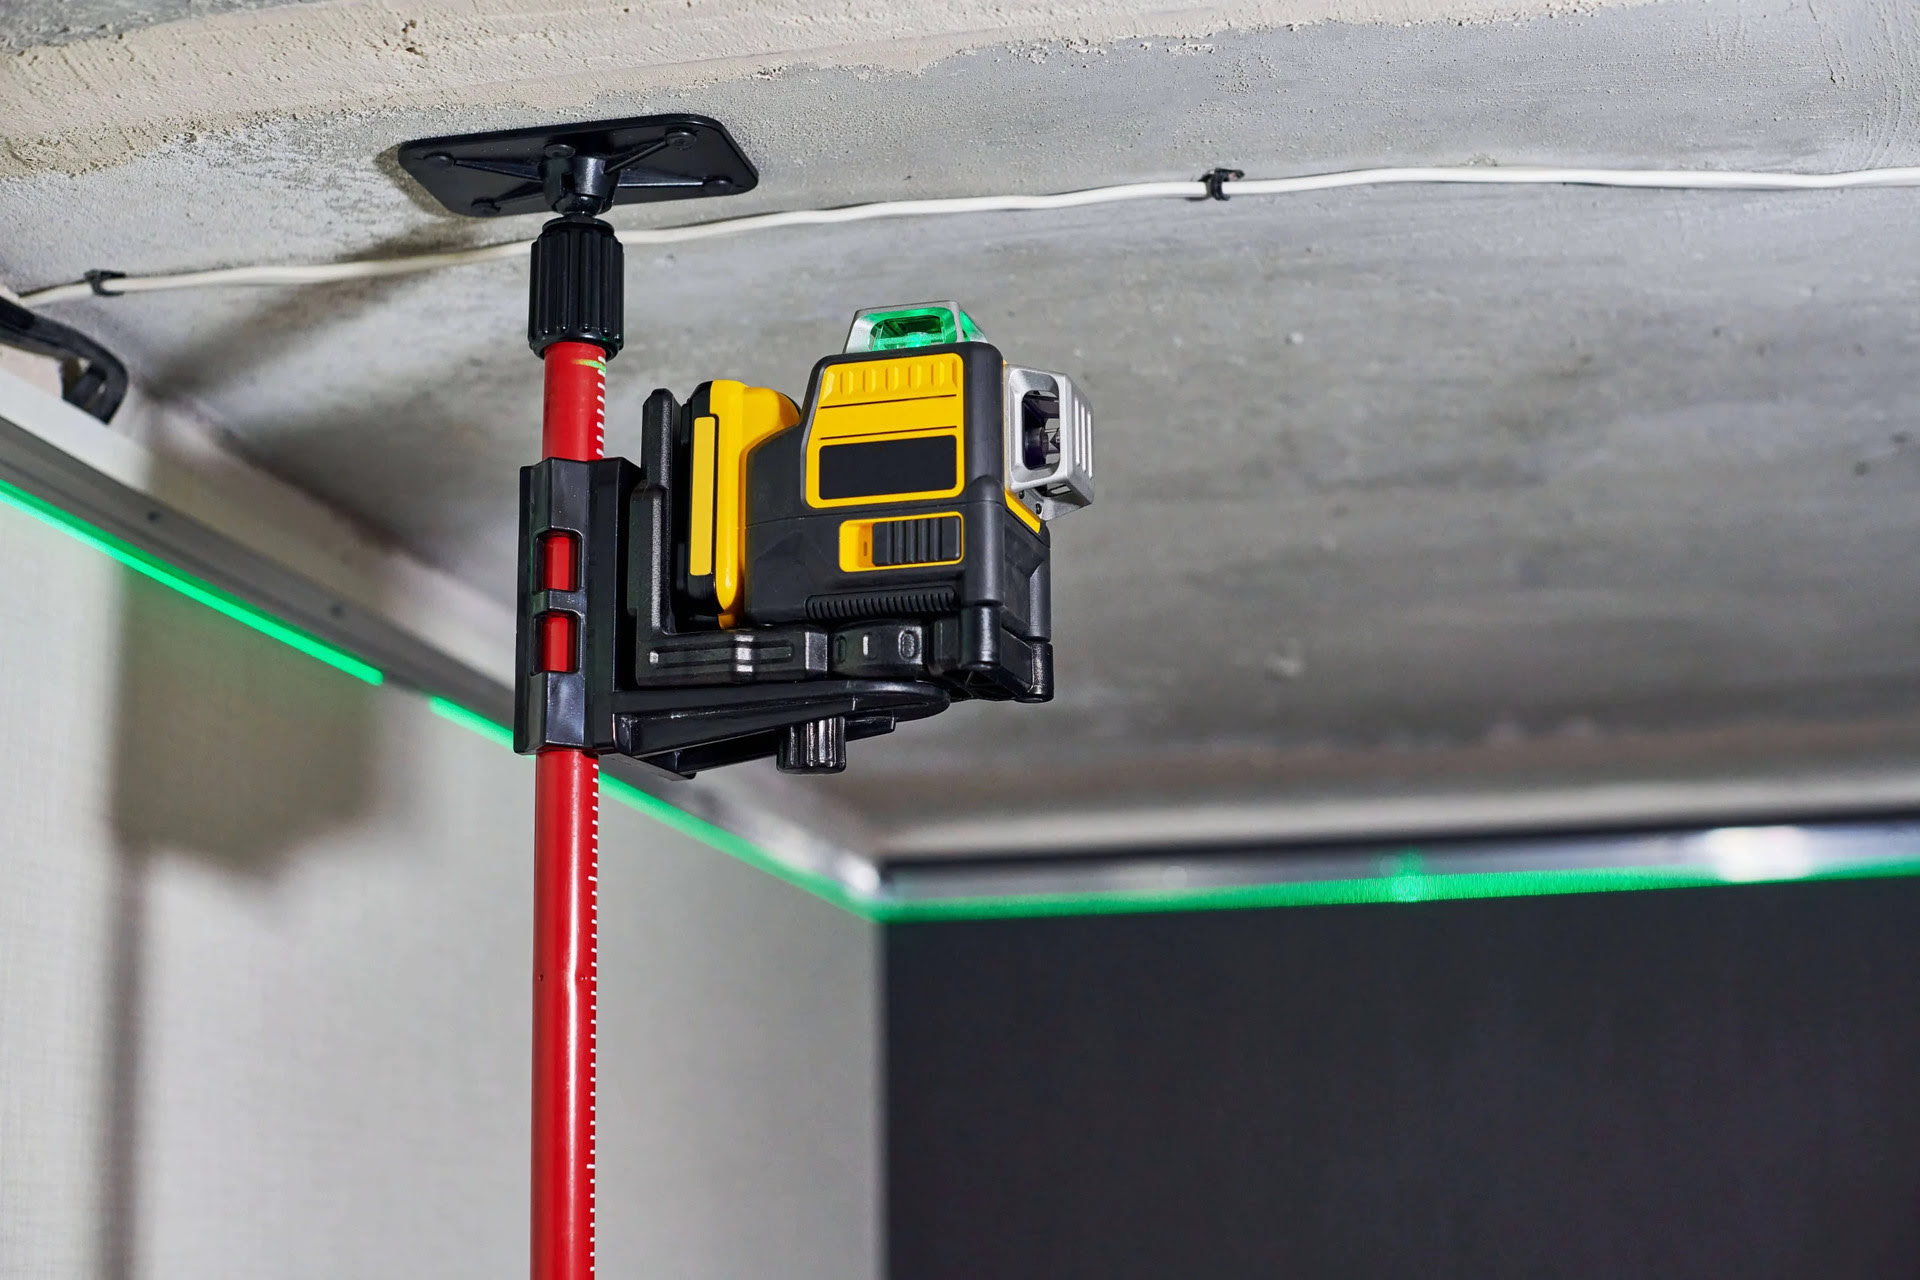
- Choose the right mounting option: Depending on your project and the available mounting options, you can choose from a tripod, a mounting bracket, or a magnetic base. Select the option that best suits your needs and ensures stability.
- Attach the laser level to the mount: If using a tripod, ensure the mounting plate is securely attached to the laser level. Slide the laser level onto the mounting plate and tighten any locking mechanisms to hold it in place. If using a mounting bracket or magnetic base, securely attach the laser level to the designated location.
- Set up the mount: If using a tripod, extend the legs to the desired height and lock them in place. Ensure that the tripod is on a stable surface and use the leveling bubble on the tripod to make any necessary adjustments. If using a mounting bracket or magnetic base, ensure that it is securely fastened to the desired location.
- Level the mount: Once the laser level is mounted, use the built-in leveling indicators or a separate bubble level to ensure that the mount is level. Adjust the mount as needed to achieve a level position.
- Secure the laser level: To prevent any movement or vibrations during operation, ensure that all locks and tightening mechanisms on the mount are securely fastened. This will help maintain the stability and accuracy of the laser level.
It is important to note that different models of the Leica Laser Level may have specific instructions on mounting and compatibility with certain mounting options. Always refer to the user manual provided with your specific device for detailed instructions.
Properly mounting the Leica Laser Level enhances stability and ensures accurate measurements throughout your project. By following these steps and taking the time to securely mount the laser level, you can achieve precise results and improve your overall workflow.
Leveling a Surface Using the Laser Level
The Leica Laser Level is an invaluable tool for leveling surfaces with precision and ease. Follow these steps to level a surface effectively:
- Set up the laser level: Ensure that the laser level is mounted securely on a stable surface, such as a tripod or mounting bracket. Make sure the device is properly leveled using the built-in leveling indicators or a separate bubble level.
- Power on the laser level: Turn on the laser level and allow it to self-level. Wait for the leveling indicators or LED lights to confirm that the device is ready for use.
- Aim the laser beam: Adjust the position and angle of the laser level to aim the laser beam at the area or surface you want to level. The laser beam should be visible and create a straight line or dot, depending on the selected mode.
- Mark the reference point: Using a pencil or marker, mark the reference points along the surface where you want a level line or plane. These marks will serve as your guide for leveling.
- Level the surface: Using a leveling tool, such as a spirit level or a straightedge, adjust the surface by raising or lowering certain areas until they align with the laser beam. Keep referring to the reference marks to ensure consistency.
- Check for levelness: Continuously check the levelness of the surface by placing the leveling tool across different points and comparing it to the laser beam. Make any necessary adjustments until the entire surface is leveled.
- Confirm leveling accuracy: Once the surface is leveled, double-check the accuracy by rechecking the reference points and comparing them to the laser beam. Make any minor adjustments if needed.
- Secure the leveled surface: Once you are satisfied with the levelness of the surface, secure it in place by using appropriate adhesives, fasteners, or other suitable methods, depending on the specific project requirements.
It is important to note that the Leica Laser Level provides an accurate reference line or dot, but it does not correct underlying issues with the surface or structure. Ensure that the surface is free from major defects or structural problems before leveling.
By following these steps, you can effectively level surfaces using the Leica Laser Level. Achieving a leveled surface with precision will not only improve the overall aesthetics of your projects but also ensure the functionality and safety of the finished structure.
Measuring Distances with the Laser Level
The Leica Laser Level is not only capable of leveling surfaces, but it can also be used to measure distances accurately. Here’s how you can measure distances with the laser level:
- Set up the laser level: Ensure that the laser level is securely mounted on a stable surface, such as a tripod or mounting bracket. Make sure the device is properly leveled using the built-in leveling indicators or a separate bubble level.
- Power on the laser level: Turn on the laser level and allow it to self-level. Wait for the leveling indicators or LED lights to confirm that the device is ready for use.
- Aim the laser beam: Adjust the position and angle of the laser level to aim the laser beam at the starting point of the distance you want to measure.
- Identify the target point: Locate the target point or object at the desired end of the distance you want to measure.
- Measure the distance: Use a measuring tape or measuring device to measure the distance between the starting point (where the laser beam is aimed) and the target point. Ensure that the measuring device is aligned with the laser beam.
- Read the measurement: Take note of the measurement indicated by the measuring device. This will be the accurate distance between the two points as determined by the laser level.
It’s important to remember that the distance measurement provided by the Leica Laser Level is line-of-sight. It measures the direct distance between the starting and target points along the laser beam. Obstructions or walls may affect the accuracy of the measurement, so it’s best to ensure a clear path between the two points.
Additionally, some laser levels may come with a built-in feature that calculates indirect measurements. This feature allows you to measure distances by using the Pythagorean theorem, taking into account the height difference between the laser level and the target point. Consult the user manual to understand if your laser level supports this feature and how to use it.
By following these steps, you can easily measure distances accurately using the Leica Laser Level. Whether you’re measuring for construction, interior design, or any other project, the laser level provides a convenient and precise way to obtain reliable distance measurements.
Read more: How To Use A Laser Level For Framing
Additional Tips and Precautions
When using the Leica Laser Level, there are some additional tips and precautions to keep in mind to maximize safety and achieve the best results. Here are some key considerations:
- Protect your eyes: The laser beam emitted by the Leica Laser Level can be harmful to your eyes. Always wear appropriate laser safety glasses or goggles to protect your eyes from potential damage.
- Avoid direct exposure: Do not directly aim the laser beam at people or animals. The laser beam can cause harm if it comes into contact with the skin or eyes.
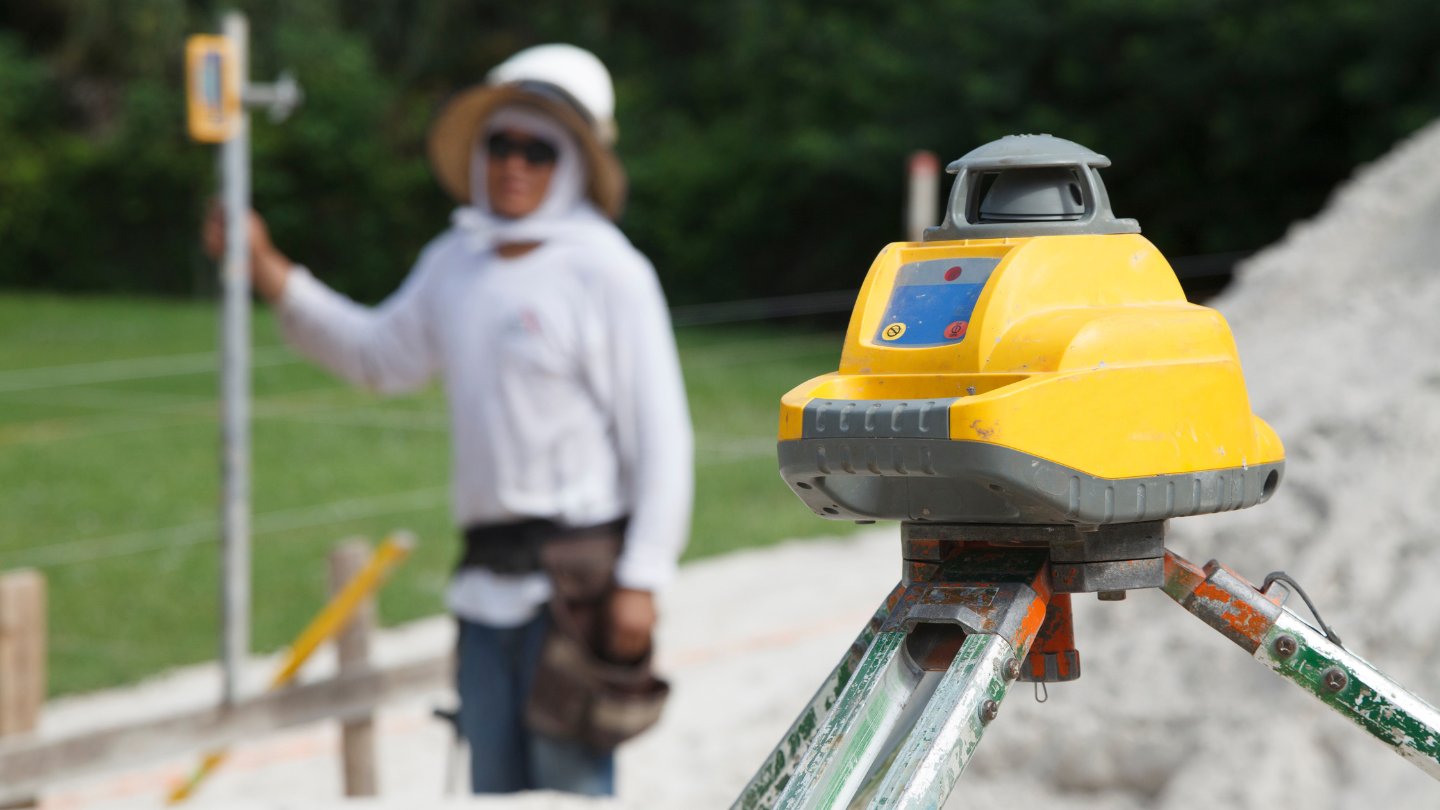
- Use in suitable conditions: Ensure that the laser level is used in environments and lighting conditions suitable for accurate measurements. Bright sunlight can make laser beams difficult to see, so it may be necessary to use a laser detector to enhance visibility.
- Store properly: When not in use, store the laser level in a secure and dry location to protect it from damage or excessive moisture.
- Regularly check calibration: Periodically check the calibration of the laser level to ensure accurate measurements. Calibration may be affected by factors such as temperature changes, vibrations, or impacts.
- Keep the lens clean: Clean the lens of the laser level regularly to remove any dirt or dust that may obstruct the laser beam or affect its visibility.
- Follow manufacturer instructions: Always refer to the user manual provided by Leica for specific instructions on the operation, maintenance, and calibration of your laser level. This will ensure that you use the device correctly and safely.
- Consider the working range and conditions: Different models of Leica Laser Level have varying working ranges and performance in different environmental conditions. Consider these limitations when using the laser level for precise measurements.
- Be cautious with battery life: If your laser level operates on batteries, monitor the battery life to ensure uninterrupted usage. Low battery levels can affect the performance and accuracy of the device.
By following these additional tips and precautions, you can ensure safe and effective use of the Leica Laser Level. Always prioritize safety and refer to the manufacturer’s guidelines for specific instructions and recommendations.
Conclusion
The Leica Laser Level is a powerful tool that brings precision and accuracy to your construction and measurement projects. Its self-leveling capability, various laser modes, and ease of use make it an invaluable device for professionals and DIY enthusiasts alike.
In this article, we have covered the fundamentals of using the Leica Laser Level, from understanding its features and functions to setting it up properly and calibrating it for accurate measurements. We have also explored how to choose the right laser mode, mount the laser level securely, level surfaces with precision, and measure distances accurately.
By following the provided instructions and considering the additional tips and precautions, you can ensure safe and effective use of the Leica Laser Level. Remember to protect your eyes, use appropriate safety measures, and follow the manufacturer’s instructions for optimal results.
Whether you are aligning cabinets, installing windows, leveling floors, or measuring distances, the Leica Laser Level offers unparalleled convenience and accuracy. Embrace this powerful tool and elevate the quality of your construction and measurement projects.
So, equip yourself with the Leica Laser Level and experience the difference it makes in achieving precise and professional results. Let the laser guide you to a new level of accuracy and efficiency in your projects!
Frequently Asked Questions about How To Use A Leica Laser Level
Was this page helpful?
At Storables.com, we guarantee accurate and reliable information. Our content, validated by Expert Board Contributors, is crafted following stringent Editorial Policies. We're committed to providing you with well-researched, expert-backed insights for all your informational needs.

0 thoughts on “How To Use A Leica Laser Level”