Articles
How To Wire Up A 2 Way Dimmer Switch
Modified: February 23, 2024
Get step-by-step instructions on wiring up a 2-way dimmer switch in this informative articles. Simplify your lighting control with our easy-to-follow guide.
(Many of the links in this article redirect to a specific reviewed product. Your purchase of these products through affiliate links helps to generate commission for Storables.com, at no extra cost. Learn more)
Introduction
A 2-way dimmer switch is a device that allows you to control the brightness of a light from two different locations. This type of switch is commonly used in rooms such as living rooms or hallways, where multiple switches are needed to control the same light fixture.
Having a 2-way dimmer switch not only offers convenience but also allows you to create different lighting atmospheres in your space. Whether you want to set the mood for a romantic dinner or brighten up the room for a lively gathering, a dimmer switch gives you the flexibility to adjust the brightness to your liking.
In this article, we will guide you through the process of wiring up a 2-way dimmer switch. We will provide you with step-by-step instructions and highlight the tools and materials you will need for the job.
Before we dive into the wiring process, it’s important to note that electrical work should be handled with caution. If you are not confident in your abilities or have limited experience working with wiring, it is always best to consult a licensed electrician. Safety should be your top priority.
Now that we’ve covered the basics, let’s get started on learning how to wire up a 2-way dimmer switch.
Key Takeaways:
- Enhance your lighting control and ambiance by wiring up a 2-way dimmer switch, allowing you to adjust brightness from two locations for a cozy or lively atmosphere.
- Prioritize safety and consult a licensed electrician if unsure, as proper installation and testing are crucial for the functionality of a 2-way dimmer switch.
Read more: How To Wire In A Dimmer Switch
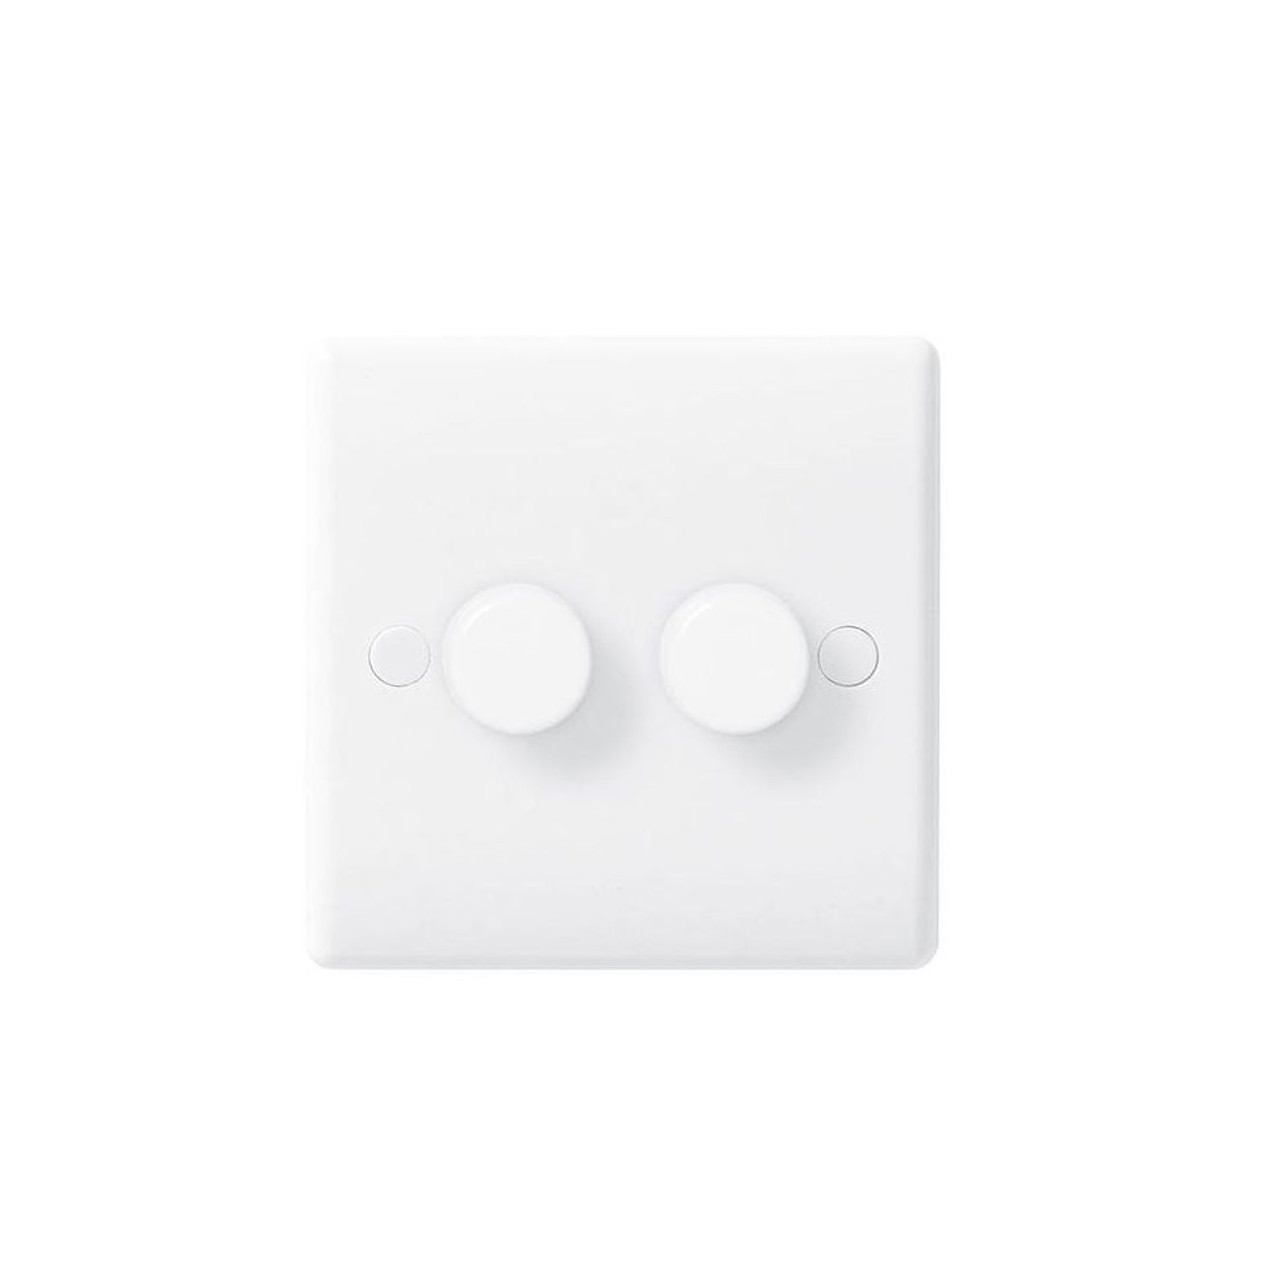
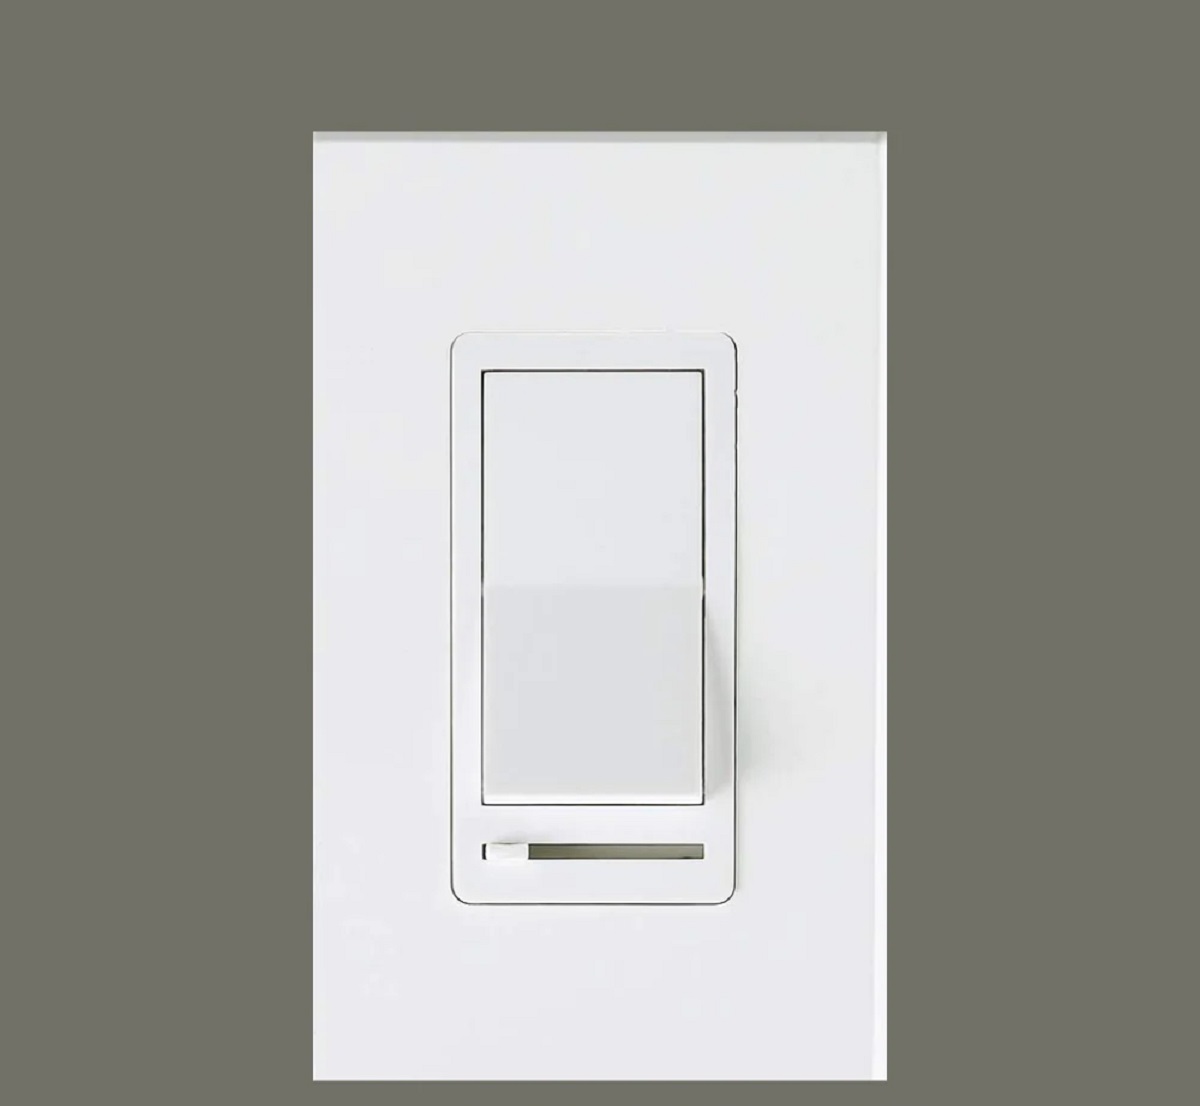
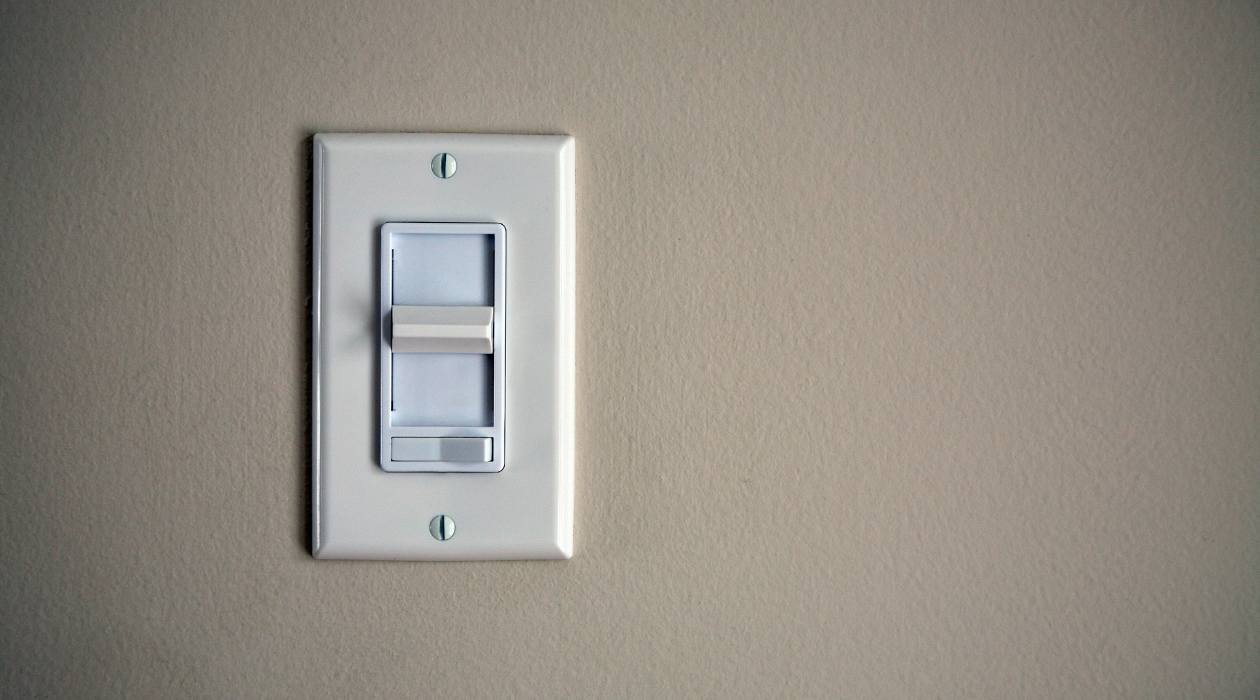
What is a 2-way dimmer switch?
A 2-way dimmer switch is a type of switch that allows you to control the brightness of a light fixture from two different locations. It is commonly used in areas where you have multiple entry points and need the ability to control the lighting from either location.
The term “2-way” refers to the fact that the switch has two separate switches, usually located at opposite ends of a room or hallway. This allows you to turn the light on or off and adjust the brightness level from either switch location.
Unlike a standard on/off switch, a dimmer switch gives you the ability to adjust the intensity of the light emitted by the fixture. This is achieved by varying the amount of electrical current flowing to the light bulb. By dimming the lights, you can create a cozy and ambient atmosphere, perfect for relaxing or entertaining.
One of the main advantages of using a 2-way dimmer switch is convenience. If you have multiple entrance points to a room or hallway, you no longer have to walk to the other end to adjust the lighting. Instead, you can control the lights from wherever you are, making it a convenient solution for larger spaces.
Furthermore, a 2-way dimmer switch offers more flexibility in terms of lighting customization. You can easily adjust the brightness level to suit your mood or the activity at hand. Whether you want bright lighting for tasks that require more visibility or a softer glow for a movie night, a dimmer switch allows you to easily create the desired atmosphere.
It is important to note that not all light fixtures are compatible with dimmer switches. When selecting a dimmer switch, make sure to choose one that is compatible with the type of lighting you have, such as incandescent, LED, or CFL bulbs. Using a dimmer switch with incompatible bulbs can result in flickering or buzzing, so it is crucial to check the specifications and guidelines provided by the manufacturer.
Now that you have an understanding of what a 2-way dimmer switch is and its benefits, let’s move on to the tools and materials you will need to wire up the switch.
Tools and materials required
Before you begin wiring up a 2-way dimmer switch, it’s important to gather all the necessary tools and materials to ensure a smooth installation process. Here is a list of what you will need:
Tools:
- Screwdriver
- Wire stripper
- Wire cutter
- Voltage tester
Materials:
- 2-way dimmer switch
- Electrical tape
- Wire connectors
- Wire nuts
Having these tools and materials handy will make the installation process much easier and ensure that you have everything you need to complete the job. Let’s move on to the step-by-step process of wiring up a 2-way dimmer switch.
Read more: How To Wire A Dimmer Switch With 4 Wires
Step 1: Turn off the power
Before you begin any electrical work, it is crucial to turn off the power to the circuit you will be working on. This will prevent the risk of electric shock or damage to the circuit.
To turn off the power, locate the circuit breaker panel in your home. It is typically found in the basement, utility room, or garage. Open the panel door to reveal the breakers.
Look for the breaker that corresponds to the circuit you will be working on. It is usually labeled for easy identification. Flip the breaker switch to the off position to cut off the power supply to that circuit.
It’s important to double-check that the power is indeed off before proceeding with any work. You can do this by using a voltage tester. Simply place the tester against the wires or terminals to ensure there is no electrical current running through them. If the tester does not detect any voltage, it is safe to proceed.
Never attempt to work on a live circuit. Turning off the power is a crucial step in ensuring your safety and the success of your project. Take the time to do it properly and double-check that the power is off before moving on to the next step.
With the power safely turned off, you are now ready to move on to removing the existing switch in the next step.
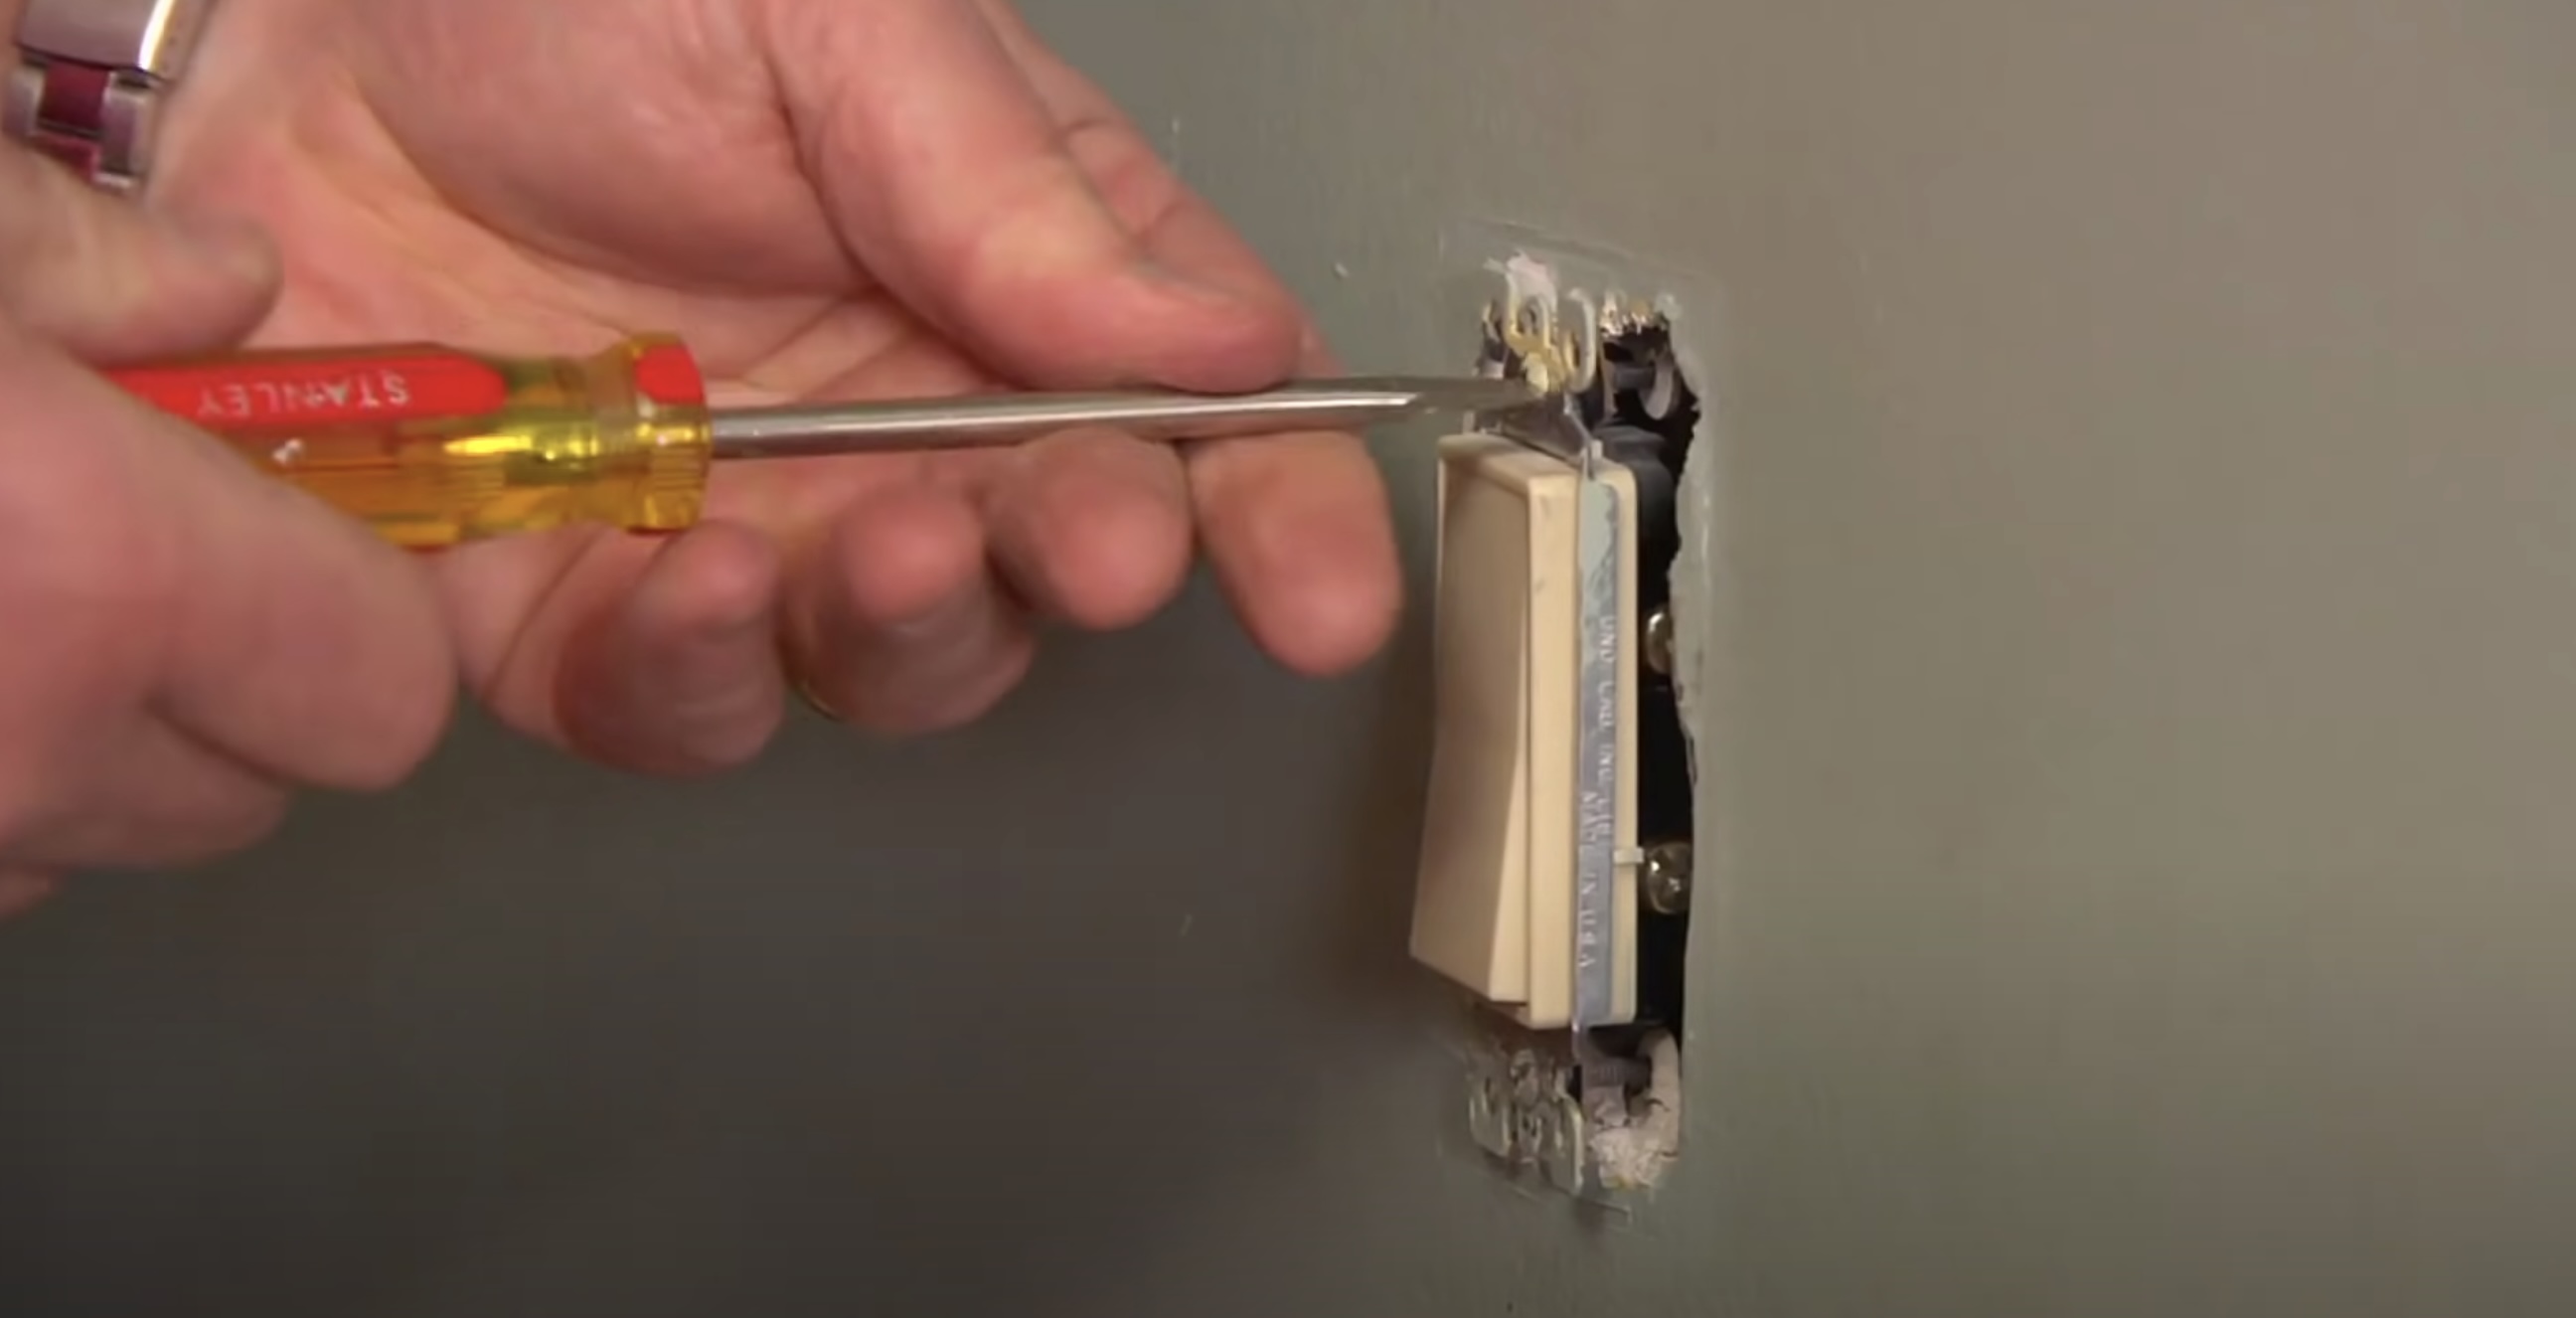
Step 2: Remove the existing switch
Now that the power is turned off, it’s time to remove the existing switch that you will be replacing with the 2-way dimmer switch.
Start by removing the switch cover plate. Use a screwdriver to loosen and remove the screws holding the plate in place. Set the plate aside.
Next, carefully pull the switch out of the switch box. You may need to unscrew the mounting screws that hold the switch to the box. Gently pull the switch out, being careful not to damage any wires attached to it.
Once the switch is removed, use a voltage tester to ensure that there is no electricity running through the wires. If the tester detects any voltage, double-check that the power is fully turned off before proceeding.
With the existing switch removed, you can now move on to identifying the wires in the next step.
Note: If you encounter any difficulties during the removal process or are unsure about any step, it is advised to consult a licensed electrician for assistance.
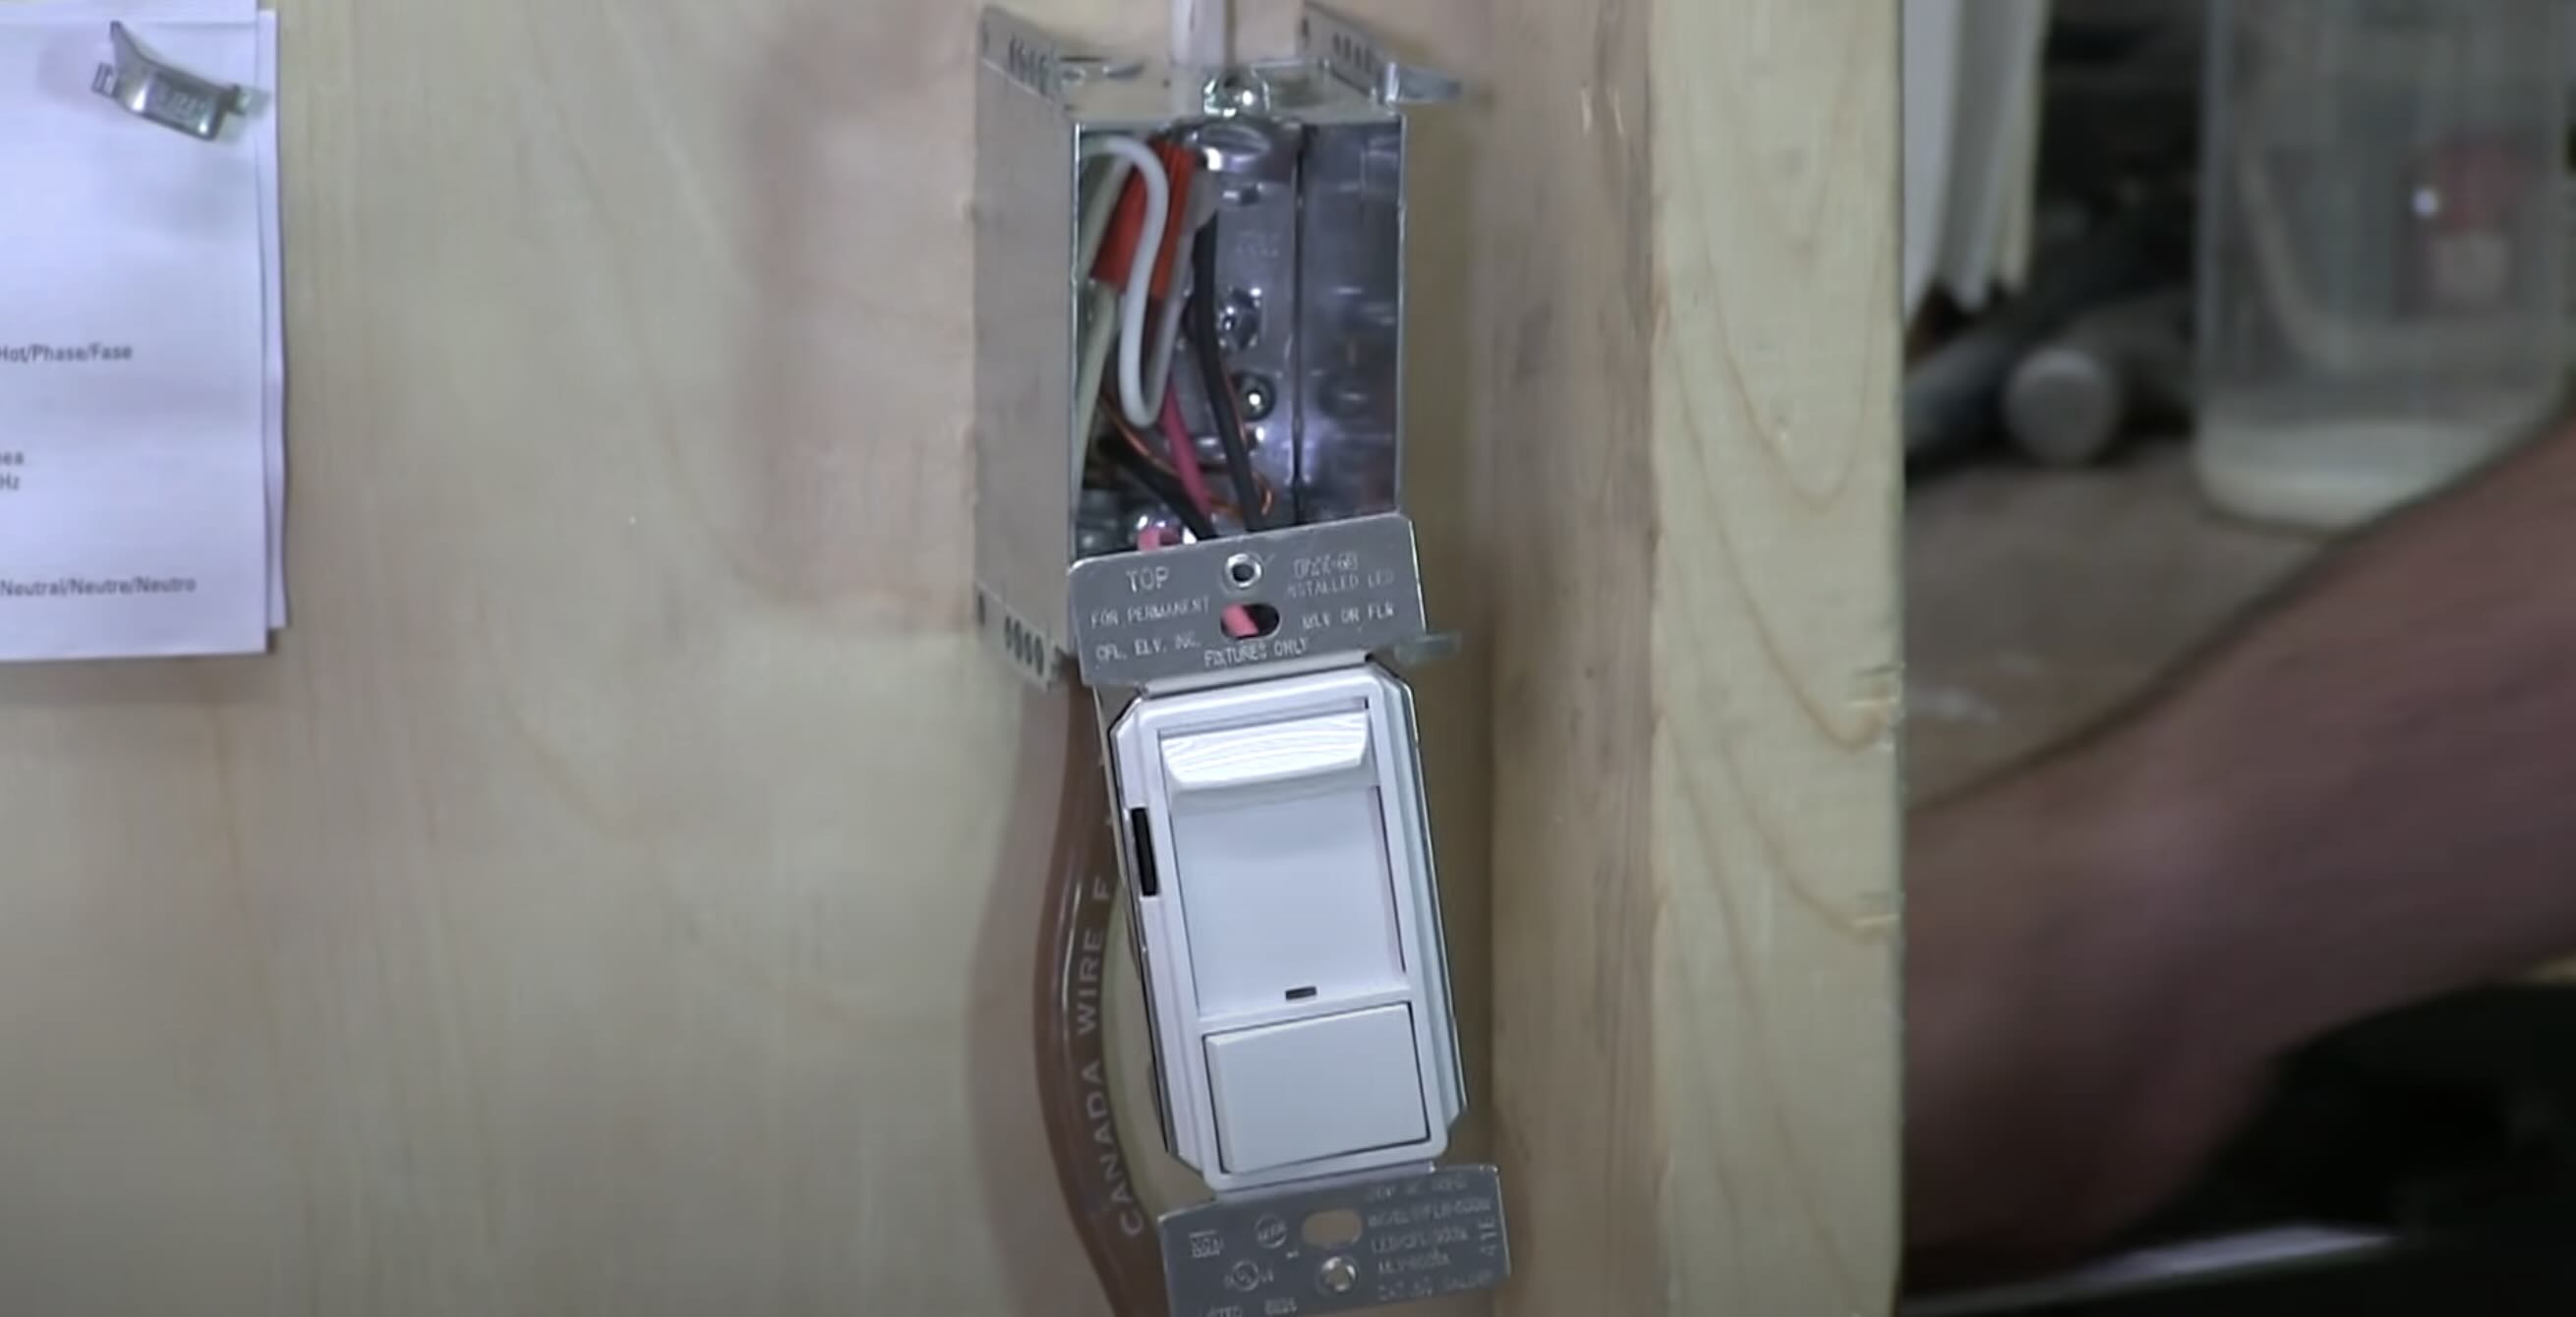
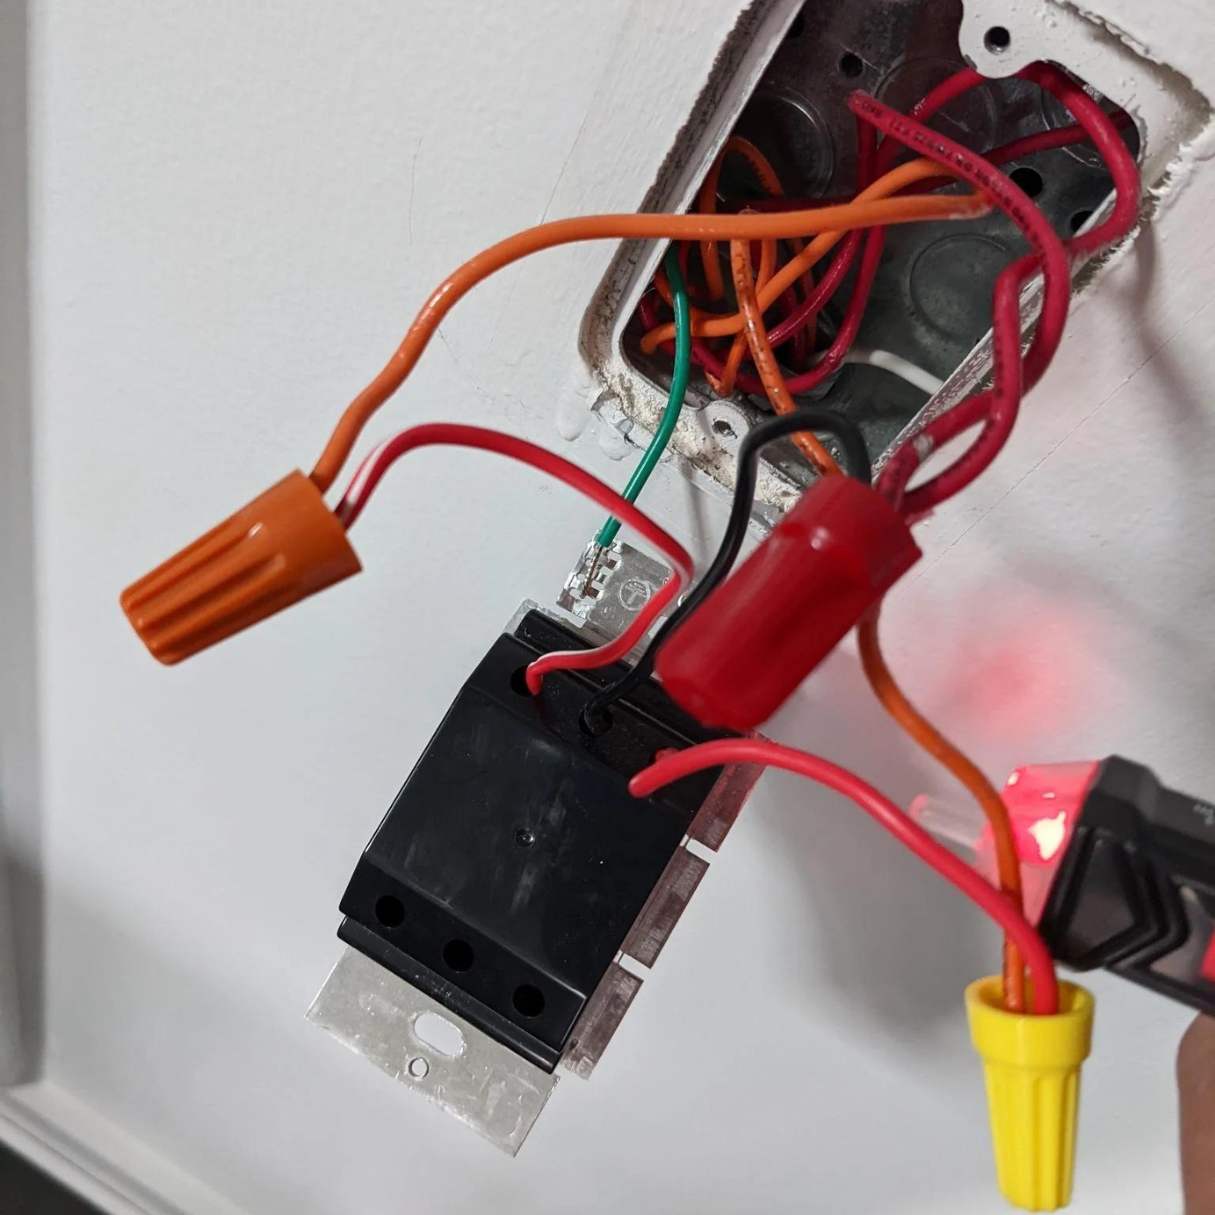
Step 3: Identify the wires
Before you can begin connecting the 2-way dimmer switch, it’s important to identify the different wires in the switch box. Understanding the function of each wire will help you correctly wire the dimmer switch.
Inside the switch box, you will typically find three types of wires:
- Live Wire: This wire brings the power from the electrical panel to the switch box. It is usually black in color.
- Load Wire: This wire carries power from the switch box to the light fixture. It is often black or red in color.
- Ground Wire: This wire is responsible for grounding the electrical system for safety. It is typically green or bare copper.
It’s important to note that the specific color coding of the wires may vary depending on your electrical setup. Always follow the color coding and labeling conventions used in your region.
Using a voltage tester, identify which wire is the live wire. Carefully touch the tester to each wire and look for any signs of voltage. The live wire should be the one that shows a voltage reading.
Next, identify the load wire. This wire should be the one that connects directly to the light fixture. Again, use the voltage tester to confirm which wire is carrying the power to the light.
Lastly, identify the ground wire. This wire is usually connected to the metal switch box or grounded to the electrical system in some way. It is crucial to ensure proper grounding for safety purposes.
Once you have identified the three types of wires, you can proceed to the next step of connecting the dimmer switch.
Note: If you are unsure about the identification of the wires or encounter any difficulties, it is recommended to consult a licensed electrician for assistance.
When wiring up a 2-way dimmer switch, make sure to turn off the power at the circuit breaker before starting. Follow the manufacturer’s instructions and use a voltage tester to ensure the power is off before touching any wires.
Step 4: Connect the dimmer switch
Now that you have identified the wires, it’s time to connect the 2-way dimmer switch. Follow these steps to properly connect the switch:
- Start by connecting the ground wire. Take the green or bare copper wire from the dimmer switch and connect it to the ground wire in the switch box. Use a wire connector or wire nut to secure the connection.
- Next, connect the live wire. Take the black wire from the dimmer switch and connect it to the identified live wire in the switch box. Again, use a wire connector or wire nut to secure the connection.
- If you have a load wire, connect it to the load wire from the dimmer switch. This wire is responsible for carrying the power to the light fixture. Secure the connection using a wire connector or wire nut.
- If you have another switch box location controlling the same light, you will have a traveler wire. Connect the traveler wire from the first switch box to the corresponding traveler wire in the second switch box. This wire allows the two switches to communicate with each other.
- Double-check all connections to ensure they are secure and tight. Gently tuck the connected wires back into the switch box, making sure they are not crimped or damaged.
It’s important to note that the exact wiring connections may vary depending on your specific electrical setup and the type of dimmer switch you are using. Always refer to the manufacturer’s instructions and follow the recommended wiring guidelines.
Once you have made the necessary connections, carefully push the dimmer switch back into the switch box. Secure it in place using the mounting screws provided with the switch.
Note: If you are unsure about any step or encounter any difficulties, it is recommended to consult a licensed electrician for assistance.
With the dimmer switch properly connected, you are now ready to move on to the next step of installing the switch.
Read more: How To Wire A Leviton Dimmer Switch
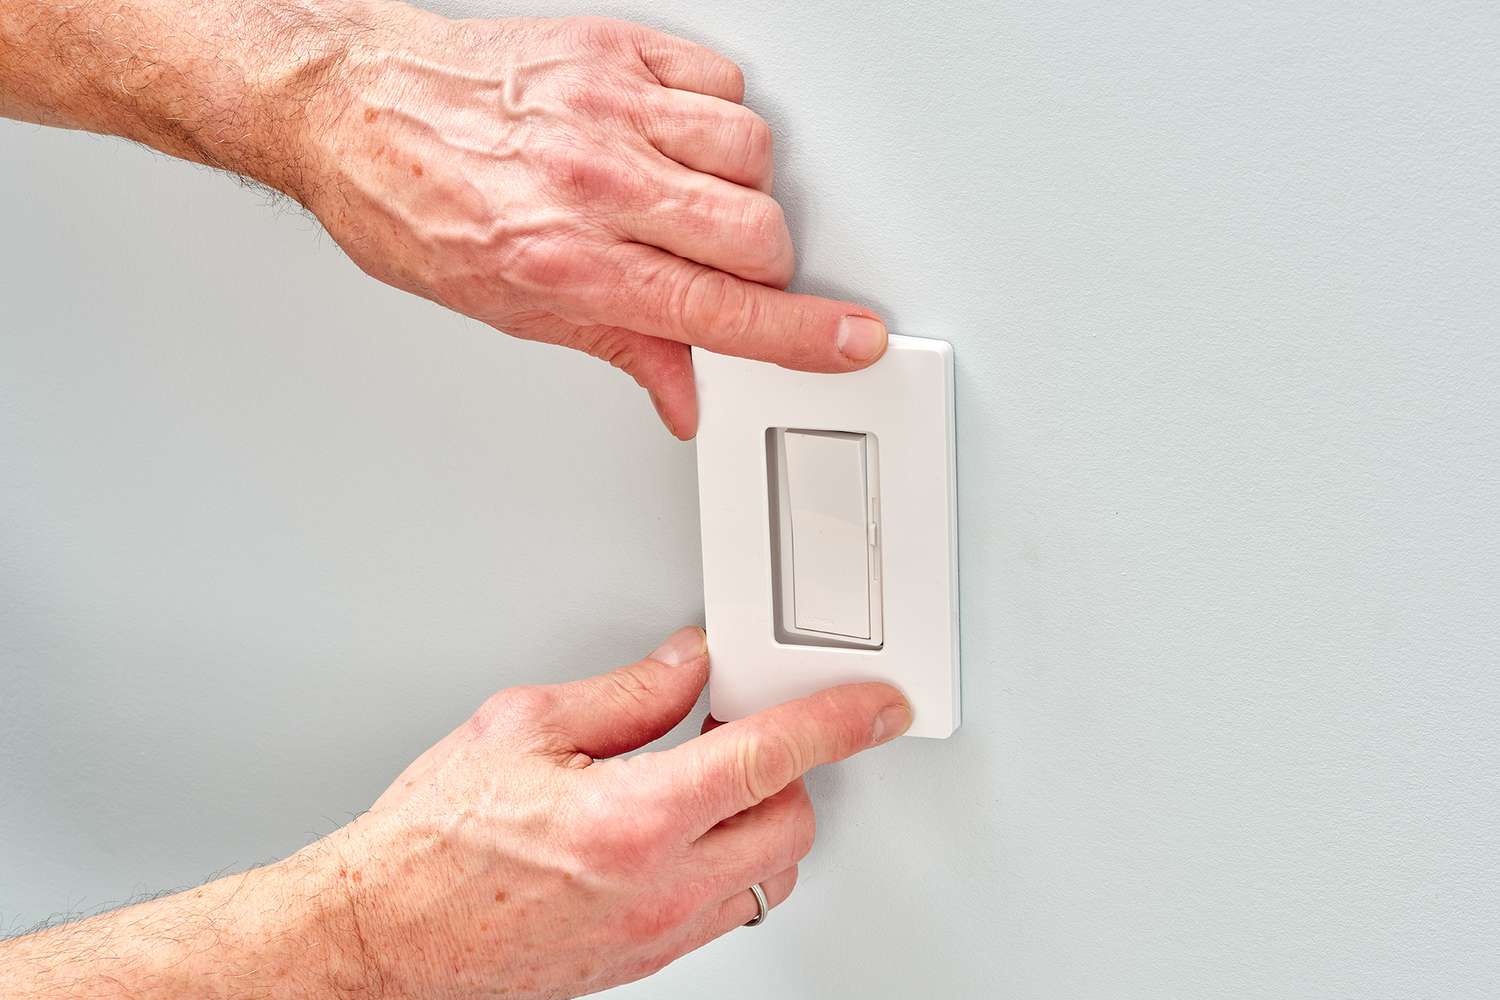
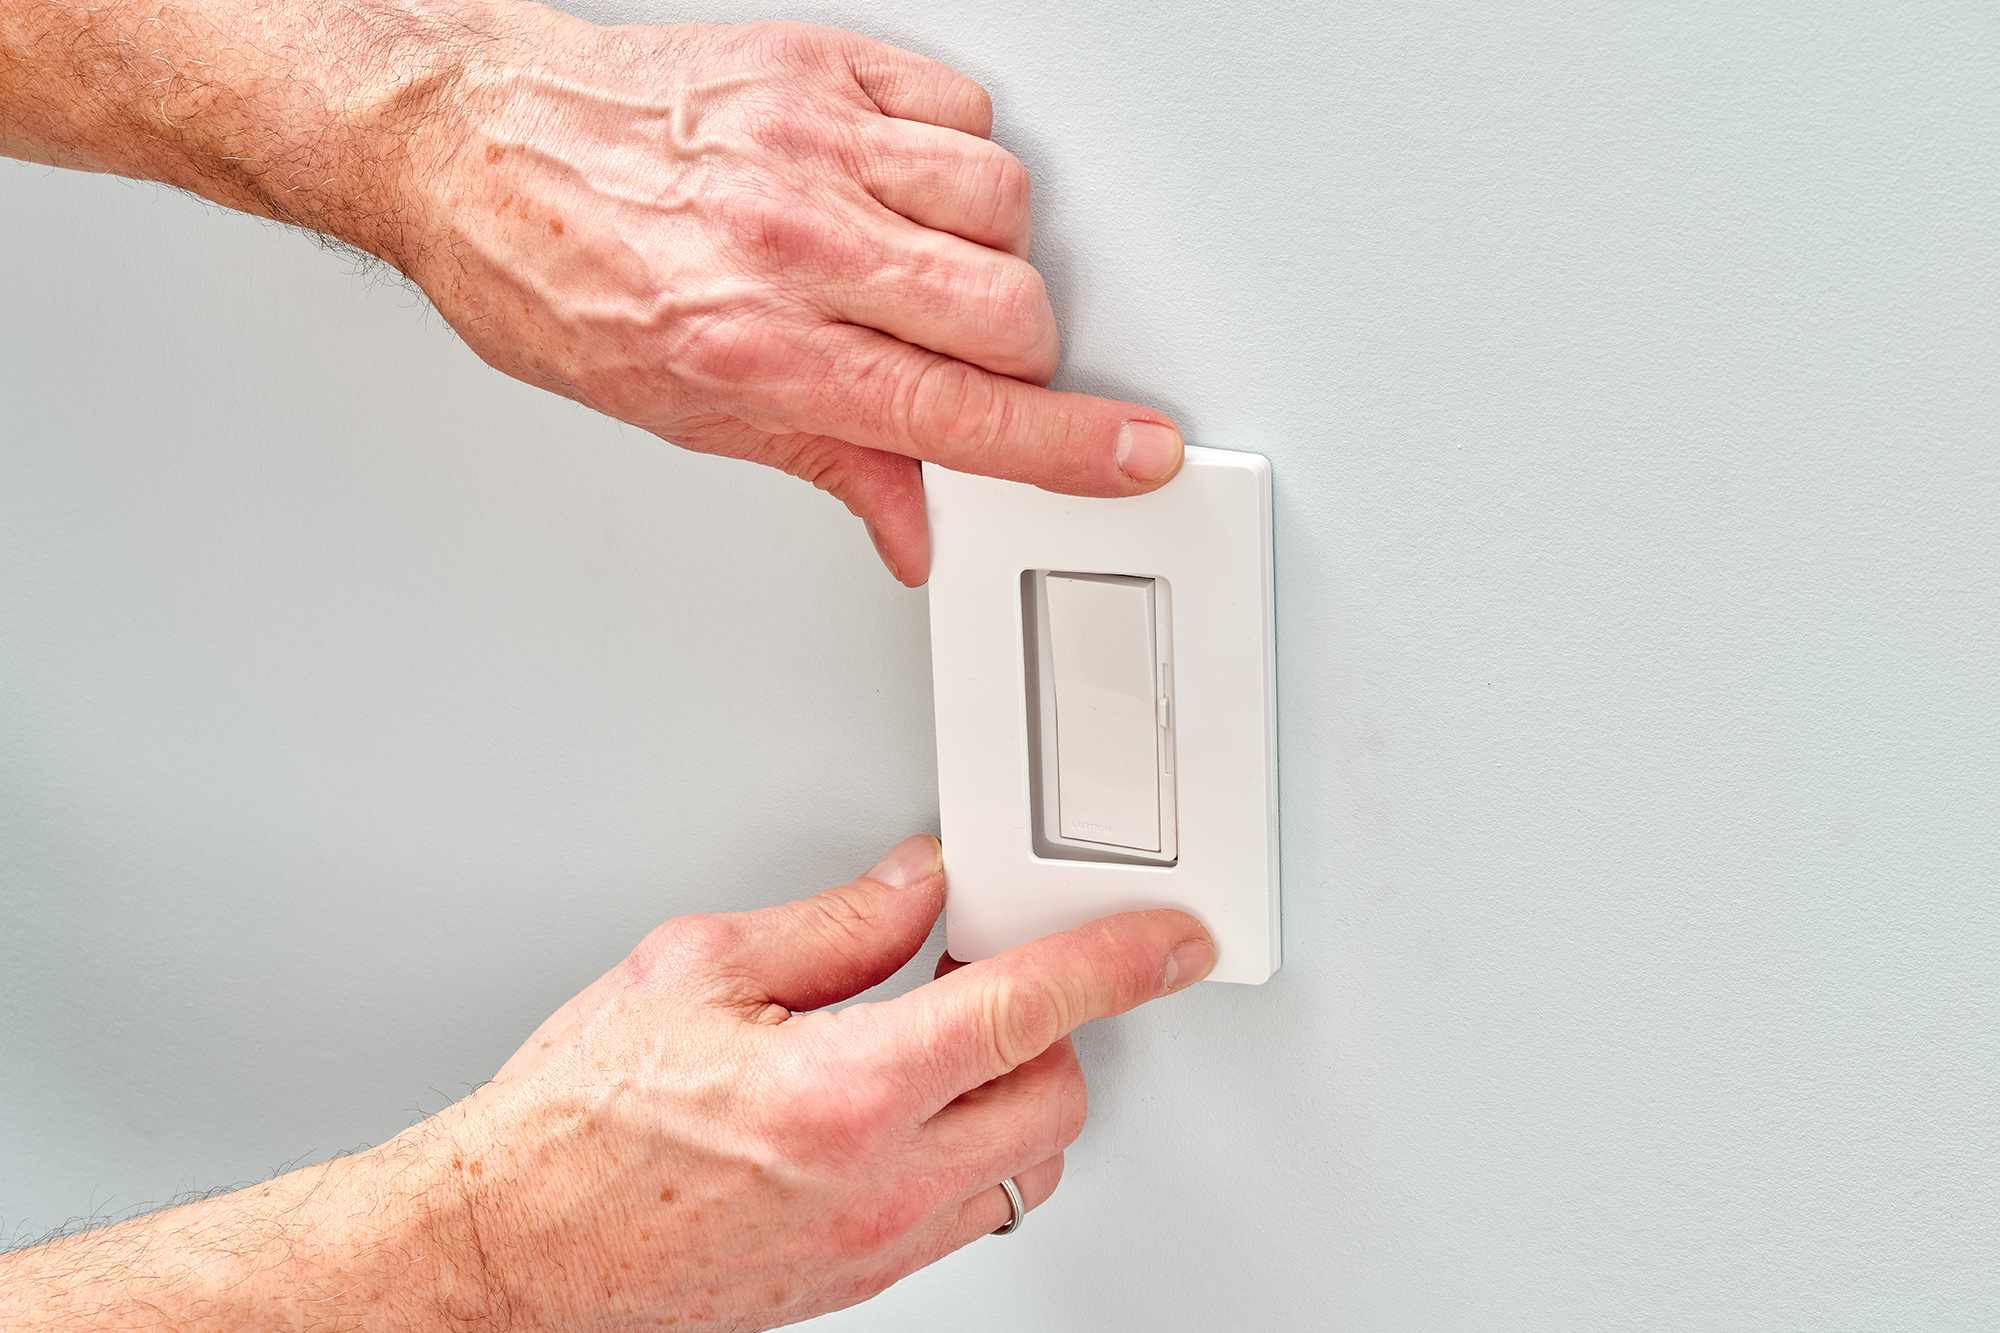
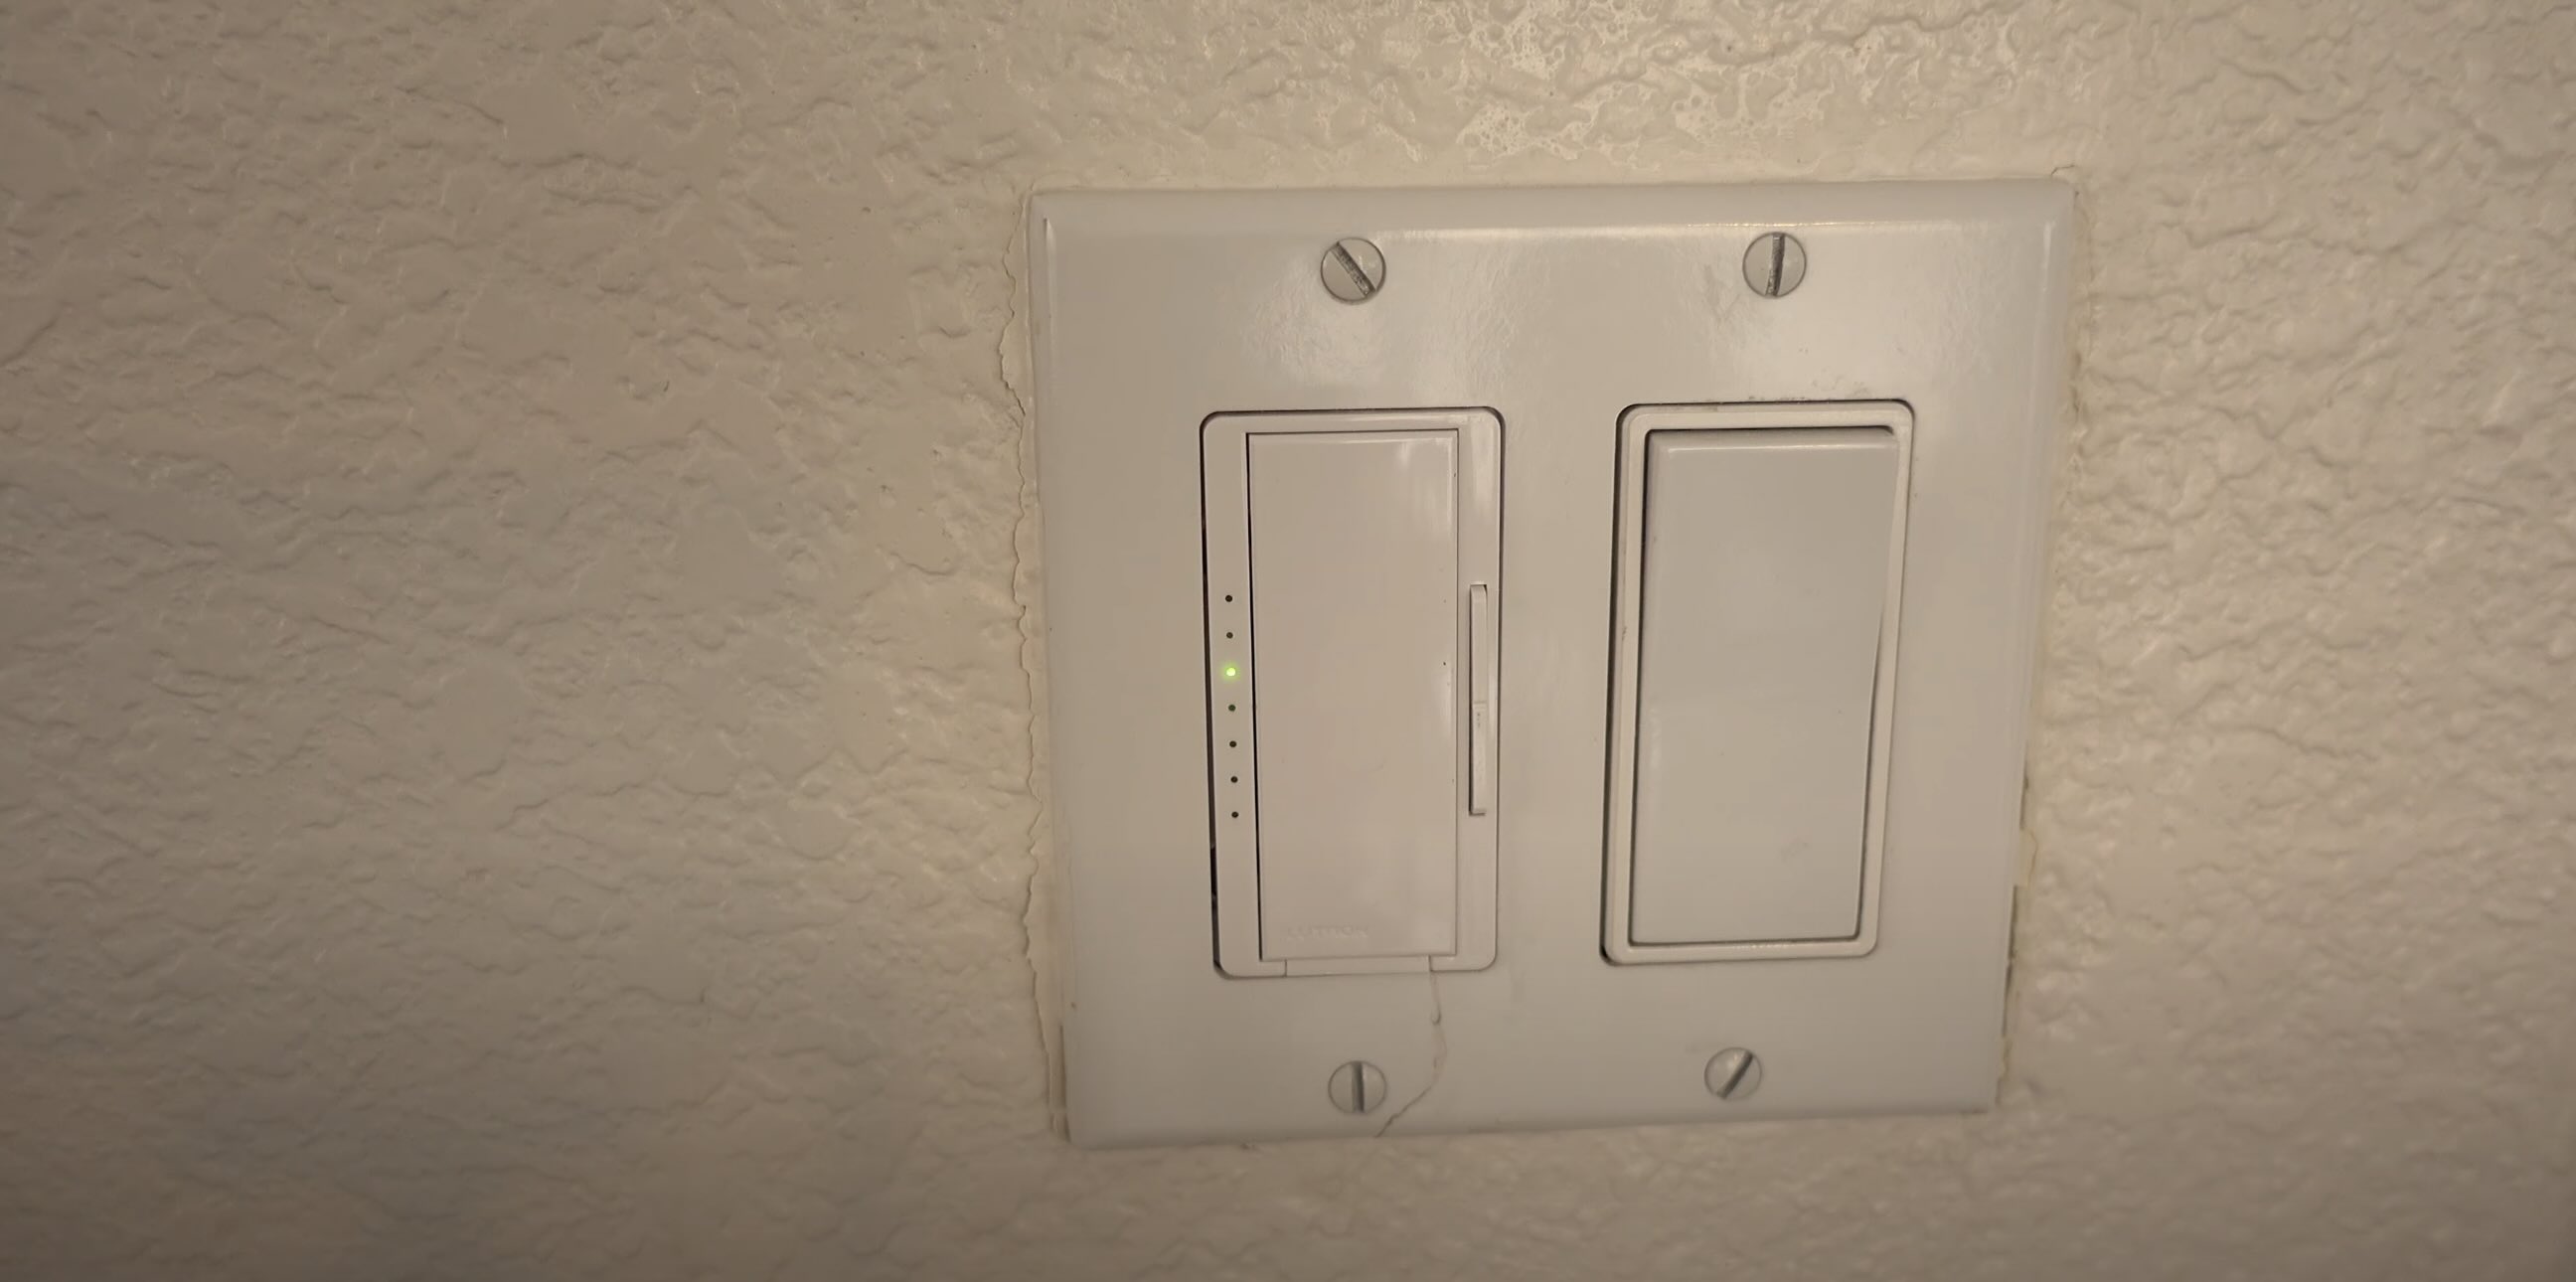
Step 5: Install the dimmer switch
Now that you have connected the 2-way dimmer switch, it’s time to install it into the switch box. Follow these steps to properly install the switch:
- Carefully push the dimmer switch back into the switch box, ensuring that all wires are neatly tucked inside. Take care not to pinch or damage any wires during this process.
- Align the screw holes on the dimmer switch with the mounting holes on the switch box.
- Using the mounting screws provided with the dimmer switch, secure the switch to the switch box. Make sure the screws are tight but be careful not to overtighten and damage the switch or the box.
- Double-check that the switch is installed securely and is flush against the switch box.
Once the dimmer switch is securely installed, you can proceed to the final step of testing the switch.
Note: If you are unsure about any step or encounter any difficulties, it is recommended to consult a licensed electrician for assistance.
With the dimmer switch now installed, you are ready to move on to the final step of testing the switch.
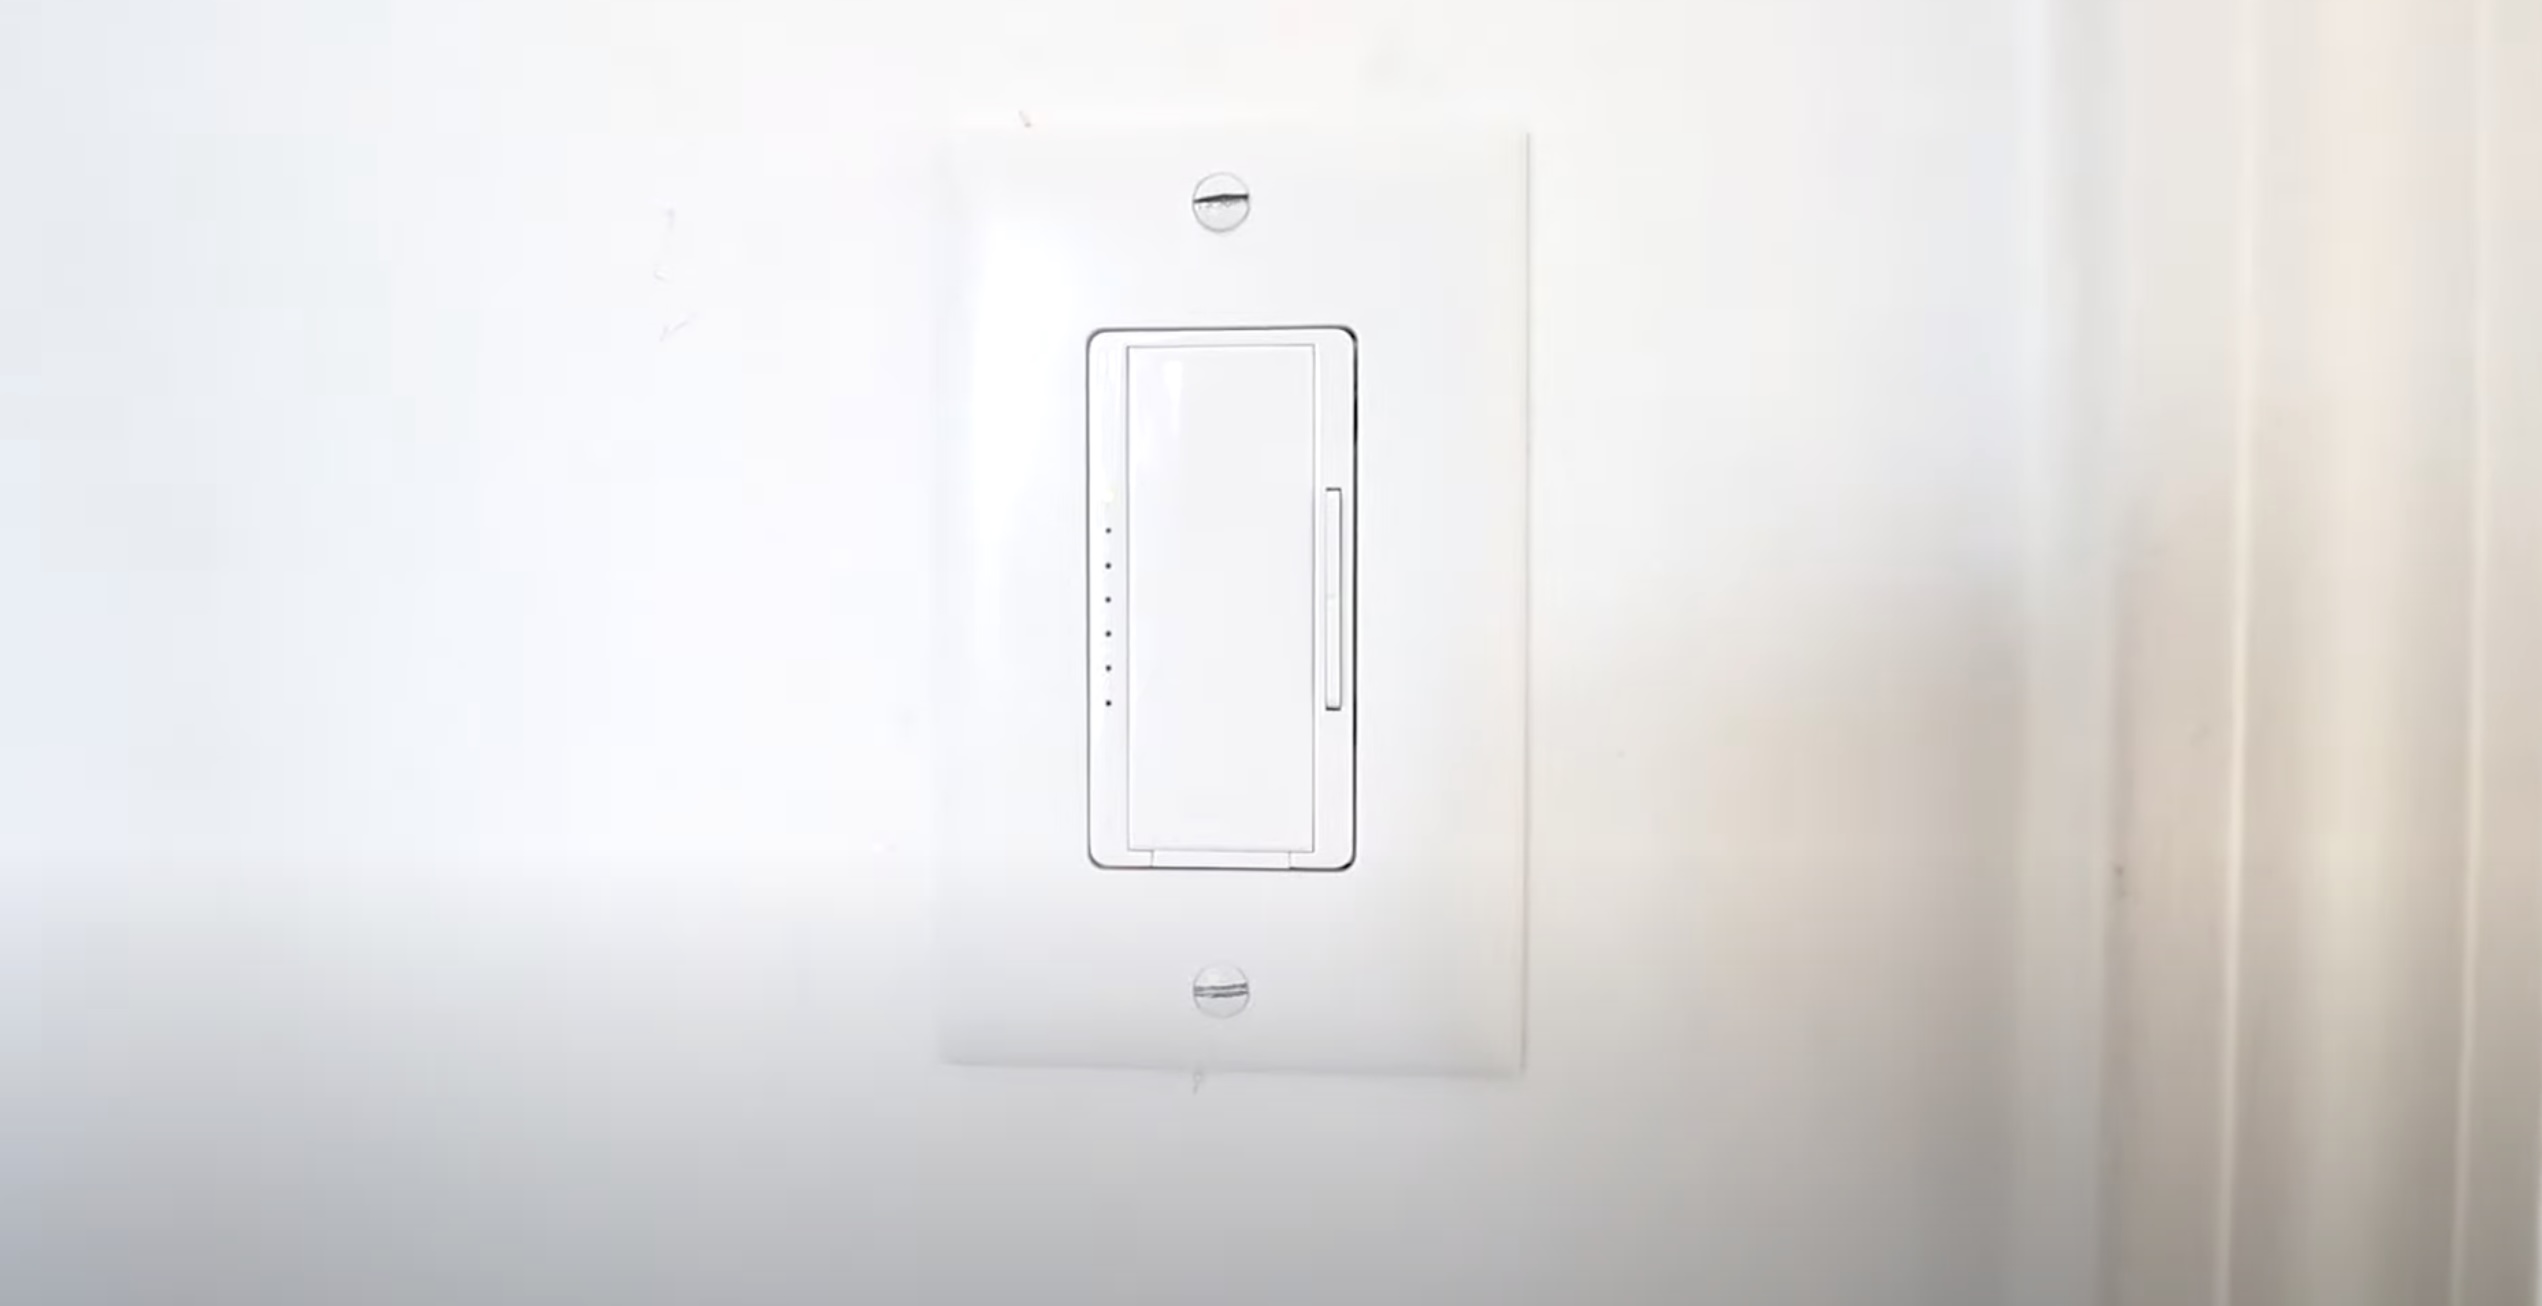
Step 6: Test the dimmer switch
Now that you have successfully installed the 2-way dimmer switch, it’s important to test its functionality to ensure everything is working correctly. Follow these steps to test the switch:
- Turn on the power to the circuit at the circuit breaker panel. Make sure the breaker that corresponds to the switch you installed is switched on.
- Go to the first switch location and turn the dimmer switch on. You should notice the light gradually increasing in brightness as you adjust the dimmer switch knob or slide. This confirms that the dimming function is working properly.
- Now, go to the second switch location (if applicable) and test the switch from there. The dimmer switch should be able to control the light’s brightness from both switch locations.
- Adjust the dimmer switch to different brightness levels and make sure the light responds accordingly. Ensure that the light turns on and off smoothly when you toggle the switch.
If the dimmer switch does not seem to be working or if you encounter any issues during the testing process, double-check the wiring connections to ensure they are secure and correct. If you are still unable to resolve the issue, it is recommended to consult a licensed electrician for further assistance.
Once you have confirmed that the dimmer switch is functioning properly, you can proceed to reattach the switch cover plate. Use a screwdriver to secure the plate with the screws you previously removed.
Congratulations! You have successfully wired up and tested a 2-way dimmer switch. Enjoy the flexibility and control over your lighting that it provides.
Note: Always exercise caution when working with electricity. If you are not confident in your abilities or have limited experience, it is best to consult a licensed electrician for assistance.
With the testing completed, you have successfully completed the installation of the 2-way dimmer switch. Enjoy the enhanced lighting control and ambiance in your space!
Conclusion
Wiring up a 2-way dimmer switch can greatly enhance the functionality and ambiance of your living spaces. With the ability to control the brightness of a light fixture from two different locations, you have the flexibility to create the perfect lighting atmosphere for any occasion.
Throughout this article, we have provided a comprehensive guide on how to wire up a 2-way dimmer switch. Starting from turning off the power and removing the existing switch, to identifying and connecting the wires, and finally installing and testing the dimmer switch, we have covered each step in detail.
It is important to always prioritize safety when working with electrical wiring. If you are unsure about any step or encounter any difficulties, it is recommended to consult a licensed electrician for professional assistance.
By following the instructions outlined in this article and using the necessary tools and materials, you can successfully install a 2-way dimmer switch and enjoy the convenience and customizable lighting it offers.
Remember, proper installation and testing of the switch are crucial to ensure its functionality. Take the time to test the switch in both locations and adjust the brightness levels to ensure everything is working as expected.
We hope this guide has been helpful in your journey to wire up a 2-way dimmer switch. Enjoy the enhanced lighting control and the ability to create the perfect ambiance in your home!
Frequently Asked Questions about How To Wire Up A 2 Way Dimmer Switch
Was this page helpful?
At Storables.com, we guarantee accurate and reliable information. Our content, validated by Expert Board Contributors, is crafted following stringent Editorial Policies. We're committed to providing you with well-researched, expert-backed insights for all your informational needs.


0 thoughts on “How To Wire Up A 2 Way Dimmer Switch”