Home>Construction & Tools>Building Materials>How To Attach A Metal Gate To A Brick Wall

Building Materials
How To Attach A Metal Gate To A Brick Wall
Modified: October 20, 2024
Learn how to attach a metal gate to a brick wall using the right building materials and techniques. Get step-by-step instructions for a secure and durable installation.
(Many of the links in this article redirect to a specific reviewed product. Your purchase of these products through affiliate links helps to generate commission for Storables.com, at no extra cost. Learn more)
Introduction
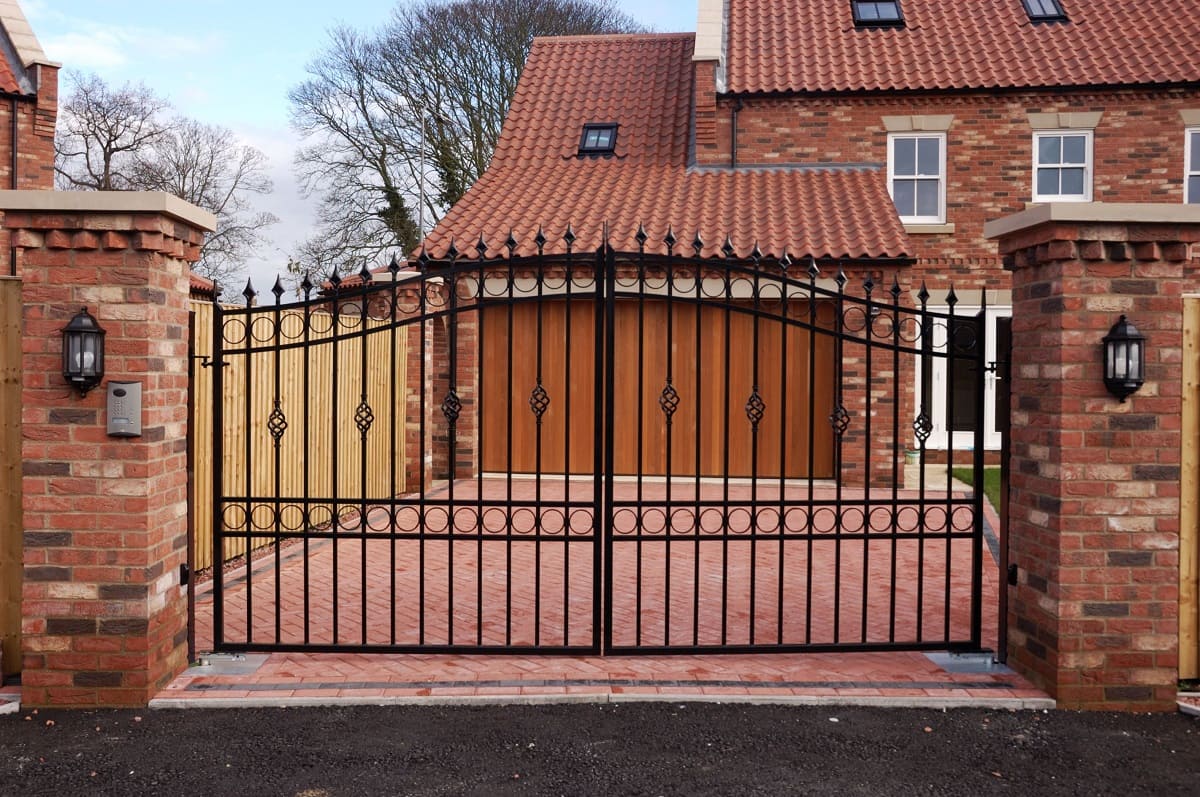
When it comes to enhancing the security and aesthetic appeal of your property, a sturdy metal gate can be a valuable addition. However, installing a metal gate onto a brick wall requires careful consideration and the right tools to ensure a secure and long-lasting attachment. Whether you’re looking to safeguard your garden, driveway, or any other area of your property, knowing how to properly attach a metal gate to a brick wall is essential to achieving a professional and reliable result.
In this comprehensive guide, we’ll walk you through the step-by-step process of securely attaching a metal gate to a brick wall. By following these instructions and using the recommended tools and materials, you can successfully complete this project and enjoy the benefits of a durable and visually appealing gate installation.
Key Takeaways:
- Securely attaching a metal gate to a brick wall requires proper preparation, precise measurements, and high-quality tools and materials. Attention to detail and regular maintenance ensure a durable and visually appealing installation.
- By following the step-by-step guide and using the recommended tools, you can confidently install a metal gate onto a brick wall, enhancing both security and aesthetic appeal. Remember to prioritize safety and enjoy the lasting benefits of a professional installation.
Read more: How To Attach Wire To Brick Wall
Tools and Materials Needed
Before embarking on the task of attaching a metal gate to a brick wall, it’s crucial to gather the necessary tools and materials. Having the right equipment at hand will not only streamline the installation process but also ensure the safety and stability of the gate. Here’s a list of essential tools and materials you’ll need for this project:
- Power drill: A high-quality power drill equipped with masonry drill bits will be essential for creating holes in the brick wall.
- Impact driver: An impact driver will aid in securely fastening screws or anchors into the brick wall.
- Measuring tape and level: Accurate measurements and a level are crucial for ensuring the gate is installed evenly and securely.
- Pencil or marker: Marking the precise locations for drilling and fastening will help maintain accuracy throughout the installation process.
- Adjustable wrench: This tool will be necessary for tightening nuts and bolts during the assembly of the gate.
- Safety goggles and gloves: Protecting your eyes and hands is essential when working with power tools and handling metal components.
- Metal gate kit: Depending on the specific design of your gate, a comprehensive gate installation kit may be required, including hinges, latch, screws, and other necessary hardware.
- Masonry anchors or screws: High-quality masonry anchors or screws designed for use with brick walls will be essential for securely attaching the gate to the wall.
- Wood blocks or spacers: These will help support the gate during installation and ensure proper spacing between the gate and the wall.
- Concrete mix (if needed): In some cases, additional support such as concrete footings or a small concrete pad may be necessary to reinforce the gate’s stability.
By ensuring you have all the necessary tools and materials on hand, you can approach the installation process with confidence, knowing that you’re well-prepared to complete the project effectively and efficiently.
Preparing the Wall and Gate
Before you begin the process of attaching a metal gate to a brick wall, it’s essential to properly prepare both the wall and the gate to ensure a successful and secure installation. Here are the key steps to take in preparing the wall and gate:
Inspect the Brick Wall
Start by thoroughly inspecting the brick wall where the gate will be installed. Look for any damaged or deteriorated areas that may compromise the stability of the installation. It’s crucial to address any structural issues with the wall before proceeding with the installation.
Locate Studs or Support Beams
If the brick wall is part of a larger structure, such as a building or a concrete foundation, identify the location of studs or support beams behind the brick. This information will guide the placement of the gate and help determine the most secure points for attachment.
Read more: How To Attach Fence To Brick Wall
Measure and Mark the Placement
Using a measuring tape and level, carefully measure and mark the precise placement of the gate on the brick wall. Ensure that the gate is positioned at the desired height and that it will swing open and close without obstruction. Double-check the measurements to guarantee accuracy.
Prepare the Gate
Prior to installation, inspect the metal gate for any defects or damage. Ensure that all hinges, latches, and other components are in good working condition. If the gate requires assembly, follow the manufacturer’s instructions to put it together properly.
Drill Pilot Holes
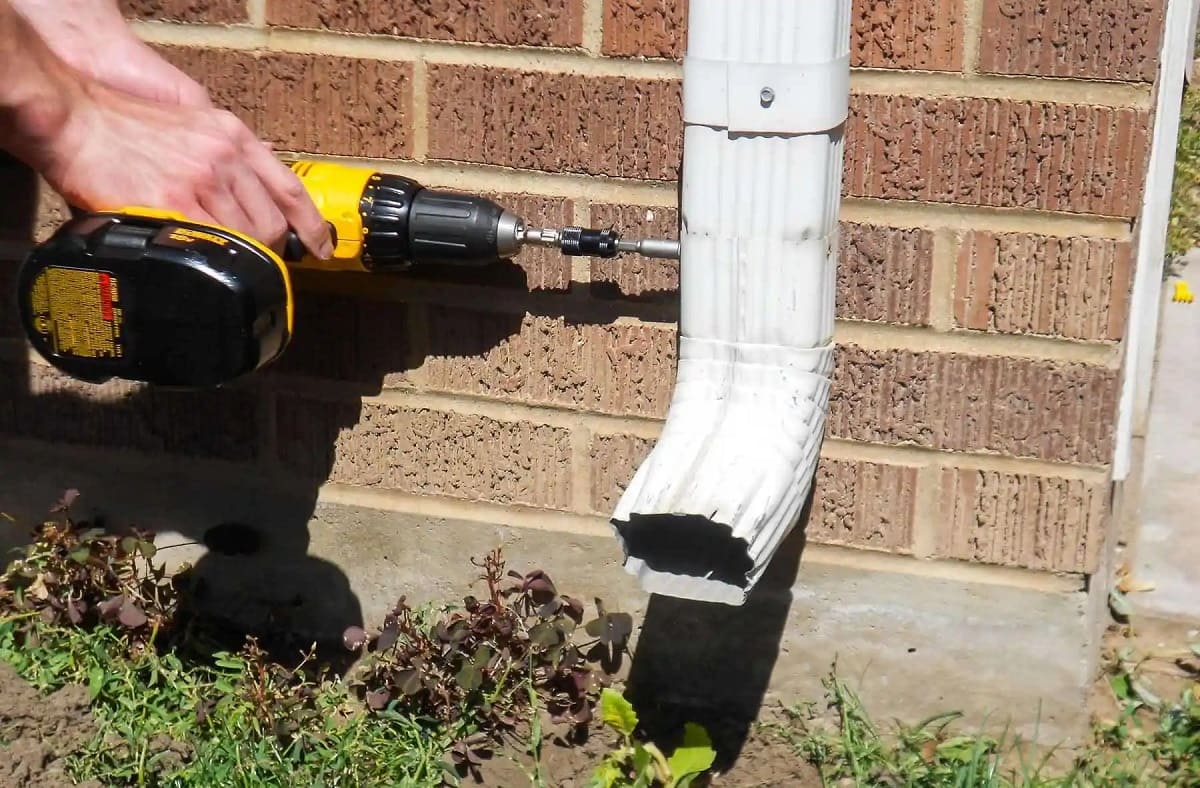
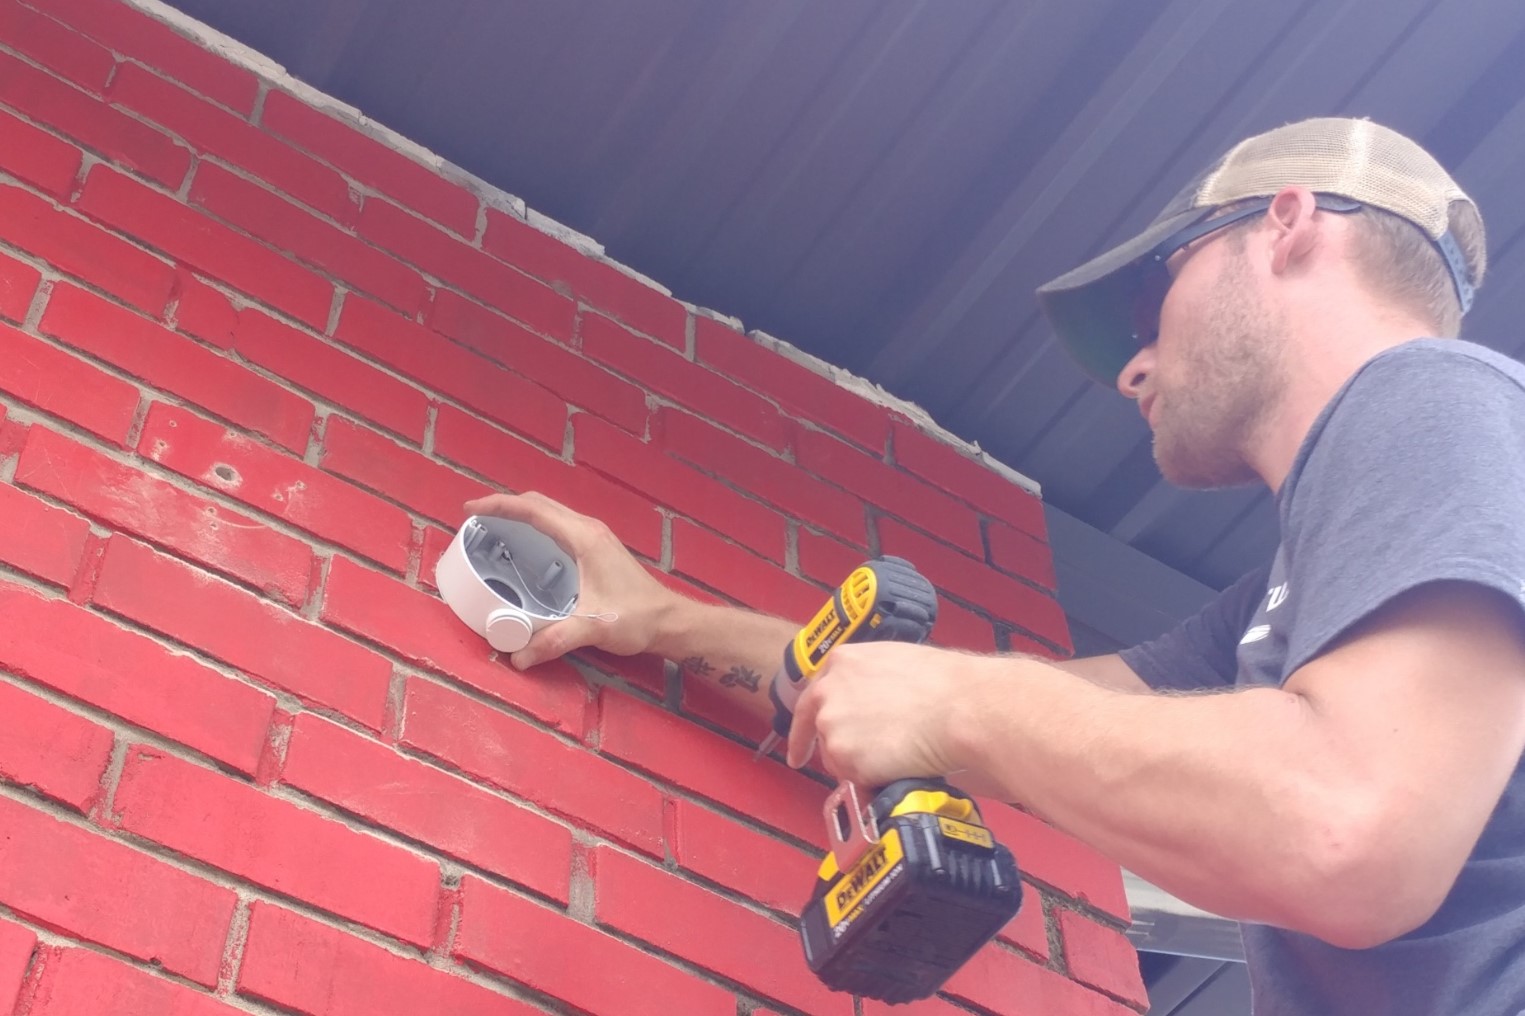
Using a power drill equipped with a masonry drill bit, carefully drill pilot holes into the brick wall at the marked locations. The pilot holes will serve as guides for the installation of anchors or screws, ensuring precise and secure attachment points for the gate.
Attach Hinges and Hardware
Depending on the design of the gate, attach the hinges and any necessary hardware to the gate itself. This step may require the assistance of a second person to hold the gate in place while the hinges are secured.
By meticulously preparing the wall and gate before installation, you’ll lay the foundation for a smooth and effective attachment process. Taking the time to inspect, measure, and position the components correctly will contribute to the overall stability and longevity of the gate installation.
Read more: How To Attach Sun Shade To Brick Wall
Attaching the Gate to the Wall
With the wall and gate properly prepared, it’s time to proceed with the crucial step of attaching the metal gate to the brick wall. This process requires precision, attention to detail, and the use of appropriate fasteners to ensure a secure and durable installation. Here’s a step-by-step guide to attaching the gate to the wall:
Insert Masonry Anchors or Screws
Begin by inserting masonry anchors or screws into the pilot holes drilled in the brick wall. Ensure that the anchors are of sufficient length and diameter to provide robust support for the weight and movement of the gate. Use an impact driver to securely fasten the anchors into the brick, taking care not to overtighten and risk damaging the wall.
Mount the Gate
With the anchors in place, carefully position the gate against the wall, aligning the hinges with the installed anchors. Enlist the help of an assistant to hold the gate steady while you secure it in position. Use the appropriate hardware to attach the hinges to the anchors, ensuring a tight and stable connection.
Check for Level and Alignment
Once the gate is partially attached, use a level to ensure that it is perfectly plumb and aligned with the surrounding structures. Make any necessary adjustments to the placement of the gate to achieve optimal alignment and smooth operation when opening and closing.
Read more: How To Build A Metal Gate For Driveway
Secure Additional Support
Depending on the size and weight of the gate, additional support may be required to enhance its stability. This could involve attaching wooden blocks or spacers between the gate and the wall to provide reinforcement and prevent sagging or shifting over time.
Test the Gate
After the gate is securely attached to the wall, test its functionality by opening and closing it several times. Ensure that it swings smoothly and latches securely without any obstructions or misalignment. Address any issues immediately to guarantee the gate’s proper operation.
Apply Finishing Touches
Once the gate is securely attached and functioning correctly, inspect the installation for any remaining adjustments or finishing touches. Tighten any loose hardware, remove any protective coverings or labels, and clean the gate and surrounding area to complete the installation.
By following these steps and paying close attention to the details of the attachment process, you can achieve a professional and reliable installation of a metal gate onto a brick wall. The result will be a secure and visually appealing addition to your property that enhances both its security and aesthetic appeal.
Conclusion
Attaching a metal gate to a brick wall is a project that combines practicality with visual impact, offering both security and aesthetic enhancement to your property. By following the steps outlined in this guide and using the recommended tools and materials, you can achieve a successful and enduring installation. Here’s a recap of the key points to keep in mind:
- Proper preparation of the brick wall and the gate is essential for a secure and stable installation.
- Accurate measurements, precise pilot hole drilling, and careful alignment are crucial during the attachment process.
- Using high-quality masonry anchors or screws, along with appropriate hardware, will ensure the gate is securely fastened to the wall.
- Regular maintenance and inspection of the gate and its attachment points will help preserve its functionality and appearance over time.
Remember that safety should always be a priority when working with power tools and handling heavy materials. Protective gear, such as safety goggles and gloves, should be worn throughout the installation process.
By completing the installation of a metal gate onto a brick wall, you’re not only enhancing the security and privacy of your property but also adding a distinctive and enduring feature that contributes to its overall appeal. Whether it’s a garden gate, driveway gate, or a decorative entrance feature, a well-installed metal gate can make a lasting impression.
With the right approach and attention to detail, you can take pride in a professional and reliable installation that stands the test of time. By following the guidance provided in this article, you’re well-equipped to embark on this project with confidence and achieve a successful outcome.
Now, armed with the knowledge and understanding of the process, you can confidently tackle the installation of a metal gate on a brick wall, enhancing the security and visual charm of your property for years to come.
Now that you've mastered attaching a metal gate to a brick wall, why not delve deeper into choosing the best masonry anchors for your next project? Our upcoming article on "12 Unbelievable Masonry Anchors for 2024" offers detailed insights into the latest innovations and choices in the market. Perfect for those looking to ensure their installations are as sturdy as possible, this guide will equip you with knowledge to select the right products confidently.
Frequently Asked Questions about How To Attach A Metal Gate To A Brick Wall
Was this page helpful?
At Storables.com, we guarantee accurate and reliable information. Our content, validated by Expert Board Contributors, is crafted following stringent Editorial Policies. We're committed to providing you with well-researched, expert-backed insights for all your informational needs.




0 thoughts on “How To Attach A Metal Gate To A Brick Wall”