Home>Renovation & DIY>Home Renovation Guides>How To Install Dormer Flashing
Home Renovation Guides
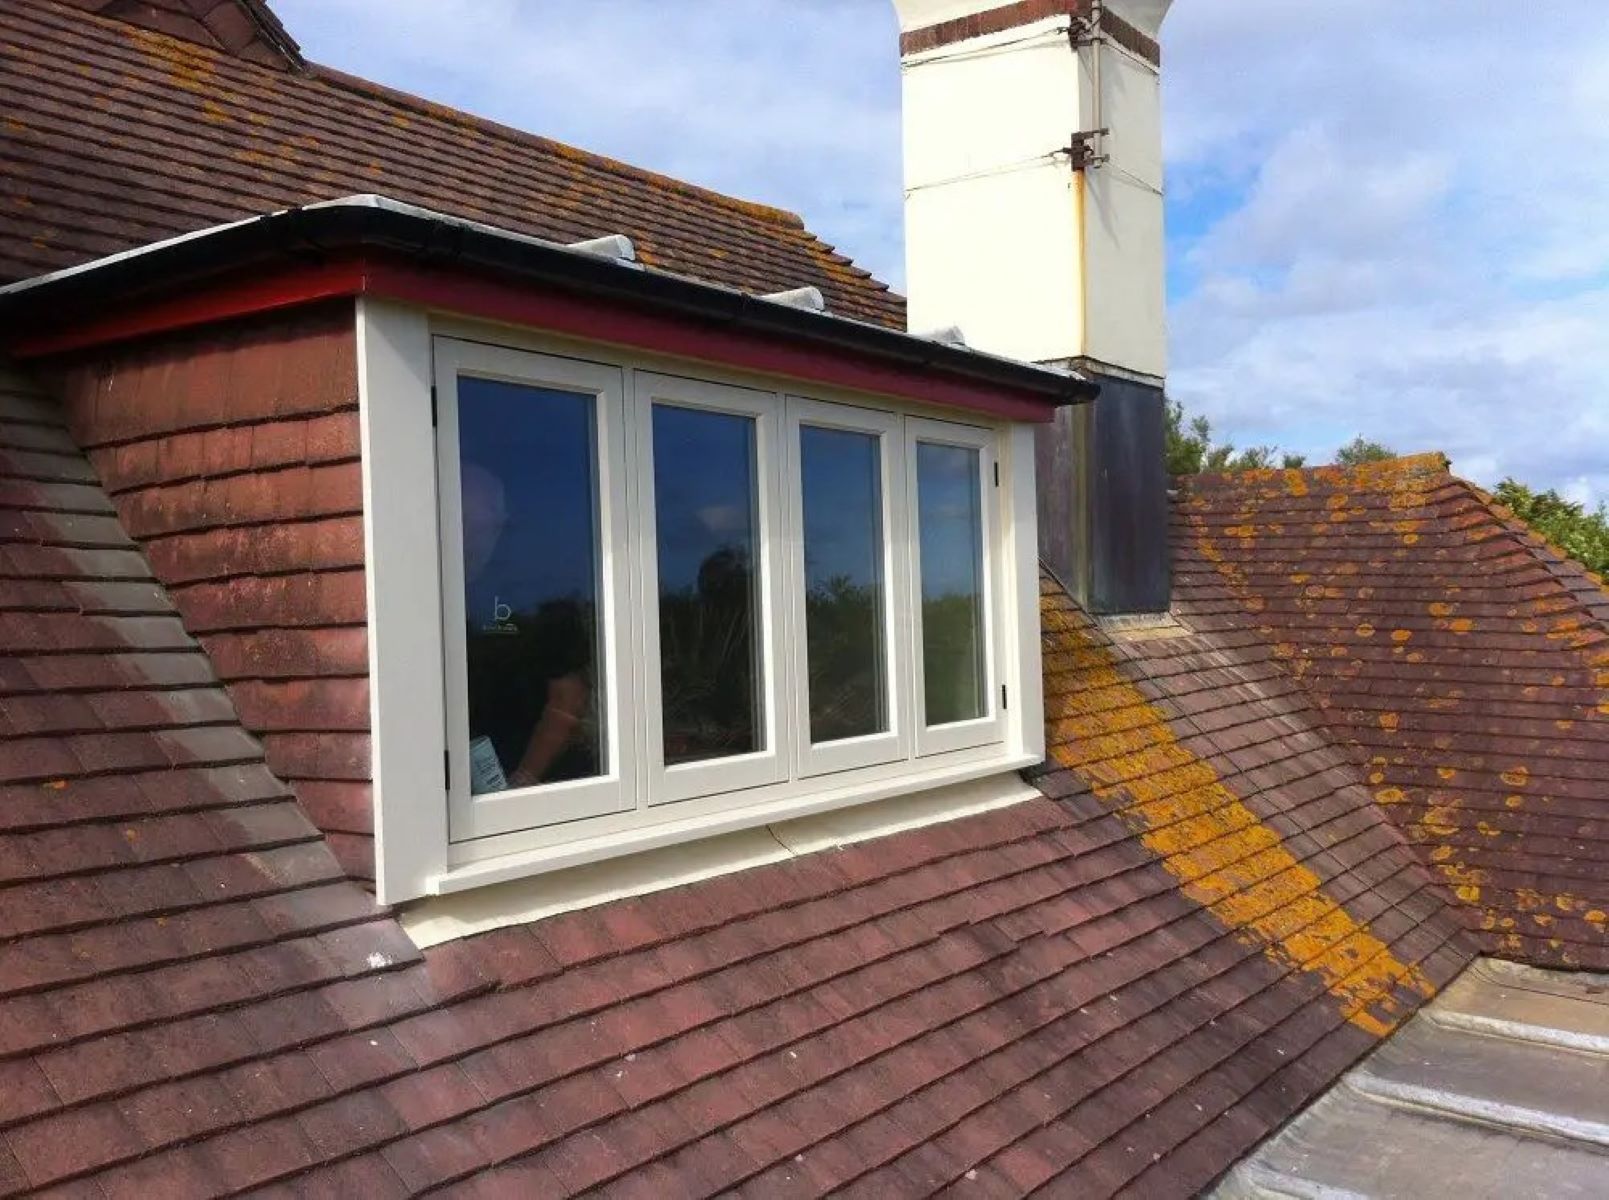
How To Install Dormer Flashing
Modified: October 20, 2024
Learn how to properly install dormer flashing with our comprehensive home renovation guide. Ensure a watertight seal and prevent leaks with expert tips and step-by-step instructions. Ideal for DIY enthusiasts and professional contractors.
(Many of the links in this article redirect to a specific reviewed product. Your purchase of these products through affiliate links helps to generate commission for Storables.com, at no extra cost. Learn more)
Introduction
Installing dormer flashing is a crucial step in ensuring the longevity and structural integrity of your home. Dormers not only add architectural interest to a house but also provide functional space and natural light to the interior. However, without proper flashing, these protruding structures can become vulnerable to water infiltration, leading to costly damage and potential structural issues.
Flashing serves as a protective barrier, preventing water from seeping into the joints and crevices around the dormer. It is a vital component of the roofing system, especially in areas prone to heavy rainfall or snow accumulation. By effectively diverting water away from vulnerable areas, flashing helps maintain the overall integrity of the roof and prevents moisture-related problems such as rot, mold, and water damage.
In this comprehensive guide, we will walk you through the step-by-step process of installing dormer flashing. Whether you are a seasoned DIY enthusiast or a homeowner looking to tackle this project for the first time, this guide will equip you with the knowledge and skills needed to execute the installation with confidence.
By following these instructions and paying attention to the details, you can safeguard your dormer against water intrusion and contribute to the long-term durability of your home. Let's dive into the process of gathering the necessary materials and preparing for a successful dormer flashing installation.
Key Takeaways:
- Protect your home by installing dormer flashing to prevent water damage and maintain structural integrity. Follow the step-by-step guide for a successful and durable installation.
- Gather materials, measure and cut flashing, install and seal it, then inspect and test to ensure a watertight barrier for your dormer.
Read more: How To Install Flashing Around A Skylight
Step 1: Gather Necessary Materials
Before embarking on the installation of dormer flashing, it is essential to gather all the necessary materials and tools to ensure a smooth and efficient process. Here's a comprehensive list of items you will need:
Materials:
-
Flashing Material: Select a durable and weather-resistant flashing material such as galvanized steel, aluminum, or copper. The material should be suitable for the specific climate and environmental conditions of your region.
-
Flashing Sealant: Choose a high-quality flashing sealant that is compatible with the flashing material. Look for a sealant that offers excellent adhesion and long-term weather resistance.
-
Roofing Nails or Screws: Depending on the type of roofing material on your dormer, gather the appropriate fasteners to secure the flashing in place. Ensure that the nails or screws are corrosion-resistant for extended durability.
-
Protective Gloves: Invest in a pair of sturdy gloves to protect your hands during the installation process. Gloves will shield your skin from sharp edges and potential abrasions while handling the flashing material.
-
Safety Goggles: Prioritize safety by wearing protective goggles to shield your eyes from any debris or particles that may be dislodged during the installation.
-
Measuring Tape: Accurate measurements are crucial for customizing the flashing to fit the dimensions of your dormer. A reliable measuring tape will ensure precision and a proper fit.
-
Utility Knife or Tin Snips: These tools are essential for cutting and shaping the flashing material to match the contours of the dormer. A sharp utility knife or tin snips will facilitate clean and precise cuts.
-
Ladder: Depending on the height of your dormer, a sturdy ladder will be necessary to access the installation area safely. Ensure that the ladder is in good condition and positioned on stable ground.
Additional Considerations:
-
Weather Conditions: Check the weather forecast before initiating the installation. Avoid working in adverse weather conditions such as heavy rain, strong winds, or extreme temperatures, as these can compromise the quality of the installation and pose safety risks.
-
Local Building Codes: Familiarize yourself with the local building codes and regulations pertaining to dormer flashing installation. Adhering to these guidelines is crucial for ensuring compliance and the structural integrity of your home.
By gathering these essential materials and considering the additional factors, you will be well-prepared to proceed with the next steps of measuring and cutting the flashing for your dormer. This meticulous preparation sets the stage for a successful and durable flashing installation, safeguarding your home against potential water damage.
Step 2: Measure and Cut Flashing
Accurate measurements and precise cuts are fundamental to the successful installation of dormer flashing. Before proceeding with the cutting process, it is essential to take thorough measurements of the dormer's dimensions to ensure a custom fit for the flashing. Here's a detailed walkthrough of the crucial steps involved in measuring and cutting the flashing for your dormer:
Read more: How To Install Flashing Under Siding
1. Assess the Dormer Dimensions
Begin by carefully examining the dormer structure to determine the specific areas where flashing will be installed. Take note of the length, width, and any unique angles or protrusions that require flashing coverage. It's important to account for any irregularities or architectural features that may impact the shape and size of the flashing.
2. Measure and Mark the Flashing Material
Using a reliable measuring tape, transfer the precise measurements of the dormer onto the flashing material. Mark the cutting lines with a pencil or marker, ensuring that the lines are straight and accurately align with the dimensions of the dormer. Pay close attention to any angles or bends that require special cuts to accommodate the dormer's contours.
3. Cut the Flashing with Precision
Once the cutting lines are marked, carefully use a sharp utility knife or tin snips to cut the flashing material along the designated lines. Exercise caution to maintain straight cuts and avoid jagged edges, as clean edges will facilitate a seamless fit and enhance the overall effectiveness of the flashing installation.
4. Verify the Fit and Adjustments
After cutting the flashing pieces, place them against the dormer to verify the fit and alignment. Make any necessary adjustments to ensure that the flashing conforms accurately to the dimensions and contours of the dormer. This step is crucial for achieving a snug and secure fit that effectively shields the vulnerable areas from water intrusion.
Read more: How To Install Roof Flashing Against A Wall
5. Double-Check the Measurements
Before proceeding to the installation phase, double-check the measurements and the fit of the flashing to confirm that it aligns precisely with the dormer's dimensions. Attention to detail at this stage will minimize the need for on-the-spot modifications during the installation, streamlining the overall process and enhancing the quality of the flashing installation.
By meticulously measuring and cutting the flashing material to custom fit your dormer, you are laying the groundwork for a robust and reliable water-resistant barrier. The precision and care invested in this stage will contribute to the long-term protection of your dormer and the structural integrity of your home. With the flashing material tailored to the specific dimensions of your dormer, you are now ready to proceed to the next phase of installing the flashing with confidence and precision.
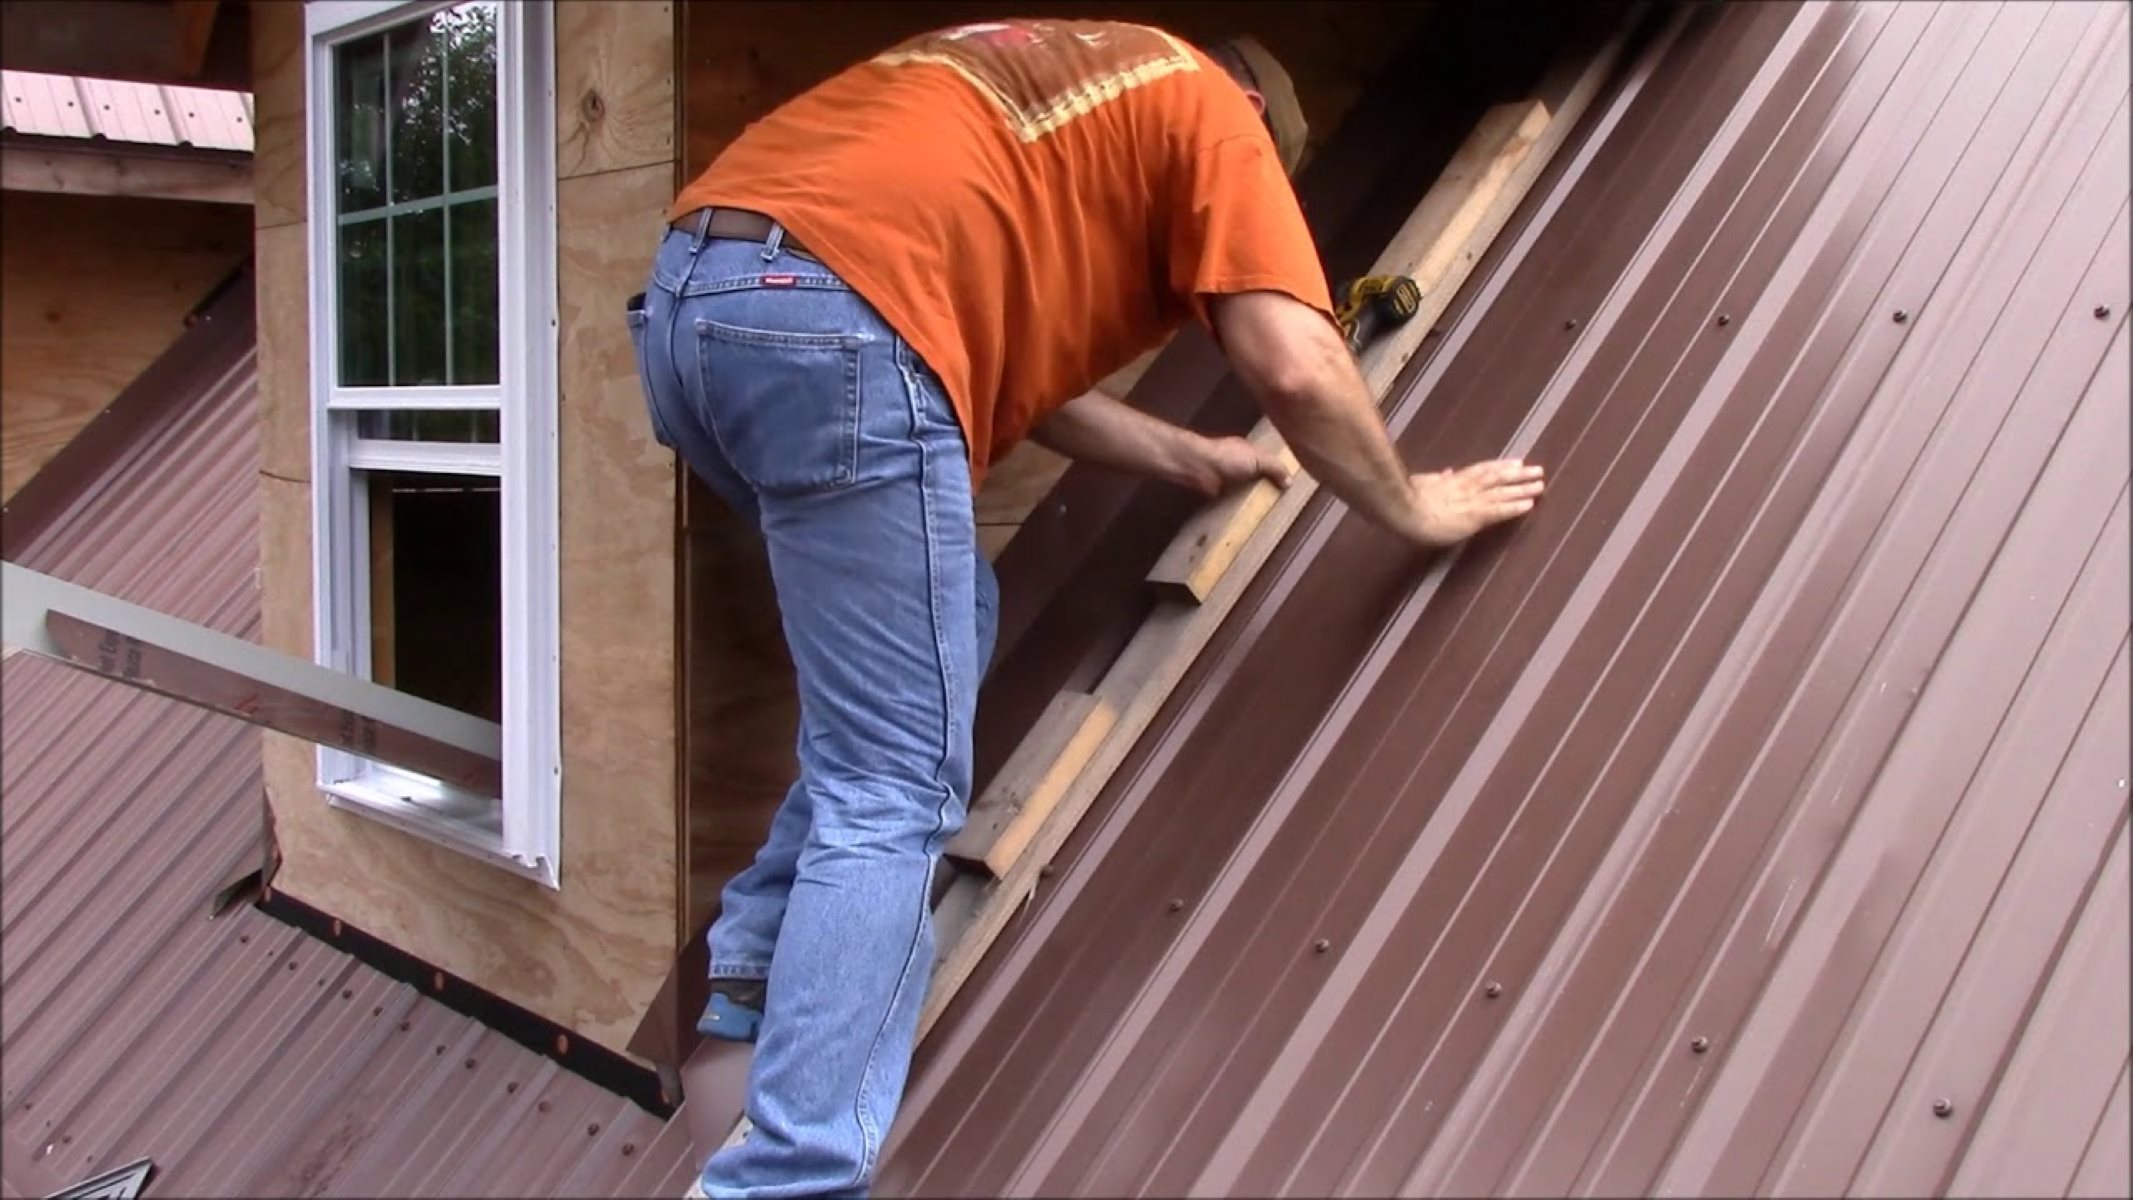
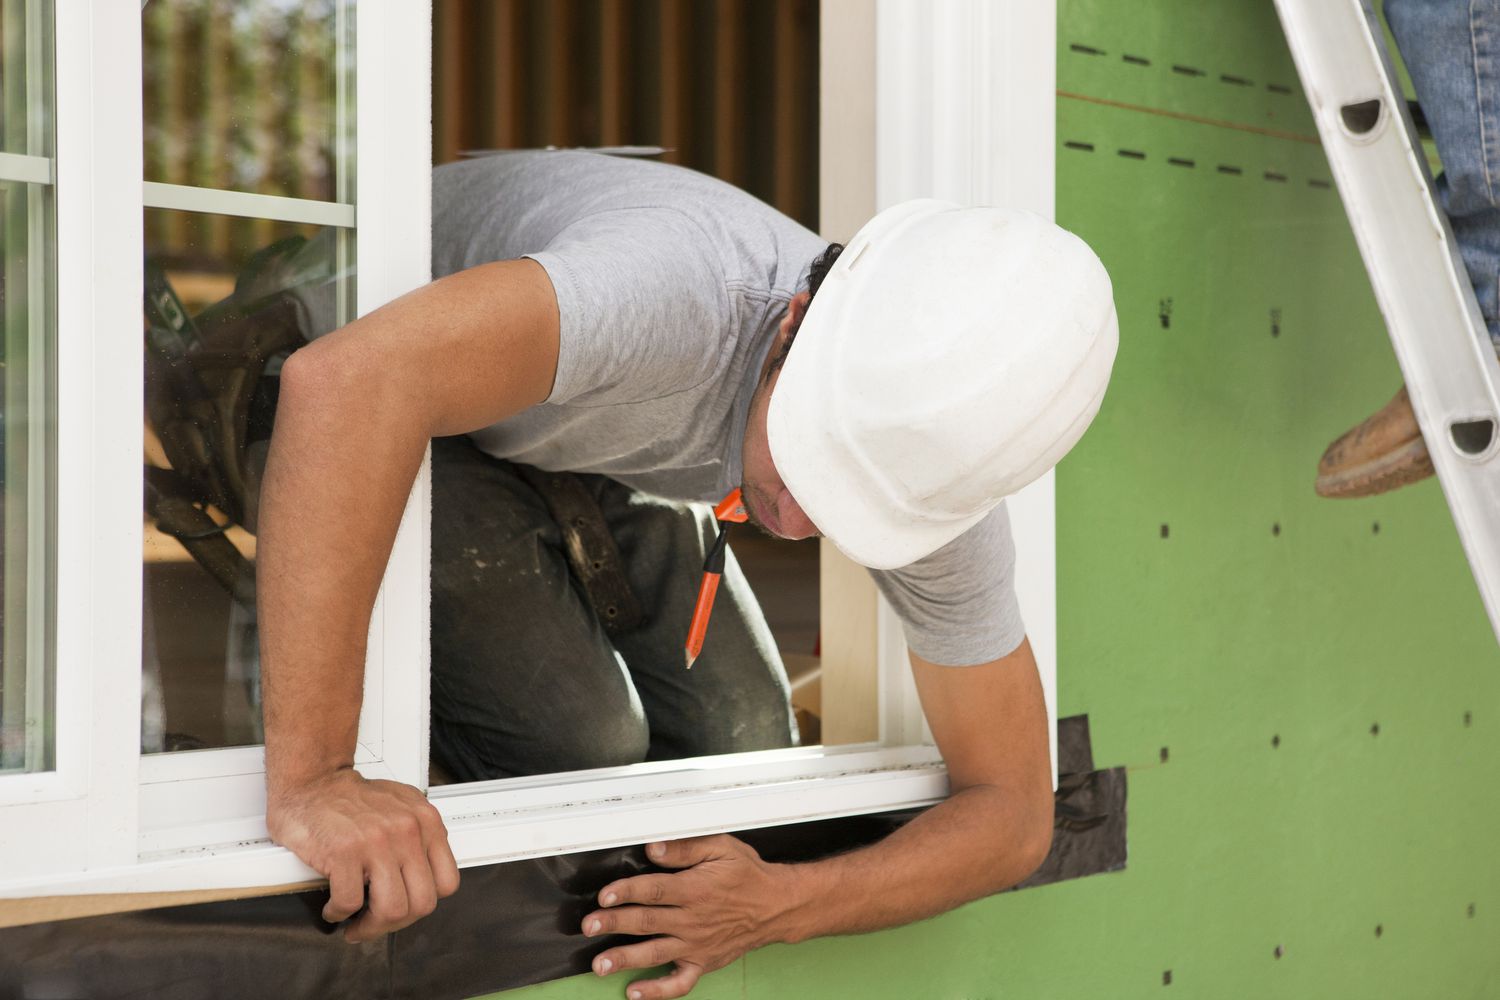
Step 3: Install Flashing on Dormer
With the flashing material custom-cut to fit the dimensions of your dormer, you are now ready to proceed with the installation phase. This critical step involves securing the flashing in place to create a watertight barrier that effectively shields the vulnerable areas of the dormer from potential water intrusion. Here's a detailed walkthrough of the process involved in installing the flashing on your dormer:
-
Positioning the Flashing: Begin by carefully positioning the pre-cut flashing pieces onto the designated areas of the dormer. Ensure that the flashing aligns seamlessly with the edges and contours of the dormer, covering the vulnerable joints and seams effectively. Pay close attention to the alignment and fit of the flashing to guarantee comprehensive coverage and optimal protection against water infiltration.
-
Securing the Flashing: Once the flashing is positioned correctly, use corrosion-resistant roofing nails or screws to secure the flashing in place. Place the fasteners at regular intervals along the edges of the flashing, ensuring a secure and stable attachment to the dormer. Be mindful of the recommended spacing for the fasteners to maintain the structural integrity of the flashing installation.
-
Overlapping Joints and Seams: In areas where multiple flashing pieces meet or overlap, ensure a proper alignment and secure connection to prevent gaps or openings that could compromise the water-resistant barrier. Overlapping the flashing pieces with precision and attention to detail is crucial for creating a seamless and impenetrable shield against water intrusion.
-
Sealing the Edges: Apply a high-quality flashing sealant along the edges and seams of the flashing to reinforce the water-resistant barrier. The sealant acts as an additional layer of protection, guarding against potential leaks and enhancing the overall durability of the flashing installation. Ensure thorough coverage and a secure seal to fortify the vulnerable areas effectively.
-
Inspecting for Proper Fit: After securing the flashing and applying the sealant, conduct a thorough visual inspection to verify the proper fit and alignment of the flashing on the dormer. Check for any gaps, loose edges, or potential areas of vulnerability that may require additional attention. Address any discrepancies promptly to ensure a robust and reliable flashing installation.
By meticulously following these steps and paying attention to the details, you can execute the installation of dormer flashing with precision and confidence. The thorough installation of the flashing creates a resilient barrier that safeguards your dormer against water intrusion, contributing to the long-term structural integrity and durability of your home. With the flashing securely in place, you are now prepared to proceed to the next phase of sealing and securing the flashing to fortify the water-resistant barrier effectively.
Step 4: Seal and Secure Flashing
Once the dormer flashing is securely installed, the next crucial step involves sealing and securing the flashing to fortify the water-resistant barrier and enhance its long-term effectiveness. This phase is pivotal in ensuring that the vulnerable areas of the dormer are comprehensively shielded from potential water intrusion, contributing to the overall durability and structural integrity of your home. Here's a detailed walkthrough of the process involved in sealing and securing the flashing on your dormer:
-
Applying Flashing Sealant: Utilize a high-quality flashing sealant that is compatible with the flashing material to reinforce the edges and seams of the flashing. Apply the sealant generously along the joints and connections, ensuring thorough coverage to create a robust and watertight seal. The sealant acts as an additional layer of protection, guarding against potential leaks and enhancing the overall durability of the flashing installation.
-
Inspecting for Proper Sealant Application: After applying the sealant, conduct a meticulous inspection to verify the thorough coverage and secure adhesion of the sealant along the edges and seams of the flashing. Check for any gaps or areas that may require additional sealant to ensure a comprehensive and impenetrable water-resistant barrier. Attention to detail at this stage is crucial for maximizing the effectiveness of the sealant and fortifying the vulnerable areas against water intrusion.
-
Securing the Sealant: Once the sealant is applied, ensure that it is securely bonded to the flashing material, forming a seamless and durable barrier. The proper adhesion of the sealant is essential for withstanding environmental elements and maintaining its protective properties over time. Verify that the sealant is firmly in place and free from any signs of potential detachment or vulnerability.
-
Reinforcing Critical Areas: Pay special attention to critical areas such as corners, intersections, and transitions where the flashing meets other structural components. Apply additional sealant as needed to reinforce these vulnerable points and create a resilient barrier that effectively diverts water away from the dormer. Thoroughly addressing these critical areas is essential for ensuring comprehensive protection against potential water infiltration.
-
Final Inspection and Touch-Ups: Conduct a final inspection of the sealed and secured flashing to identify any areas that may require touch-ups or additional sealant application. Address any discrepancies promptly to guarantee a uniform and robust seal across the entire flashing installation. Attention to detail during the final inspection will contribute to the overall effectiveness and longevity of the water-resistant barrier.
By meticulously following these steps and prioritizing the thorough sealing and securing of the dormer flashing, you can fortify the vulnerable areas against water intrusion and contribute to the long-term durability of your home. The comprehensive application of sealant creates a resilient barrier that safeguards your dormer, ensuring protection against moisture-related issues and preserving the structural integrity of your home. With the flashing effectively sealed and secured, you are now prepared to proceed to the final phase of inspecting and testing the flashing installation to validate its effectiveness and reliability.
Step 5: Inspect and Test Flashing Installation
After completing the installation and sealing of the dormer flashing, it is imperative to conduct a thorough inspection and testing process to validate the effectiveness and reliability of the water-resistant barrier. This critical step ensures that the flashing installation meets the highest standards of quality and durability, safeguarding your dormer against potential water intrusion and contributing to the long-term structural integrity of your home.
Read more: Dormer Style Ideas: Shed Dormer Windows
1. Visual Inspection
Initiate the inspection by conducting a comprehensive visual assessment of the installed flashing. Carefully examine the edges, seams, and connections to verify the proper alignment, secure attachment, and thorough application of sealant. Look for any signs of gaps, loose edges, or areas that may require additional attention to ensure a robust and impenetrable water-resistant barrier.
2. Leak Testing
Simulate real-world conditions by performing a leak test to evaluate the effectiveness of the flashing installation. Utilize a gentle and controlled water spray to direct water onto the areas protected by the flashing. Observe the behavior of the water as it interacts with the flashing, paying close attention to any signs of leakage, seepage, or inadequate water diversion. This testing process provides valuable insights into the performance of the flashing under potential water exposure scenarios.
3. Structural Integrity Assessment
Assess the overall structural integrity of the flashing installation by verifying its resistance to external forces and environmental elements. Ensure that the flashing remains securely in place and maintains its protective properties when subjected to mild wind, temperature variations, and other relevant stress factors. This assessment confirms the ability of the flashing to withstand real-world conditions and uphold its protective function over time.
4. Sealing and Adhesion Verification
Verify the adhesion and durability of the sealant applied during the installation process. Check for any signs of detachment, degradation, or inadequate coverage of the sealant along the edges and seams of the flashing. Confirm that the sealant remains firmly bonded to the flashing material, forming a resilient and long-lasting barrier against water intrusion.
Read more: How To Build A Dormer
5. Adjustment and Rectification
If the inspection and testing reveal any areas of concern or potential vulnerabilities, promptly address them through necessary adjustments and rectifications. Apply additional sealant, reinforce connections, or make any required modifications to ensure that the flashing installation meets the highest standards of effectiveness and reliability. Attention to detail during this phase is crucial for achieving a robust and durable water-resistant barrier.
By meticulously inspecting and testing the flashing installation, you can validate its effectiveness and reliability in safeguarding your dormer against water intrusion. This thorough evaluation process ensures that the flashing meets the highest standards of quality and durability, contributing to the long-term protection and structural integrity of your home. With the completion of the inspection and testing phase, you can have confidence in the resilience and effectiveness of the dormer flashing installation, providing peace of mind and long-term protection for your home.
Frequently Asked Questions about How To Install Dormer Flashing
Was this page helpful?
At Storables.com, we guarantee accurate and reliable information. Our content, validated by Expert Board Contributors, is crafted following stringent Editorial Policies. We're committed to providing you with well-researched, expert-backed insights for all your informational needs.


0 thoughts on “How To Install Dormer Flashing”