Home>Construction & Tools>Building Materials>How To Build A Brick Driveway
Building Materials
How To Build A Brick Driveway
Modified: January 25, 2024
Discover the best building materials for creating a durable and stylish brick driveway. Learn how to build a brick driveway with our expert tips and advice.
(Many of the links in this article redirect to a specific reviewed product. Your purchase of these products through affiliate links helps to generate commission for Storables.com, at no extra cost. Learn more)
Introduction
Welcome to the timeless allure of brick driveways! Transforming your driveway with bricks not only adds a touch of elegance and charm, but also enhances the overall appeal and value of your property. Whether you’re seeking a classic, rustic, or contemporary look, a brick driveway offers versatility, durability, and aesthetic appeal that is hard to match. In this comprehensive guide, we’ll walk you through the step-by-step process of building a stunning brick driveway that will stand the test of time.
From meticulous planning and preparation to the final finishing touches, each stage of the construction process plays a pivotal role in ensuring a durable and visually appealing outcome. So, roll up your sleeves and get ready to embark on a rewarding journey of creating a brick driveway that will not only elevate the curb appeal of your home but also leave a lasting impression on anyone who crosses its path.
Key Takeaways:
- Planning and preparation are crucial for building a durable brick driveway. Consider the design, drainage, and materials needed to ensure a successful and visually appealing outcome.
- Building a brick driveway requires meticulous attention to detail, from excavation and base installation to laying the bricks and adding finishing touches. The result is a timeless and enduring feature for your property.
Read more: How To Do A Brick Driveway
Step 1: Planning and Preparation
Before diving into the physical labor of building a brick driveway, it’s crucial to lay a solid foundation through meticulous planning and thorough preparation. Start by envisioning the design and layout of your driveway, considering factors such as the architectural style of your home, the landscape, and the overall aesthetic you wish to achieve.
Conduct a thorough assessment of the area where the driveway will be constructed, taking into account the existing terrain, drainage patterns, and any potential obstacles. It’s essential to obtain any necessary permits or approvals from local authorities before commencing the project, ensuring compliance with building codes and regulations.
Next, create a detailed blueprint or layout of the driveway, specifying the dimensions, patterns, and any additional features such as borders or edging. This plan will serve as a roadmap for the construction process, guiding the placement of bricks and ensuring a cohesive, visually appealing result.
Consider the materials required for the project, including the type and quantity of bricks, as well as any supplementary materials such as sand, gravel, and edging materials. Accurately calculating the quantities will prevent delays and ensure a seamless construction process.
Furthermore, it’s essential to assess the drainage needs of the driveway, incorporating effective drainage solutions to prevent water accumulation and potential damage to the bricks over time. Proper drainage planning is integral to the longevity and structural integrity of the driveway.
Lastly, gather the necessary tools and equipment for the project, including but not limited to shovels, rakes, a wheelbarrow, a level, a compactor, and safety gear. Having the right tools at your disposal will streamline the construction process and contribute to the overall efficiency and precision of the project.
By investing time and effort in meticulous planning and thorough preparation, you’ll establish a solid foundation for the successful execution of your brick driveway project, setting the stage for the subsequent stages of excavation, base installation, and brick laying.
Step 2: Excavation and Grading
With the planning phase complete, it’s time to transition to the physical groundwork of building your brick driveway. The first crucial step in this process is excavation and grading, which sets the stage for the installation of the driveway’s base and the subsequent laying of bricks.
Begin by marking the boundaries of the driveway area outlined in your plan, using stakes and string to establish clear lines for excavation. It’s essential to ensure that the dimensions and layout align with the initial design, making any necessary adjustments at this stage to accommodate the specific requirements of the project.
Once the boundaries are marked, proceed with excavation, removing the existing surface material to the required depth. Depending on the soil composition and the intended use of the driveway, the depth of excavation may vary. Typically, a depth of 8 to 10 inches is recommended to accommodate the base and the thickness of the bricks, ensuring stability and longevity.
As you excavate the area, pay close attention to the grading of the site, ensuring that the surface slopes away from the property to facilitate proper drainage. This slope will prevent water from pooling on the driveway, mitigating potential water damage and prolonging the lifespan of the bricks and the base beneath them.
Following excavation, compact the soil using a plate compactor to create a firm, stable foundation for the base materials. This step is crucial in minimizing the risk of settling or shifting over time, promoting the structural integrity of the driveway.
With the site excavated and graded to perfection, you’re now ready to move on to the next phase of the project: base installation. Proper excavation and grading lay the groundwork for a durable and resilient brick driveway, setting the stage for the subsequent stages of construction with confidence and precision.
Step 3: Base Installation
As the foundation of your brick driveway takes shape, the installation of a sturdy and reliable base becomes paramount. The base serves as the underlying support system for the bricks, providing stability, load-bearing capacity, and resistance to settling or shifting over time. Proper base installation is integral to the longevity and structural integrity of the driveway.
Commence the base installation by spreading a layer of crushed gravel or stone aggregate evenly across the excavated area. This base material, often referred to as “road base” or “crusher run,” should be compacted thoroughly to achieve a solid, uniform foundation. Aim for a base thickness of 4 to 6 inches, adjusting as needed to achieve the desired level and slope for the driveway.
Using a mechanical compactor, such as a vibrating plate compactor, compact the base material in layers to ensure a stable and uniform surface. This process helps to eliminate air gaps and achieve optimum density, enhancing the load-bearing capacity of the base and minimizing the risk of settlement or erosion.
Following compaction, add a layer of coarse sand, typically referred to as “bedding sand,” over the compacted base. The bedding sand provides a smooth and level surface for the placement of the bricks, facilitating precise alignment and uniformity during the installation process. Aim for a bedding sand layer thickness of approximately 1 inch, ensuring even distribution across the entire driveway area.
Using a screed board or a similar leveling tool, smooth and level the bedding sand to create a uniform surface with the desired slope for drainage. This step is crucial in preparing the base for the meticulous placement of the bricks, ensuring a visually appealing and structurally sound end result.
With the base installation complete, the stage is set for the artistic and intricate process of laying the bricks, where precision and attention to detail will bring your vision to life. The solid foundation established through meticulous base installation forms the bedrock of a resilient and enduring brick driveway, poised to withstand the test of time with grace and durability.
When building a brick driveway, make sure to properly prepare the base by excavating and compacting the soil. Use a layer of sand and then lay the bricks in a pattern to ensure stability and durability.
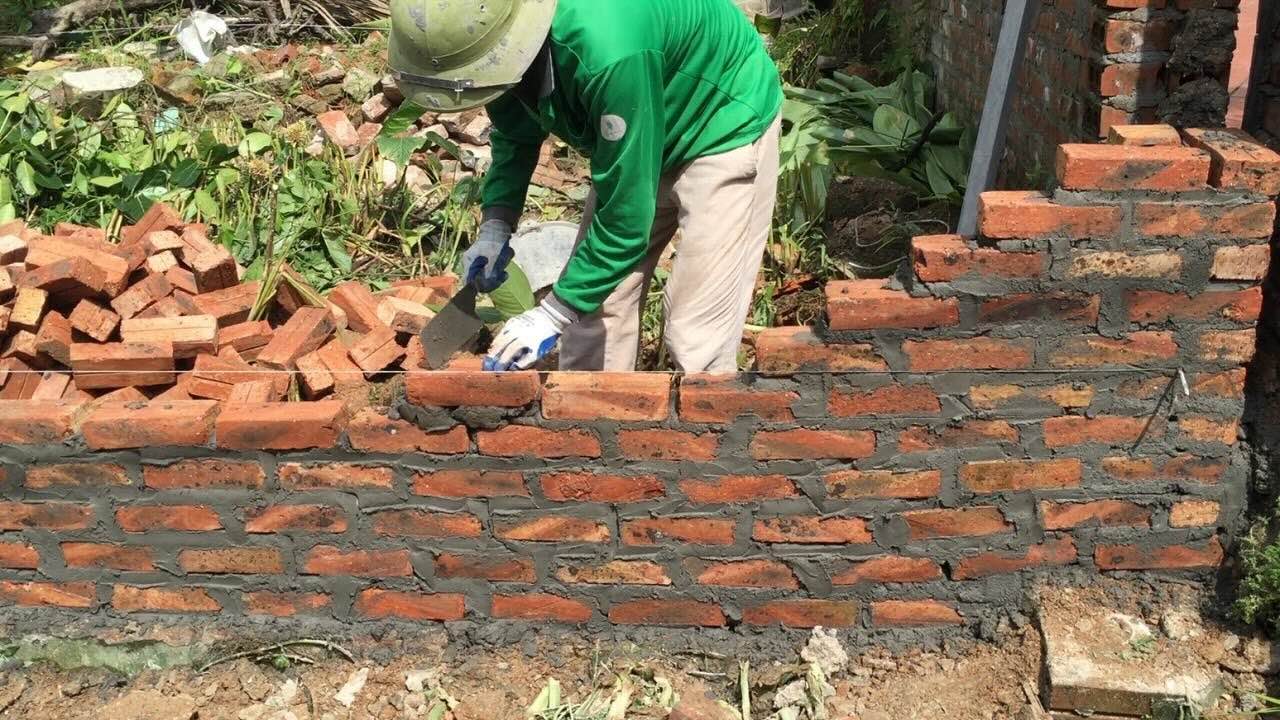
Step 4: Laying the Bricks
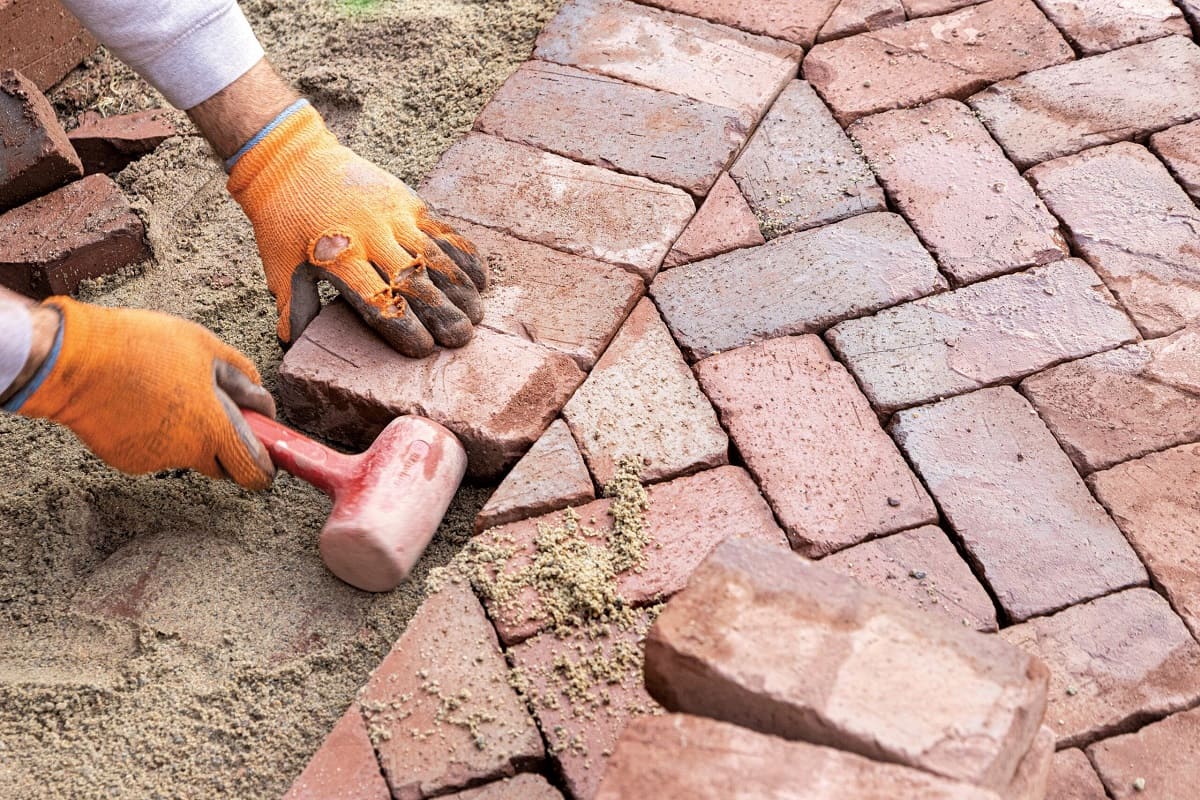
With the groundwork meticulously prepared, it’s time to embark on the captivating process of laying the bricks, where craftsmanship and precision converge to create a visually stunning and enduring driveway. The artistry of bricklaying lends character and charm to the entire project, infusing the driveway with a timeless appeal that resonates with classic elegance.
Begin by establishing a sturdy edge restraint along the perimeter of the driveway area to contain the bricks and maintain the integrity of the design. This edge restraint, often composed of durable materials such as concrete or plastic, secures the perimeter of the driveway, preventing the displacement of bricks and preserving the overall structure.
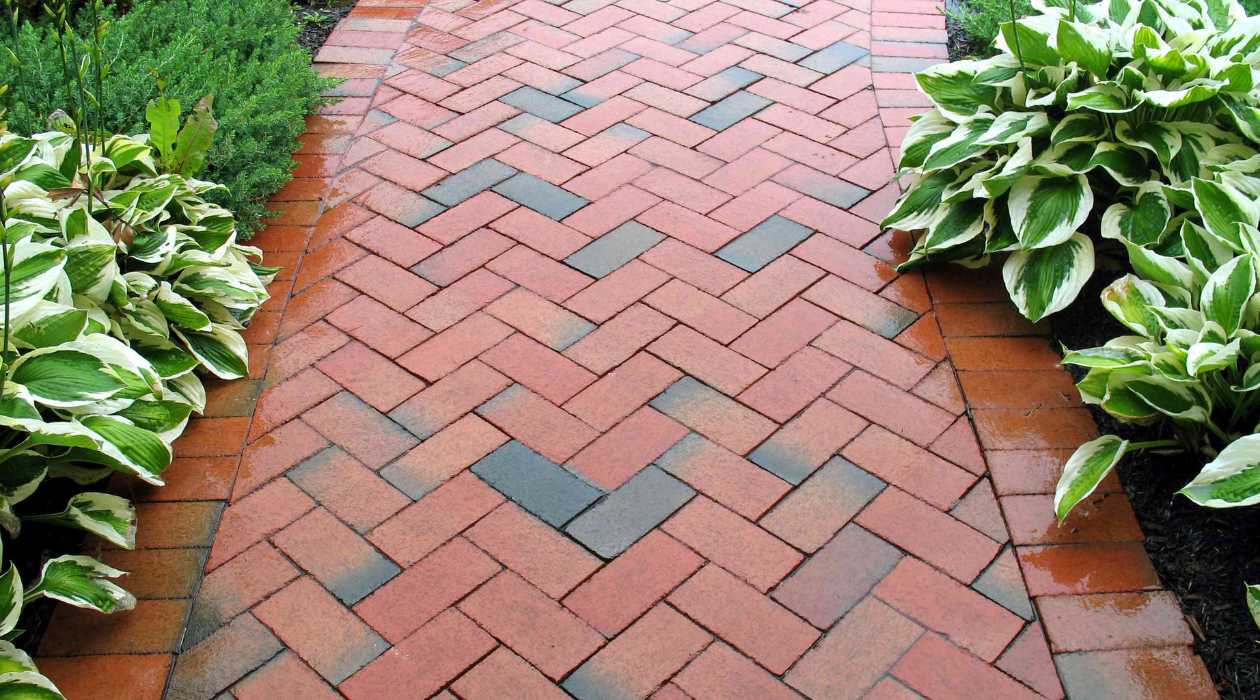
Next, commence the placement of the bricks according to the designated pattern or layout outlined in your initial plan. Whether you opt for a traditional herringbone pattern, a sleek running bond, or a captivating basket weave, the arrangement of the bricks contributes significantly to the visual impact of the driveway.
As you lay the bricks, maintain consistent joint widths and precise alignment, ensuring a uniform and aesthetically pleasing surface. Utilize a string line or straight edge to guide the placement of the bricks, promoting straight, even rows and a cohesive overall appearance.
Interlock the bricks securely, utilizing their interlocking design to create a stable and resilient surface. This interlocking arrangement enhances the load-bearing capacity of the driveway, contributing to its durability and resistance to shifting or settling over time.
Throughout the bricklaying process, periodically check the alignment, level, and slope of the bricks to guarantee a seamless and visually appealing result. Adjust the placement as needed to maintain the desired pattern and ensure uniformity across the entire driveway.
Upon completing the bricklaying process, fill the joints between the bricks with fine sand, sweeping it across the surface and into the crevices. This sand serves to stabilize the bricks, minimize movement, and enhance the overall structural integrity of the driveway.
As the final brick finds its place, the driveway begins to exude a sense of completion and refinement, embodying the timeless allure of a meticulously crafted brick surface. The artful precision and attention to detail invested in laying the bricks culminate in a driveway that beckons with elegance and durability, a testament to the enduring appeal of brick construction.
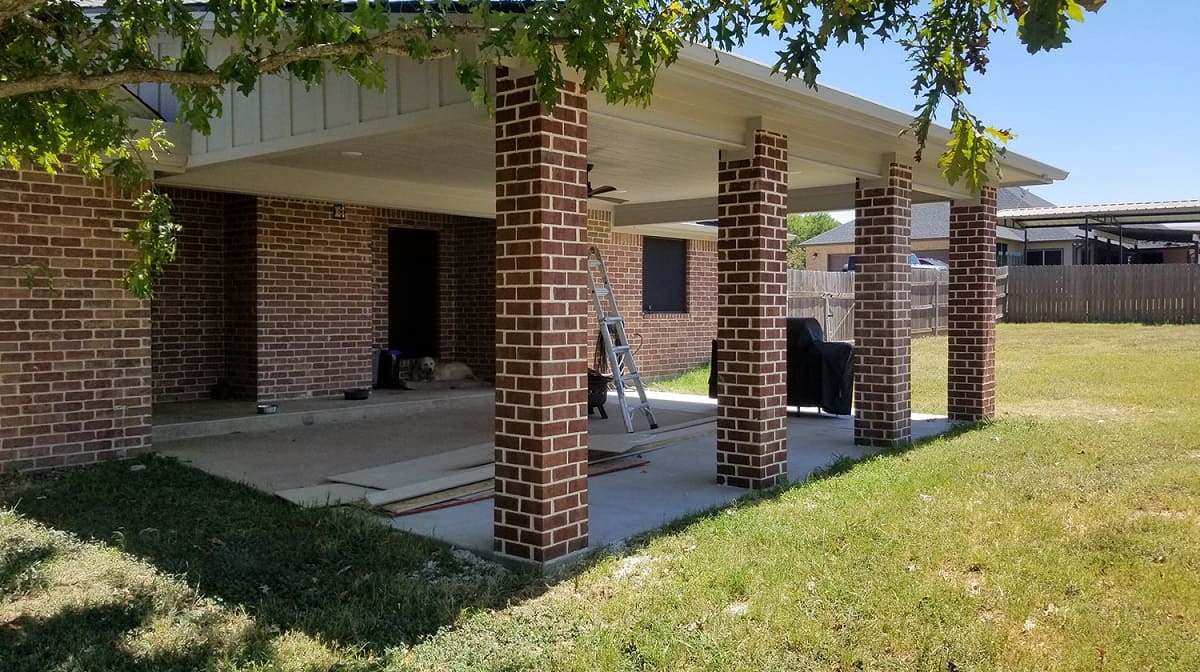
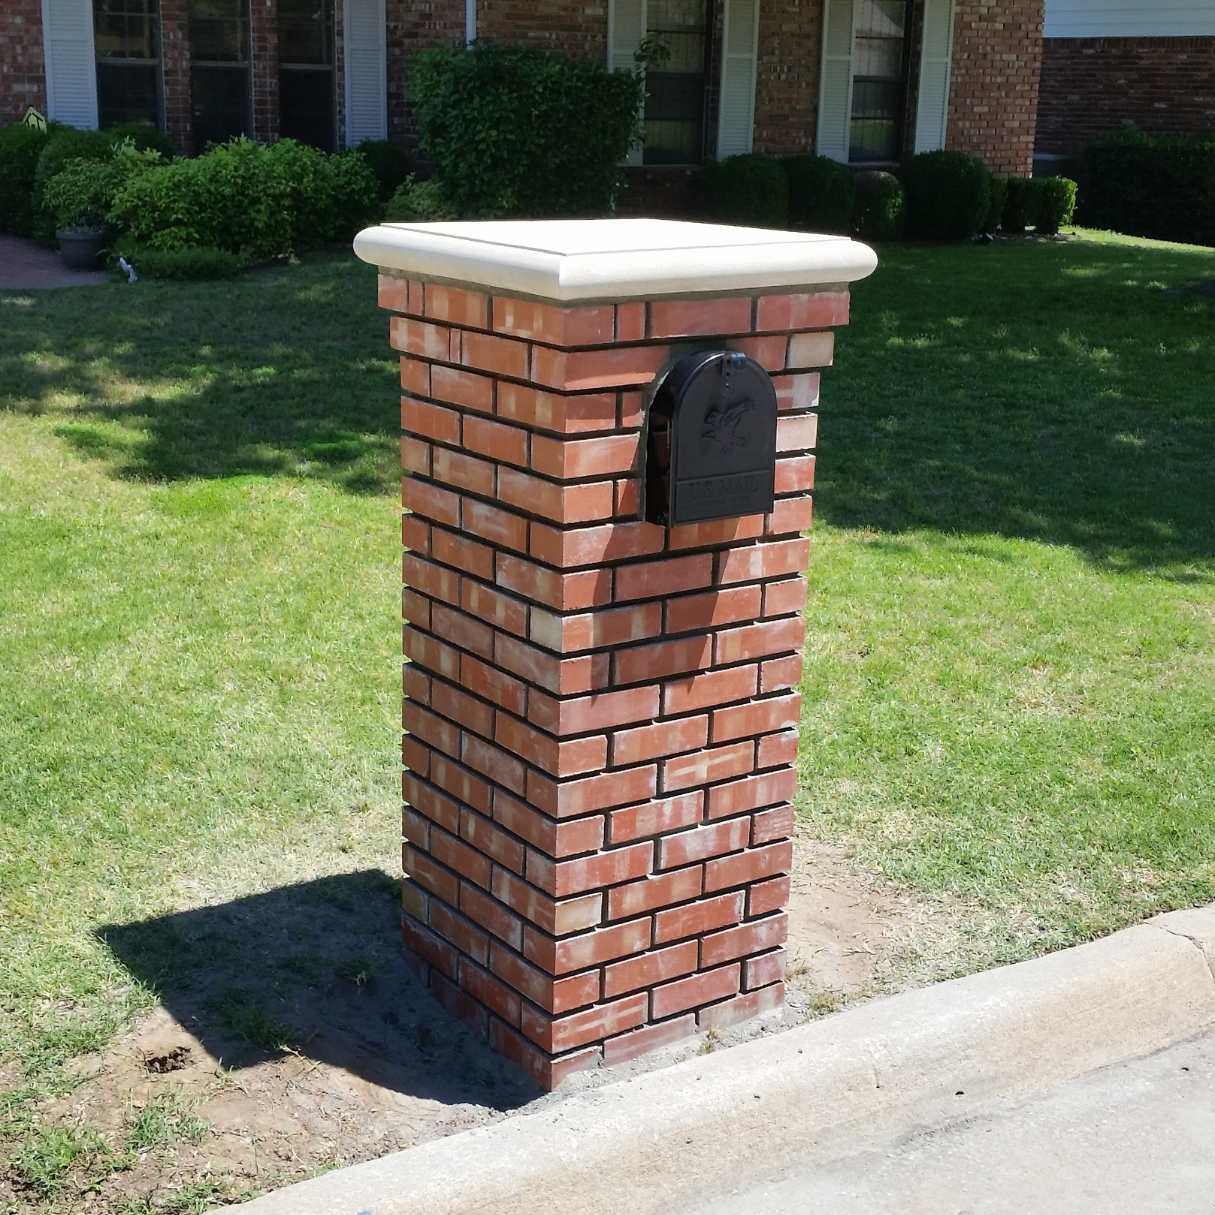
Read more: How To Build Driveway Pillars
Step 5: Finishing Touches
As the bricks settle into place, the final phase of constructing your brick driveway unfolds, offering an opportunity to add the finishing touches that elevate its aesthetic appeal and functionality. These subtle yet impactful details contribute to the overall allure and performance of the driveway, enhancing its visual impact and durability.
Commence the finishing touches by sweeping fine sand or polymeric sand across the surface of the driveway, ensuring that the joints between the bricks are thoroughly filled. This sand serves to stabilize the bricks, minimize weed growth, and enhance the structural integrity of the entire surface.
Following the sand application, utilize a compactor to gently vibrate and settle the sand into the joints, creating a firm and cohesive bond between the bricks. This process further enhances the stability and longevity of the driveway, fortifying its resistance to shifting and settling over time.
Consider incorporating a sealant to protect the surface of the bricks and enhance their color and sheen. A high-quality sealant not only shields the bricks from stains and weathering but also accentuates their natural beauty, enriching the visual appeal of the entire driveway.
Embellish the edges of the driveway with complementary border stones or pavers, adding a refined and polished touch to the perimeter. These border elements not only accentuate the design of the driveway but also provide a durable and visually appealing transition from the driveway to the surrounding landscape.
Integrate effective drainage solutions, such as strategically placed drains or channels, to ensure proper water runoff and prevent pooling on the driveway surface. Thoughtful consideration of drainage promotes the longevity of the bricks and the overall structural integrity of the driveway.
Finally, step back and admire the transformation that has taken place, as your vision of a stunning brick driveway becomes a tangible reality. Each finishing touch contributes to the refinement and resilience of the driveway, culminating in a harmonious blend of aesthetic allure and practical functionality.
With the completion of the finishing touches, your brick driveway stands as a testament to meticulous craftsmanship and enduring elegance, ready to welcome visitors with its timeless charm and enduring beauty.
Conclusion
Congratulations on successfully navigating the intricate and rewarding journey of building a brick driveway! From the initial vision and meticulous planning to the physical labor and artful craftsmanship, each phase of the construction process has contributed to the creation of a timeless and enduring feature that graces your property with elegance and charm.
As you reflect on the transformation that has taken place, take pride in the durability and visual allure of your new brick driveway. The enduring appeal of brick construction, combined with the meticulous attention to detail invested in every stage of the project, has resulted in a driveway that not only enhances the curb appeal of your home but also stands as a testament to enduring craftsmanship and timeless beauty.
Embrace the versatility and resilience of your brick driveway, knowing that it will withstand the test of time with grace and durability. Whether you opt for a classic herringbone pattern, a contemporary running bond, or a captivating basket weave, the enduring charm and durability of brick construction will continue to captivate and impress for years to come.
As your brick driveway takes its place as a focal point of your property, it invites admiration and appreciation, leaving a lasting impression on all who cross its path. The fusion of artistry and functionality embodied in the brick surface reflects a commitment to enduring quality and timeless elegance, enriching the overall aesthetic of your home.
With the completion of your brick driveway, you have not only enhanced the visual appeal and value of your property but also created a lasting legacy of enduring craftsmanship and timeless allure. As the seasons unfold and the years pass, your brick driveway will continue to beckon with its timeless charm and unwavering durability, a testament to the enduring legacy of brick construction.
Embrace the pride of accomplishment as you behold the seamless blend of artistry and functionality that defines your brick driveway, a testament to enduring elegance and timeless allure.
Frequently Asked Questions about How To Build A Brick Driveway
Was this page helpful?
At Storables.com, we guarantee accurate and reliable information. Our content, validated by Expert Board Contributors, is crafted following stringent Editorial Policies. We're committed to providing you with well-researched, expert-backed insights for all your informational needs.


0 thoughts on “How To Build A Brick Driveway”