Home>Construction & Tools>Building Materials>How To Install Soffit On A Brick House

Building Materials
How To Install Soffit On A Brick House
Modified: May 6, 2024
Learn how to install soffit on a brick house using the best building materials. Our step-by-step guide will help you achieve a professional finish.
(Many of the links in this article redirect to a specific reviewed product. Your purchase of these products through affiliate links helps to generate commission for Storables.com, at no extra cost. Learn more)
Introduction
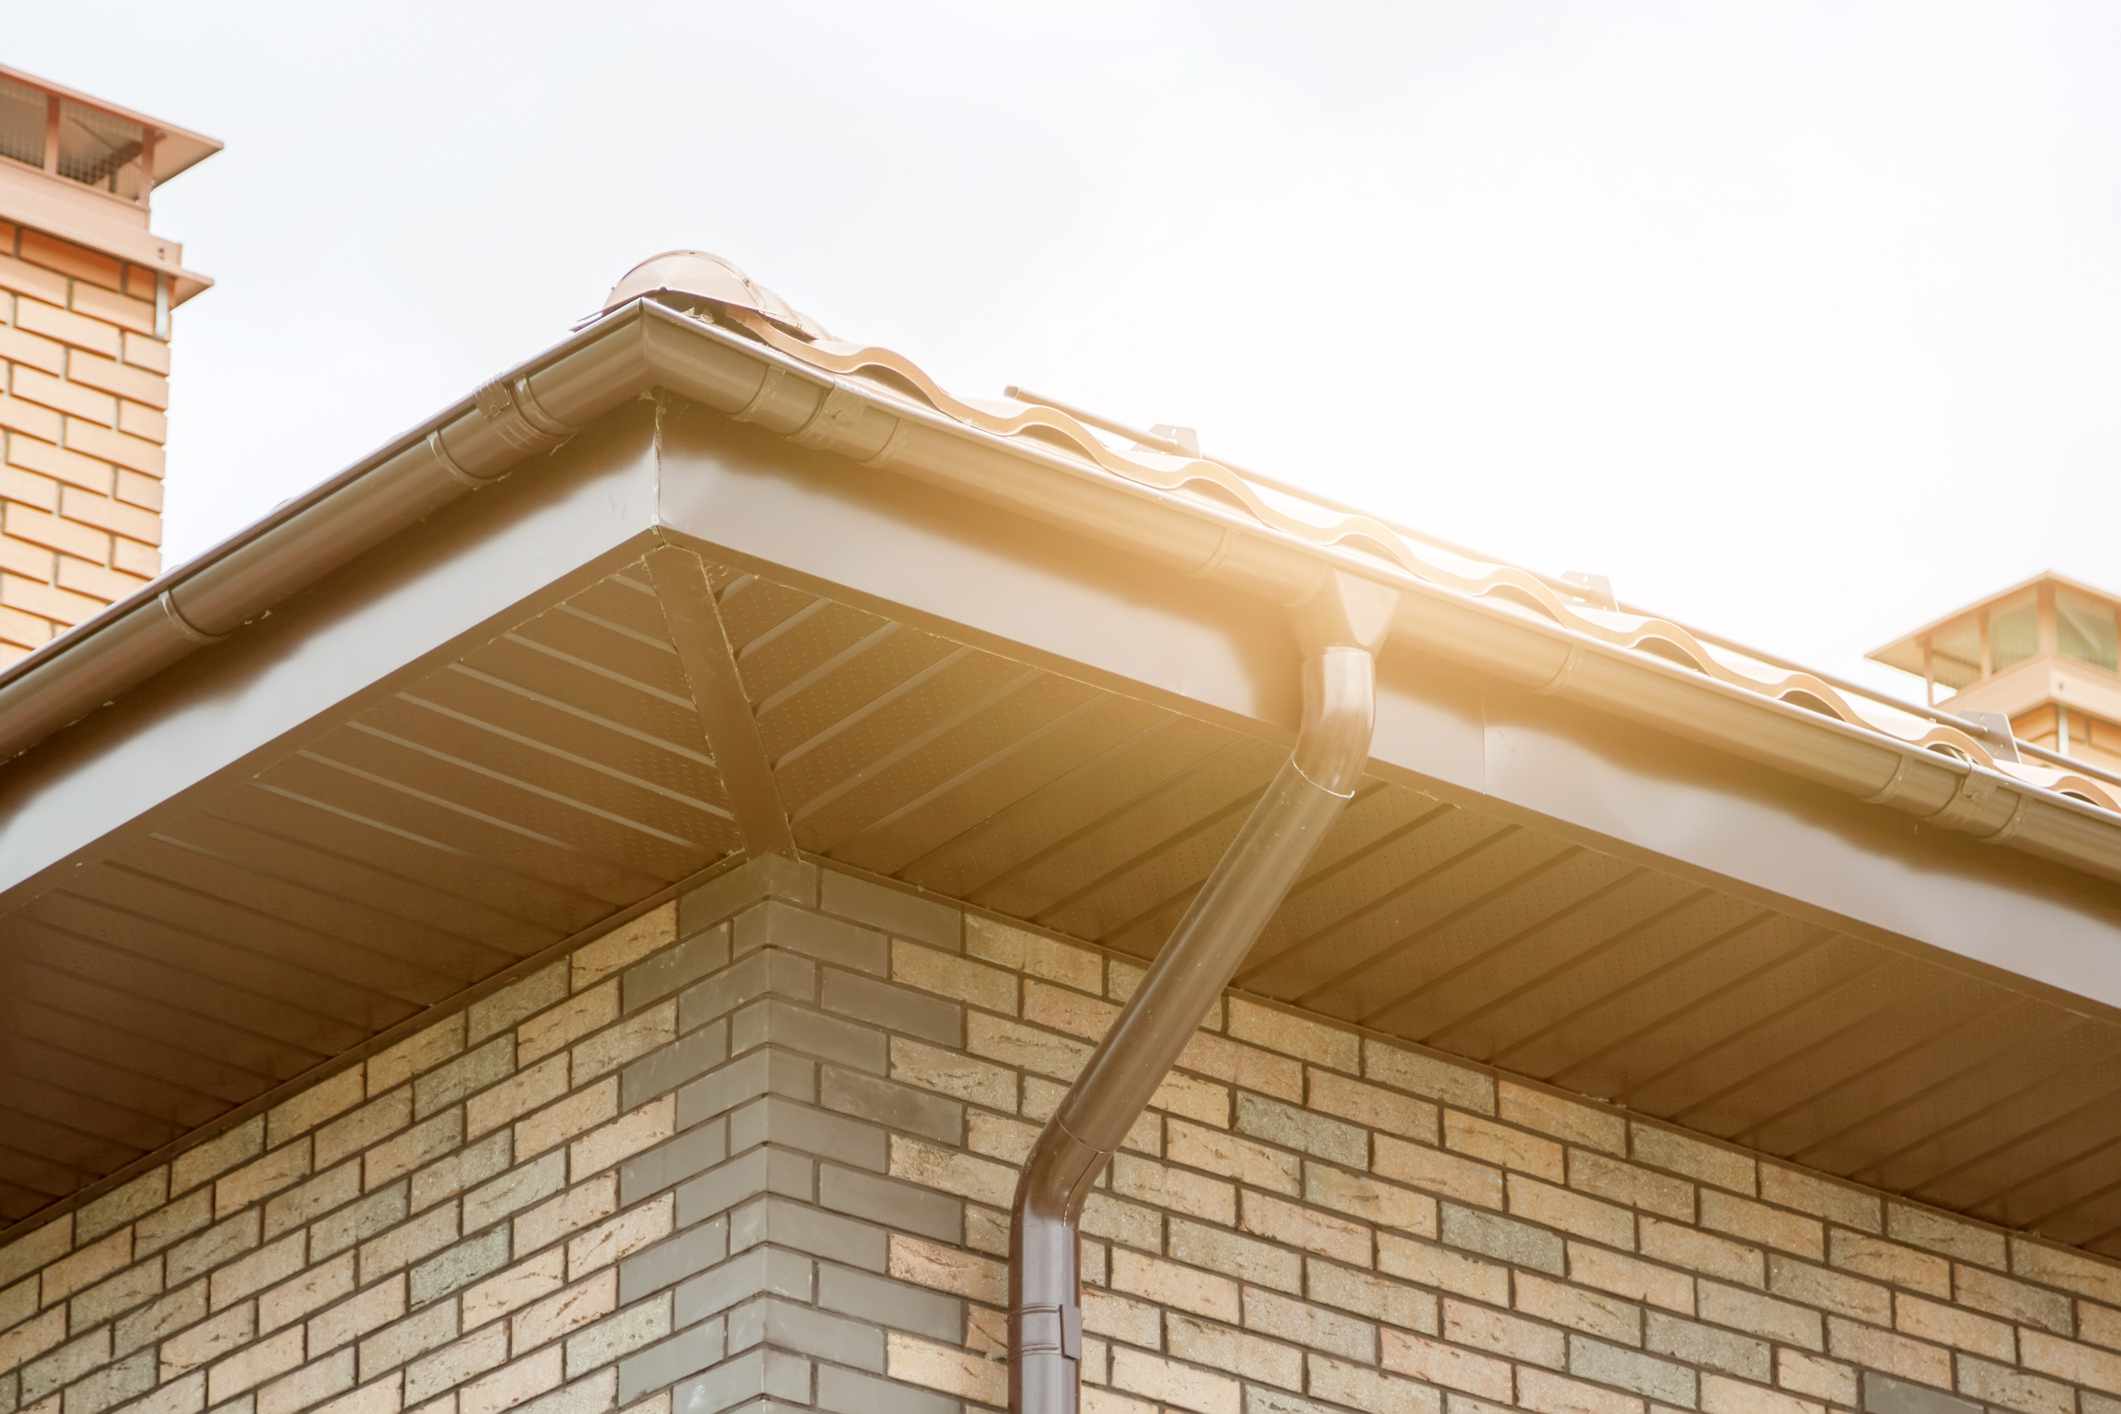
So, you've got a beautiful brick house, and you're looking to enhance its appearance and functionality by installing soffit. Soffit not only adds a polished look to your home's exterior but also provides ventilation to the attic, preventing moisture buildup and potential damage. Whether you're a seasoned DIY enthusiast or just starting to explore the world of home improvement, installing soffit on a brick house is a manageable project that can yield impressive results.
In this guide, we'll walk through the step-by-step process of installing soffit on a brick house, from gathering the necessary materials and tools to completing the finishing touches. By the end, you'll have the knowledge and confidence to tackle this project with ease, transforming your brick house into a more aesthetically pleasing and well-ventilated space.
Let's dive into the details and get ready to elevate the charm and functionality of your brick house with a professionally installed soffit.
Key Takeaways:
- Elevate your brick house’s appearance and functionality by installing soffit. Ensure proper ventilation and follow step-by-step instructions for a successful DIY project.
- Gather materials, prepare the area, measure and cut accurately, and follow installation and finishing steps for a visually appealing and durable soffit on your brick house.
Read more: How To Install Windows On A Brick House
Materials and Tools
Before diving into the installation process, it’s crucial to gather the necessary materials and tools to ensure a smooth and efficient workflow. Here’s a comprehensive list of what you’ll need:
Materials:
- Soffit panels
- Soffit trim
- Soffit vents
- Soffit nails or screws
- Trim coil
- Primer and paint (if painting the soffit)
- Caulk
- Weather-resistant sealant
Tools:
- Tape measure
- Chalk line
- Level
- Tin snips or a utility knife
- Power saw
- Hammer or screw gun
- Drill with bits
- Ladder or scaffolding
- Safety glasses and gloves
Having these materials and tools on hand will streamline the installation process and help you achieve professional-looking results. Additionally, it’s essential to prioritize safety throughout the project, so be sure to use appropriate personal protective equipment and work in a cautious manner, especially when using power tools and working at heights.
Preparing the Area
Before you start installing the soffit on your brick house, it’s important to prepare the work area to ensure a successful and efficient installation process. Here’s a step-by-step guide to preparing the area:
Read more: How To Install A Security Camera On Soffit
1. Clear the Workspace:
Begin by removing any obstructions or debris from the work area. This includes clearing the area around the soffit installation site and ensuring that there are no obstacles that could impede your progress.
2. Inspect the Existing Soffit:
If there is existing soffit on your brick house, carefully inspect its condition. Assess whether any repairs or replacements are needed before proceeding with the new installation. Addressing any issues with the existing soffit will contribute to the longevity and effectiveness of the new installation.
3. Check for Ventilation Needs:
Evaluate the ventilation requirements for your attic space. Determine the appropriate locations for soffit vents to facilitate proper airflow. Adequate ventilation is essential for preventing moisture buildup and maintaining the structural integrity of your home.
4. Secure the Soffit Support:
Ensure that the support structure for the soffit is in good condition and securely attached to the brick house. This may involve inspecting and reinforcing the fascia board and other structural elements to provide a stable foundation for the soffit installation.
By thoroughly preparing the area before installing the soffit, you’ll create a conducive environment for a successful and durable installation. Taking the time to address these preparatory steps will set the stage for a smooth and efficient installation process, ultimately contributing to the long-term functionality and visual appeal of your brick house.
Read more: How To Install Soffit Under A Porch
Measuring and Cutting the Soffit
Accurate measurements and precise cuts are crucial for a seamless and professional-looking soffit installation on your brick house. Here’s a detailed guide on how to measure and cut the soffit panels:
1. Measure the Soffit Installation Area:
Use a tape measure to determine the dimensions of the soffit installation area on your brick house. Record the measurements carefully, accounting for any necessary allowances for expansion and contraction due to temperature variations.
2. Transfer Measurements to the Soffit Panels:
Mark the measured dimensions onto the soffit panels using a pencil or chalk. Double-check the accuracy of the markings to ensure that the panels will fit precisely within the installation area.
3. Cut the Soffit Panels:
Using a power saw or tin snips, carefully cut the soffit panels along the marked lines. Exercise caution when cutting to achieve clean and accurate edges. If you’re using a power saw, be sure to follow proper safety protocols and use appropriate protective equipment.
Read more: How To Install Vinyl Soffit Ceiling
4. Cut Openings for Soffit Vents:
If your soffit installation requires ventilation, carefully measure and cut openings for soffit vents in the appropriate locations on the soffit panels. These openings are essential for promoting airflow and preventing moisture buildup in the attic space.
5. Verify the Fit:
Once the soffit panels are cut to size, verify that they fit accurately within the installation area. Make any necessary adjustments to ensure a snug and precise fit before proceeding with the installation process.
By meticulously measuring and cutting the soffit panels, you’ll lay the foundation for a successful installation that seamlessly integrates with the architectural features of your brick house. Taking the time to achieve precise cuts will contribute to the overall visual appeal and functionality of the installed soffit.
Installing the Soffit
Now that you’ve prepared the area and cut the soffit panels to size, it’s time to proceed with the installation process. Follow these step-by-step instructions to ensure a smooth and secure installation of the soffit on your brick house:
1. Position the First Soffit Panel:
Begin by positioning the first soffit panel in the designated installation area. Ensure that it aligns properly with the adjacent surfaces and the soffit support structure. Use a level to confirm that the panel is installed horizontally and maintain a consistent alignment throughout the installation.
2. Secure the Soffit Panel:
Use soffit nails or screws to secure the panel to the support structure. Place the fasteners at regular intervals along the edges of the panel, ensuring a secure and stable attachment. Be mindful of the recommended spacing for fasteners to maintain the structural integrity of the soffit.
3. Install Subsequent Soffit Panels:
Proceed to install additional soffit panels, ensuring that each panel fits snugly against the preceding one. Maintain consistent spacing and alignment as you secure each panel, creating a seamless and visually appealing soffit installation.
4. Address Soffit Ventilation:
If your installation includes soffit vents, ensure that they are positioned correctly and provide adequate airflow to the attic space. Verify that the vent openings align with the corresponding ventilation requirements and are free from obstructions.
5. Apply Soffit Trim:
Once the soffit panels are in place, apply soffit trim to the edges and corners to provide a polished and finished look. Secure the trim using appropriate fasteners and ensure that it complements the overall aesthetic of your brick house.
By following these steps, you’ll achieve a professionally installed soffit that enhances the visual appeal and functionality of your brick house. Take care to maintain precision and attention to detail throughout the installation process, resulting in a durable and visually striking addition to your home’s exterior.
Finishing Touches
As you near the completion of the soffit installation on your brick house, it’s time to focus on the finishing touches that will elevate the overall appearance and durability of the project. Here are the essential steps to add those final details:
1. Seal Joints and Gaps:
Inspect the installed soffit panels and trim for any gaps or joints that may require sealing. Use caulk to fill in any visible gaps and ensure a weather-resistant and seamless finish. Pay close attention to areas where the soffit meets other surfaces to prevent moisture infiltration.
2. Prime and Paint (If Applicable):
If you’ve opted for paintable soffit panels, apply a primer to the installed soffit surfaces before adding a coat of paint. Choose a high-quality exterior paint that complements your brick house’s color scheme, and ensure that it provides long-lasting protection against the elements.
3. Inspect and Clean:
Take a moment to thoroughly inspect the entire soffit installation for any imperfections or debris. Clean the installed soffit and trim to remove any construction-related residues and ensure a pristine appearance that enhances the overall aesthetic of your brick house.
Read more: How To Install Soffit Under Eaves
4. Apply Weather-Resistant Sealant:
To fortify the durability of the soffit installation, apply a weather-resistant sealant to the exposed edges and fastener points. This additional layer of protection will safeguard the soffit against moisture and environmental factors, prolonging its lifespan and preserving its appearance.
5. Step Back and Admire:
Once the finishing touches are complete, take a step back and admire the transformation that the installed soffit has brought to your brick house. Appreciate the enhanced visual appeal and functionality that the soffit provides, contributing to a more comfortable and well-maintained home exterior.
By attending to these finishing touches, you’ll ensure that your soffit installation is not only visually appealing but also durable and resilient against the elements. Embrace the sense of accomplishment that comes with completing this project, knowing that your brick house now boasts a professionally installed soffit that enhances its overall charm and functionality.
Now that you've got the hang of installing soffit on your brick house, why not tackle more DIY home projects? Our comprehensive guide offers insightful tips and creative ideas to help spruce up your space with your own two hands. From simple fixes to more involved renovations, you'll find projects that suit every skill level and interest. Get ready to transform your home into a more comfortable and stylish haven!
Frequently Asked Questions about How To Install Soffit On A Brick House
Was this page helpful?
At Storables.com, we guarantee accurate and reliable information. Our content, validated by Expert Board Contributors, is crafted following stringent Editorial Policies. We're committed to providing you with well-researched, expert-backed insights for all your informational needs.





0 thoughts on “How To Install Soffit On A Brick House”